RAIN, RAIN, GO AWAY!
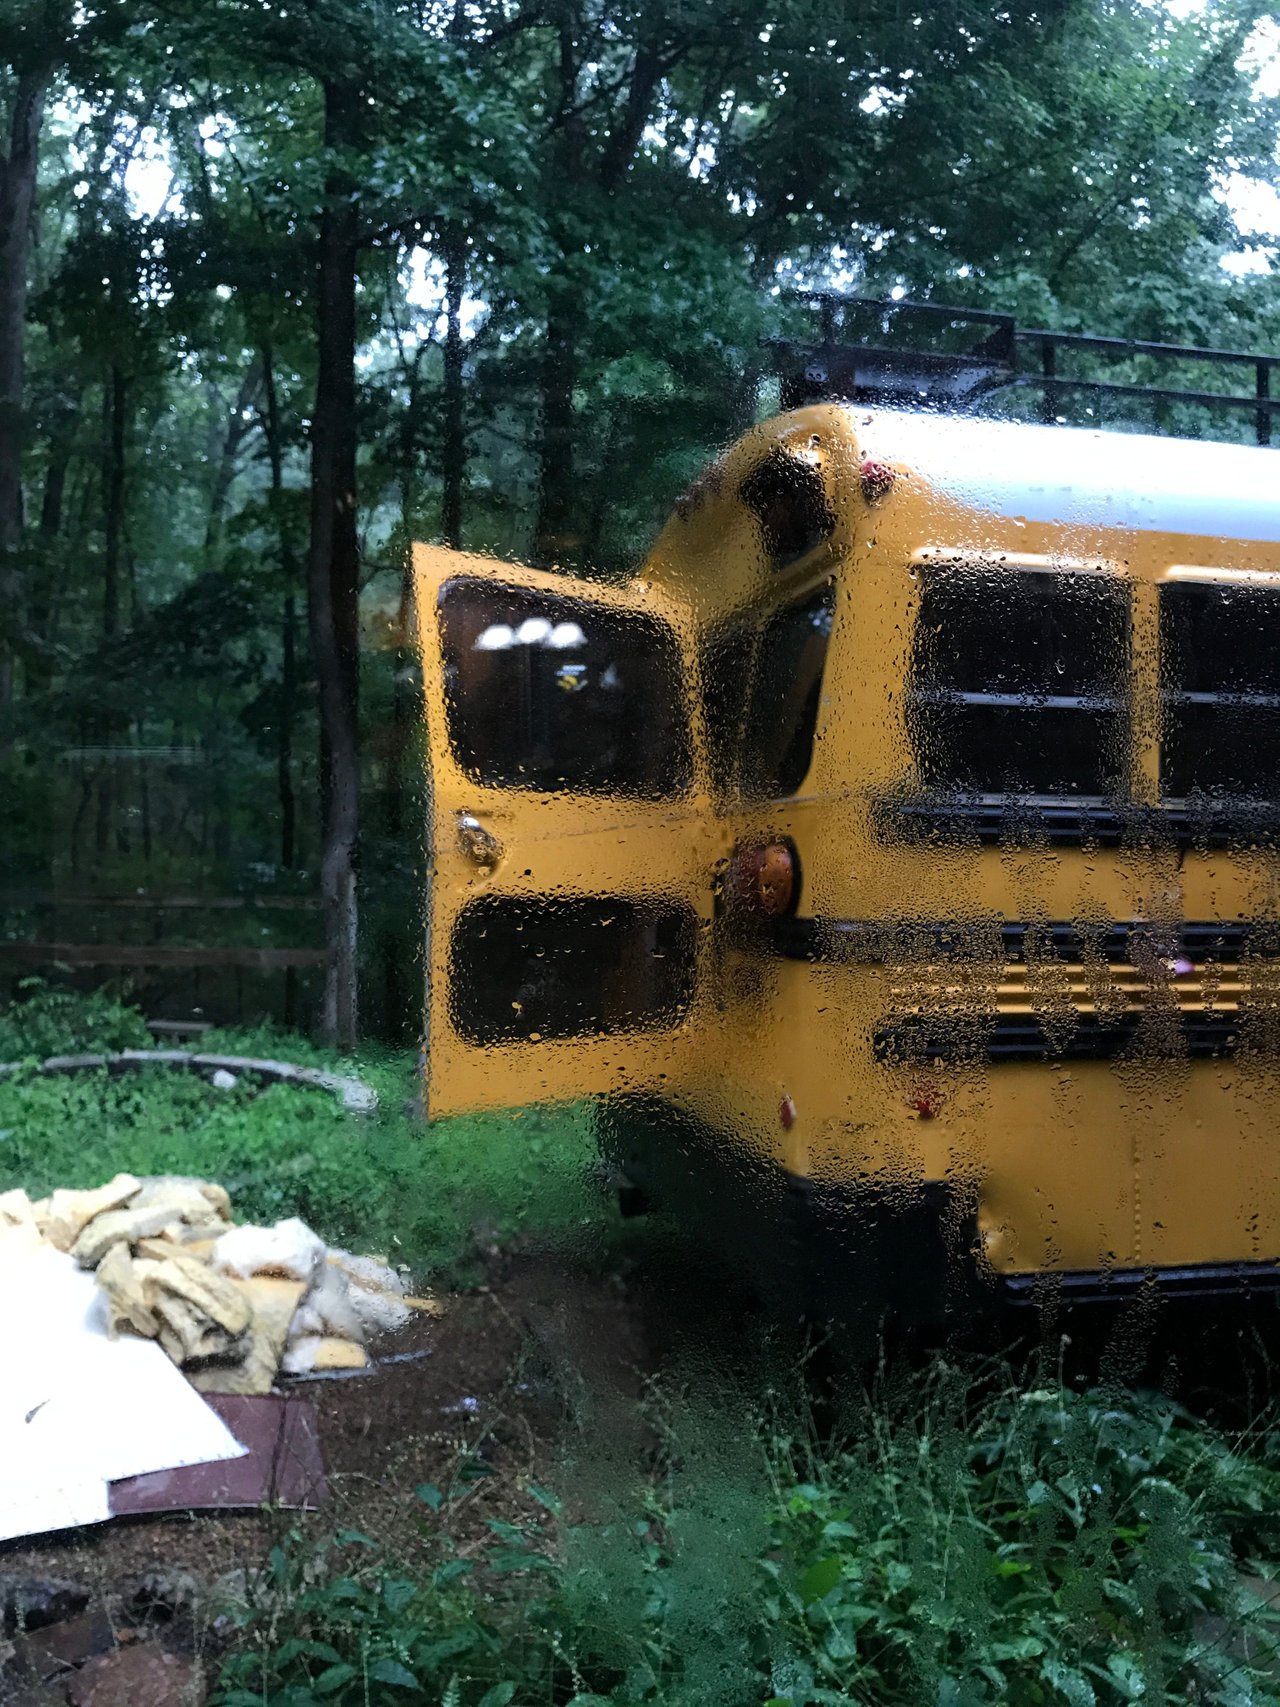
While we love the rain and all that it brings, it's really slowing down our parade! Day after day this week, it's rained so hard that we couldn't work with any windows open, making for stuffy mornings and short afternoons.
Our experimentation with rivet-removal is going (frustratingly) well, as we're seeing that the best course of action will be to use power tools the whole way. Yes, we did attempt to do this by hand, one of us punching the center out and the other using a chisel to remove the head.
THIS RESULTED IN A FEW BRUISED THUMBS AND BAD MOODS, TO SAY THE LEAST.
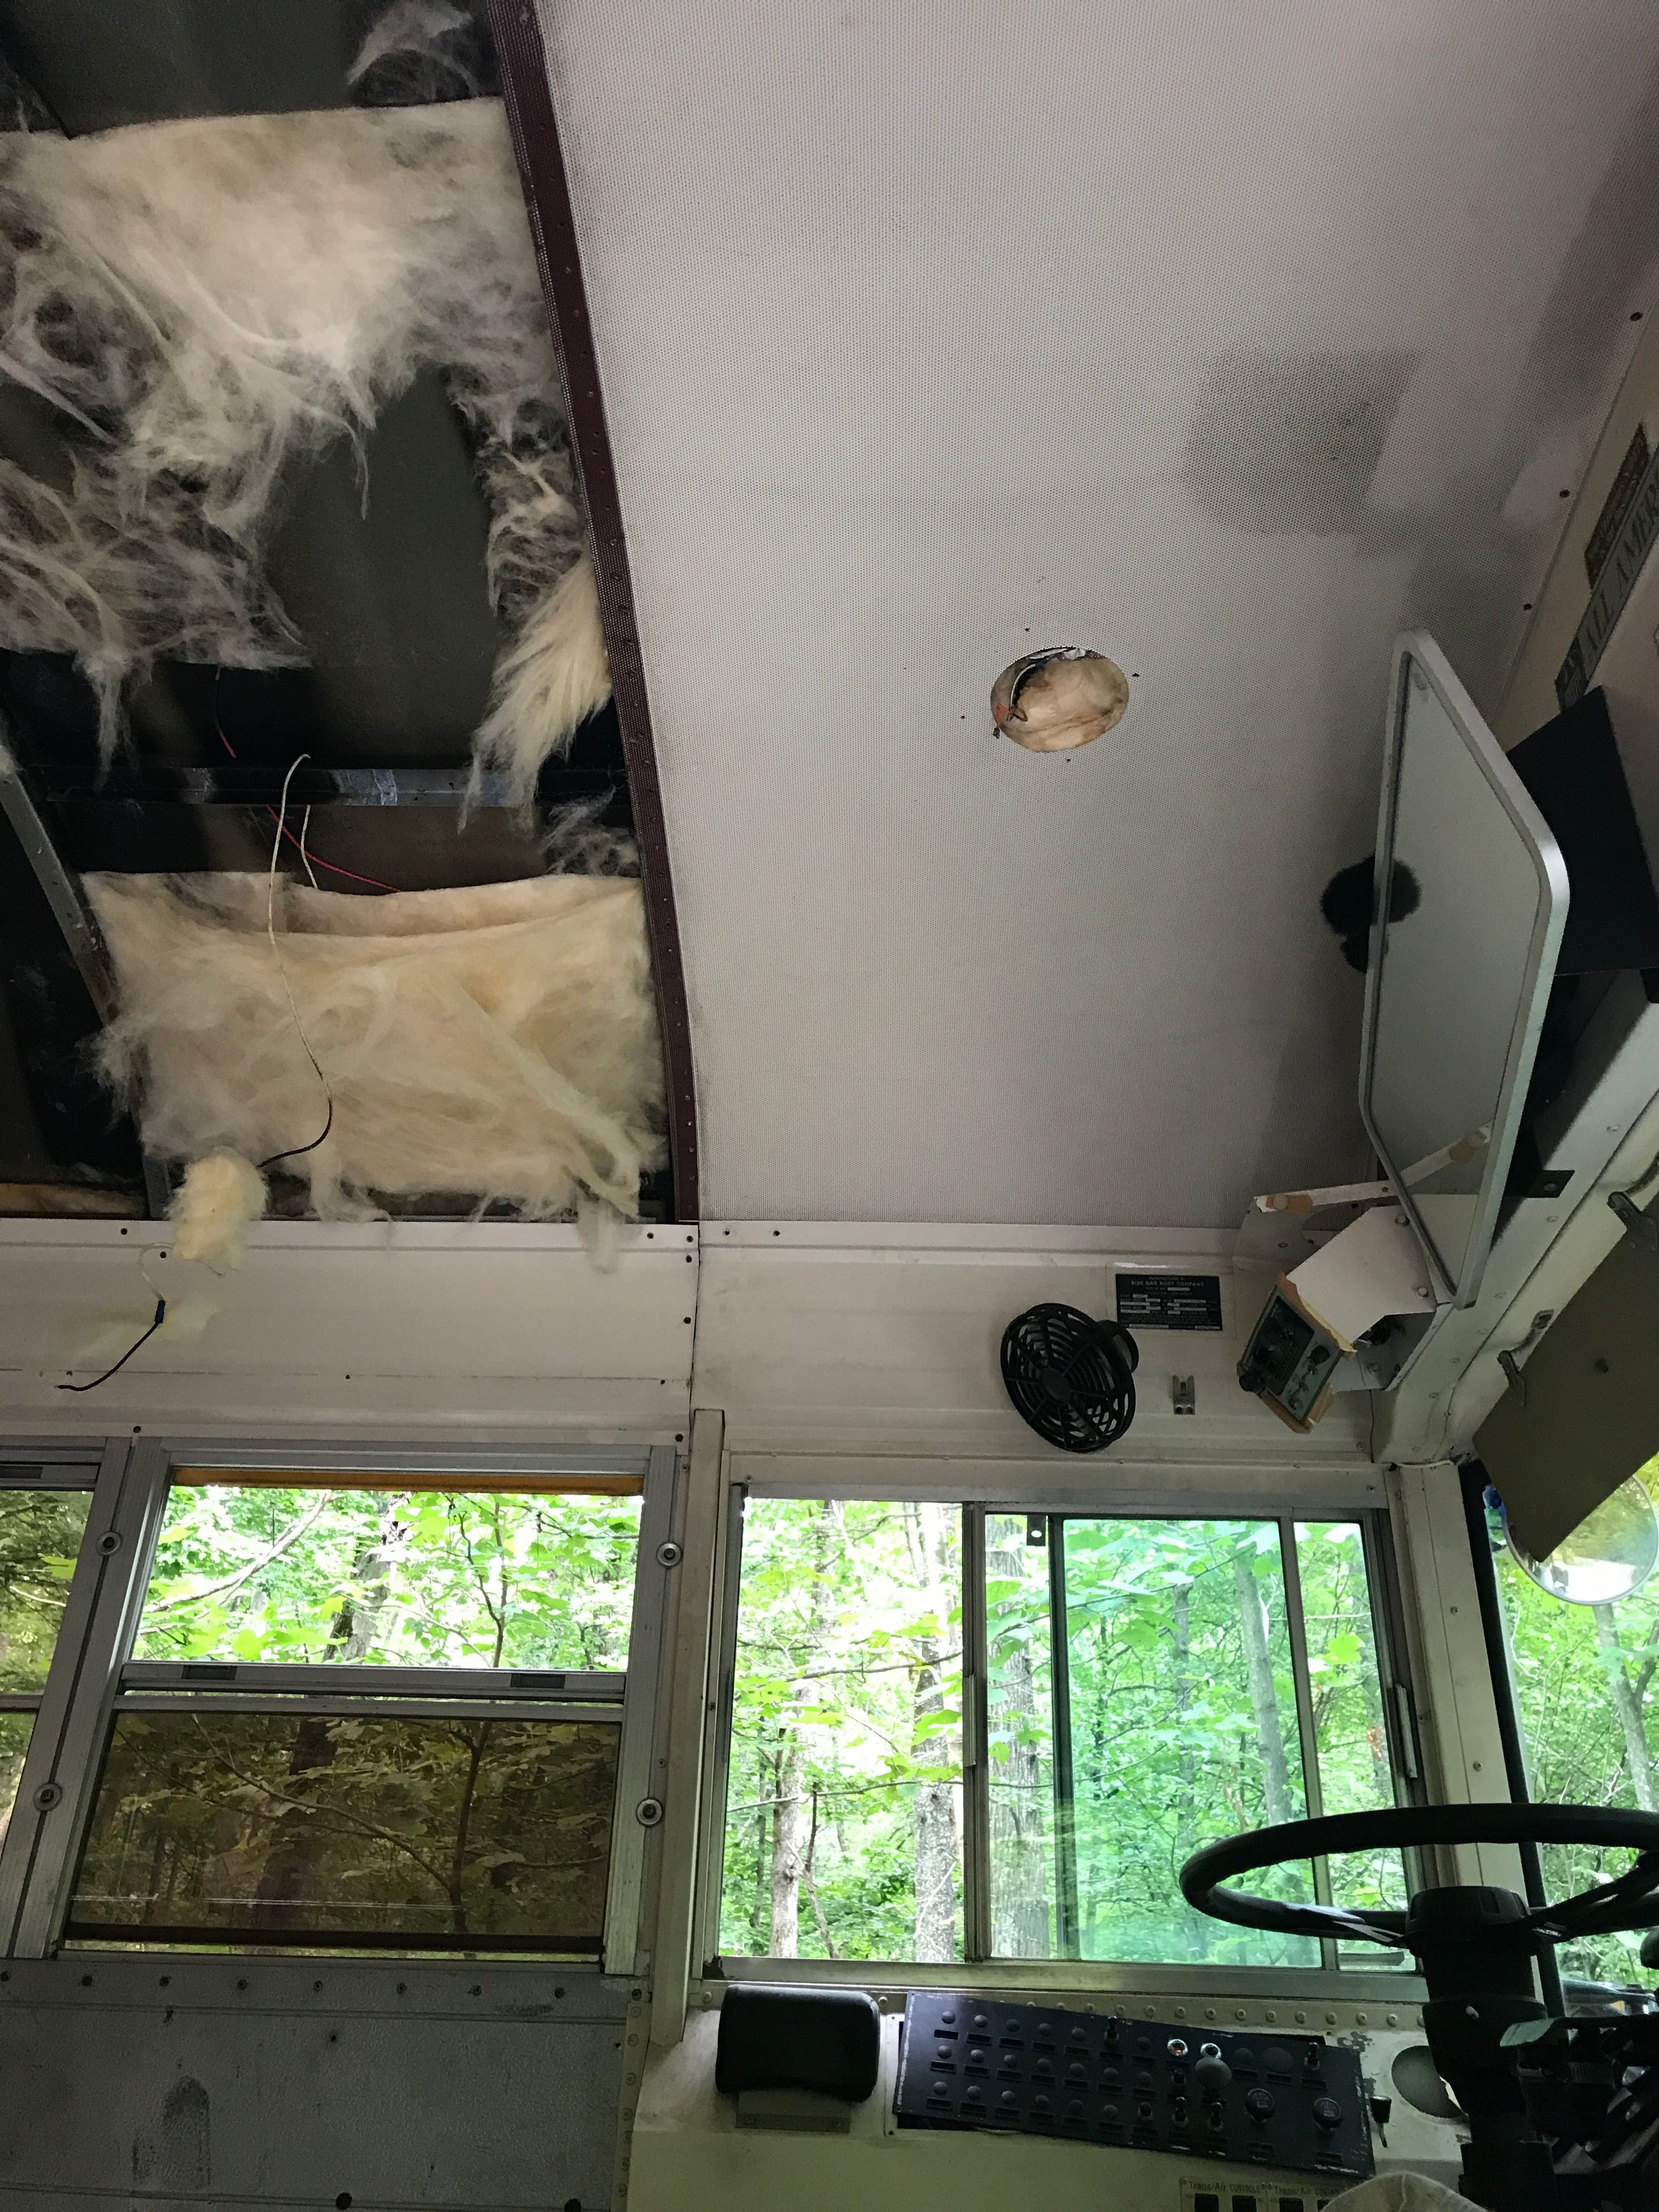
Drilling takes a toll! We've probably gone through at least 3-4 cobalt bits, working through the ceiling. Panels are loose and about ready to come down, but we both agree it's important to make sure we're ready to handle and dispose of the insulation before we let those giant metal sheets come crashing down.
After all that rain, progress abound!
BYE BYE RIVETS, HELLO BLANK CANVAS!
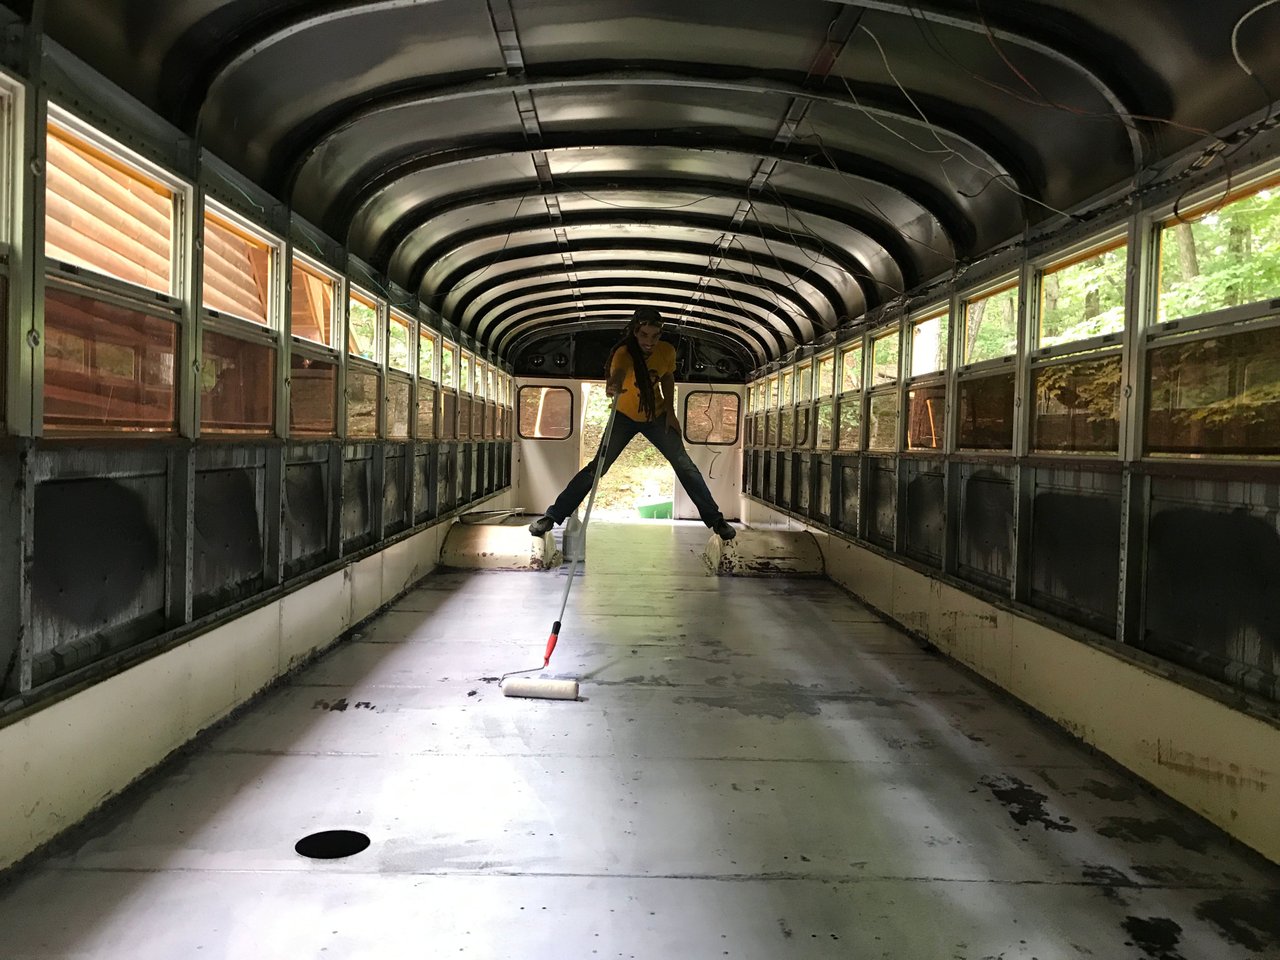
Okay, you can tell that I am just a little bit excited to share that the bus is now COMPLETELY GUTTED. No rivets - no metal panels - no insulation, just an empty tin can of possibilities. Here's how we treated that shell to make sure she stays nice forever (ideally):
- Clean the devil out of it with a pressure washer and some Simple Green Heavy Duty Degreaser - note: make sure to THOROUGHLY RINSE your surface if you need to apply anything to it, which was an issue we ran into.
- Corroseal rust-converter rolled on thick. We may have overdone it, as not all the parts we painted were rusty (we got lucky with this bus!), but those black spots you see are surface rust that had been ground down as much as possible, converting to a primer.
- 3M 5200 Sealant, which is a marine-grade product. Alhen's experience in the marine industry made this a clear choice, because if it can seal anything to each other on a boat and be long-lasting and impervious to living its life in the water, it's good enough to plug the 100+ holes left in the floor.
The makers of school buses must be applauded for making a product that is practically impossible to disassemble and that is so well put together (with glue, nails, and everything in-between), that they last as long as they do. This can make for some frustrating work!
EVIDENCE OF ALL THAT HARD WORK:
THE CHALLENGE WE RAN INTO: WASTE
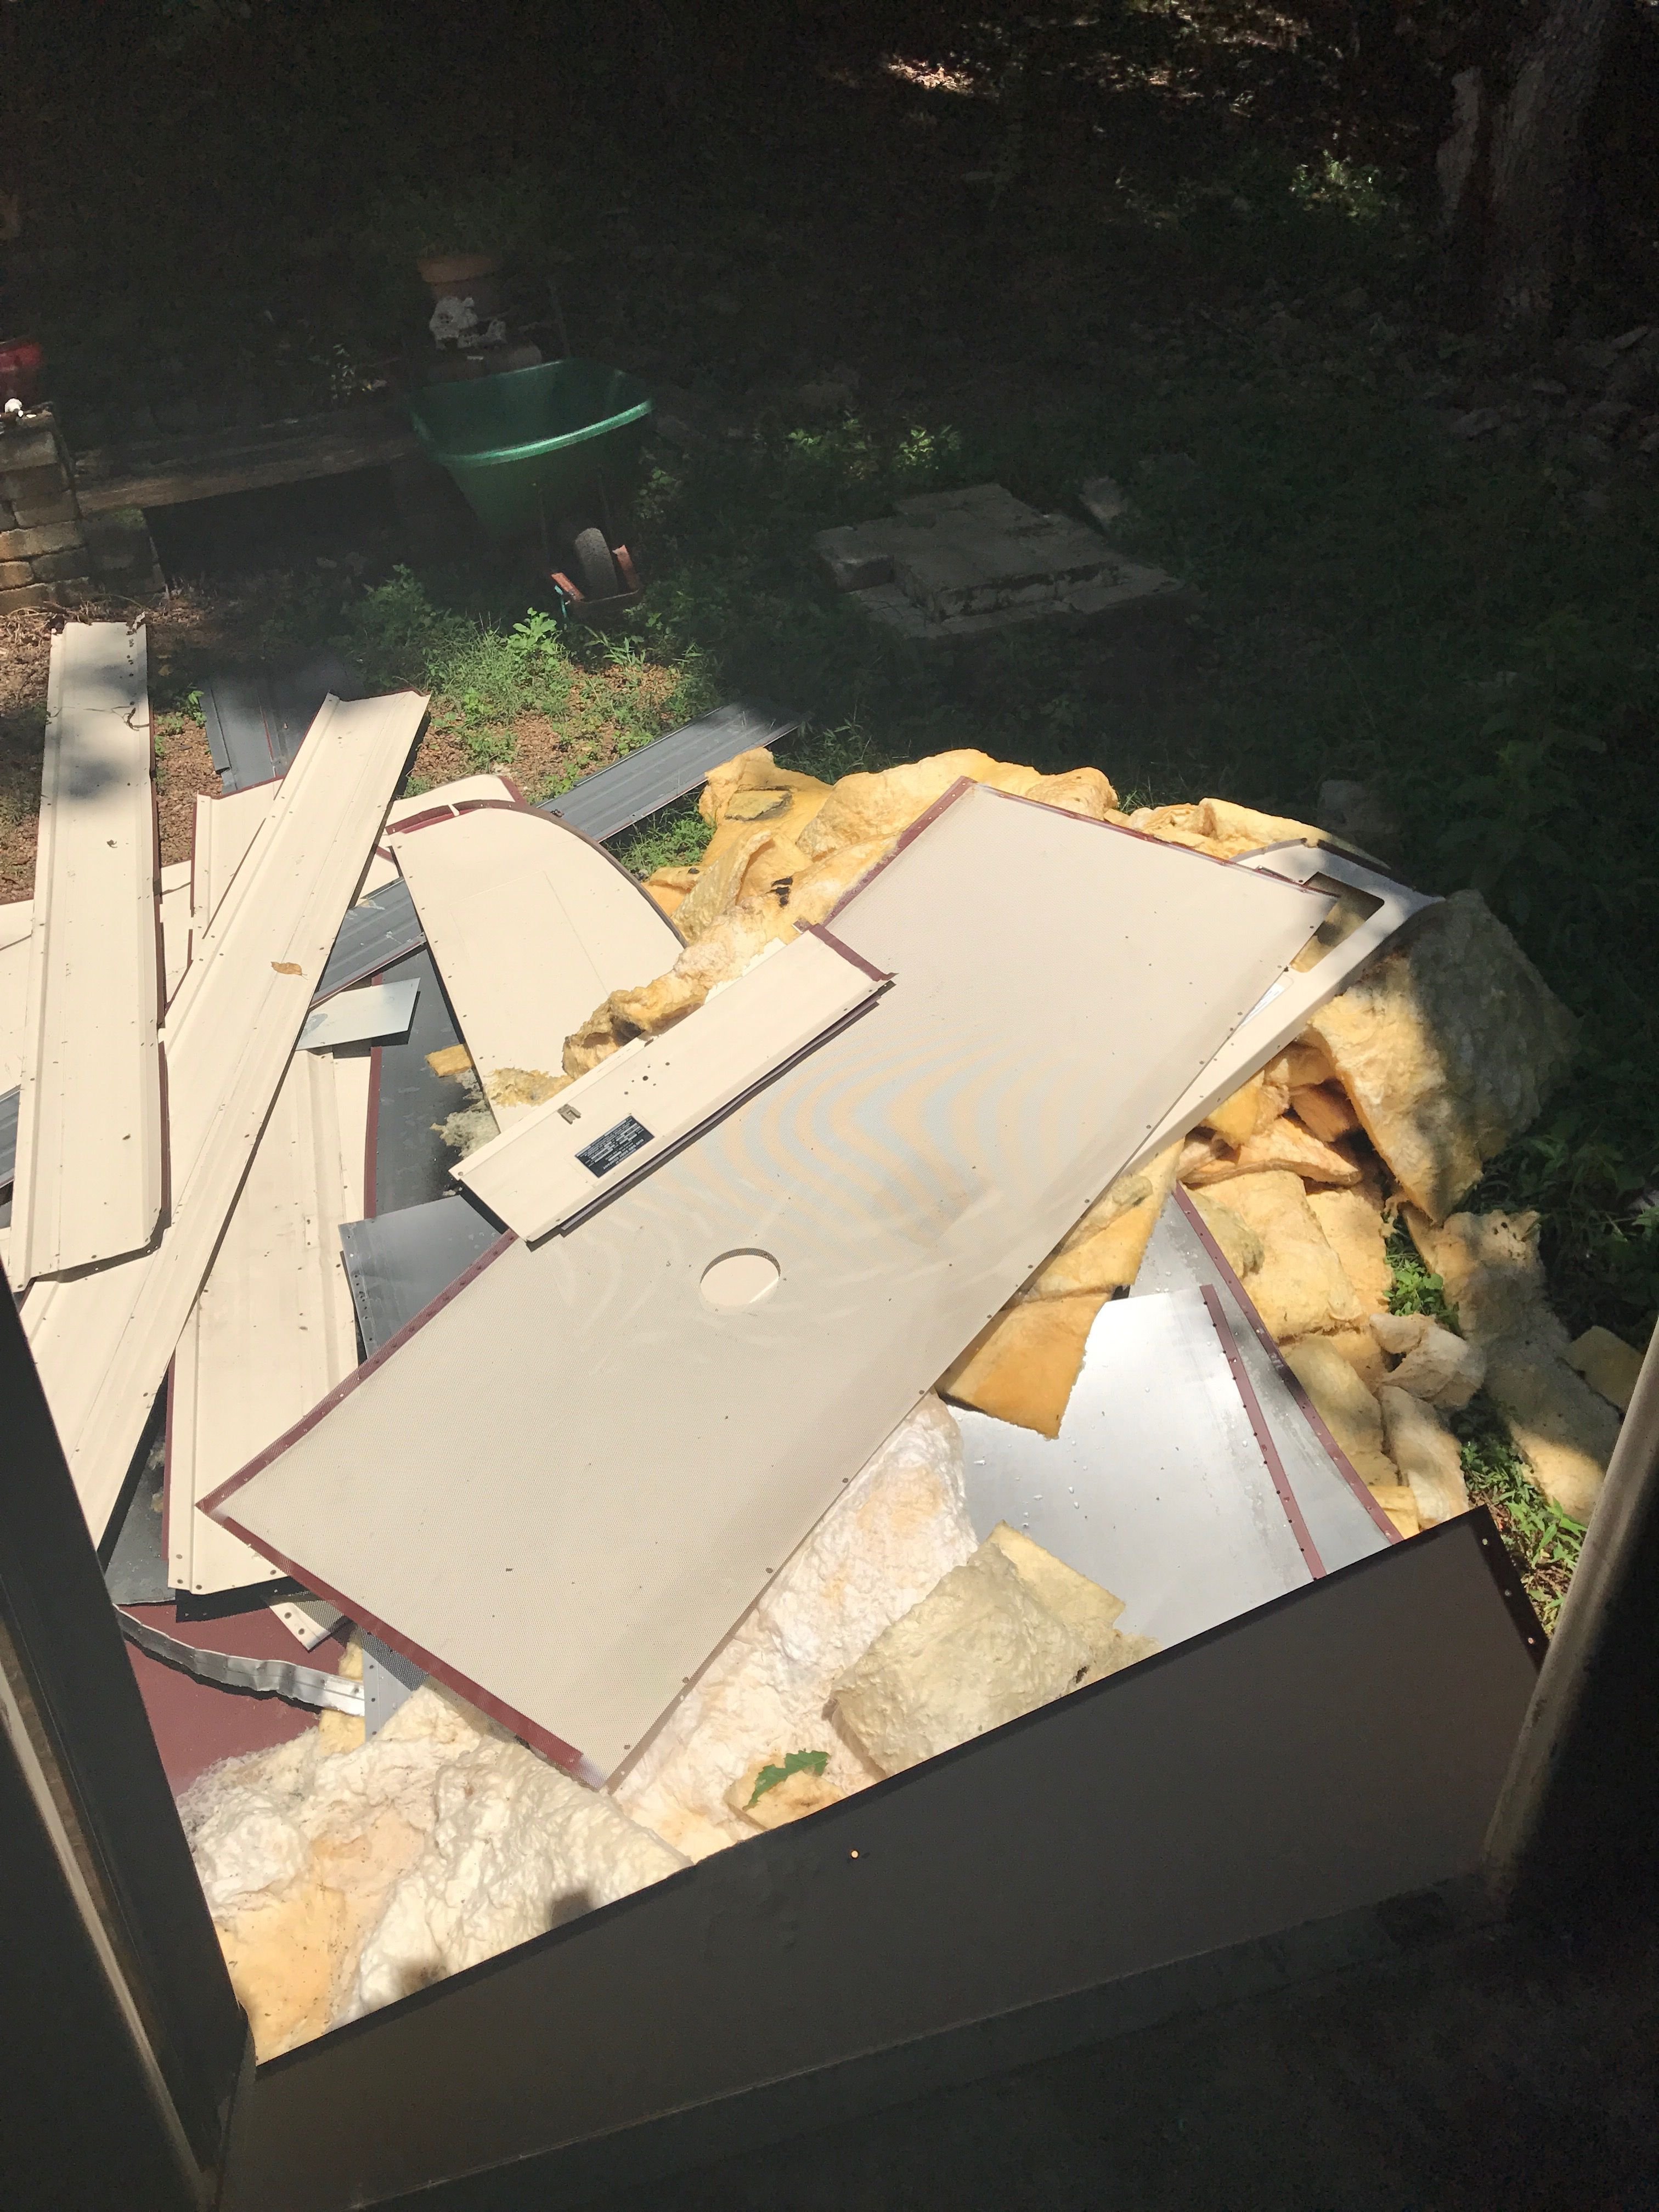
We had an enormous pile of insulation, steel, and rivets outside the bus that we are a little stumped on what to do with. It isn't exactly scrap-able, nor is it a walk in the park to cut it all up. We shuffled it into a pretty pile, but there's really no disguising this rubbish.
As two self-described sustainability-conscious hippies, it's kind of concerning how much waste this project is creating. We work diligently to reduce waste in our lives (reusable packaging and food storage, recycling, etc), but this stuff seems like its destined for a landfill. We were able to dispose of it at a local recycling firm but who knows what they'll do with it.
Up next, we're finalizing the layout and preparing for the sub floor!

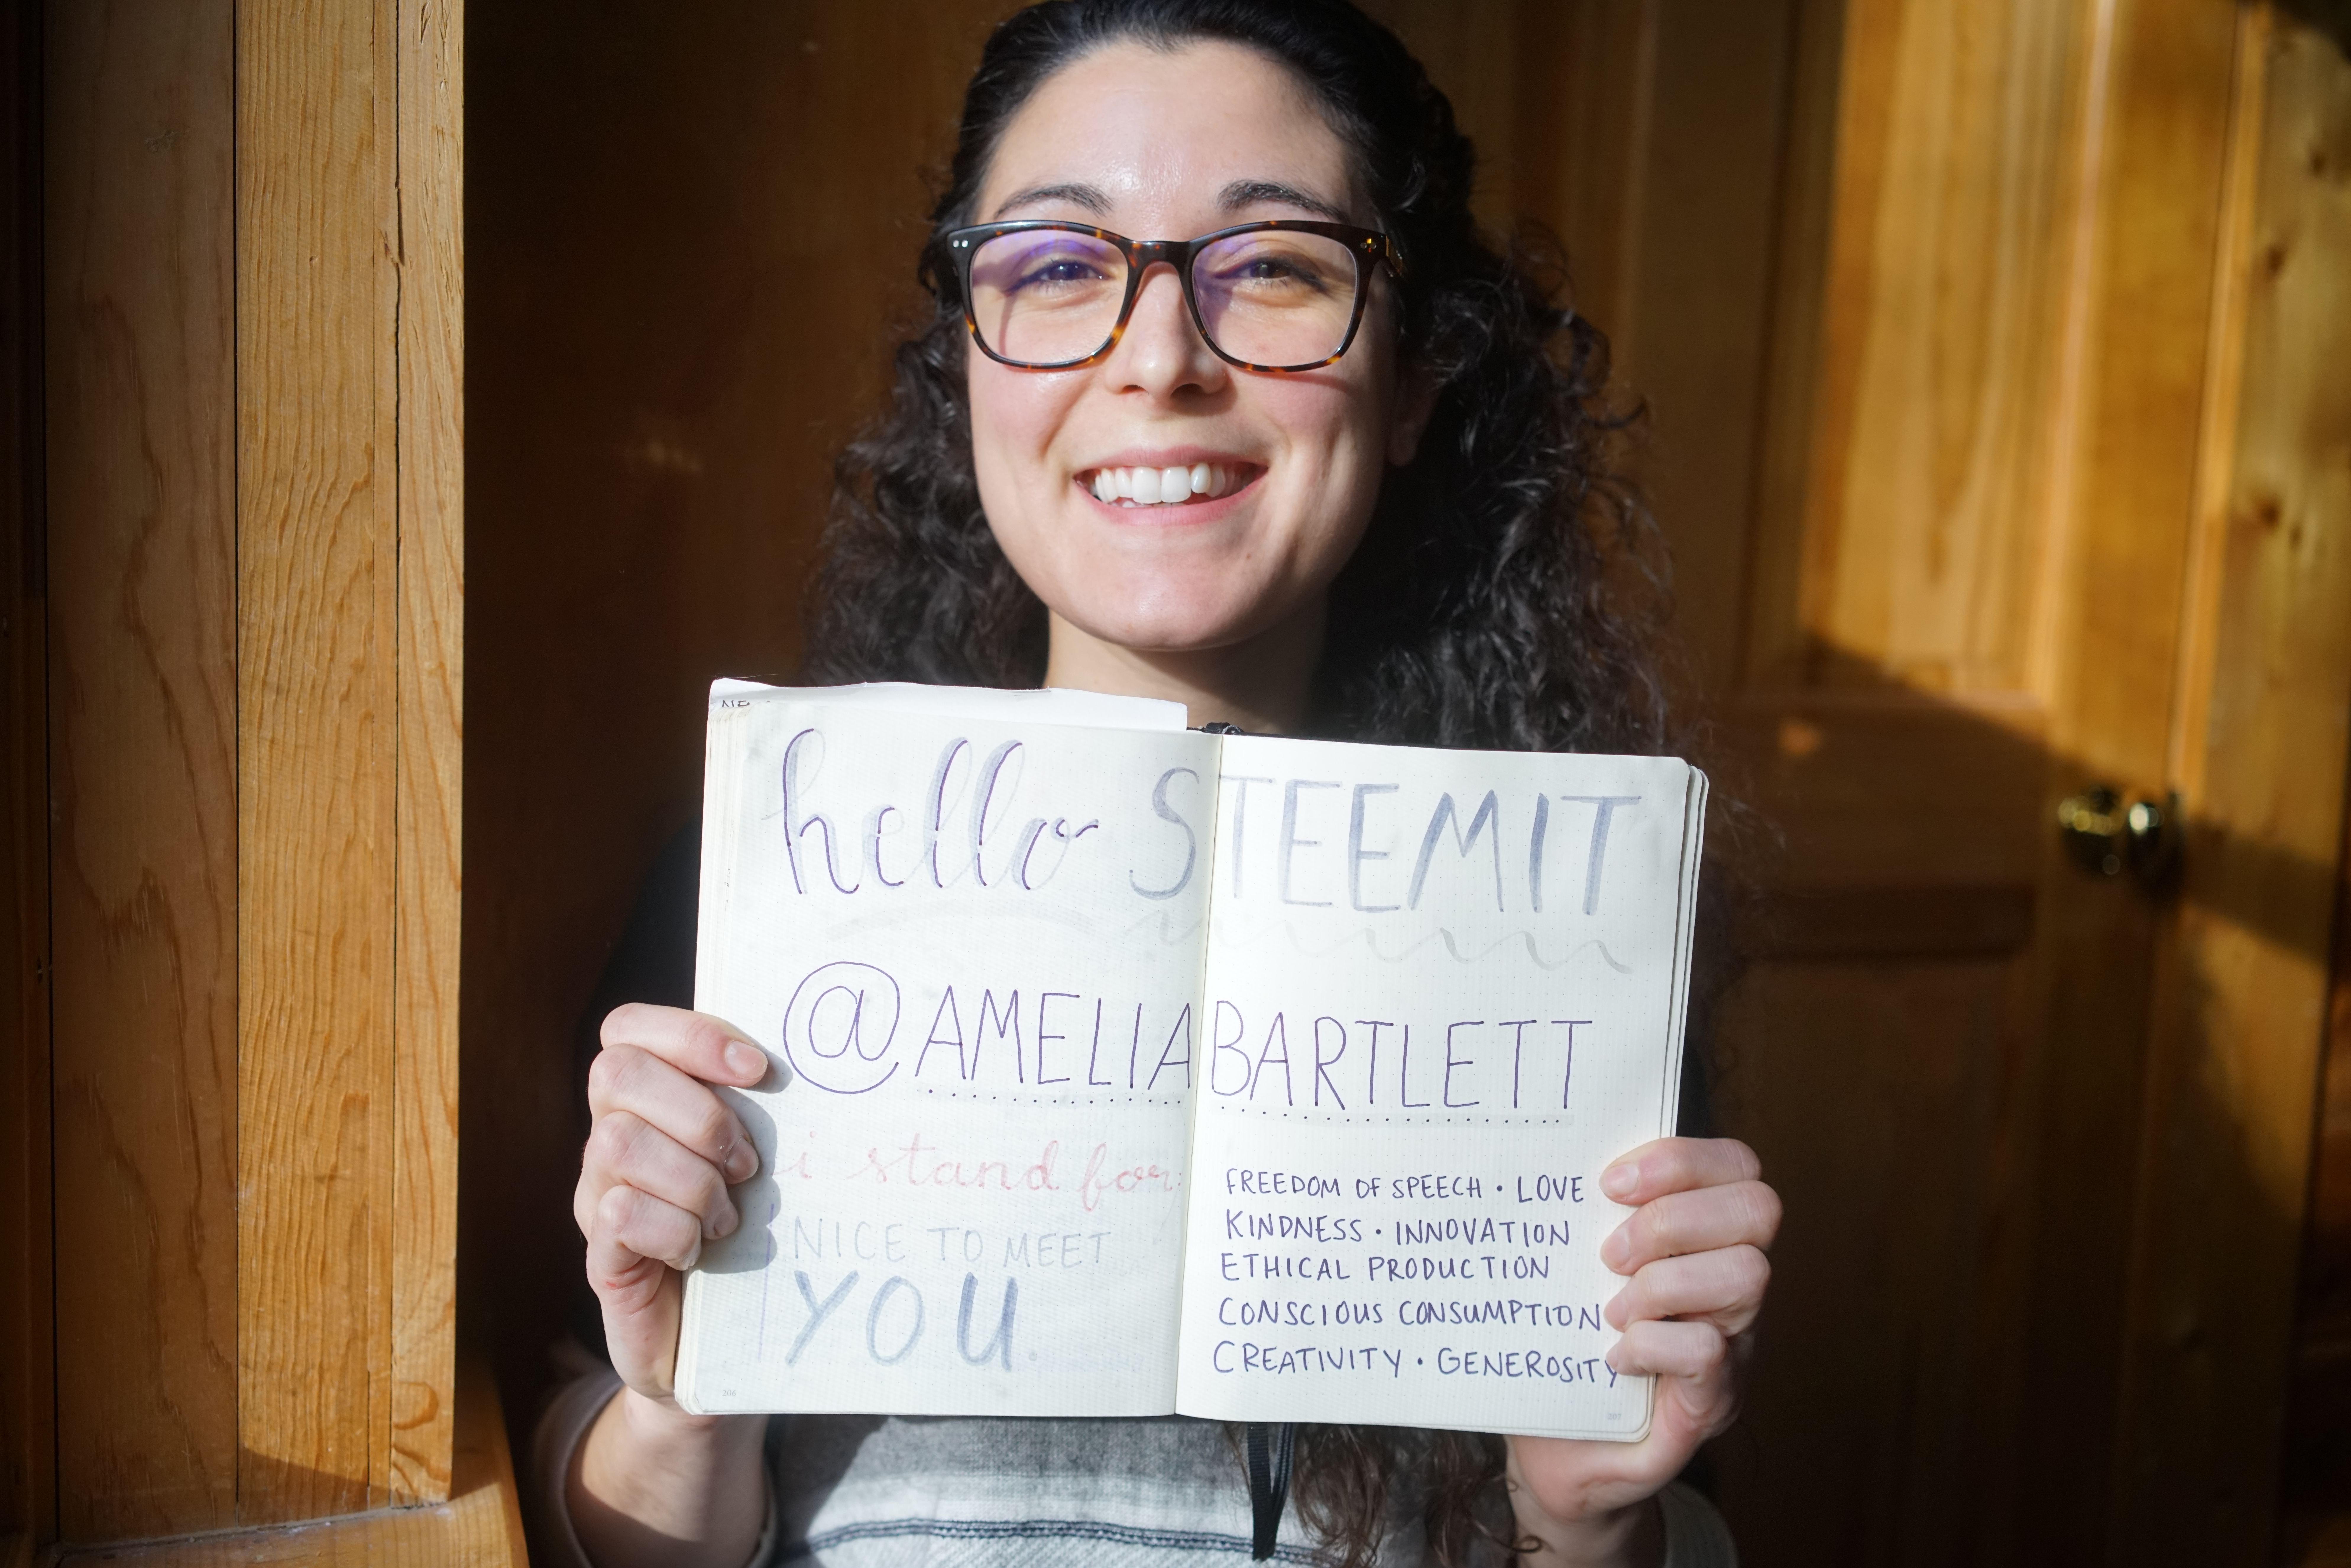
Hi, I'm Amelia! It's nice to meet you.
I'm a writer, minimalist, tiny home dweller, and maker living in East Tennessee, USA. My blog has lived at www.amelia-bartlett.com until I discovered Steemit, where I now post most of my work. To learn more about me, check out my introduction post, get up-to-date on my school bus tiny house conversion, and follow me for articles on slow living, sustainable fashion, self-expression, and quality curated resteems!
Proud member of


banner by @bearone


banner by @bearone