Hey steemers!
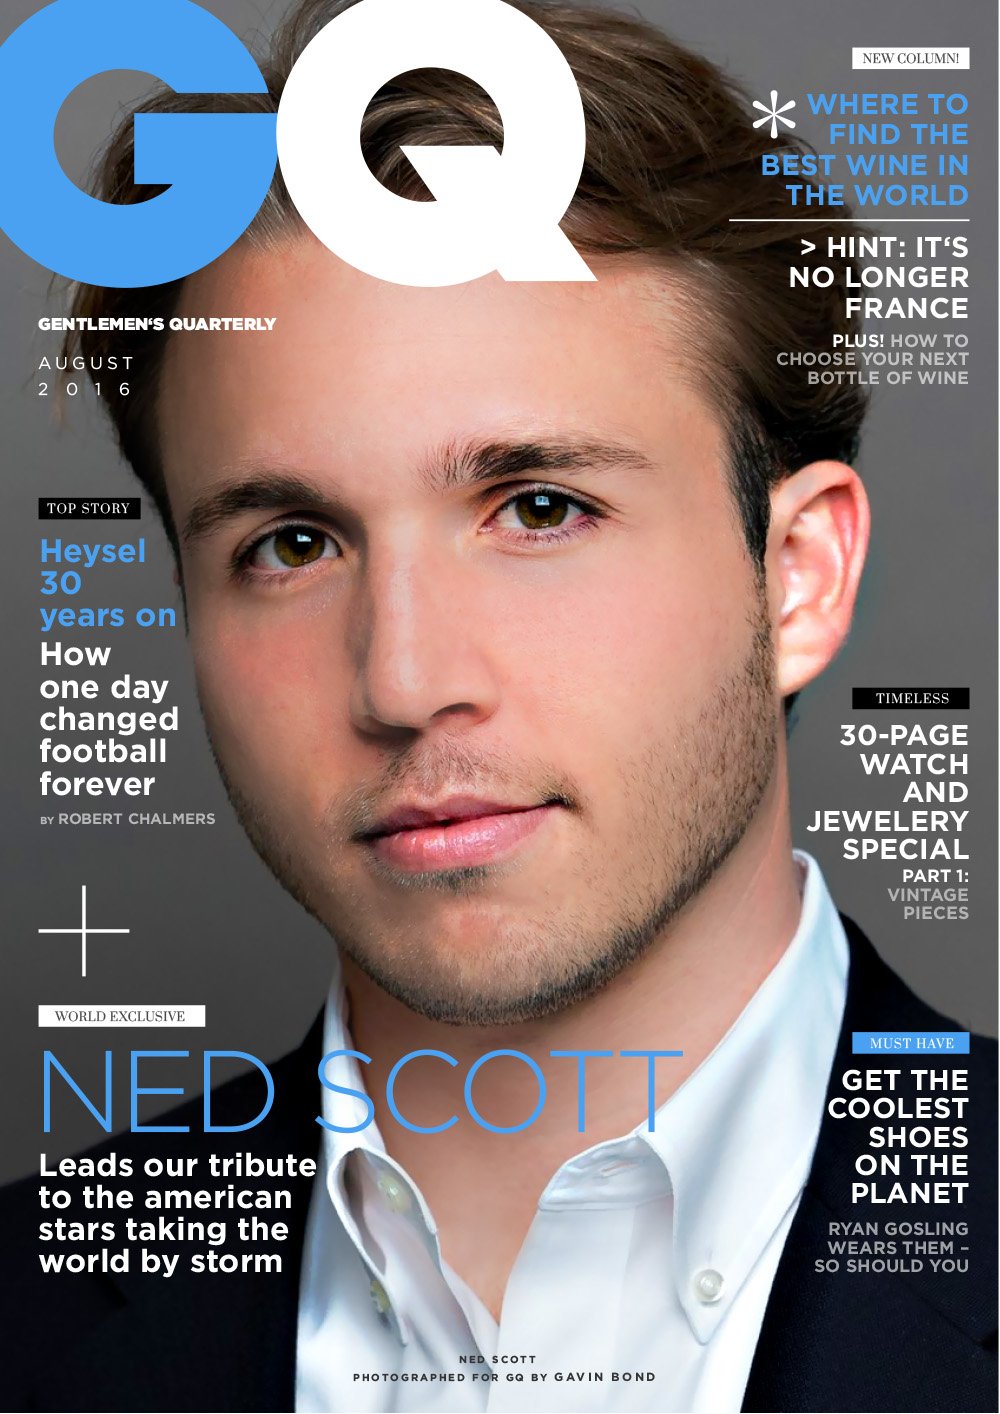
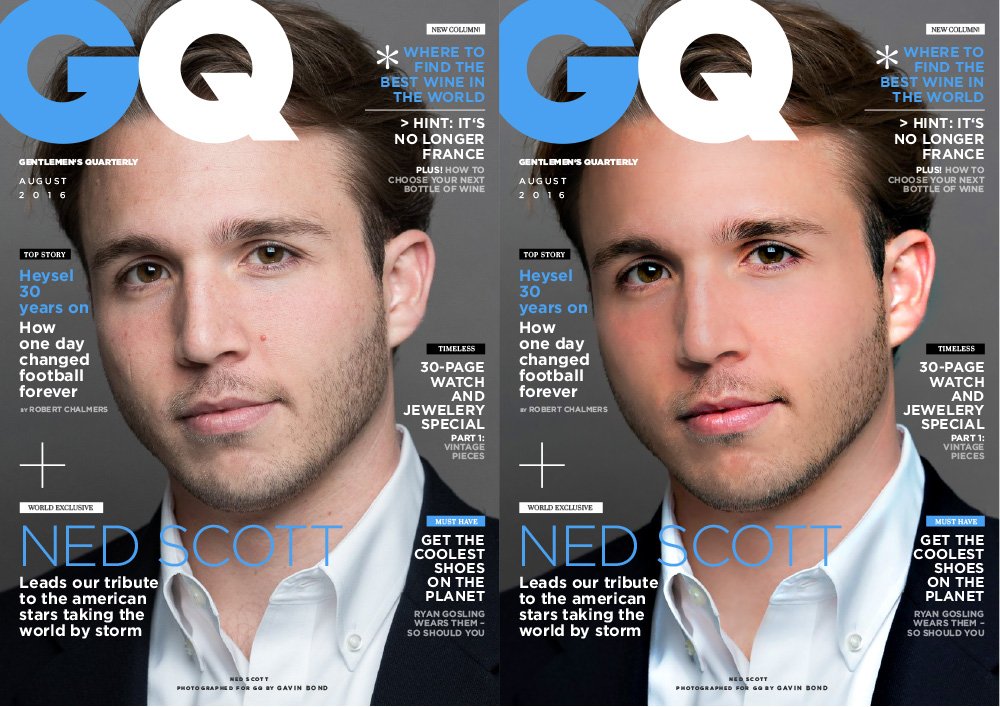
Today I wanted to work on a Photoshop tutorial and came across an image of Ned and decided to make a fun cover for GQ. The challenge was to make it look like a real GQ cover, not only the design or typography but most important the cover image itself. The better the original of course, the better the outcome. So I had to use what I could find. The basis was not too bad, talking about resolution and quality of the pic in general.
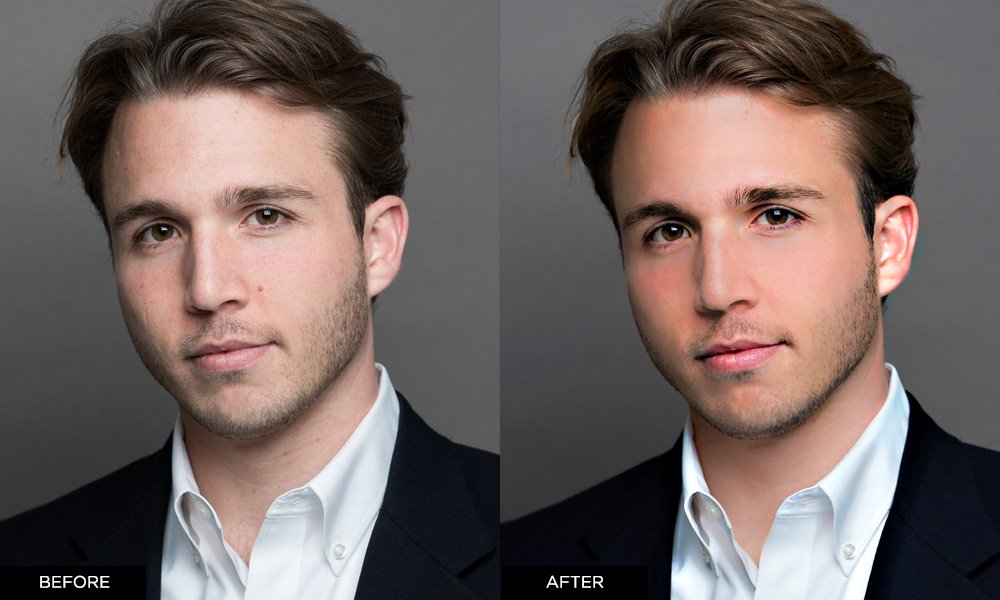
Even the best shots need some touches. Everyone does it, you won’t find an image on a magazine cover that hasn’t been touched and modified.
This little tutorial only shows whats possible today with Photoshop and is by no means any offense. I’ll guide you through the single steps, point to some important things and show you some before/after comparisons.
I’ll proceed on the assumption that you
a) are using Photoshop and
b) know how to use it, in general.
Let’s go.
Step 1:
Create a new layer, actually duplicate your image so you have 2 similar layers. The reason I always do it is simple: If I don’t like the interim results on this specific layer I can simply delete it and start from the original one again.
Step 2:
Use the „clone stamp“ and work on all the details you think are necessary, you can see all the details I worked on, they are marked with a red circle (plus a few others).

Step 3:
Save this layer by duplicating it again so you don’t lose what you have done so far. Go to FILTER > Sharpen > Unsharp Mask. Use whatever you think looks best to sharpen the image. Use something fairly medium, too much will make it look bad. If it’s too much you can still use the opacity of the layer to lower the effect. That’s why we have made a single layer.
Step 4:
Duplicate your layer again; Create a new Adjustment layer (Layer > New Adjustment Layer > Curves and/or levels) to adjust the look to your needs;
Step 5:
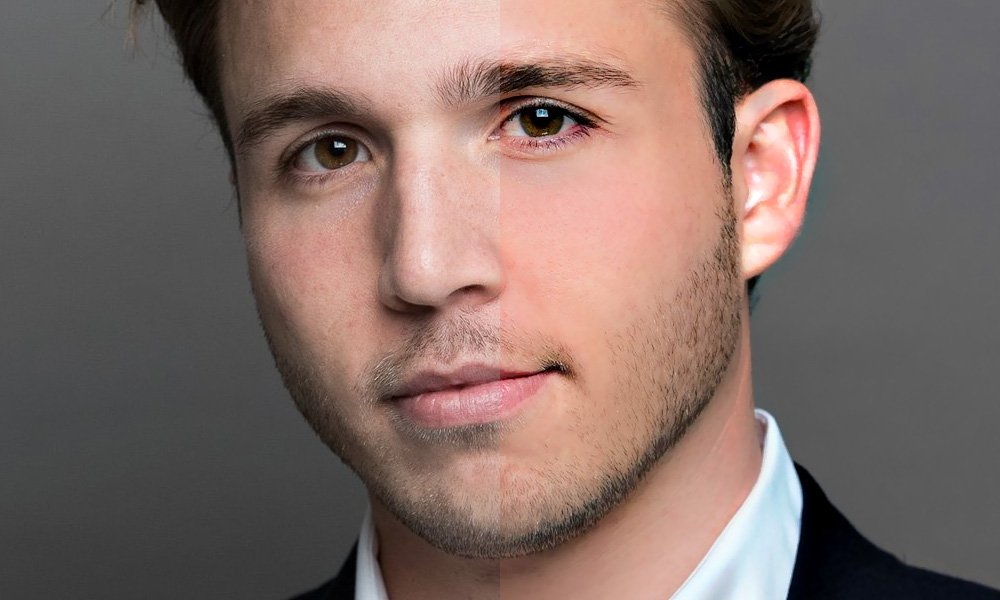
Smooth the skin but keep the details, not an easy task!
- Duplicate your top layer once again an go to FILTER > BLUR > Gaussian Blur and make the image really blurry
- convert this layer to a smart object > right click mouse and chose „convert to smart object“, this will allow you to adjust the opacity of the blur
- Create a mask for this smart object, fill it with black
- use a white „paintbrush“, approx. 30% opacity, blurred edges, and color all the parts white which should be blurred, avoid parts of the face that create the contour e.g. eyes, mouth and hair, focus on the skin only.

Note: This is a very quick tutorial and probably the fastest way to smooth the skin. You’ll loose details which will be visible on high resolution prints, there are many tools and filters available to make sure you don’t lose these details. We only have screen resolution here so this way is pretty perfect.
I used about 50% opacity for the blur layer to get a perfect mix for the smoothness and the original details, you can still see the pores of the skin.

Step 6:
Hue/Saturation
Create a new Adjustment layer (Layer > New Adjustment Layer > Hue/Saturation) to increase the saturation, that means, enhance the colors. Not too much of course, just slightly. You’ll end up having a natural looking skin, fresh and vital.

Step 8:
Reduce / combine all visible layers to 1 single layer and duplicate it again – make sure you have a copy of the layers – and repeat Step 3 again, only difference this time: the layer only has about 50% opacity now and gives the final result a sharper general look again.
Maybe the steps sound simple, it’s just a few.
I spent 4 hours on it though :)

Hope you enjoy! I hope Dan as well :)
Maybe we’ll see him there anytime soon :)
Have a great sunday.