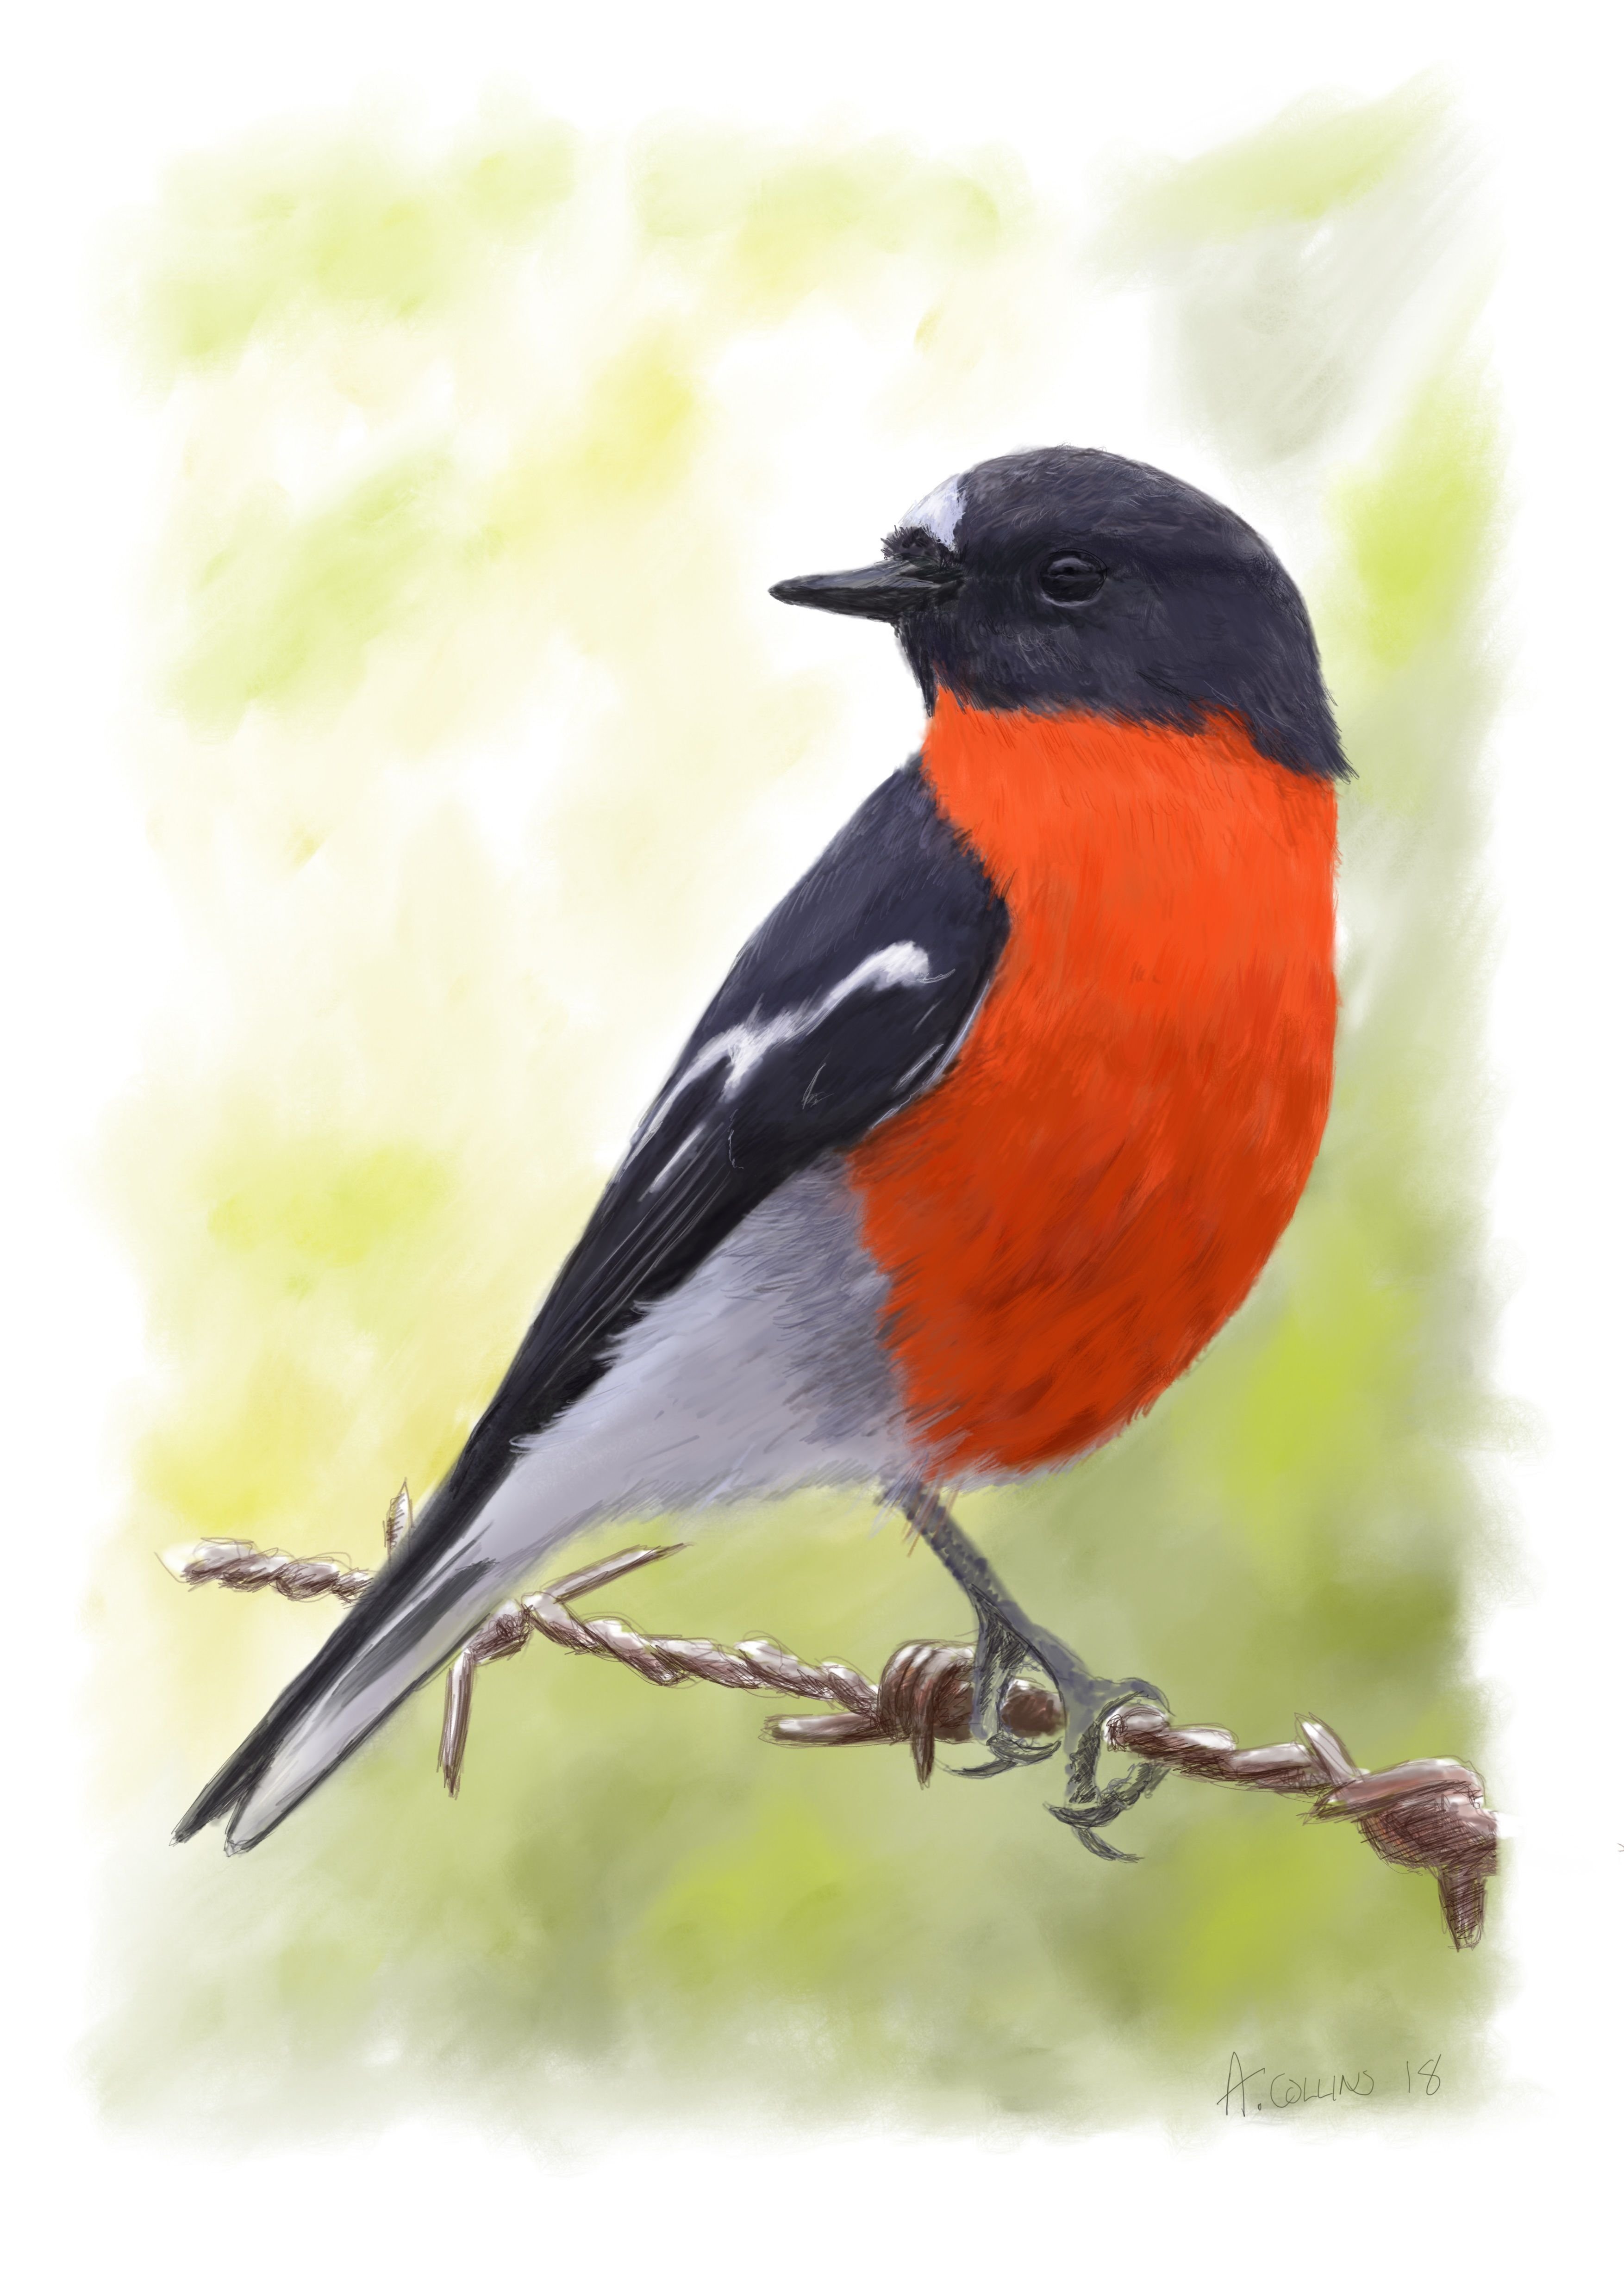
Hi. Thanks for joining me. Today I wanted to show you a simple step by step digital painting using sketchbook pro and my Wacom cintiq companion 2. Here is the completed image.
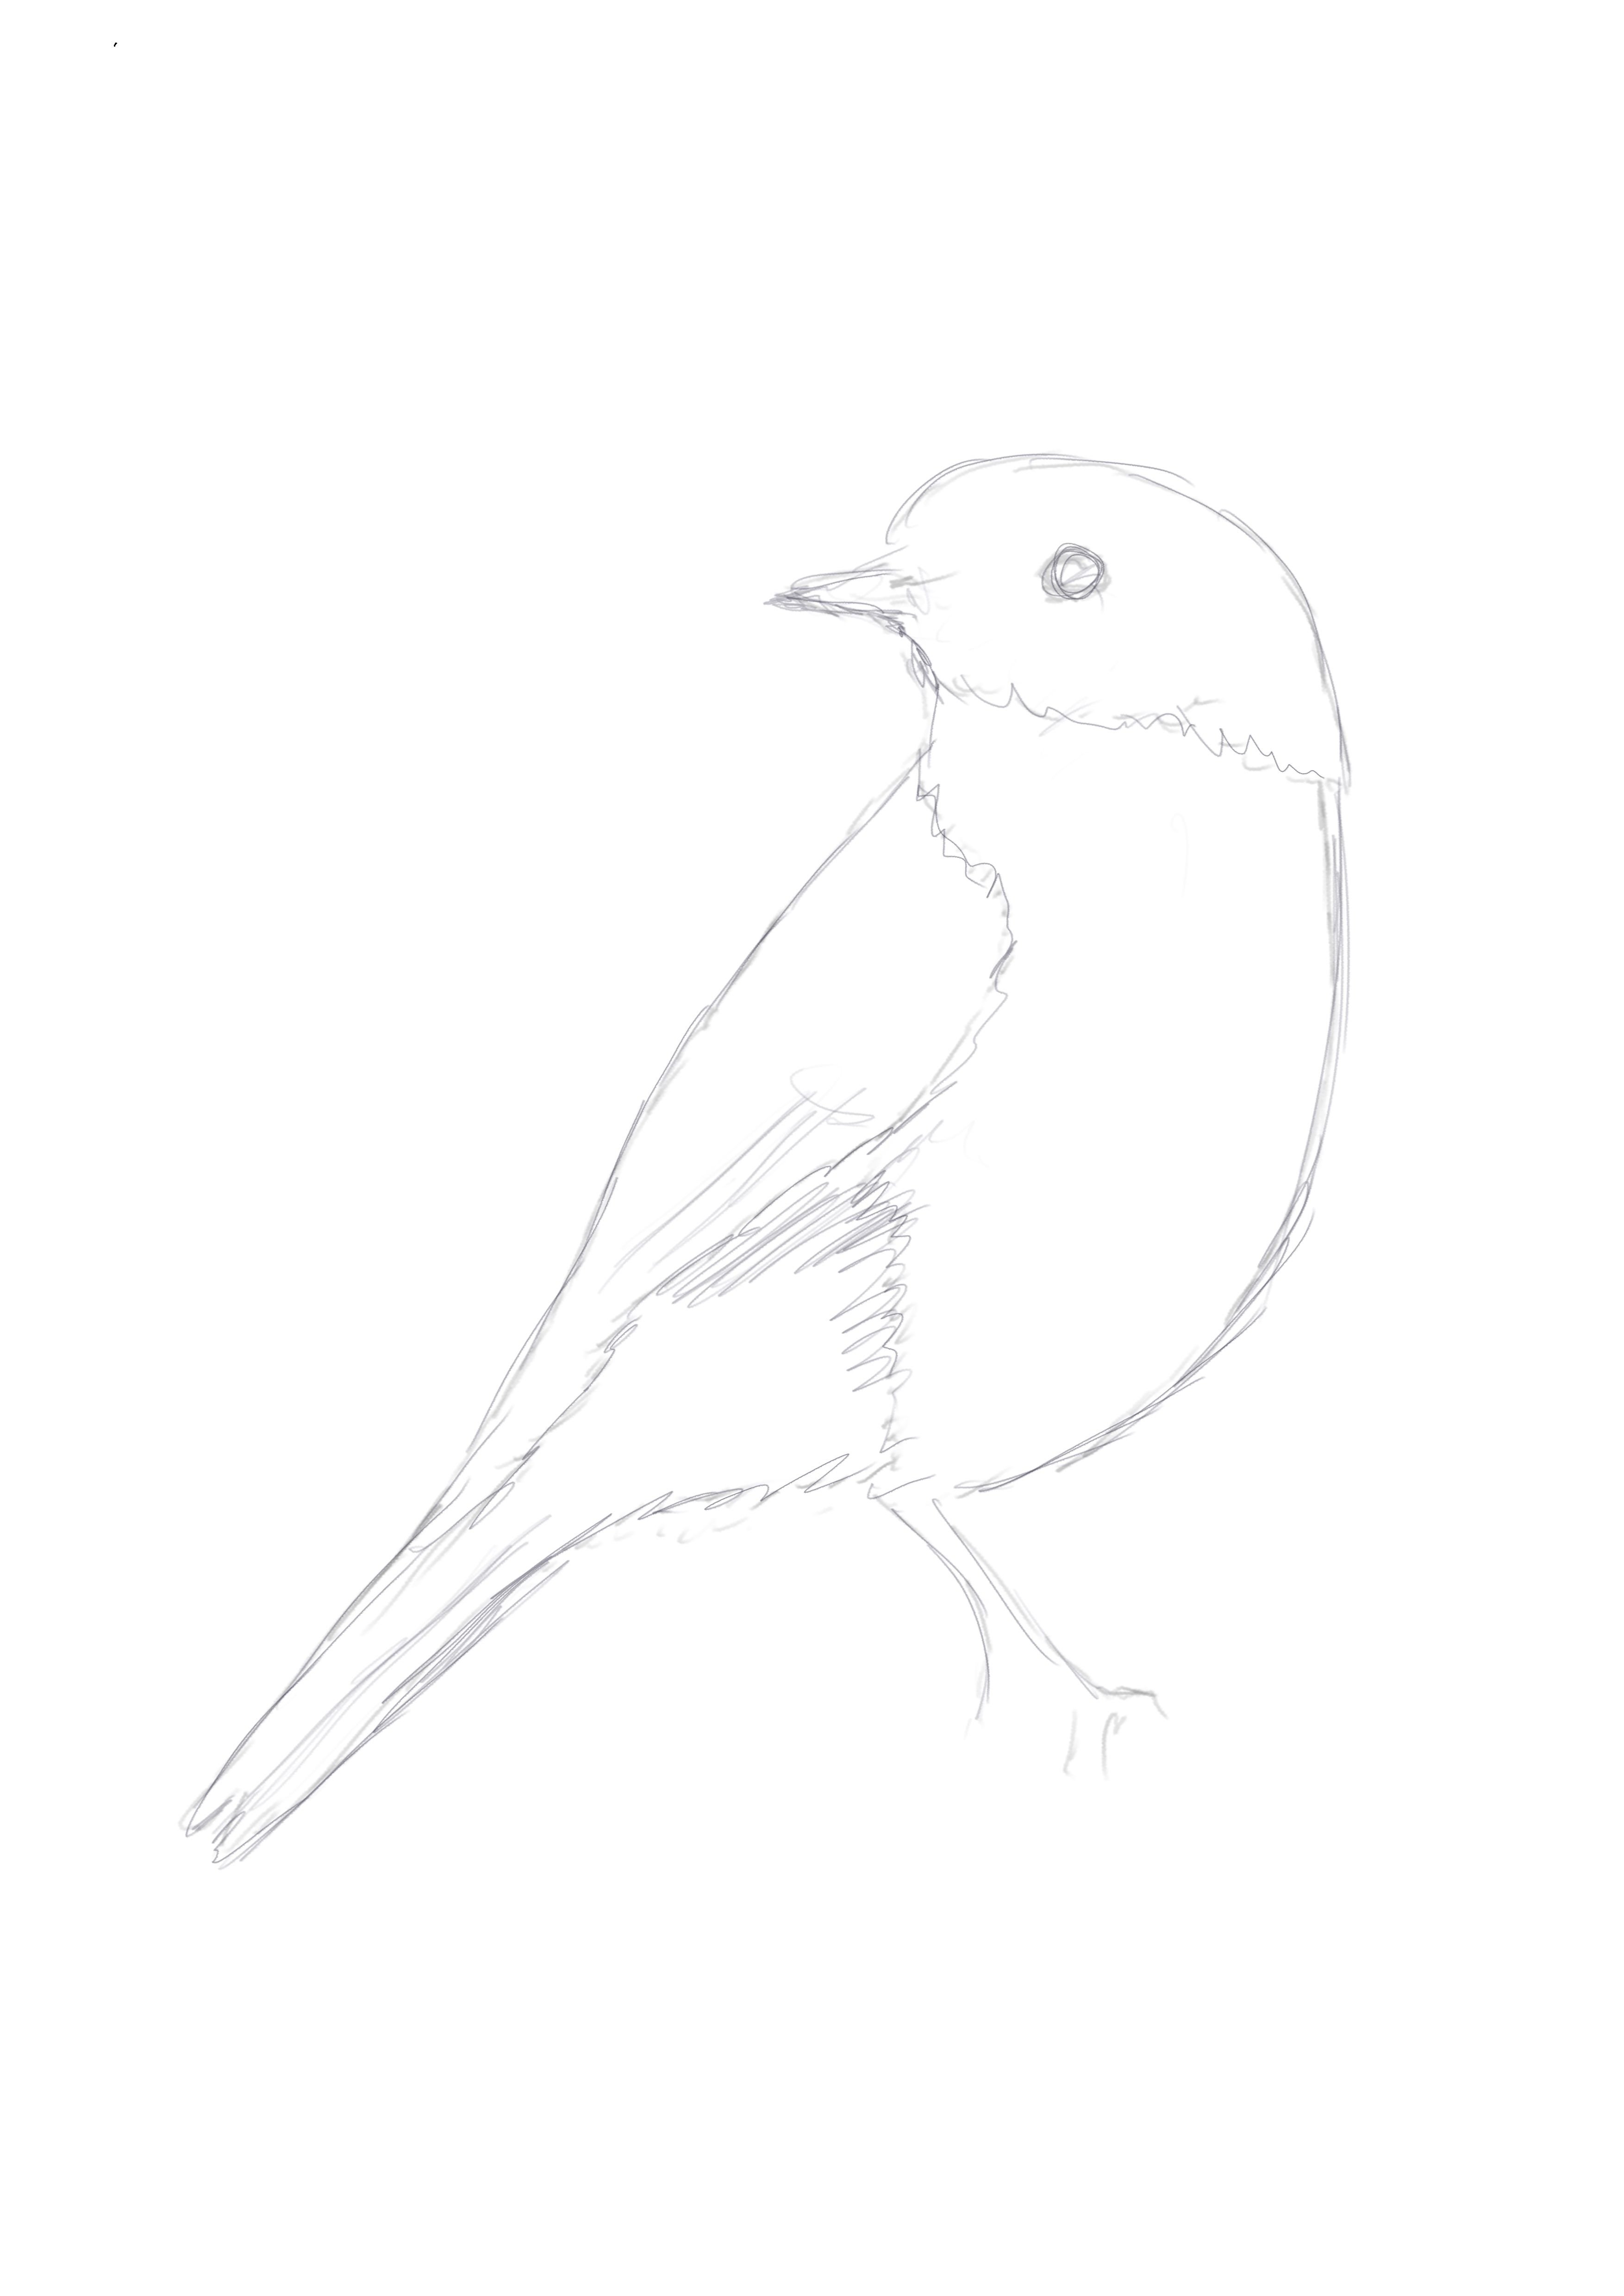
Where to begin? First I start off with a very basic sketch of the bird in question from a good quality reference photo. I don't want a lot of detail at this stage as this is just my starting point.
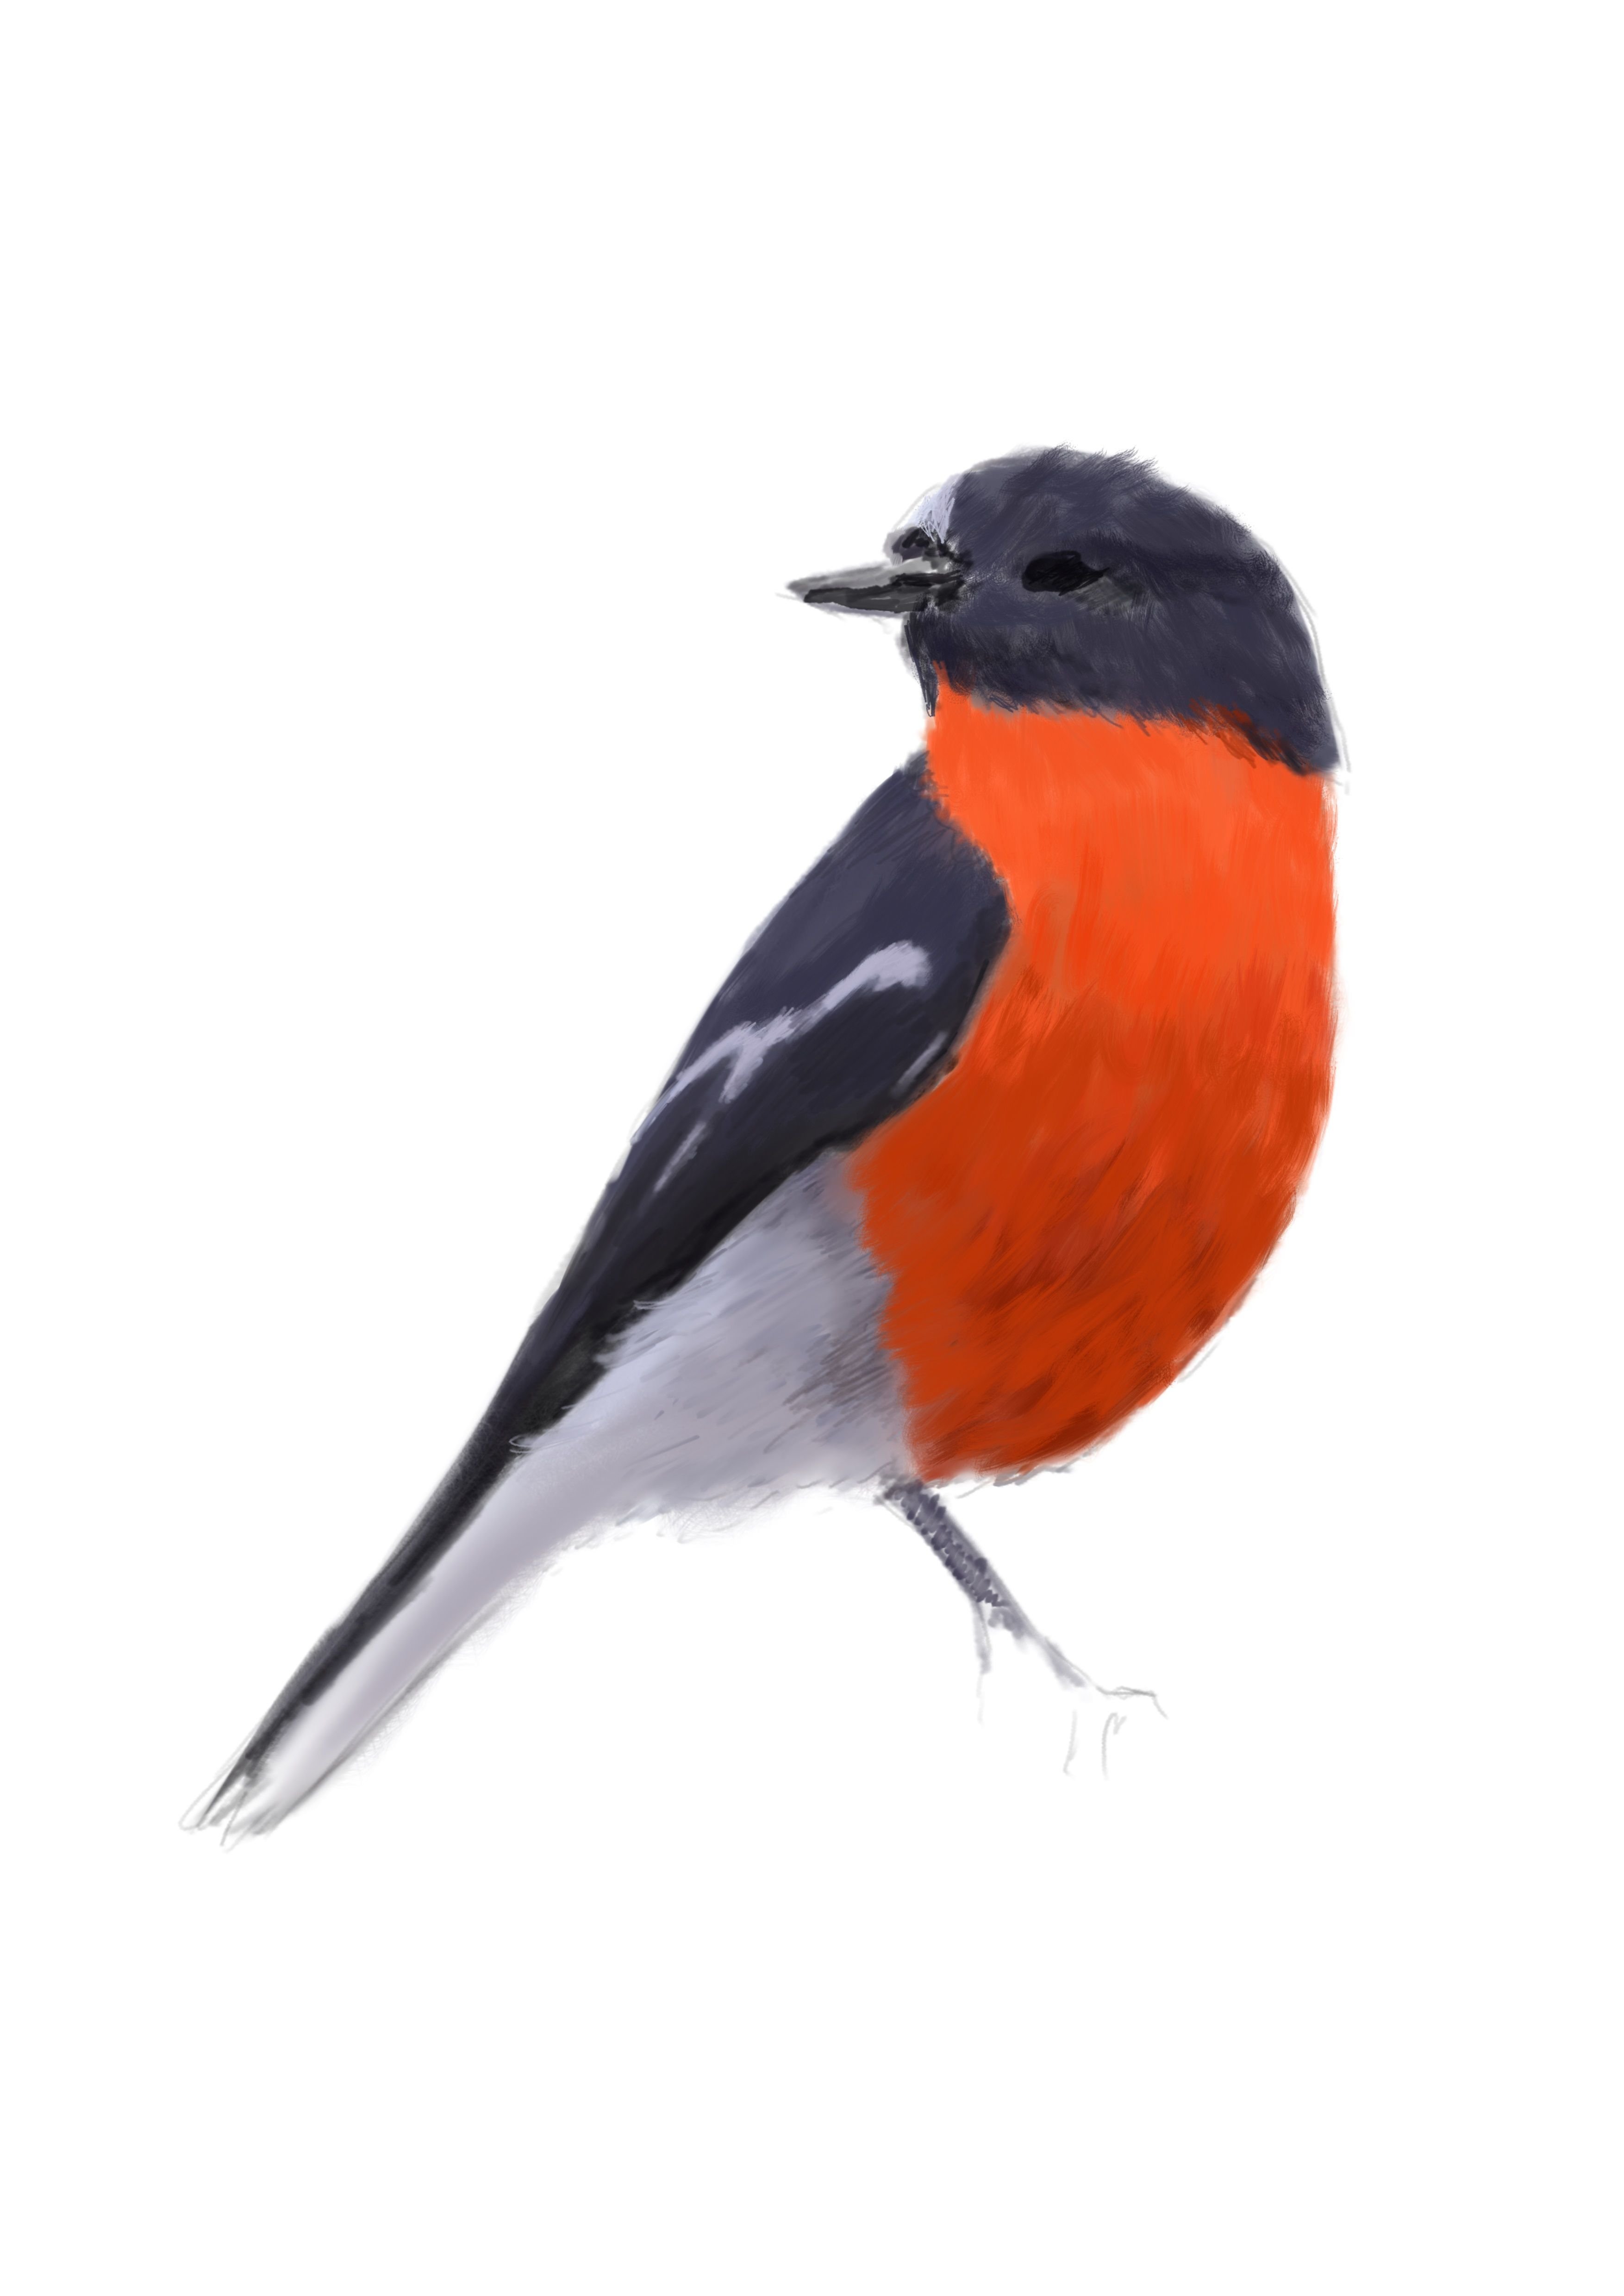
Next I start to paint in very basic colors. Once again I am only after a base to build upon. So long as my proportions are reasonably close to accurate I am happy. 😀
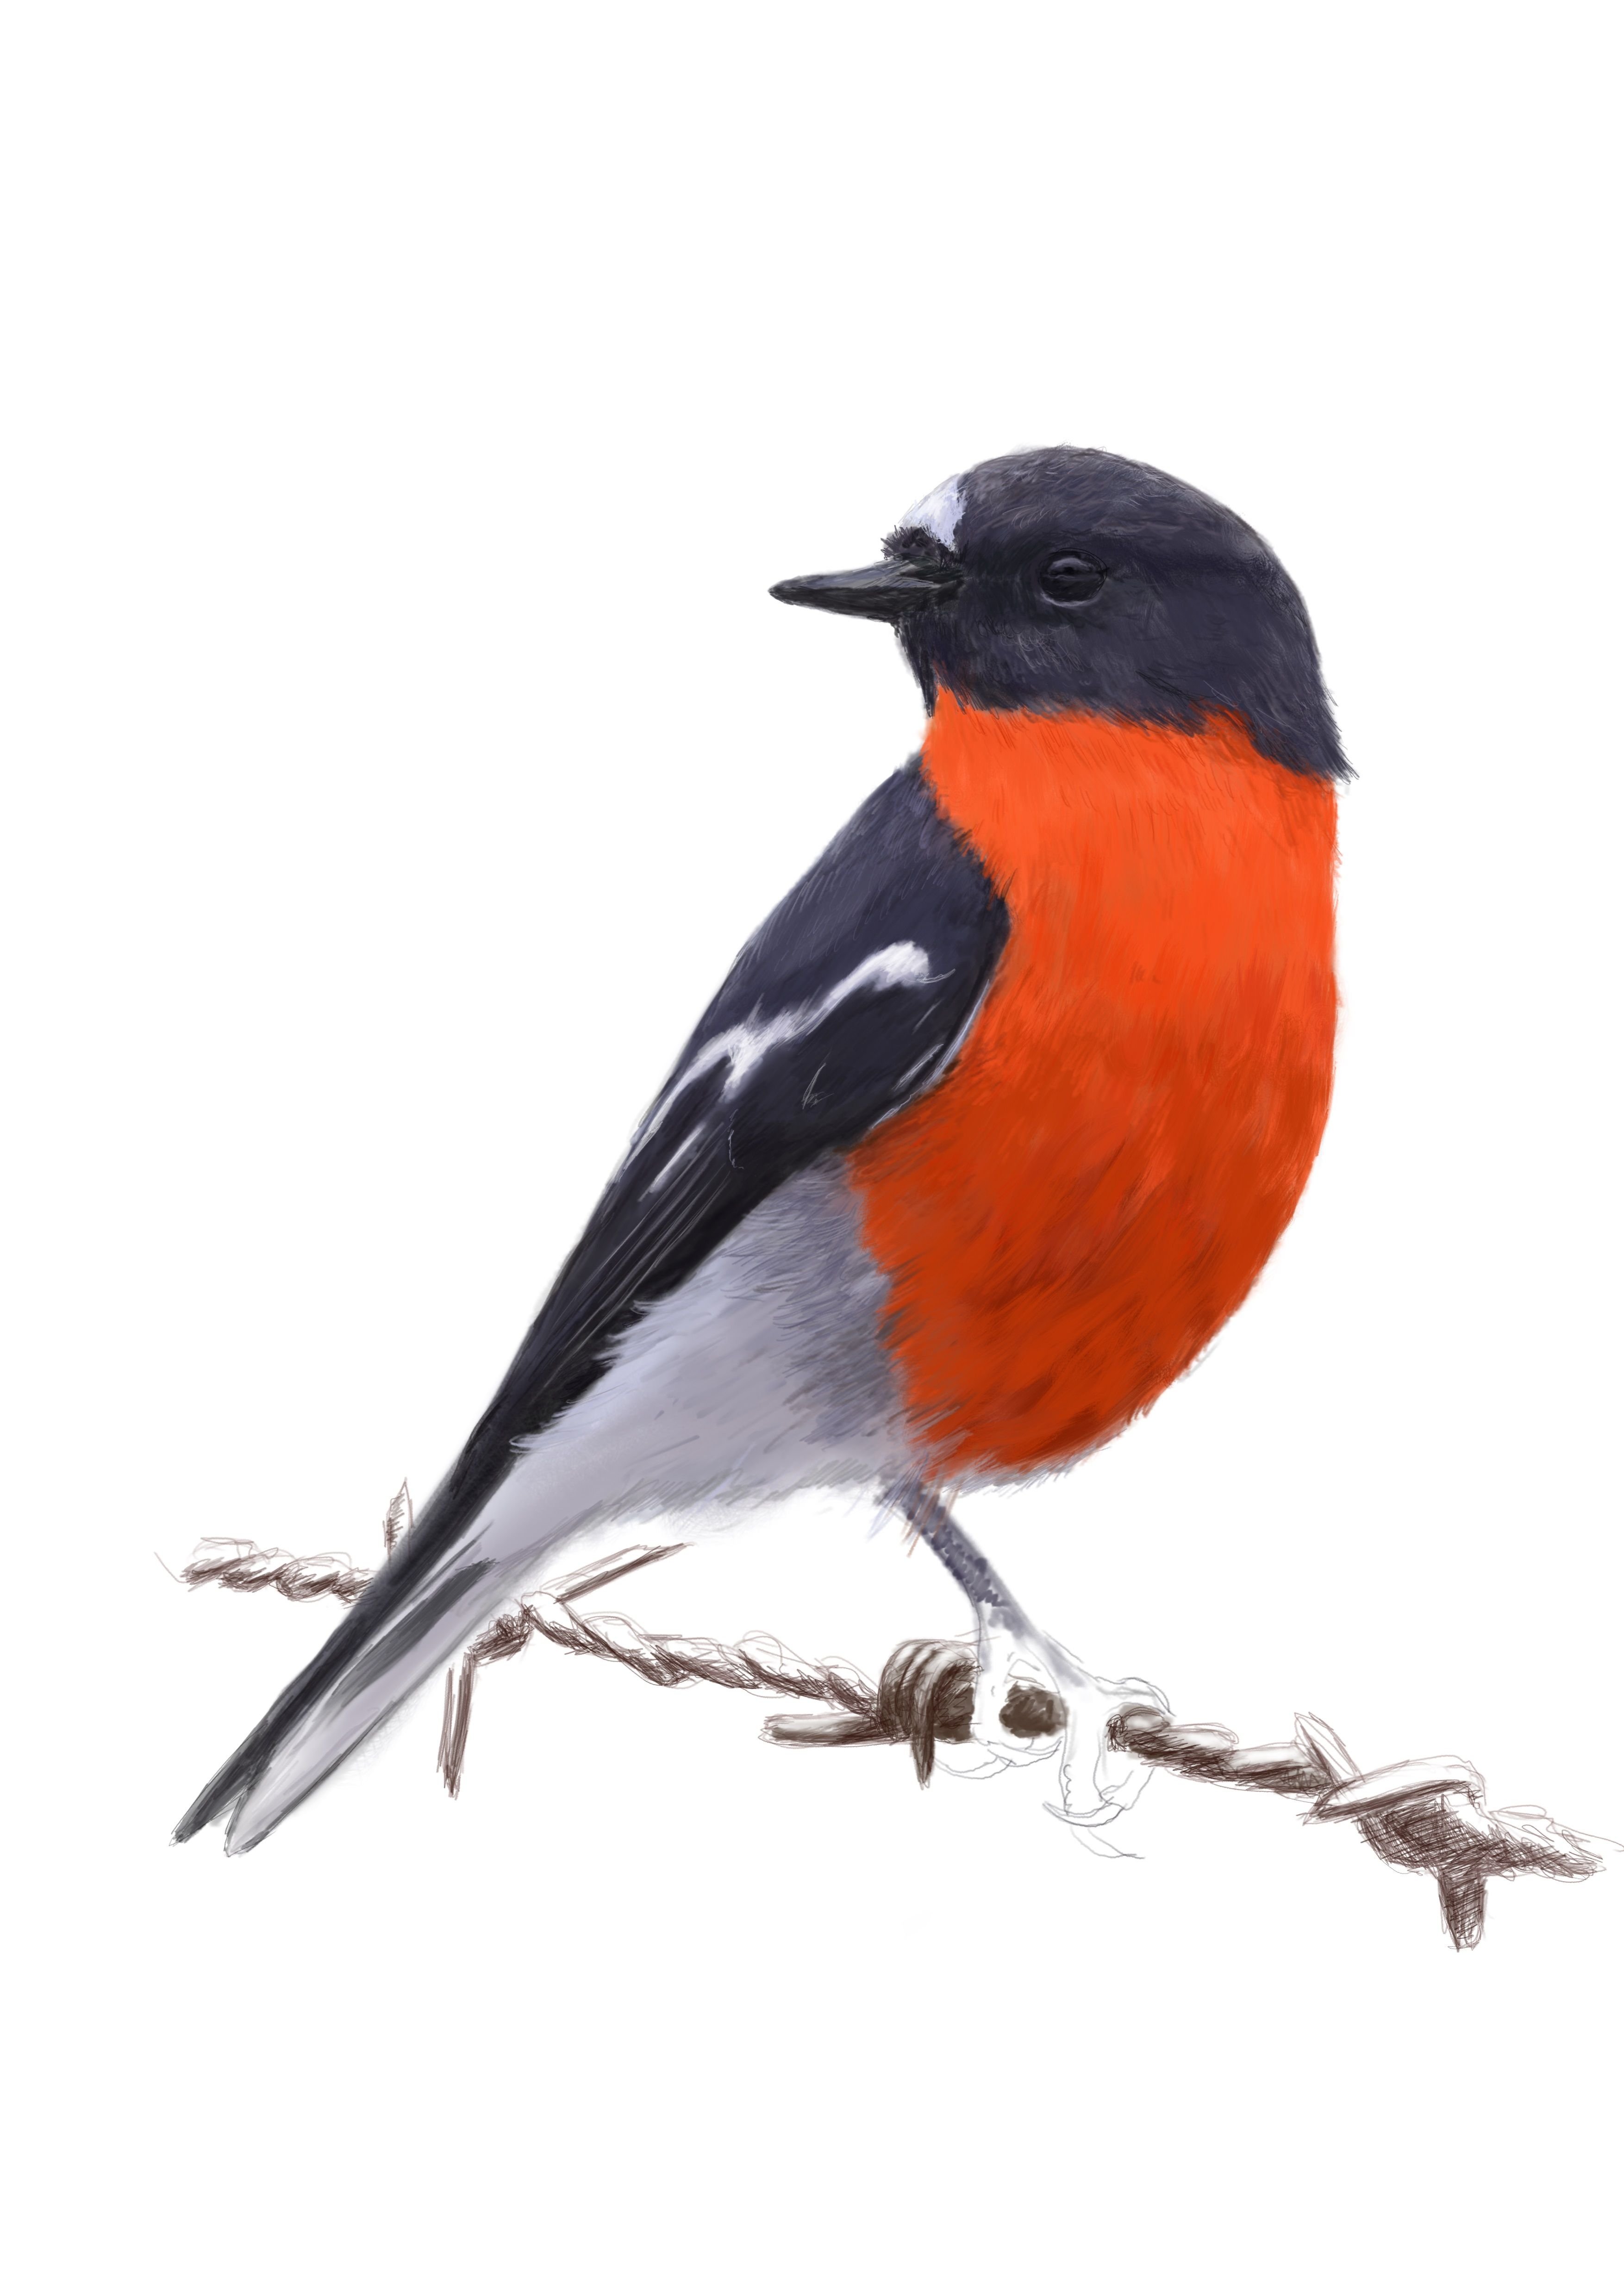
Now the fun part begins! Building upon the base I paint in more detail using finer brushes for the feathers. It is important to notice the different shape and direction of the birds feathers as that will help to give you a more life like look. example : The feathers on the head are very small and have different directions depending on their position on the head, whereas the belly feathers mostly point down on along the body and are larger.
I also detail the eye, beak and start to work on the feet and the fence wire the bird is perched on.
Now the final touches. I finish the feet and the wire, I also decided to add a very simple background just to make the image pop a little. I keep it blurry so that it doesn't distract from the main feature, but I use green and yellow to give the impression of sunlight and green plants. One great feature of working with sketchbook pro is the advantage to work on different layers within an image. example : I can work on my subject and add a background later or subtract it if I desire.
Thanks for looking. If you have any questions please feel dree to ask.
BIG thank you to @mirrors for the feedback on previous posts.