If you missed part 1 where I posted a photo gallery of my Mad Max line of leather goods, click on the link and take a look. And please give it an upvote and a resteem if you like what I am doing. https://mspsteem.com/art/@armadilloman/leather-is-my-art-medium-the-great-wallets-phone-cases-and-hats-of-the-apocalypse-part-1
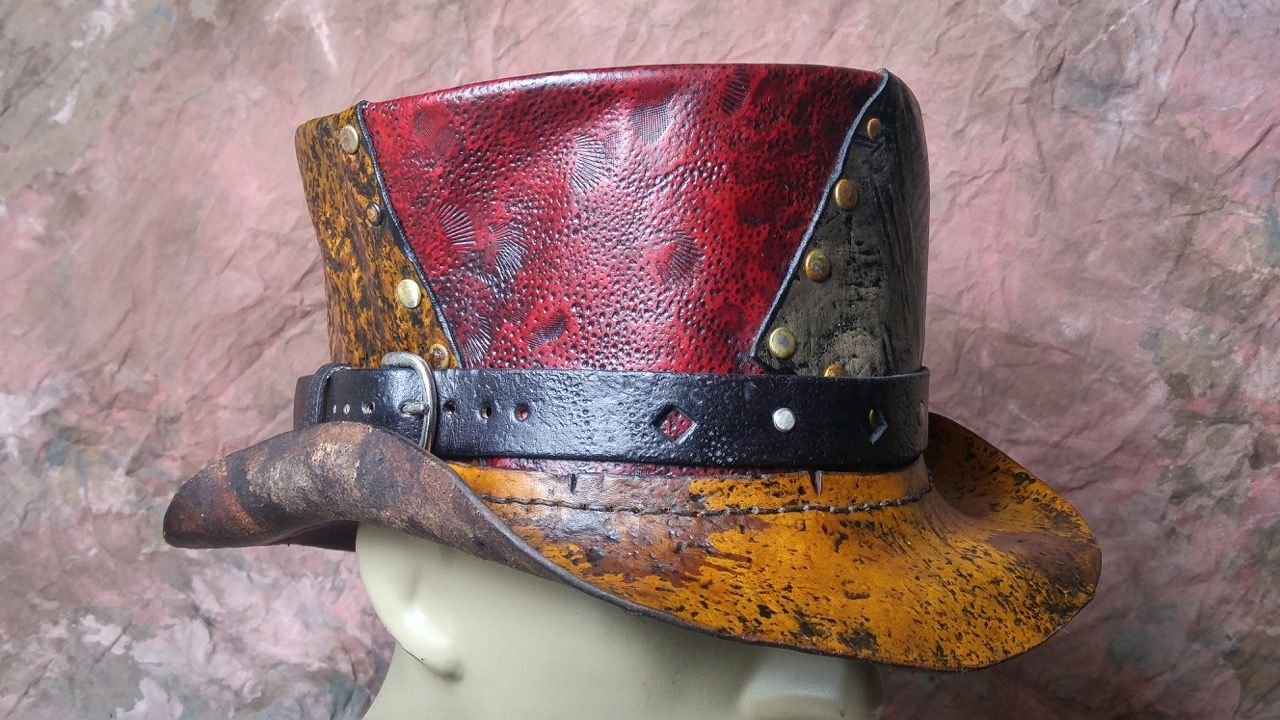
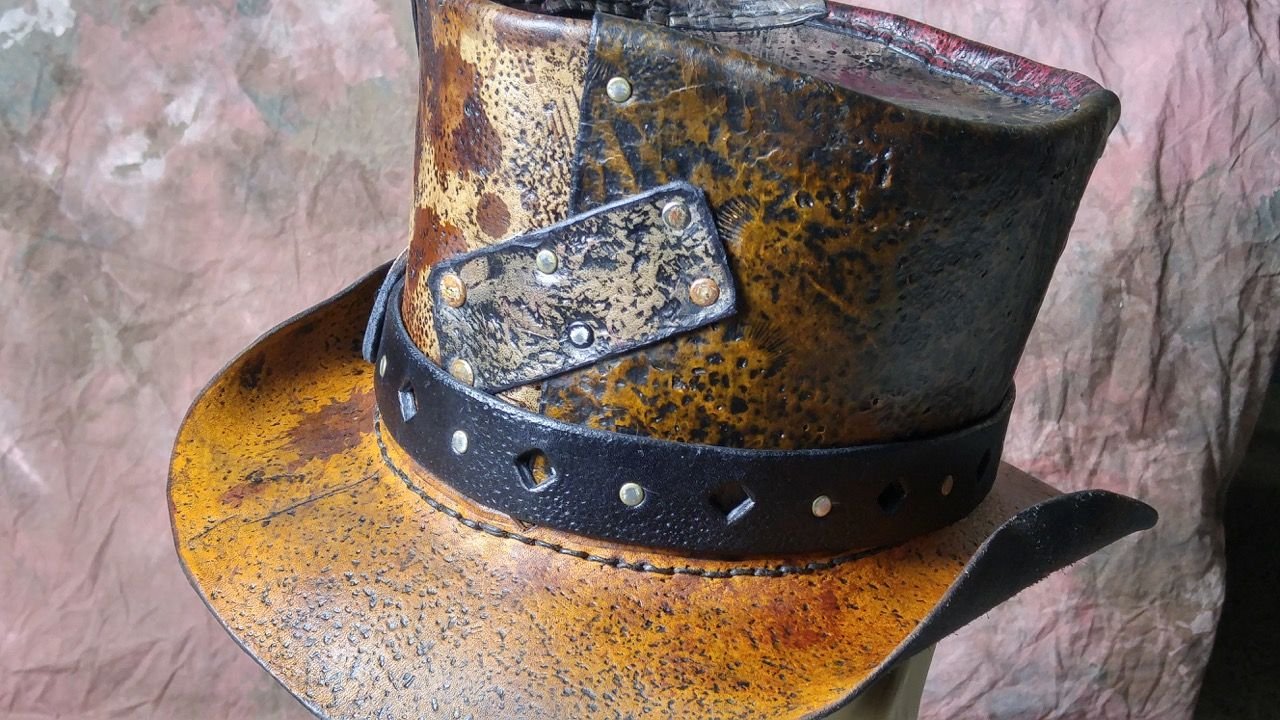
The Mad Max accessories are made from leather that I have hand textured, colored and distressed. The fantasy idea behind them is that some craftsman of the apocalypse is making items out of strangely tanned and abused leather...new items made from leather from who knows what kind of beast that has been through something awful and the results are gruesome and beautiful at the same glance.
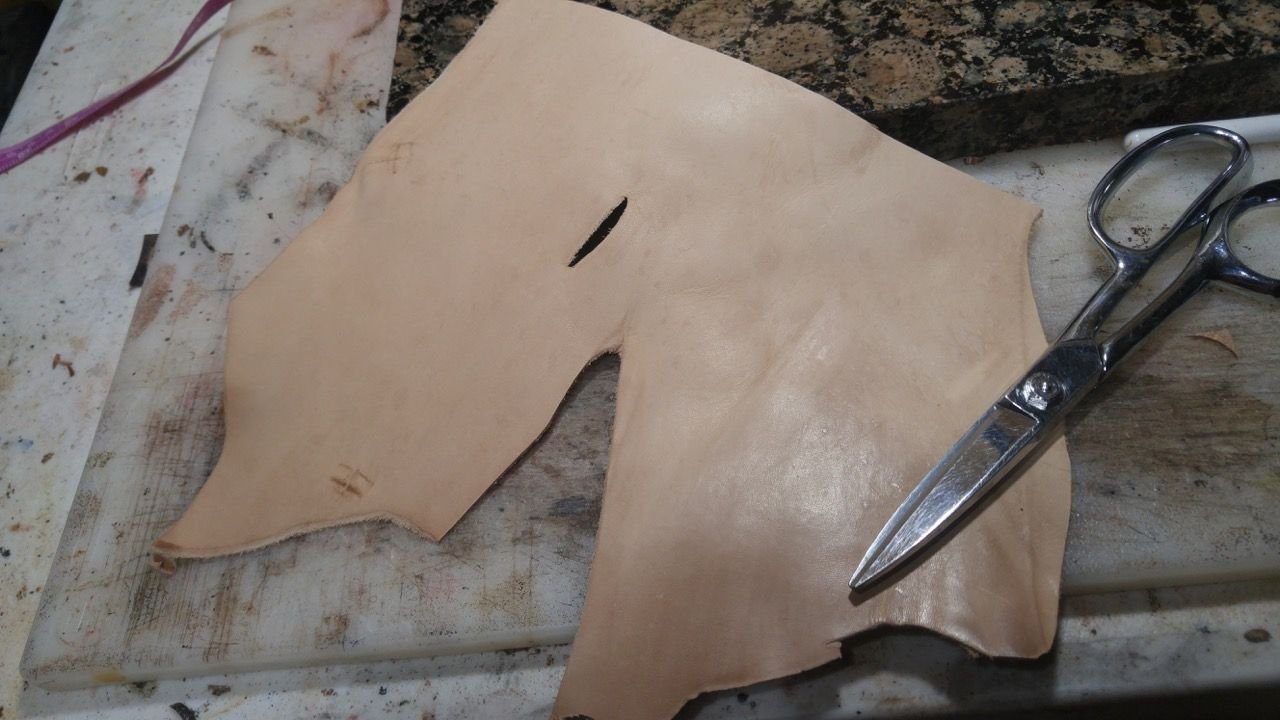
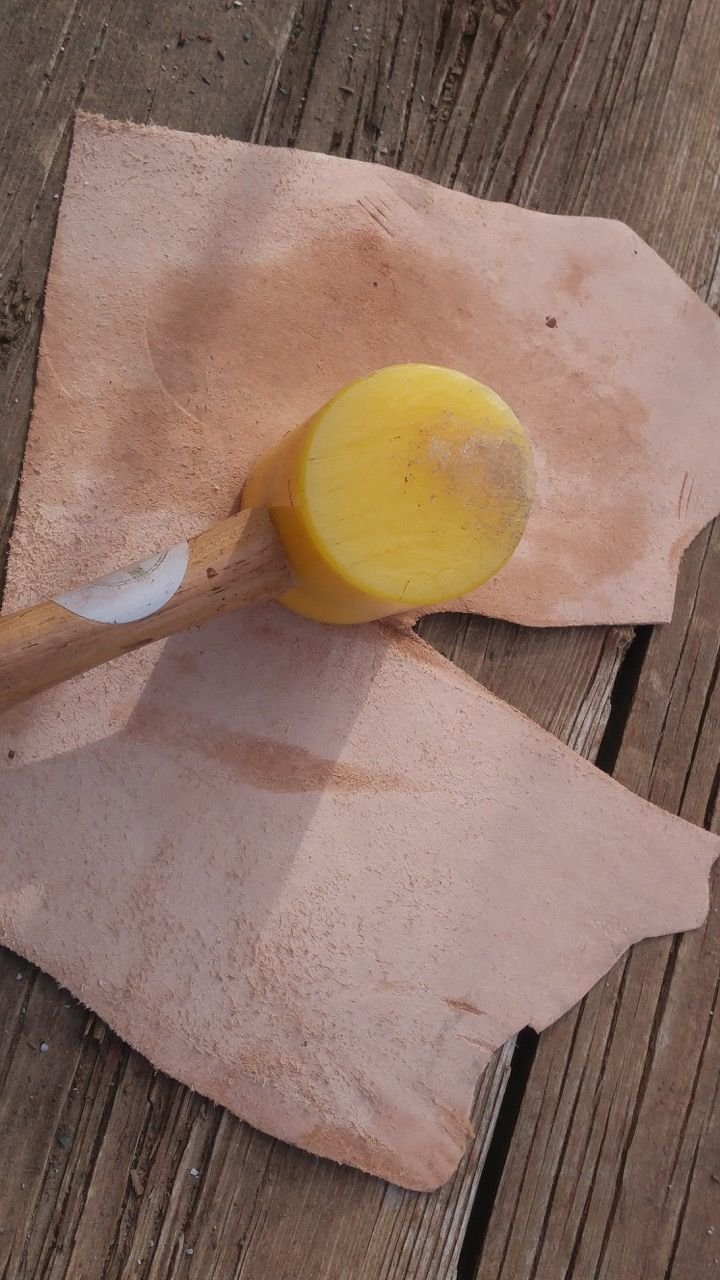
Step 1 : The whole process begins with the leather.
Just a plain piece of 3-4 oz Vegetable Tanned Cowhide. Not particularly a good piece. A piece cut from around the belly leg area. A piece that is a little stiff and not particularly nice in top grain.
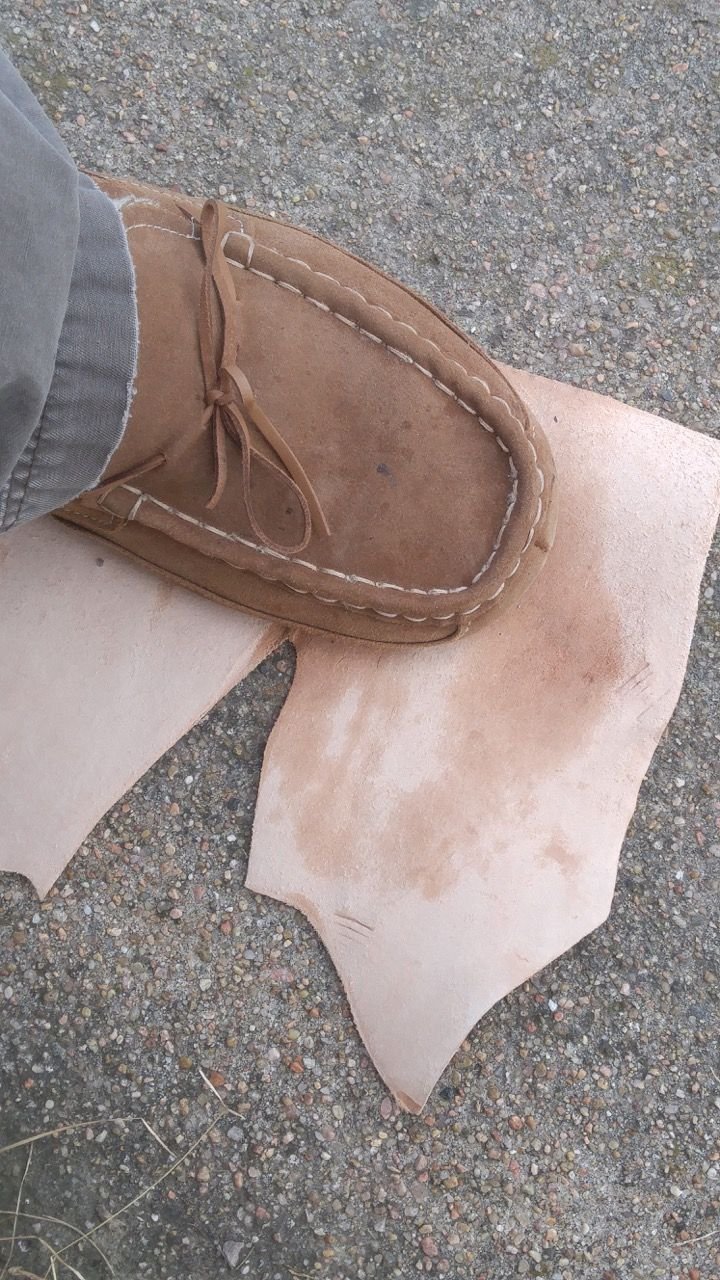
Step 2 : Abuse
Leather is an amazingly plastic medium. If it is given a vegetable (plant based) tanning, it can be dampened and tooled, embossed, and in this case stomped on, and it will retain the impressions made.
I have a lot of different textures I can apply, but in this case I am going to start by jumping up and down on it on a rough sidewalk. The neighbors just roll their eyes when I am out stomping in the yard.
And I am going to beat on it on my badly weathered back deck to get some parallel lining through it.
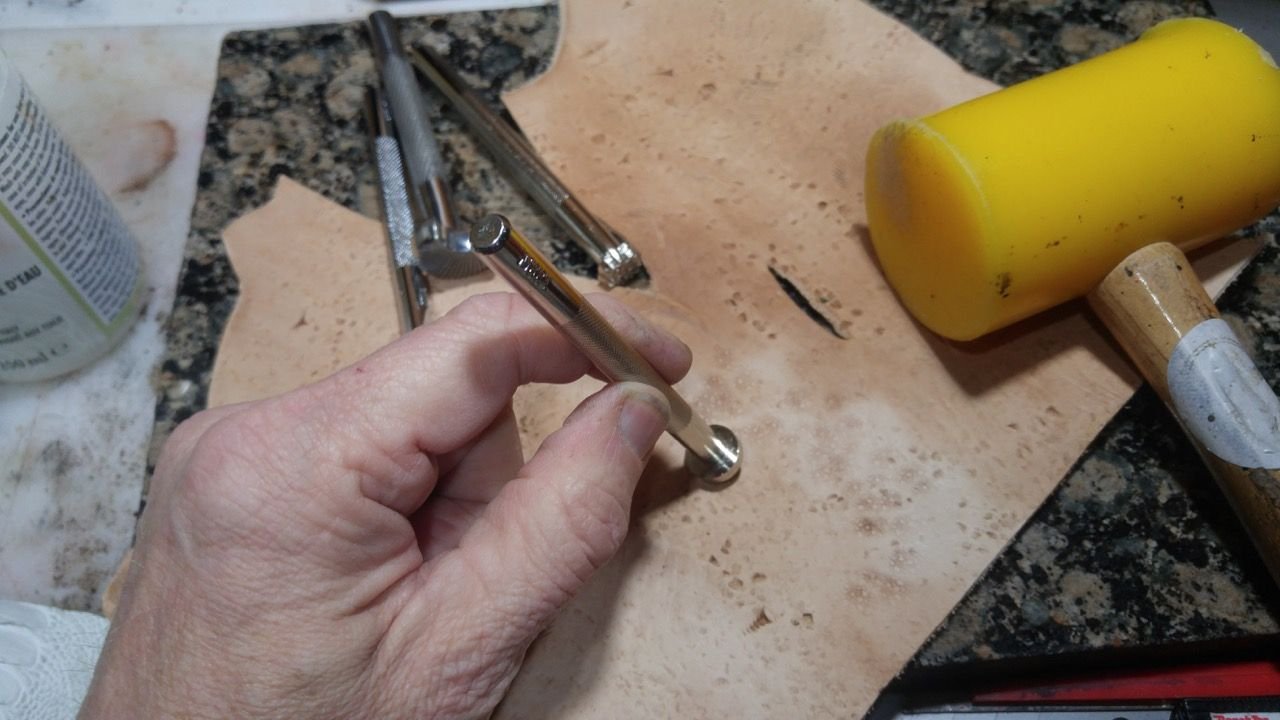
Back at my work bench I take several different texturing and stamping tools and fill in empty areas keeping in mind the look of the whole.
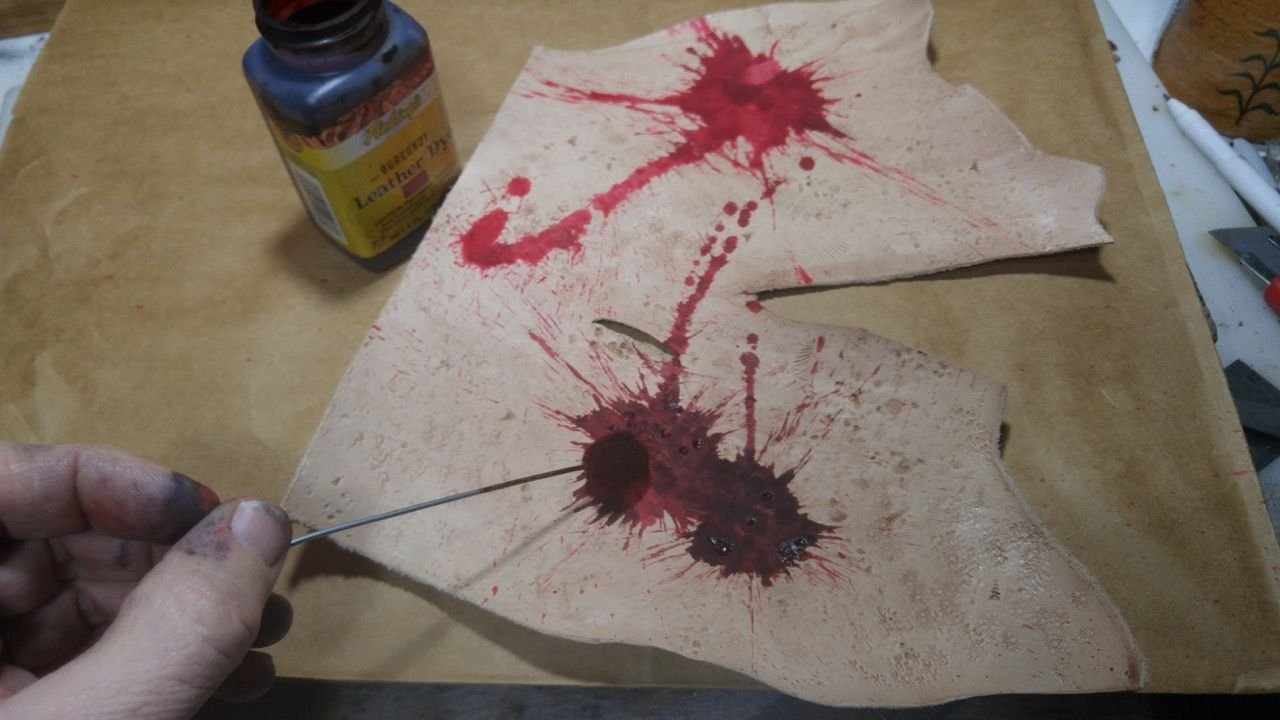
Step 3: Color
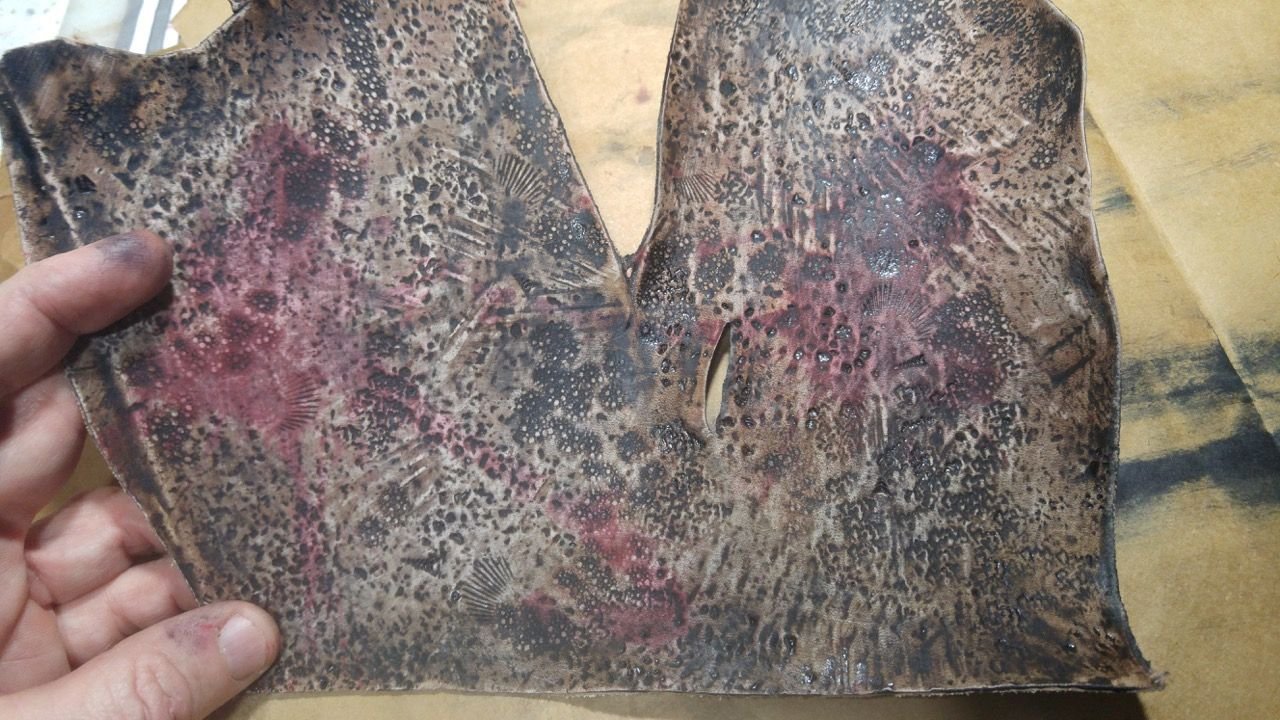
On this piece I am going to channel my inner expressionist painter and smack some red and crimson dye on the leather.
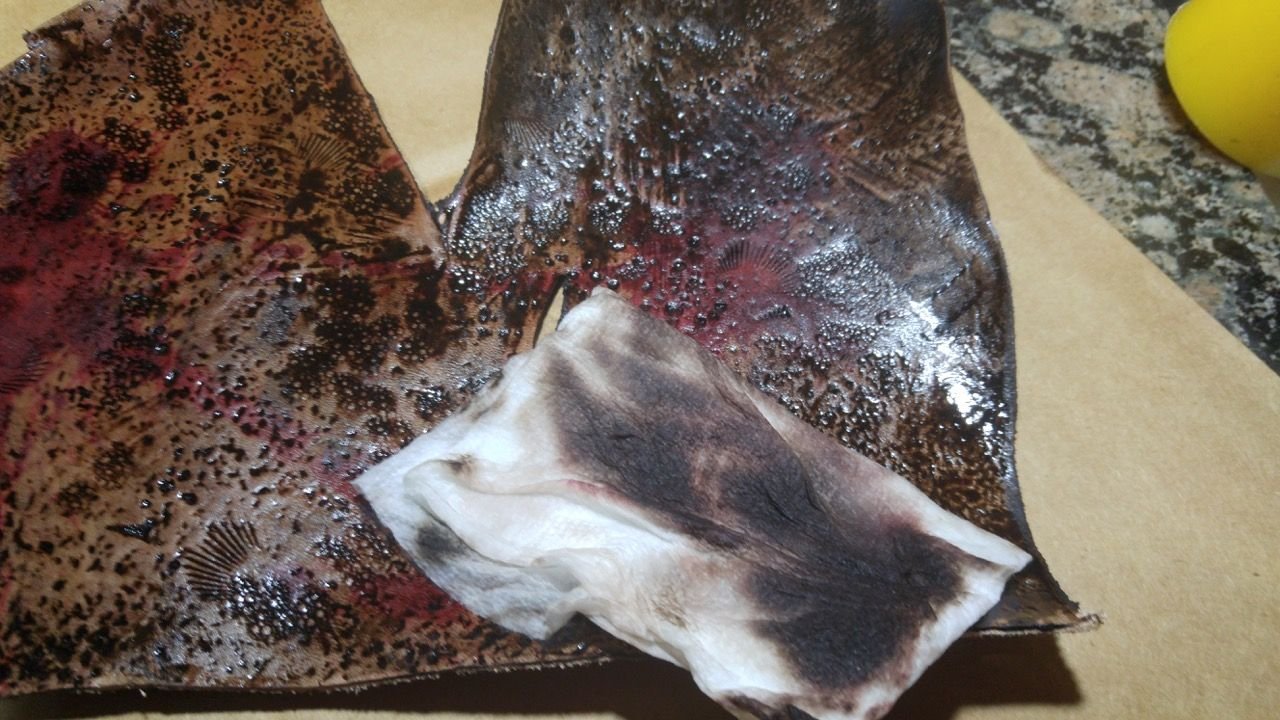
And next I cover it all with a medium brown "Highlight Stain" which will settle in all the texture I have made.
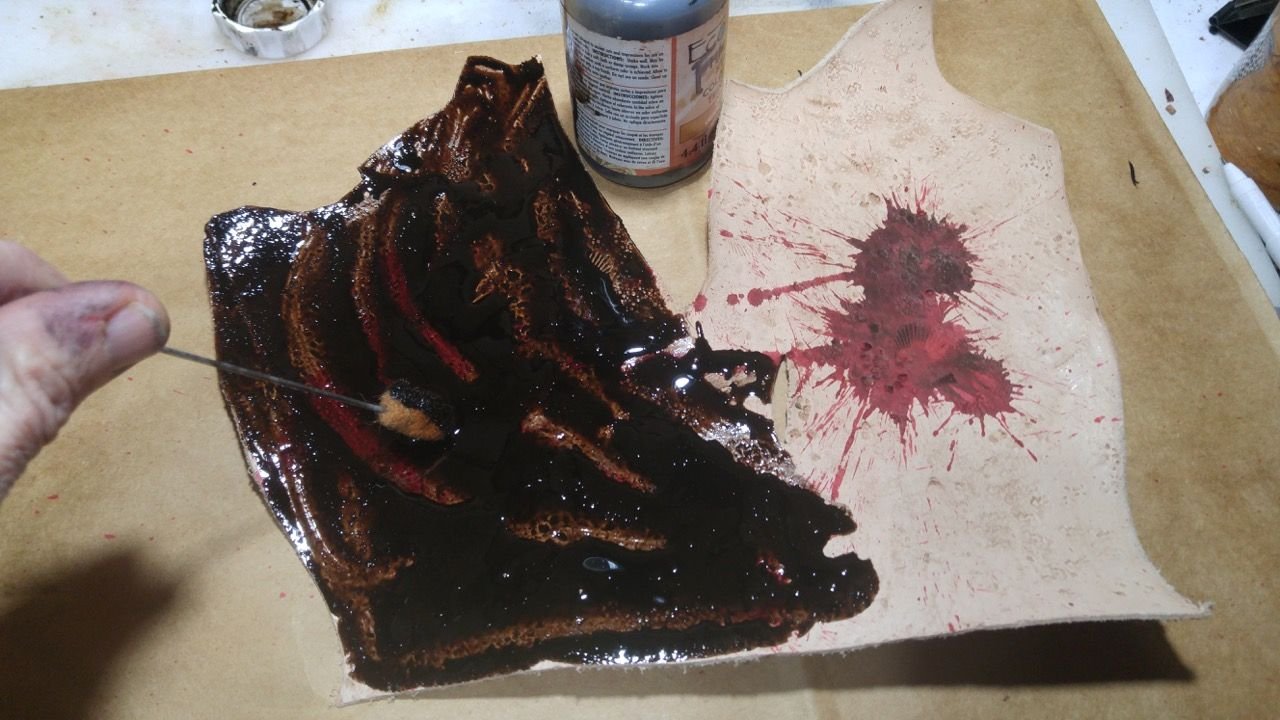
When the highlight stain is dry, I take a wet paper towel and start to rub some of the darkest color off of the tops of the bumps and ridges of the textured leather.
Step 4: Finish
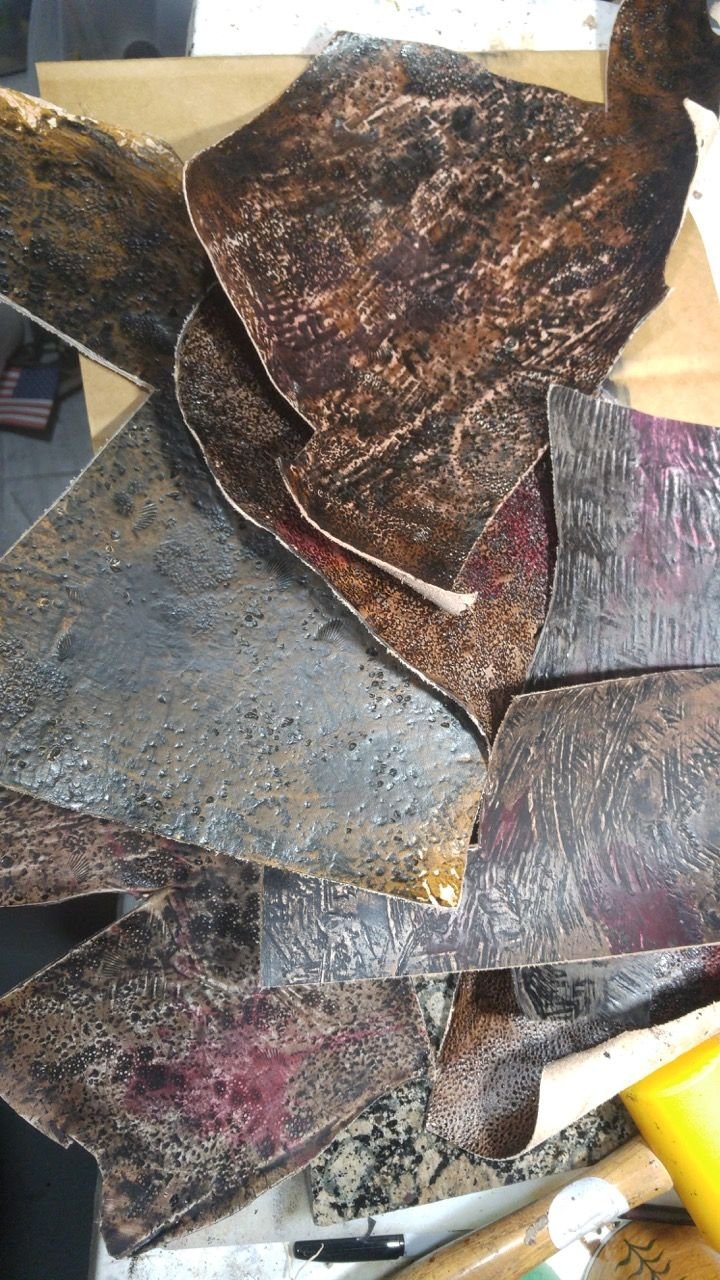
When all dry from the stain removal, I will put a matte acrylic finish on the leather and, in this case, take some sandpaper to the piece and give it some wear and make the highlights pop even more.
Half way to a finished product. Next I will have to cut out the pieces for whatever, wallet, hat, phone case, I am making. I usually spend most of a work day or two creating the textures and colors for an upcoming project.

Please let me know what you think of my unveiling the secrets behind these leather items.
Is anybody interested in seeing a part 3? How about I make a card wallet out of this leather and then give it away to some luck Steamian? Like, comment, and resteem to let me know what you think.
Oh and here is my introduction post from a couple days ago, in case you missed it (and everybody missed it). Stop by and say hi!
https://mspsteem.com/introduceyourself/@armadilloman/welcome-friends-to-the-show-that-never-ends-introducing-the-life-and-times-of-armadilloman