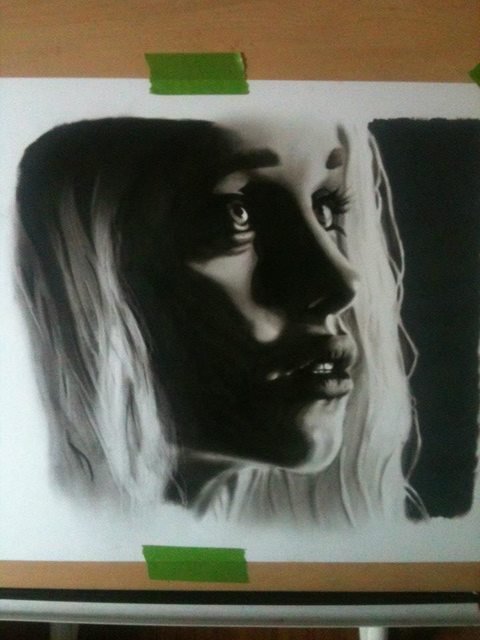
This is probably my favorite piece to date - I gave this one away to a friend but I'm thinking of doing it again just so I can have one :)
At the time I gave it away I wasn't even watching Game of Thrones, I actually thought the first season was pretty boring! But, I will admit that it is now one of my favorite tv shows ever!
The technique I use is called "Dry Brush"; it's called this because the brush is literally as "dry" as it can possibly be. You take just a little oil paint and put it onto your brush, then you brush over the same area on the paper building up the value. As soon as I get my "Learn art with me" video series going this technique will be on of the main things I focus on! It has a lot of advantages in terms of "speed", in that you can cover so much in such a small amount of time compared to using a graphite pencil/charcoal. The other great thing about it is that you get a much deeper black *and* there is no glare like graphite gives off.
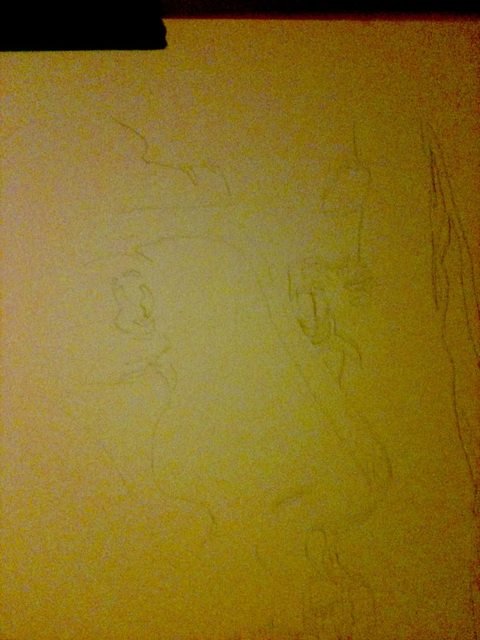
Also, Sorry that the photo quality is so bad...it was a really bad phone and it was all I had at the time for pictures.
I'll be posting more in depth wip's and tutorials in the future so be sure to follow if that is something you'd be interested in :)
The end before we go to the beginning:
The first thing you need to do is the contour drawing, if your proportions are incorrect on the contour drawing then most likely the finished piece will be off too.
Personally I like to start on the eyes and move outward, but I know others like to go top left corner down to bottom right; it really doesn't matter but whatever you prefer.
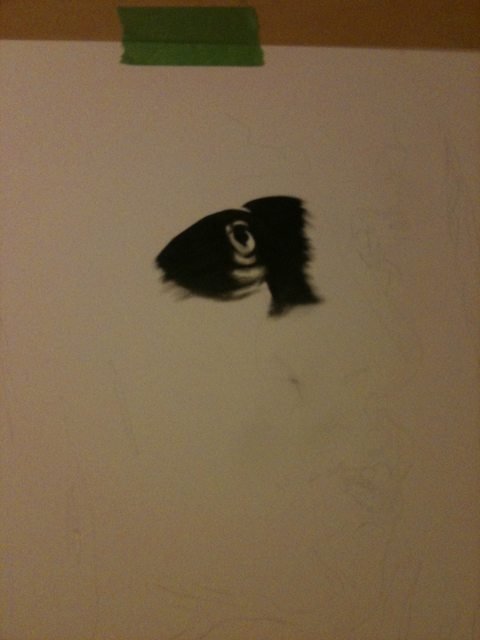
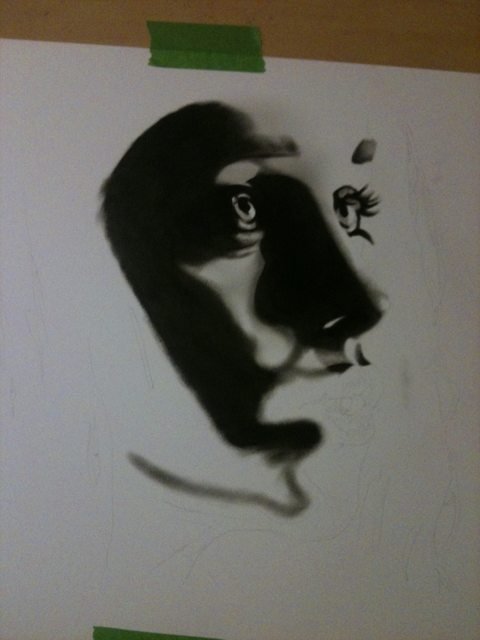
Try to pick out the darkest shadows and fill those in(this entire piece is almost all one dark shadow...)
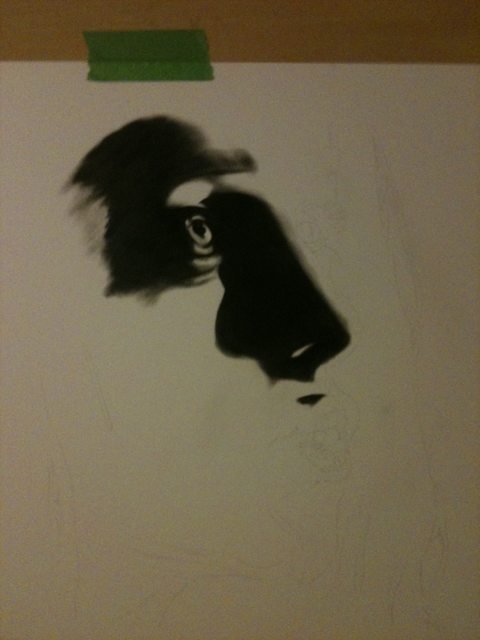
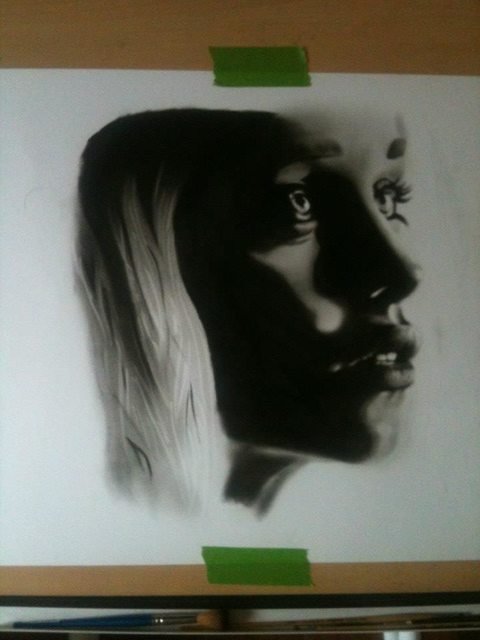
I continue to outline some of the darker spots
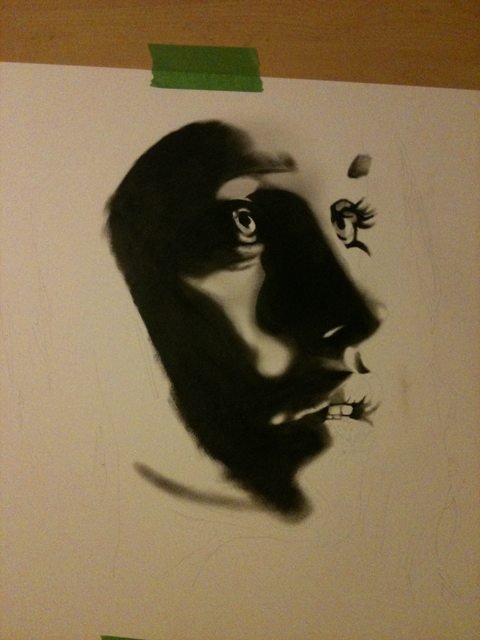
I've mostly finished the face and begin to work on the hair
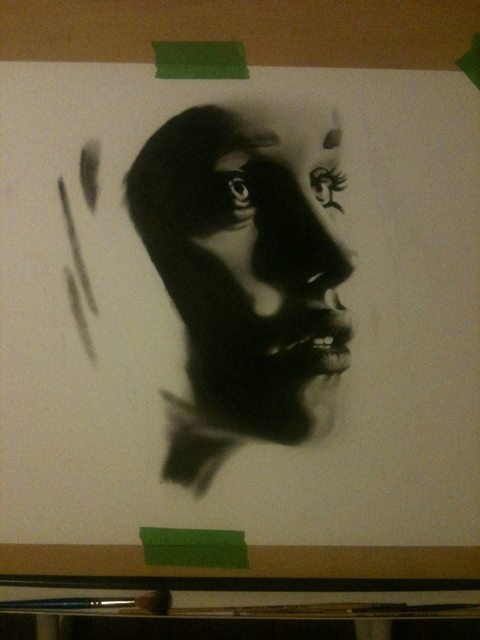
Hair is usually the number one thing I hear people struggle with (as do I still at times), but the main thing to keep in mind is that it is all about values (shadows and highlights), so find the darkest spots and fill those in, then work your way toward the highlights. I'll go into more detail on a future tutorial, with better pictures.
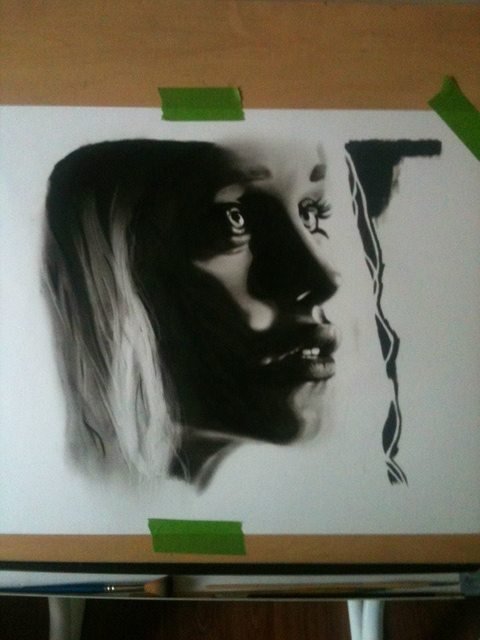
Continued working on the hair
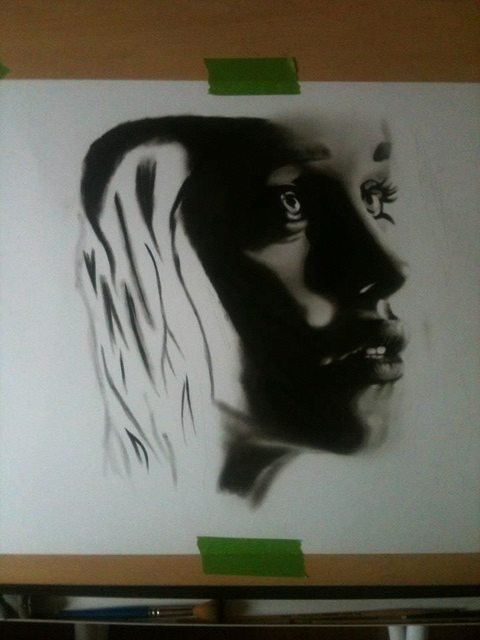
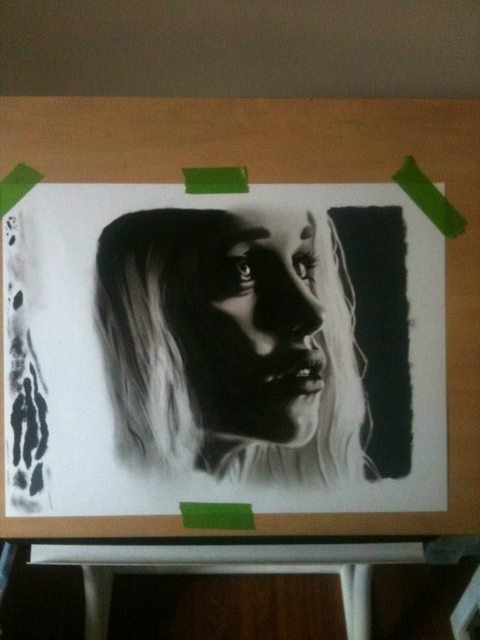
Other side of the hair
Finished! As I said, I'll have more in depth tutorials and better pictures in the future.
Thanks for checking this out!
At some point I need to come up with a good "signature" for my posts....but today is not that day.