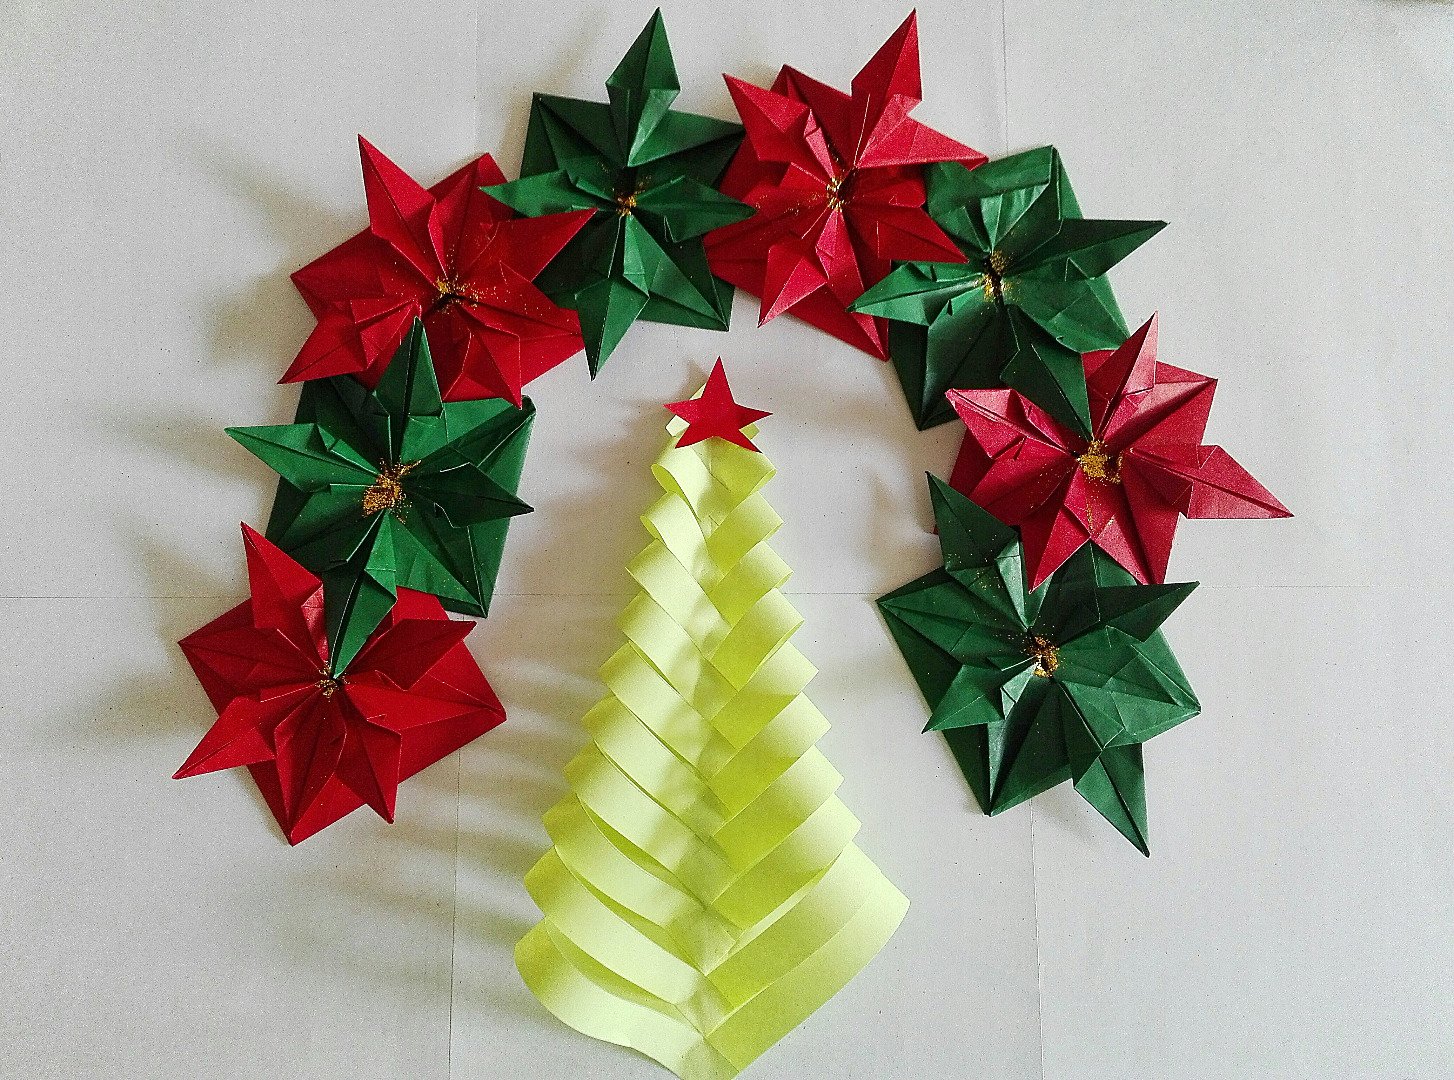
Christmas is just around the corner. I am starting to make a Christmas decor in our house, and i want to share it with you guys, and feel the smell of Christmas! I hope you like it!
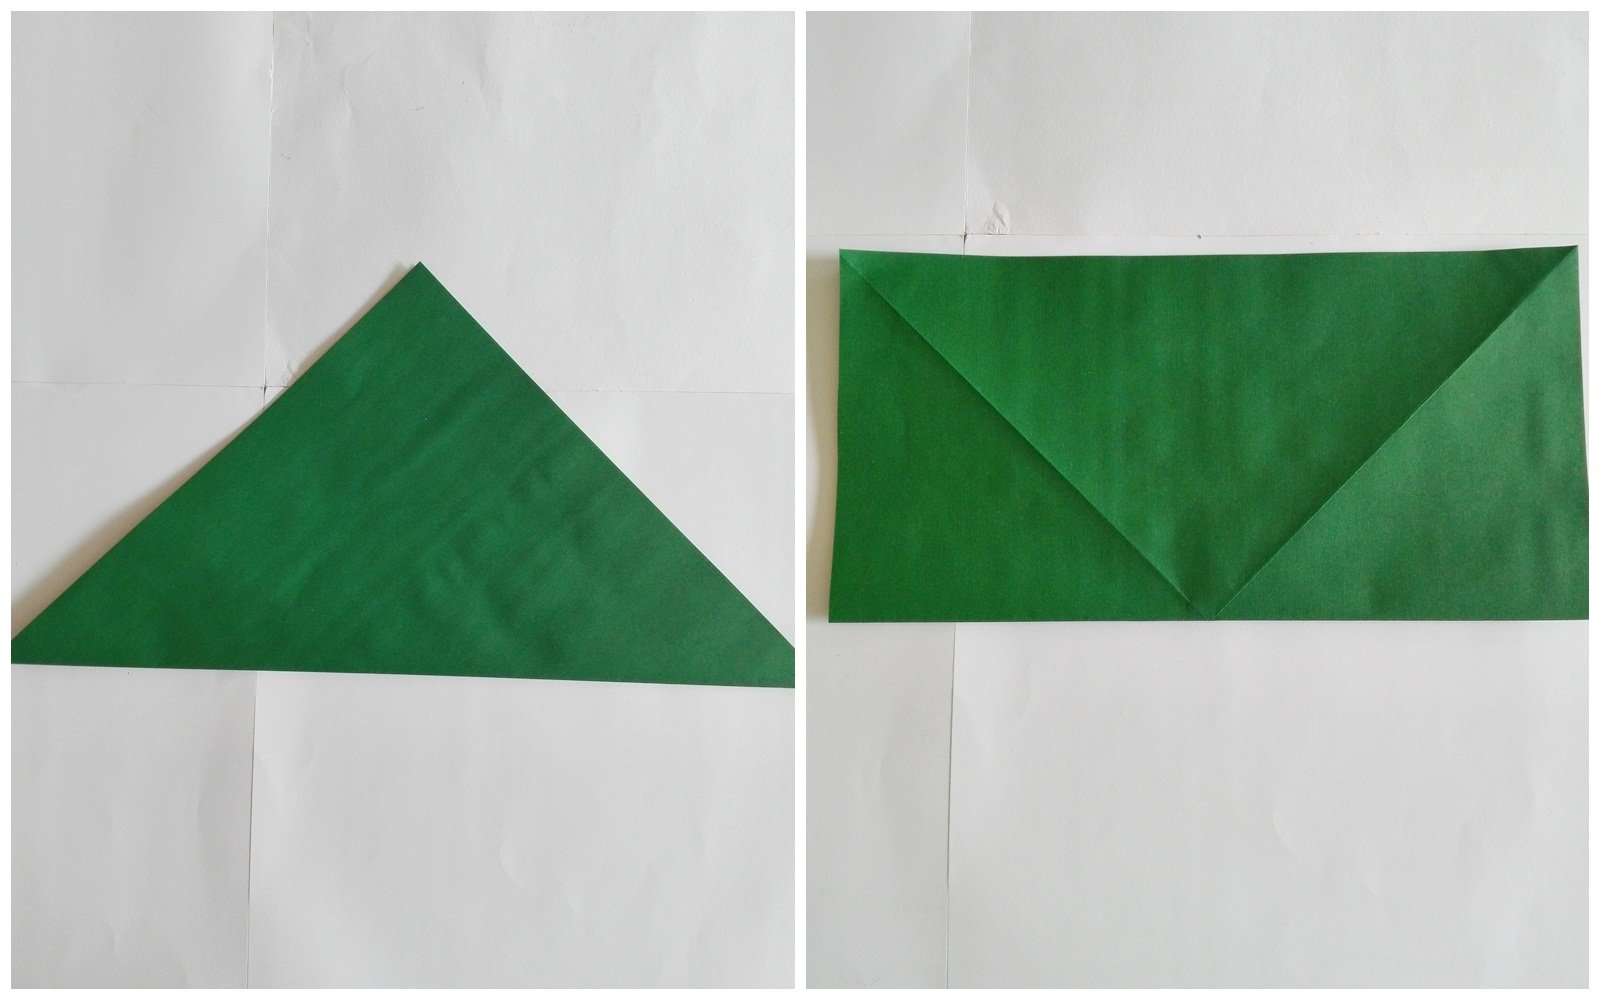
Fold and unfold the paper in hald diagonally in both directions, fold and unfold square in half both vertically and horizontally.
Now, Fold 2 opposite sides of square in half to meet each other.
Unfold, rotate and repeat on the other side.
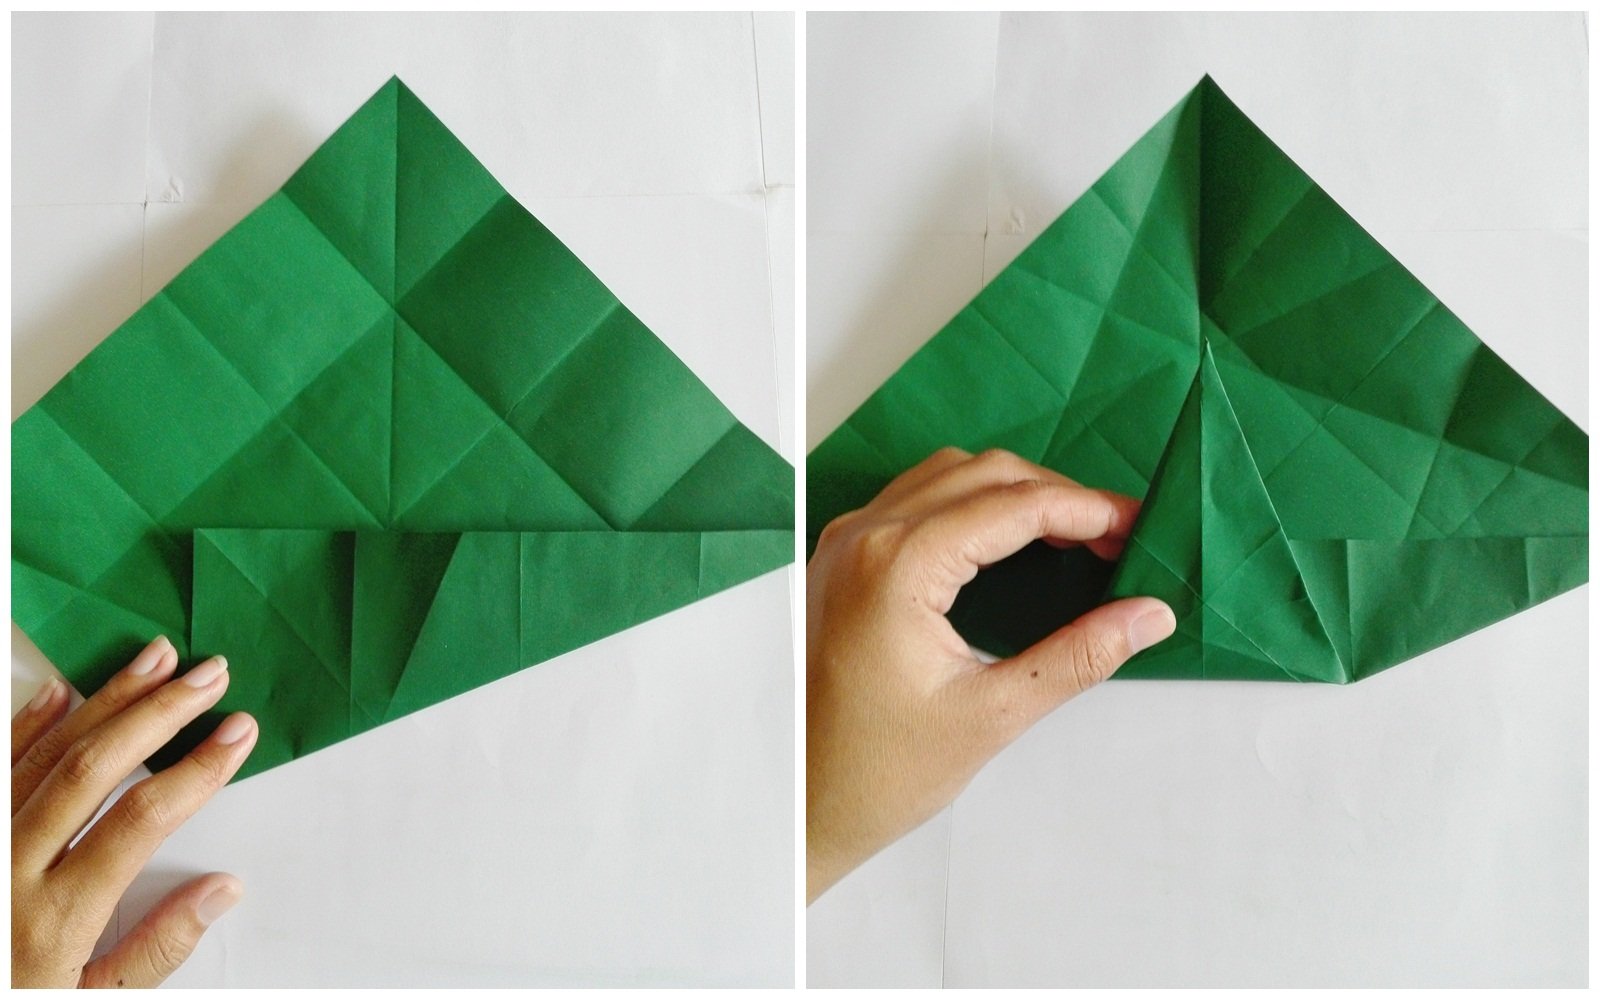
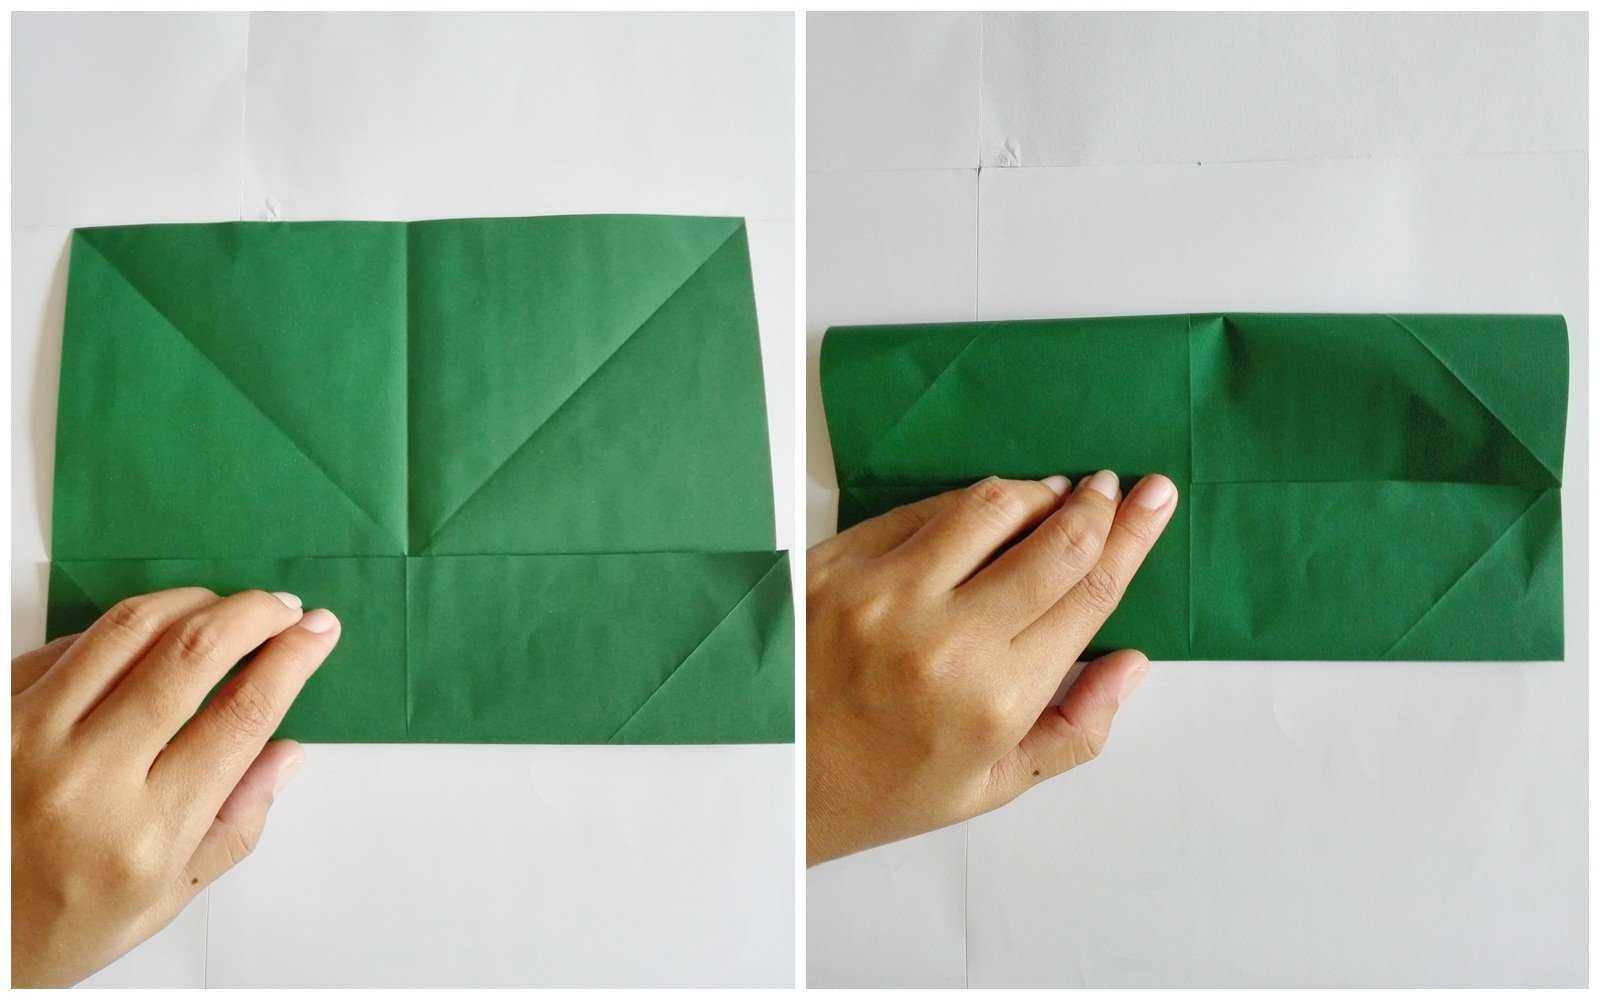
Fold the lower left sloping edge upward to lie along horizontal
center line, unfold and repeat it on the other sides. Simultaneously refold lower
sloping edges and flatten like the picture above.
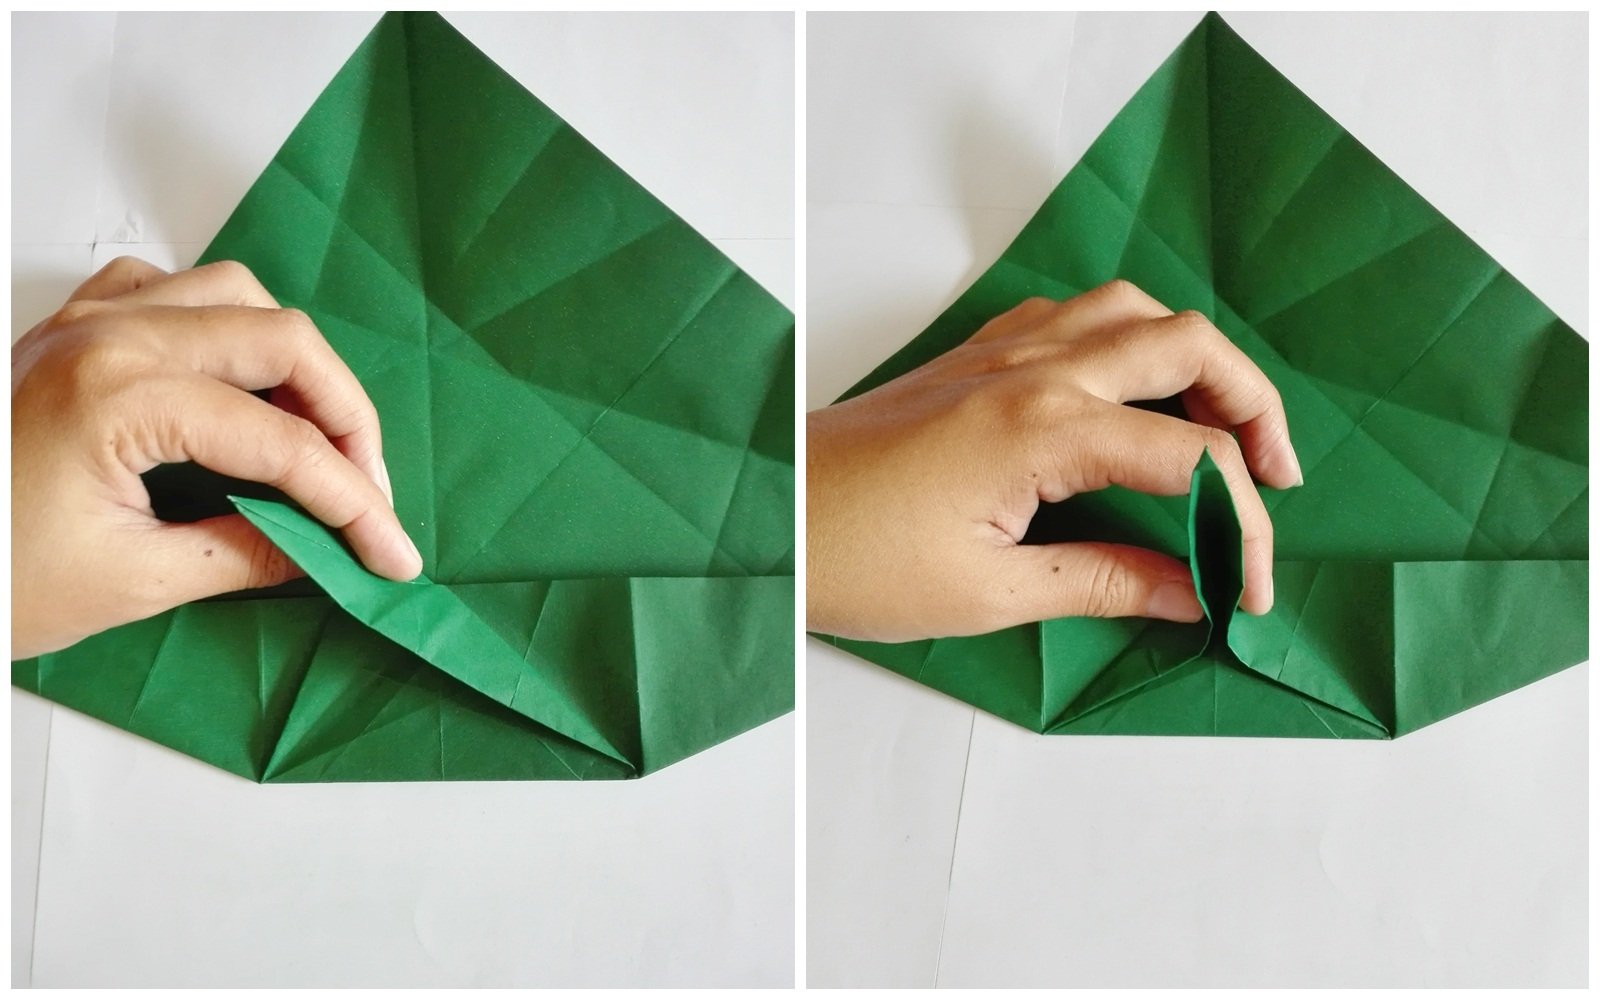
After fold the paper like the picture you see above.
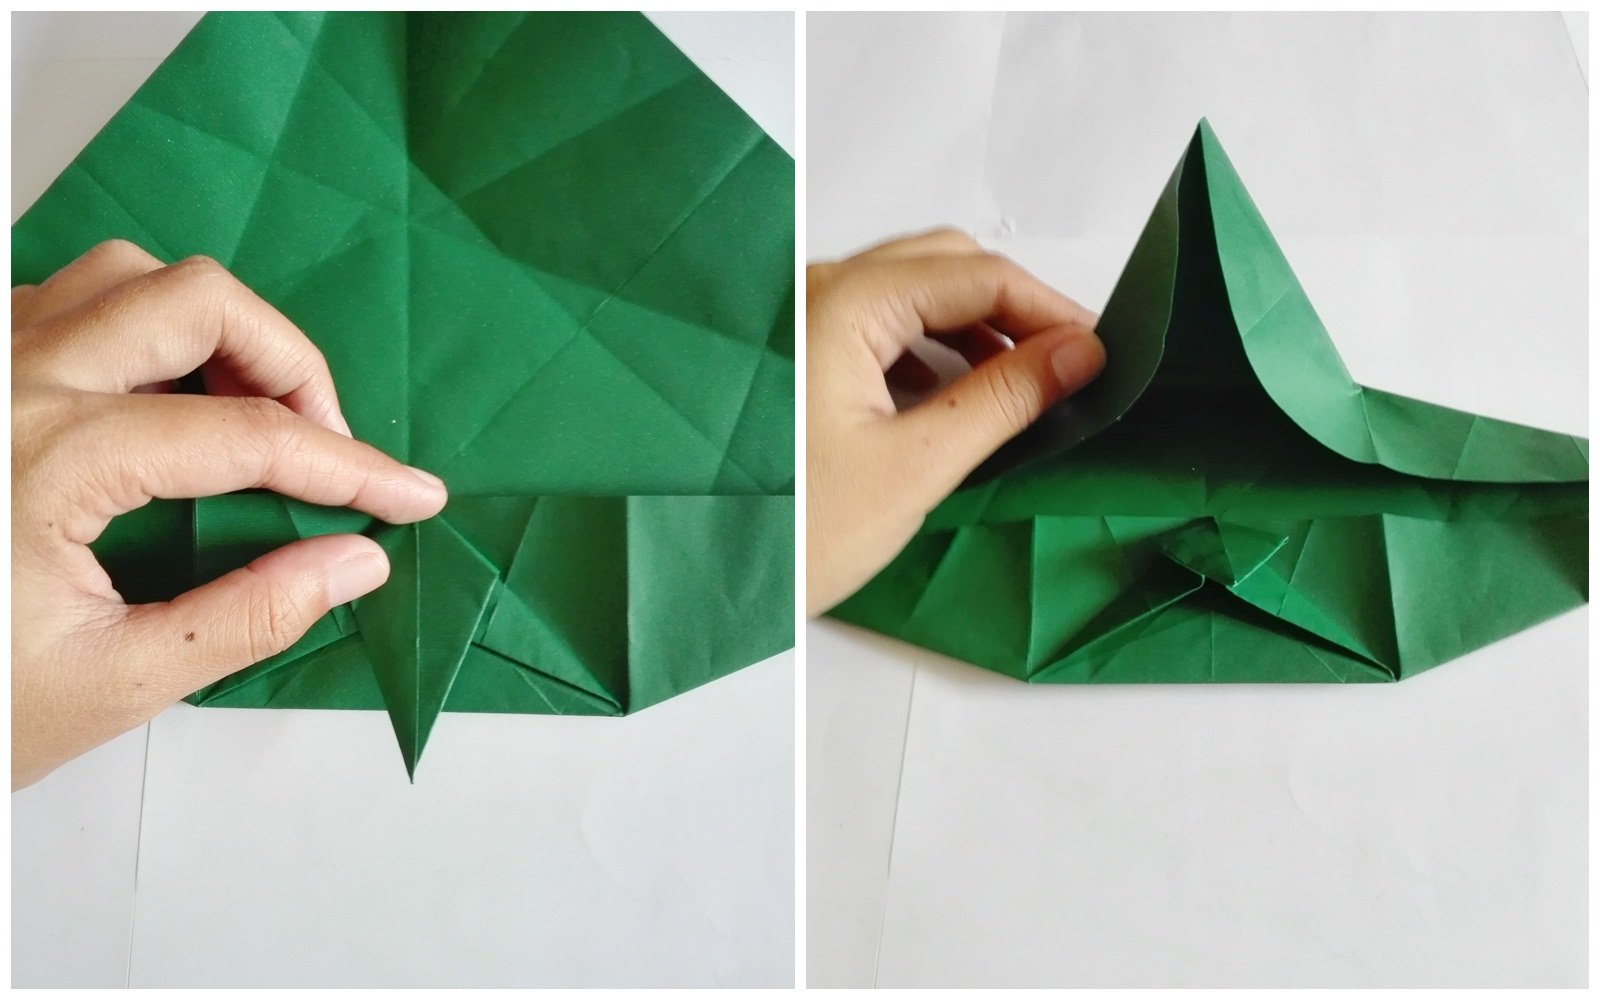
Now, open it like the picture above and flatten on existing fold.
And then repeat on other 3 sides.

Just repeat the proceeding steps , until you finish folding all 4 sides.
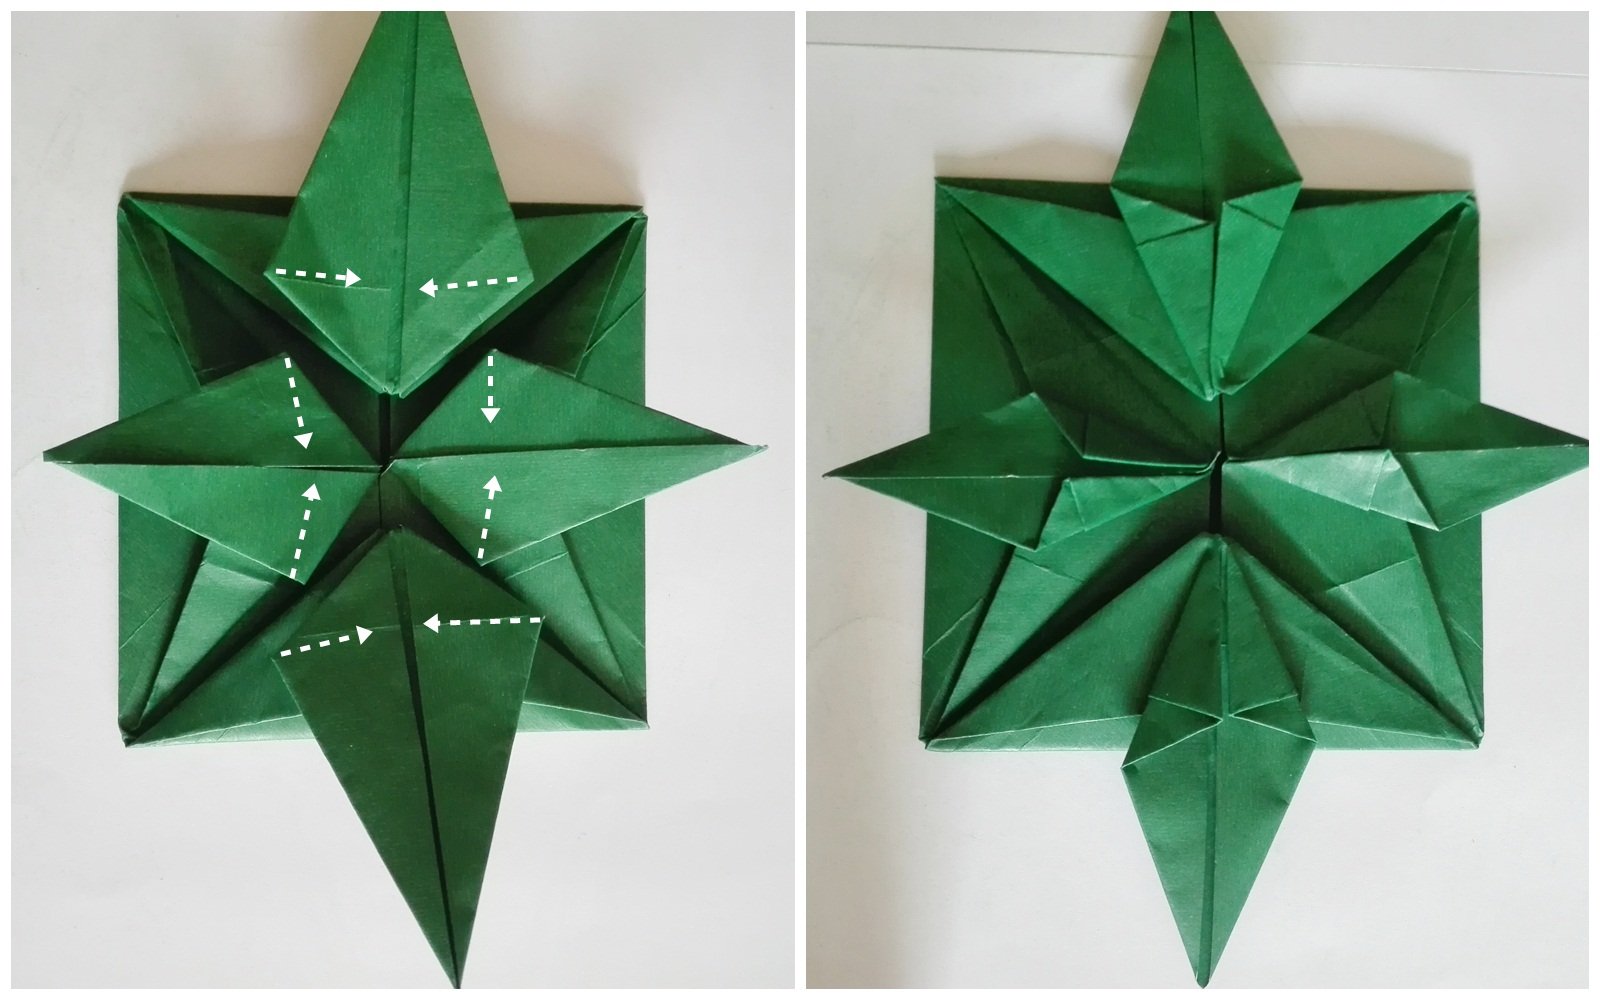
After, you have to fold it like the picture you see above.
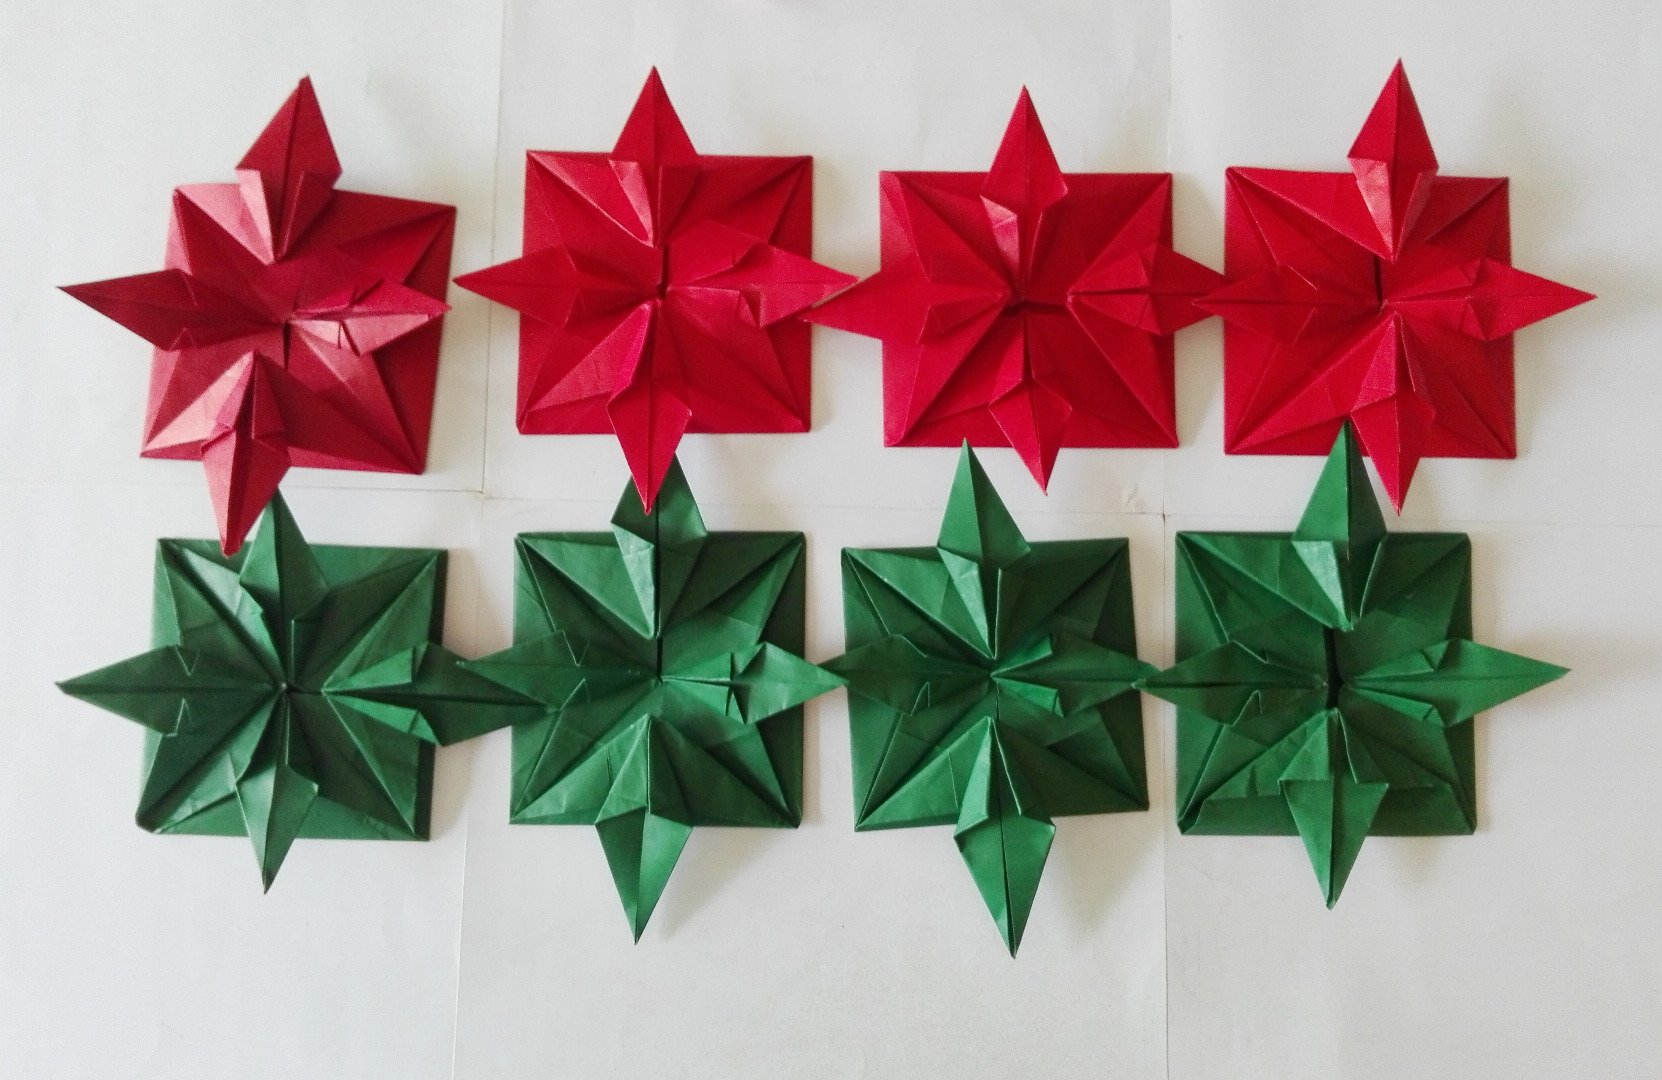
So now we are done, repeat all the steps above to make eight of them.
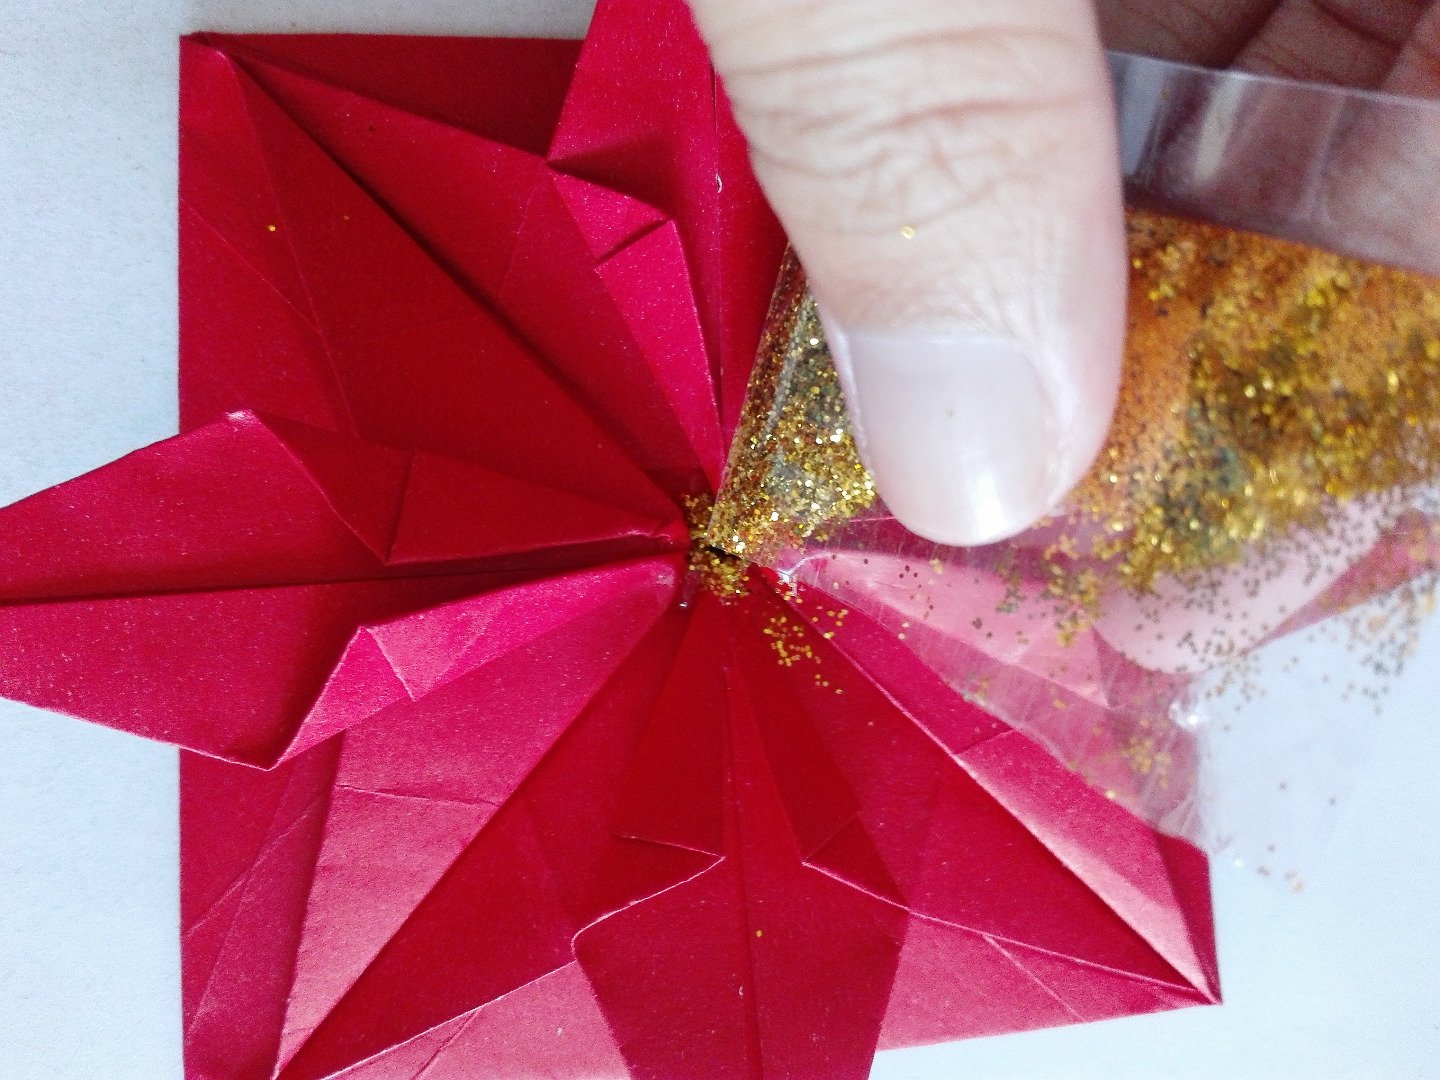
Yey! we are now on the last step for Christmas wreath, just put a little amount of glue at the center and put some glitters like the picture above.
Instruction for the 3D Christmas tree.
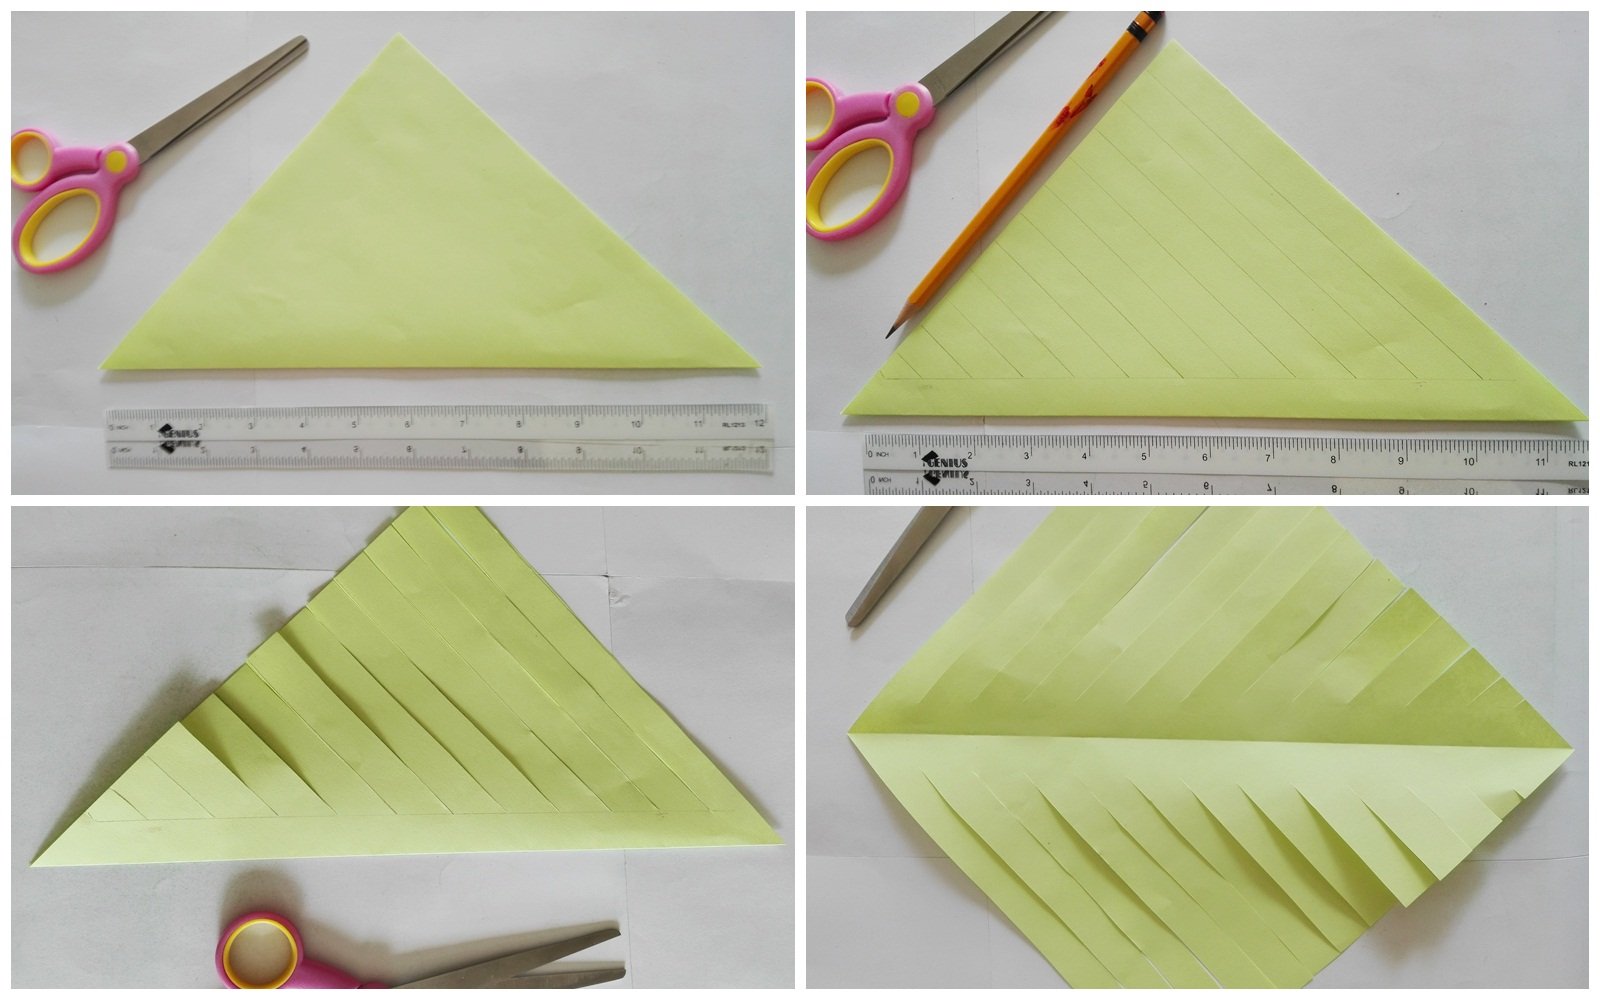
Take the yellow green paper, and fold it to make a triangle. Get your ruler and pen and then make a patter
like the picture above it's all 1cm x 1cm. Now, take the scissors and cut it.
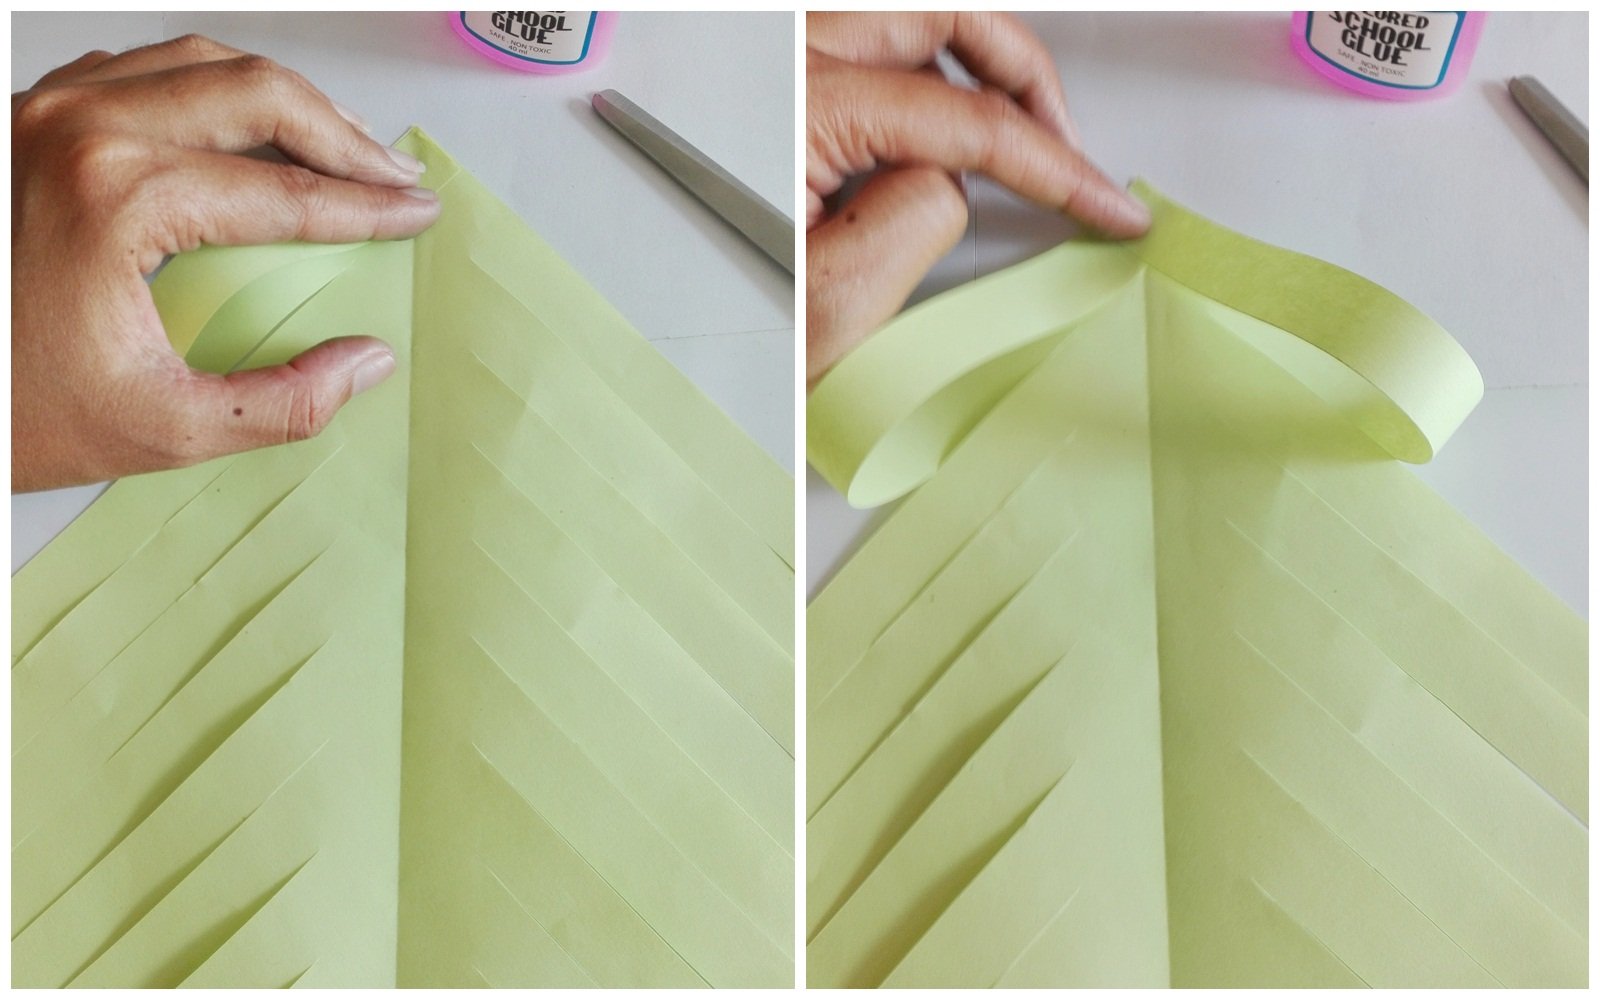
Then unfold it, and fold it like the picture above, fold every strips.
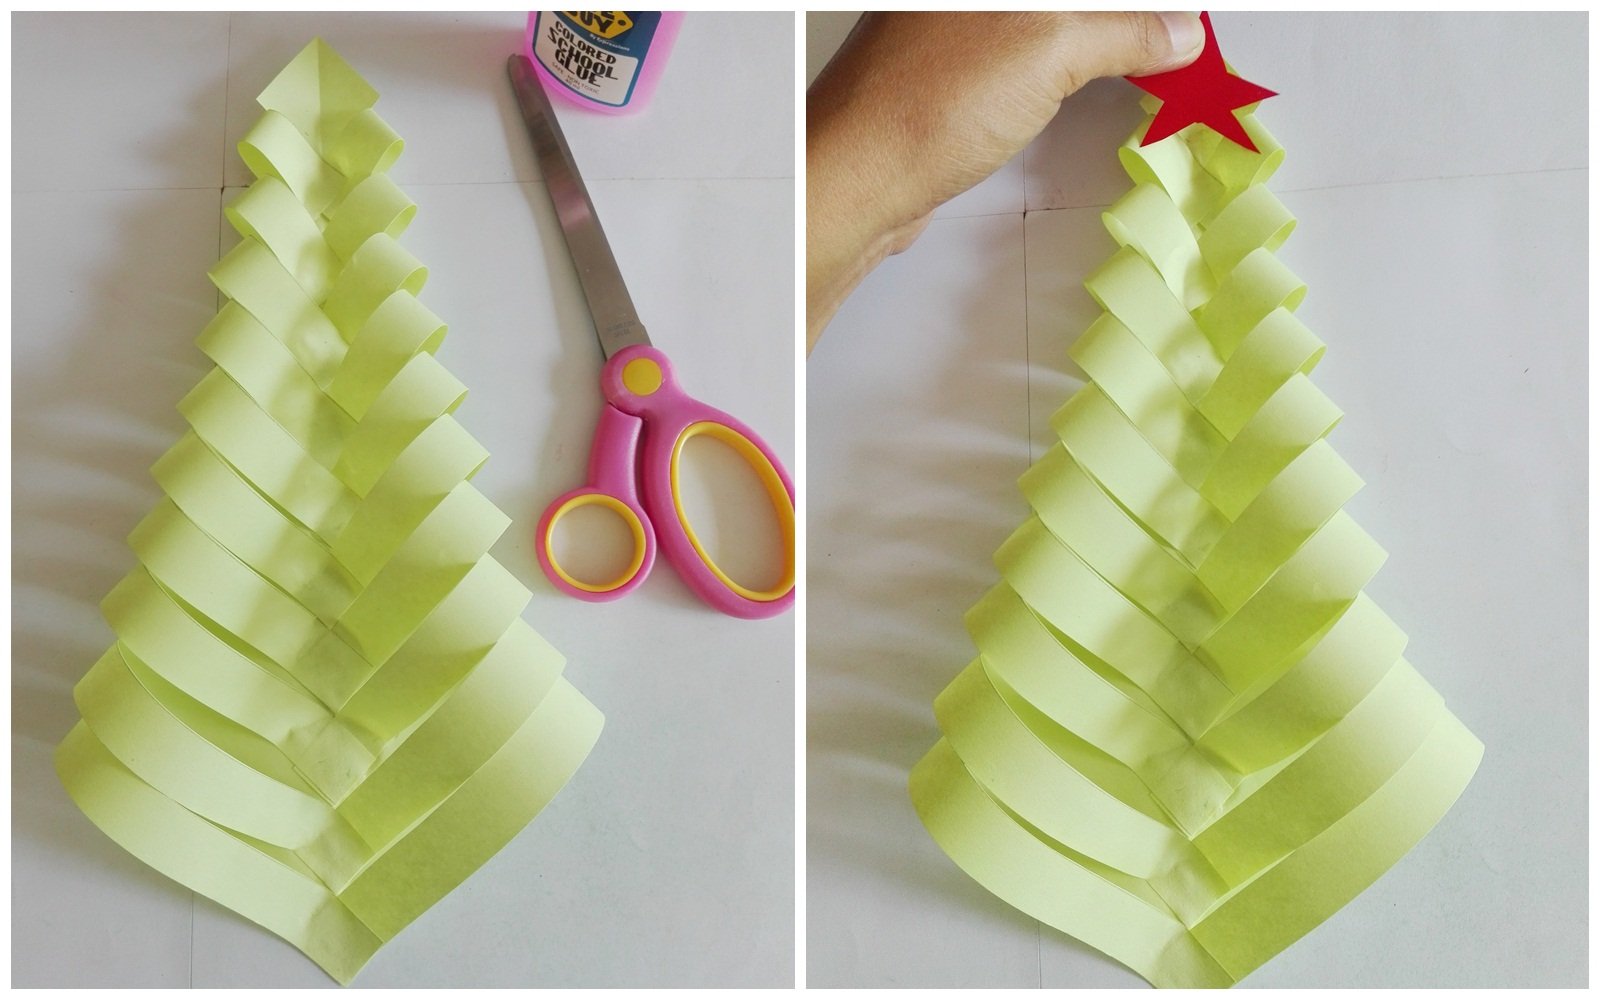
Now, make a star shape out of the red paper and glue it on top of the tree.
Tadaaaaaaaaaaa!! Christmas wreath and 3D Christmas tree is done. :)
96 Days left before Christmas Hohoho! :)