Hi today I've decided to make a post to show you guys my process for creating portraits.

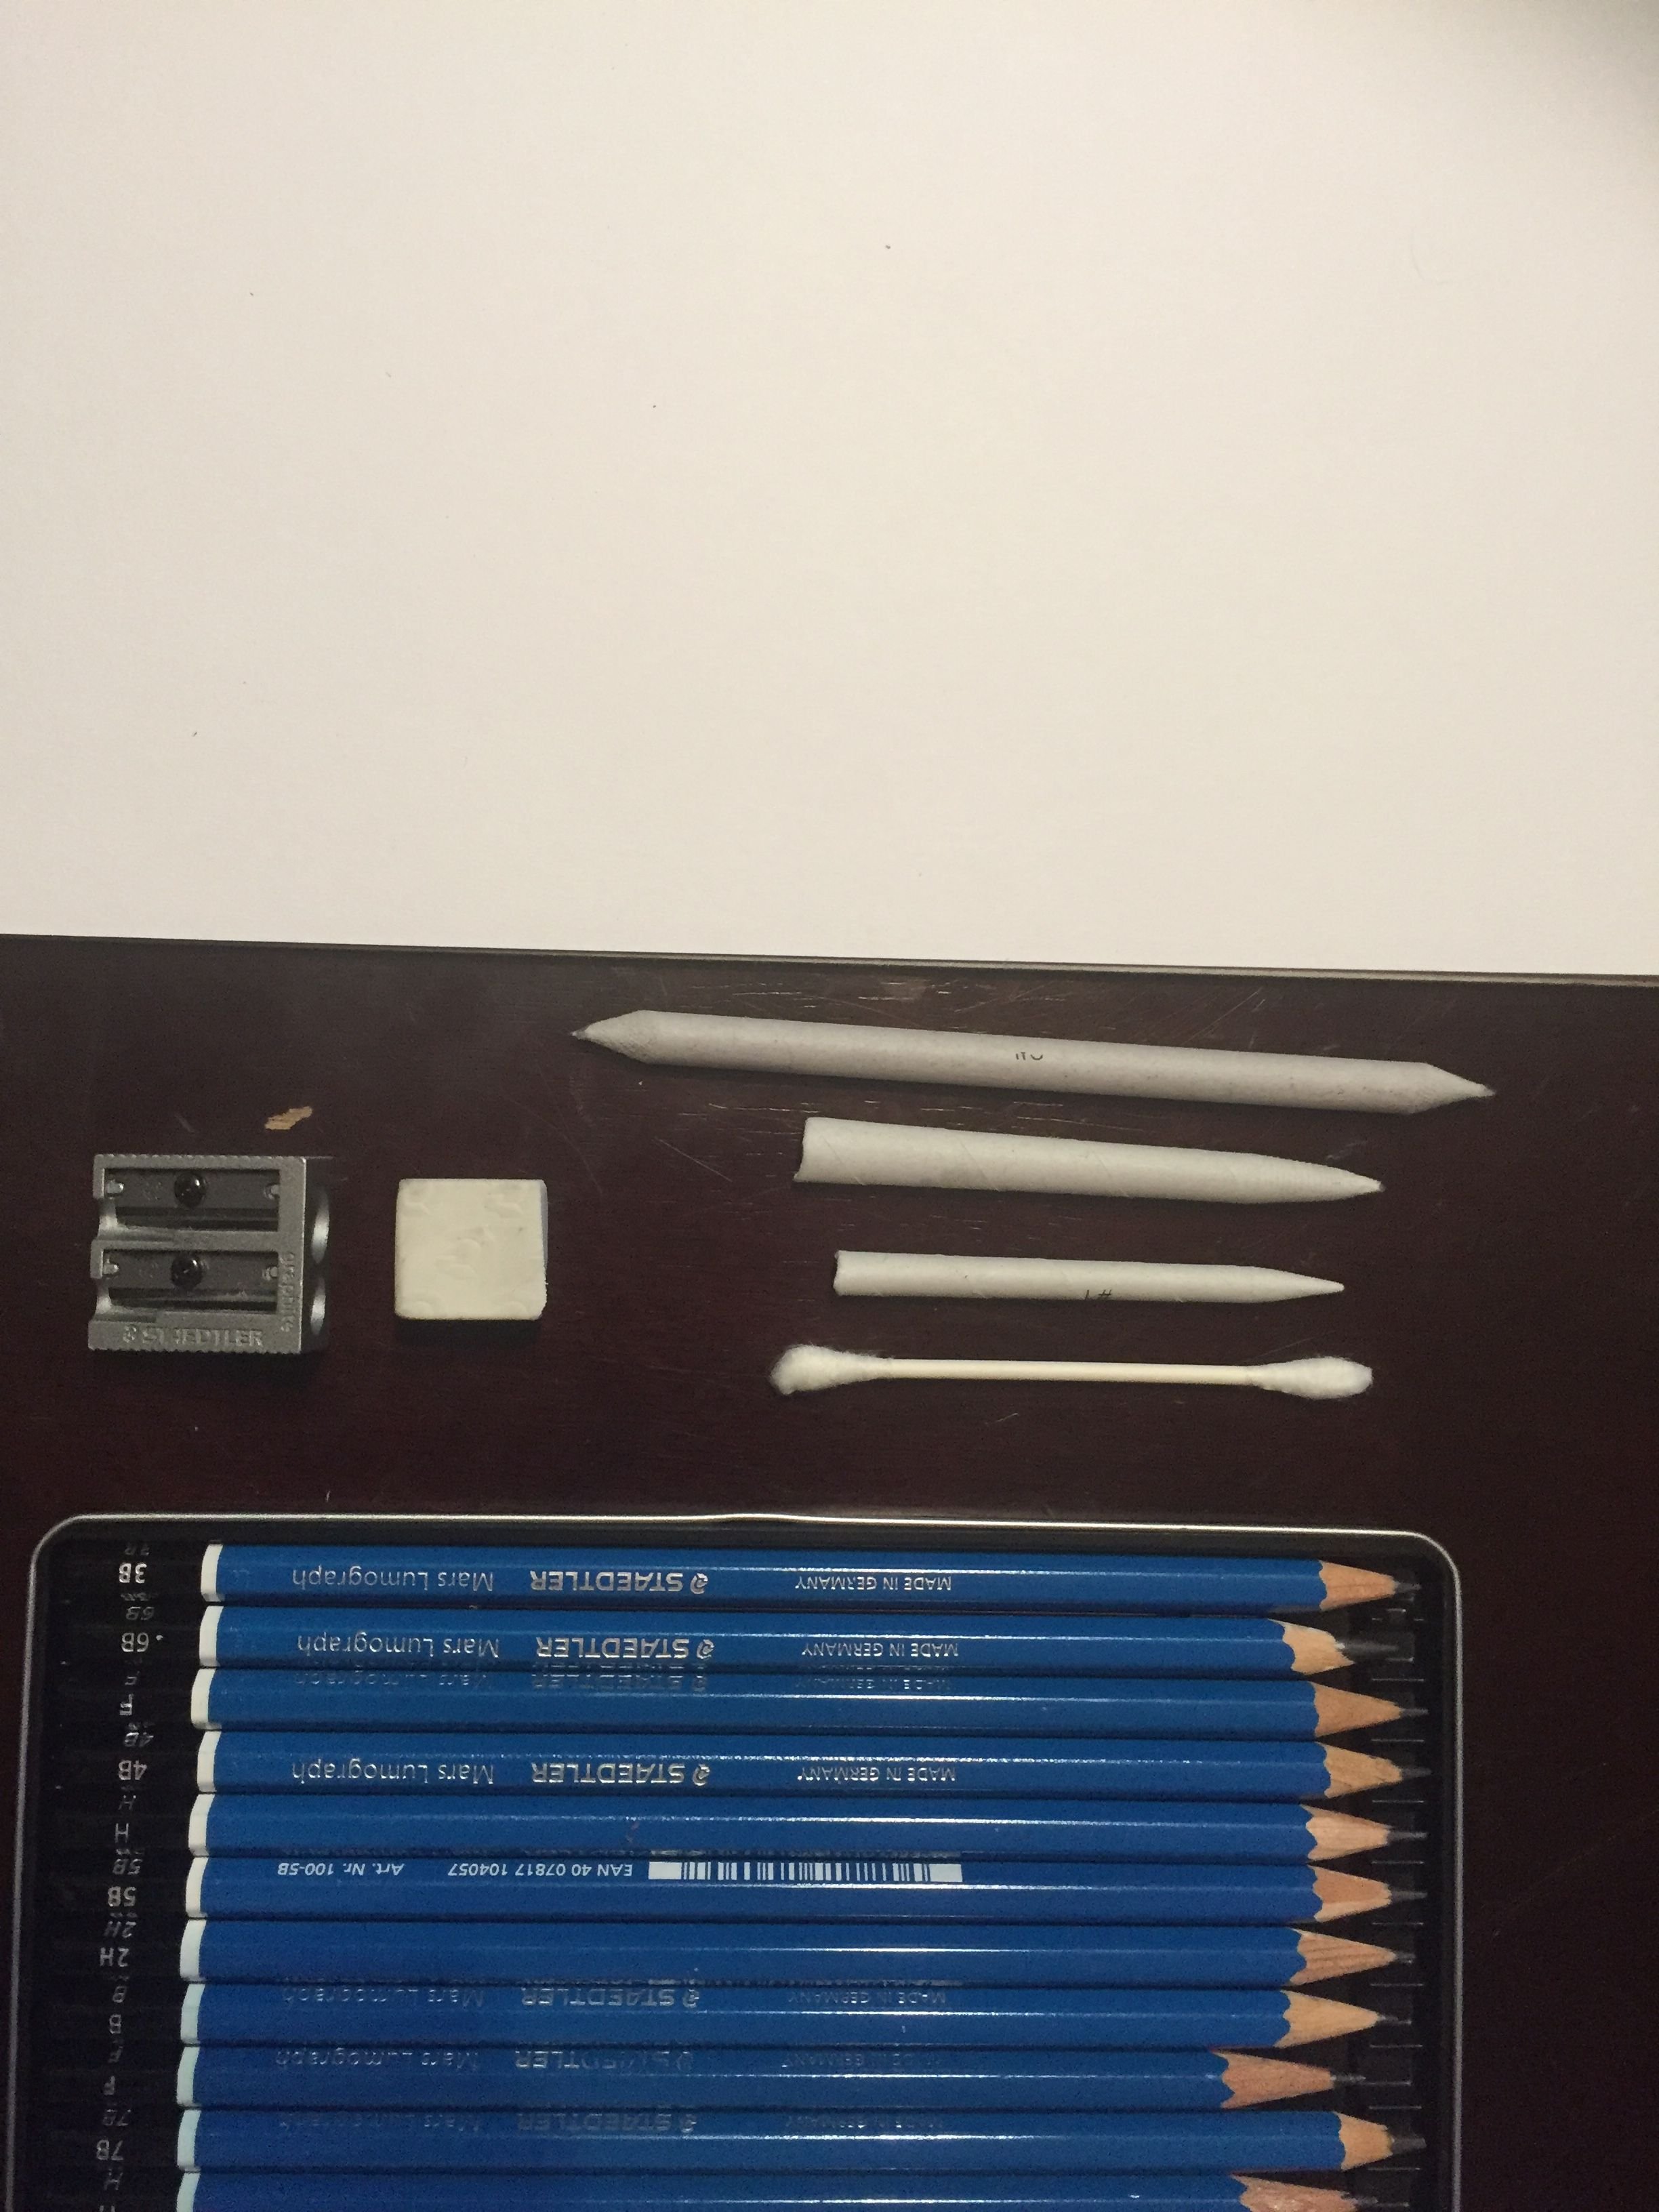
What you will need
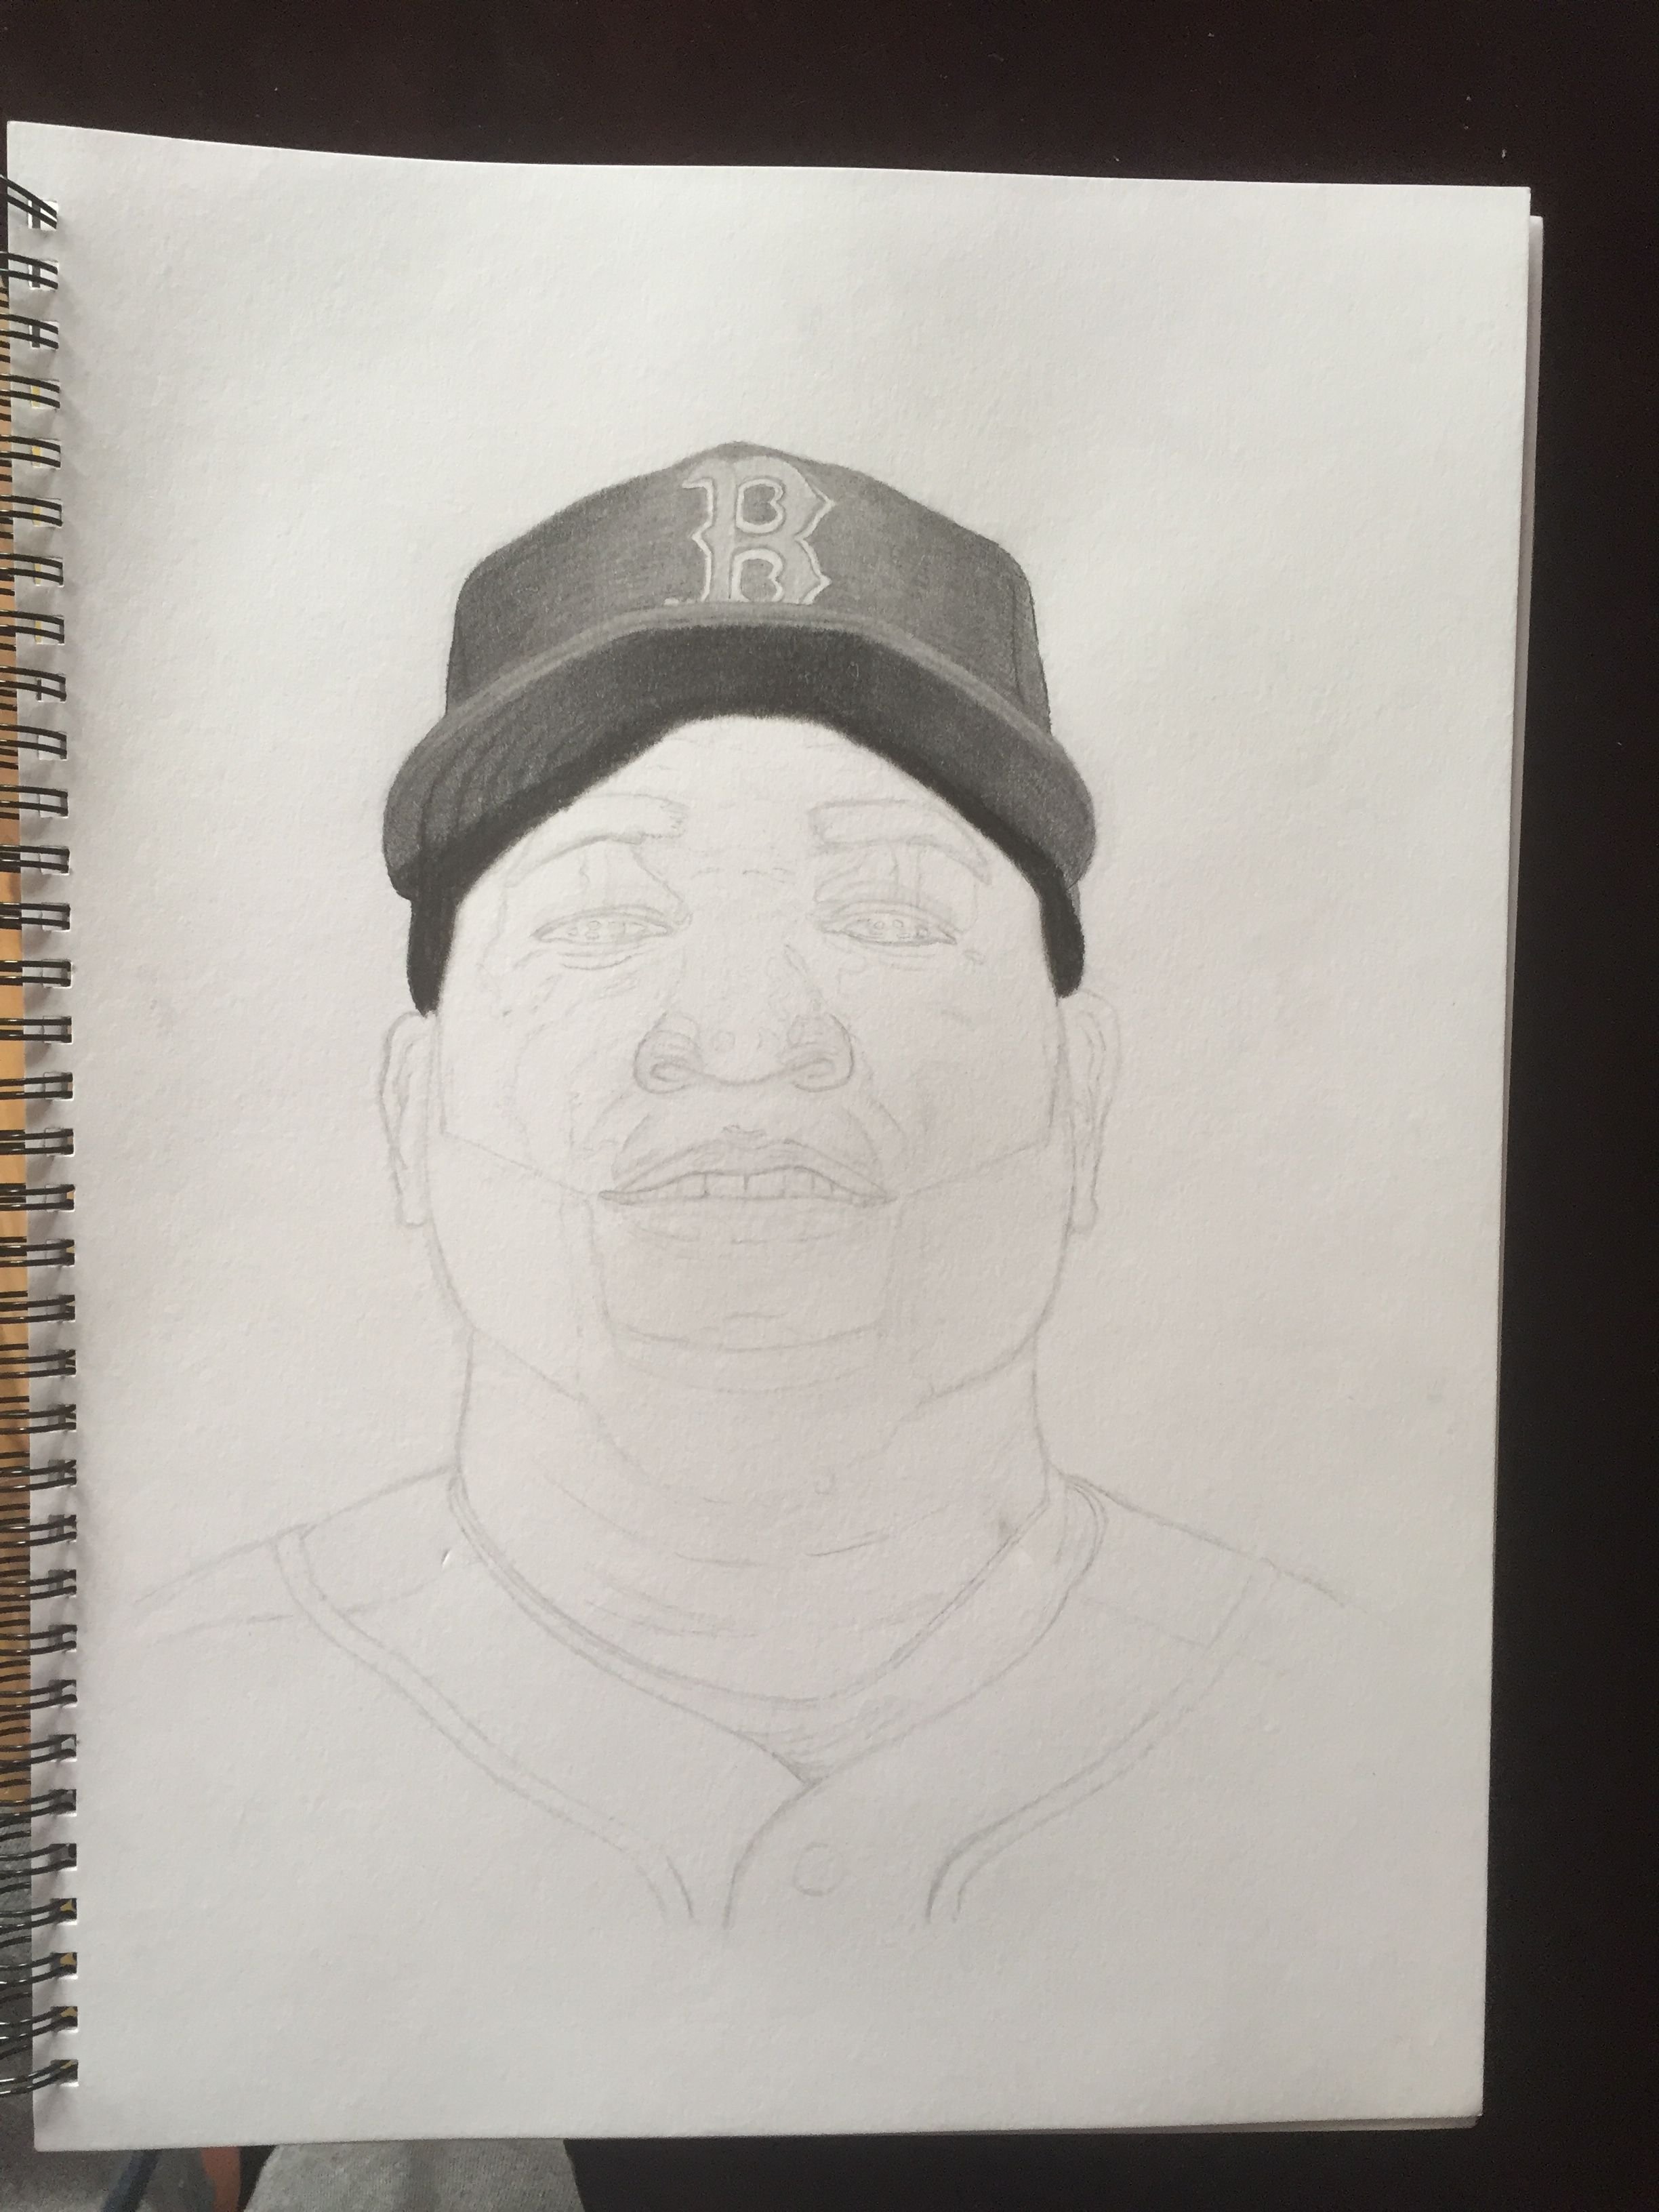
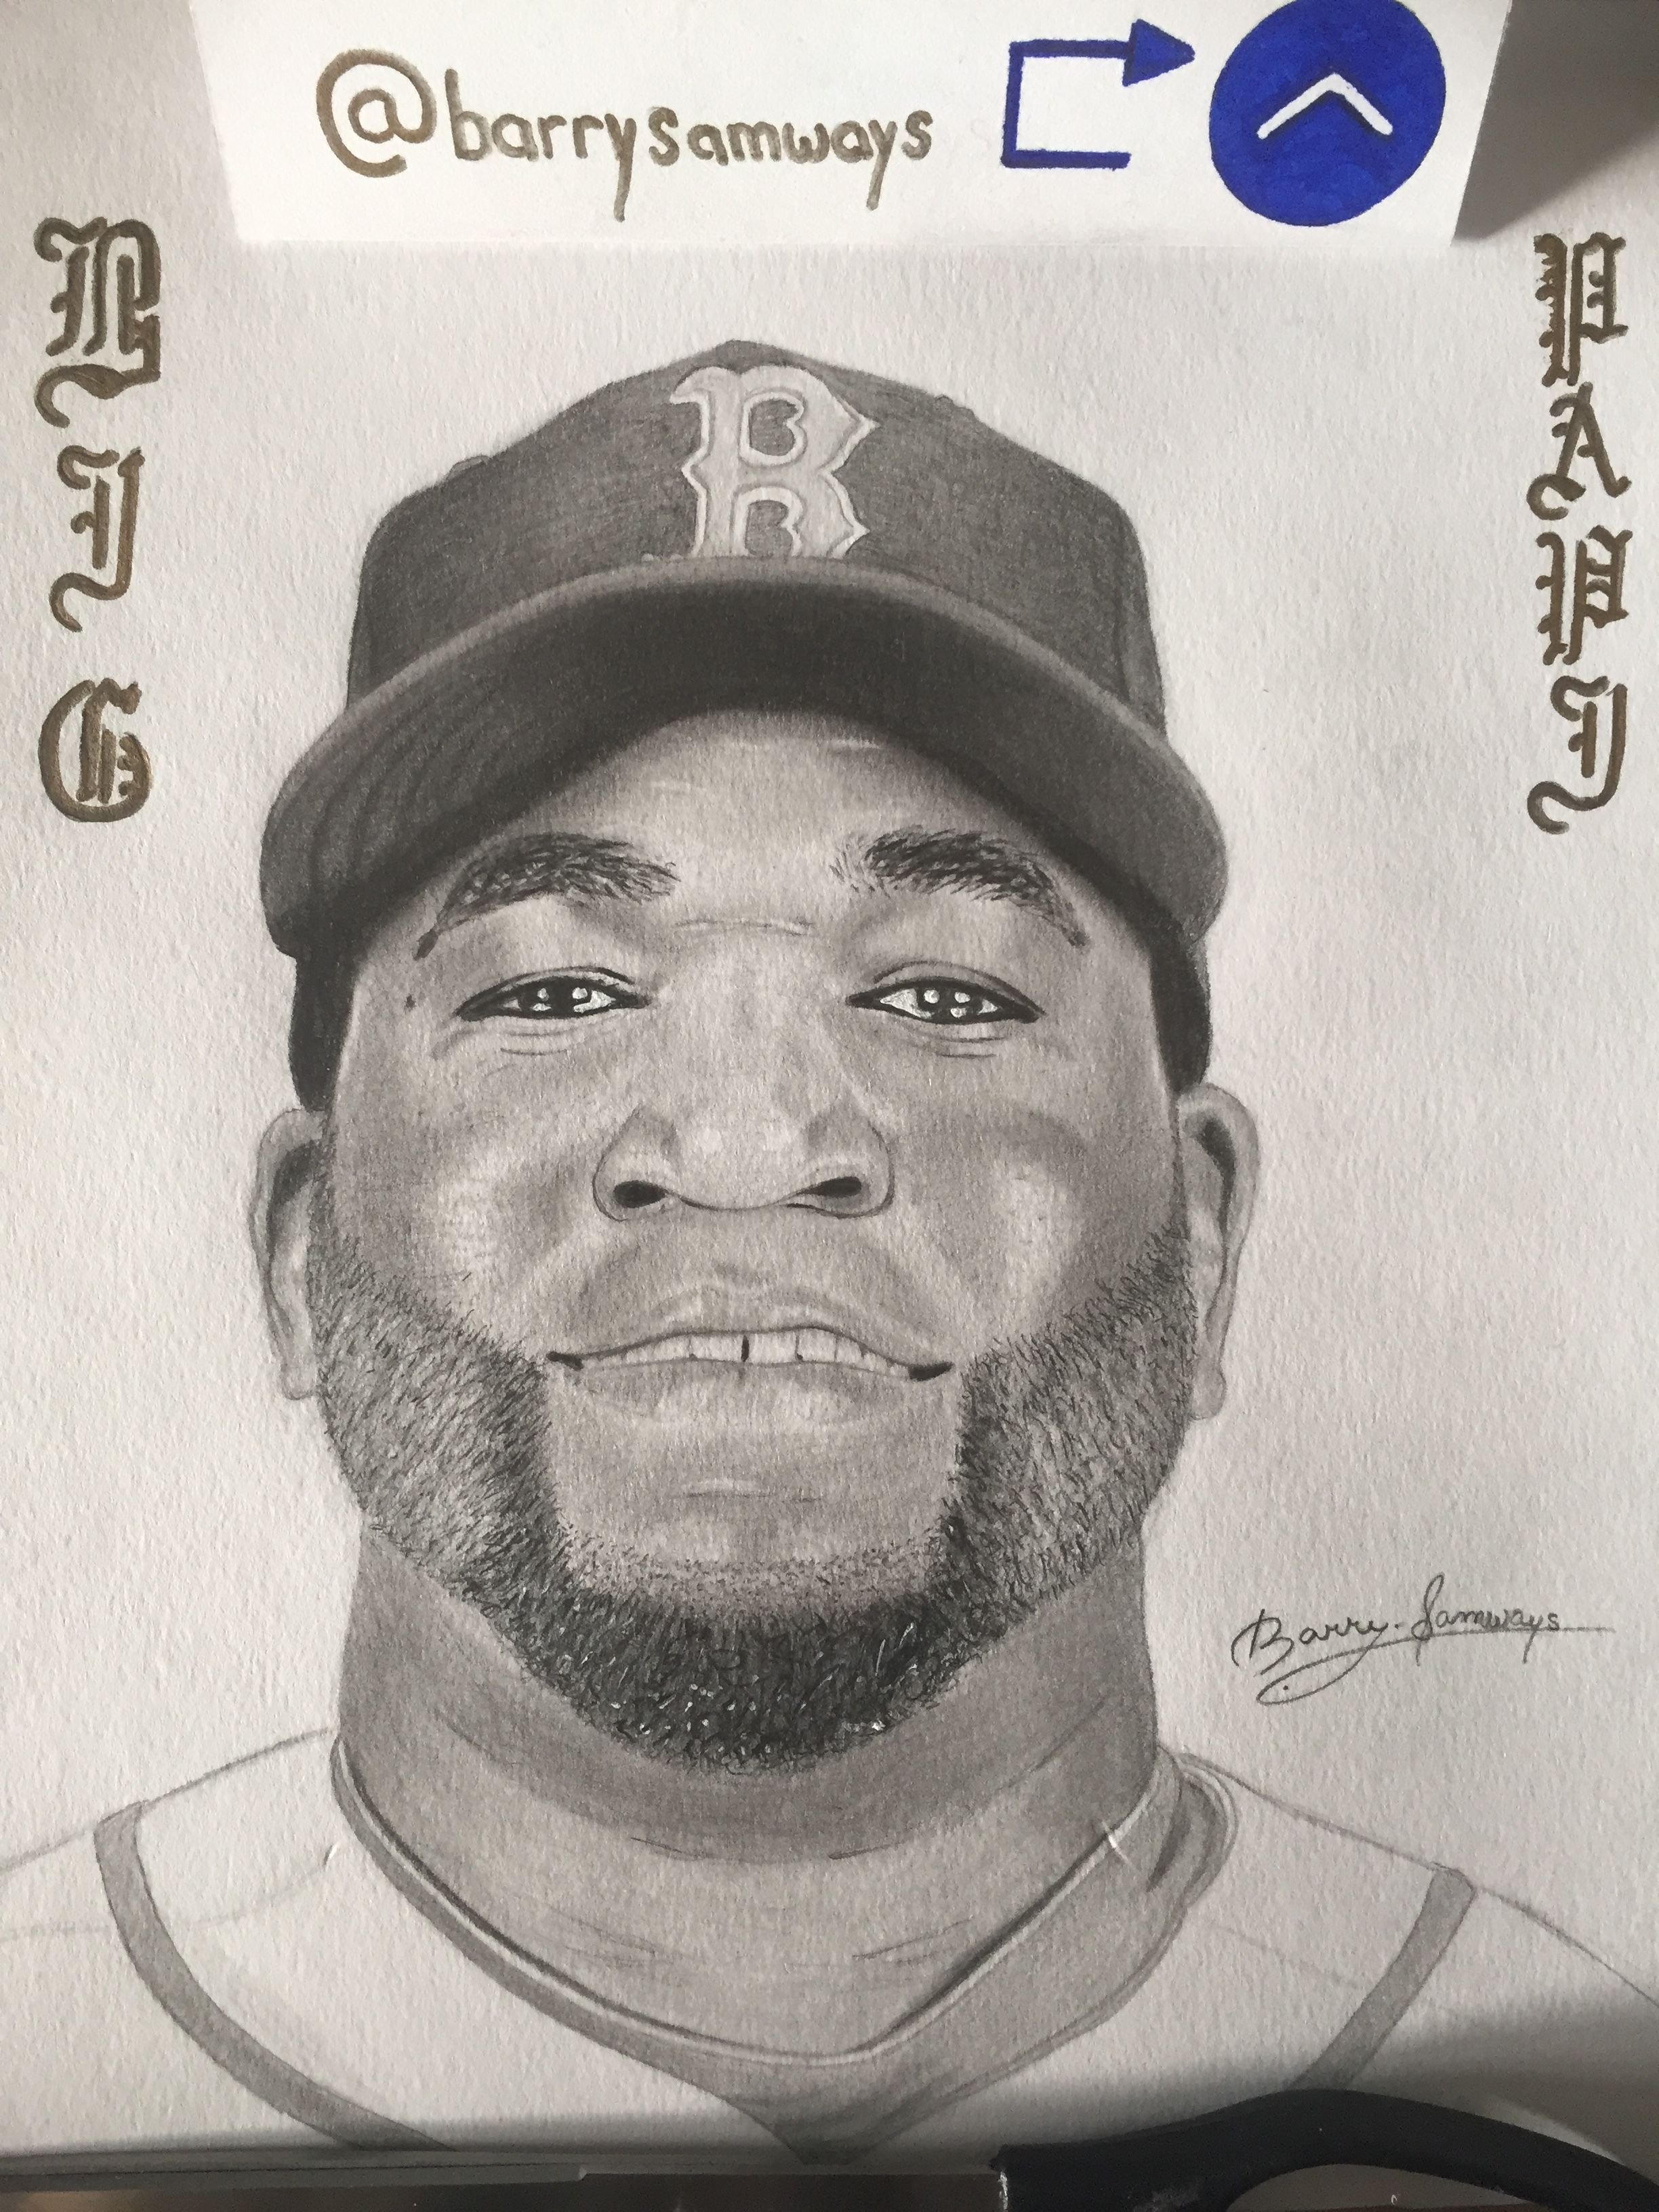
When you start a portrait the fine details can be overwhelming and may scare you off ever even trying. My goal here is to break down my methods and make it all seem more practical. A key thing to remember is angles are extremely important if you can nail those the likeness of the picture will start to fall into place.There is obviously no one way of doing any of this. This is my process and I myself am forever still learning. If you know of a simpler better way of doing any of this please let me know in the comments. To get started with a portrait I make place holders by laying down simple shapes.
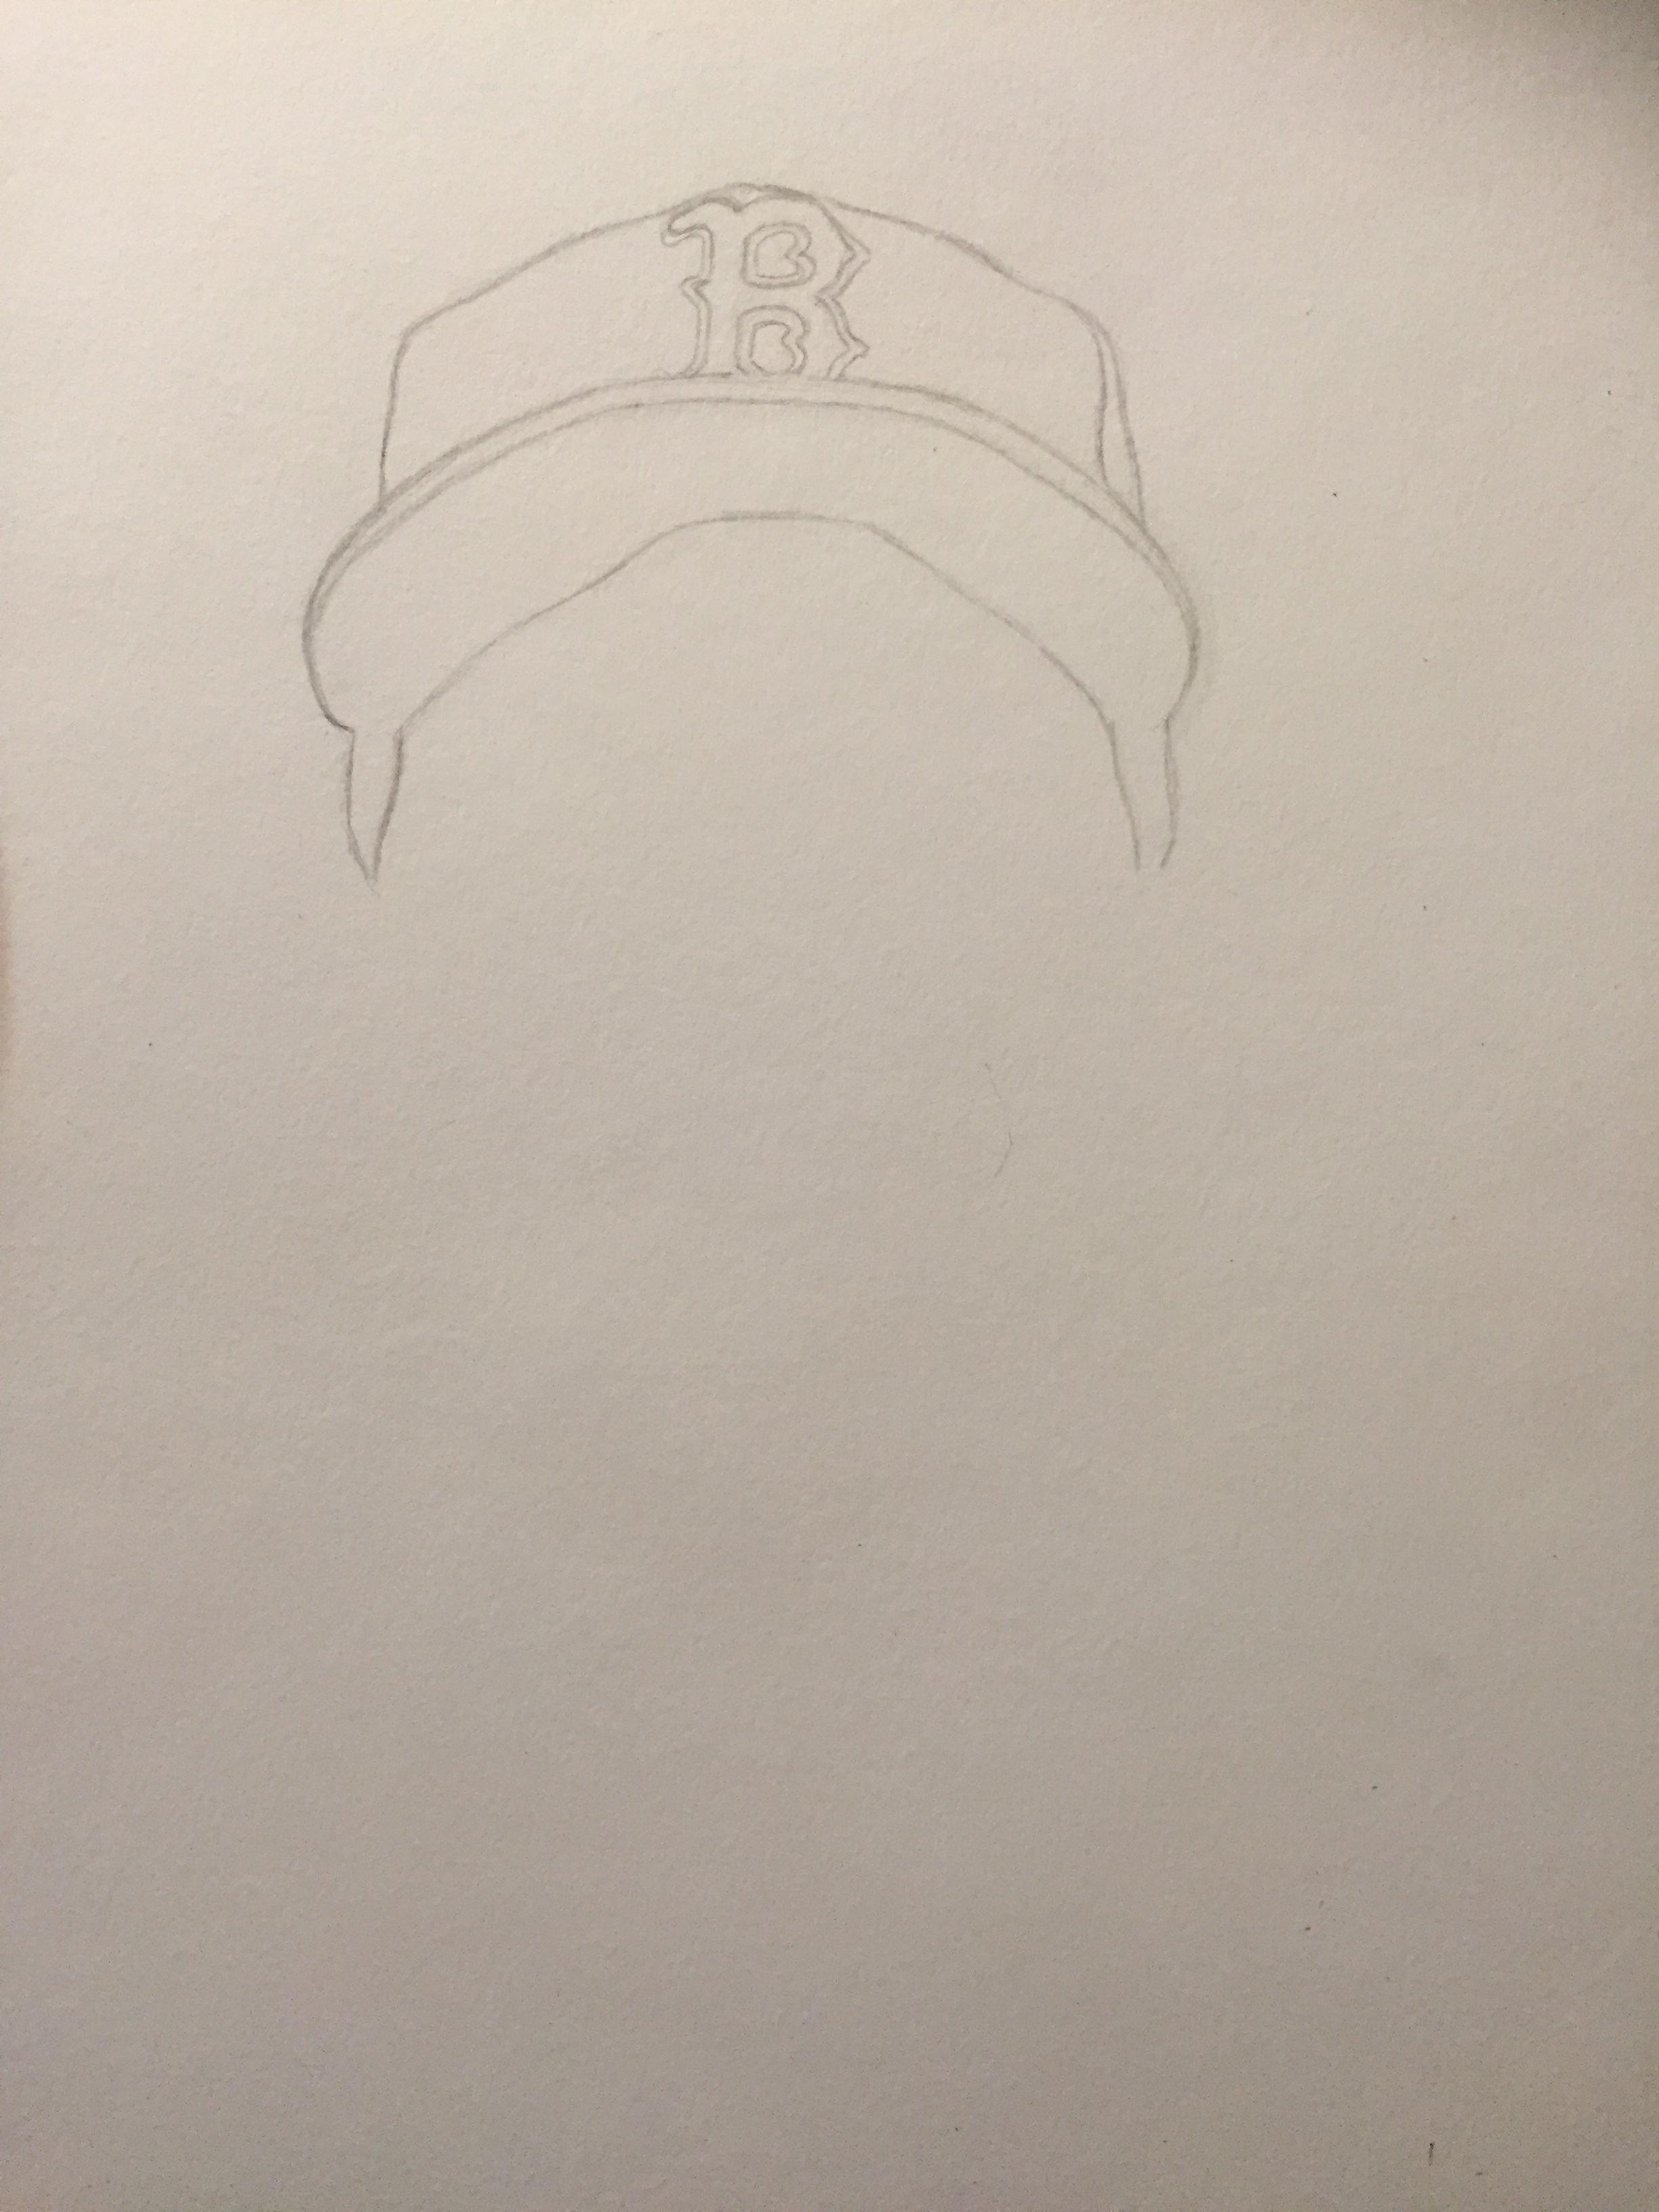
Nothing to detailed just yet none of these lines are etched in stone either rather just guide lines for the details to be drawn over I suggest using a very light pencil so you don't make a mess if you need to erase.
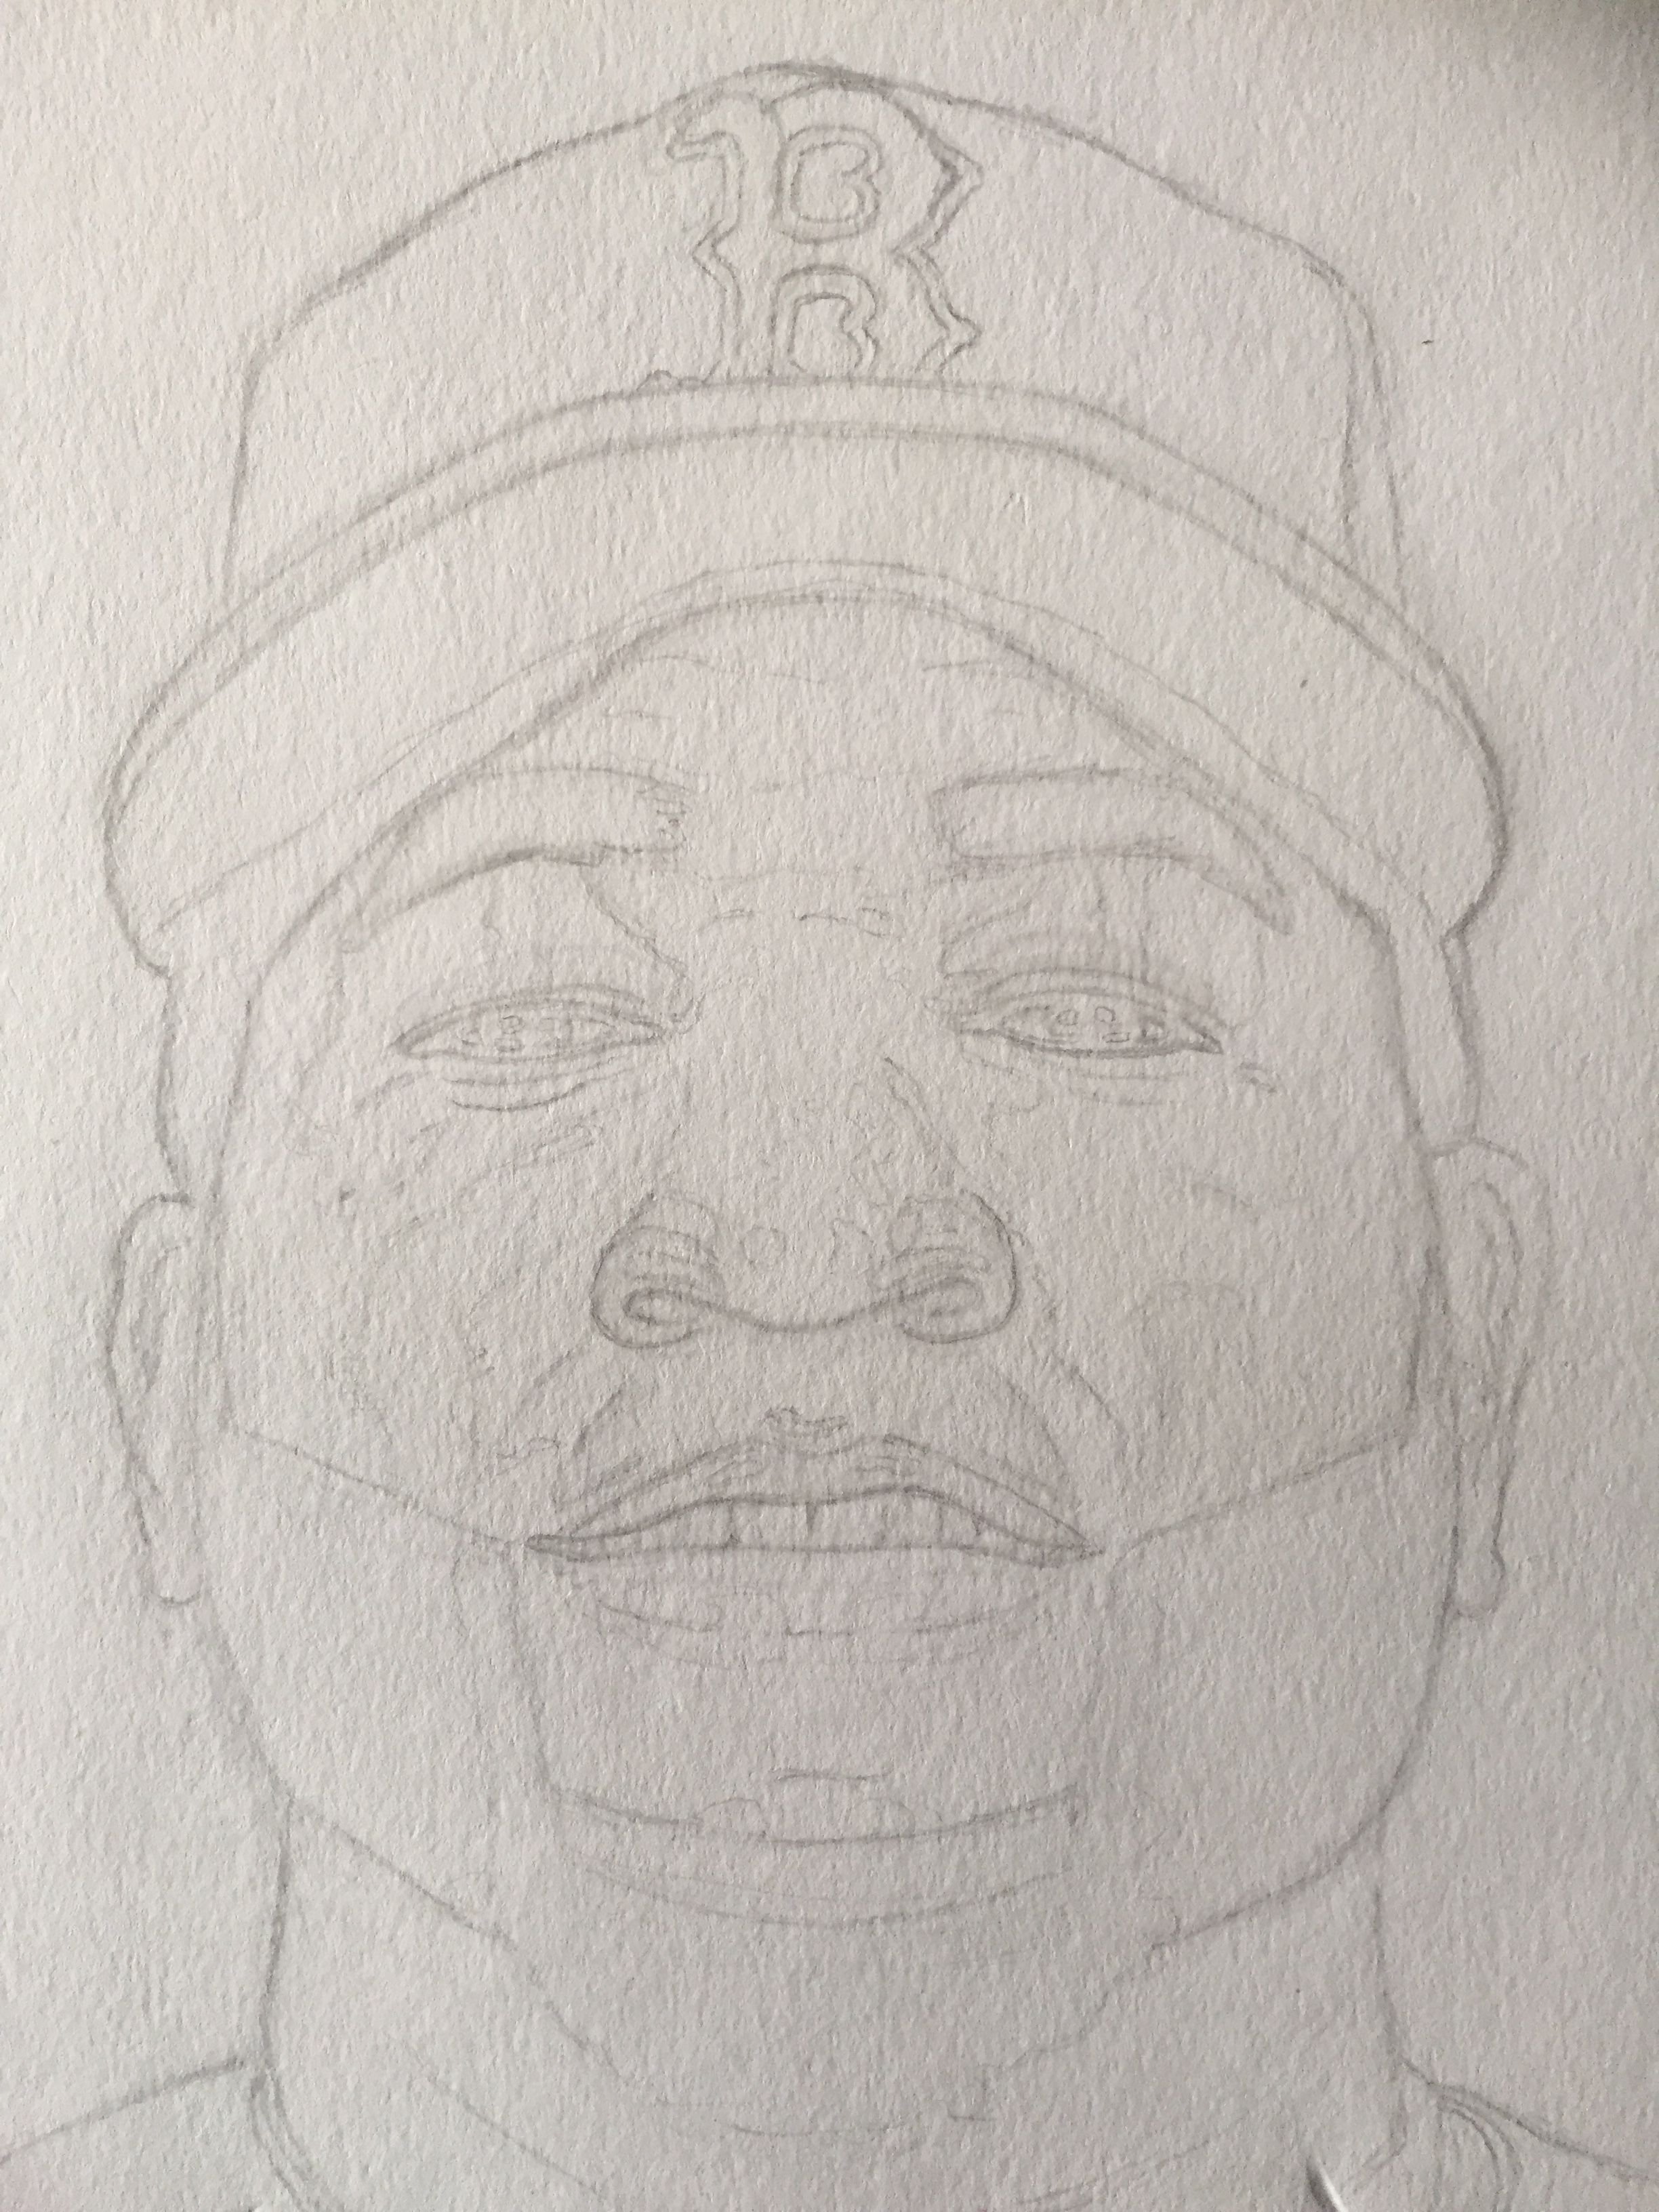
In order to get proportions and placement right think of where lines are in relation to each other. look how the bottom of the ear is placed just below the bottom of the lip. Where these two lines of the shirt meet are just slightly right of the center of the portrait. Take a ruler or any straight edge up to tour reference image and find out where lines match up this will help increase likeness and portrait accuracy.
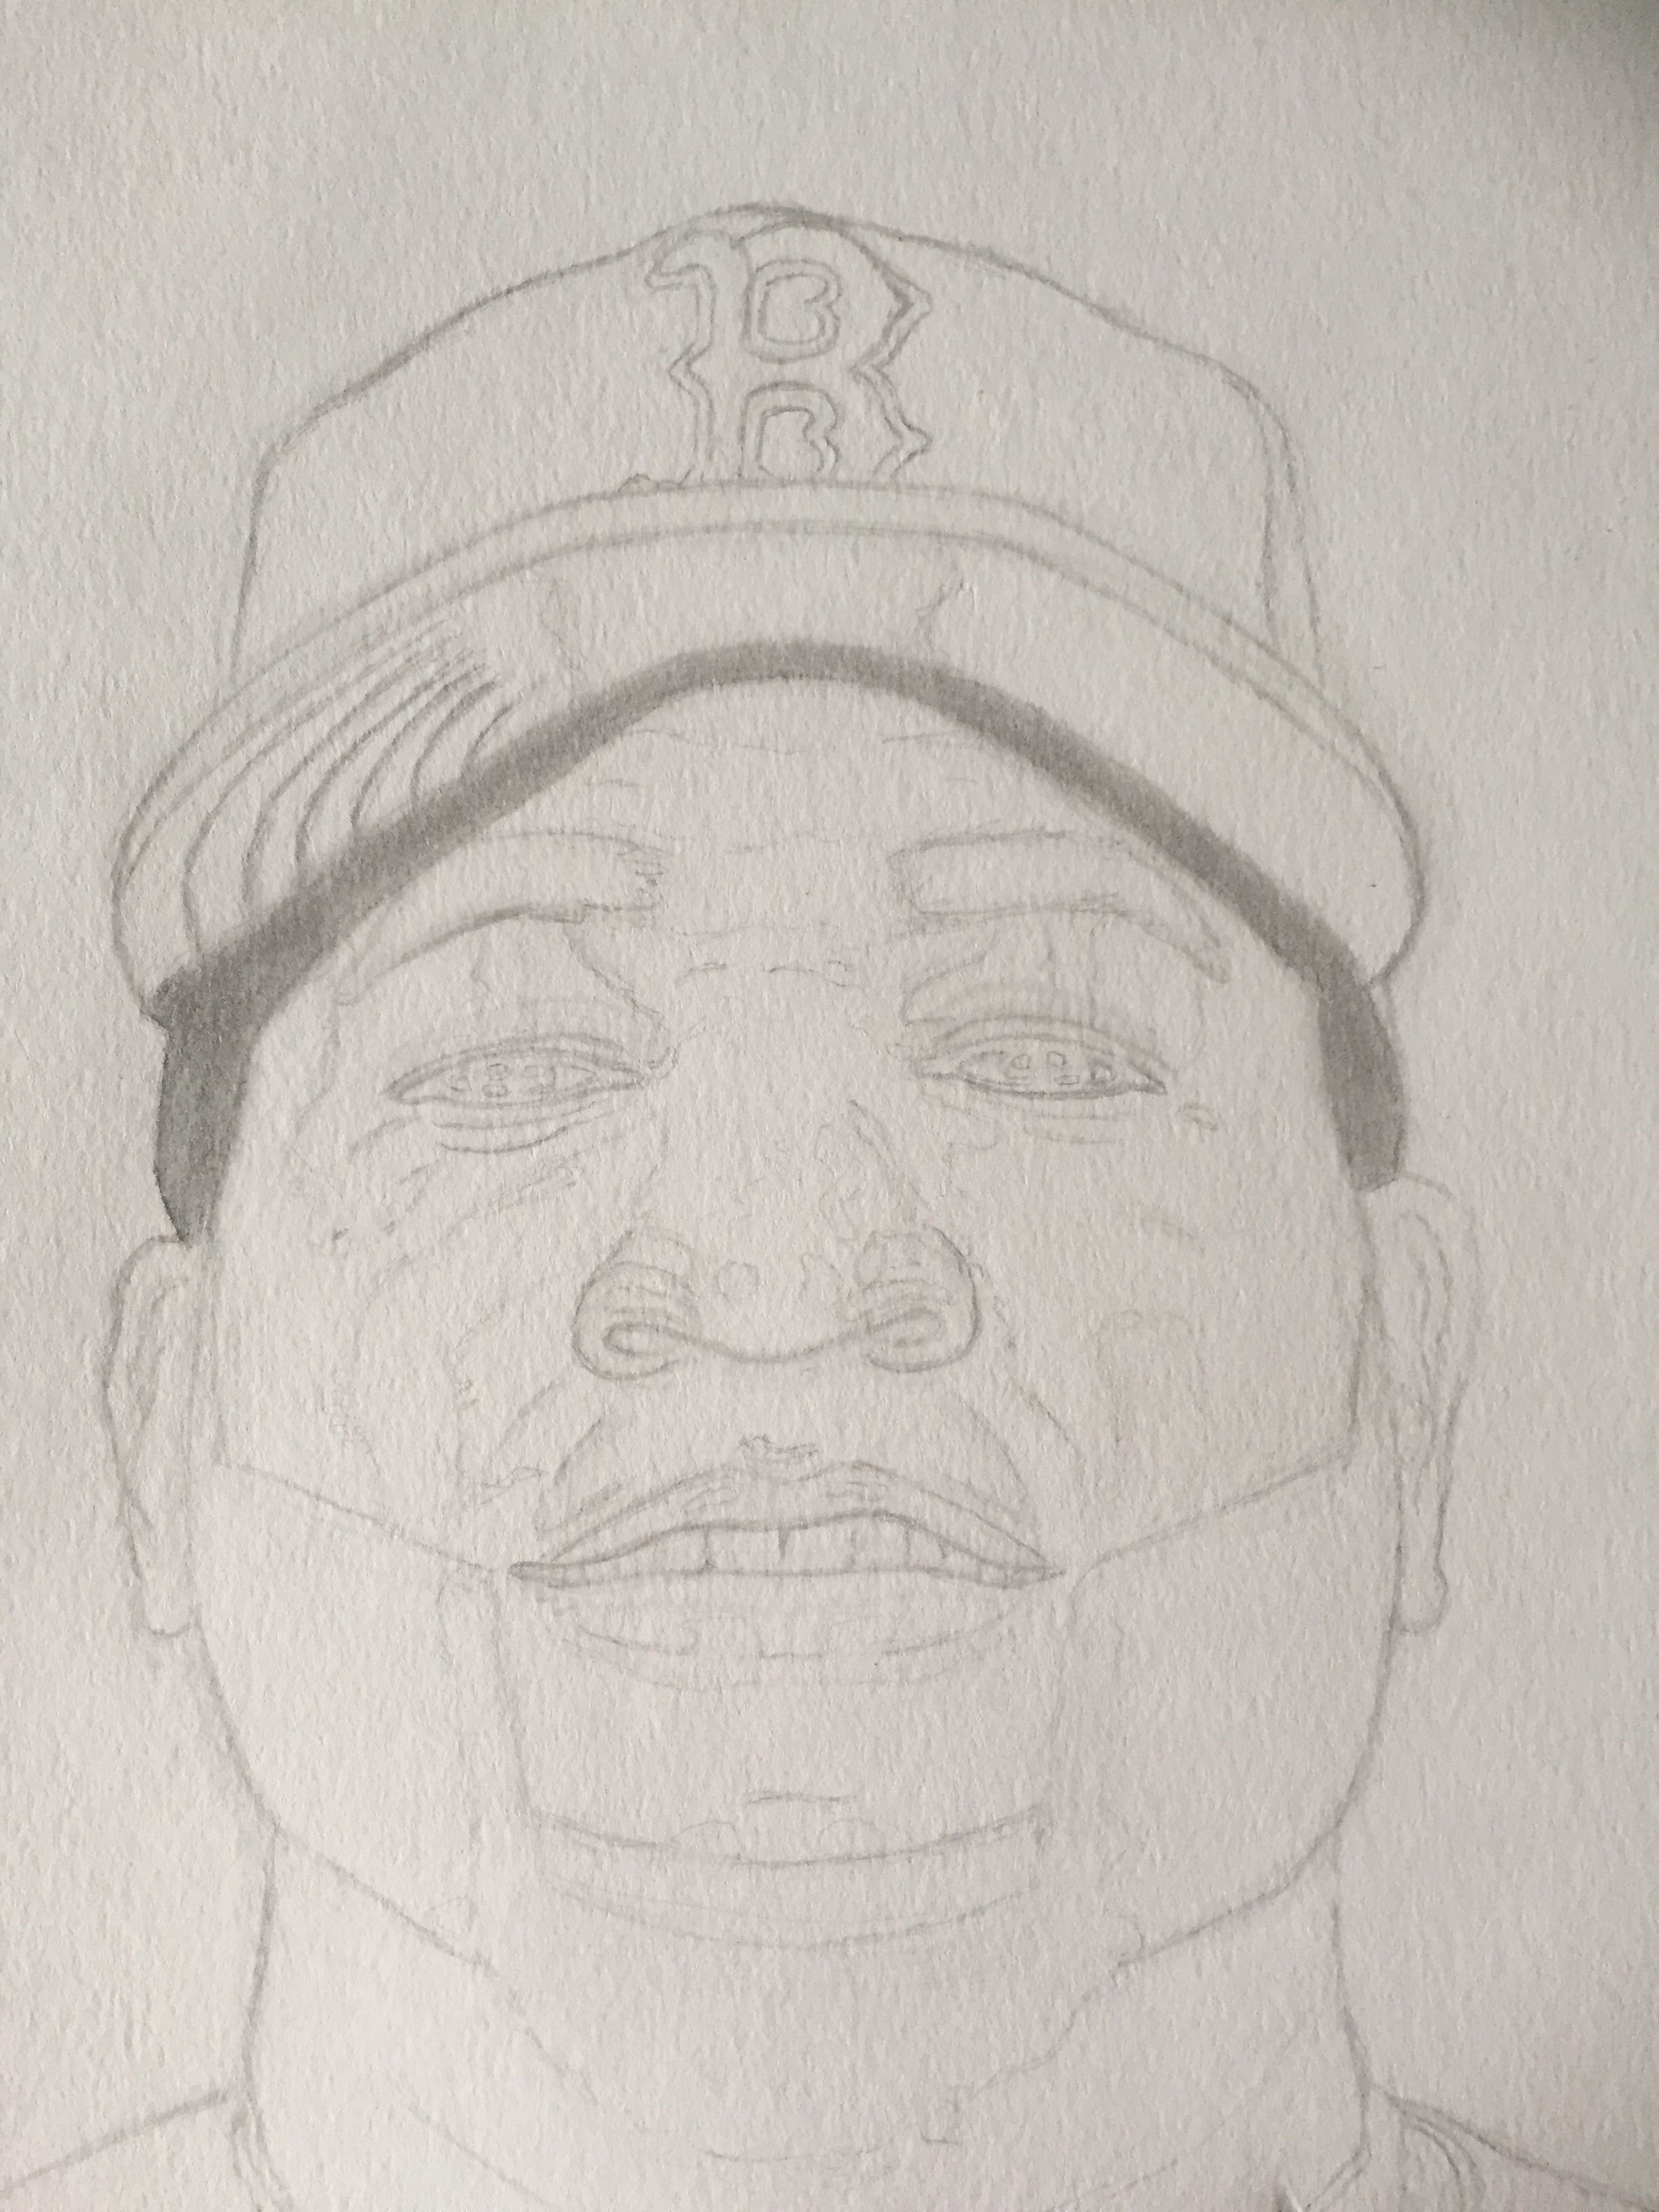
I find separating the darkest shades first useful, then start adding finer shades later and distinguishing their separation.
Now lets start to add some line weight to the details on the face. look at your reference image and note where the darkest lines are and start to sketch them in.
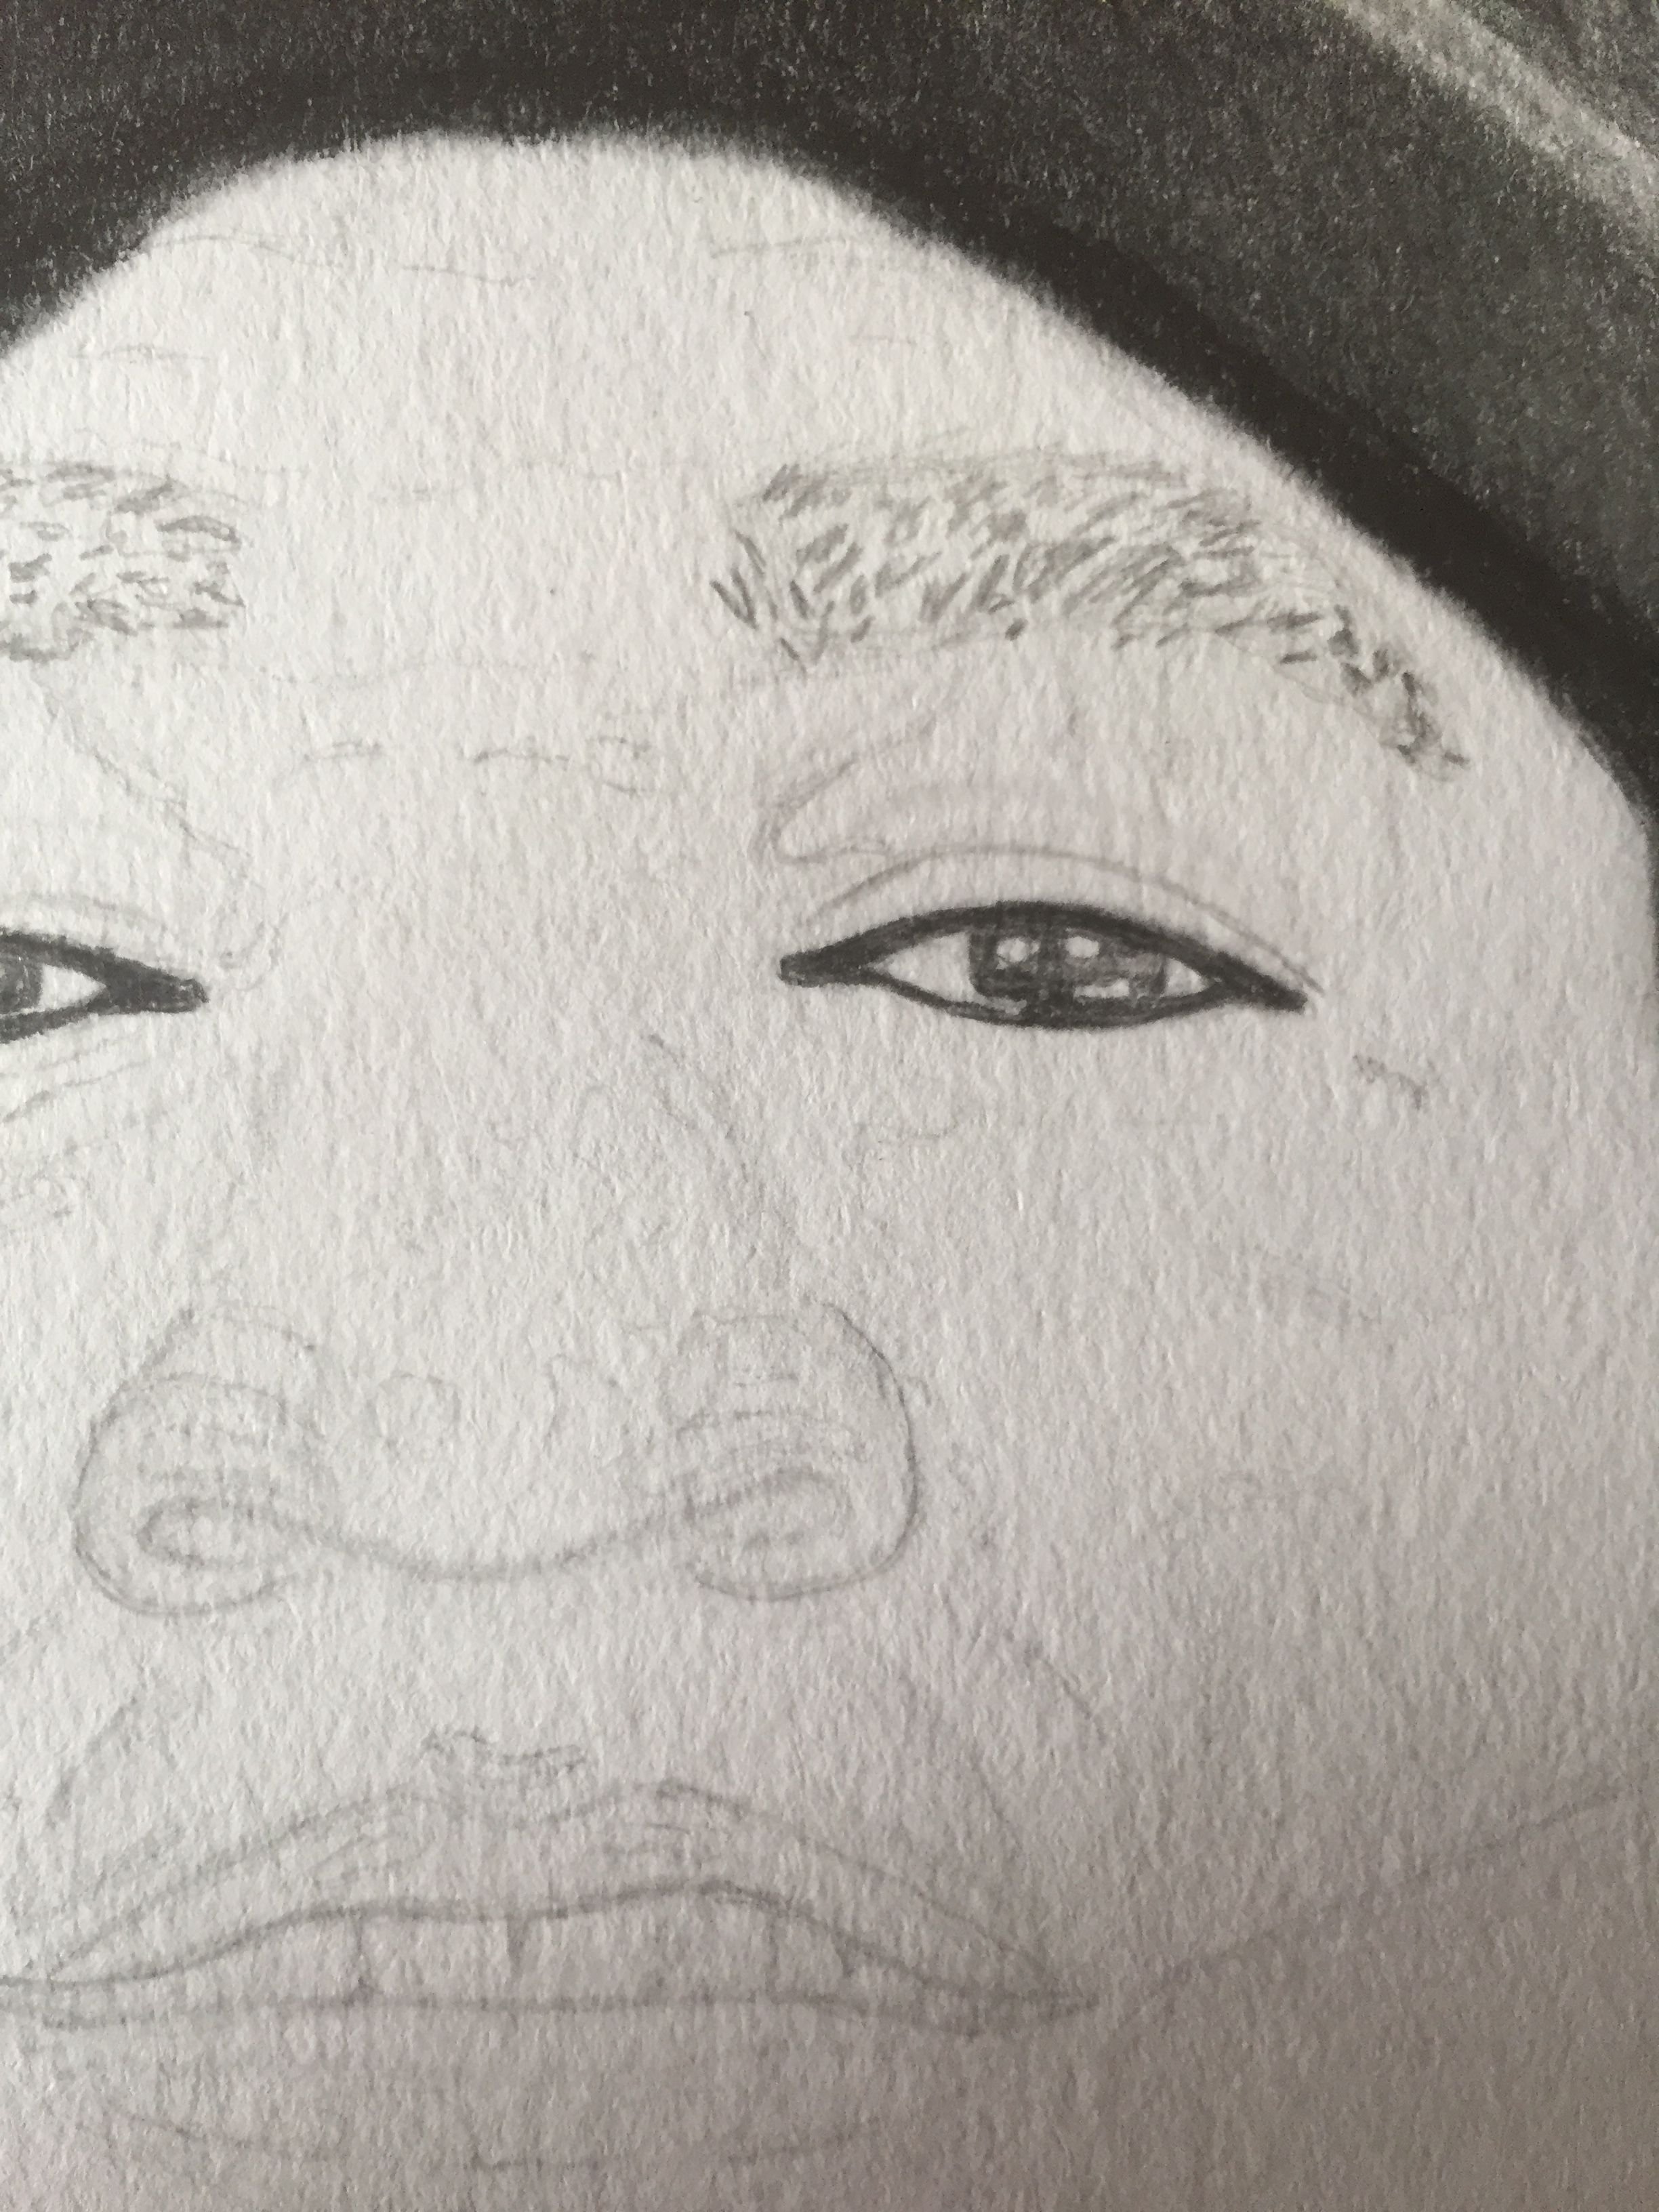
keep adding darker shades in to add depth.
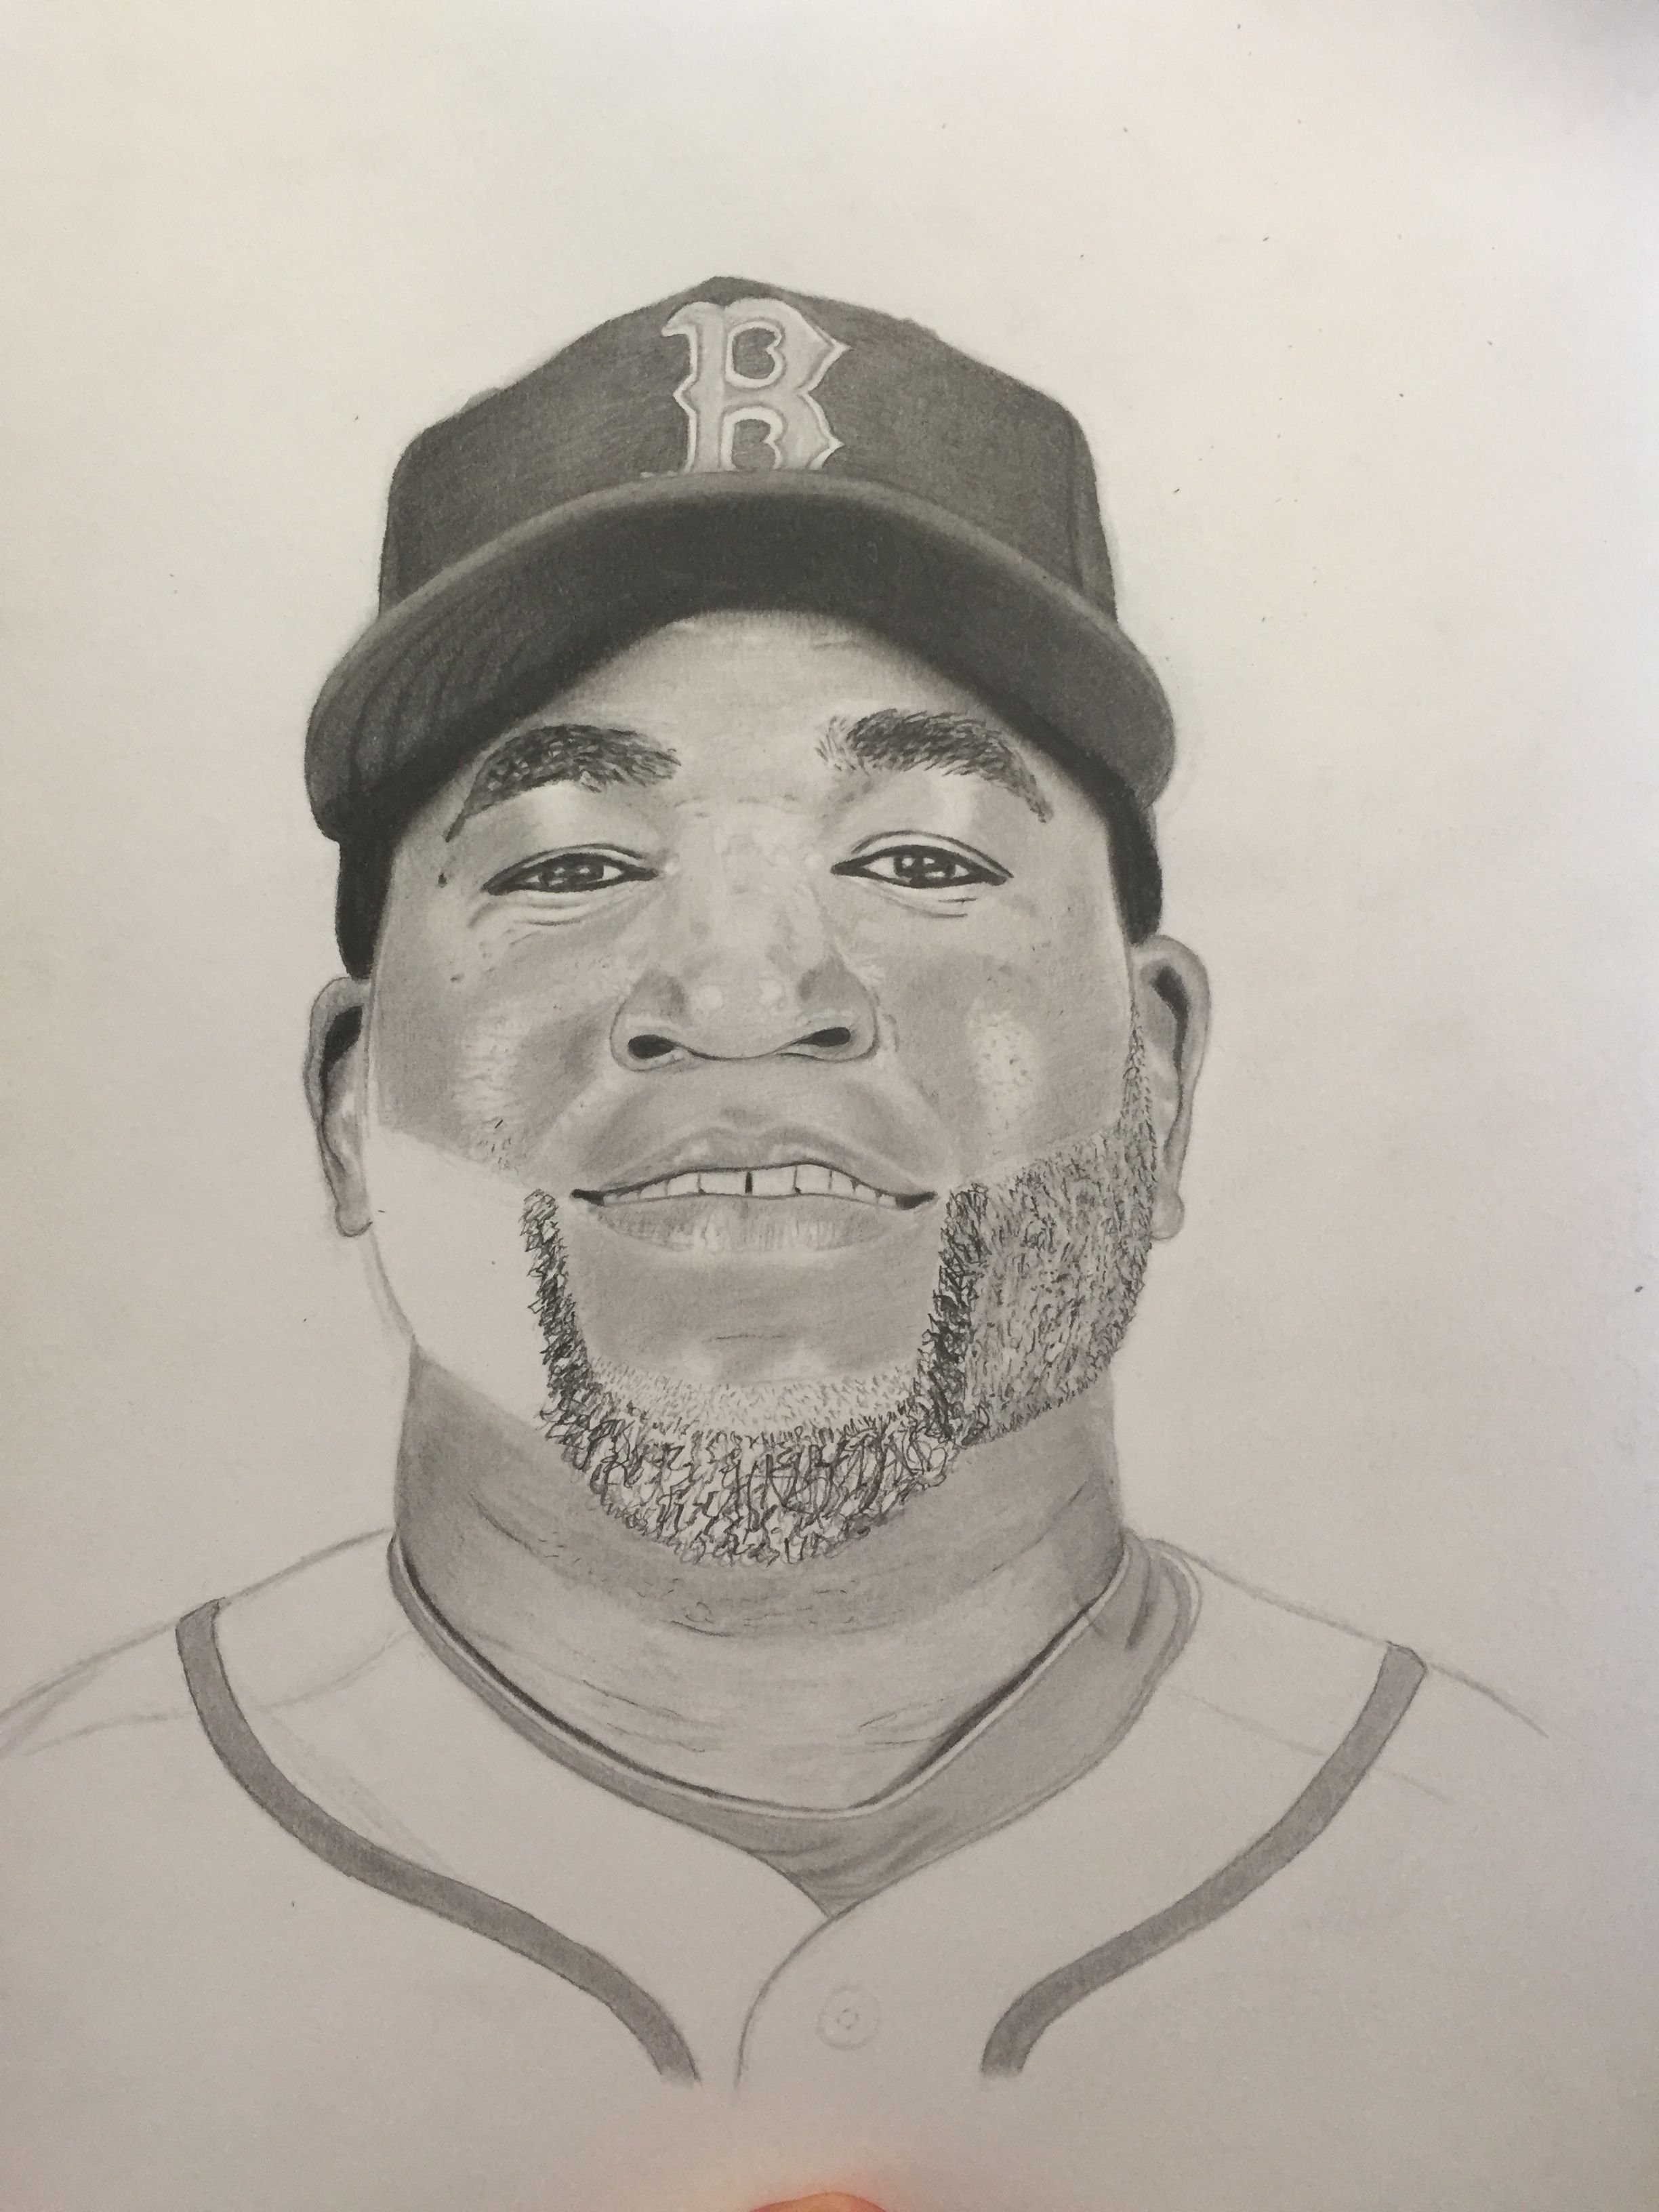
you can now start adding in some facial hair. do this by simple making small ticks all over the area for the hair. Make sure the lines on the chin strap are darker then the rest of the facial hair. once you have a complete section, use your shader to darken up the area and then make small ticks again over that.
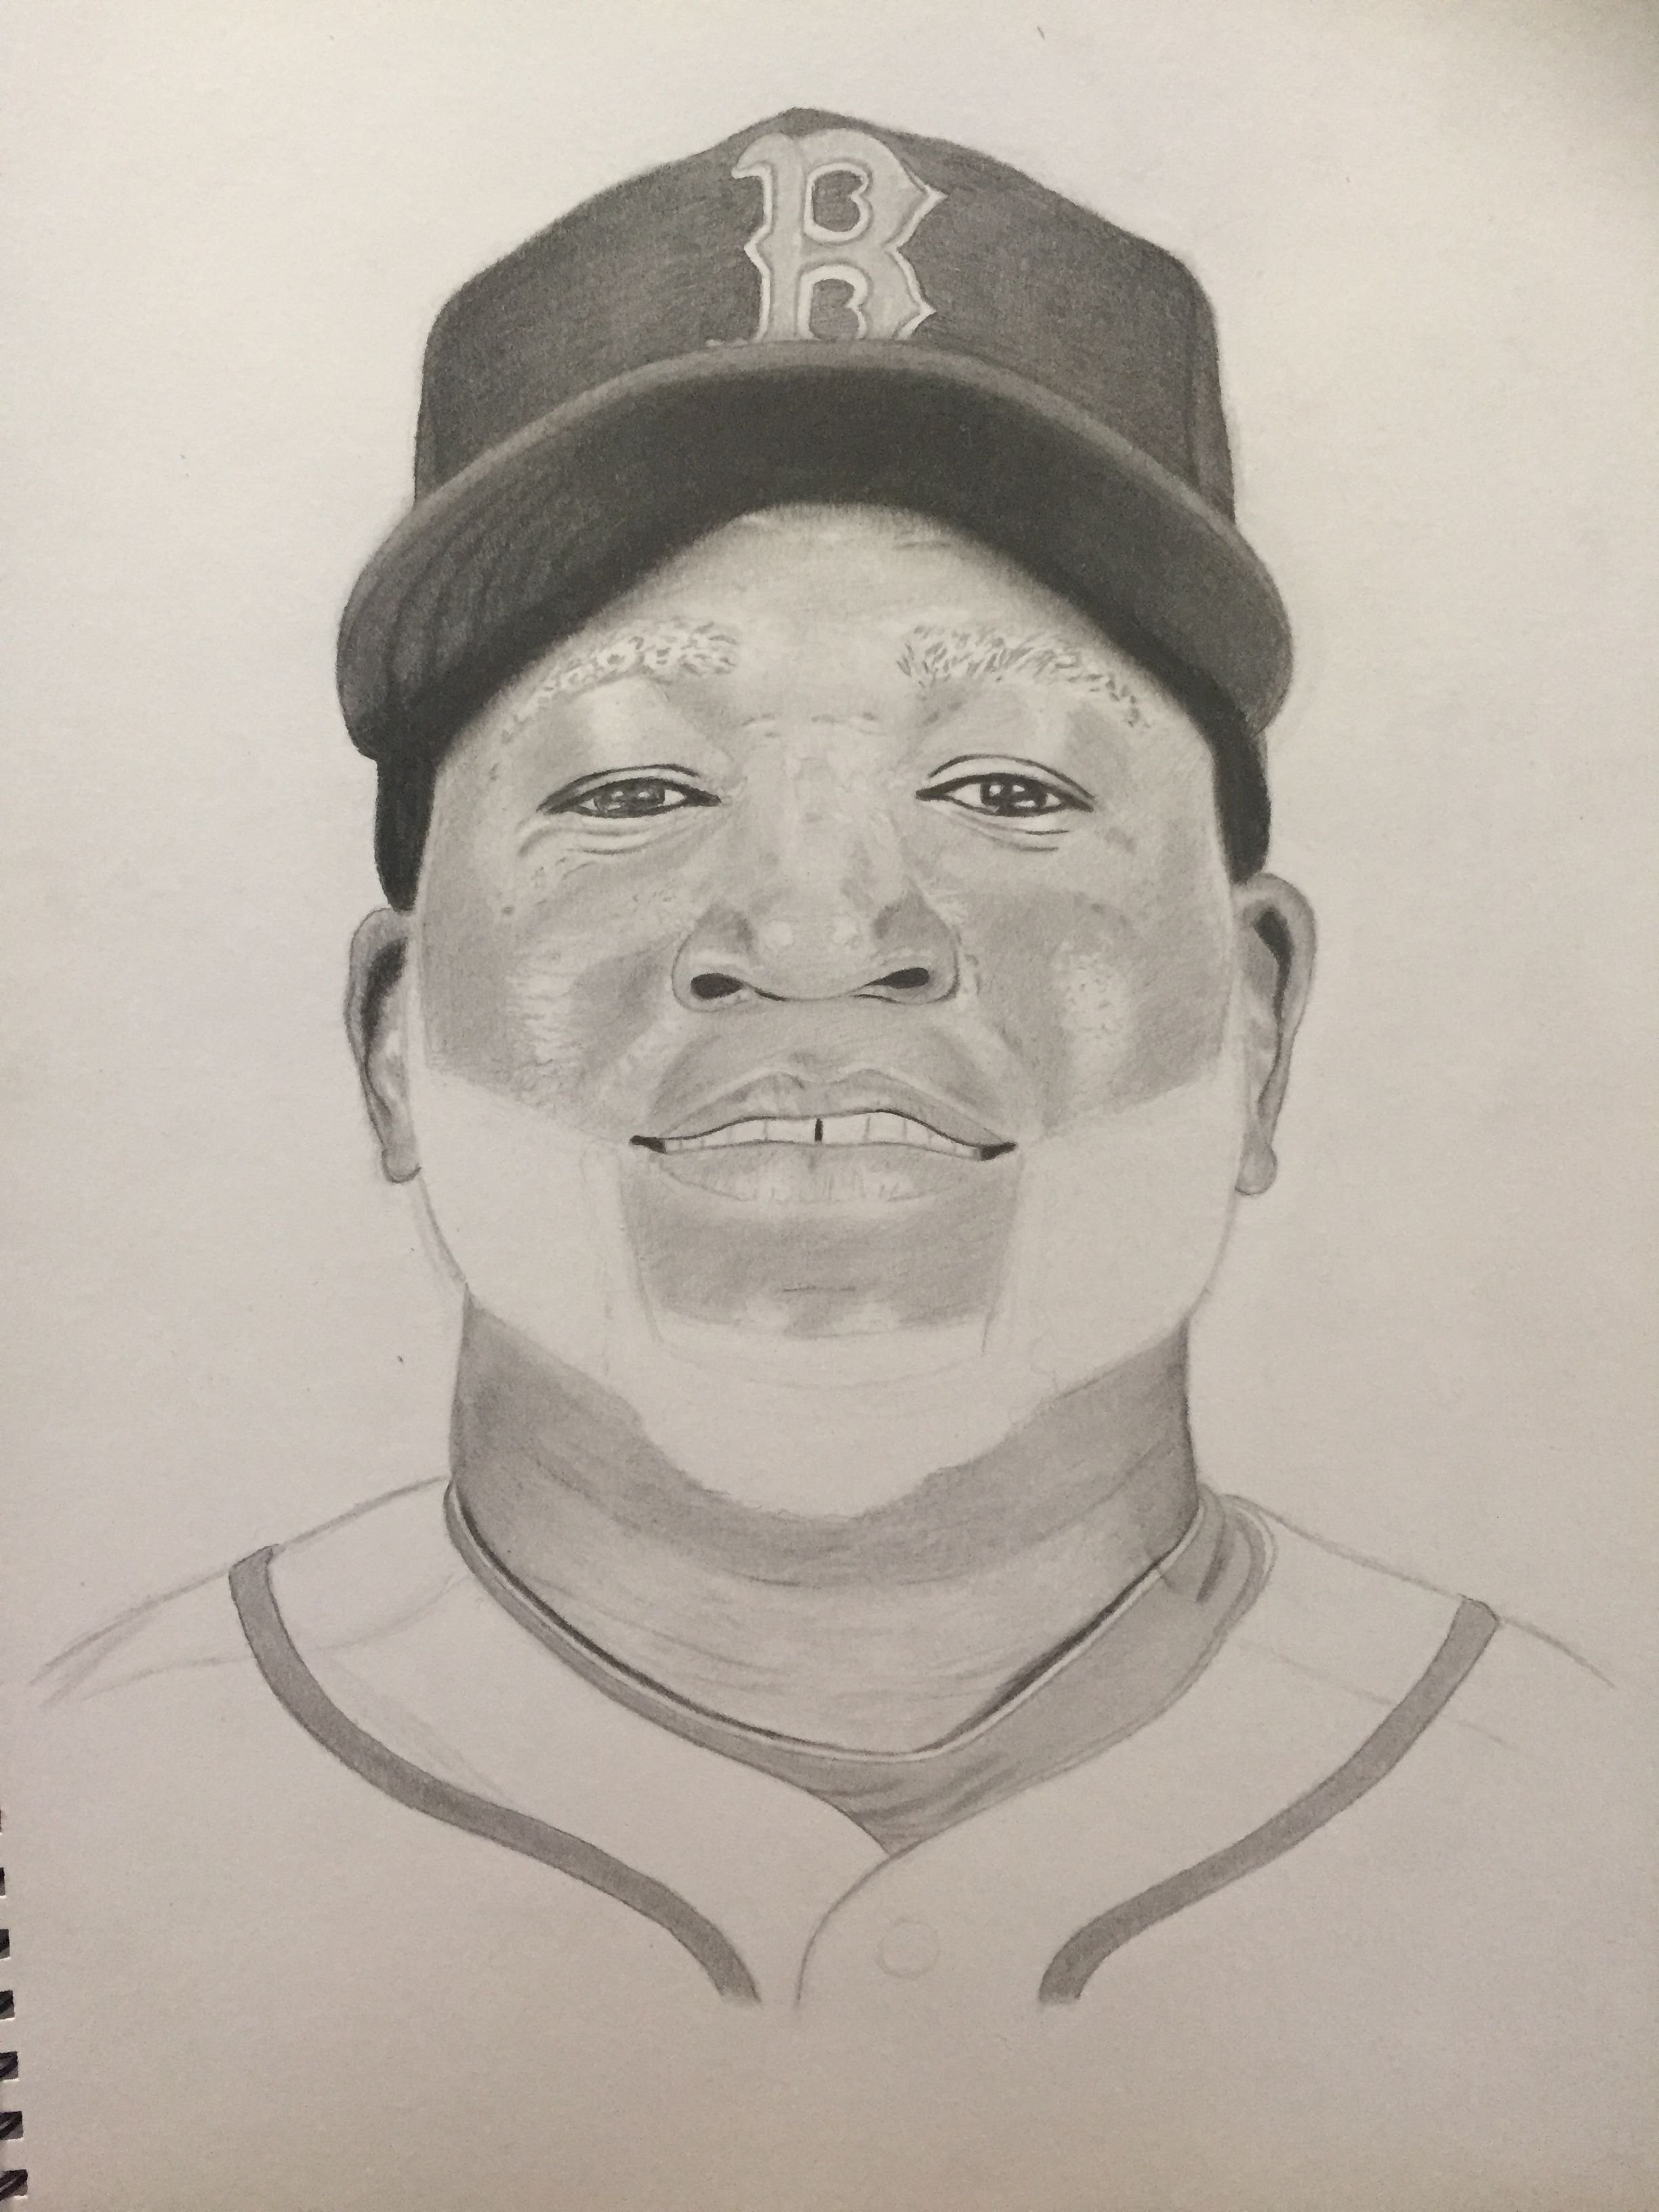
Finish it up by continuing to distinguish the variations in shades.

Send a up-vote my way if you liked this and would like to see more.
If you have requests for possible future drawings let me know in the comments.
I hope you guys enjoyed the tutorial!
Barry F Samways