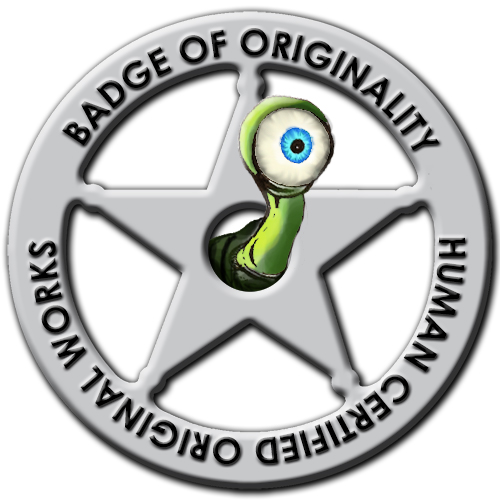
As promised by @humanbot, here is the Badge of Originality! You will see this badge where I have personally verified a post is original content.
EDIT: I have extended an offer to experienced curators who want to help with the @humanbot Human Certified Original Works initiative! You can get your own customized Badge of Originality and help manually certify original works! Visit this post to find out more!
@humanbot/the-humanbot-human-certified-original-work-initiative
All posts submitted to the @humanbot Curator Incubator & Link Drop will be checked for plagiarism using my patented multi-step process. I am not going to tell you the secret sauce here as it could be used as a recipe to avoid detection, but I will tell you that it involves several methods of checking the text itself for plagiarism as well as reverse image searching post images. If I get even the slightest wiff of something fishy I will go to great lengths to determine of a post has been plagiarized, including translating into likely source foreign languages and detecting plagiarism in those languages.
Of course, I am a human and we all know that this means I am a perfect and infallible being. No wait, that's not right... hold on... I am a loosely organized cloud of vibrating energy particles generating an illusory world to inhabit in my mind. I can and do make mistakes in this process. If I certify something as original work and you have reason to believe it is actually plagiarized, please alert me immediately either here on the blockchain or through direct message: @carlgnash on steemit.chat | @gnashster on discord chat
The Making of the Badge of Originality
This badge began its life as this public domain image of a US Marshal Badge from Wiki Commons:
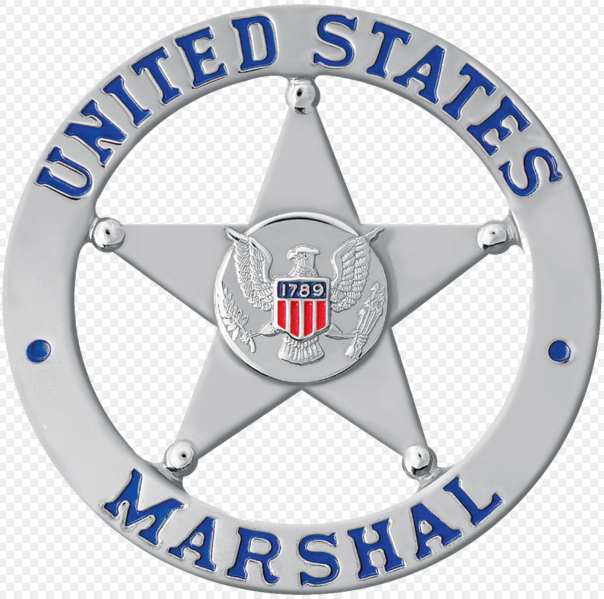
I used this image because I thought it was a nice classic badge shape, I already had star shaped badge in mind so this was perfect. Bonus points because it was a .png image with transparent background so I didn't have to do any work cropping the shape out when I pasted it into PhotoShop.
Solid Gray Badge
The first thing I did was use the eyedrop tool to select the gray color from a random part of the badge, then right-clicked the layer thumbnail to "Select Pixels" of the layer, and used the paint bucket to cover the selected pixels with the gray color. Now I had a solid gray badge. I knew I wanted my trusty eyeball tentacle to emerge from the center of the badge, so I used the circular marquee selector to select a circle at the center of the badge and deleted that section. Now I had a solid gray badge with a hole in the middle:

Beveled Badge
Of course the solid gray badge looks flat and blah. PhotoShop "Inner Bevel" effect to the rescue! I used these settings to apply a bevel effect to the badge:

Here is the beveled badge:

Alien Eyeball Badge
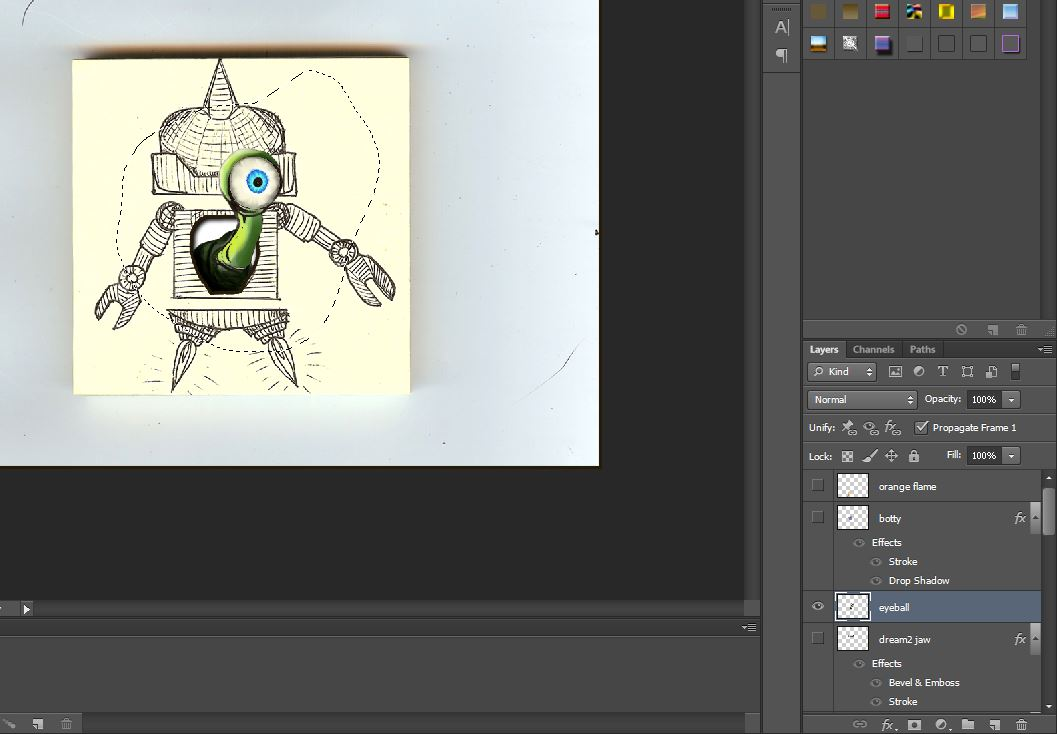
Luckily I had just recently colored my trusty eyeball tentacle avatar for the @humanbot logo, so I just pulled up my @humanbot PhotoShop file and copied the eyeball to paste it into the badge file:
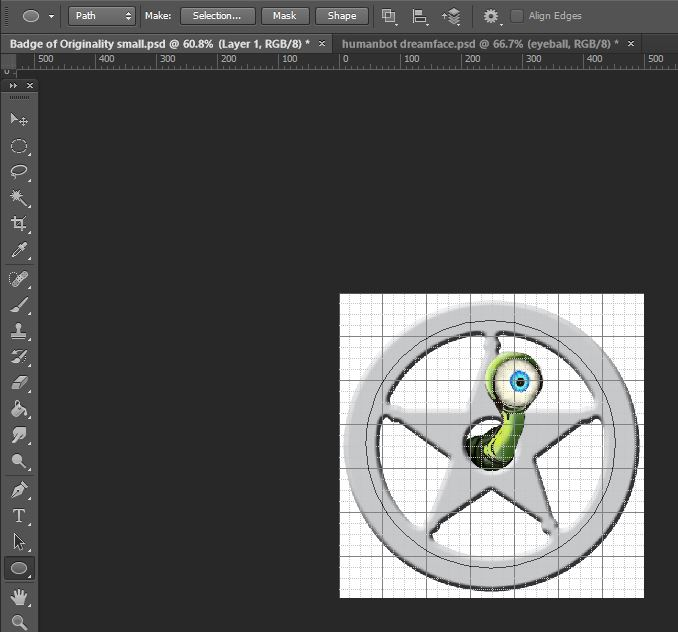
Once I pasted the eyeball and moved it around to a position I liked, I had to delete some pixels from the base of the eyeball that were sticking out past the hole in the badge. Again I just selected the badge layer and right clicked on the layer thumbnail to "Select Pixels", then selected the eyeball layer and used the erasor tool to erase the pixels from the tentacle that overlapped the badge layer (only these pixels were selected because of the previous step - this made this process a snap).
Here is the badge with the eyeball:

Adding the text and finishing touches!
Obviously I needed the text to go around the badge in a circle. To do this I just selected the Ellipse shape tool and selected "path" instead of "shape" from the drop down menu at the top of the screen. I held down the "Shift" key while making the ellipse to keep it a perfect circle, and made a circular path for the text to follow - here is the circular shape I made, note the "path" selection in the drop down at the top left of the image:
With this shape made, I selected the Text tool and hovered over the circular shape and clicked on it to make my text follow the circle around the badge. I used "Century Gothic" typeface, set to "Bold" style, all caps. The plain text felt flat on the beveled badge so I used the "Emboss" effect to make the text feel like it was embossed on the surface of the badge. I used the following emboss settings:

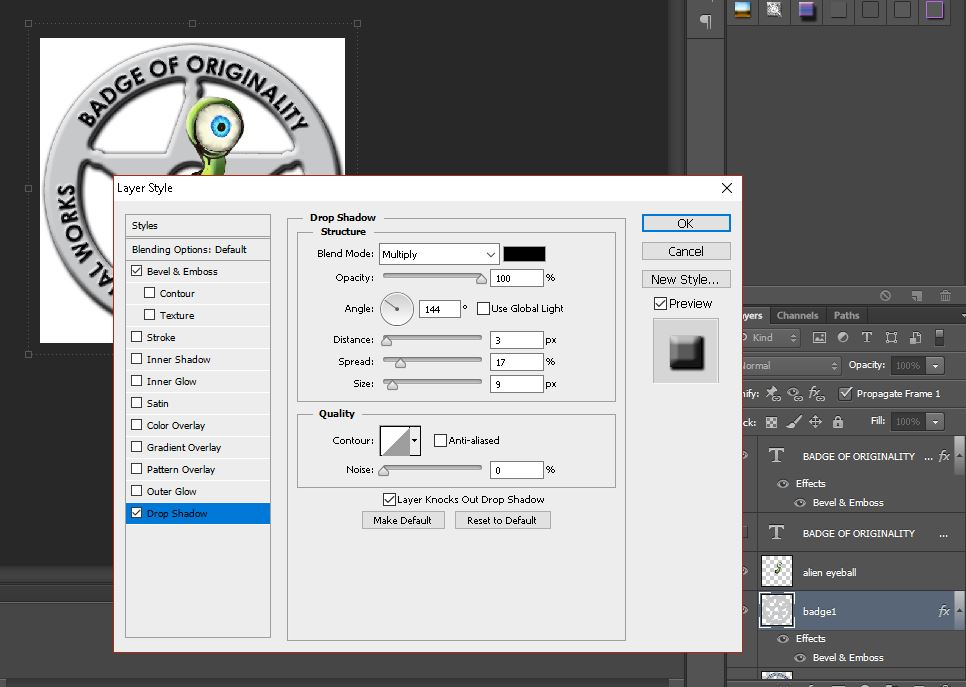
One last touch to finish off the badge, I added a "Drop Shadow" effect to the badge layer to make it seem like it is resting on the surface of the white background. I use these drop shadow settings:
And there you go! The making of the Badge of Originality!
Much love - Carl