Hello, my fellow Steemian friends :)
Carrot cake returned.
So, I have been missing for few days.
I went to Disneyland California Adventure on Sunday, and it was freezing cold at night 😂
So I definitely needed some time to recover, making sure I don't get sick again.
I would like to share with you some bone drawings and paintings today.
안녕하세요! 제가 돌아왔습니다.
며칠동안 좀 활동이 뜸했던거 같습니다.
그 이유는 바로.. 제가 디즈니랜드에 다녀와서 아직 제 머릿속이 현실세계로 돌아오지 못했기 때문에 [??]
후기는 내일부터 쓰도록 하겠습니다 ㅎㅎㅎ
약간의 스포를 하자면 충격과 공포였다는 것만... 일단 알려드리고 싶군요....ㅎ..
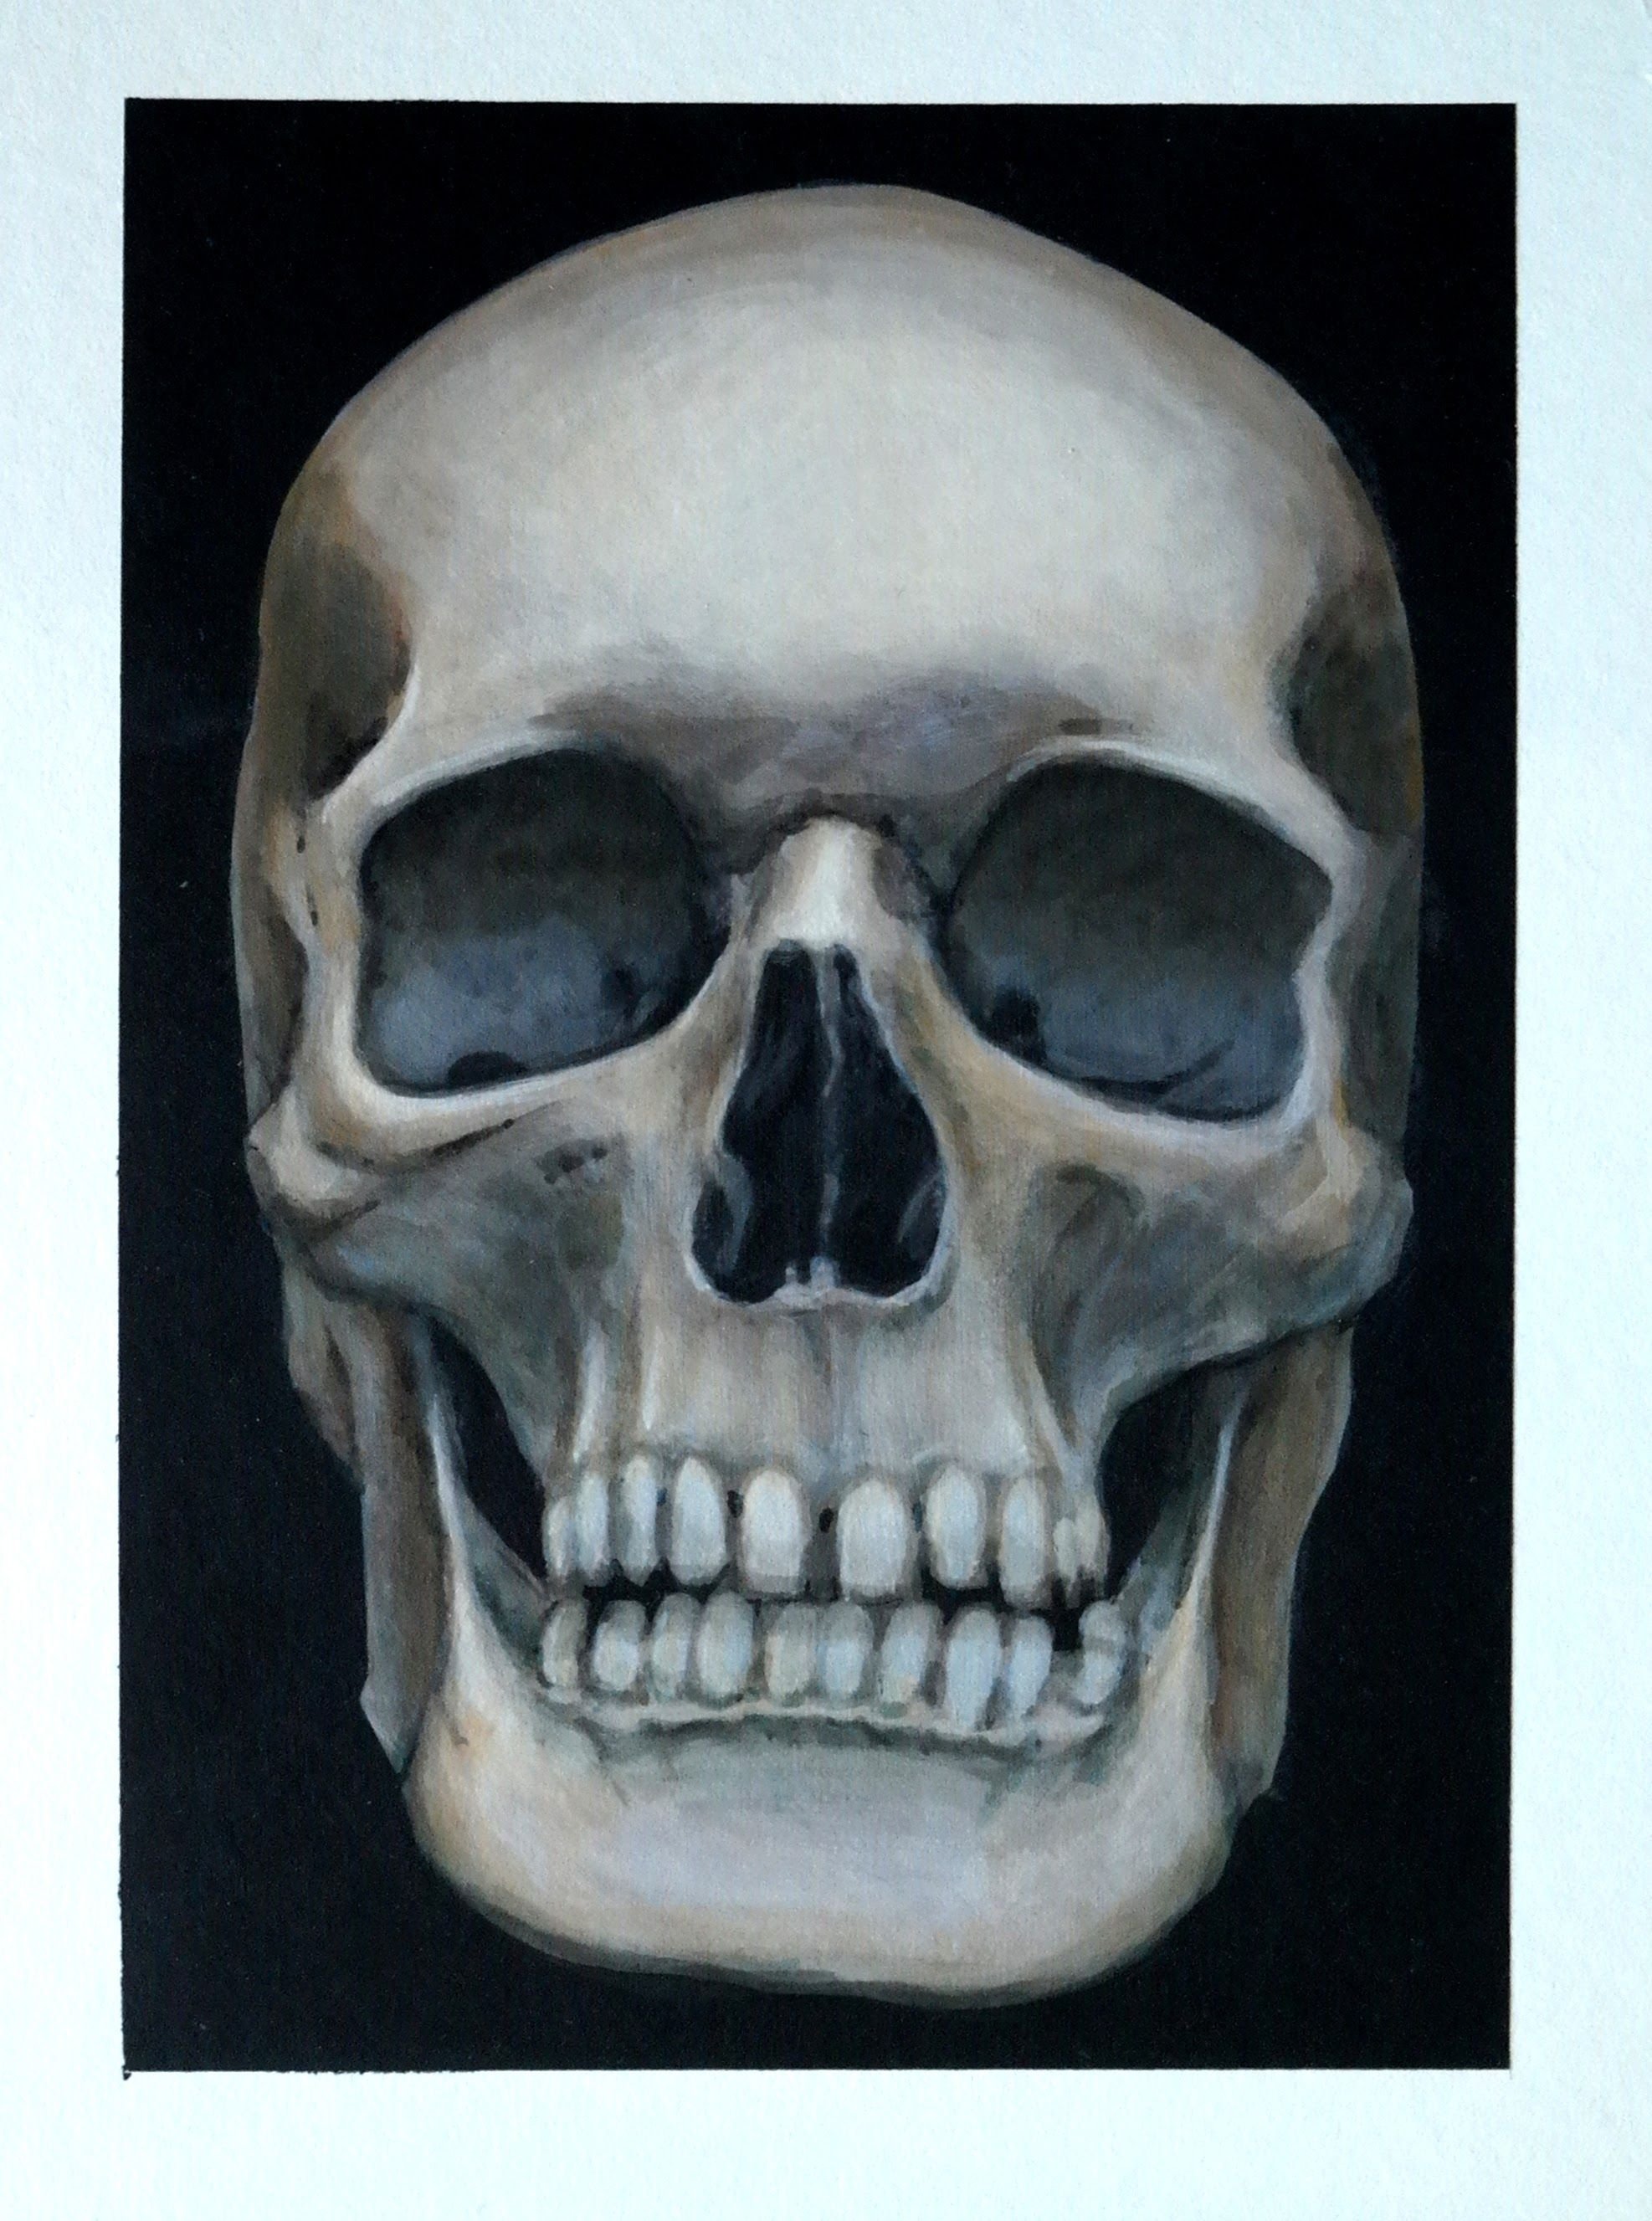
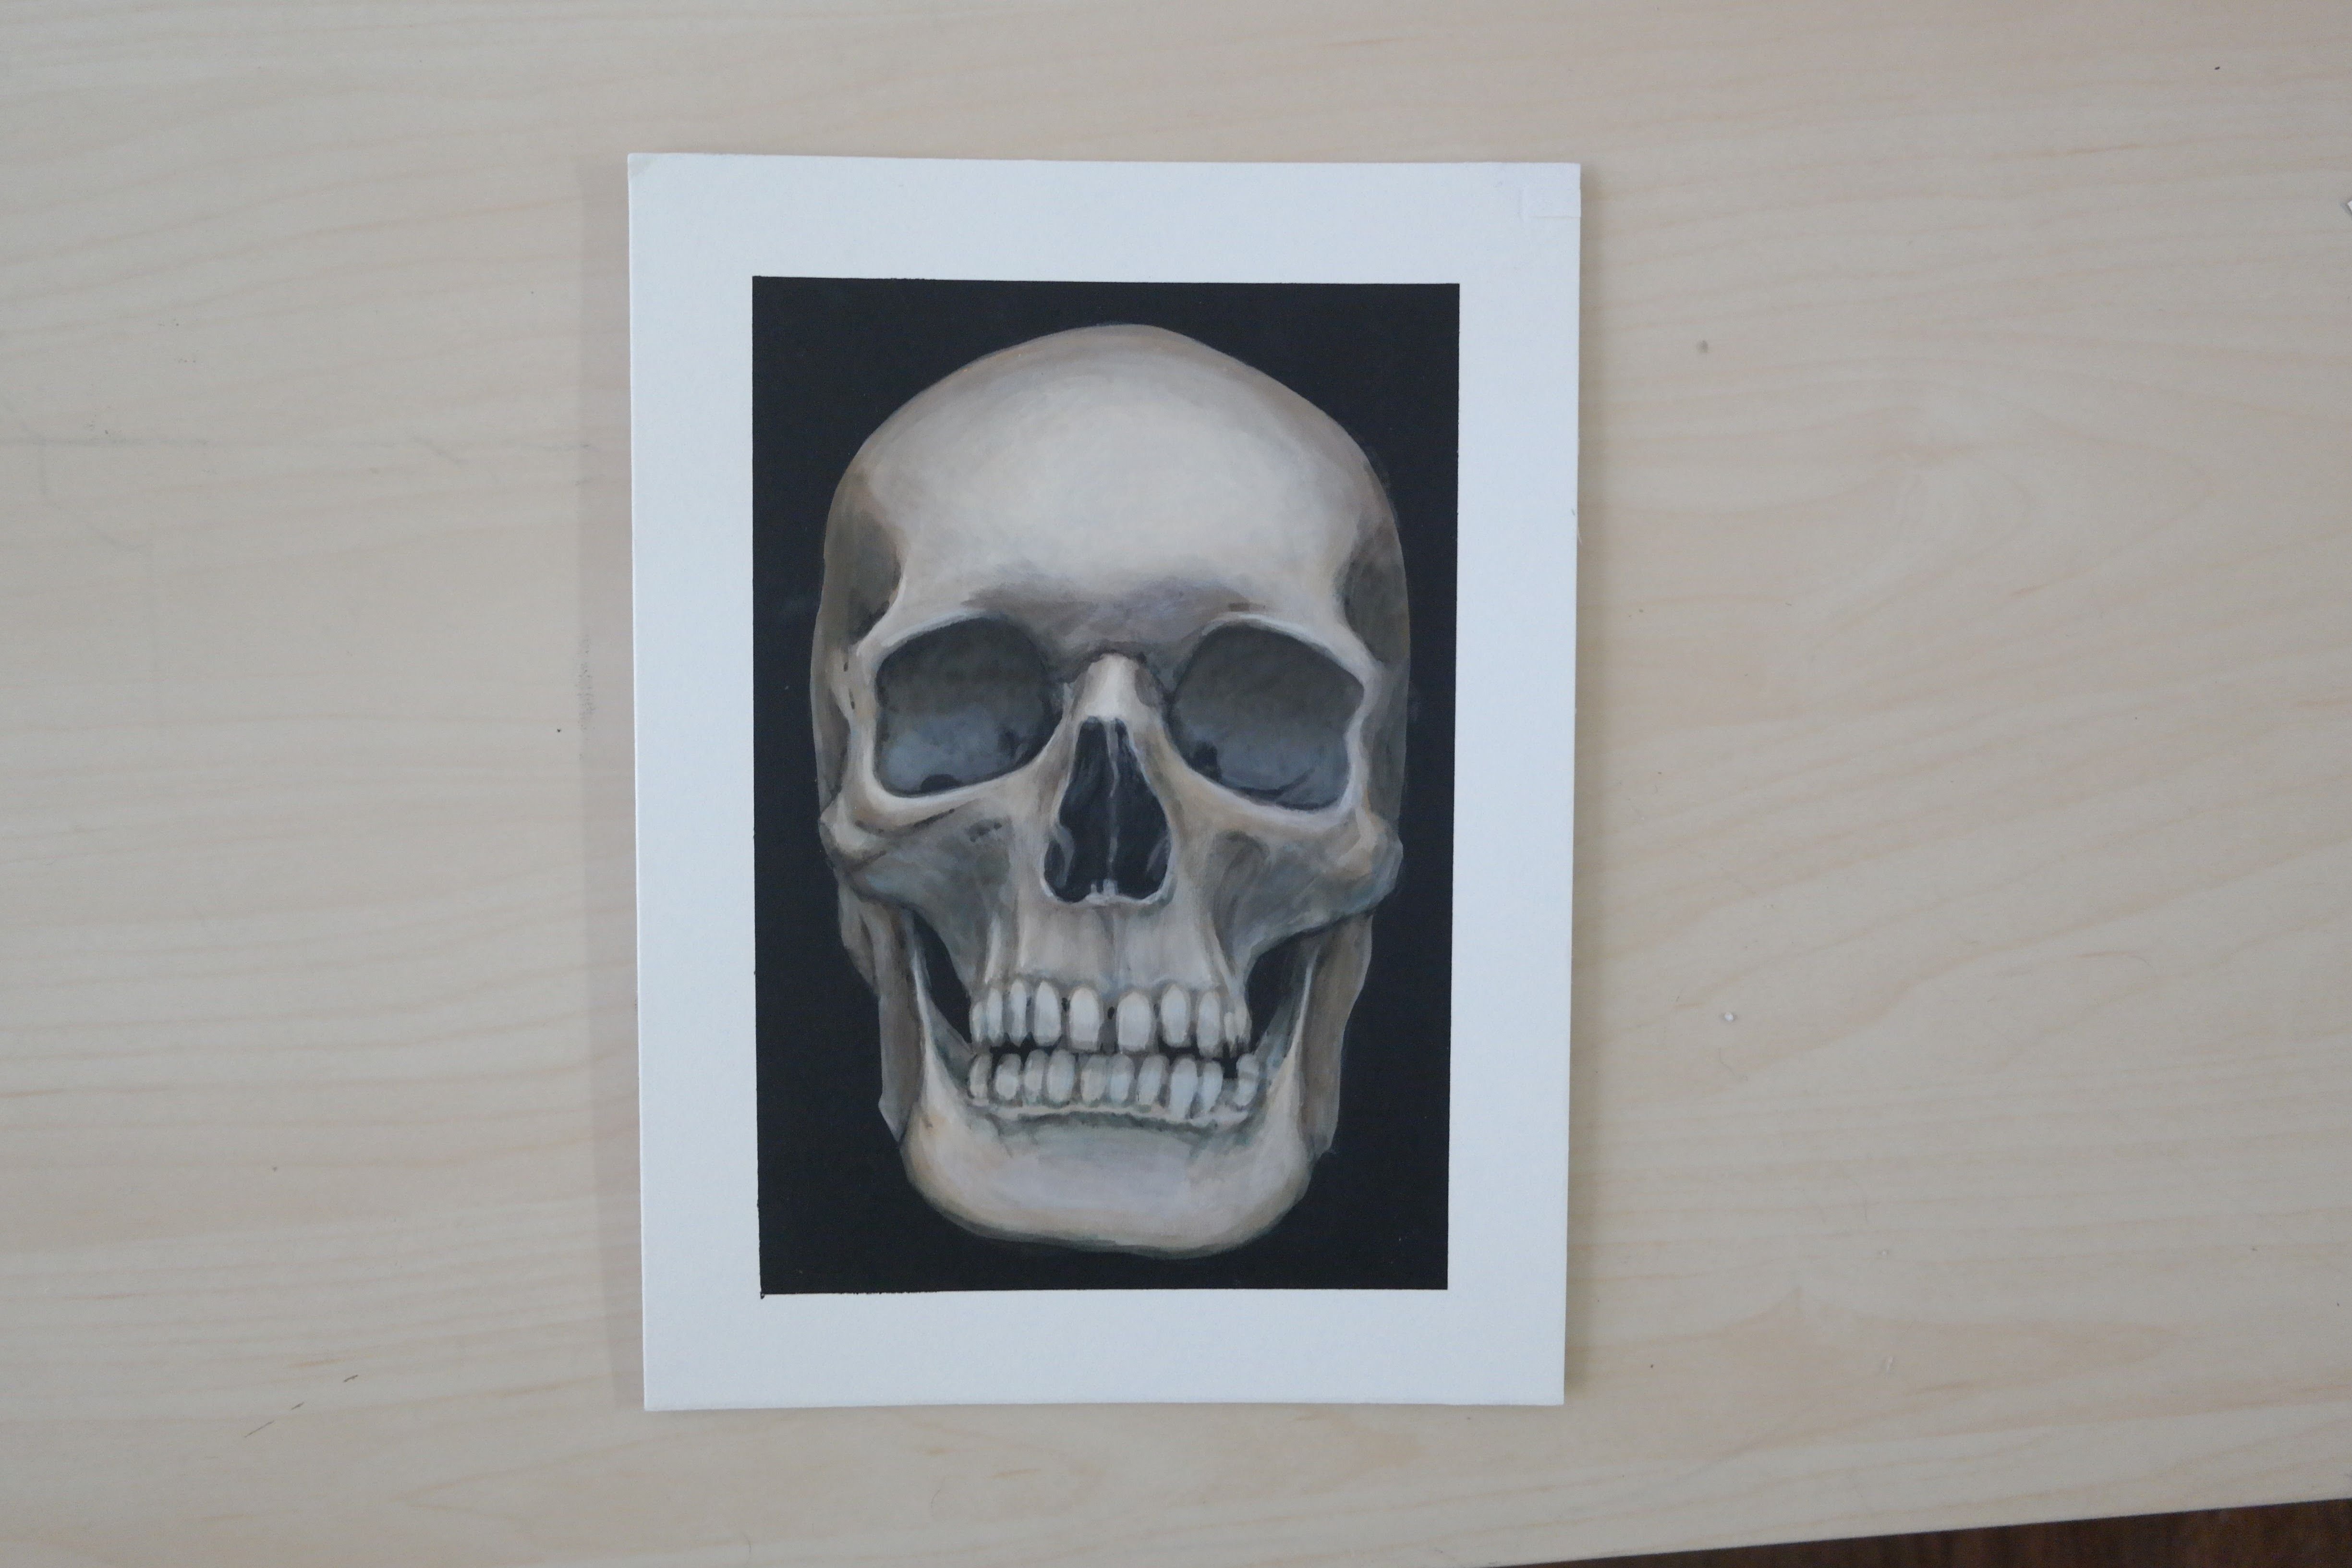
Skull, Acrylic on illustration board
I painted this some time ago, when I started learning human anatomy.
(Before then, I basically didn't care much about the importance of drawing body in correct proportions.)
This skull painting was only for practice, so I used photo reference I found on web.
I used "glazing" technique, which I put layers of colors heavily diluted with water on top of each other, using hair dryer in between the layering so the color does not get stripped from the paper.
예전에 그린 해골입니다. 처음 인체에 대한 공부를 시작할때 그렸었죠!
그래서 처음에는 주로 구글에서 뼈나 근육 사진을 보고 따라 그렸습니다.
이 그림은 '글레이즈' 라는 테크닉을 사용했습니다.
아크릴 물감에 물을 잔뜩 섞어서 채색을 하고, 헤어드라이어로 종이를 말리고 또 다시 위에 칠하고를 반복하는 겁니다 :)
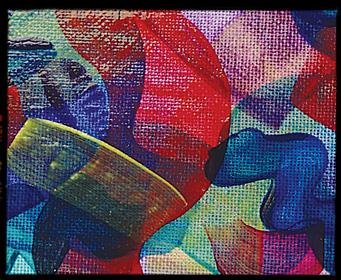
image source: https://www.artsupplies.co.uk/item-liquitex-glazing-medium.htm
When used properly, glazing technique gives the painting unique surface quality similar to the glazing you do with oil, but in fraction of time compared to oil.
And it's less of a hassle to clean up after :)
글레이즈 기법은 수채화나 유화에서도 사용 가능합니다. 반투명한 물감을 칠하고 말리는걸 반복한다-가 기본이기 때문에.
대신 아크릴화에 쓰는 글레이즈 기법은 굉장히 빠르게 작업할수 있다는 장점이 있습니다!!!!!
헤어드라이어만 있다면 순식간에 물감이 마르니까요!!!!
이제 아래에 소개 해드릴 그림은 색연필을 사용해서 그렸습니다.
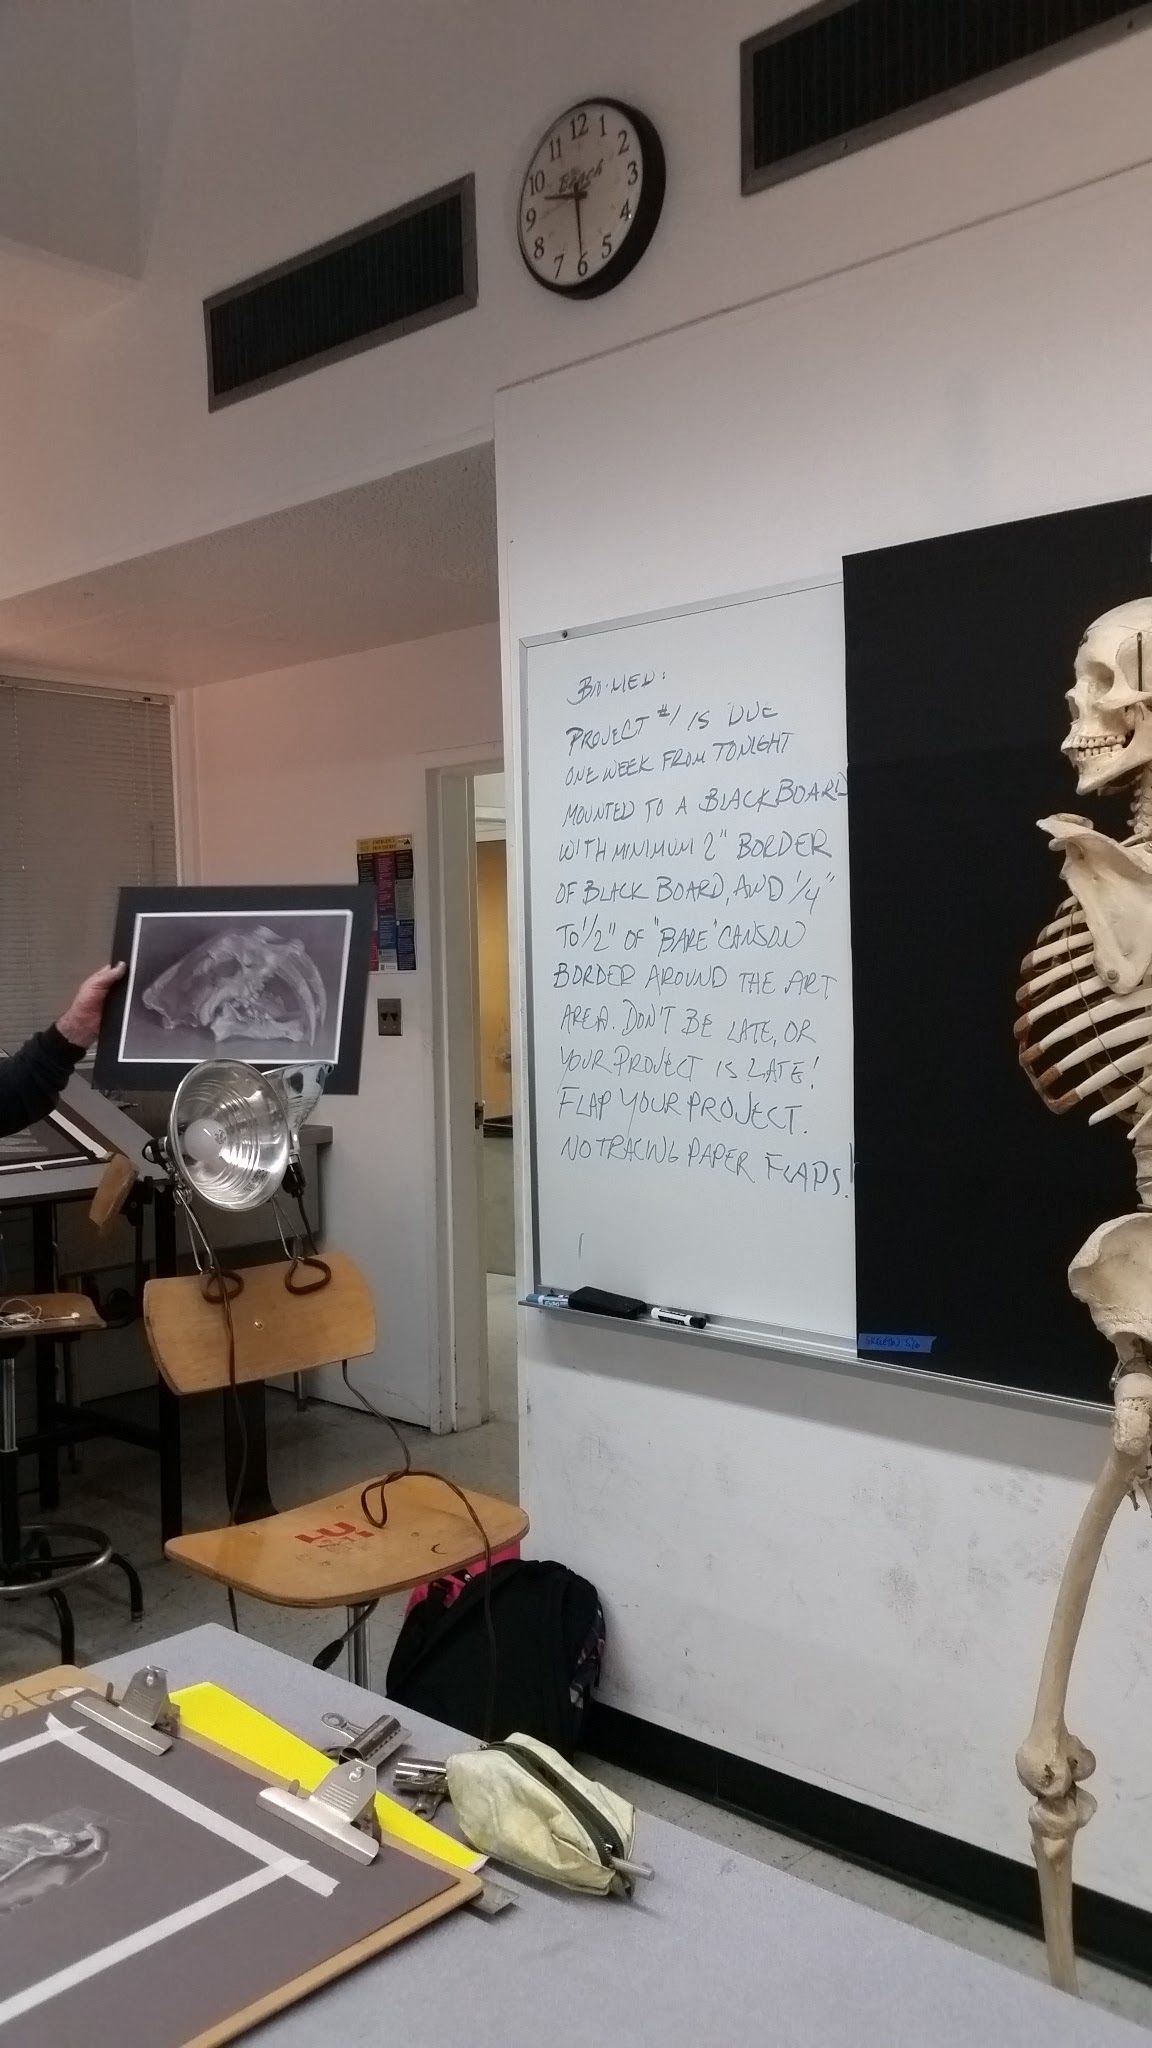
The skeleton model is made from actual dead body of a human.
진짜 사람뼈로 만든 모델입니다.
가까이서 만져 봤는데 진짜 맞더라구요;;
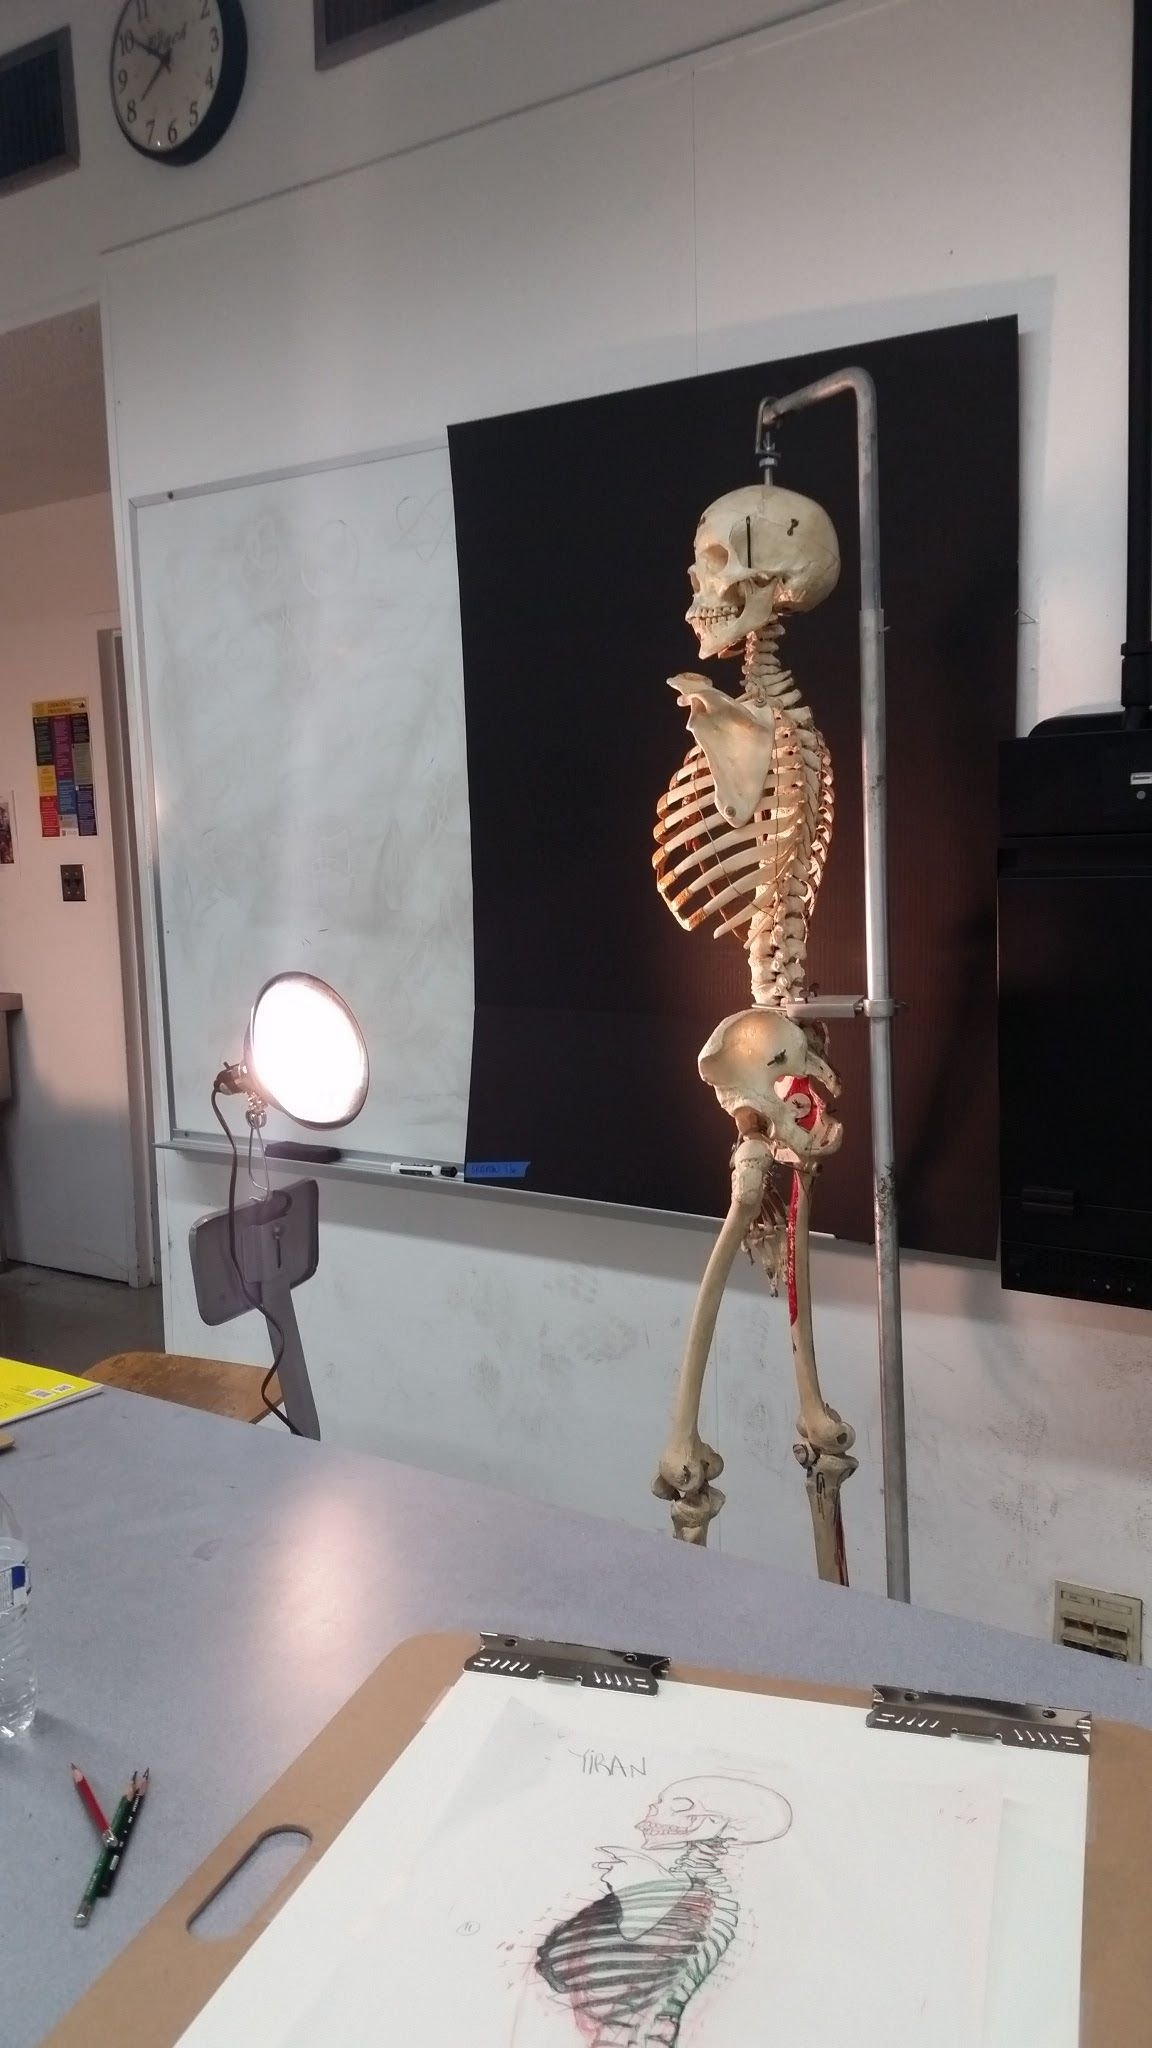
The spotlight is set from the below, to create dramatic lighting effect.
The initial drawing was done on tracing paper, and then the drawing was transferred to warm grey Canson paper.
I used the back side of the Canson which has less surface texture, to ensure the final drawing is smooth. It's just a personal preference.
그림을 그리기 전, 적절한 위치에 light source 를 배치합니다.
이번은 아래쪽에 전등을 배치를 했습니다.
처음엔 트레이싱 종이에 그린 뒤, 캔슨 회색 종이에 그림을 옮겨 그립니다.
종이 뒷면에 연필로 까맣게 채운뒤 뾰족한 연필로 위에 그려서 옮기는거죠. 아마 어렸을때 해보셨을 겁니다 ㅎㅎ
부드러운 결과물을 위해, 종이의 뒷면을 사용했습니다. 텍스쳐가 이는 앞면을 사용해도 상관없지만.. 그냥 개인적인 취향!
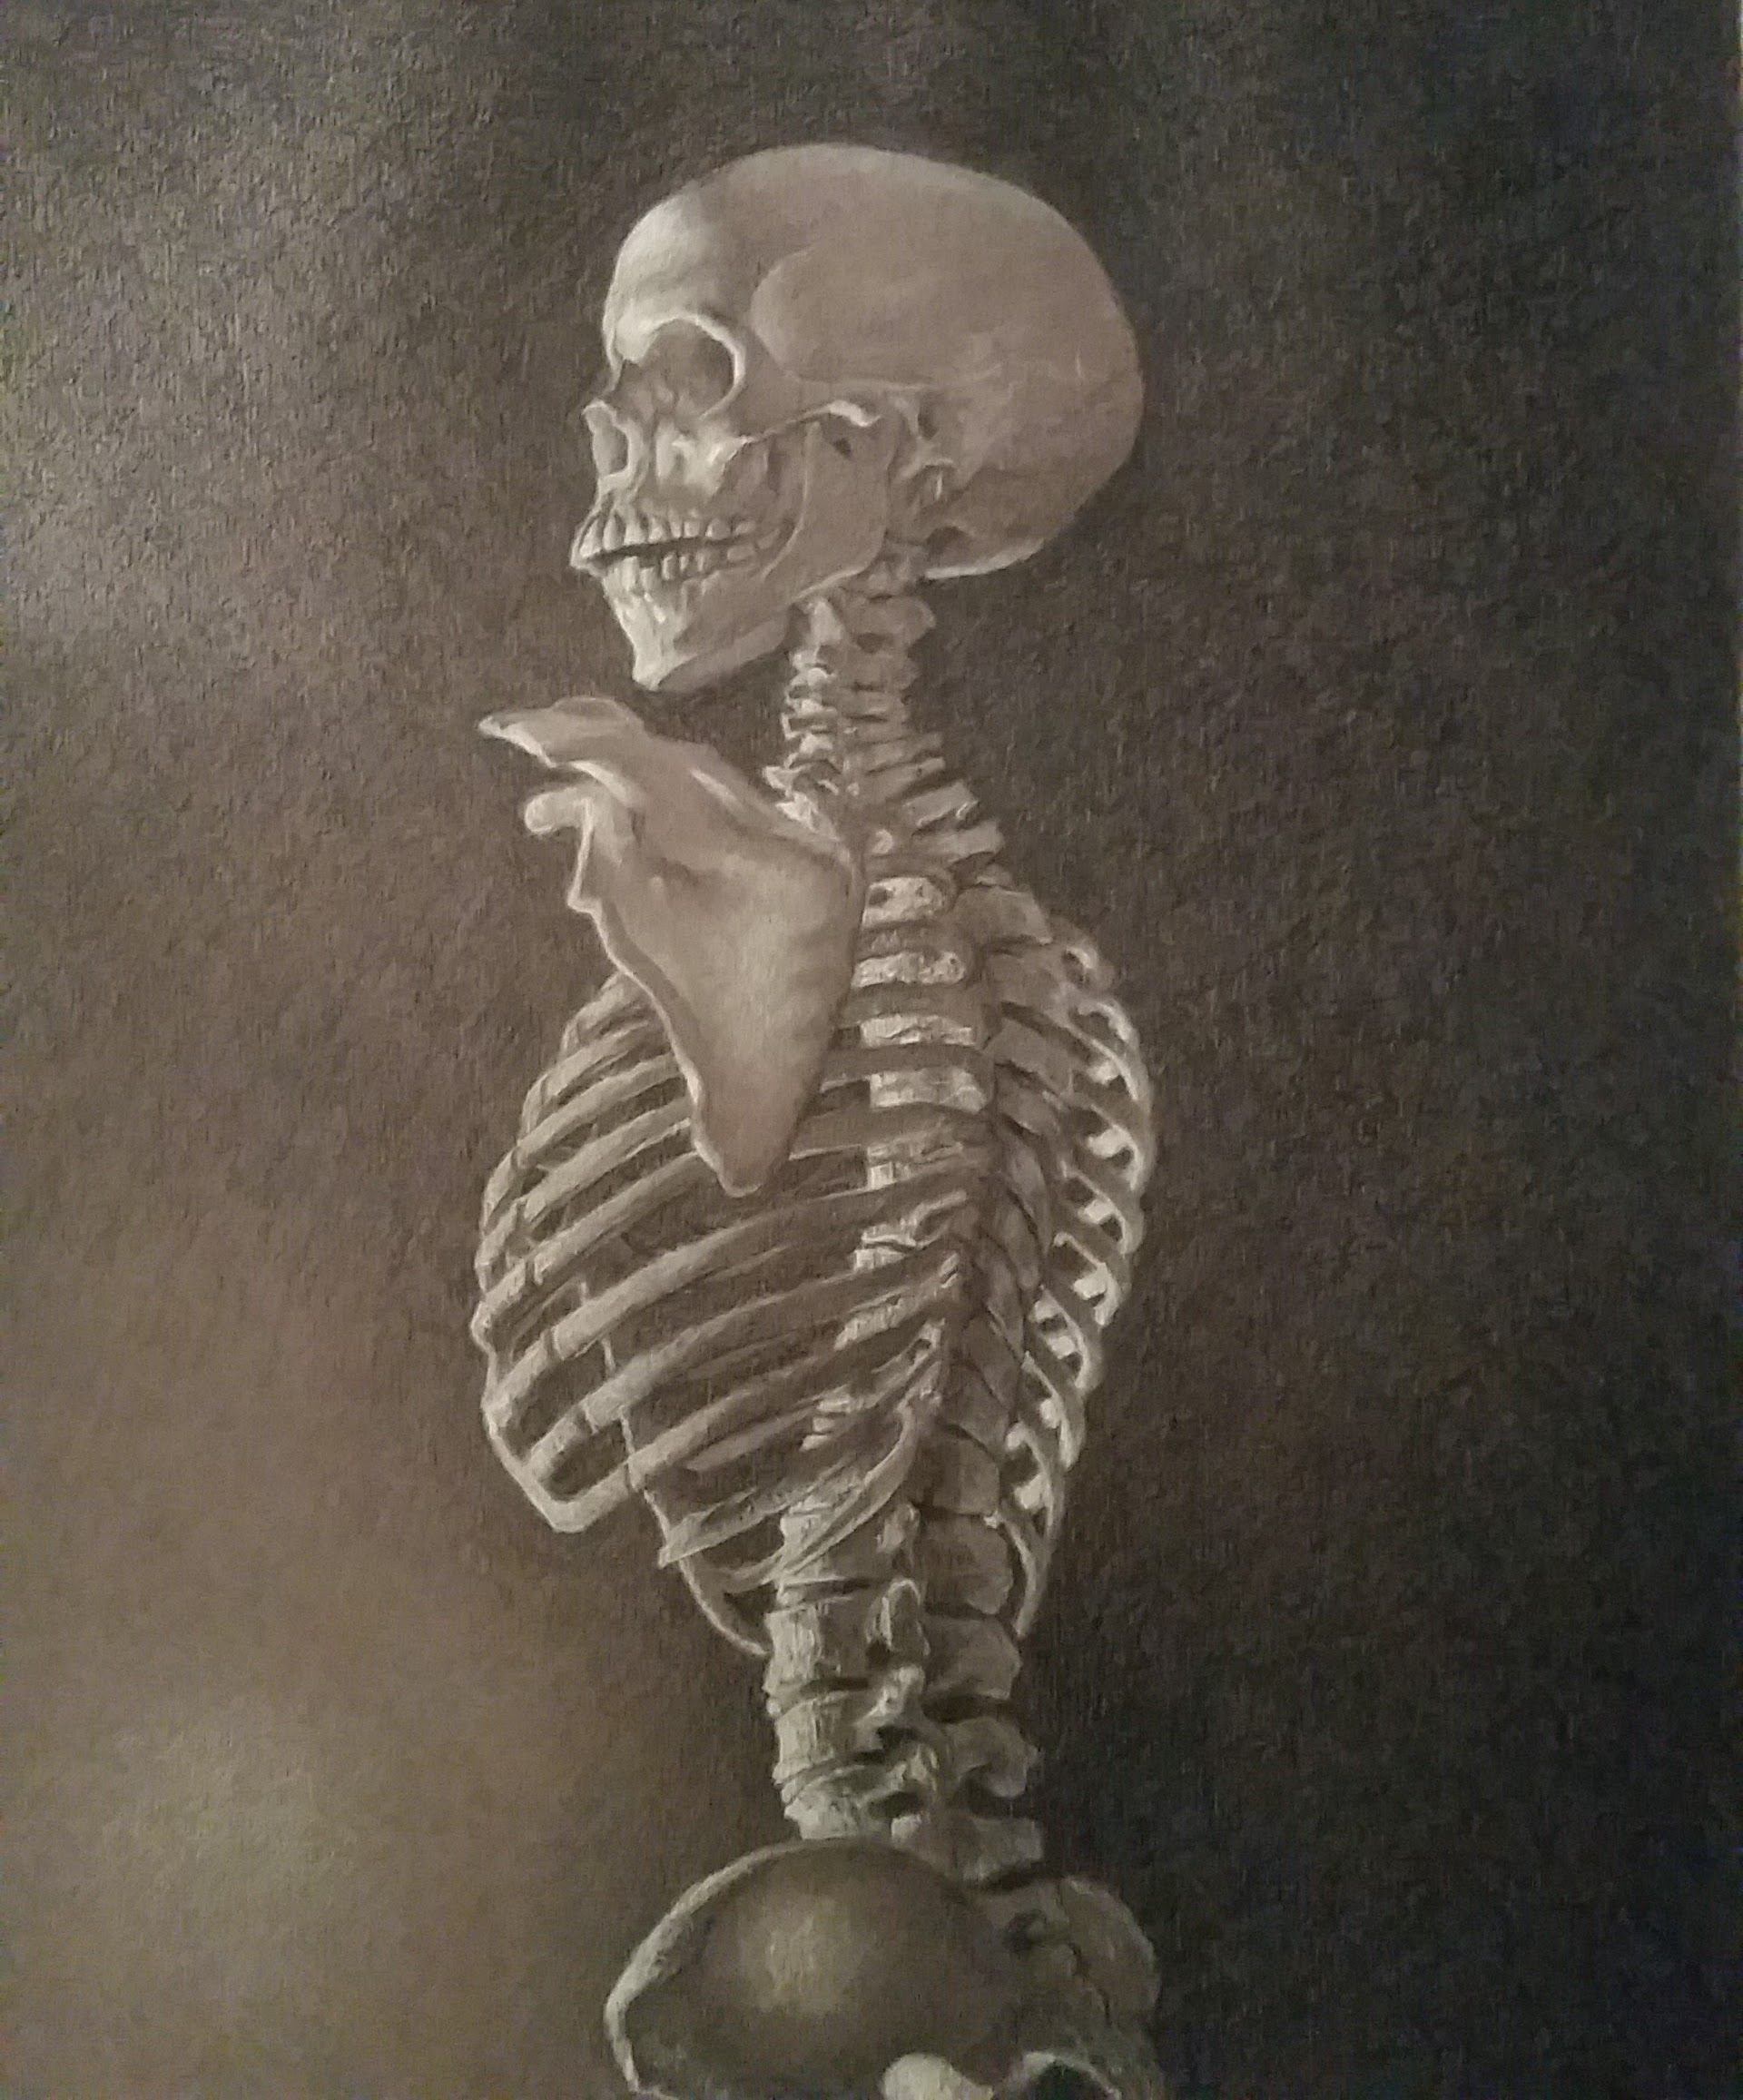
Bones, 18x30
The finished drawing.
흑백으로 보이지만, 검은색, 흰색, 아이보리, 갈색 이렇게 총 4가지 색을 사용했습니다.
사진으로 보니까 잘 티가 안나네요 ㅠ_^
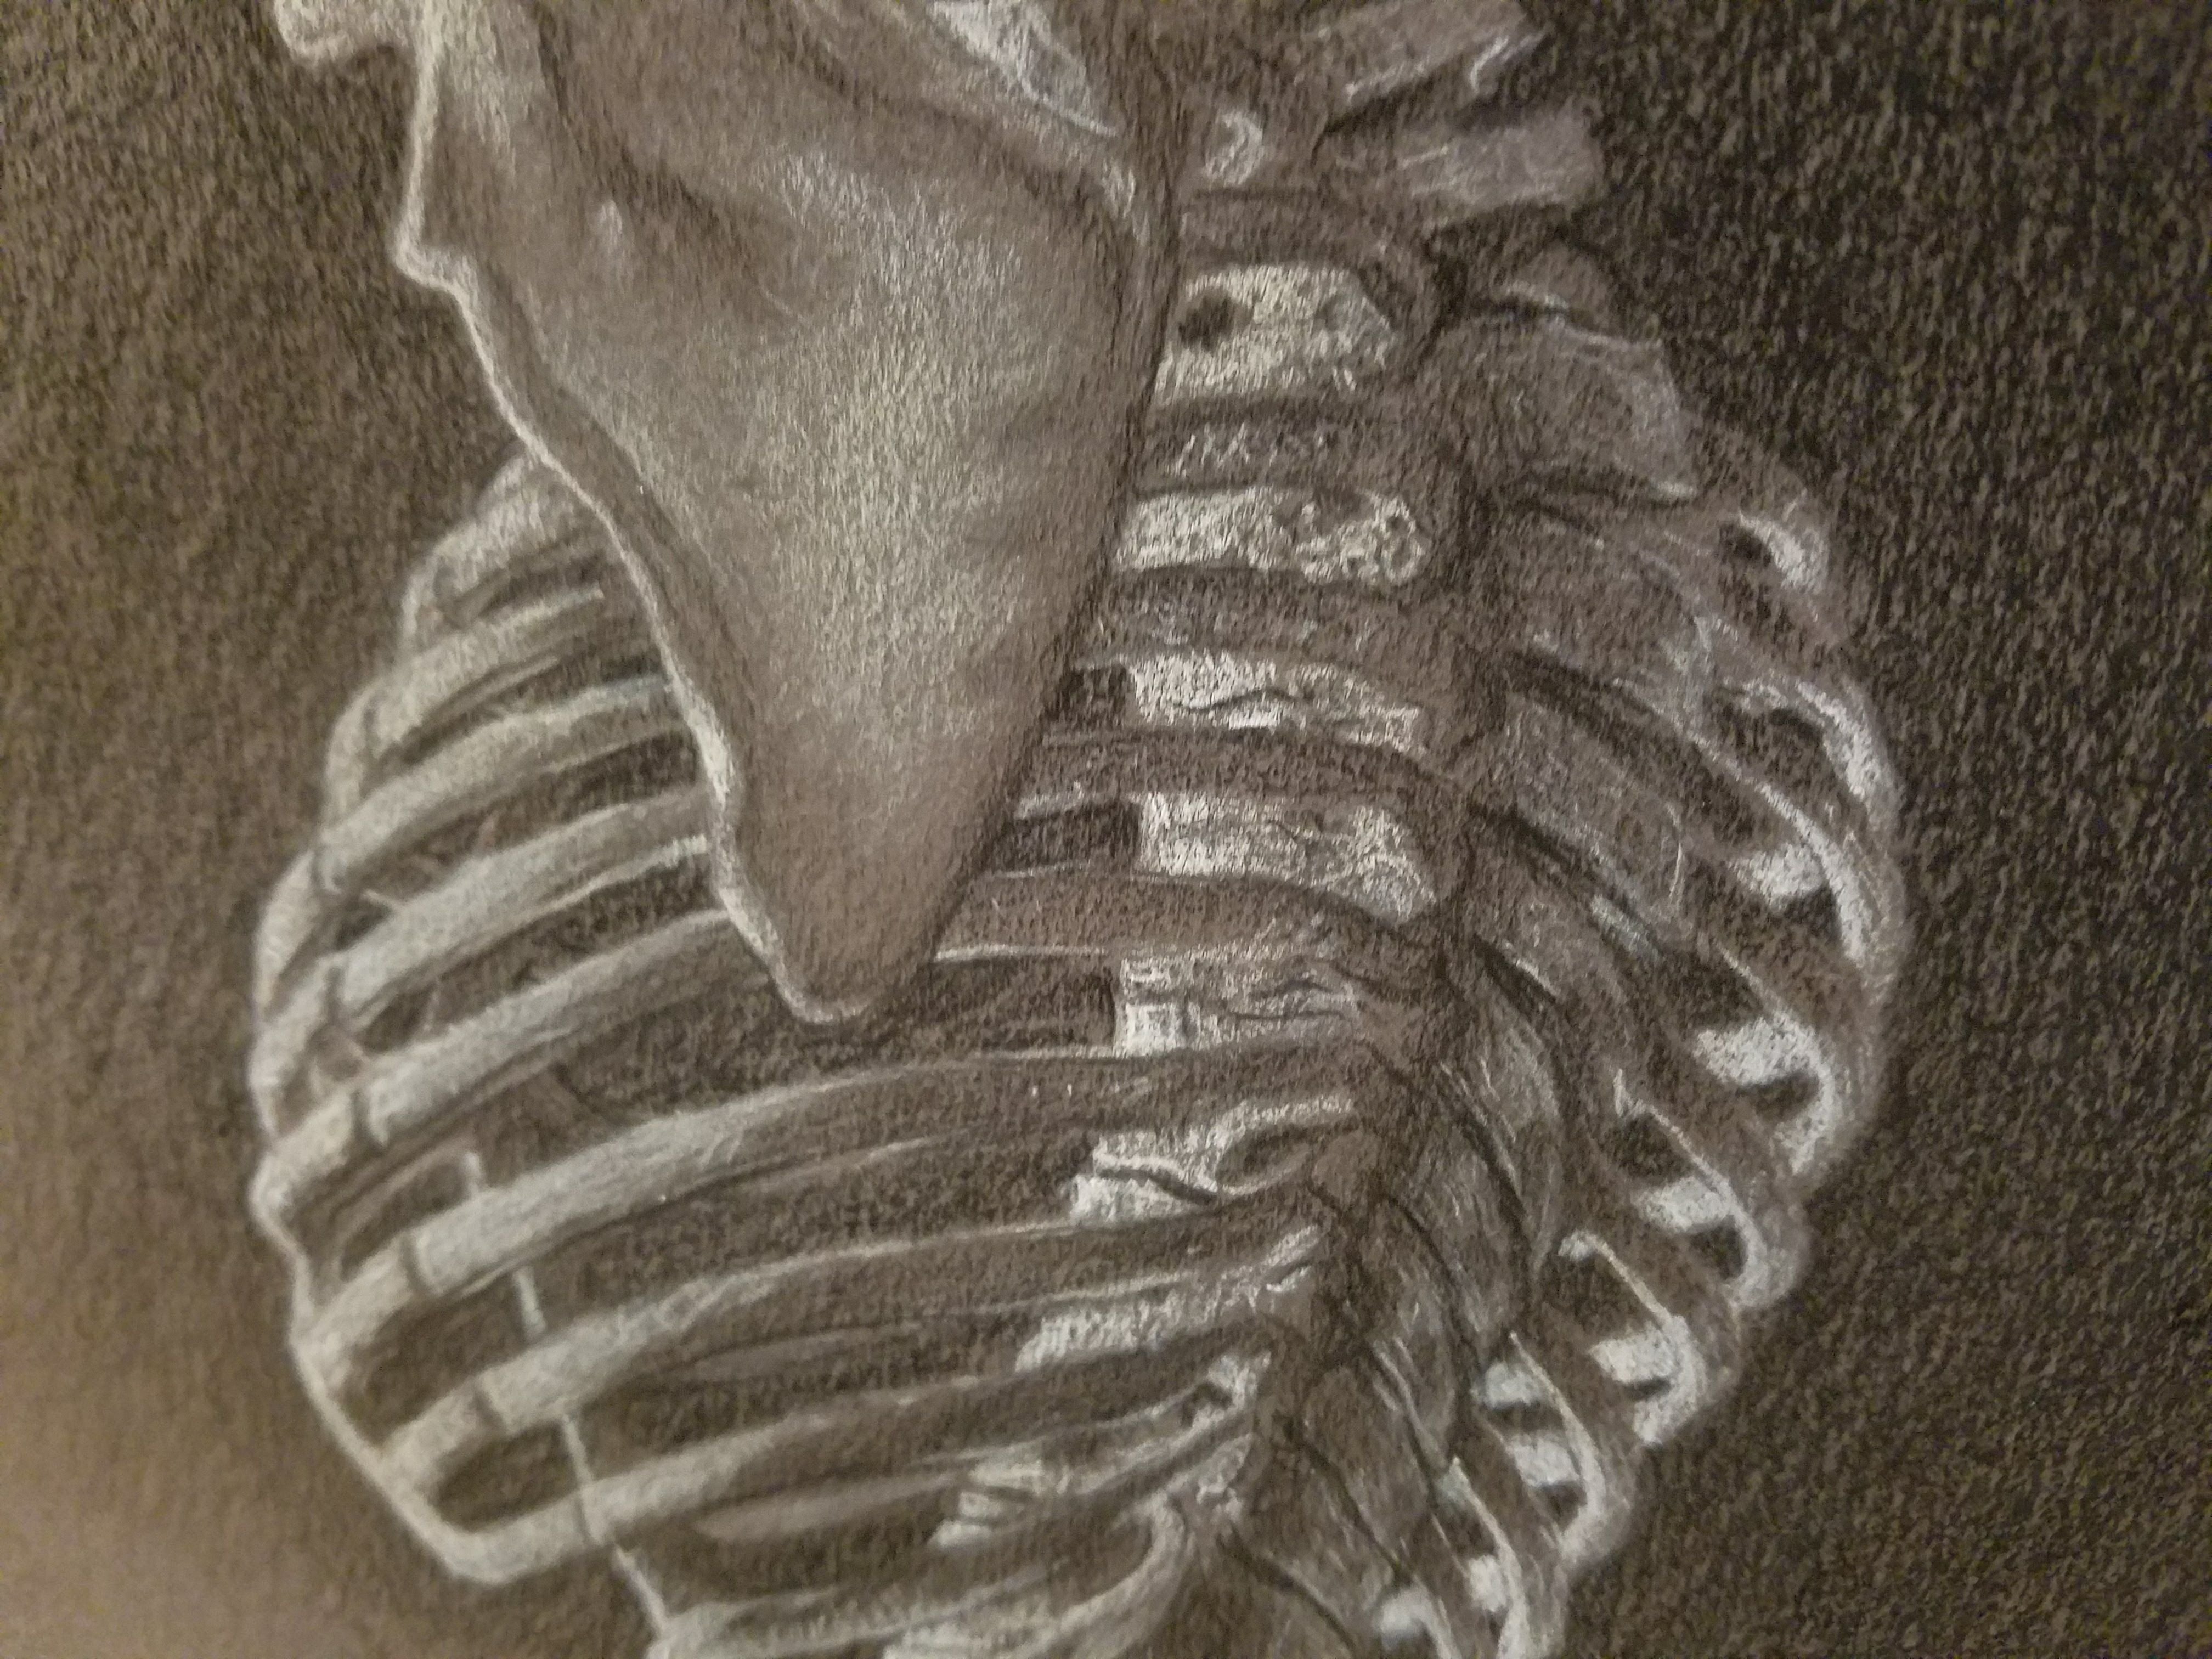
Scapula & rib cage.
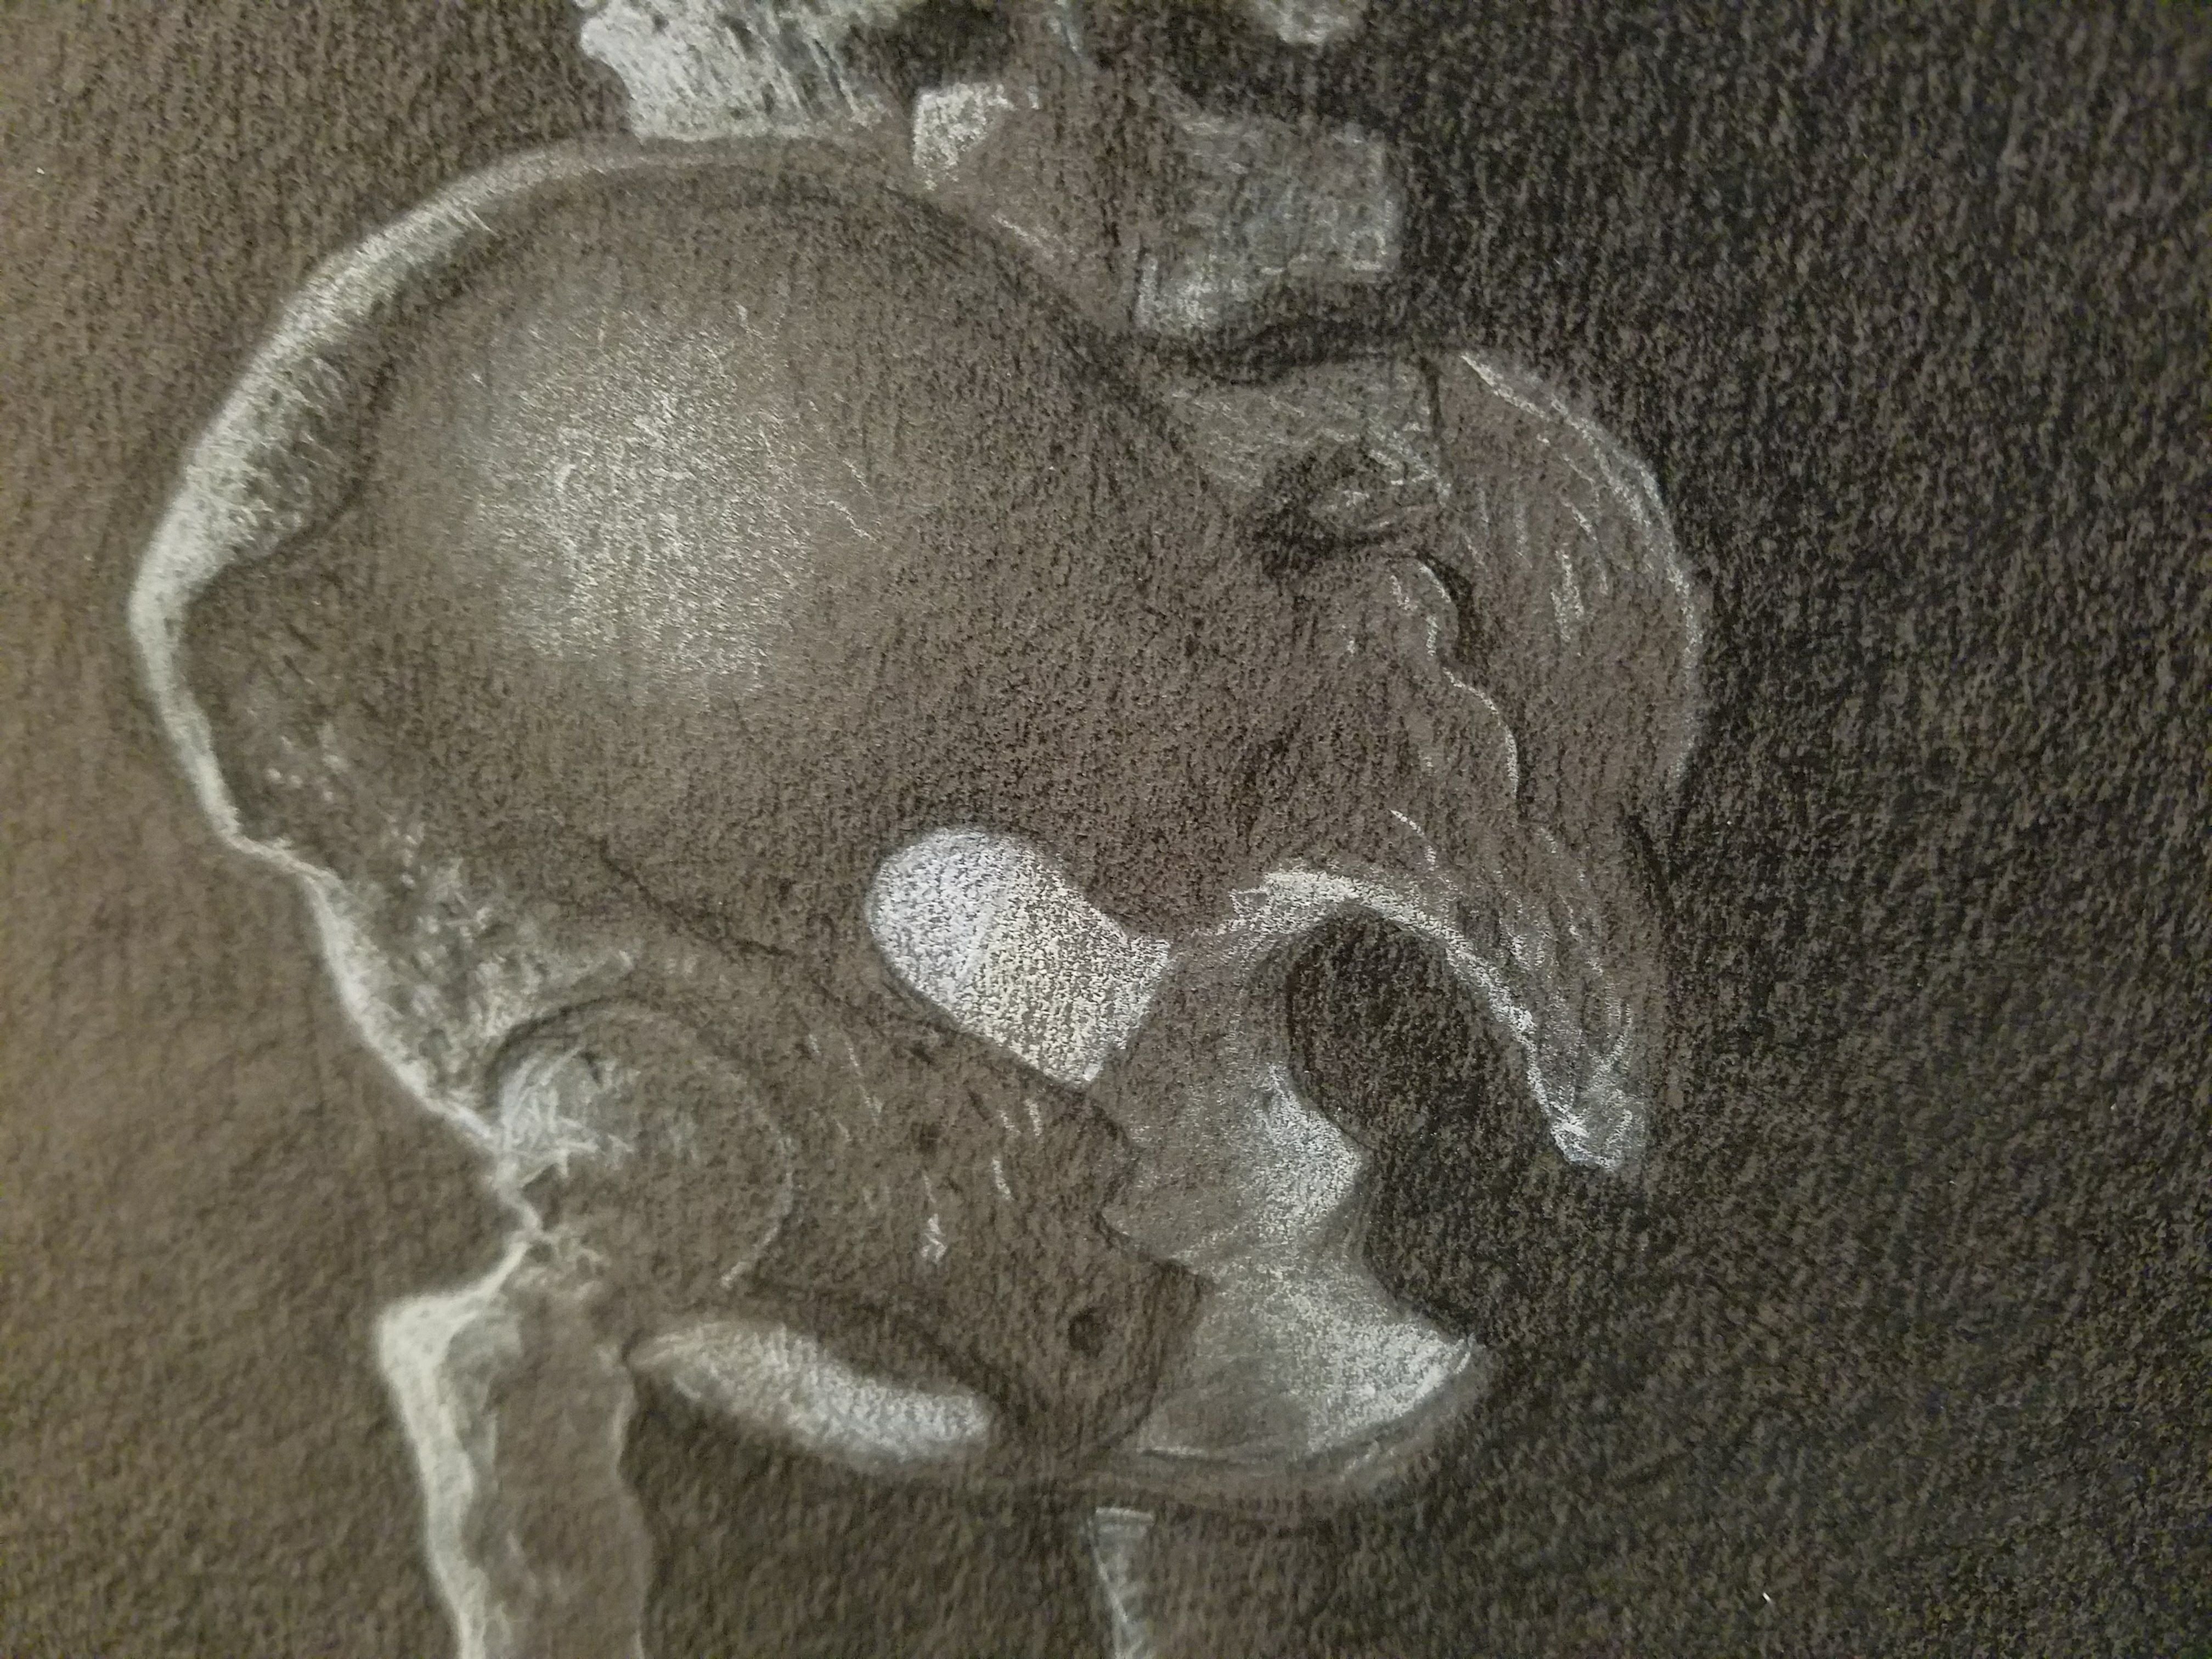
The pelvis & Iliac Crest
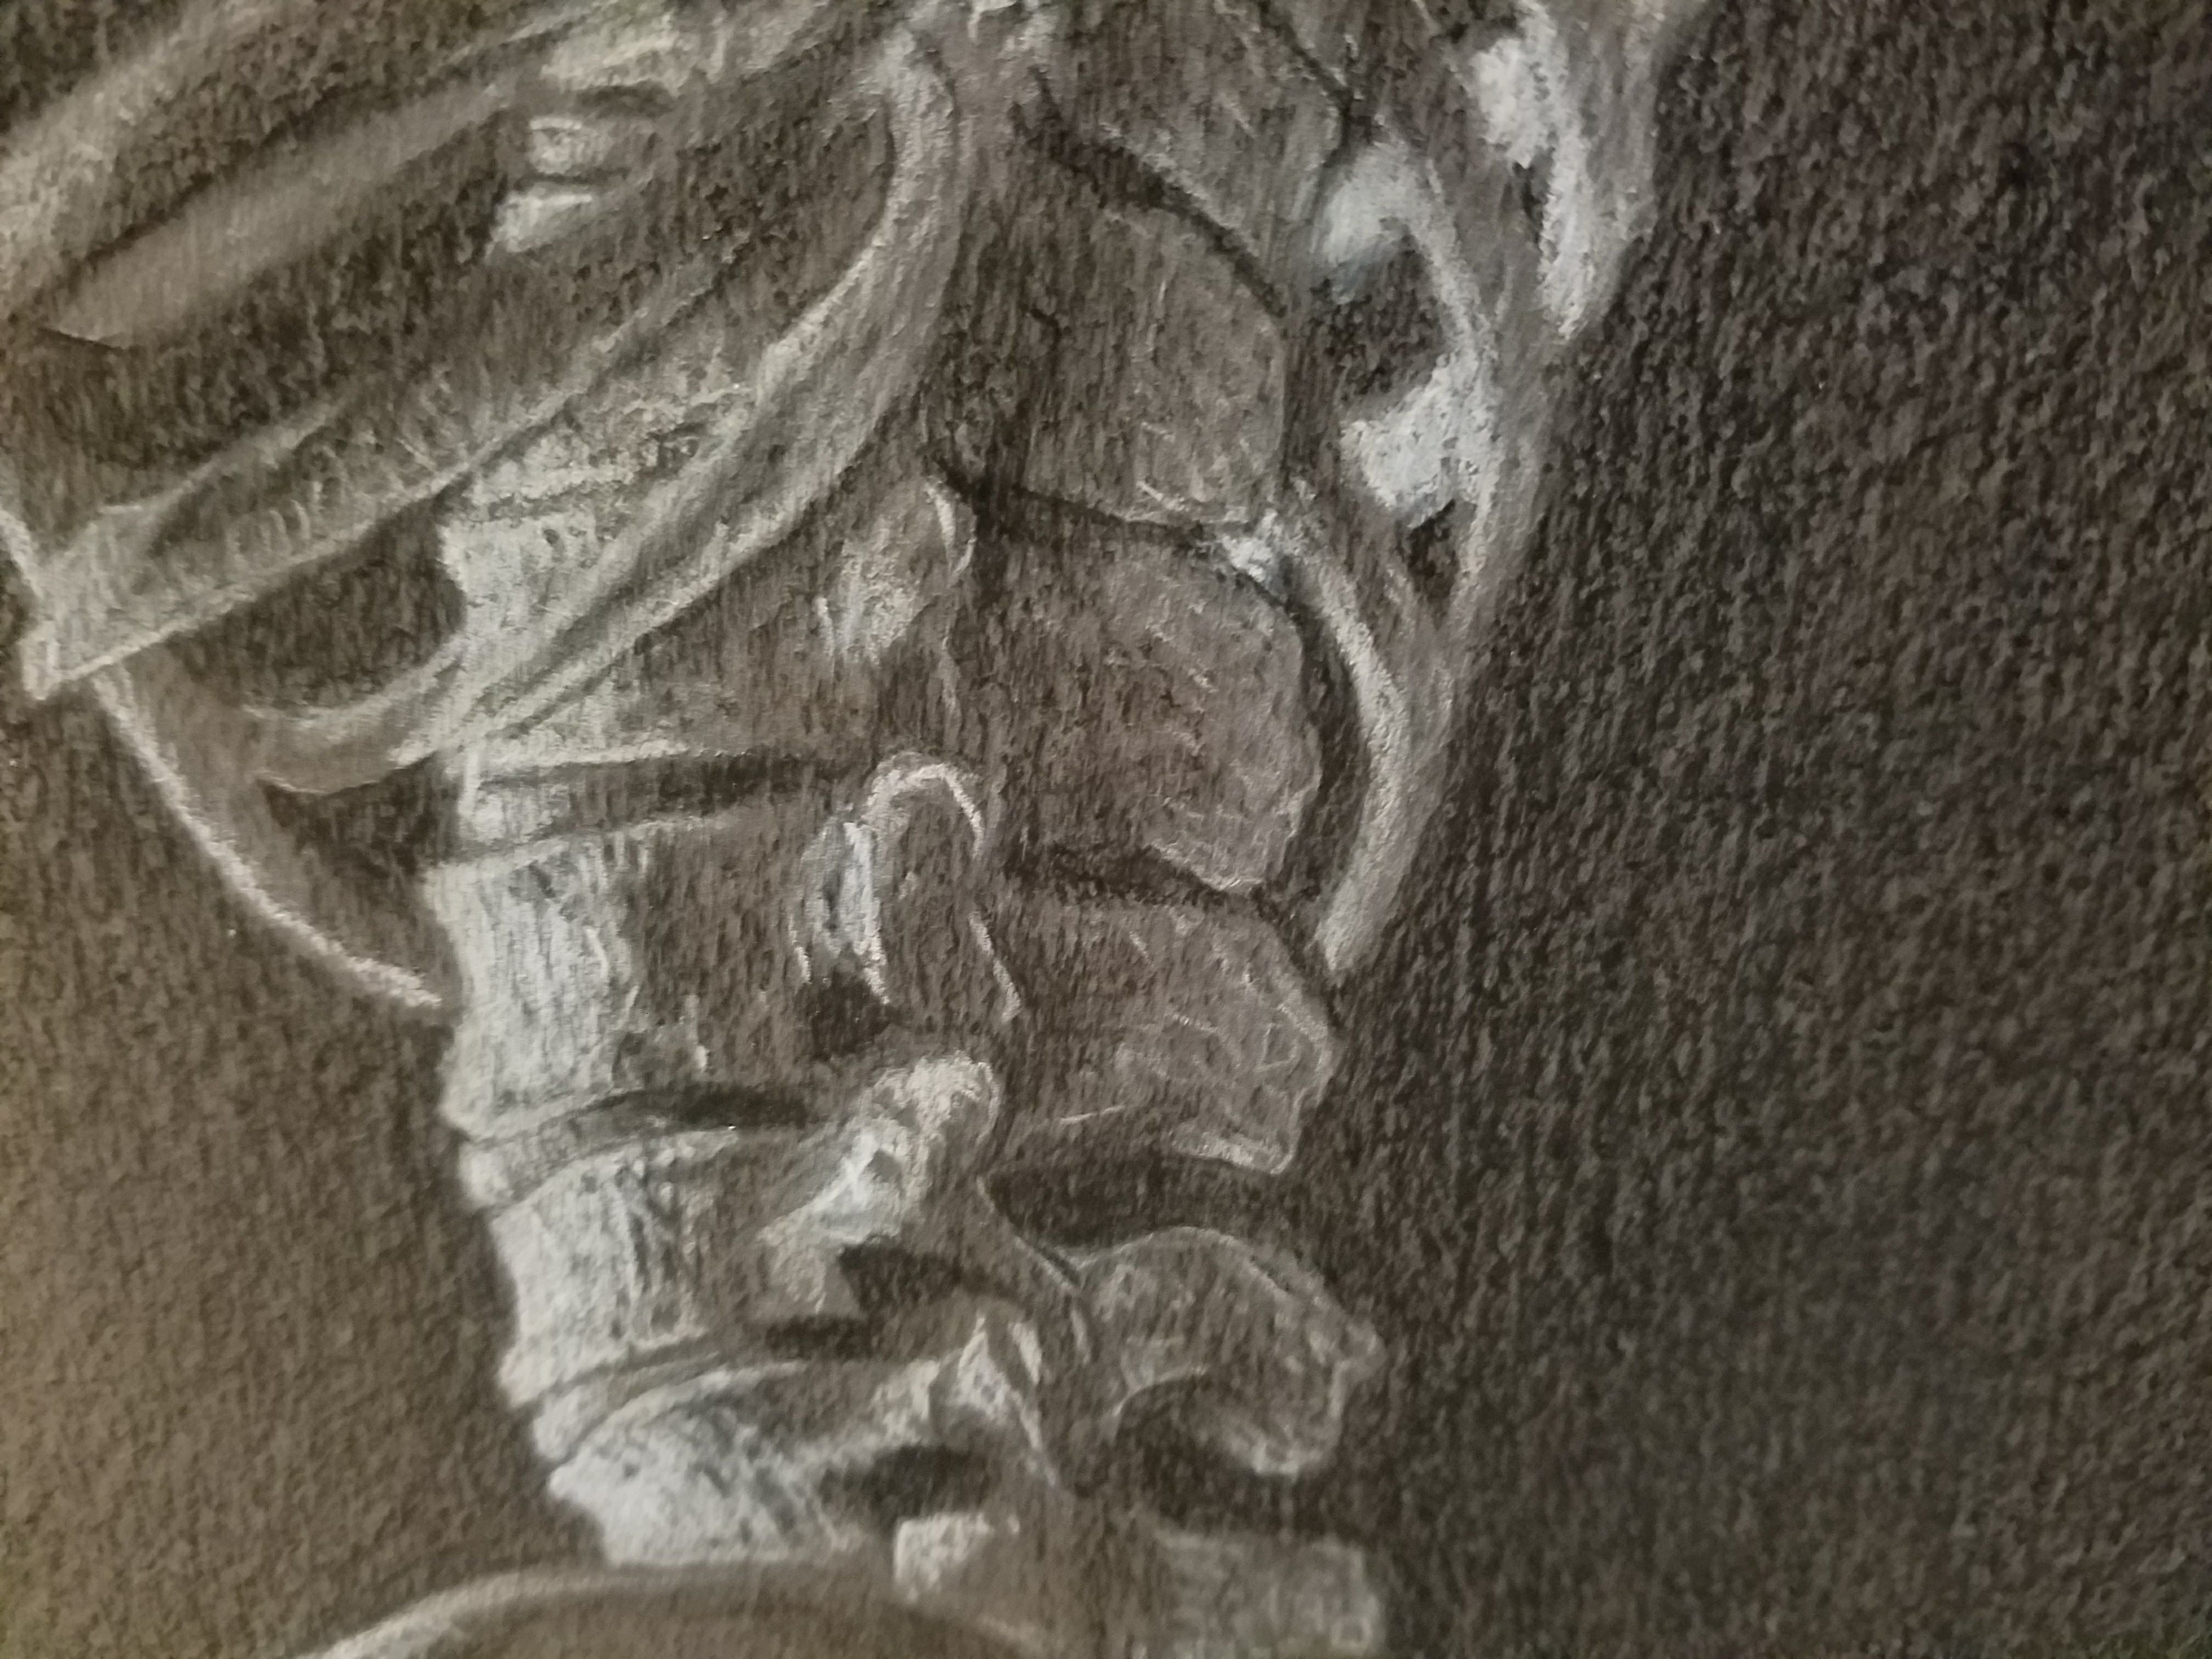
Spine.
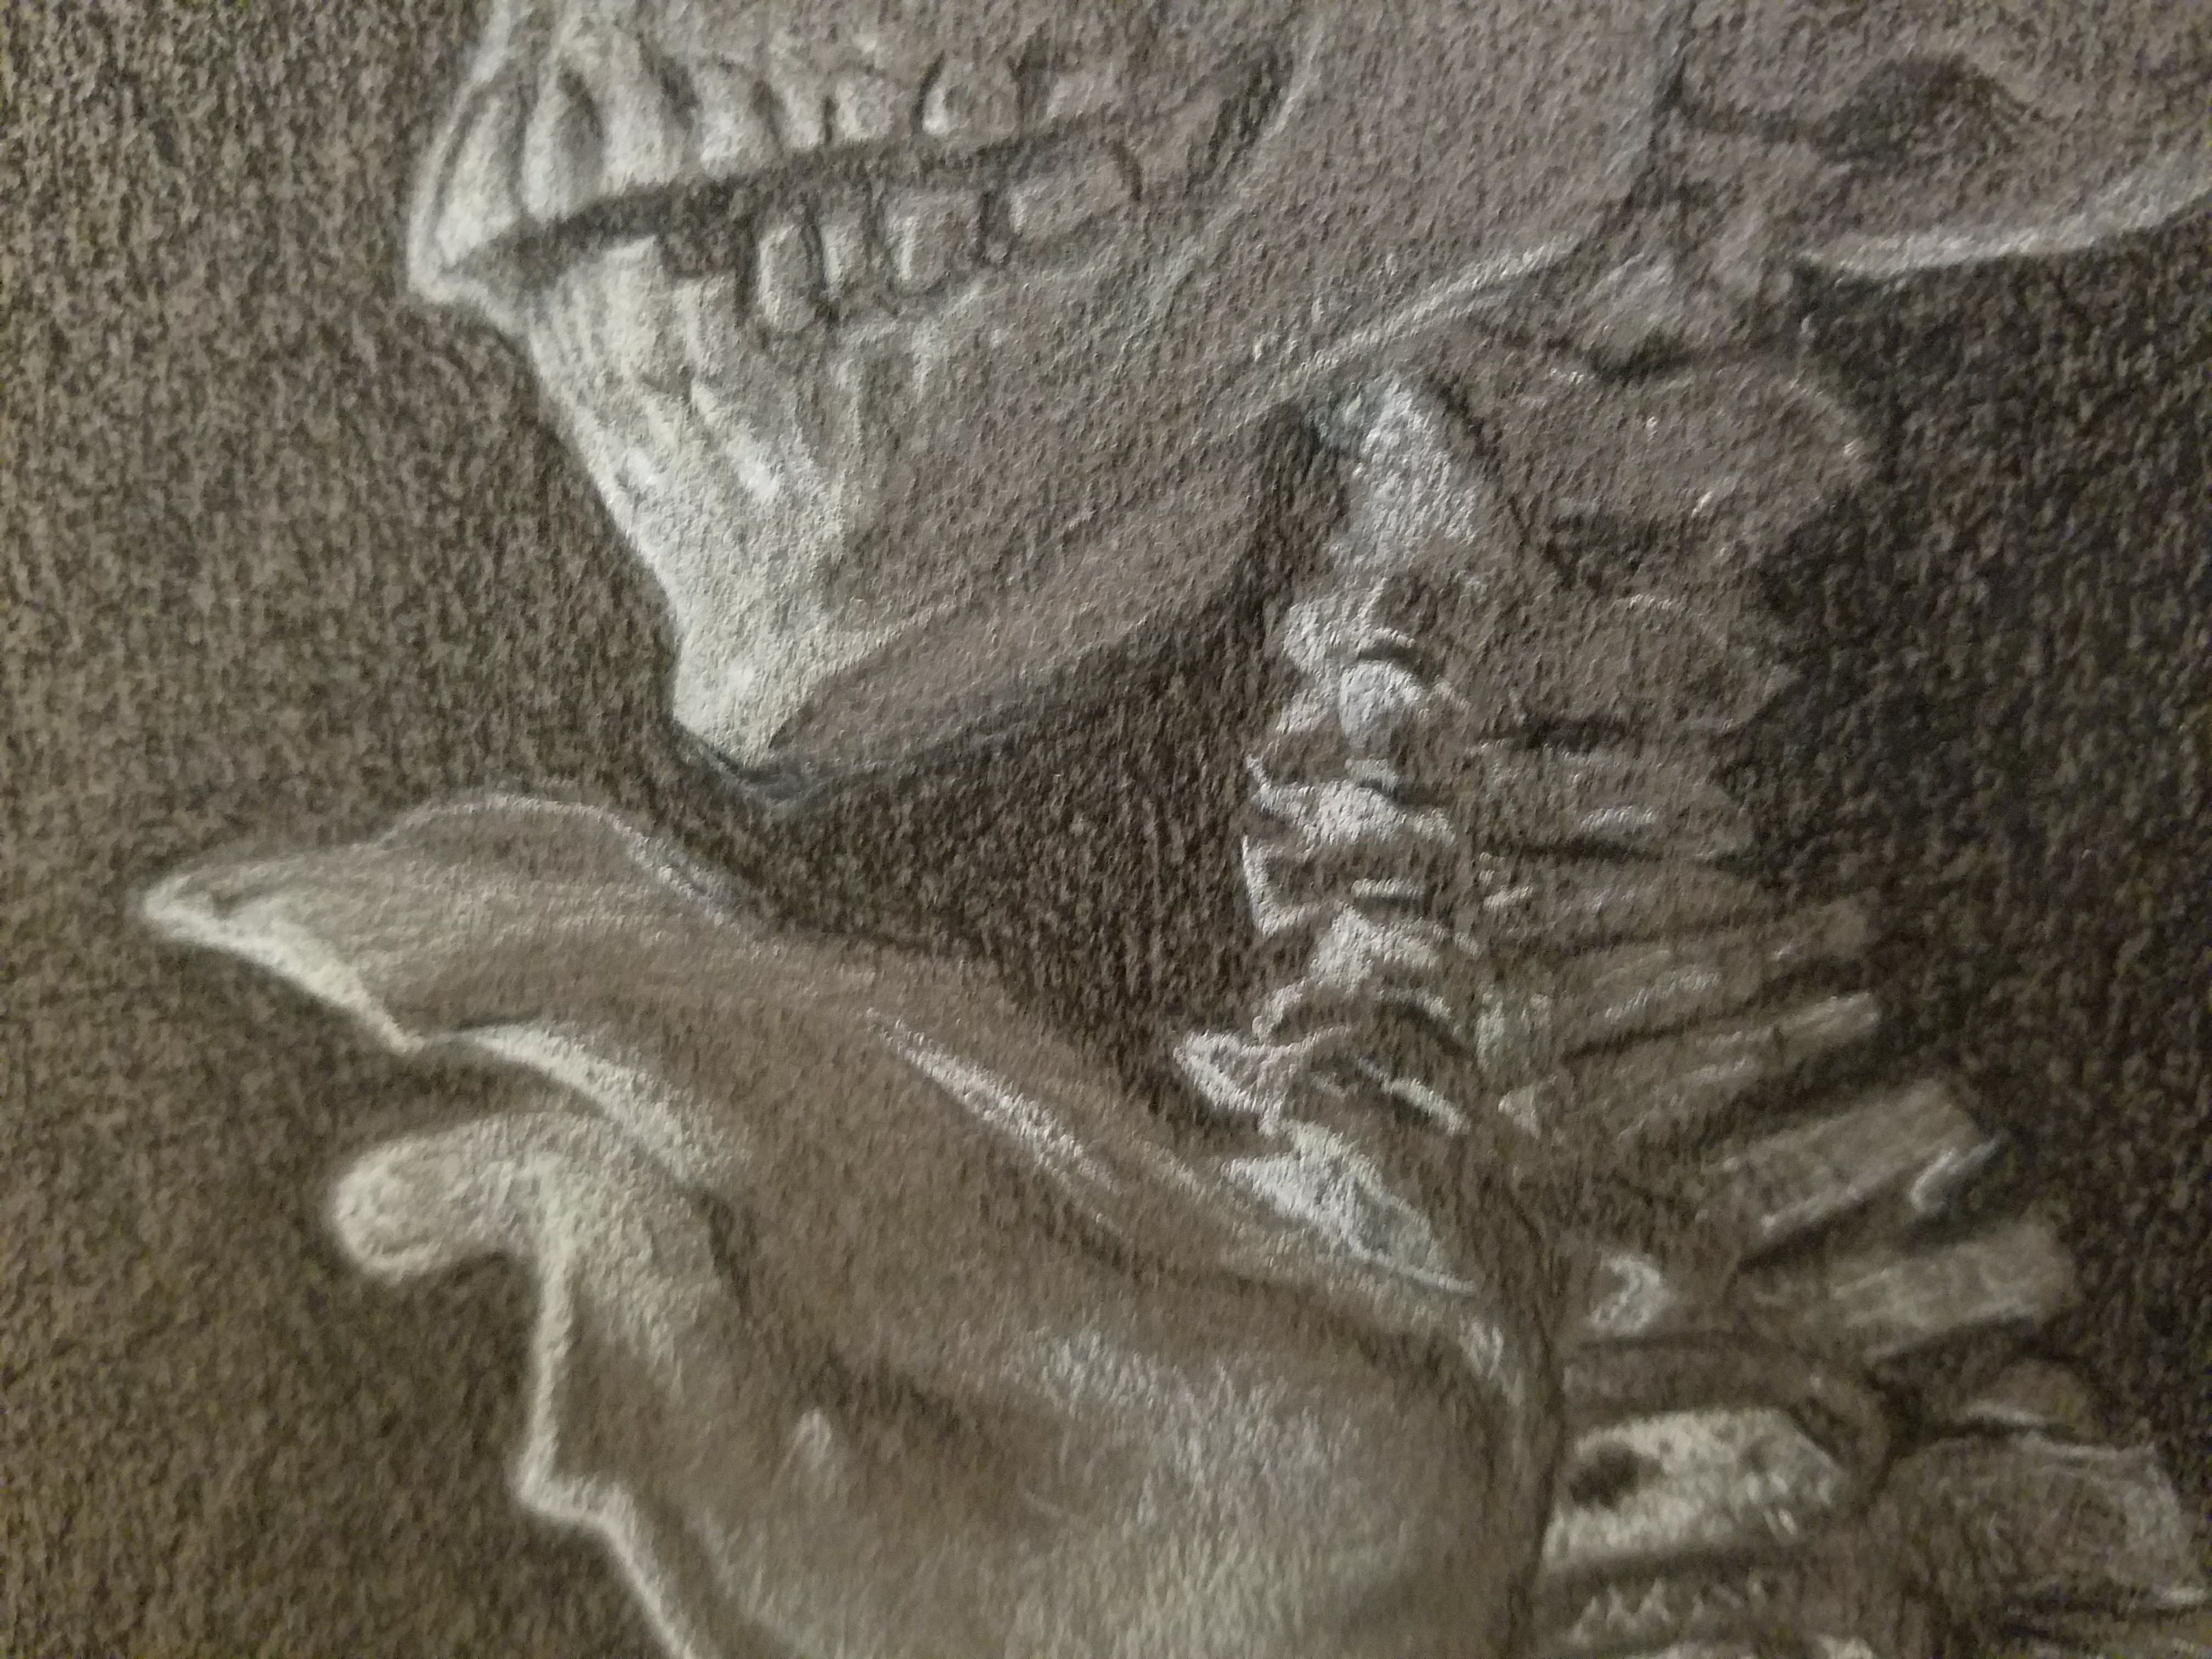
The mandible.
Tools I used:
- Canson drawing paper 32x24, in warm grey
- Prismacolor color pencils - Black, White, Beige, Brown
- Prismacolor verithin in White, Black
그럼 내일은 충격과 공포의 디즈니랜드 후기로 돌아오겠습니다.

