"What do you do?"
I was very happy to see some of my 3D Art posts spark curiosity within the community regarding my skillset and profession:
"Wow, looks so real! How does it work?"
"With skill sets such as yours - what kind of occupation would you hold?
Hence I've decided to use an on-going, real life project from a developer in Oceania, as a case study, walking through the very basics of the job, all the way to delivery.
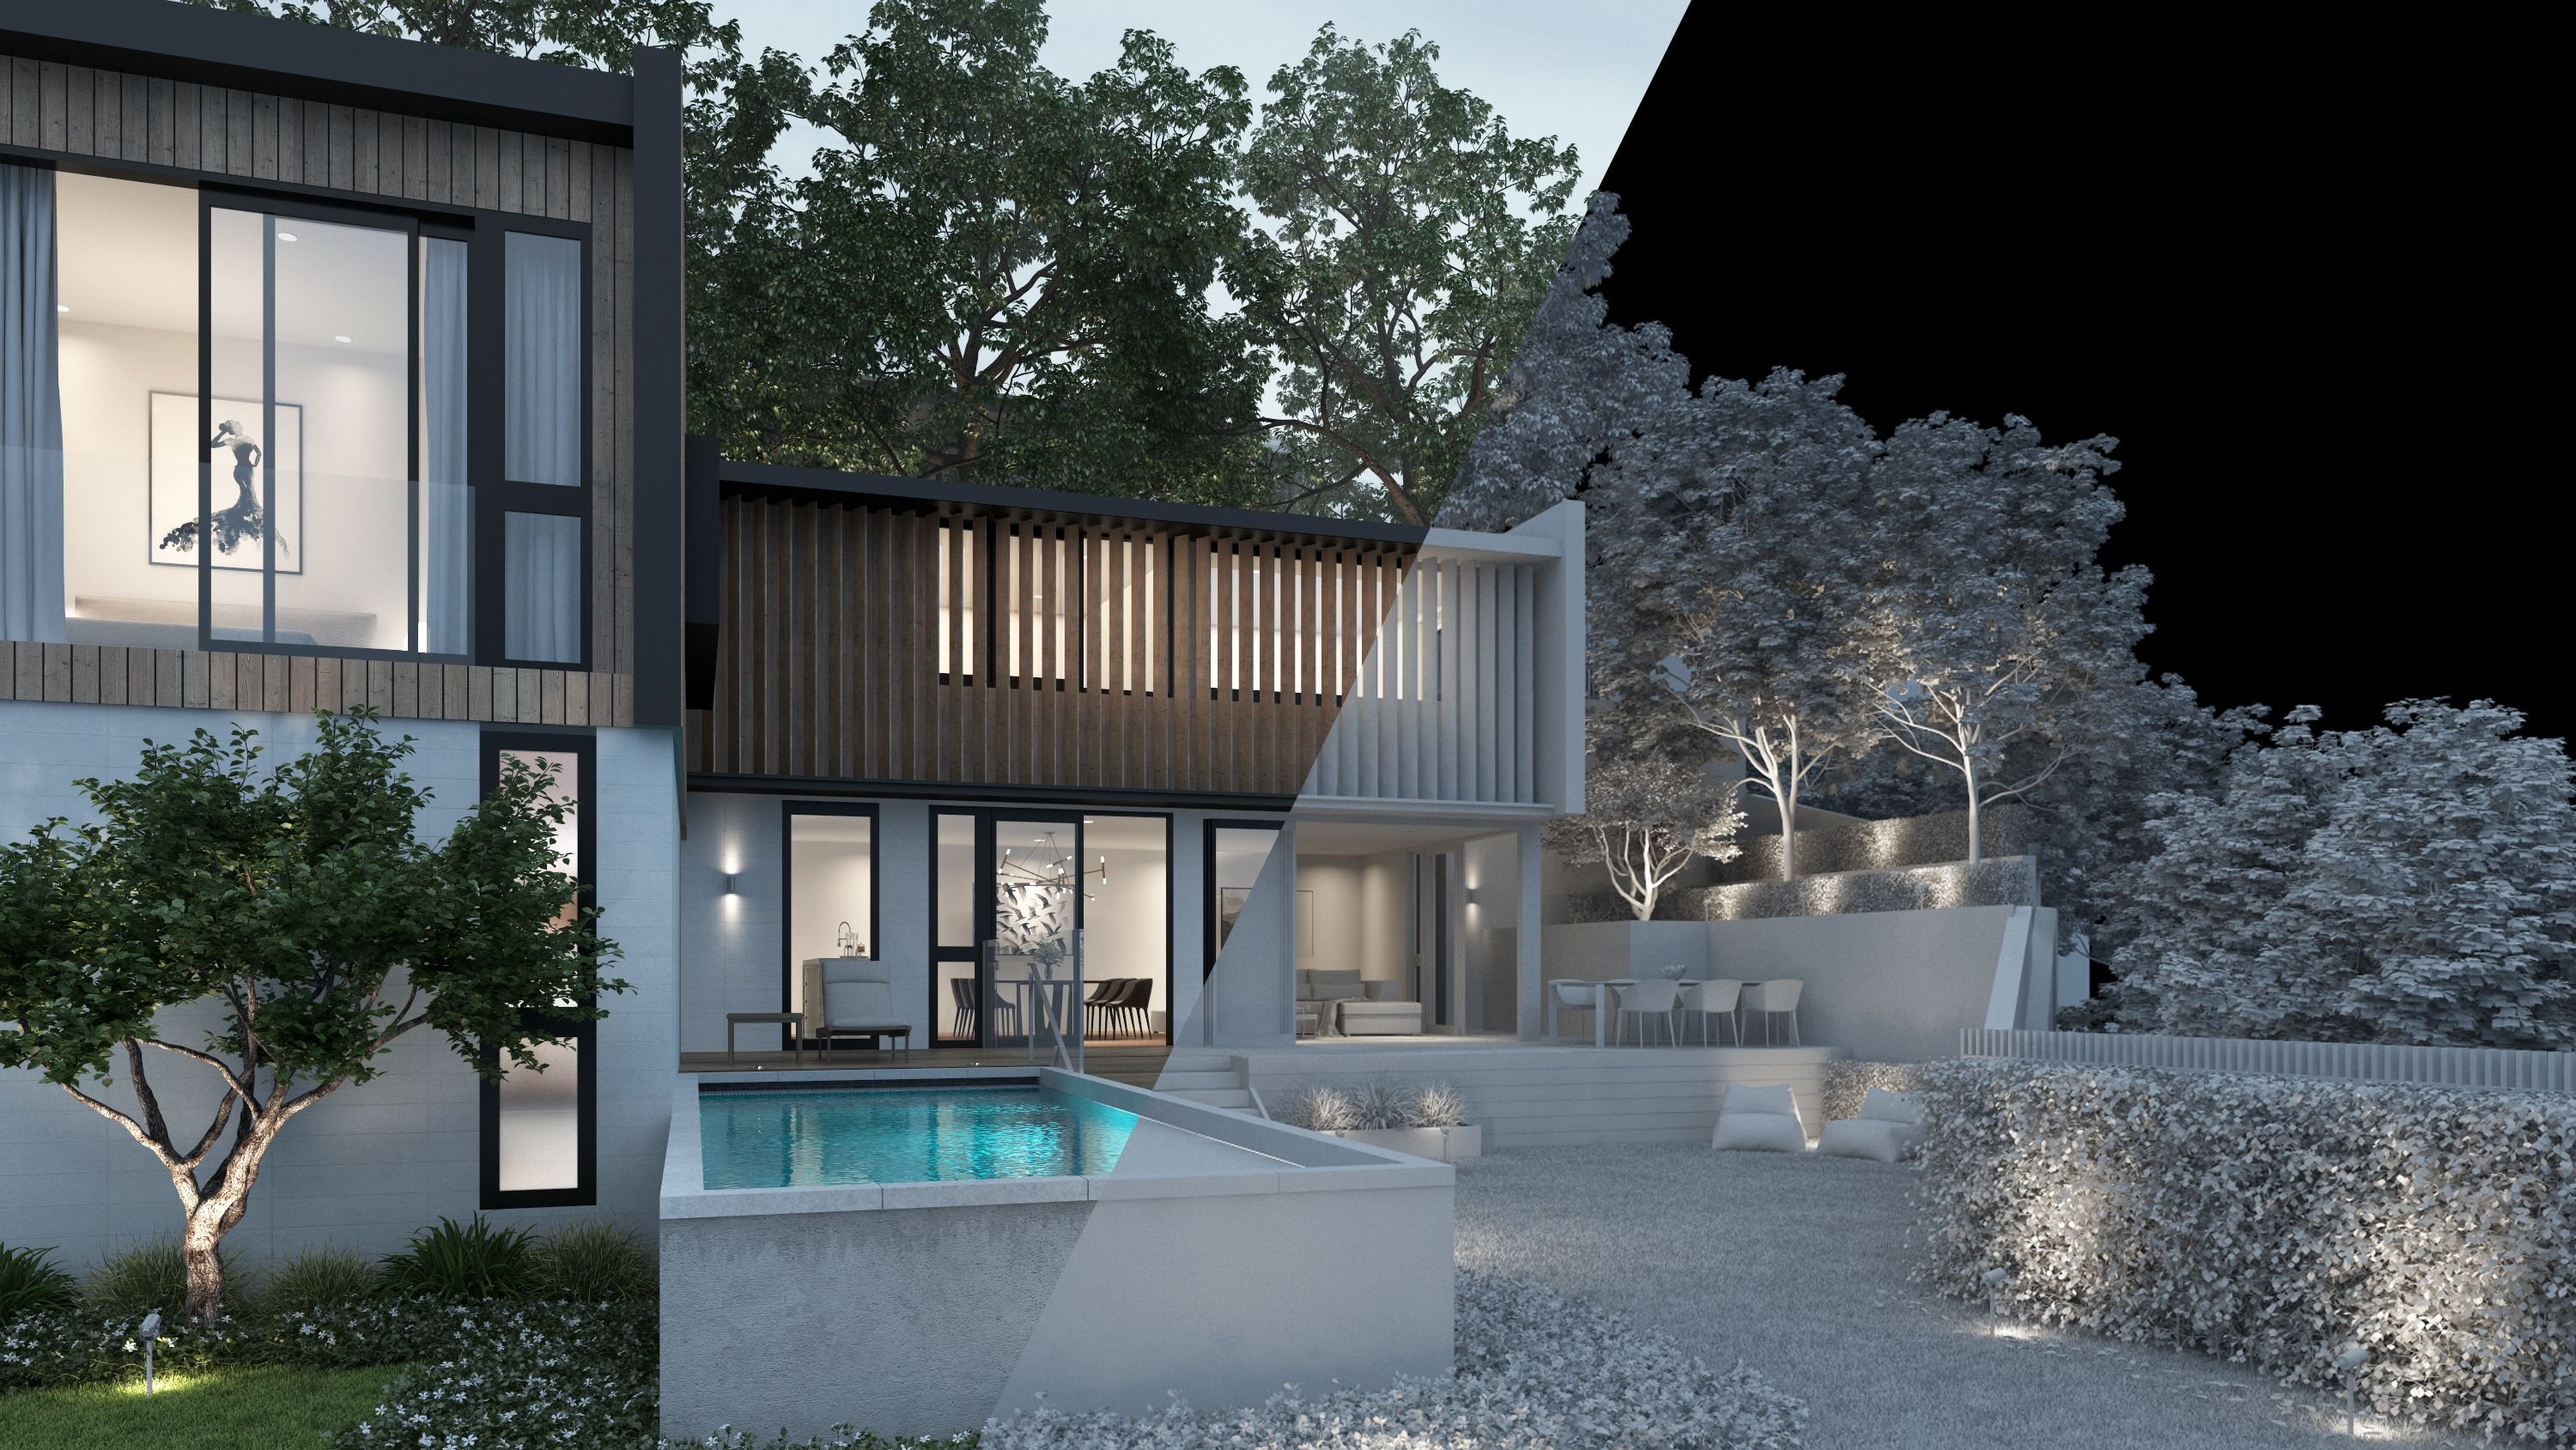
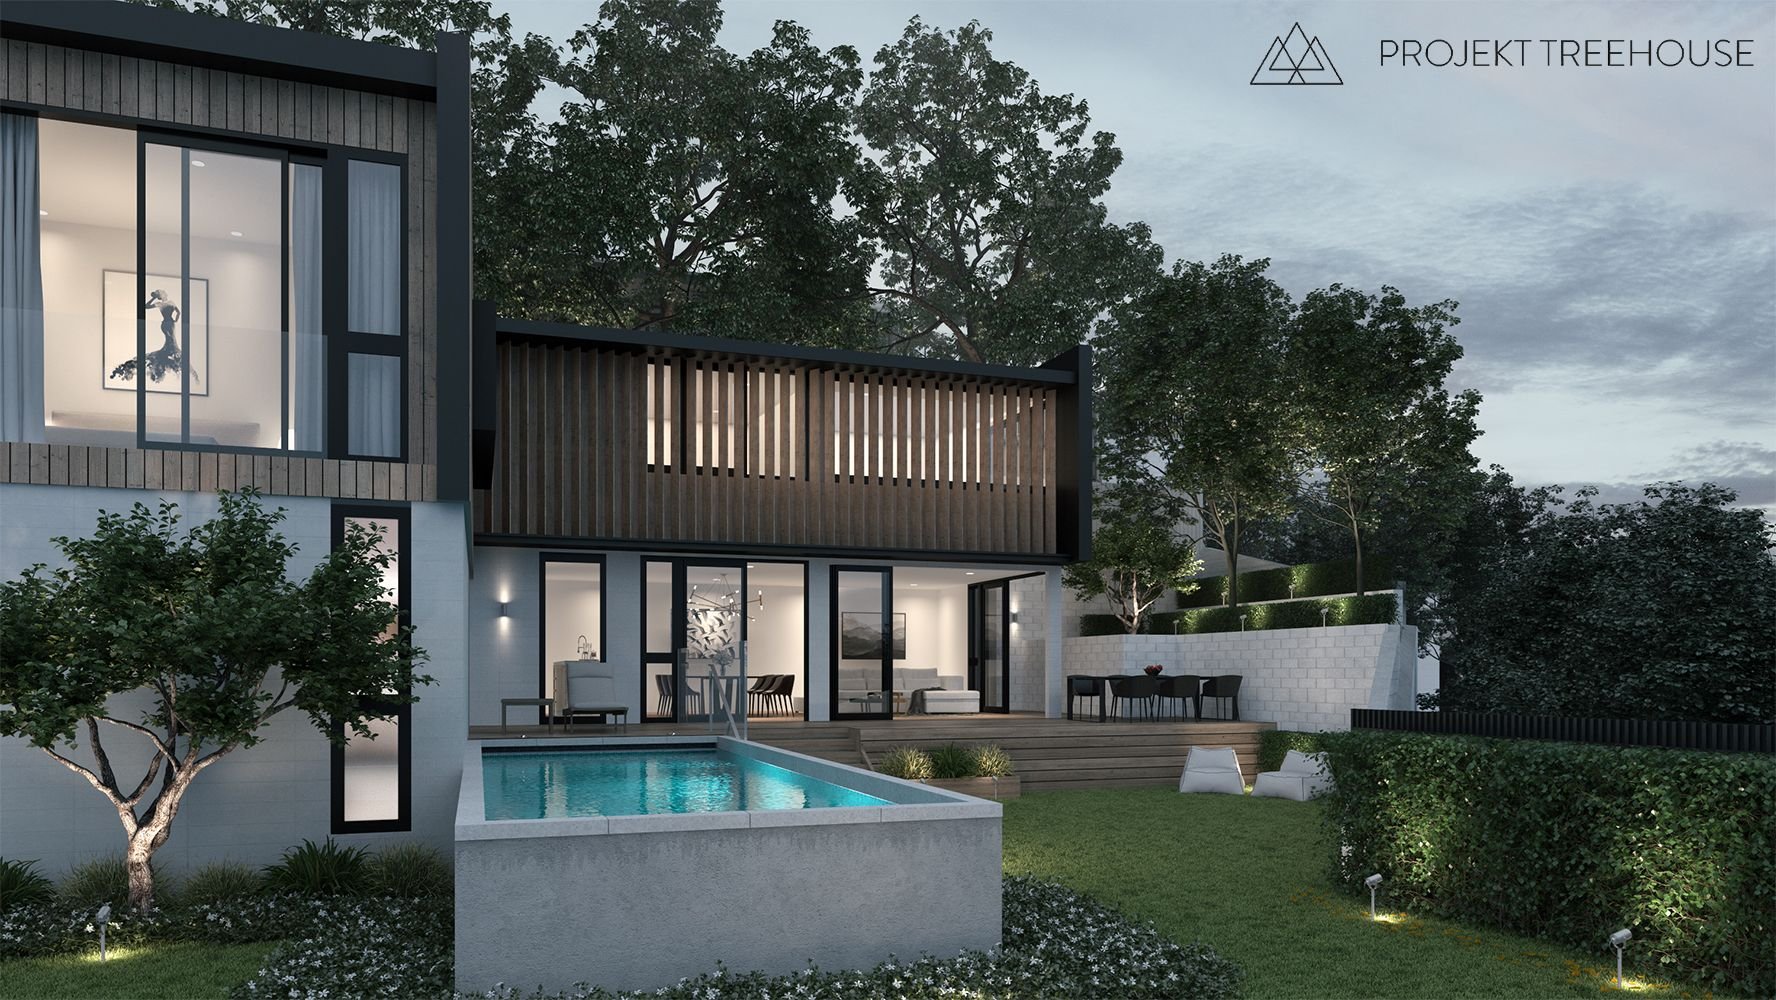
For the purpose of this article I'll be using a rejected image, that will not be used by the client. Shame, as we all felt it turned out pretty good, but HEY! Maybe Steemit can compensate for some of that loss!
Architectural Visualization
I'm the founder of Projekt Treehouse, a network of freelancers specializing in providing marketing content/visualization for property developers.
Property developers start their marketing campaigns way ahead of the actual launch. Most start promoting before the building construction has begun! They open a website, print brochures and posters, some even huge banners:
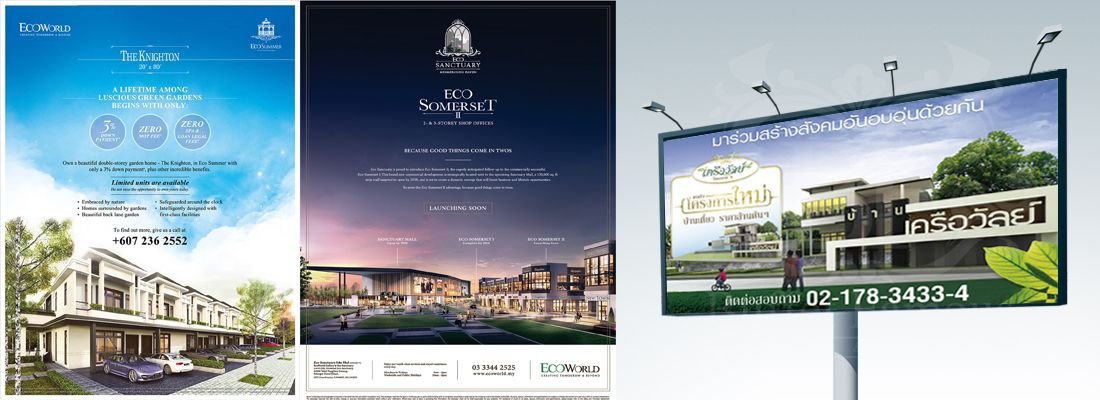
The images you can see on these posters are in fact computer generated 3D renders. They're very important to developers, as they create early exposure opportunities, early booking and feedback from their potential customers.
Makes sense? Of course, but how is it made...?
Workflow
Now, before the project starts, we need to make sure we're provided with complete and clear documentation of the project. It is usually rather lengthy and comes in a number of different files, but the crucial three files we require are:

At this point we would use Autodesk's 3ds max to import the building model and starting filling up the scene
First - set up the scene
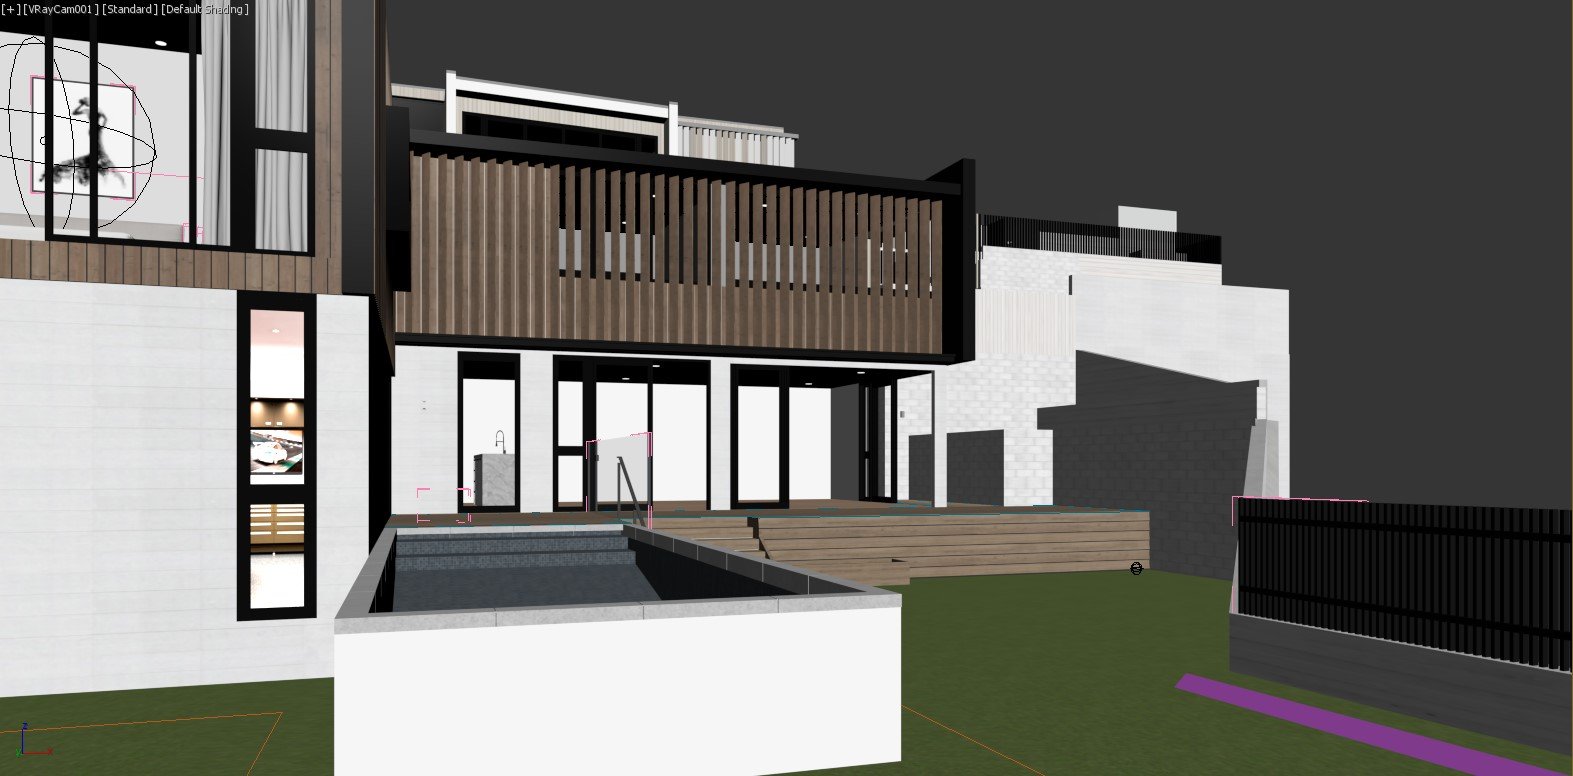
When you first import the model (provided by architect) into the scene, it looks pretty empty. In this case, the model already had some basic materials and textures on it. The wood, the white bricks, the concrete were indicated by the architect for our reference. We would have to replace them with higher resolution and quality ones.
I know this is going to be a late afternoon/evening shot, so I added simple evening lighting and pressed render to see how it looks:
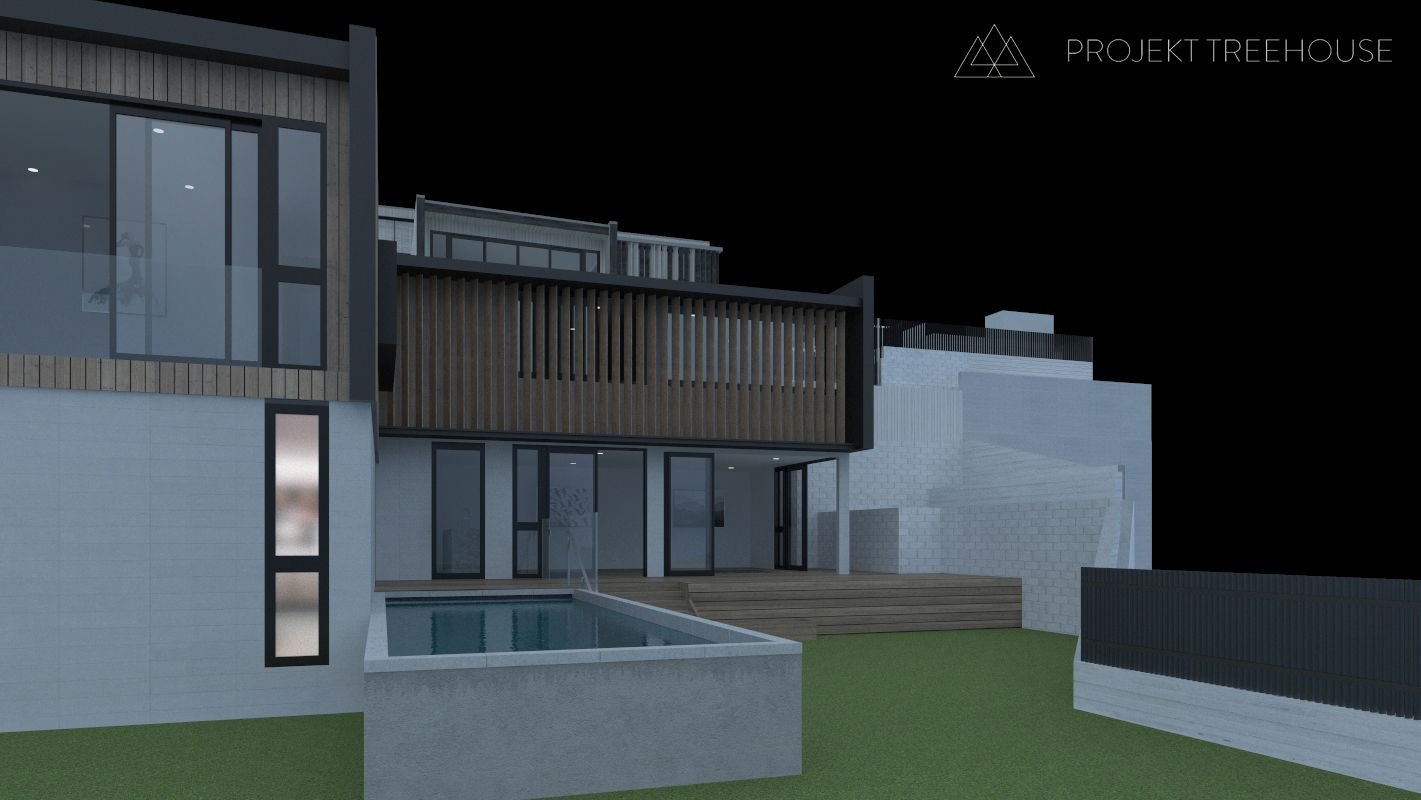
OK, this does NOT look really exciting, but it is a decent start. Usually at this point I would start adding in interior elements.
Second - add interior models
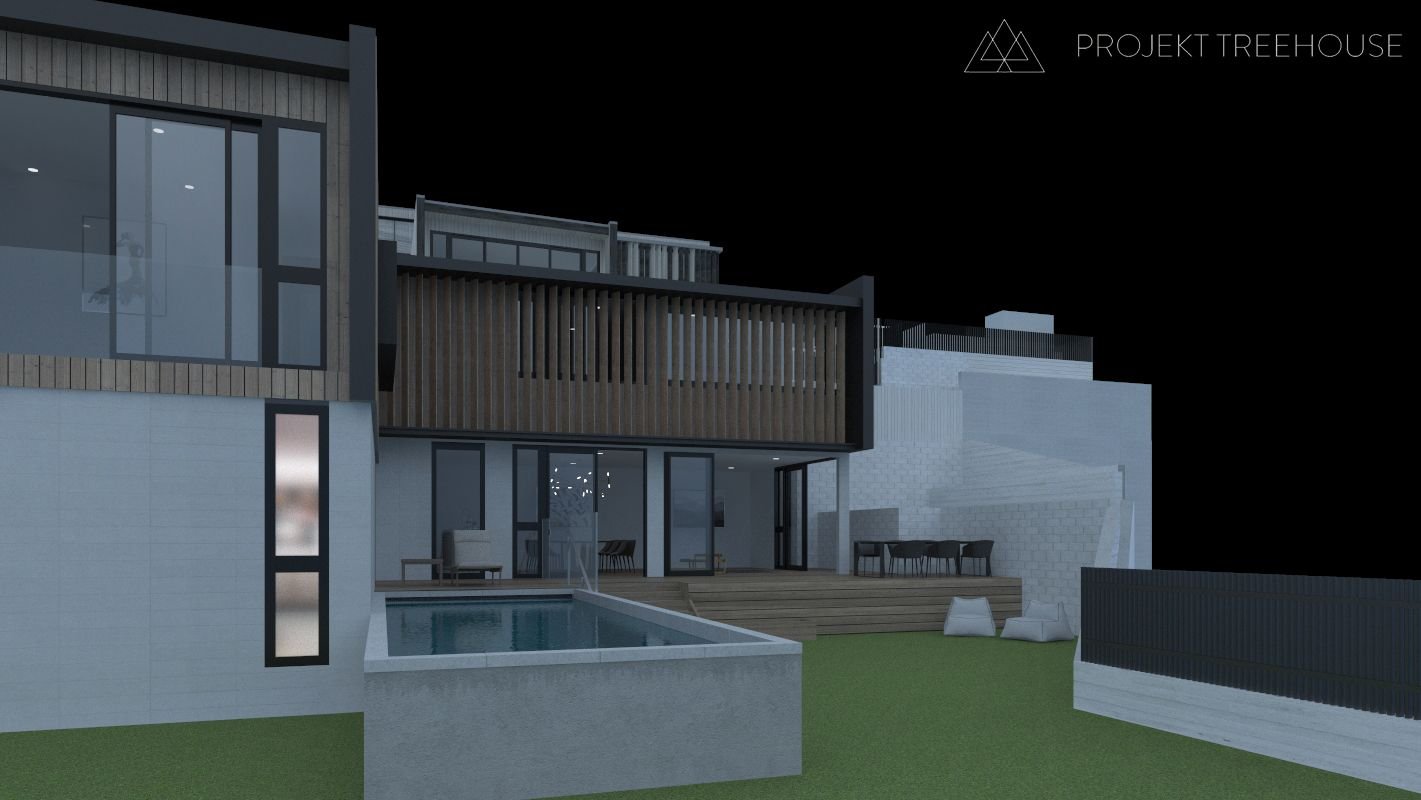
Adding interior models, technically the easiest part of the process, but can get a little tricky. The aim is to show as much of the interior as possible, while not deviating too much from the interior schemes. In this particular shot, we had move few pieces of furniture towards the end of the living room, not to be blocked by the columns. Played around with the exterior furniture, placing and rotating them to achieve a natural look.
We don't model the furniture ourselves. It is much quicker and more cost-efficient to purchase them from 3D model libraries such as Evermotion or 3dsky.org
Third - add landscape
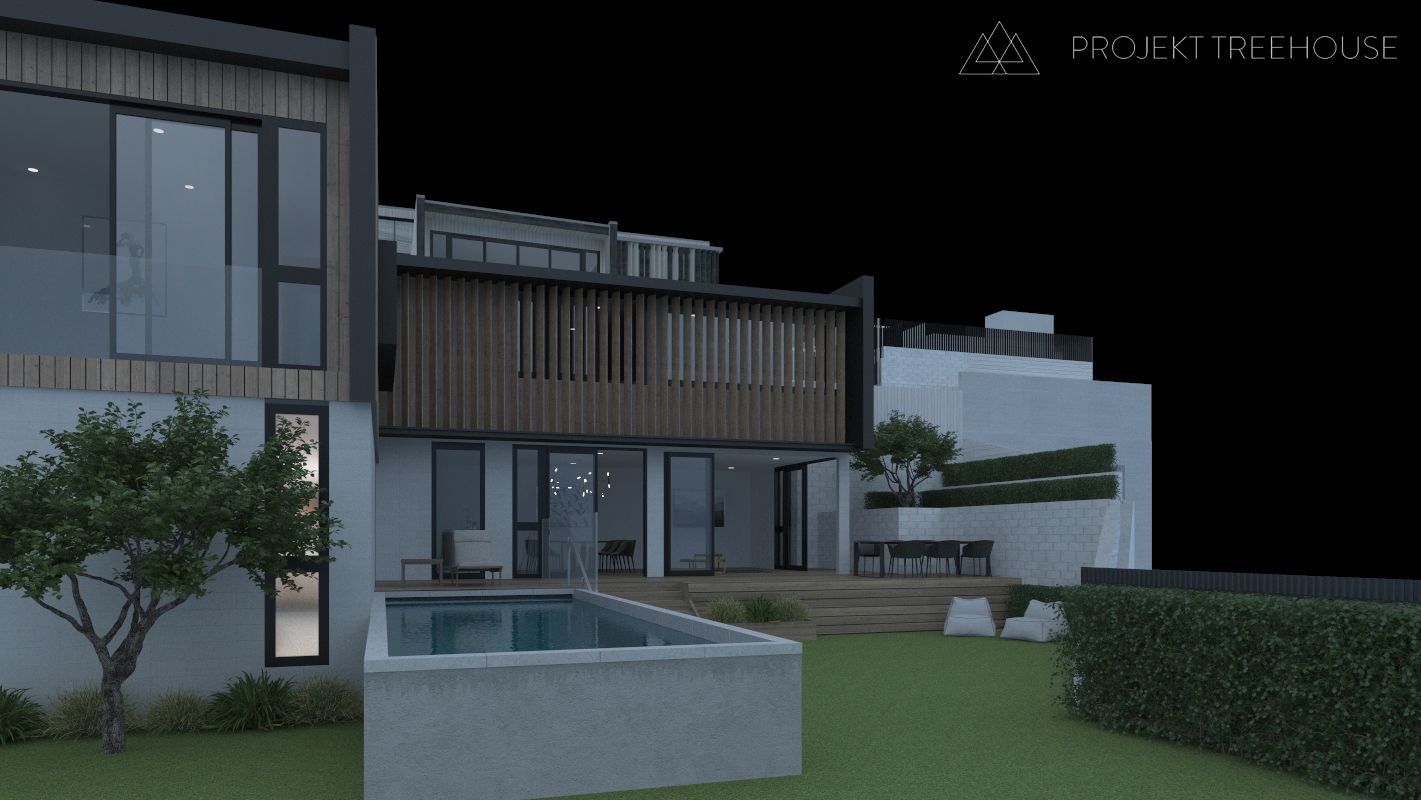
With the landscape models in place, you can really get a rough idea of how the shot will end up looking. Even though the landscape documentation was very specific, it is up to the artist to place and rotate the shrubs and bushes around, for a natural, non-repetitive look.
At this point it's good to work on the lighting, which might reveal some other issues to be dealt with.
Fourth - adding evening lights
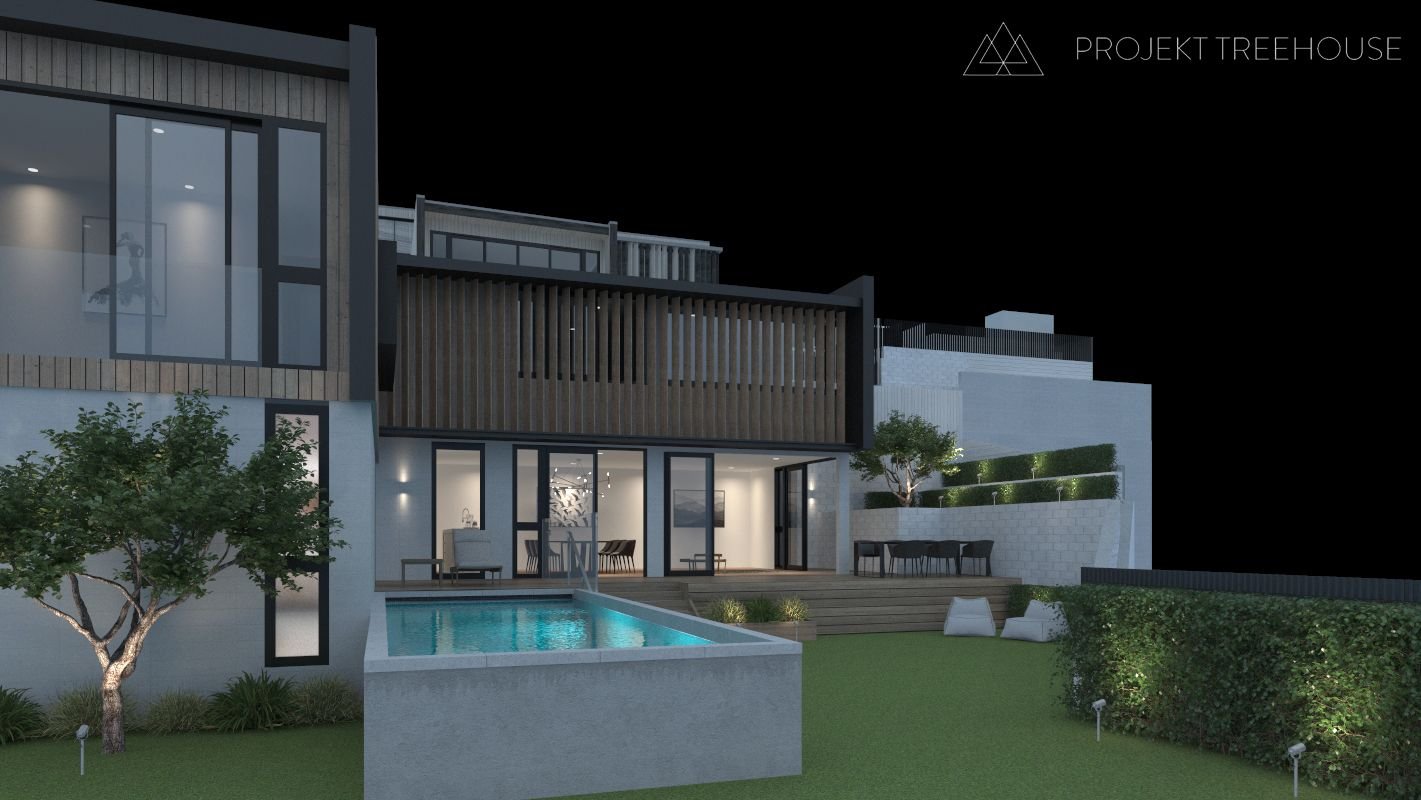
Now we're talking! Adding in spotlights (ies lights to be more specific) around the scene, adds great level detail to the overall look. The interior is warm and catches attention, the swimming pool compensates that with colder tones. The shrubs trees and shrubs, while lit from below, reveal good detail and shadow information.
One thing is still missing and it is a tricky one... grass.
Fifth - adding grass
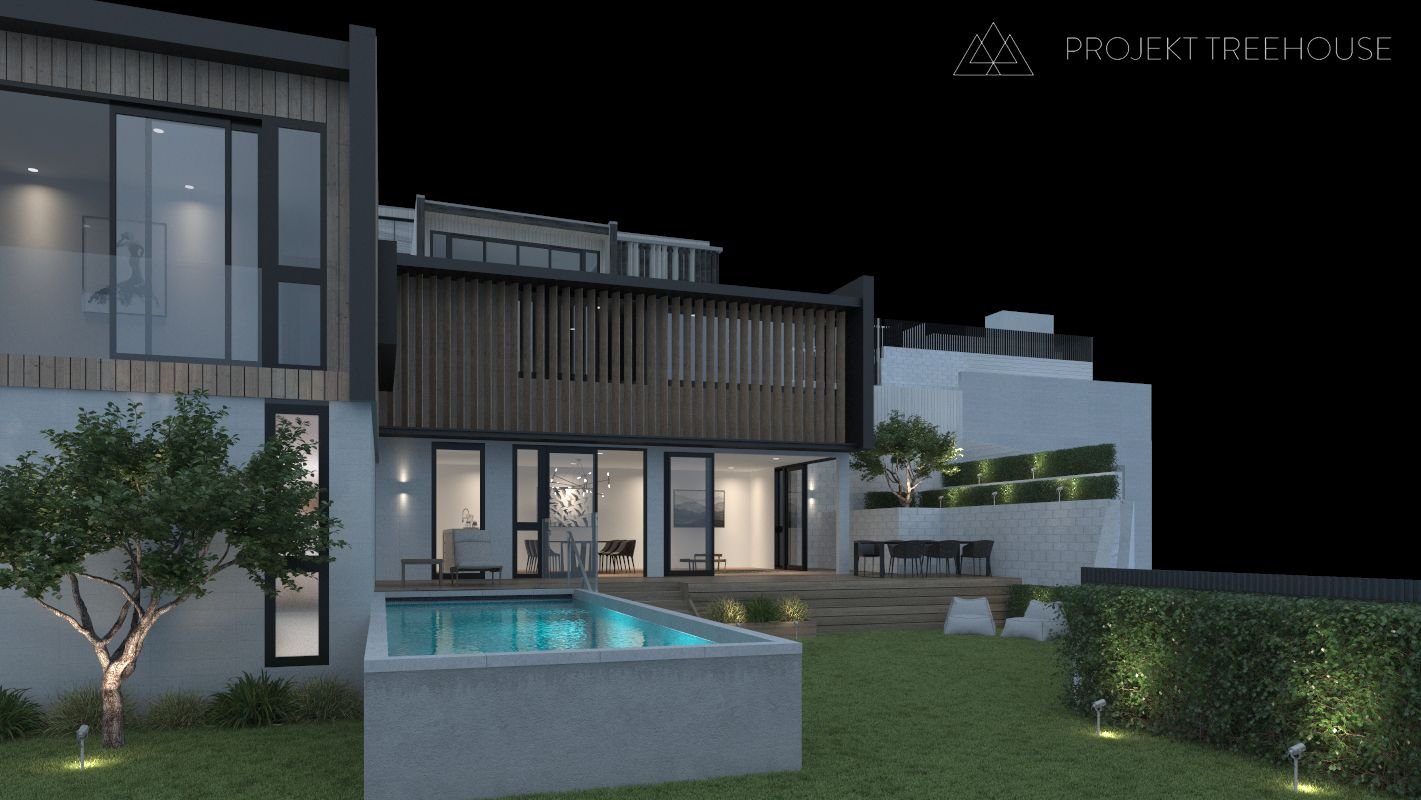
Making realistic-looking grass is an art on its own. If you just take a small grass model and "copy paste" it around, it'll look repetitive, like a green carpet. If you try and get a more complete grass model, it might end up looking "patchy" and not neat. Took me a fair amount of practice and training before mastered my grass.
The trick is to find 2-4 smaller grass models and populate them using the MultiScatter plugin. The plugin allows you to randomize the size, rotation and distribution. This way, very quickly, I'm able to achieve a very believable grass effect.
Sixth - final details
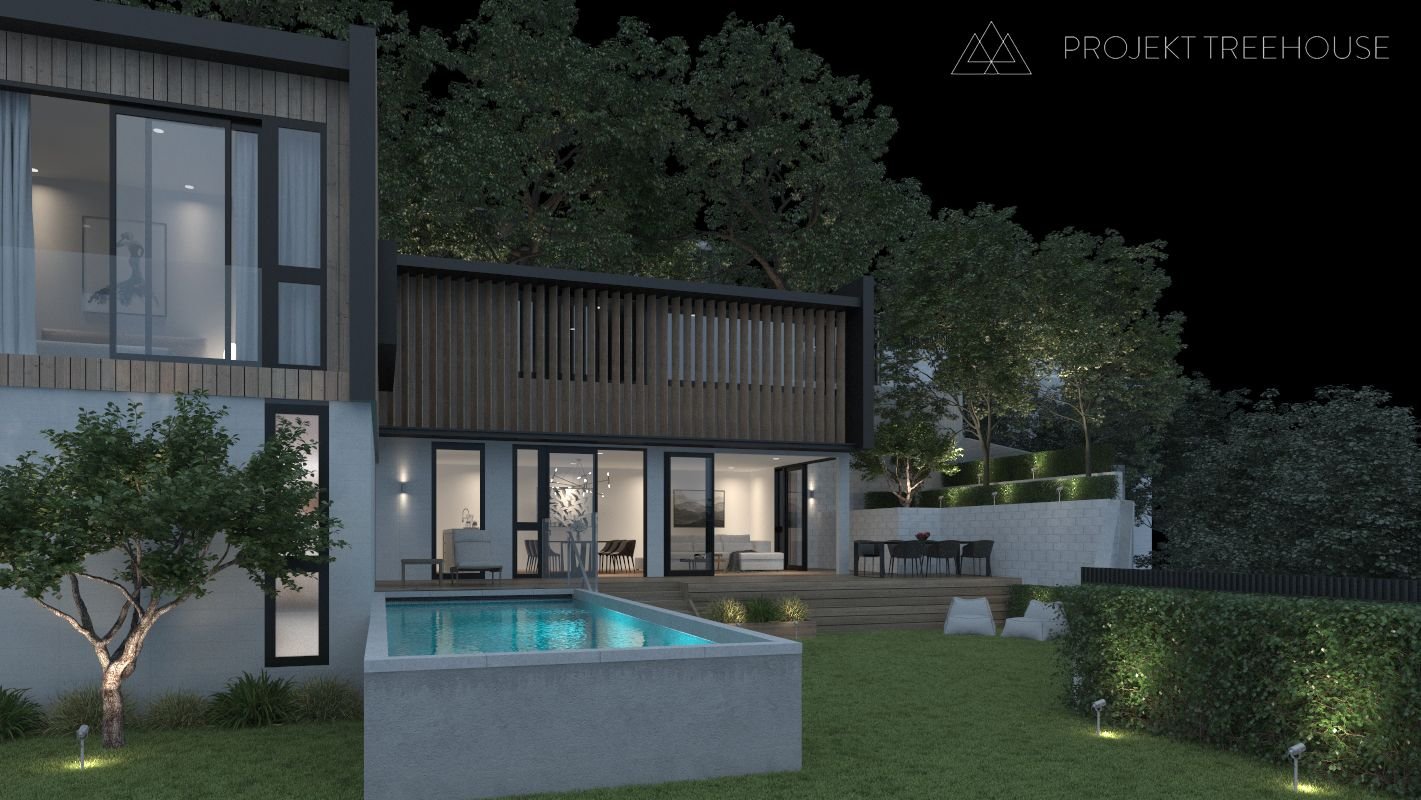
This part takes the most amount of time... by far. Adding the little things, like curtains in windows, decorative accessories (fruits on table, vase in the kitchen), texture detailing to the building's concrete etc etc.
This is where the clients gets a preview of the image and send it back with feedback. Once the final adjustments are in place, it is time for the final render. In order to prepare the image for post-production, we would render out different elements separately (reflection, transparency, lighting) and combine them all in Photoshop.
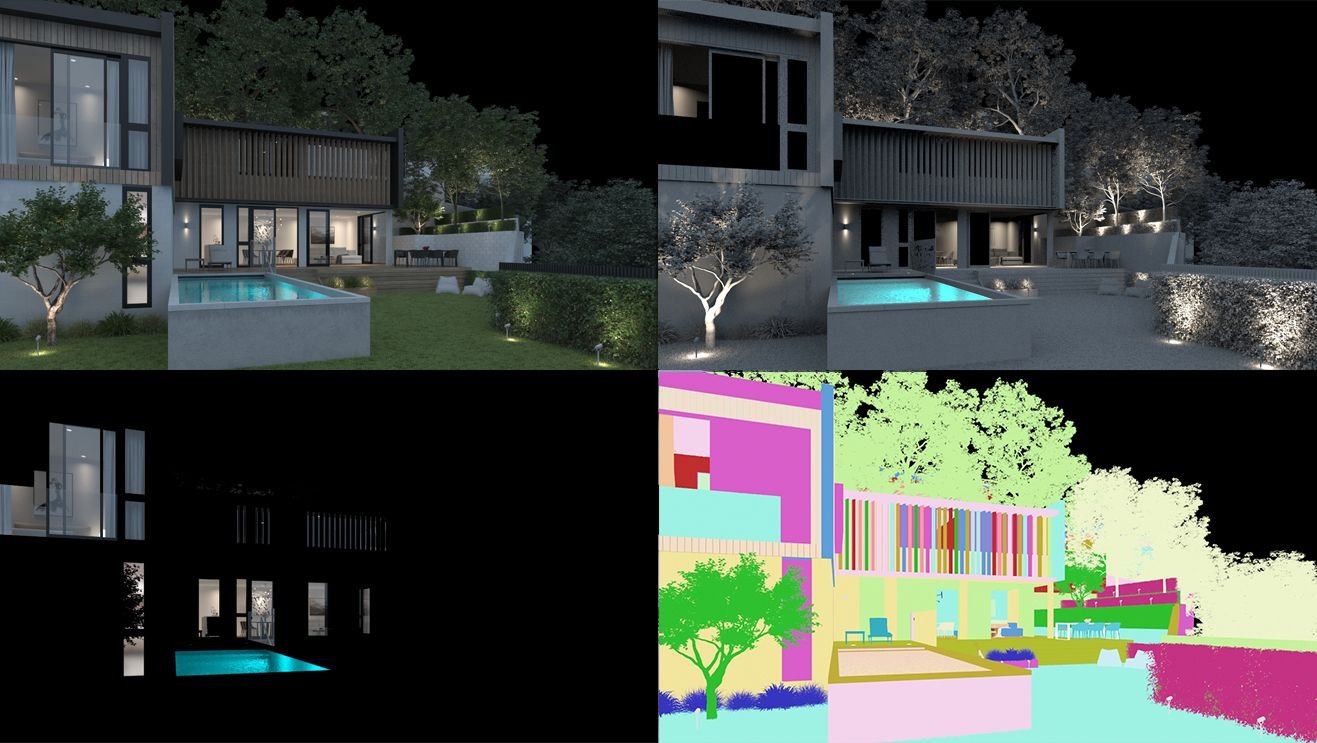
Seventh - Photoshop
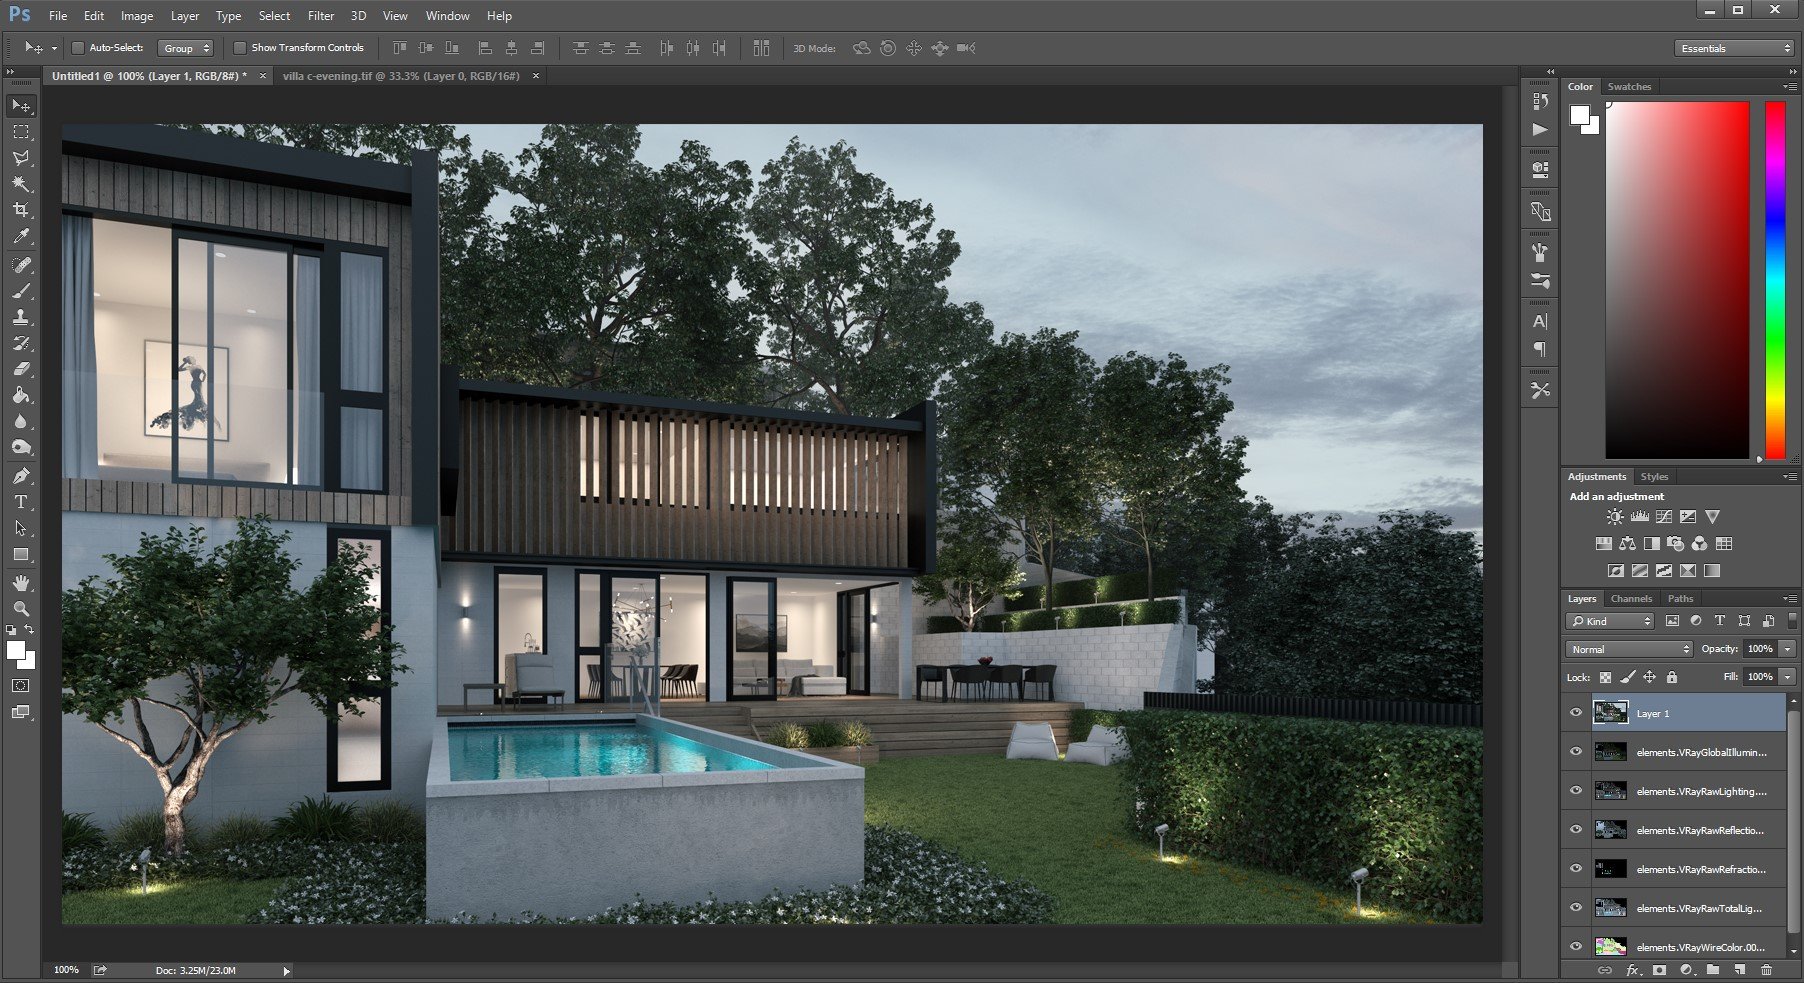
At this point you import all the elements into Photoshop and that's where the final fun begins. The elements allow you to select and tweak different parts of the image easily, from their color, contrast to reflection amounts etc.
Once you're happy with the outcome, save out your composition and DONE!
If you're 3D Artist and you're interested to join Projekt Treehouse for a constant flow of freelance jobs, drop your CV at: projekttreehouse@gmail.com
If you require our services or know someone who does, you can support us by dropping an e-mail under the same address!
Giving out 0.3 STEEM to the first 20 people (100+ followers) that re-steem this post! FREE STEEM!
Coming up!
Minecraft VR gameplay
Sparc VR gameplay
More Steemit 3D Art
