I have seen many people interested in the art world and wanting to learn more. I liked the community and I wanted to give my help, so here I present: Art classes II, Volume: The eyes are not flat for god sake!! ...
okay, jokes aside 😂
They say that the eyes are the windows to the soul and that's why I wanted to make this post; I hope it will be helpful for people whom want to learn, as it was for me to know this information.
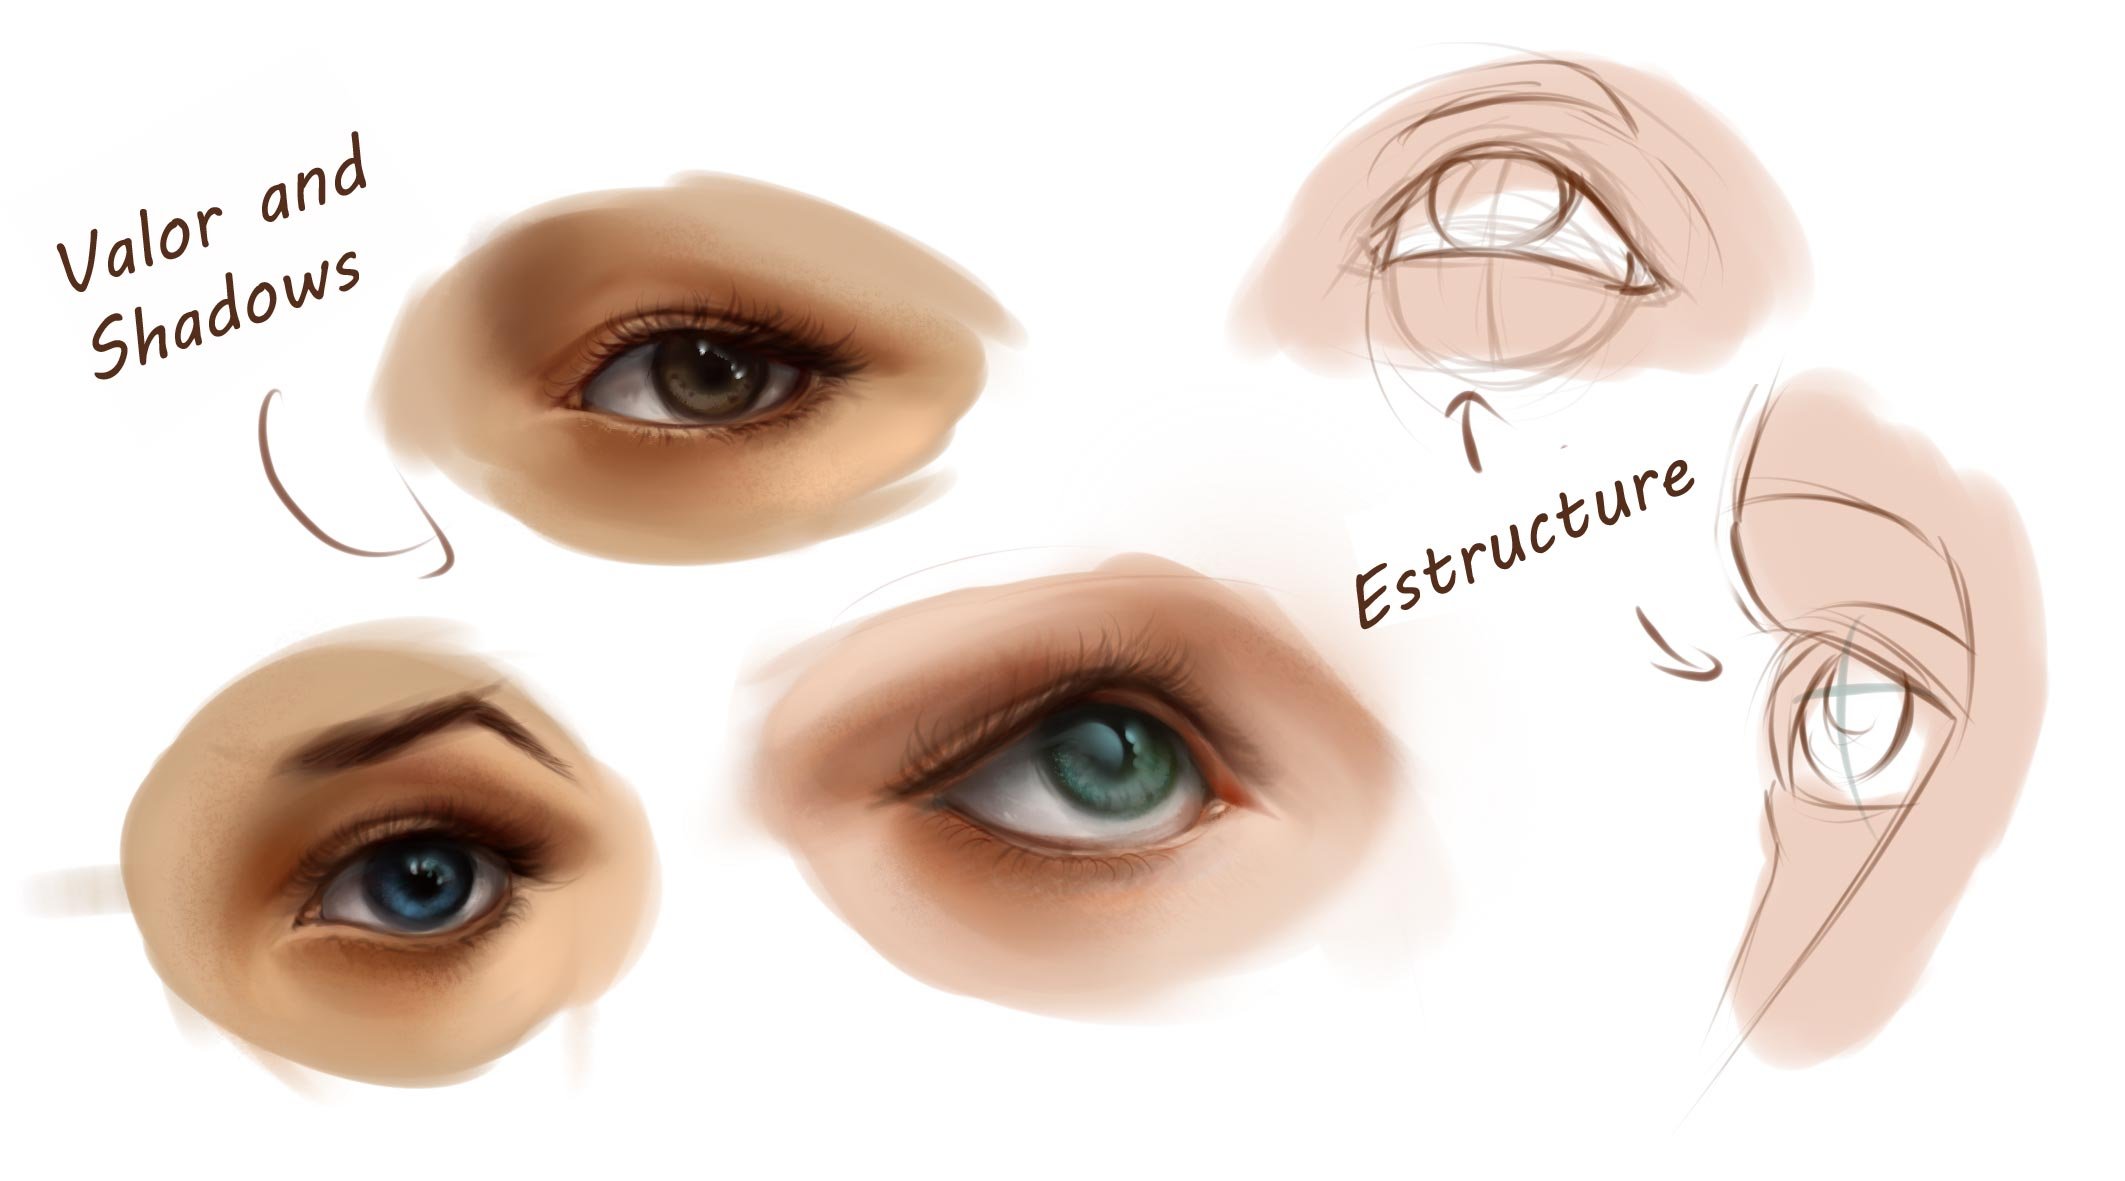
It will be divided into 2 sections, one with structures and the other talking about values, lights and colors (the latter will be for another post). I will try to make it as interactive and simple as possible ... being a subject a bit extensive ...

Estructure
I already believe that many will know how an eye will be divided, each one of the parts must be taken into account since it has its own rules, although they are also easy to understand.
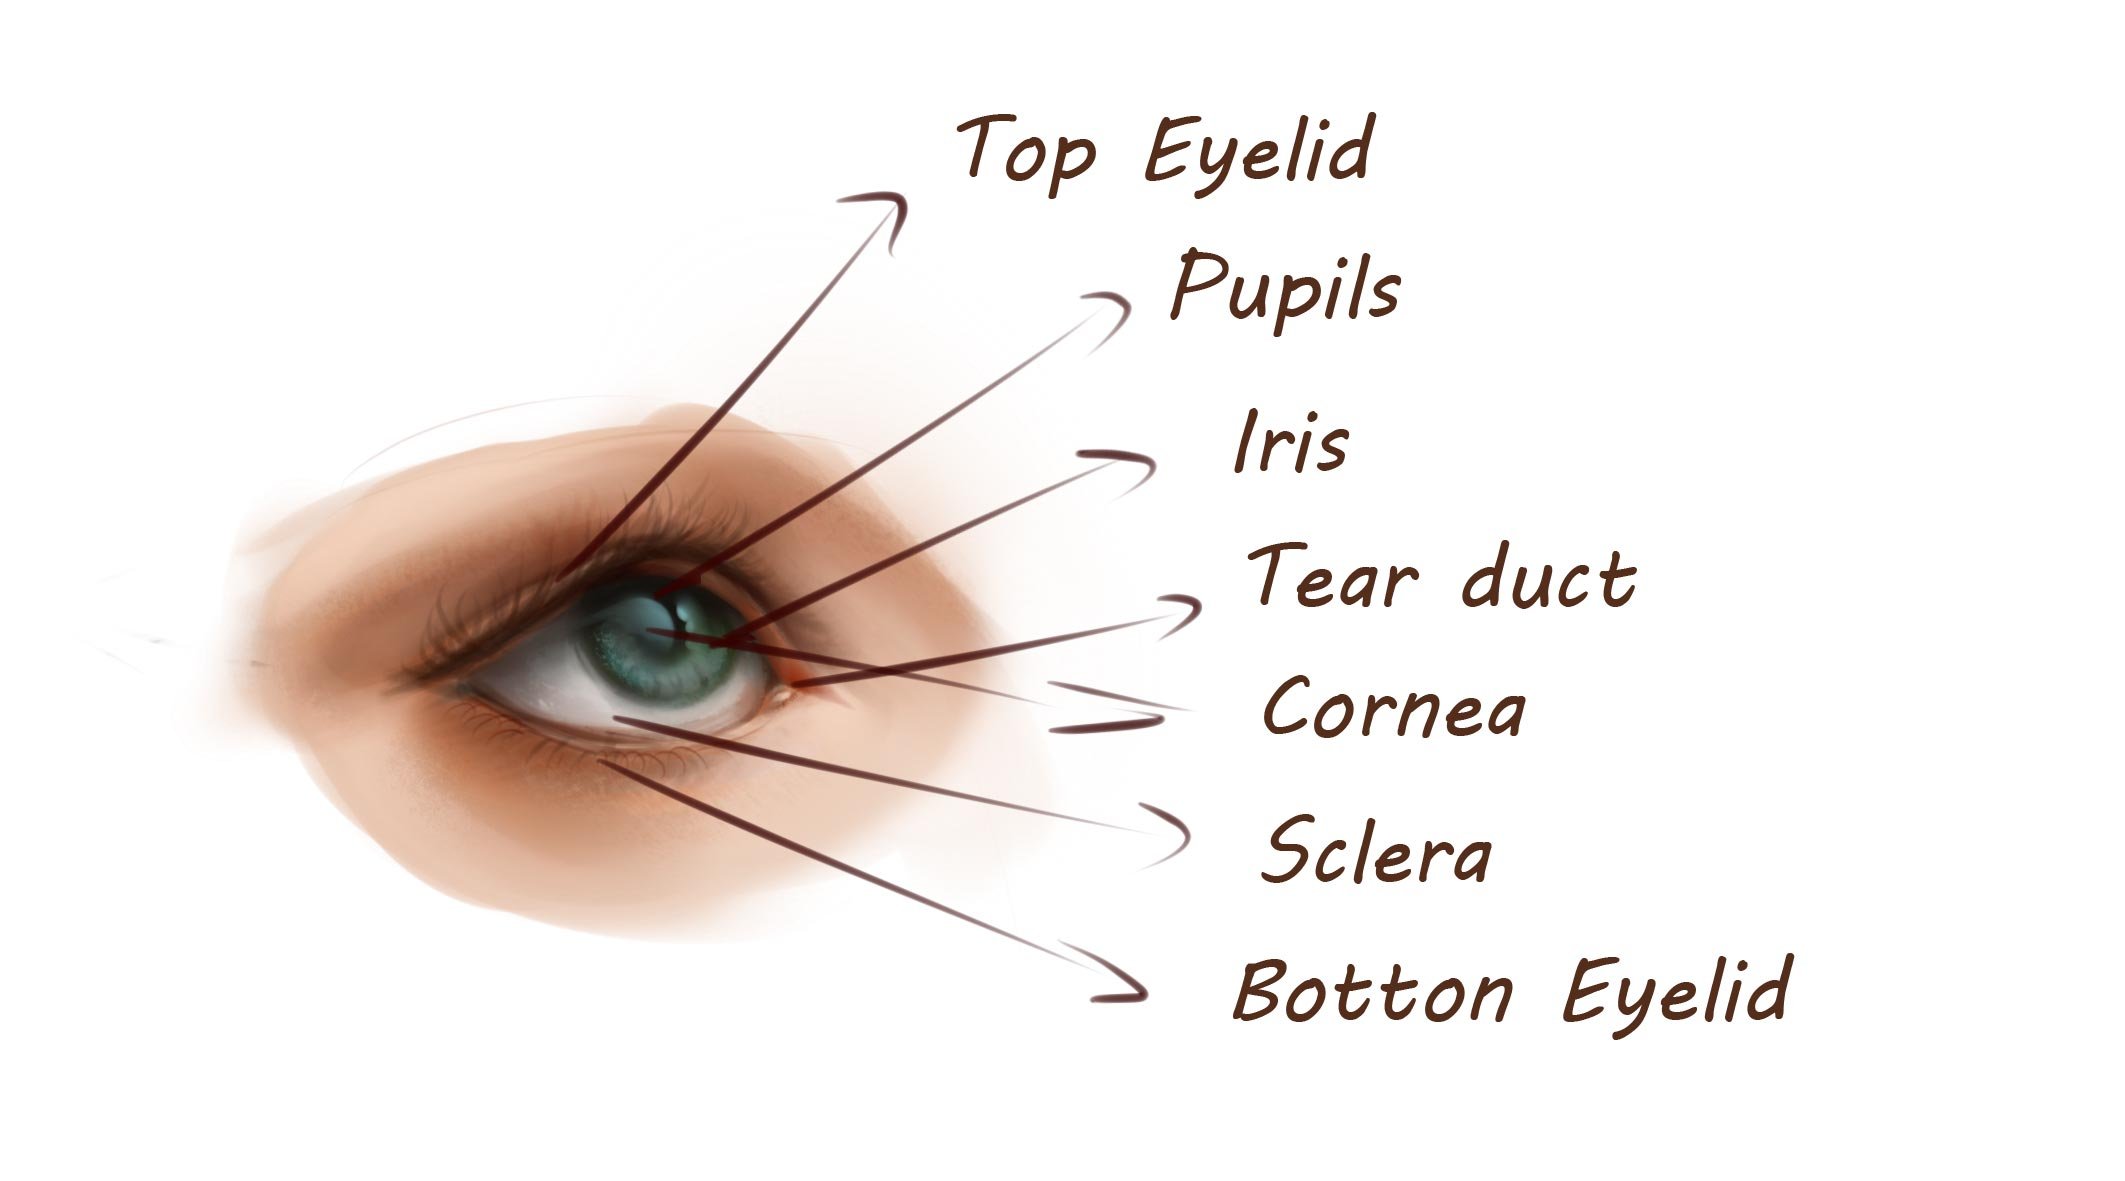
-Top eyelid.
-Pupil.
-Iris.
-Tear duct.
-Cornea.
-Sclera.
-Botton eyelid.
No olvidemos a estos amigos, que son de gran importancia para que un ojo mantenga su esencia.

Posicion:
Before starting to draw an eye it is good that we understand where it is; do we remember a skull? The eye sockets are to protect the eye, and its shape affects the position. When we make an eye this will present a depth due to this zone.
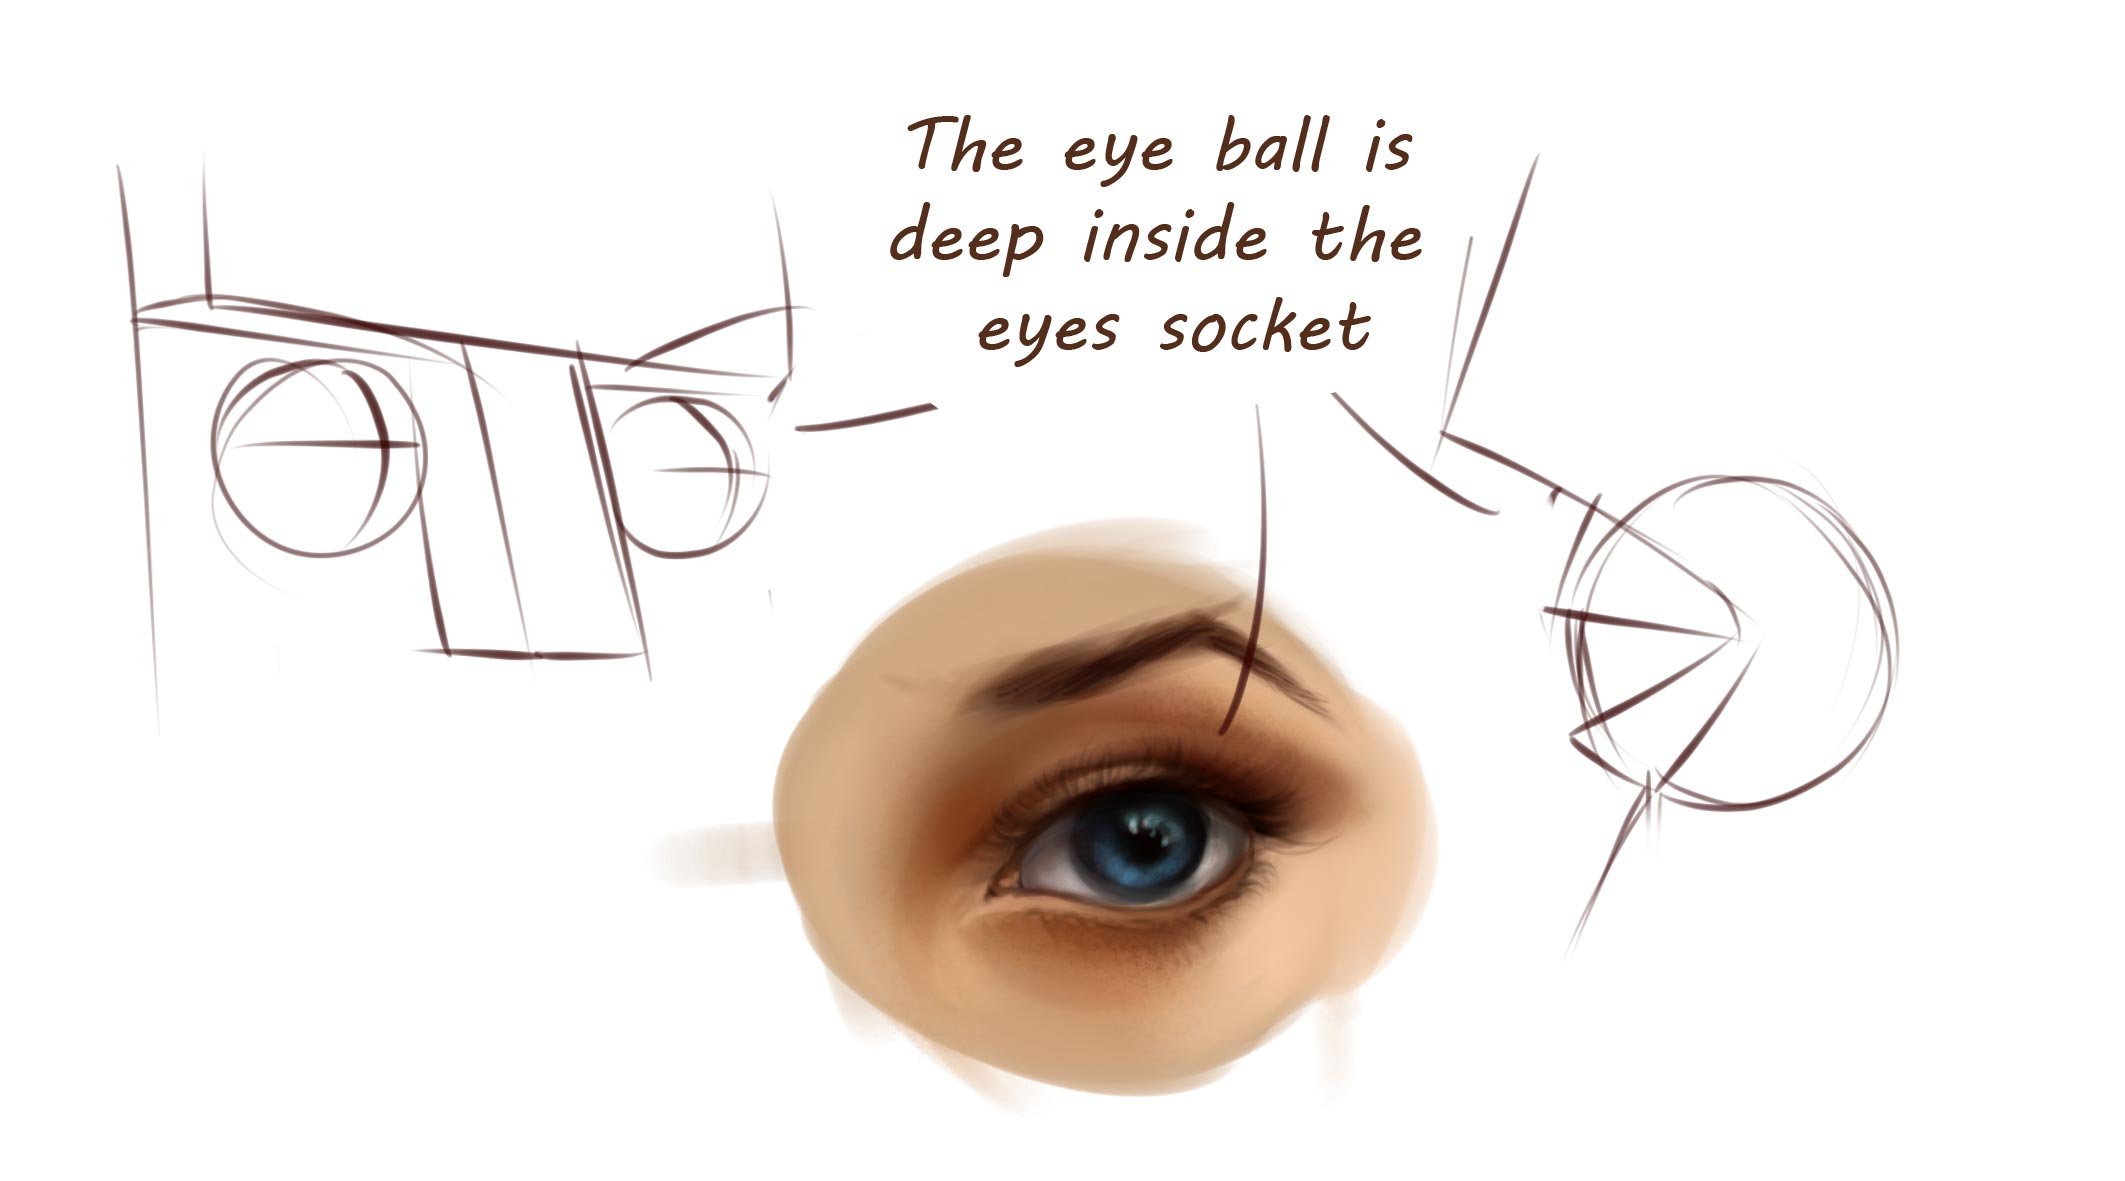
Tip
- A very common trick to do the eyes is to first place the eyebrows and the "third eye" (the space between the eyebrows) and based on this, we position the eyes.

Form
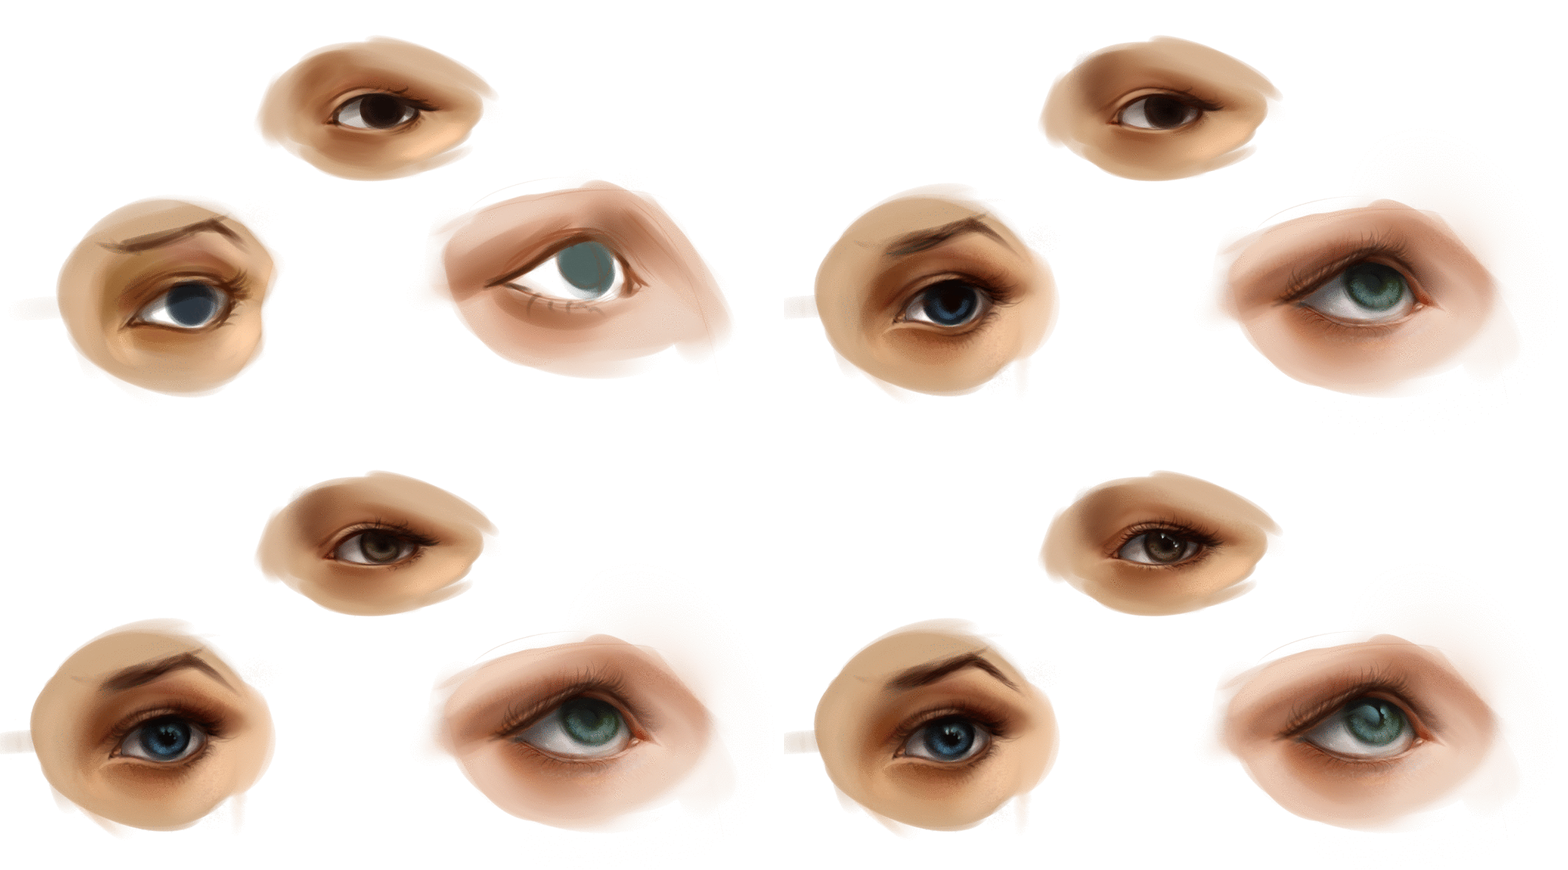
Here we will find one of the most common mistakes among artists, and it is to draw the eye as a flat object. The eye is a sphere, and therefore has the nature of a sphere; Although this is not noticed innately, we have to take it into account since almost everything is affected by it.
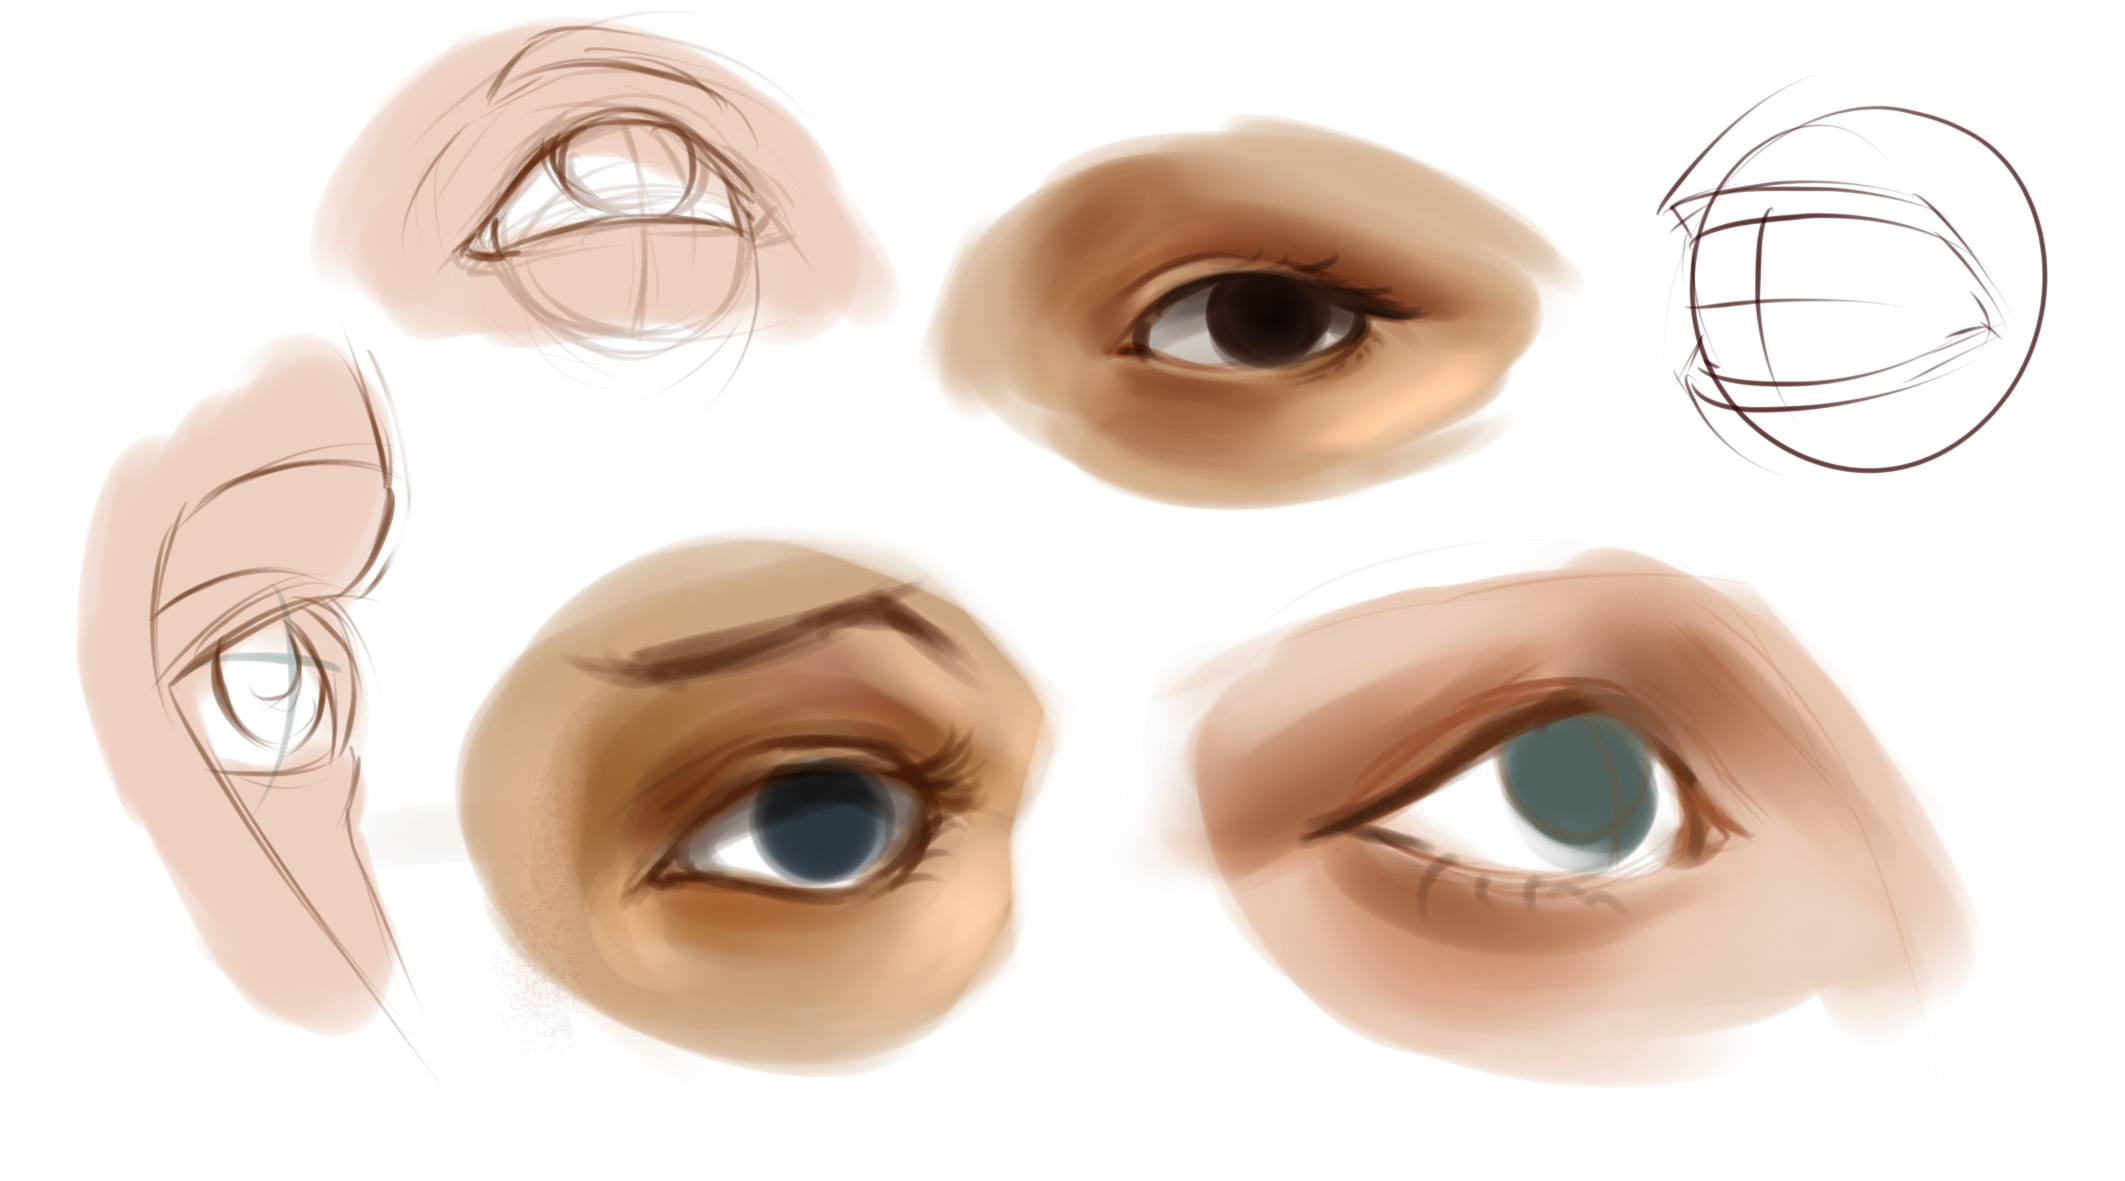
Tip:
- The pupils and iris when changing direction will suffer curves. Like all circular planes seen from the side, it will not always be a perfect circle.
- The iris is not completely centered or symmetrically exposed; the eye tends to cover part of the upper area, while the lower side comes to rosar the eyelids, it's in forced expressions when this can change.
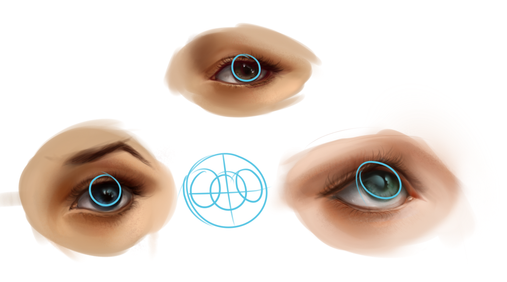

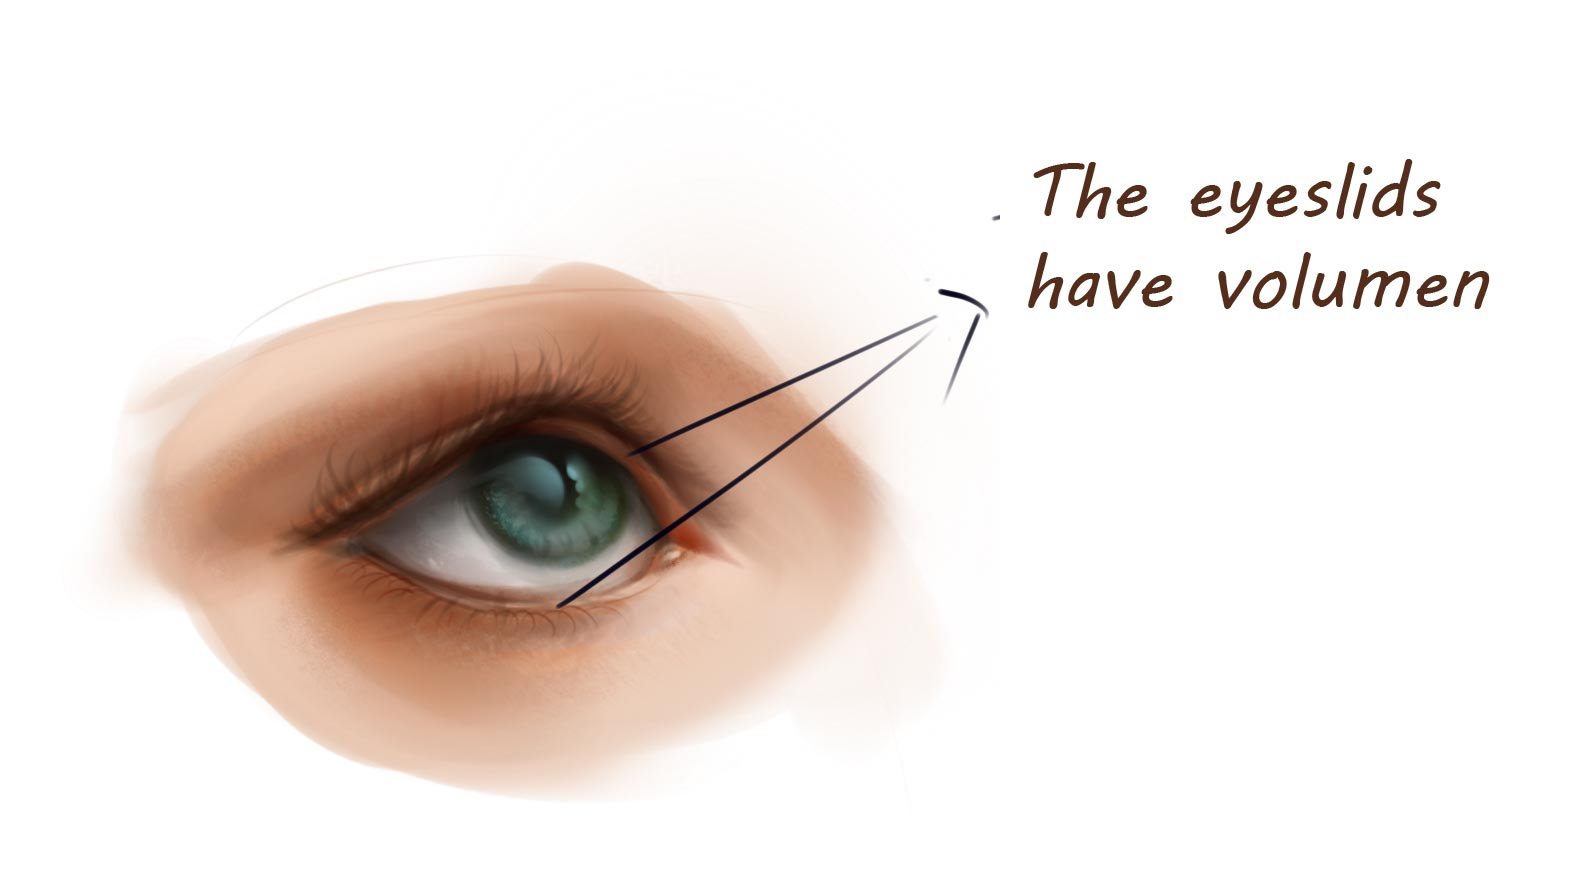
-The eyelids wrap around the eyes, they are the least we have to imagine as flat or symmetrical; they always present curves when surrounding the ocular sphere and this should never be ignored.
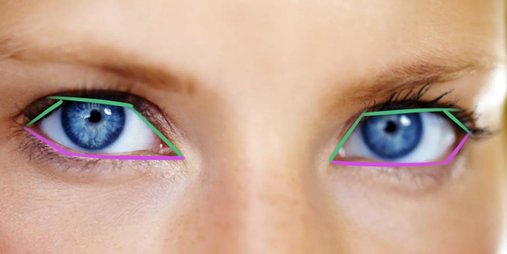

- A very common trick that is used to make an eye is to simplify it with 5 base lines (3 up and 2 down). This will help us to simulate the curvature in a simple way.
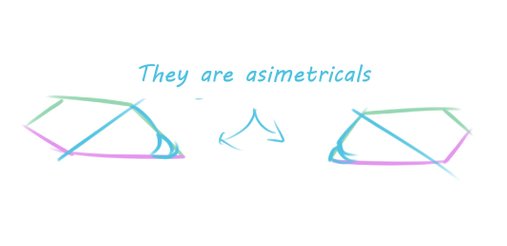

- The shape will be asymmetrical and on the lower internal side of the eyes a space will be given for the tear ducts.
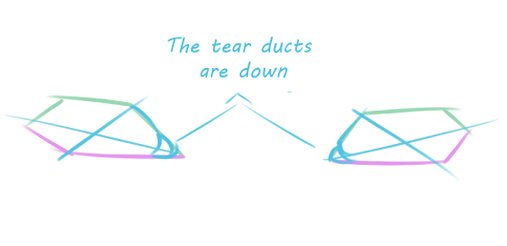

- The tear ducts are NEVER in the center or at the height of the external end of the eye. The extreme of the eye will be directed upwards, while the tear ducts will be directed downwards.

Eyes lids:
This is also a common mistake when drawing and is ignoring the true nature of an eyelid. The eyelids exist, and they have mass and volume; therefore, they will be seen in one way or another depending on the perspective.
In the lower eyelid there is a tendency to leave a small upper plane where the light is reflected. And in the case of the upper eyelid, a shadow plane is left.

Copyright @edanya - All Rights Reserved
(at least about the process of the painted eyes? 😂)
