This is one of my latest portrait drawings. This was a commissioned work on size A4-8.3 x 11.7 in
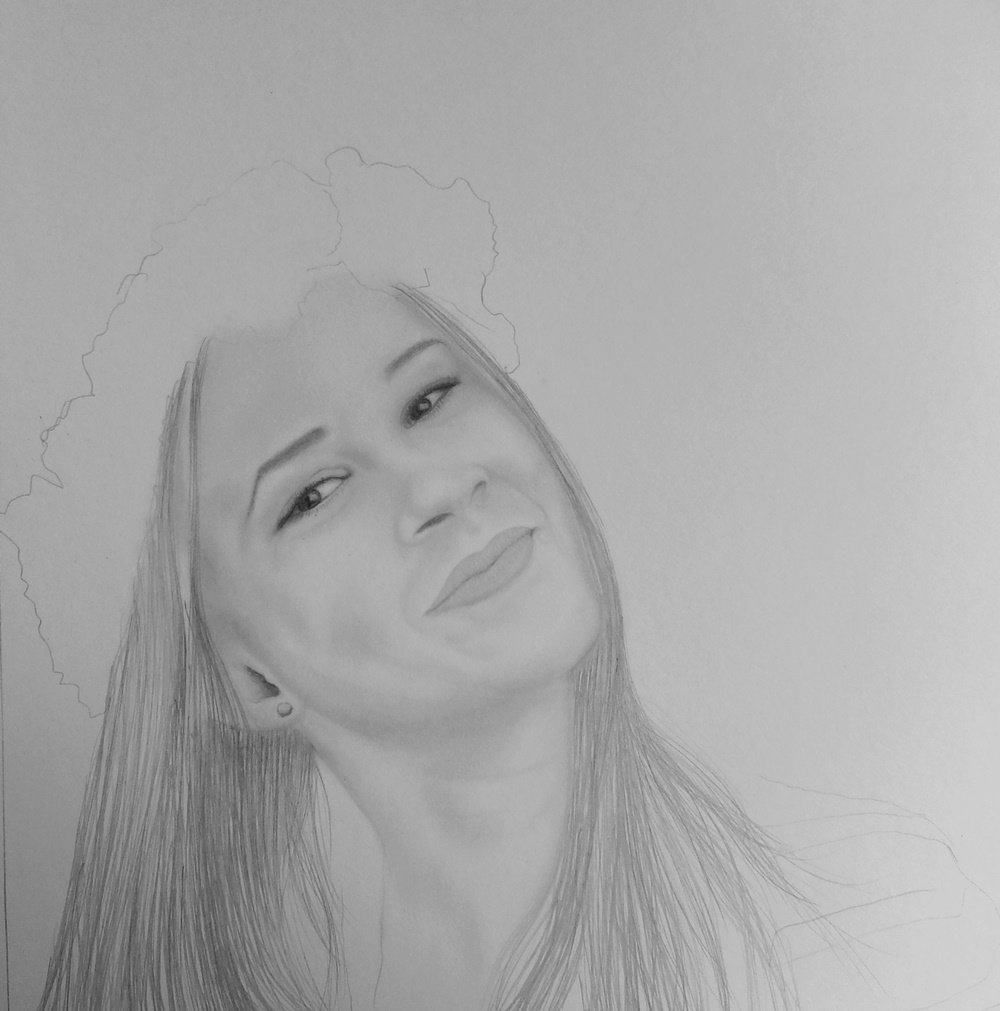
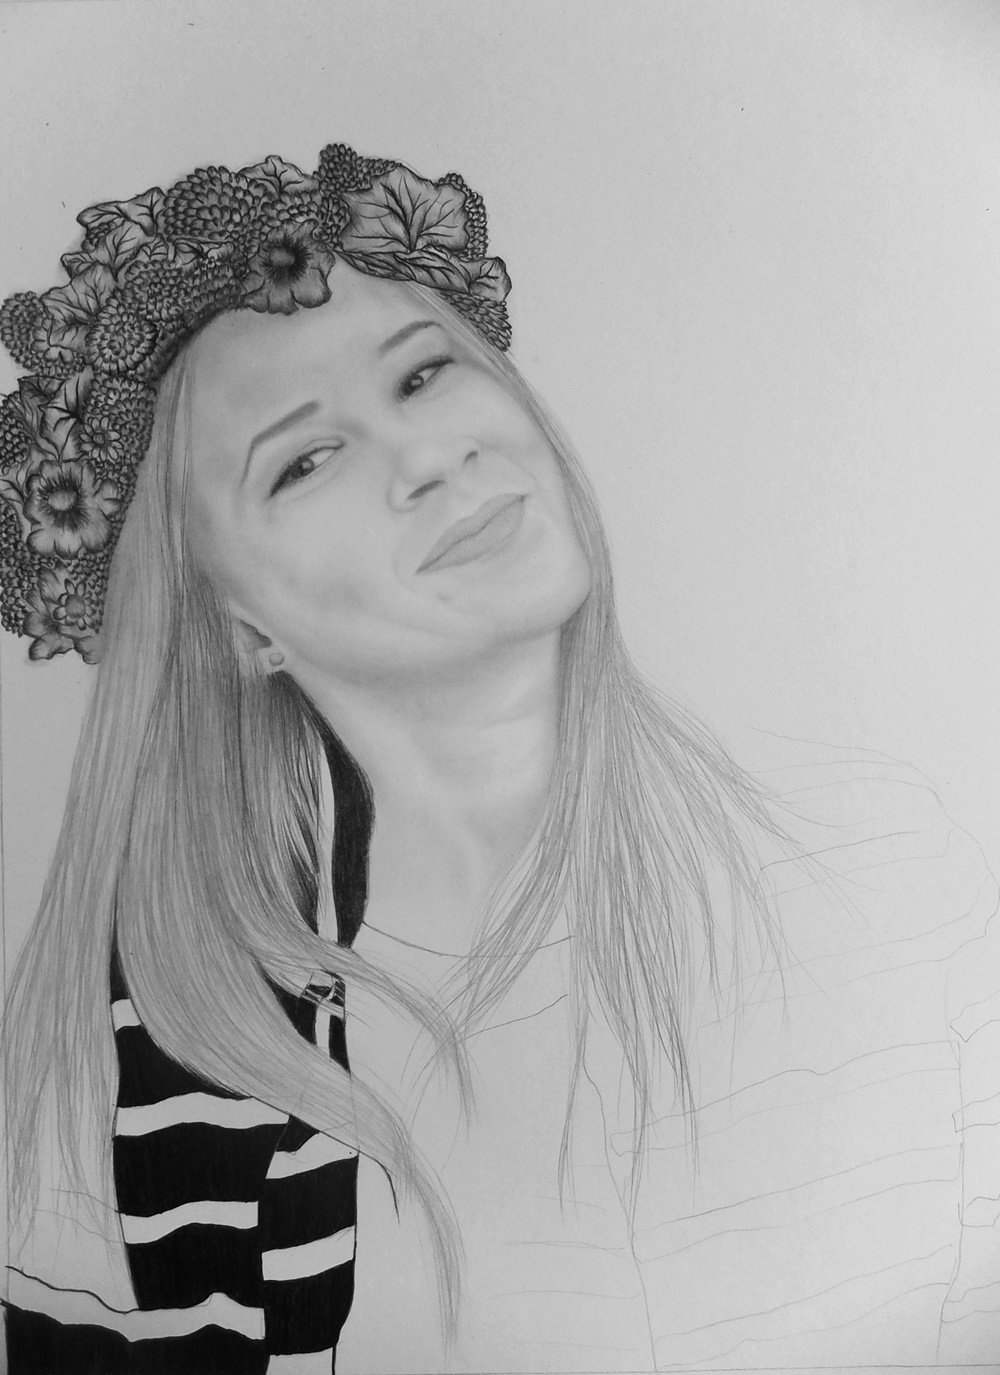
It was very hard to draw the crown,because in the reference photo that was provided, that part was blurred and in very bad quality, so i tried to make it as similar to the original as i could.
And to draw the hair i used 3H pencil. Usually i draw the basic core with 3H pencil, and then to make the hair look realistic enough, i use 2B pencil. To make those dark strands of hair. That really gives that realistic look.

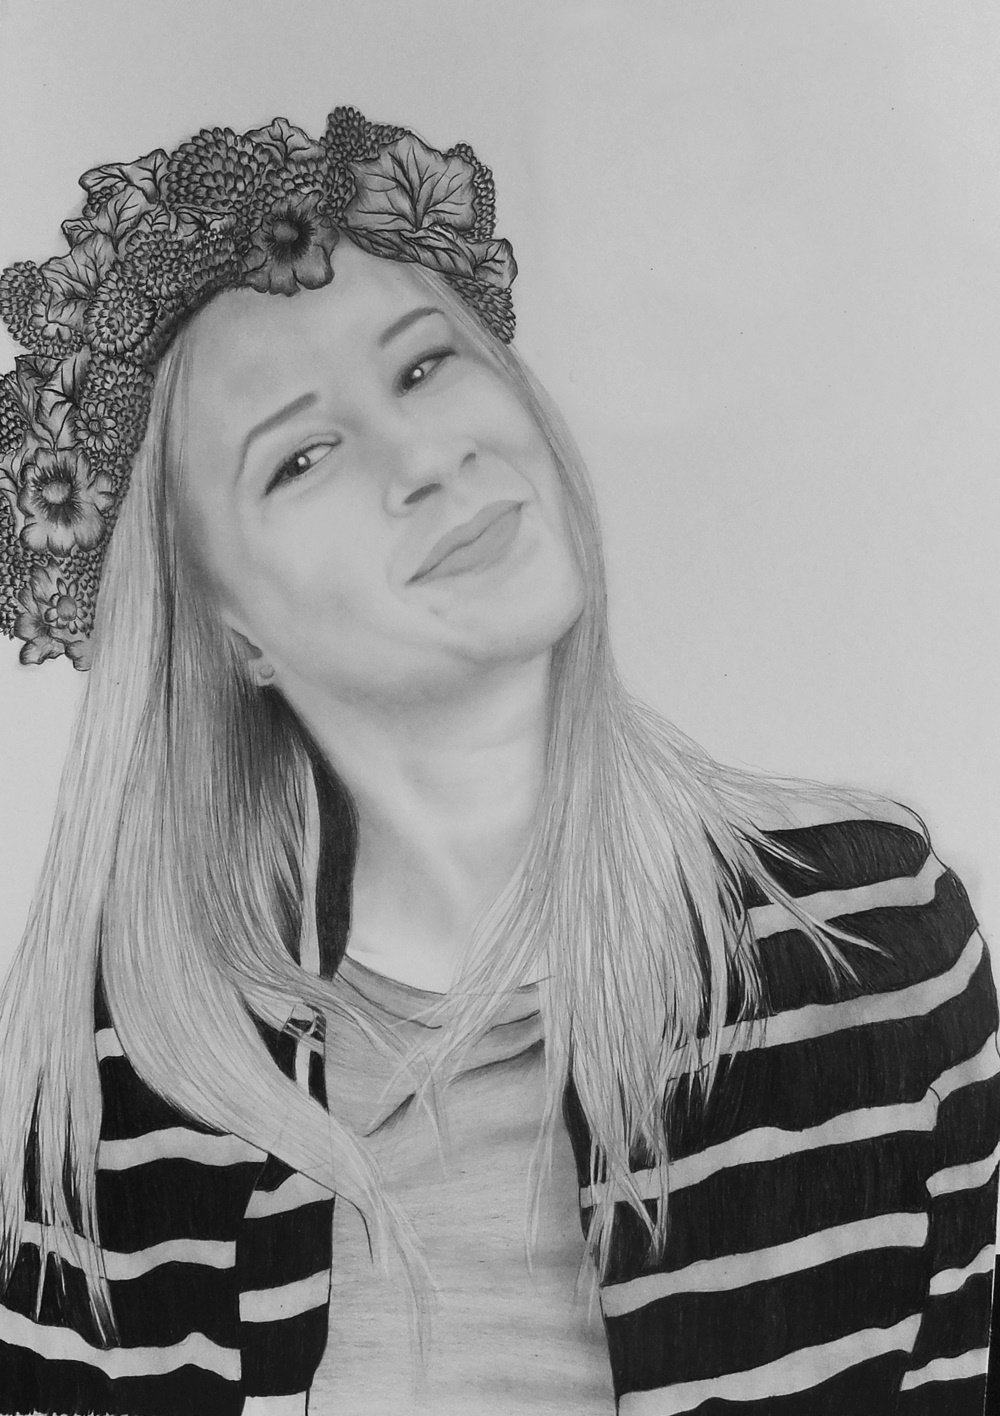
In the end i used also an eraser to make those highlights. Spent around 30 minutes doing that, because she has blond hair. When i have to draw someone with dark hair, instead of 3H pencil i use 2B. And then i do some work with an eraser. I don't use a white pencil or any other way to draw those white spots. Mostly an eraser, with a very sharp end.
If i have to draw someone with a very dark hair, i may also use 9B or 8B. Just because i wont be able to get that tone with 2B. Of course i could just push it harder and it would be dark, but that would only rip the paper.
In the end i myself think the result looks good, there are some places still to correct, but overall i think it is fine!
I will include a link to my verification post, that all of the drawings posted here are done by me: @edgarsart/edgarsart-original-art-now-verified
More of my art you can find on my twitter page: https://twitter.com/EdArtDrawings
Pencil Portrait Drawing Steps
9 Comments