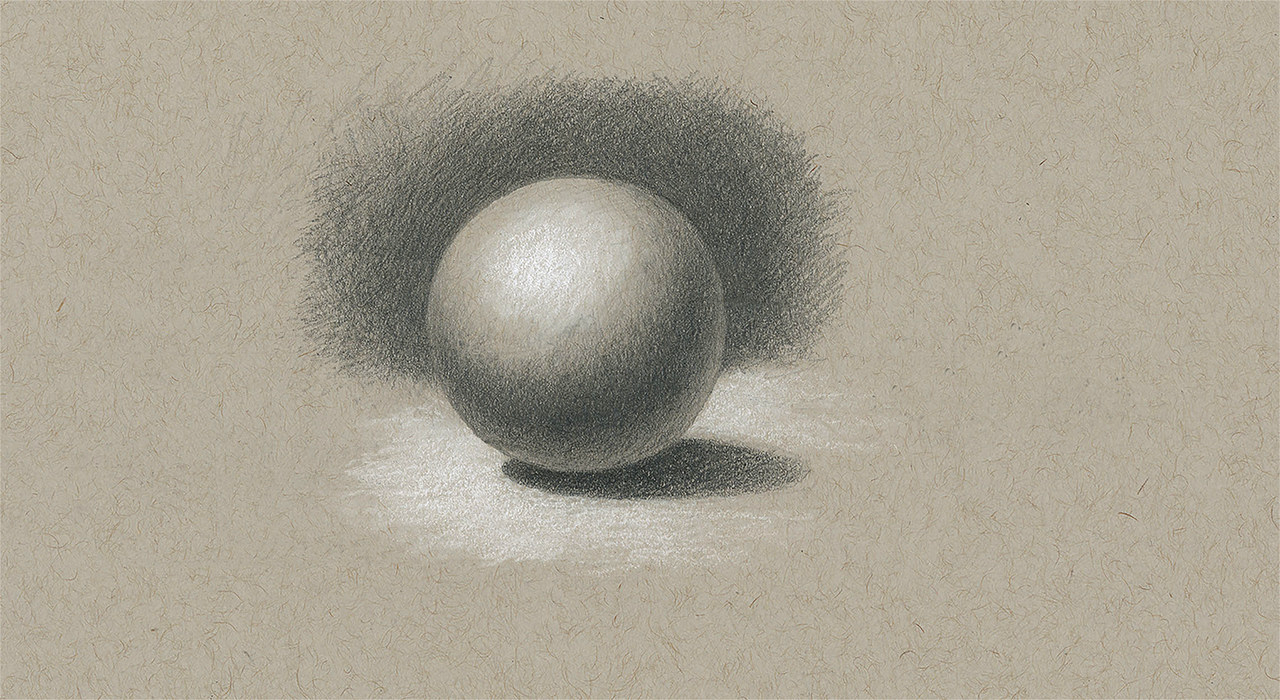
Before I talk about ears, I want to show a diagram of light hitting a sphere in order to introduce the concept of “formulas”. It's crucial to understand this pattern because it is a manifestation of a fundamental formula that describes how light interacts with any object.
The formula for light hitting an object follows the same pattern.
Let's break this pattern down because the sphere is the simplest form to demonstrate the patterns of light and shadow, which apply to all opaque surfaces.
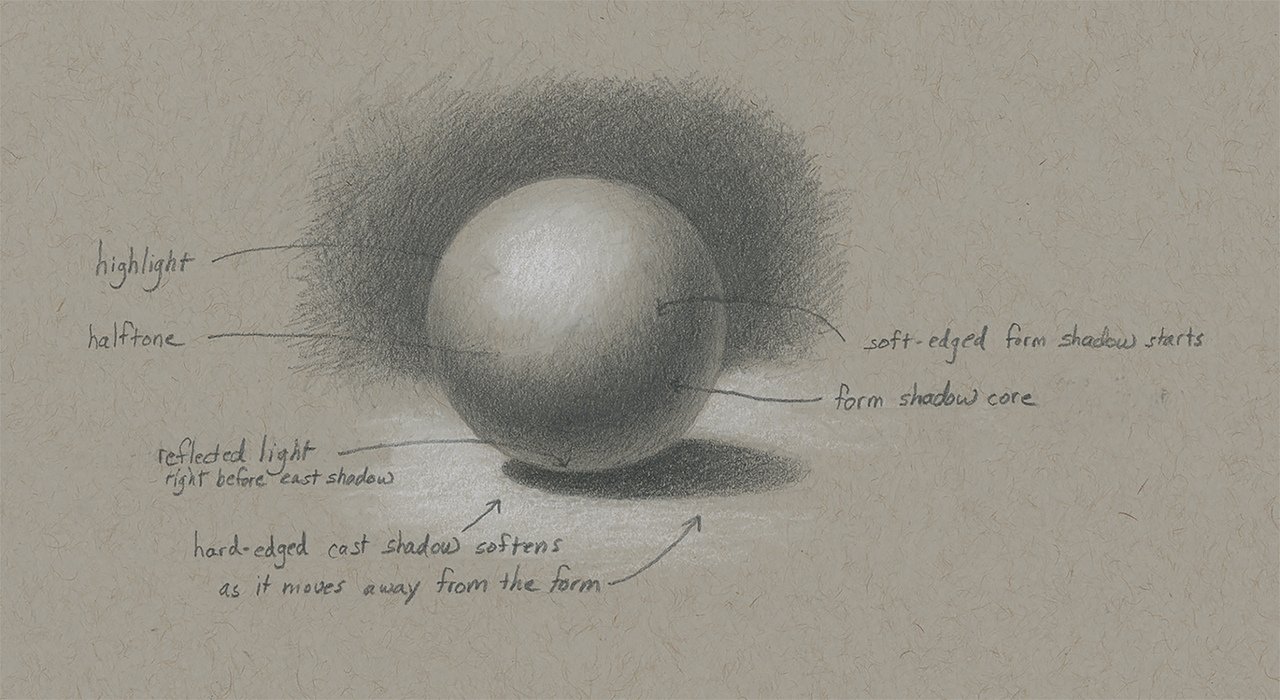
A high resolution image of this sphere is here.
From the light source on the left, where it hits the closest part of an object, is a highlight. Next comes a halftone - the color of the object in its natural state not hit by direct light. Just beyond the halftone, the soft-edged form shadow begins as the sphere bends away form the light. The form shadow is a term for the shadow an object creates on it self, and can be thought of as the dark side of the object.
The next stage reveals the core shadow. If you squint, you will see what appears to be a darker ring around the sphere. The core shadow links together the sphere’s gradual form shadow with reflected light emanating from the surface on which the sphere sits - light from the surface reflects onto the bottom area of the sphere. The cast shadow describes the contour of the form on a surface where light cannot reach. The cast shadow is typically what we think of when we hear the word “shadow”.
The funny thing about ears - everyone knows that you can't draw them if they aren't visible in your drawings. Yes, hair will camouflage ears, but it's obvious when you don't know. You may be able to get away with it in the short term, but eventually, you will have to confront the obstacles. Why not take time to learn how they are put together?
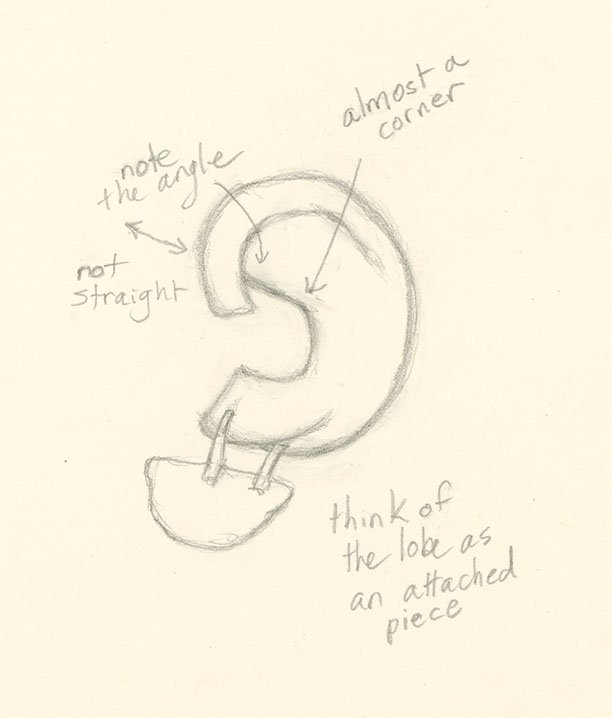
Think of the earlobe as an additional piece tied on with two straps.
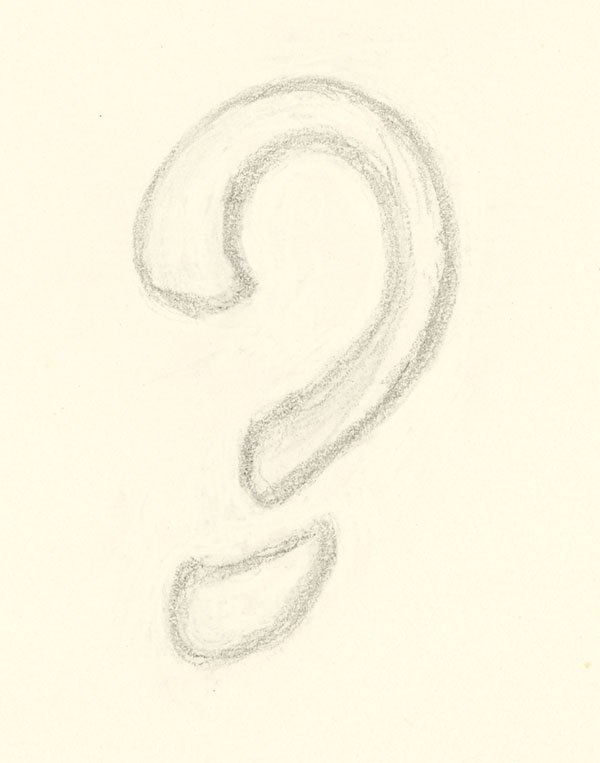
You can also think of the ear's shape as a backwards stylized question mark.
Let's begin.
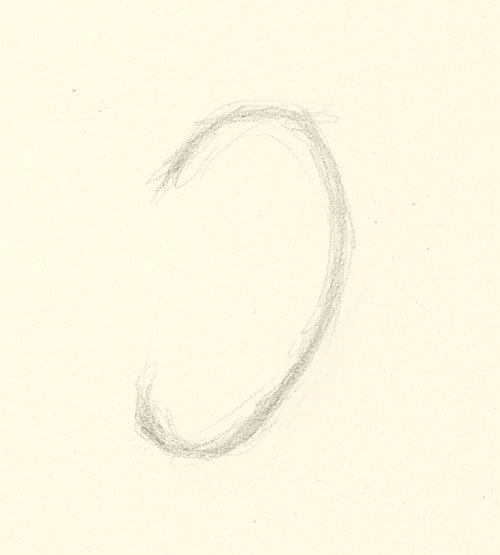
I sketch in a few loose pencil strokes. The top curve, called the helix, is wider than the bottom lobe area
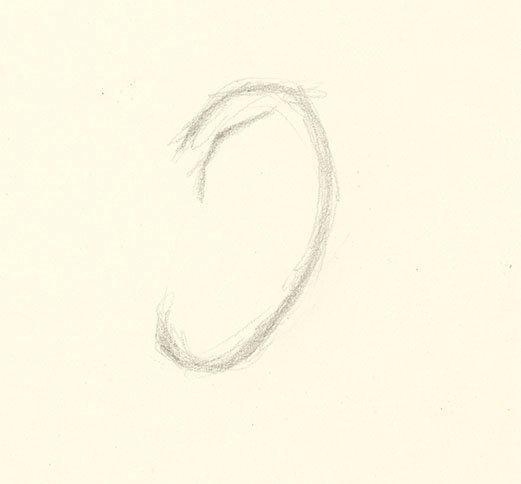
The inner curve of the upper helix does not mirror the top. The tubercle, as it’s called, has its own shape. The inner edge of the tubercle is called the scapha and everyone's is different.
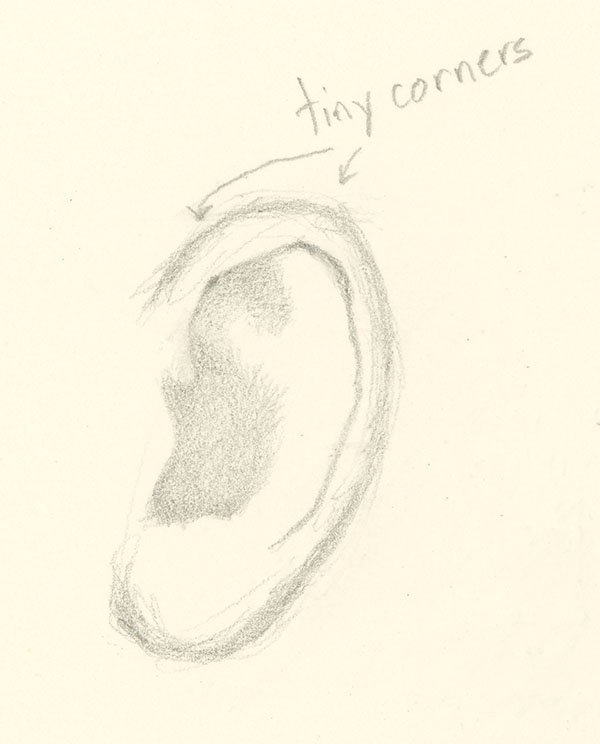
I draw the shapes of the shadows - the darker areas indicate they are further back in space. Now we have created some depth. They are still simply shapes.
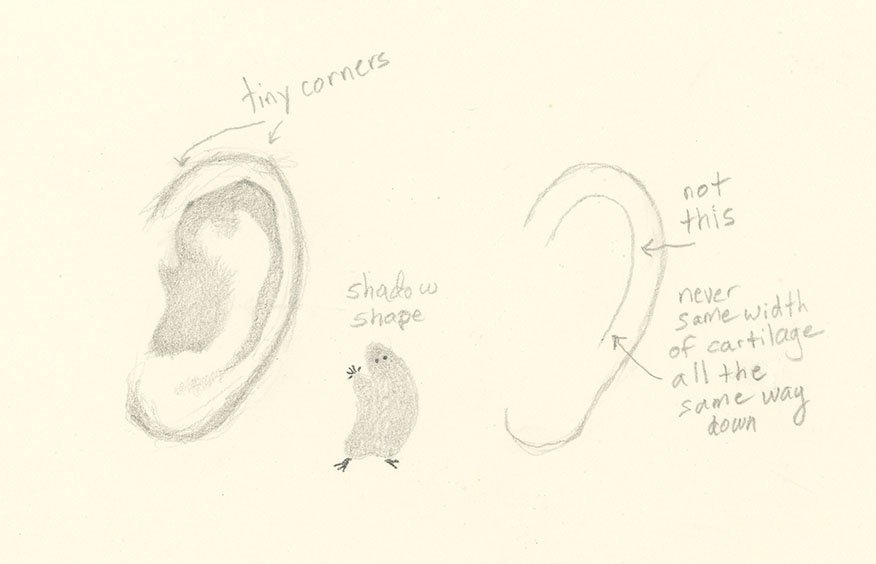
The ear example on the right shows an incorrect approach to tackling the inner curve; they are never the same width. Each ridge of cartilage is unique. Pay attention to the shapes. If you get stuck, you can always draw the shadows. The form will reveal itself.

Now I add patterns of shadow. What areas come forward? What areas recede? The value shades depict how far back the shapes move in space. The inner rim of the ear is known as the antihelix. It gets more light than its upper and lower areas of attachment. The "v" shape in the upper area of the helix is called the "triangular fossa" - it does look like an upside down triangle.
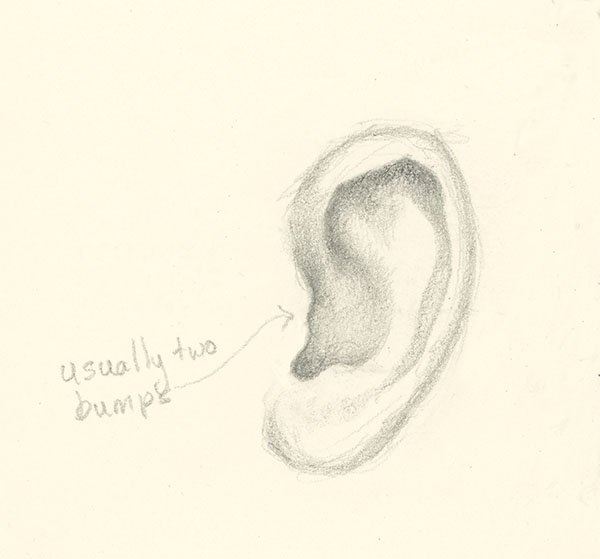
The flap of stiff cartilage that covers the entrance of the ear canal is called the tragus - most people have two little bumps on theirs. No two are alike. Pay attention to the shape of the shadow behind it instead of trying to draw the ridge itself.
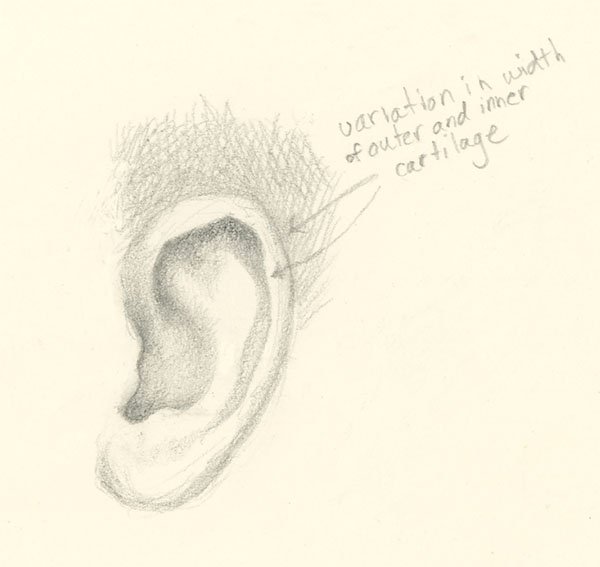
I render the width of the tubercle by drawing the shape of its cast shadow on the top of the antihelix. The antihelix presents as two branches. I showed them branching in a simplified drawing in my post introducing this series. These two ”branches” are known as the legs of the antihelix.
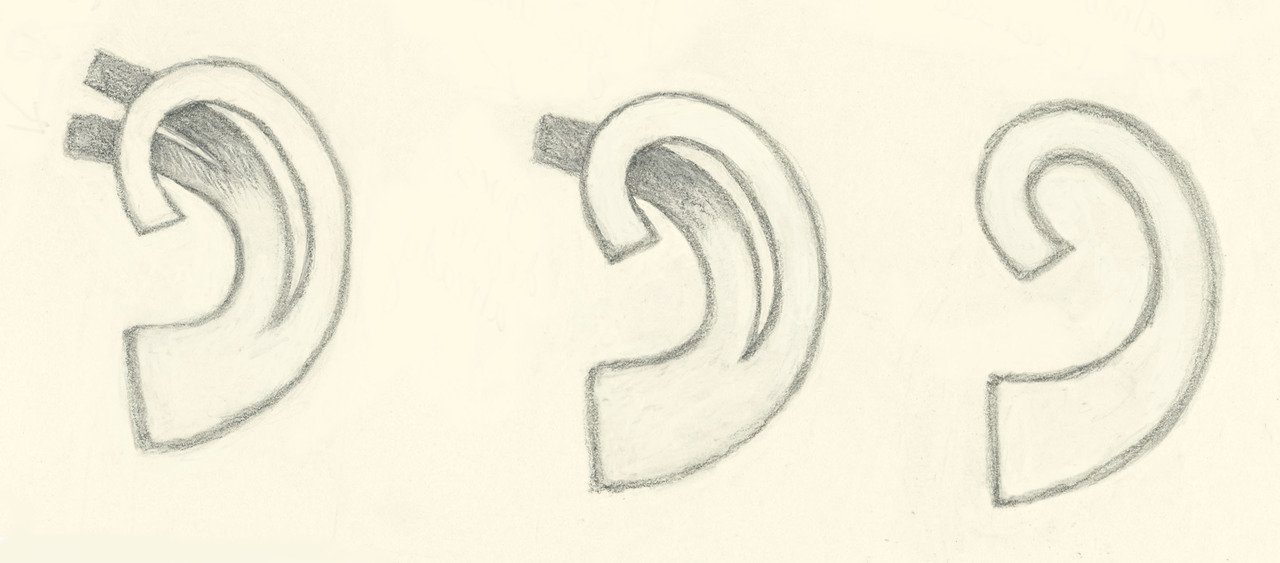
When in doubt, simplify.
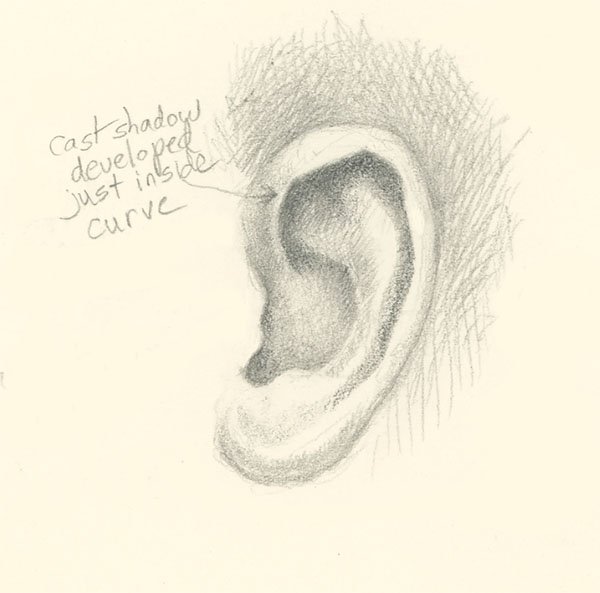
It's time to darken the cast shadows. Adding darker values to the cast shadows makes the ear appear even more three-dimensional.
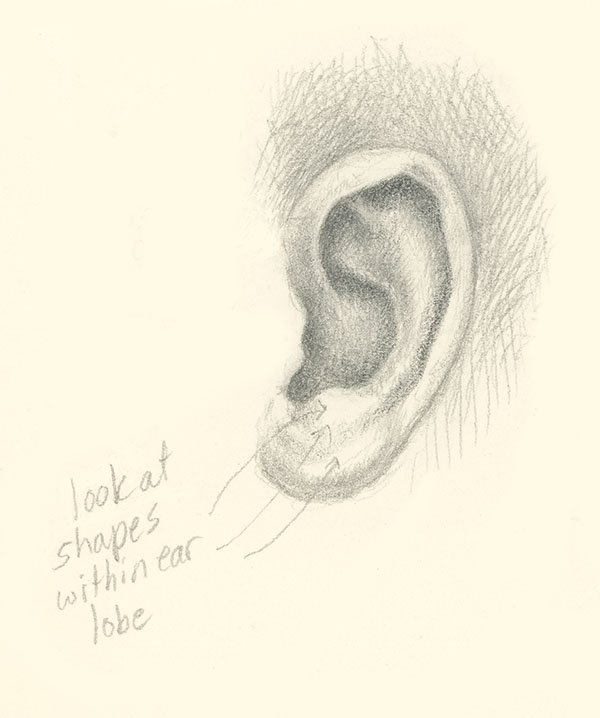
I use some light pencil strokes to map out the bumps and valleys of cartilage in the earlobe. The “antitragus” is the bump of cartilage directly above the lobe.
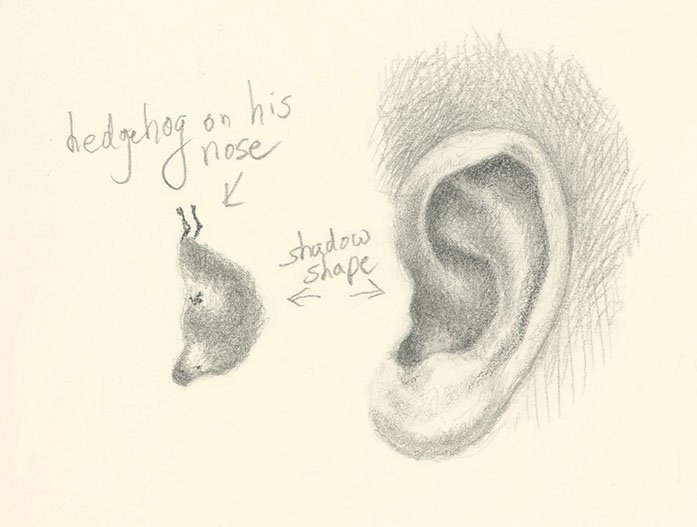
A new shadow shape appears from darker values within the initial lighter layers. To me, this new shape looked like a hedgehog balancing on a very large nose. This area of the ear is called the concha, which is related to the word “conch”. If you look carefully, you can see why it was named after a shell. It spirals back into the inner ear through the ear canal.
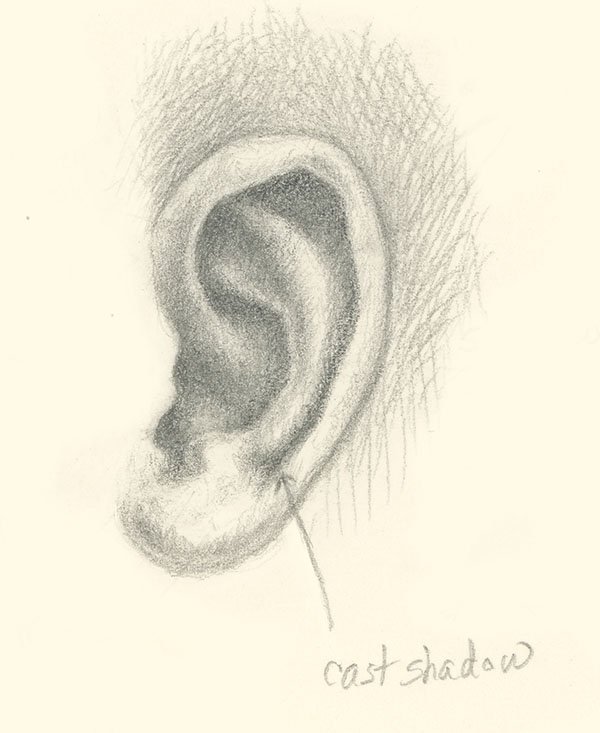
The cast shadows of the lower helix are darkened where the lower helix attaches to the antihelix.
I deliberately leave a hard edge on the cast shadow made by the top curve of the helix.
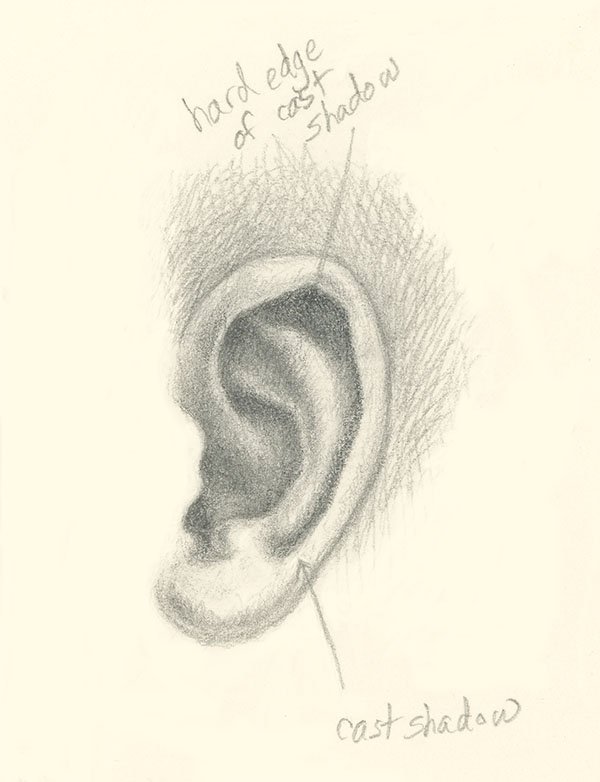
I develop the core shadows so they create the illusion of turning form, which can be thought of surface curvature.
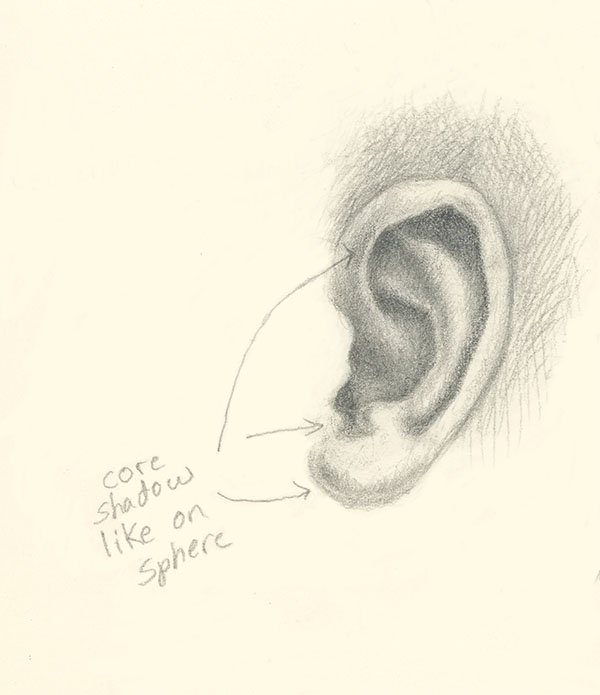
When you understand the basic patterns of light and shadow and know the light source, you can apply to any object the same sets of rules that I showed on the sphere. The patterned repetitions of light and shadow apply to all forms.
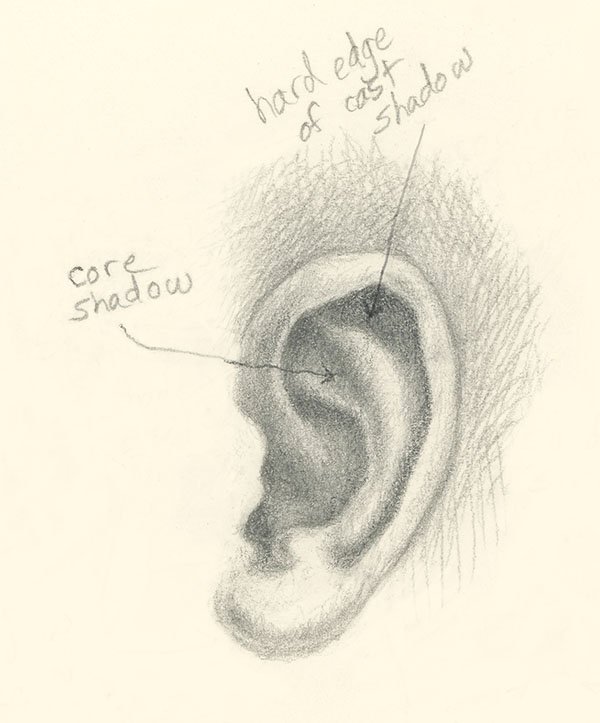
The interior ear follows a predictable course established by the general patterns of light and shadow. The highlight is followed by the halftone, followed by the form shadow as the cartilage bends away, followed by the core, which is the very instant that the form moves completely out of the light source. Augmenting the overarching pattern from the principal light source is that of the reflected light, where the surface reflects light back onto the form.
The cast shadow is the culmination of these patterns. It starts out with a crisp edge right underneath the mass, and gradually fades into a softer shape as it moves away from the object before the whole process repeats itself.
And there you have it. A human ear.
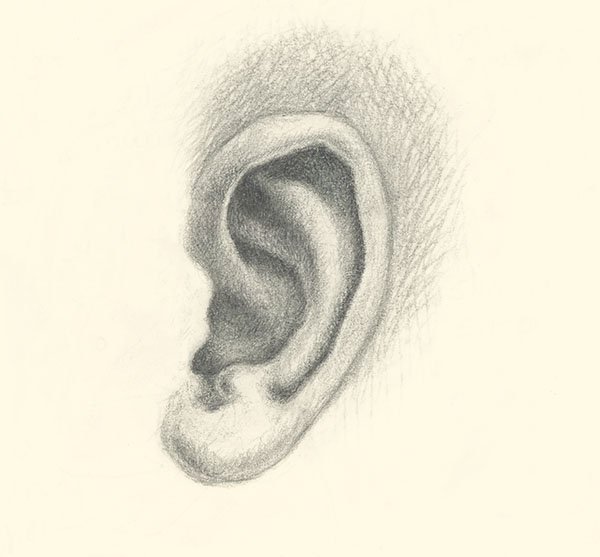
Drawings © Johanna Westerman 2016 for this steemit tutorial
