Hello!
We continue to study the bottom panel with tabs in JWildfire. Previous lesson.
Go to the Gradient tab:
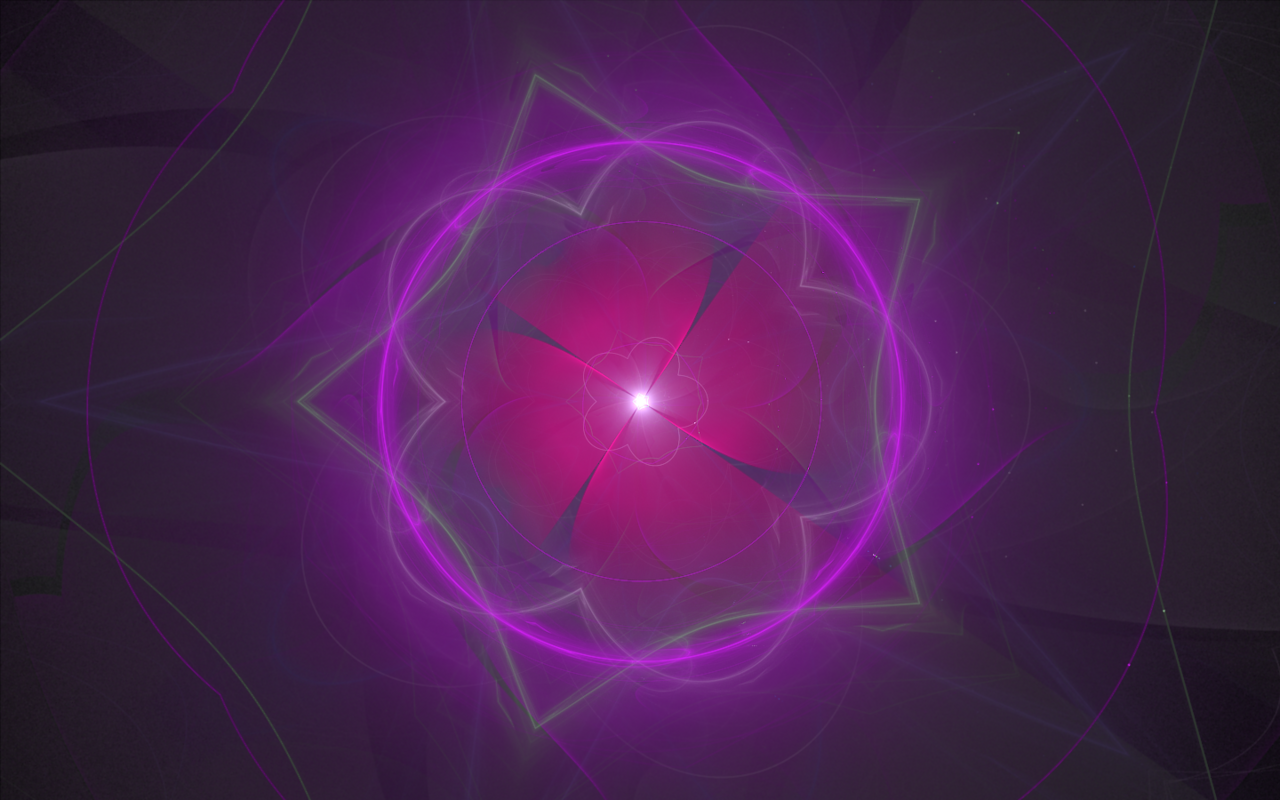
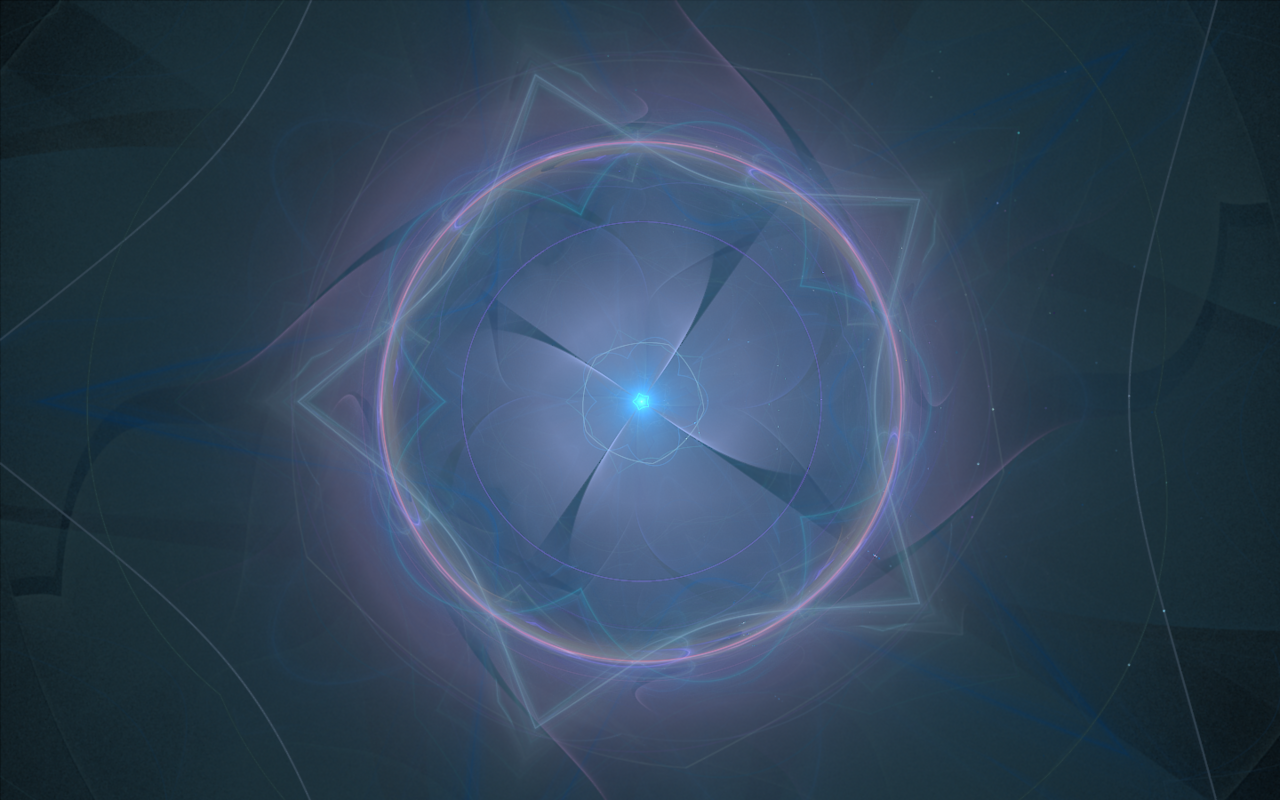
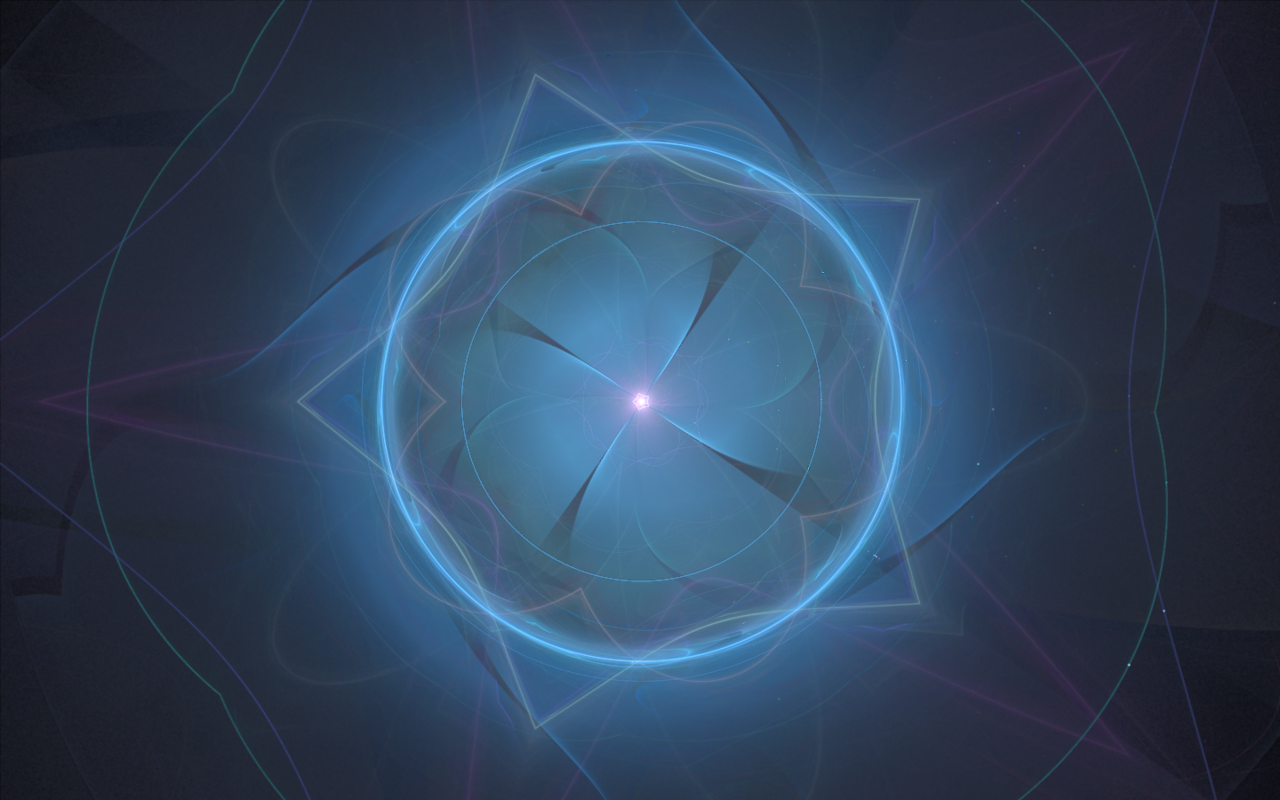
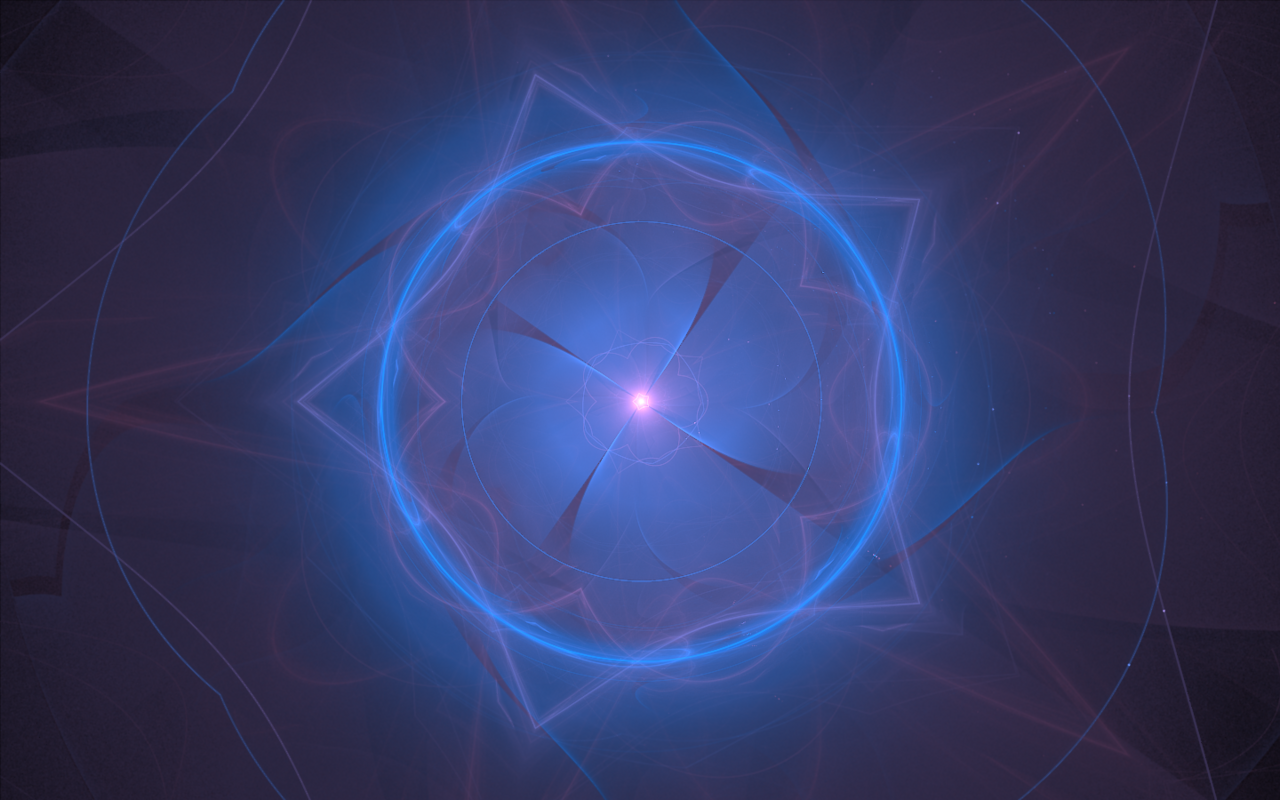
This is my favorite tab. By changing the colors of a fractal with the same set of parameters, you can get very different images.
I'll tell you first about the most simple functions on this tab.
On the left you can see the gradient currently selected:
The gradient can be scrolled with the slider under it or you can set specific digits in the Shift field. This is very convenient, because you can repeat exactly the color of the lesson.
For example, I put the number 100:
To the right is a huge list of gradients. You can choose any by double-clicking on it. For example, I want to make an image in blue shades:
There are several buttons on the left under the gradient:
Rnd grd - random gradient. Convenient if you do not have a specific goal in coloring and want to experiment. Clicking on this button is easier than scrolling the gradients on the right and clicking on them.
Rnd shift - inserts random numbers in the Shift field, i.e. randomly scrolls the gradient.
Rnd clr - random colors. Applies to the pattern a random set of colors from the selected gradient. For example:
Rnd spd - random speed. Changes the speed of the transition of one color to another. For example:
Distrib clr - distribute colors. I clicked on this button, I did not change the other parameters. Let's see what happened:
It seems to me that the shades that were present at the moment were mixed slightly.
At the top on the gradient is the button Edit gradient. After clicking, an additional toolbar opens:
Honestly, I'm here for the first time, I'll try to figure it out with you.
The most important thing here is the R button, which resets all actions and returns the picture to its original state, so you can safely experiment.
The Fade button should make the color flow from the left to the color on the right, the result:
The Invert button inverts the colors:
The Copy button copies the section between the two arrows, and the Paste button pastes it in the left arrow:
The Mono button makes the gradient monochrome:
The Fade all button for some reason did not give any result.
The Reverse button reverses the gradient from right to left:
The Erase button turns the area between the arrows into black:
You can achieve a mystical effect):
The Sort button sorts the colors in the gradient:
And the Save button will save the result to the hard disk and later use your own gradient.
Close the window for editing the gradient and we still have a few more buttons not considered.
Gradient Library allows you to switch between stitched into the program gradients and custom.
The Create new button allows you to create a new gradient from a blank slate.
The Modify gradient button contains several tools for changing the current gradient:
The Balancing button allows you to change the brightness, gamma, contrast, saturation, the ratio of green, red and blue, etc. (as in the Coloring tab):
And a very interesting button Color map. Here you can select any image on the computer, the color of which will overlay the current picture:
To be continued
Sorry for any mistakes in English, this is not my native language.
Author: @vasilisapor2
You can find us in:
Telegram: https://t.me/joinchat/GZmeKA5cSfYip429CpiMjA
E-mail: fractalteam@mail.ru
Also read us at Golos: https://golos.io/@fractal


