Turtorial in Two Parts
..:: * ::..Original art by @jnart
..:: :: :: * :: :: ::..
Part One - Design Repetitive Patterns
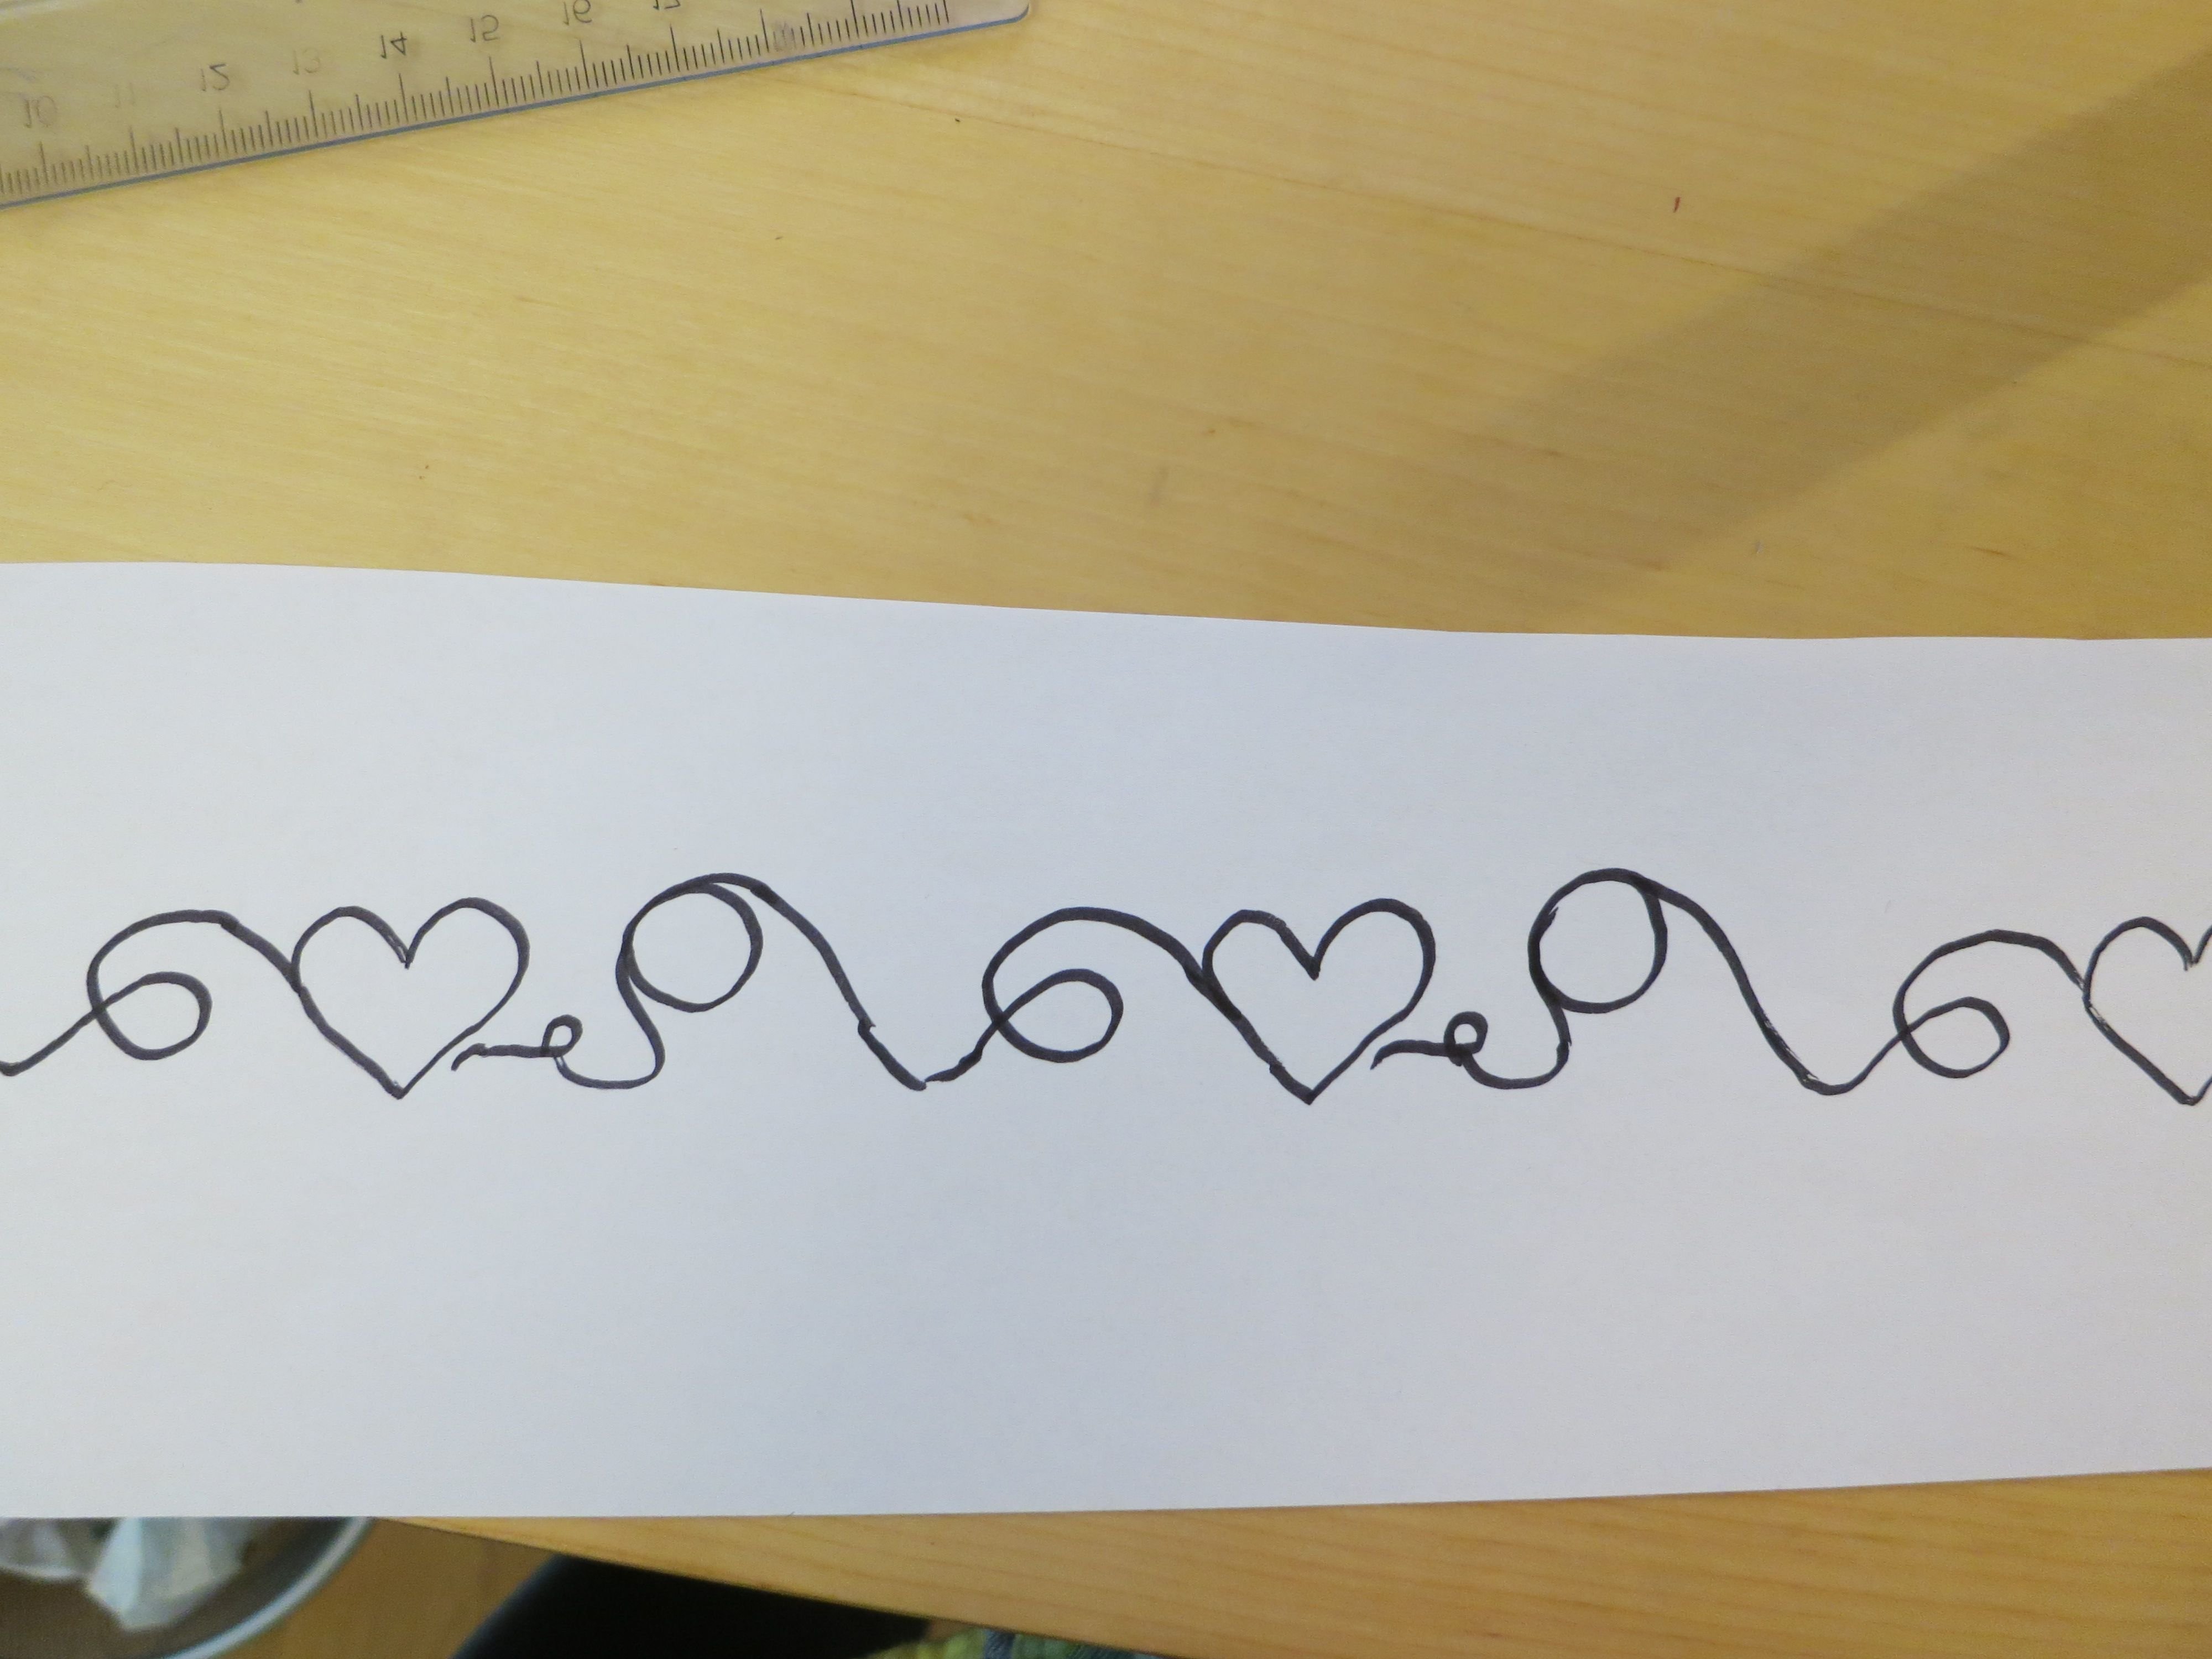
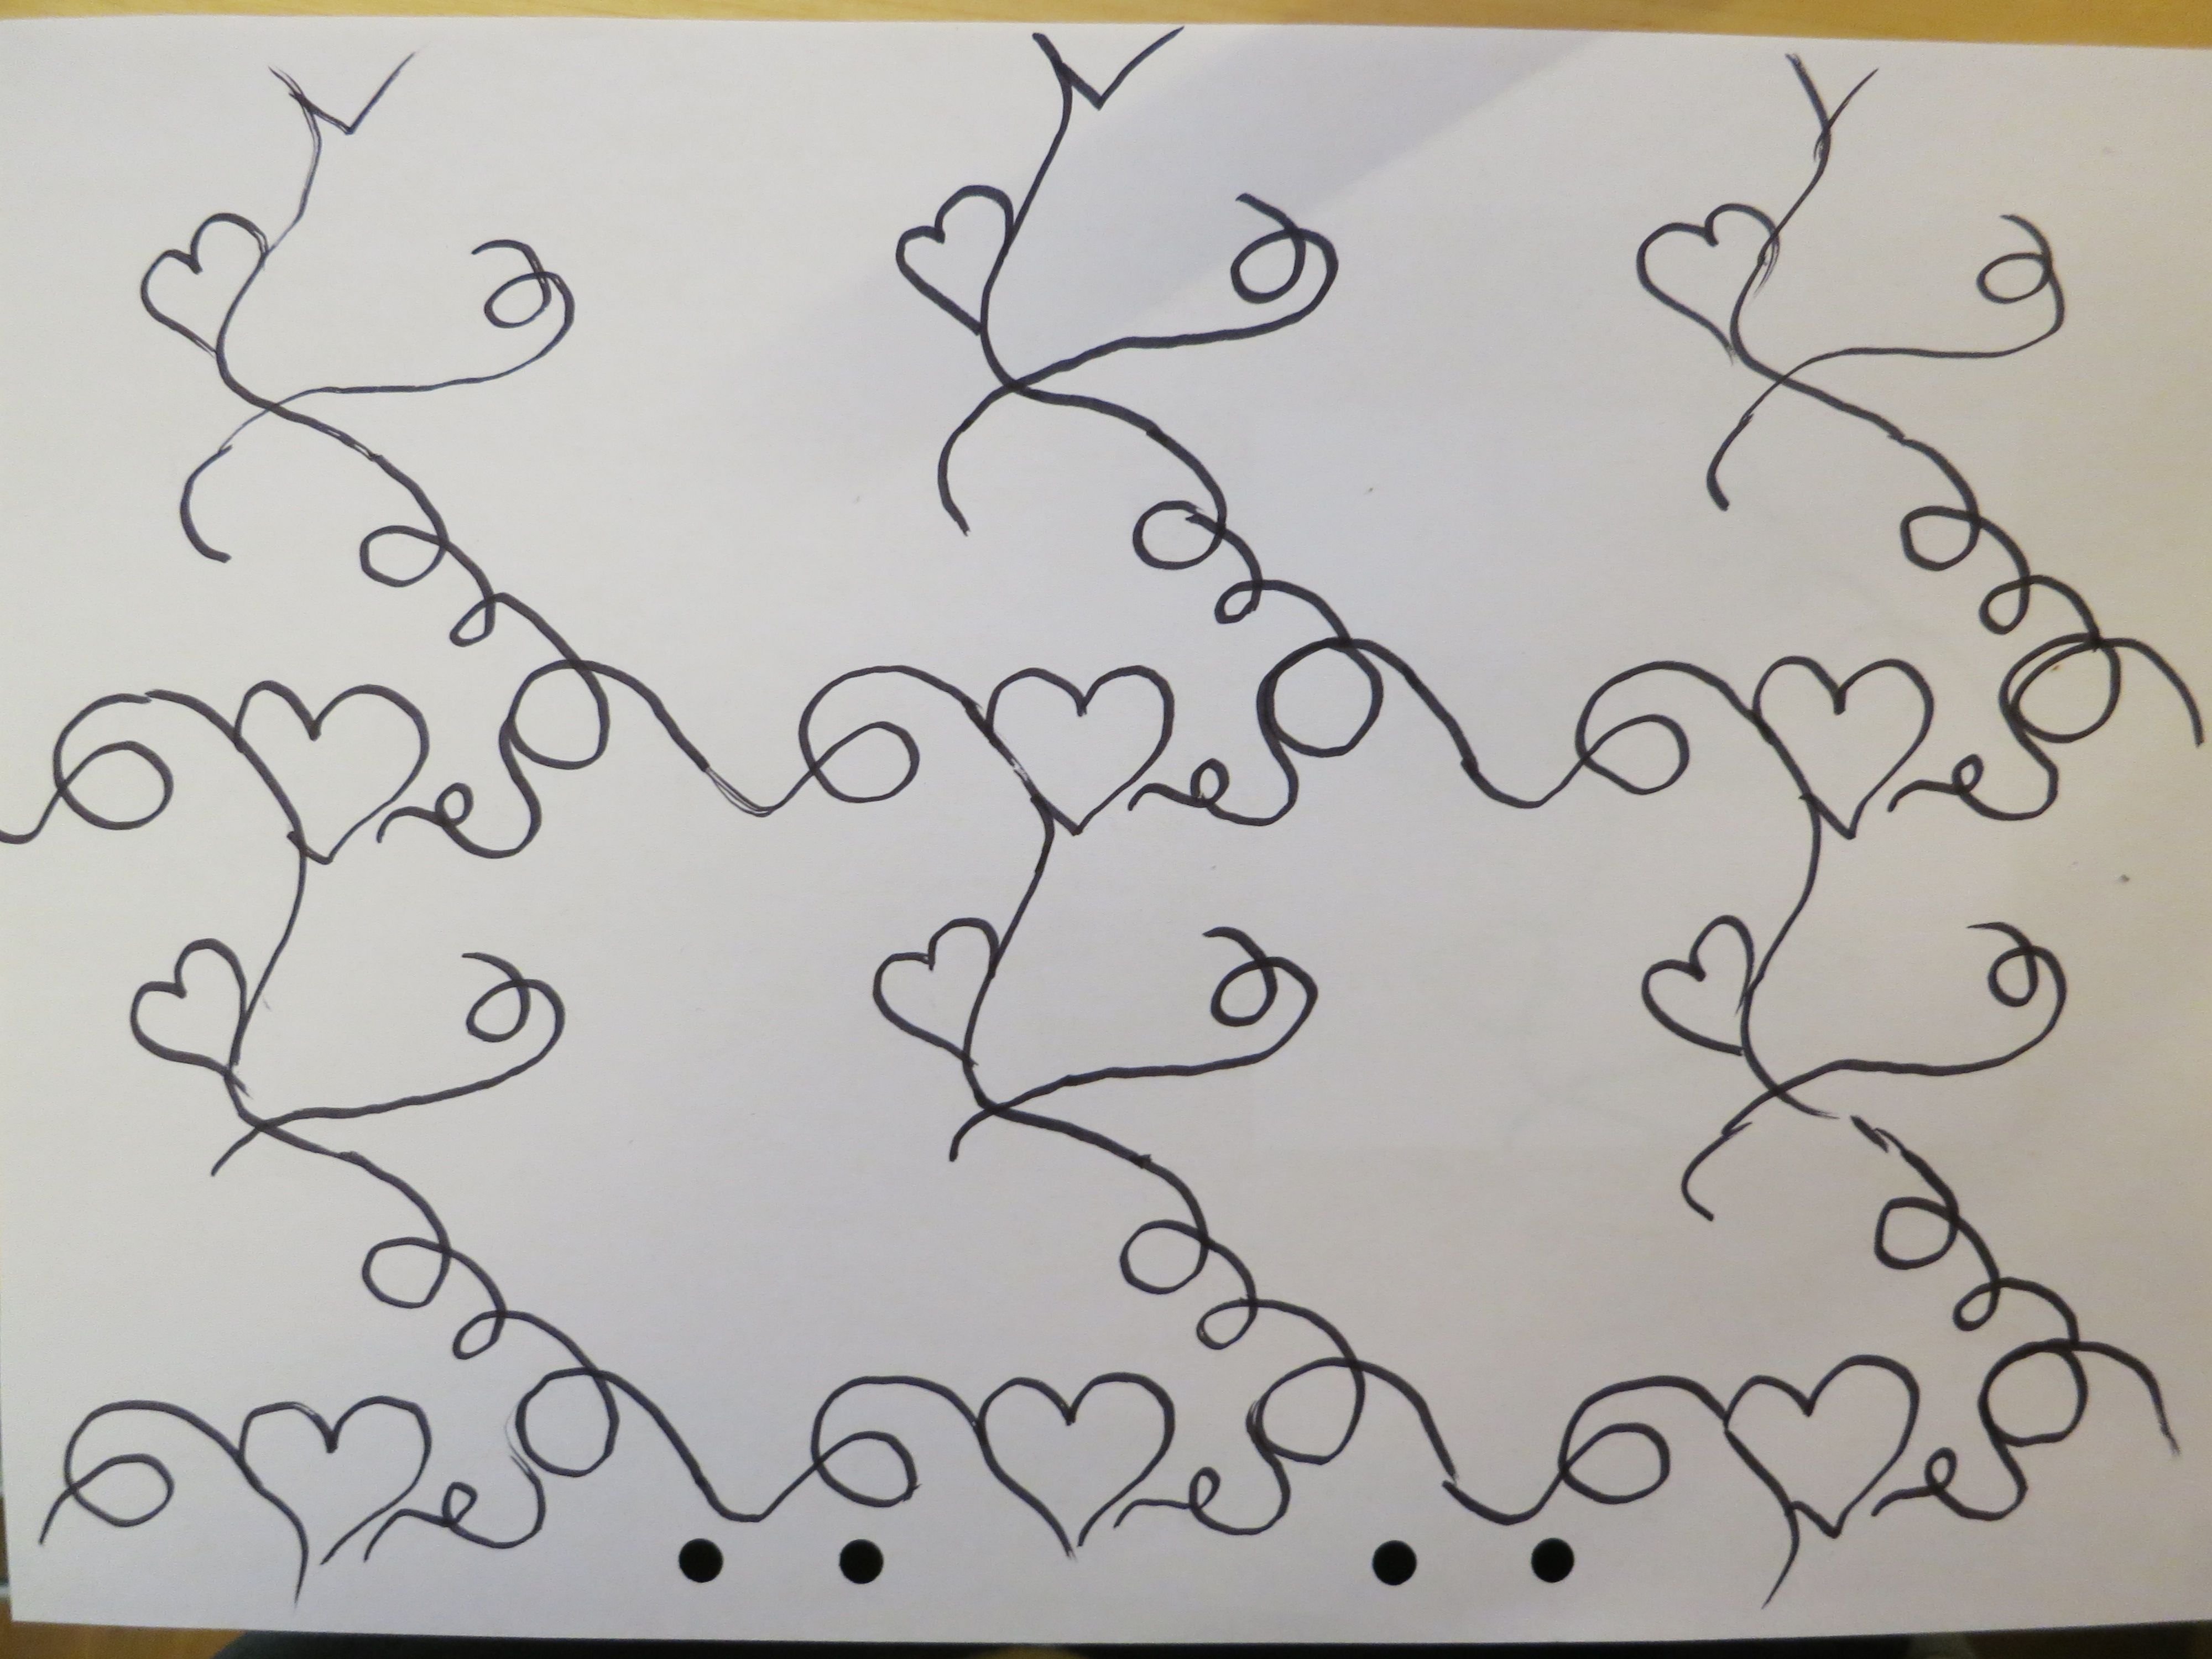
Have you ever wondered how to make a repetitive pattern like this:
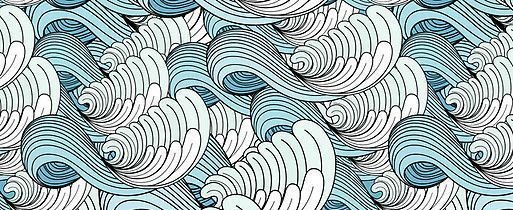
I'll teach you how!
..:: :: :: * :: :: ::..
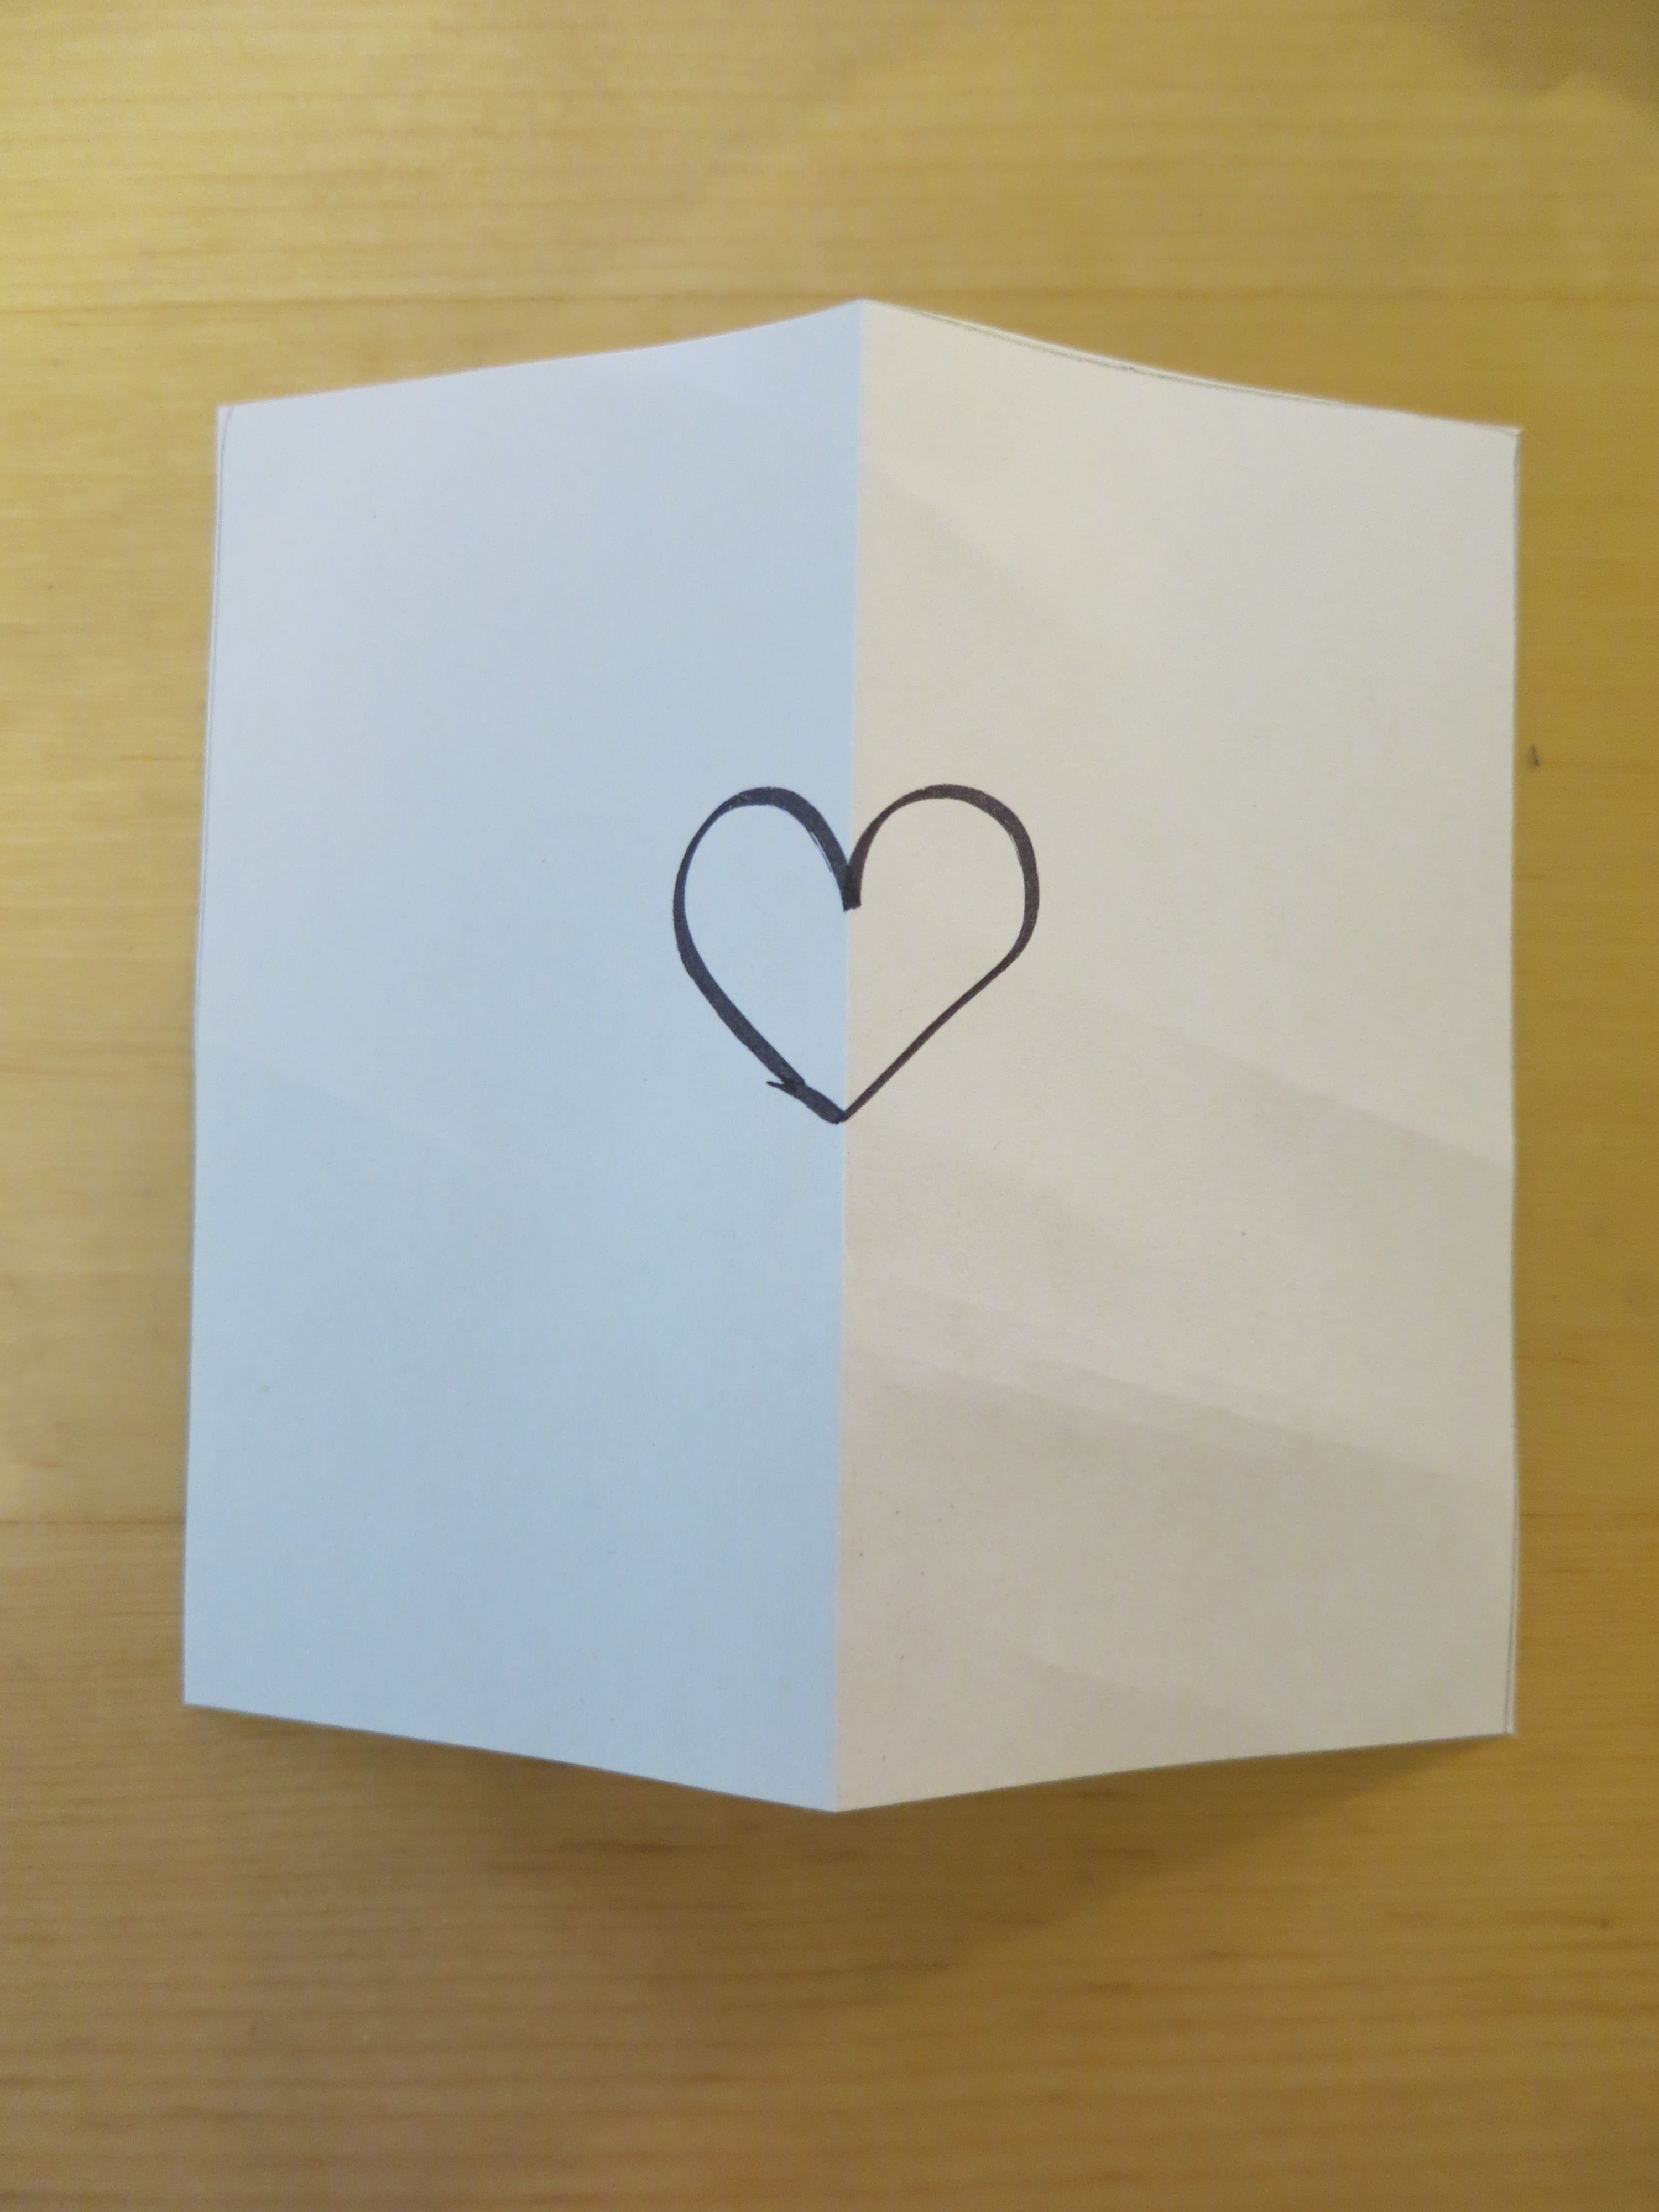
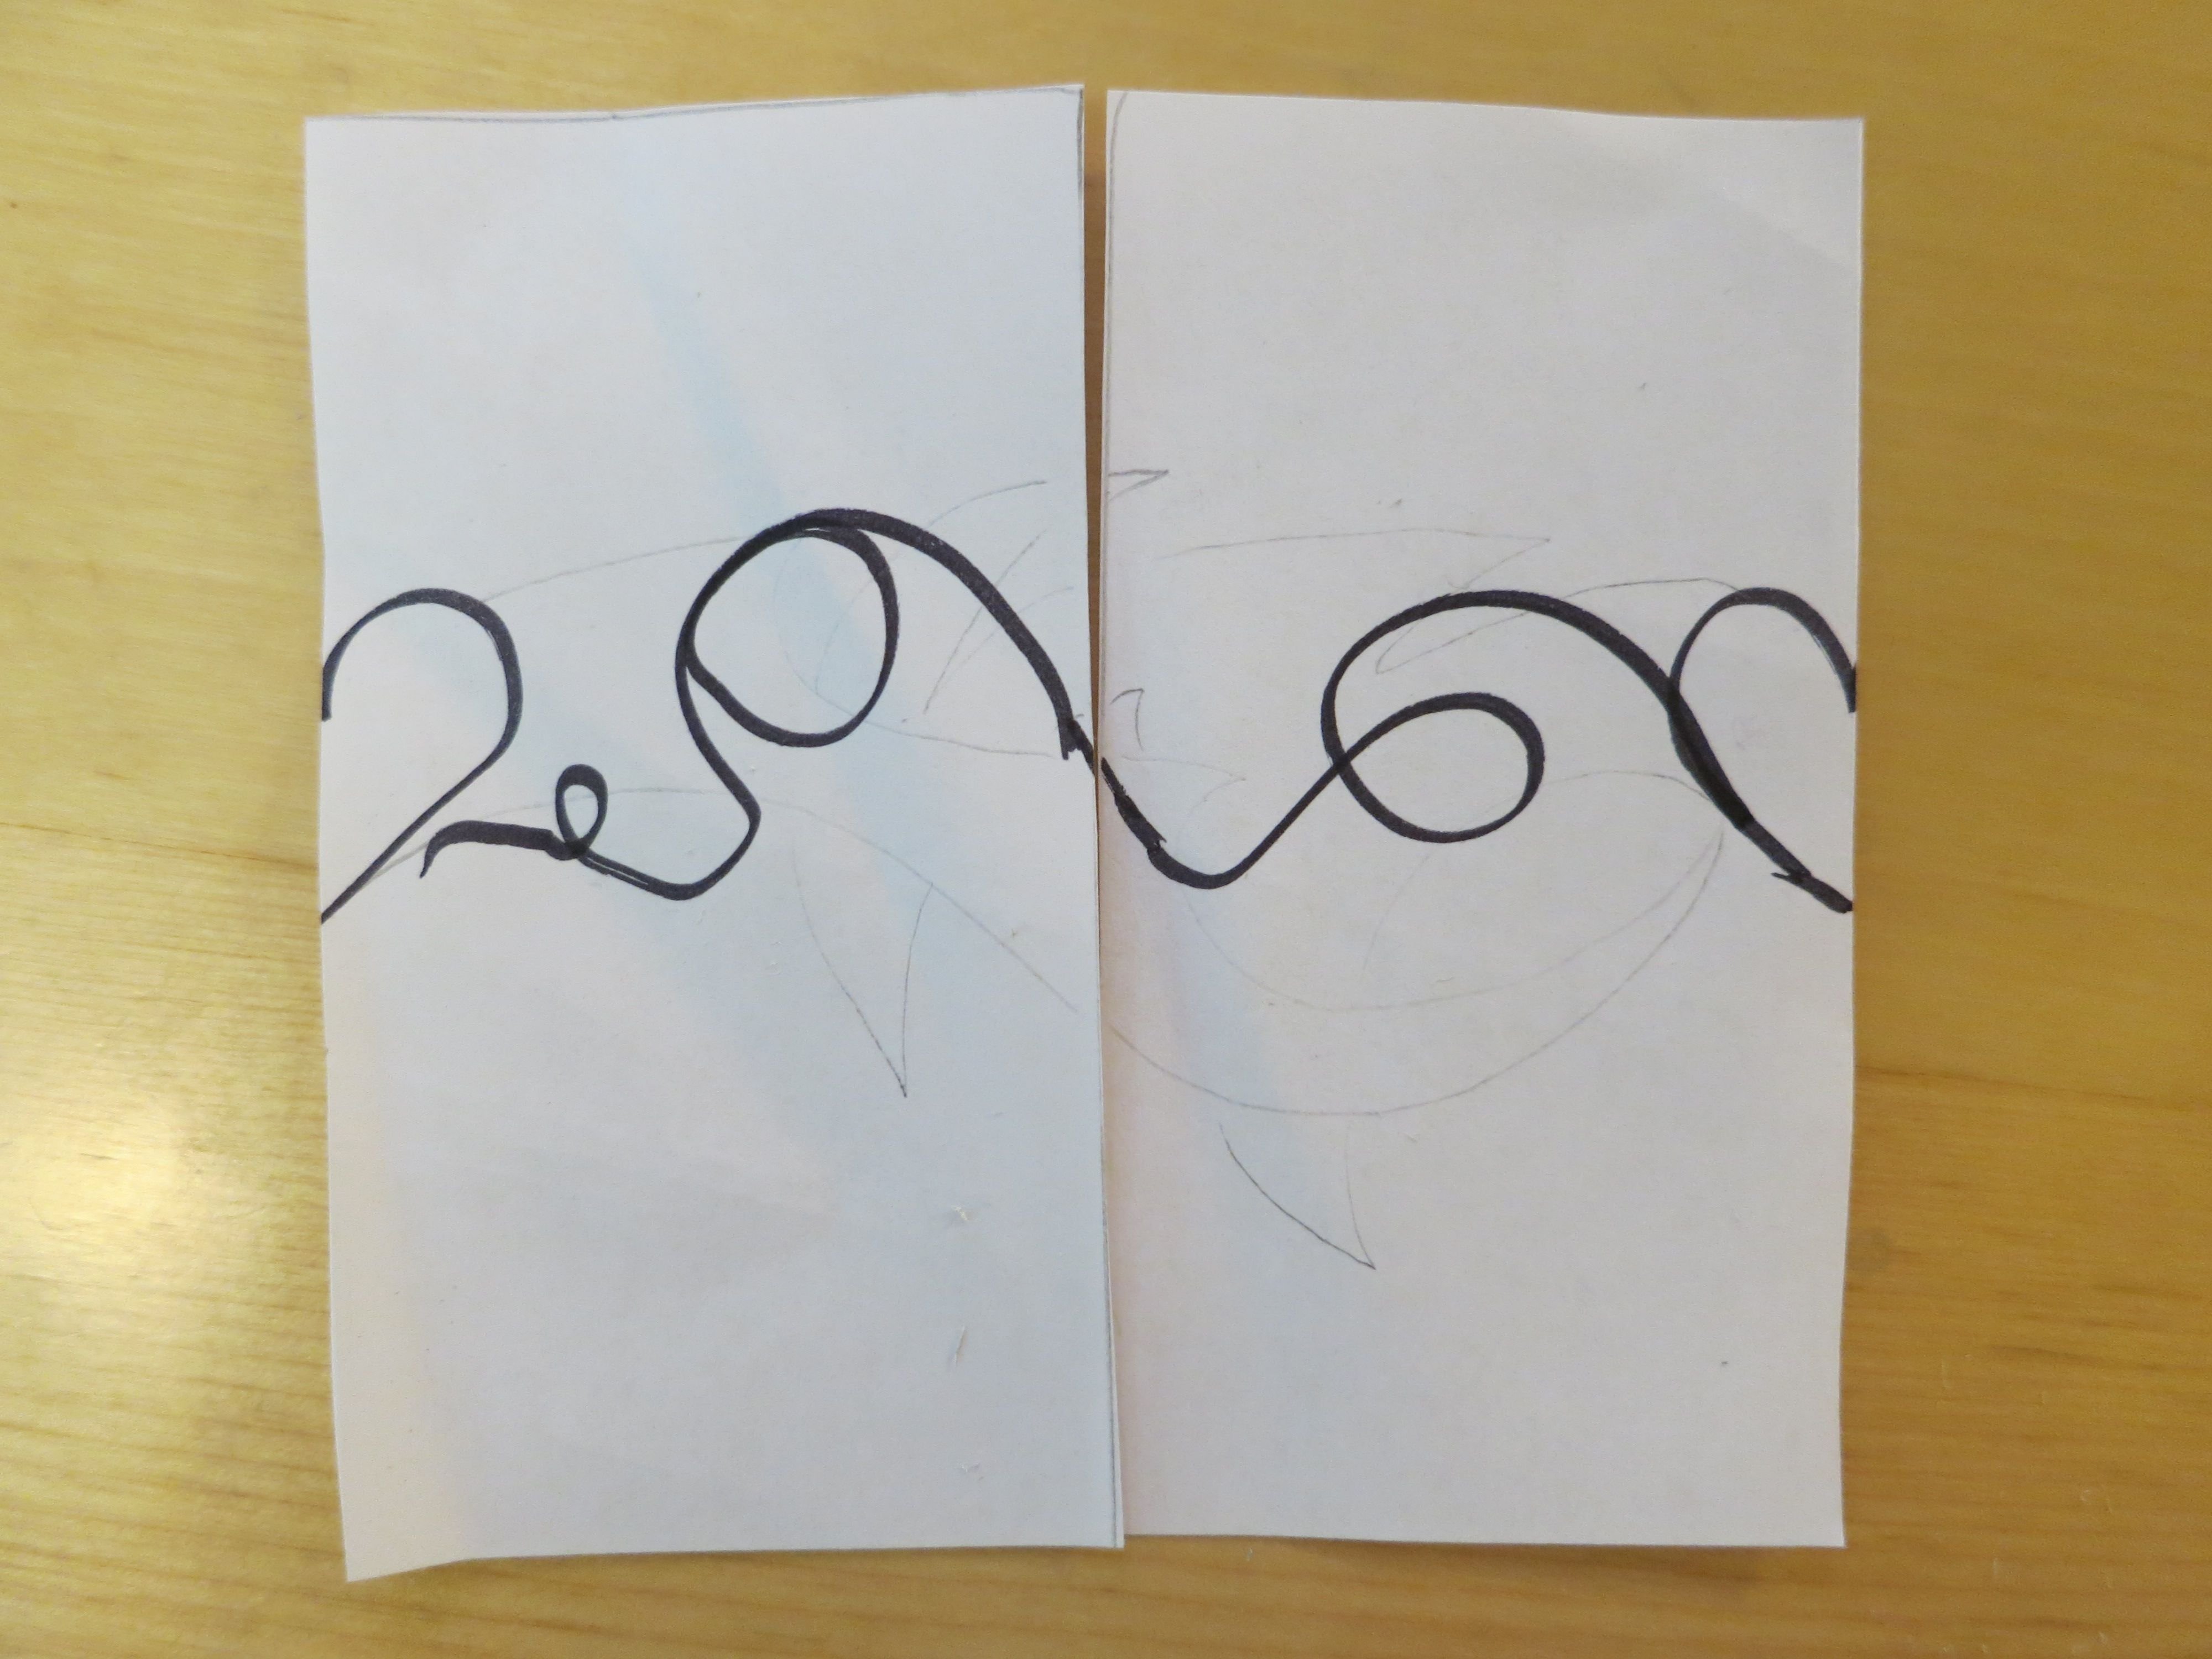
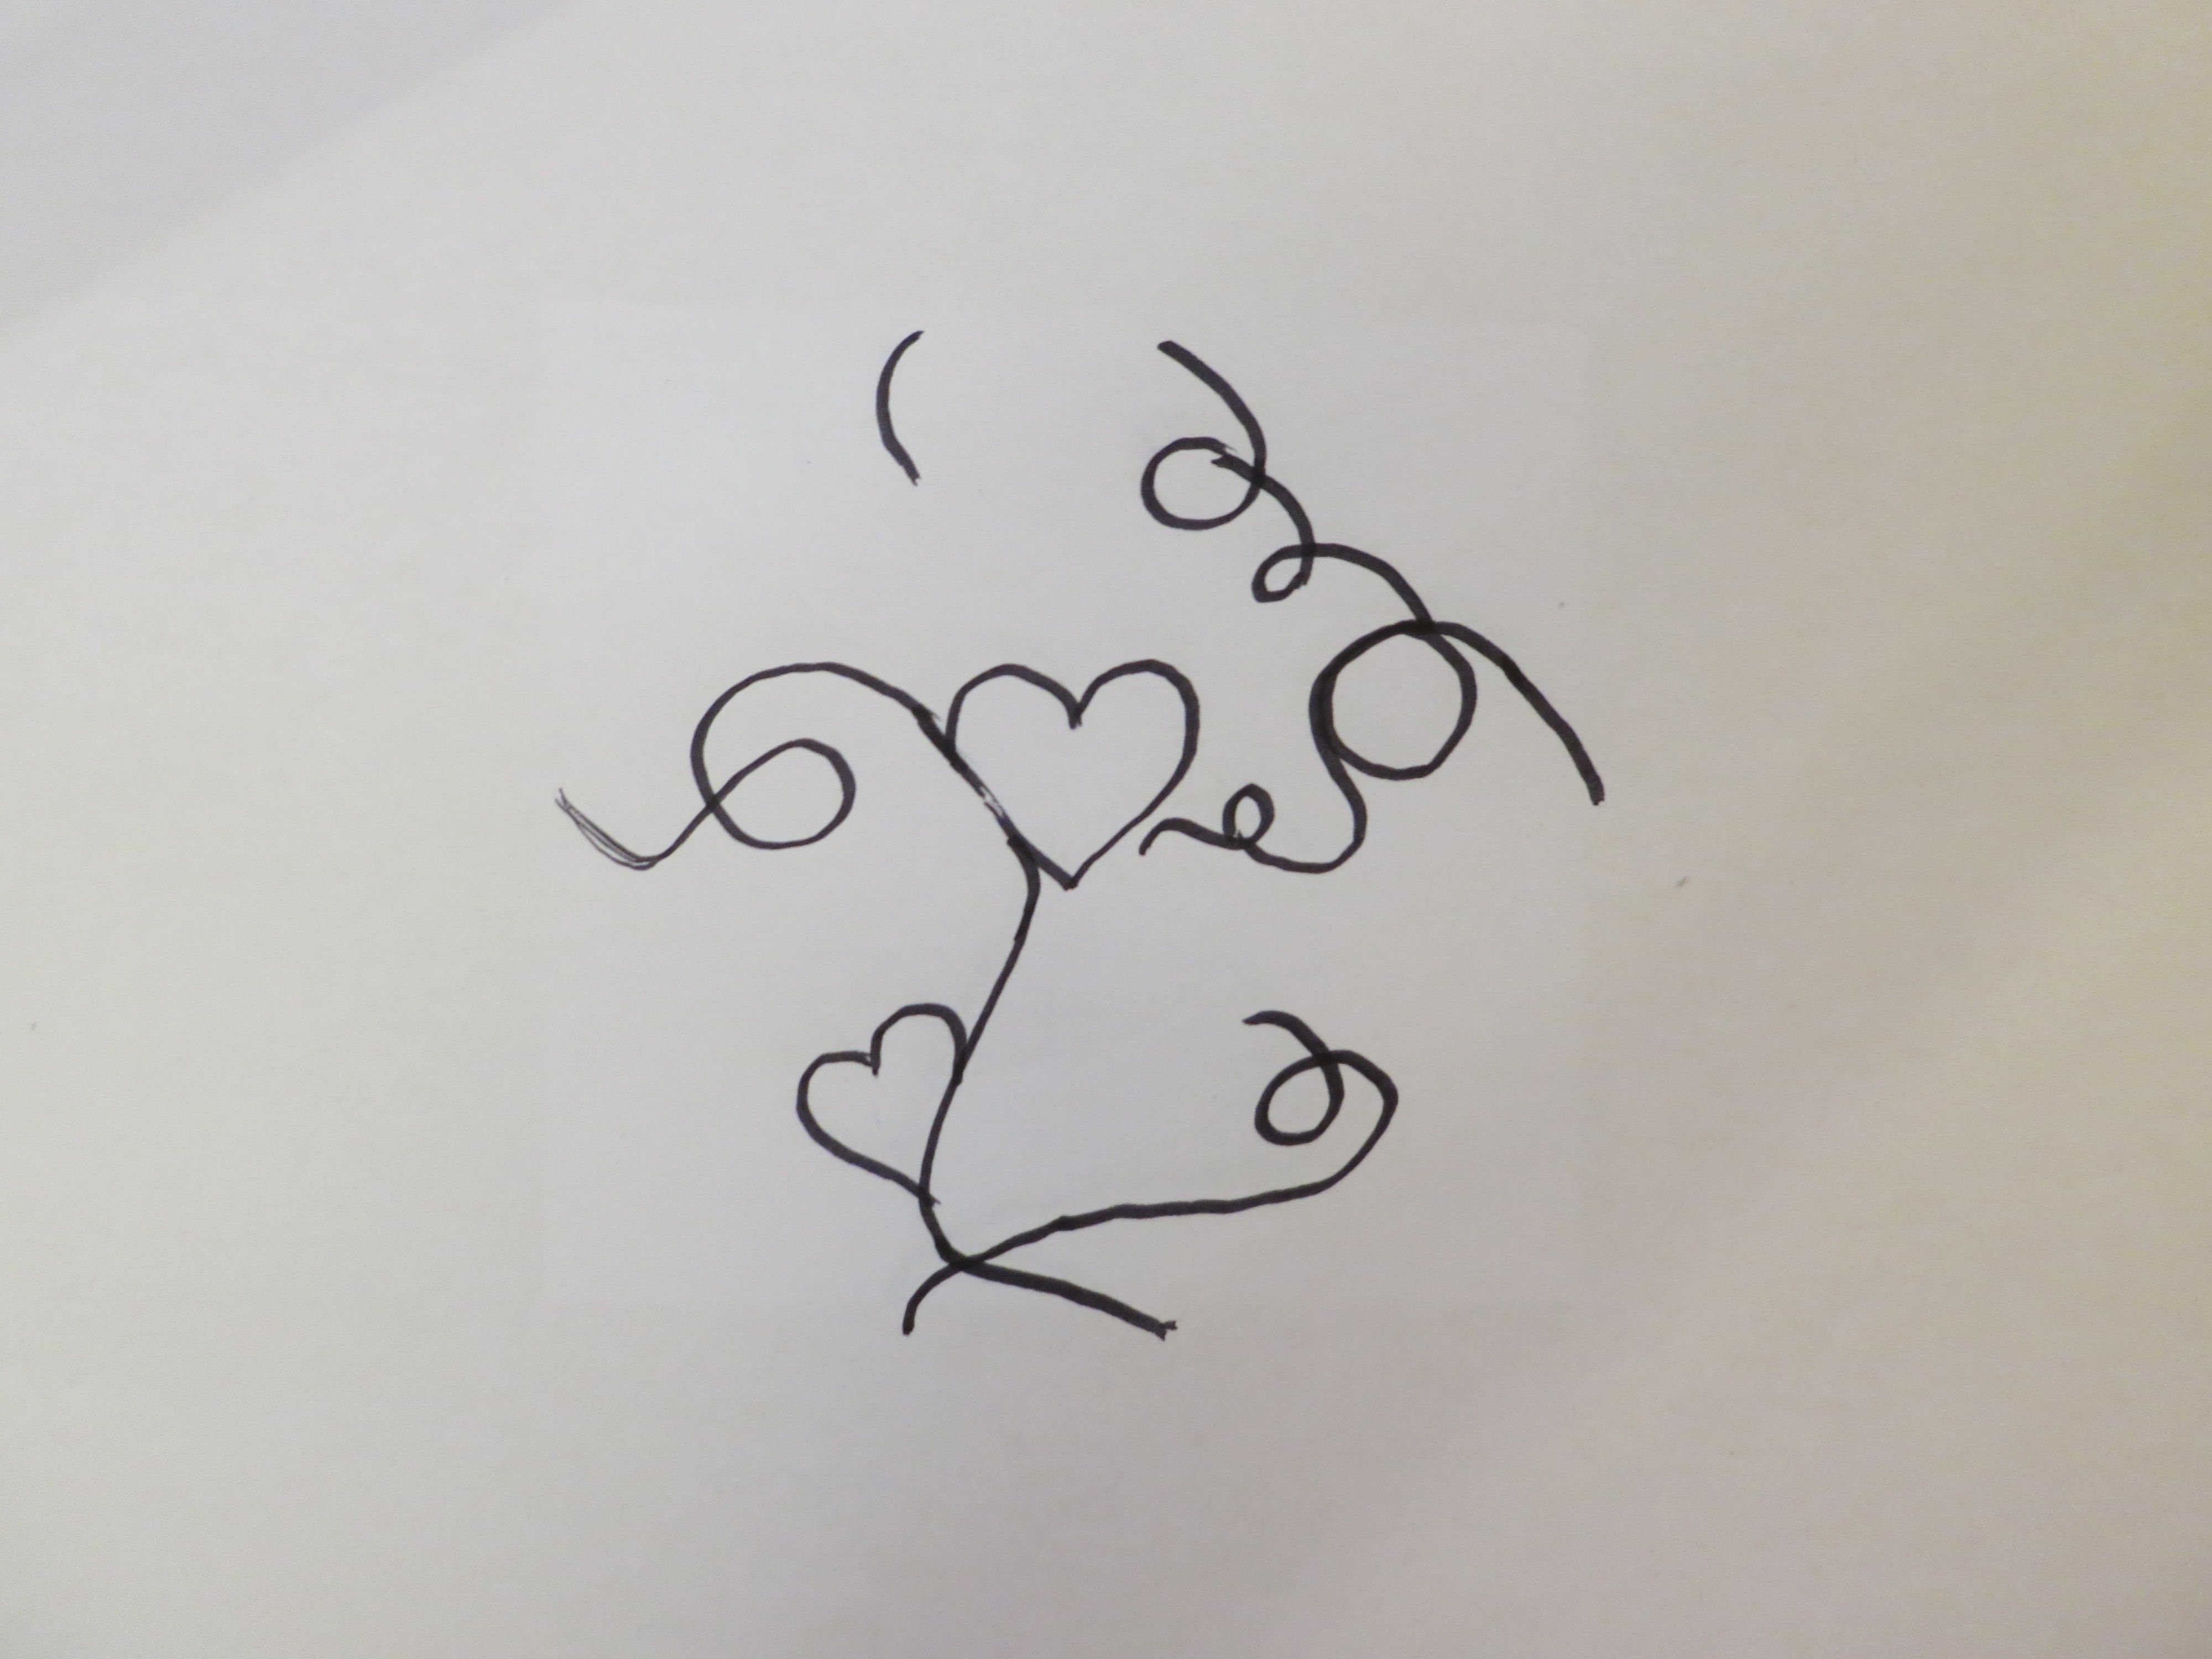
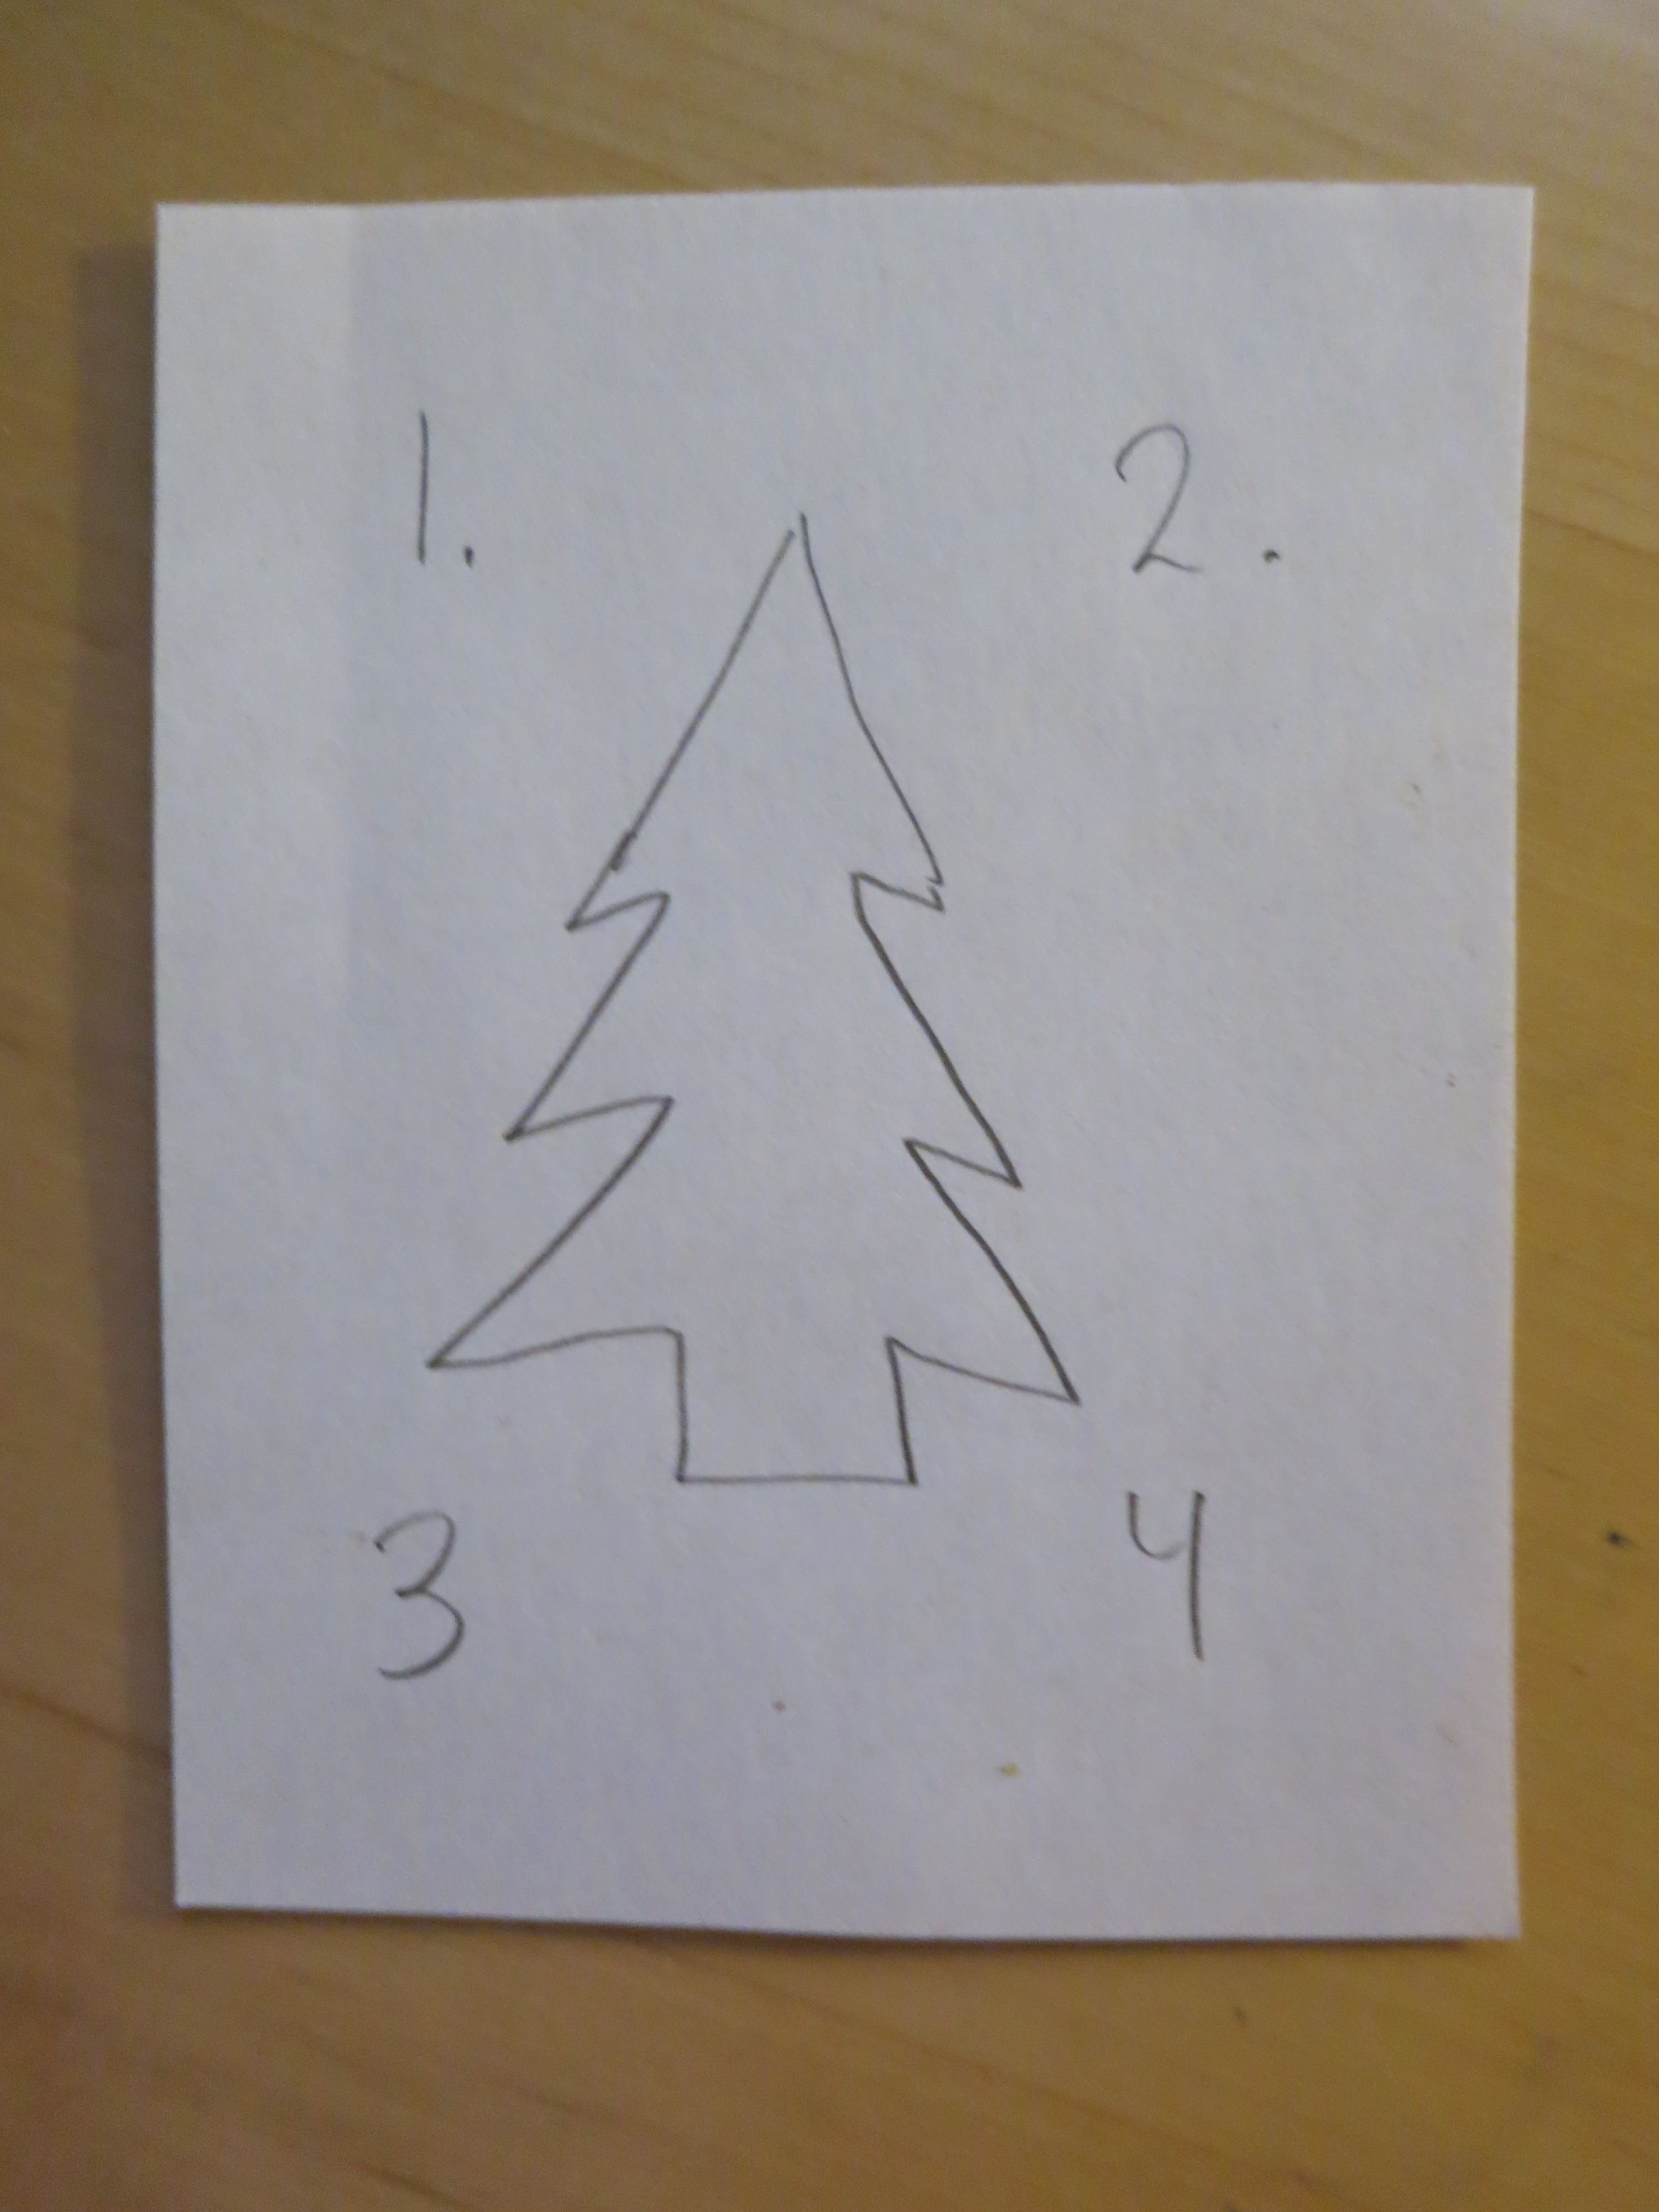
1 - Draw something on a square paper and mark the middle (One way to see the middle is to fold it).
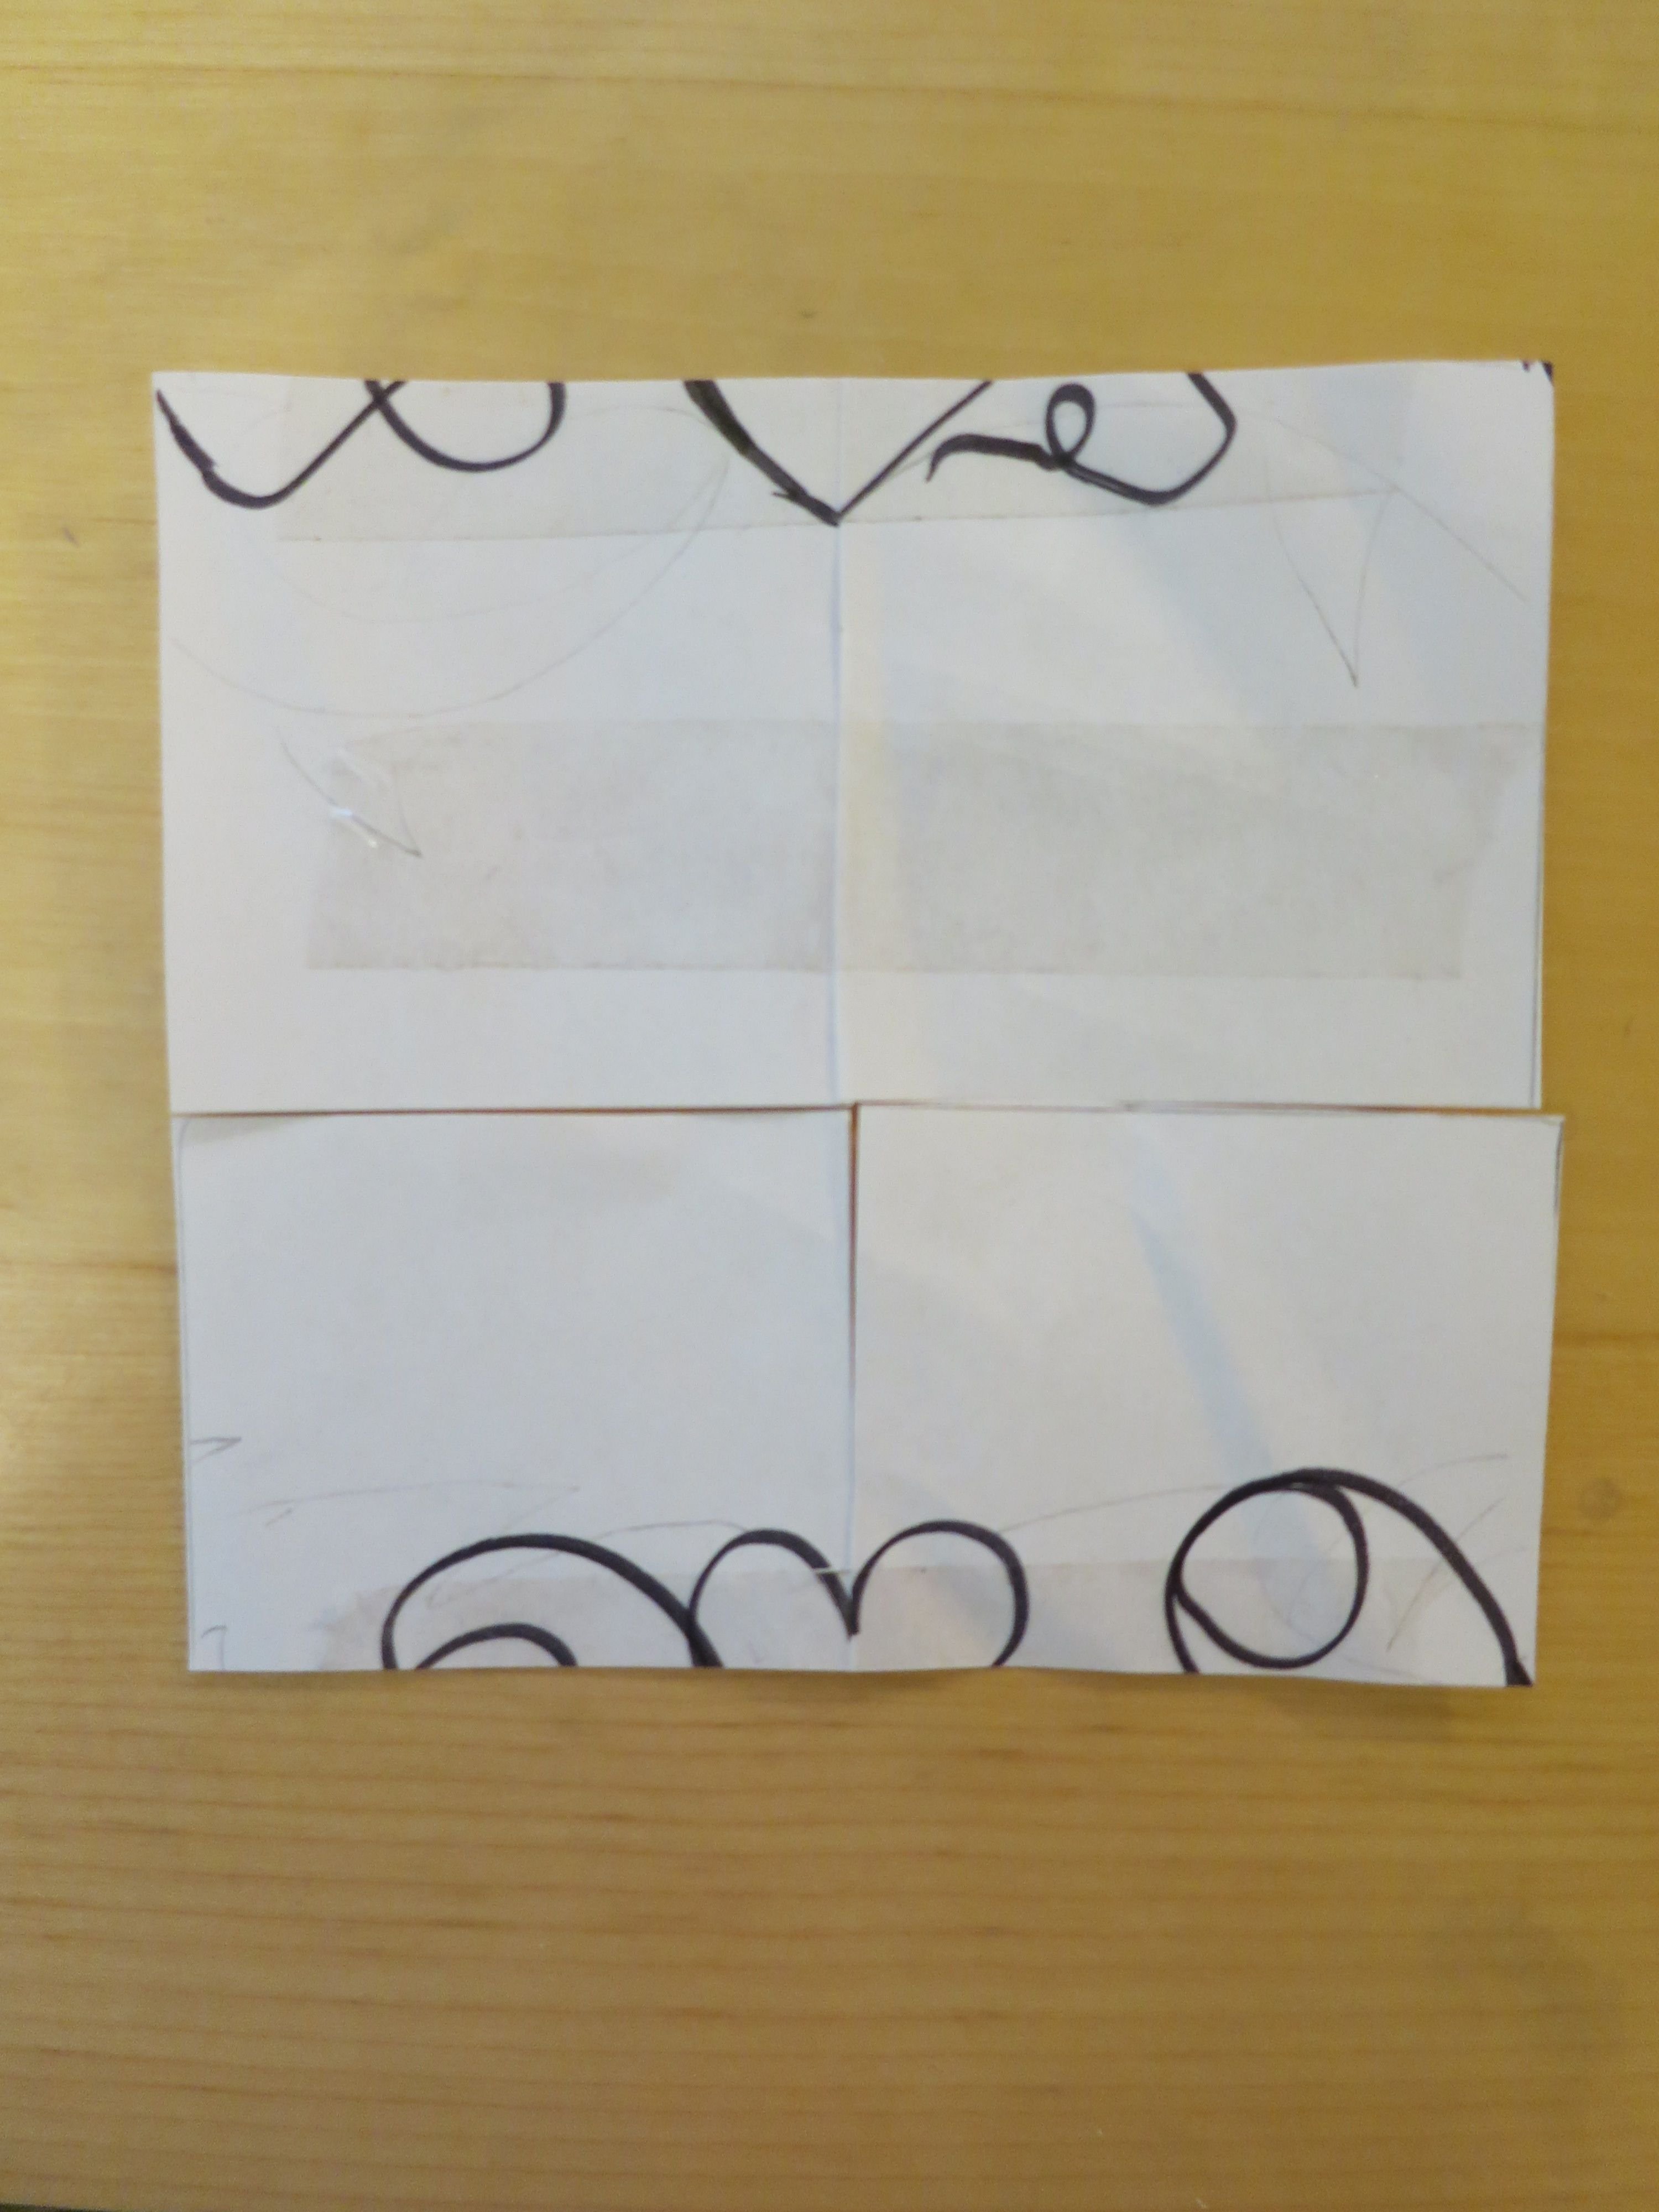
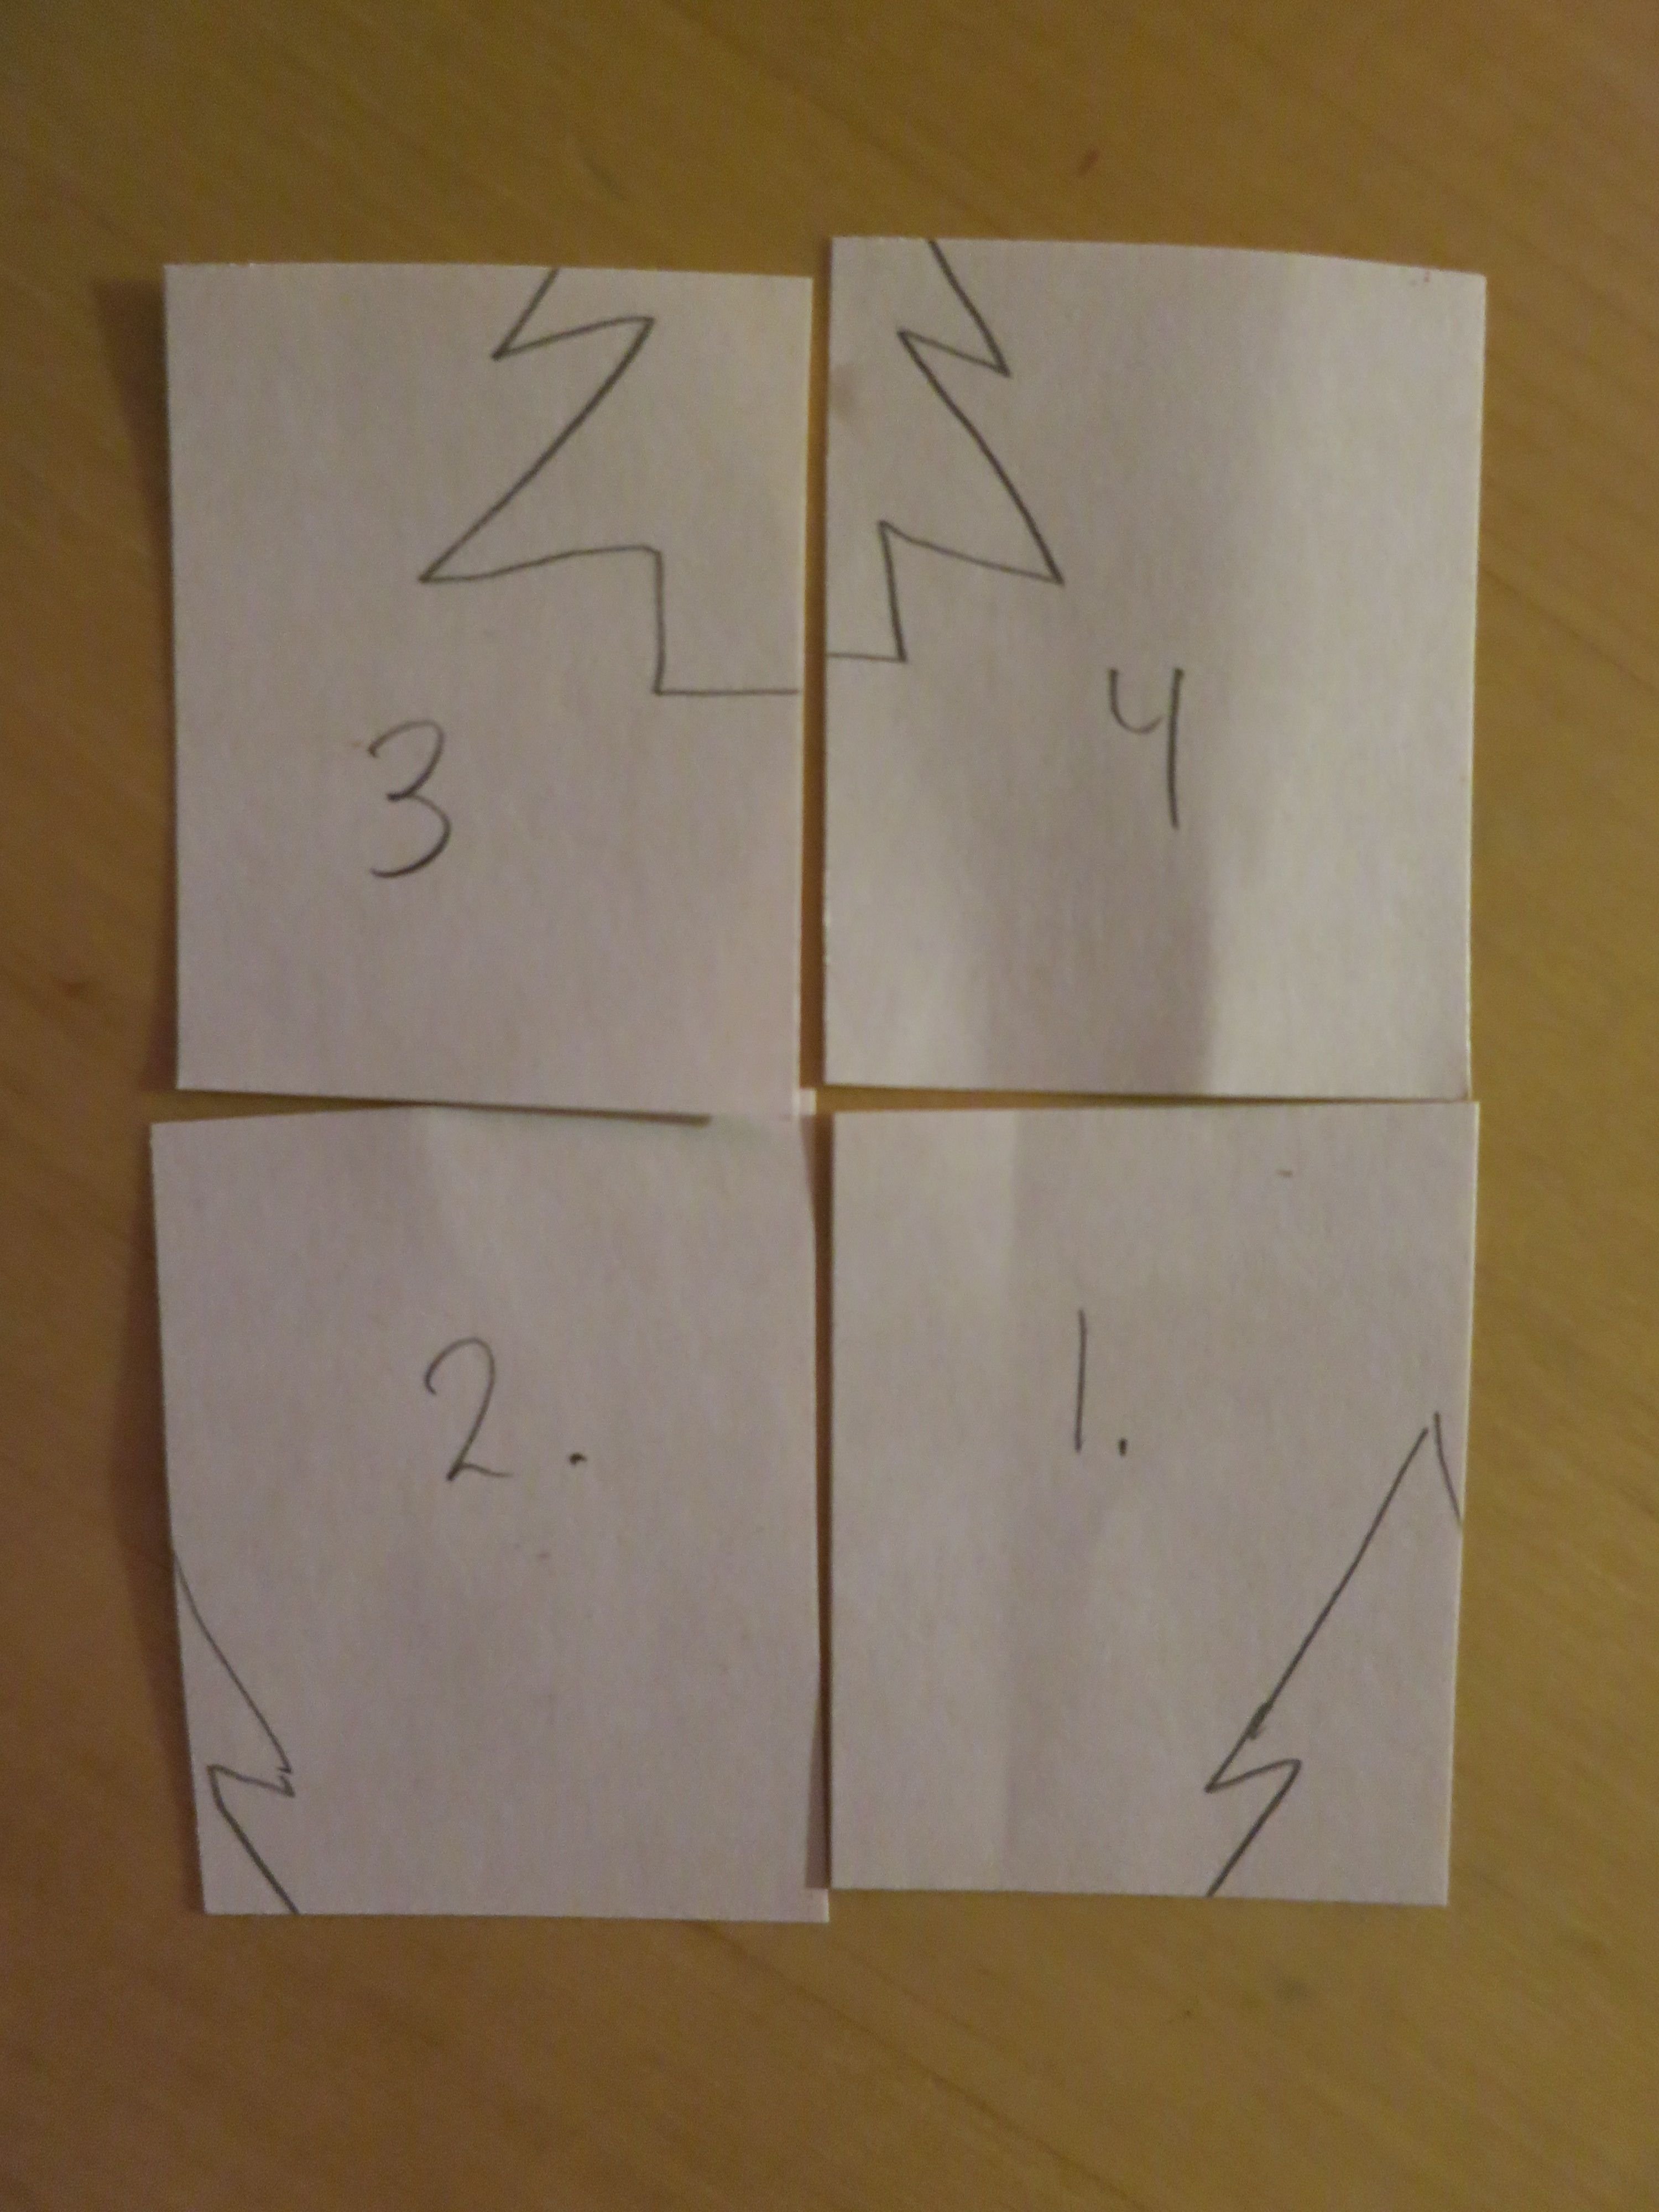
2 - Divide the paper into two parts and change sides.
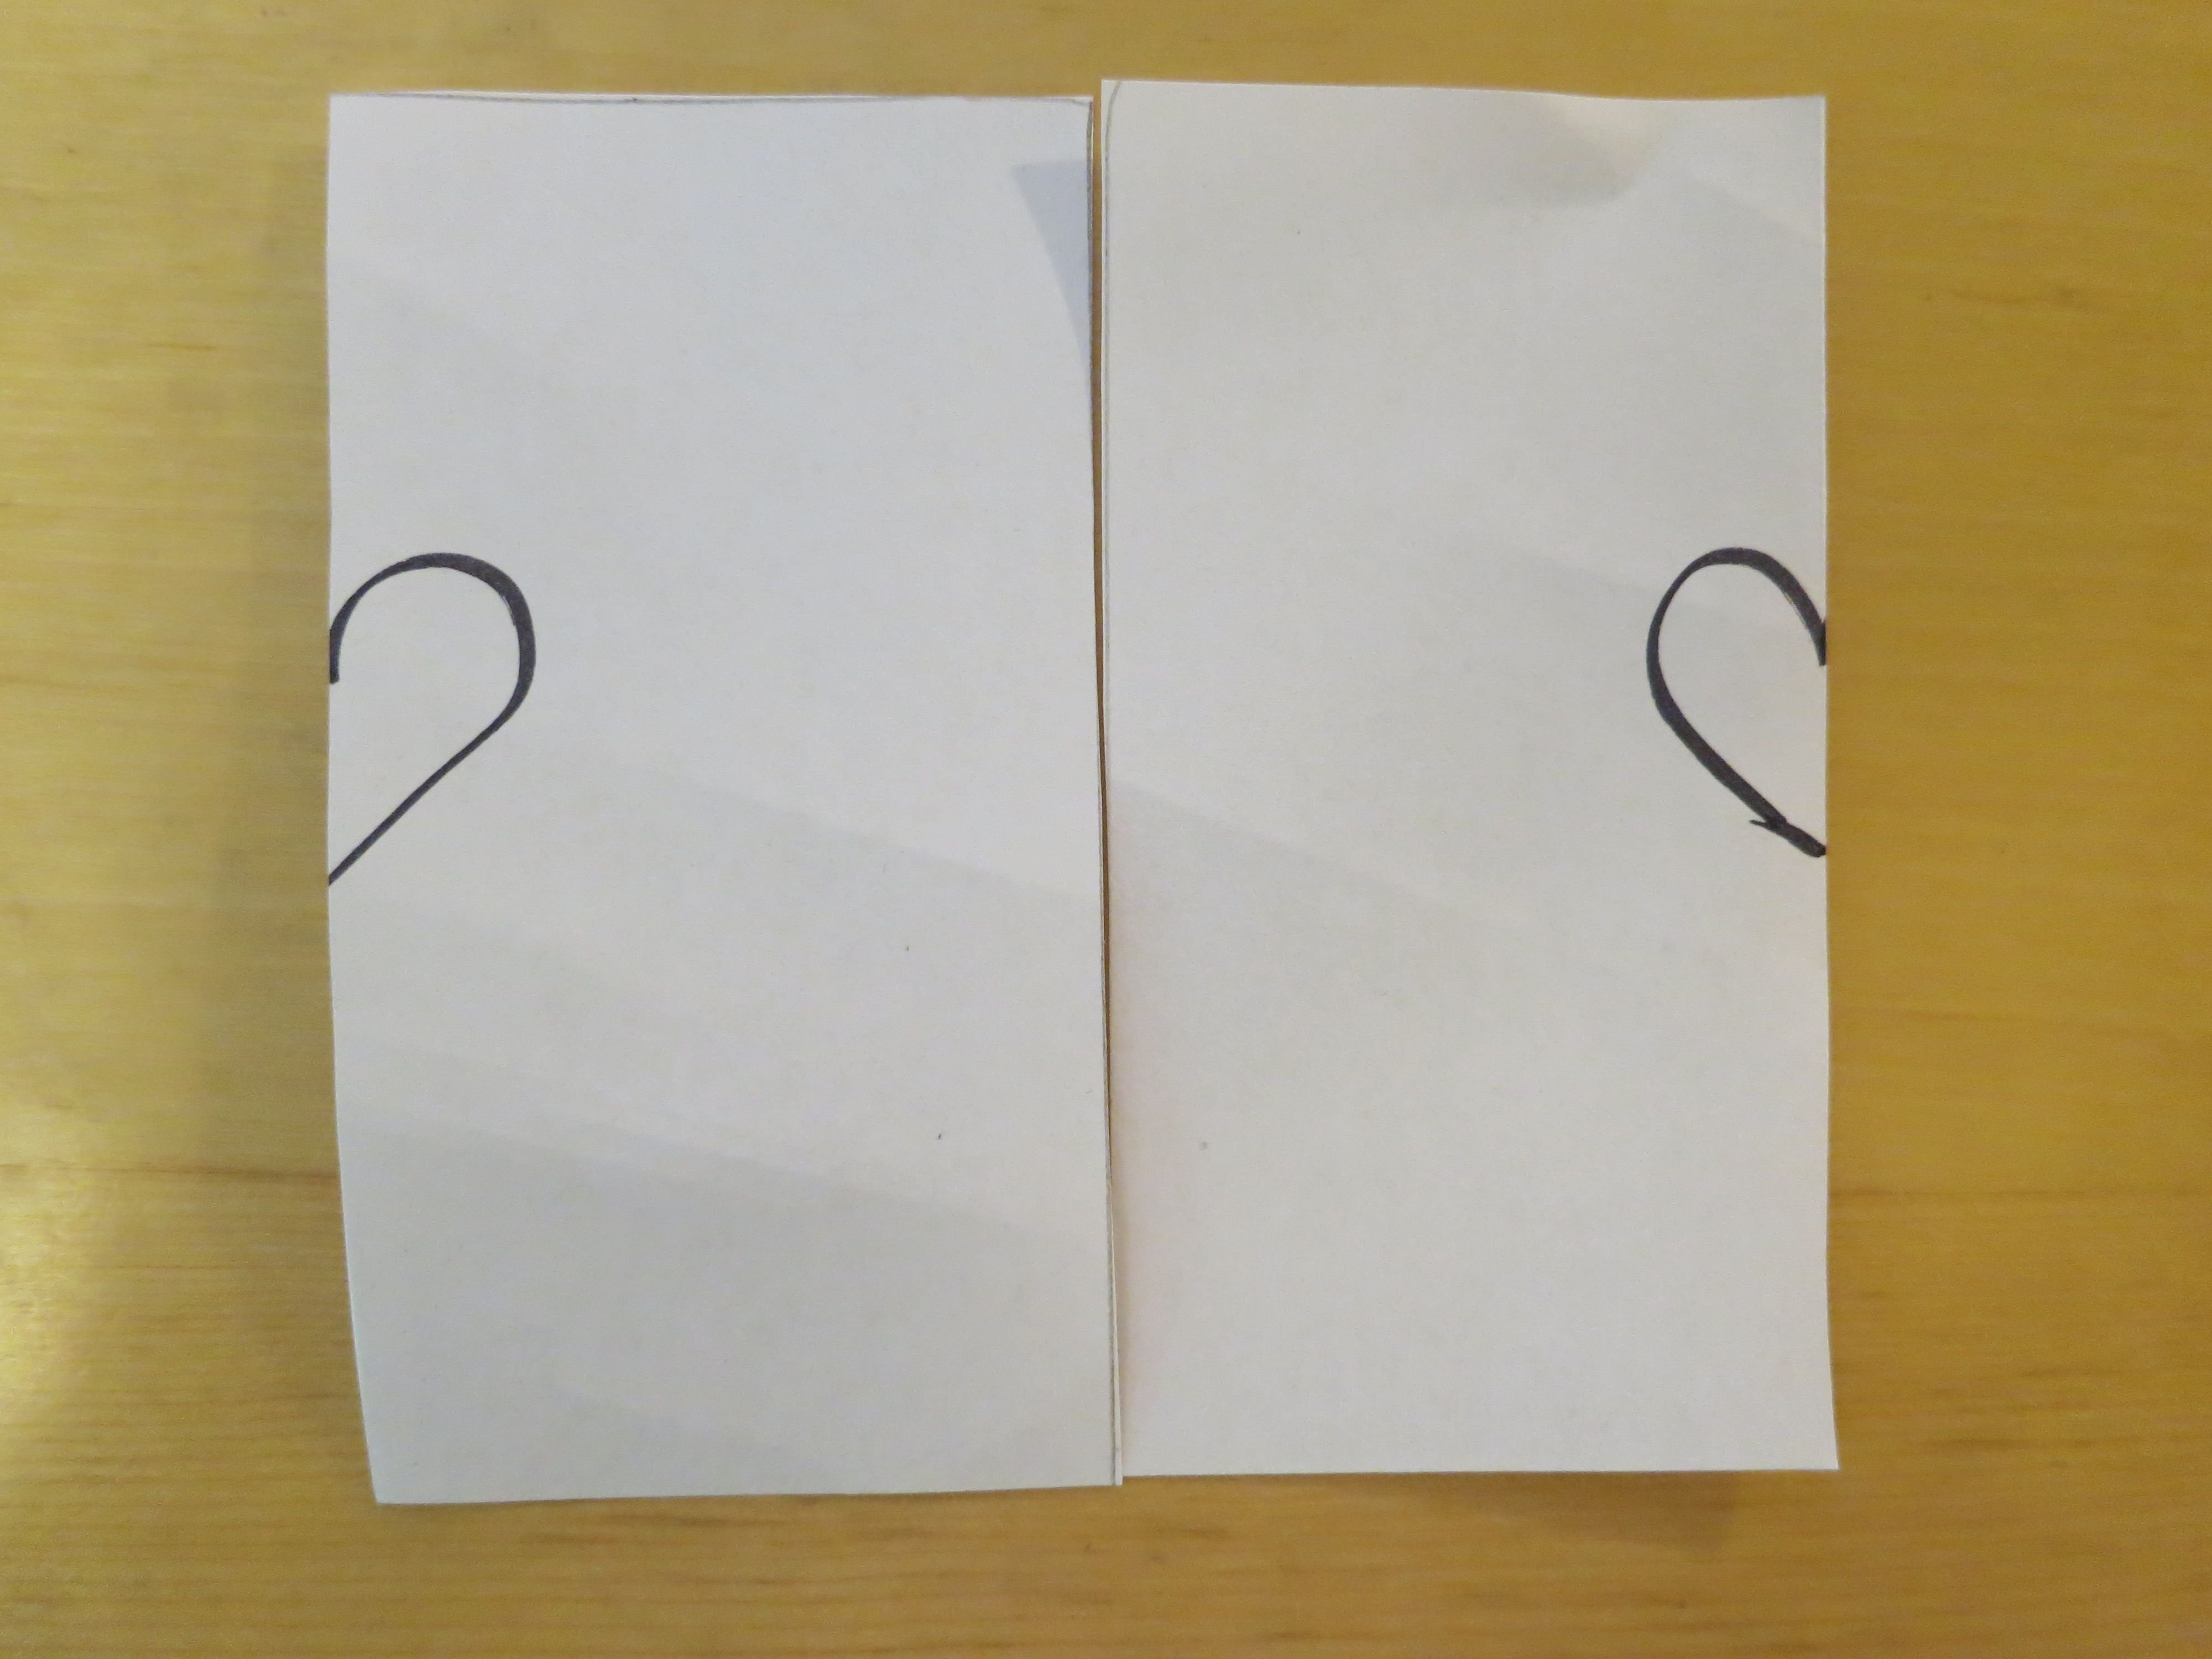
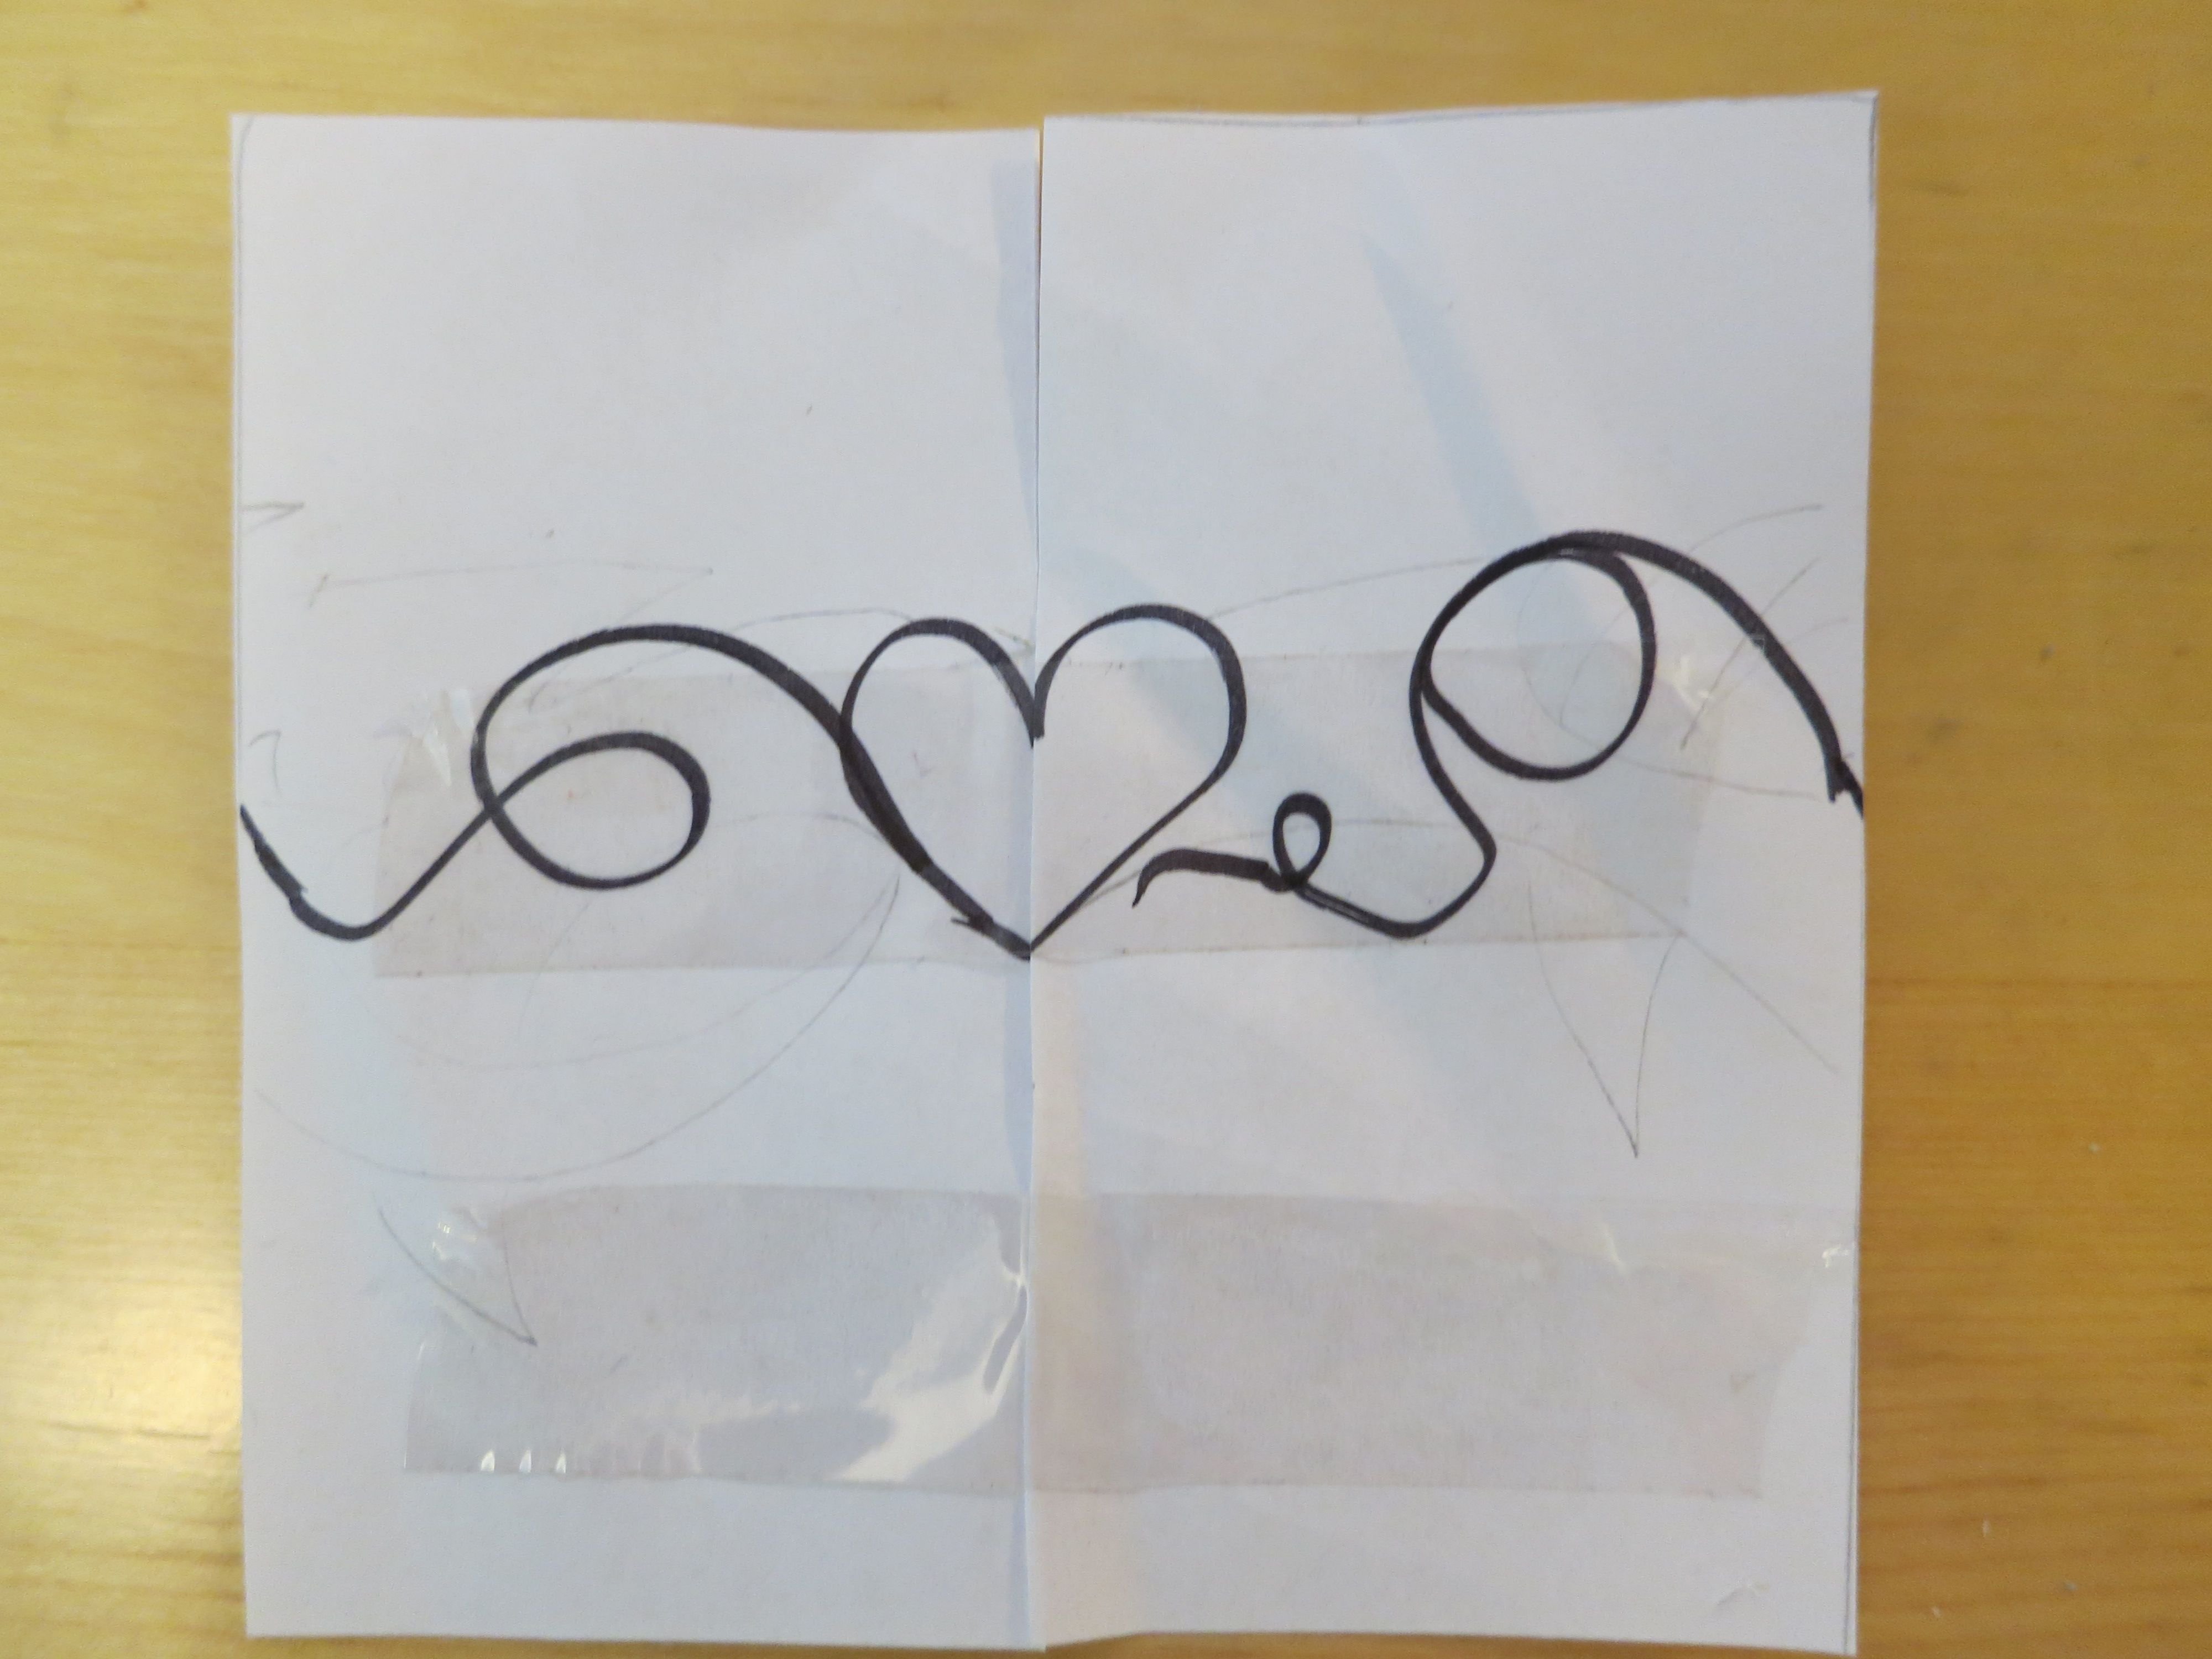
3 - Draw something that connects the two parts of the paper.
4 - Tape them together in the original order.
5 - For a horizontally repetitive pattern use the template and copy or trace the pattern.
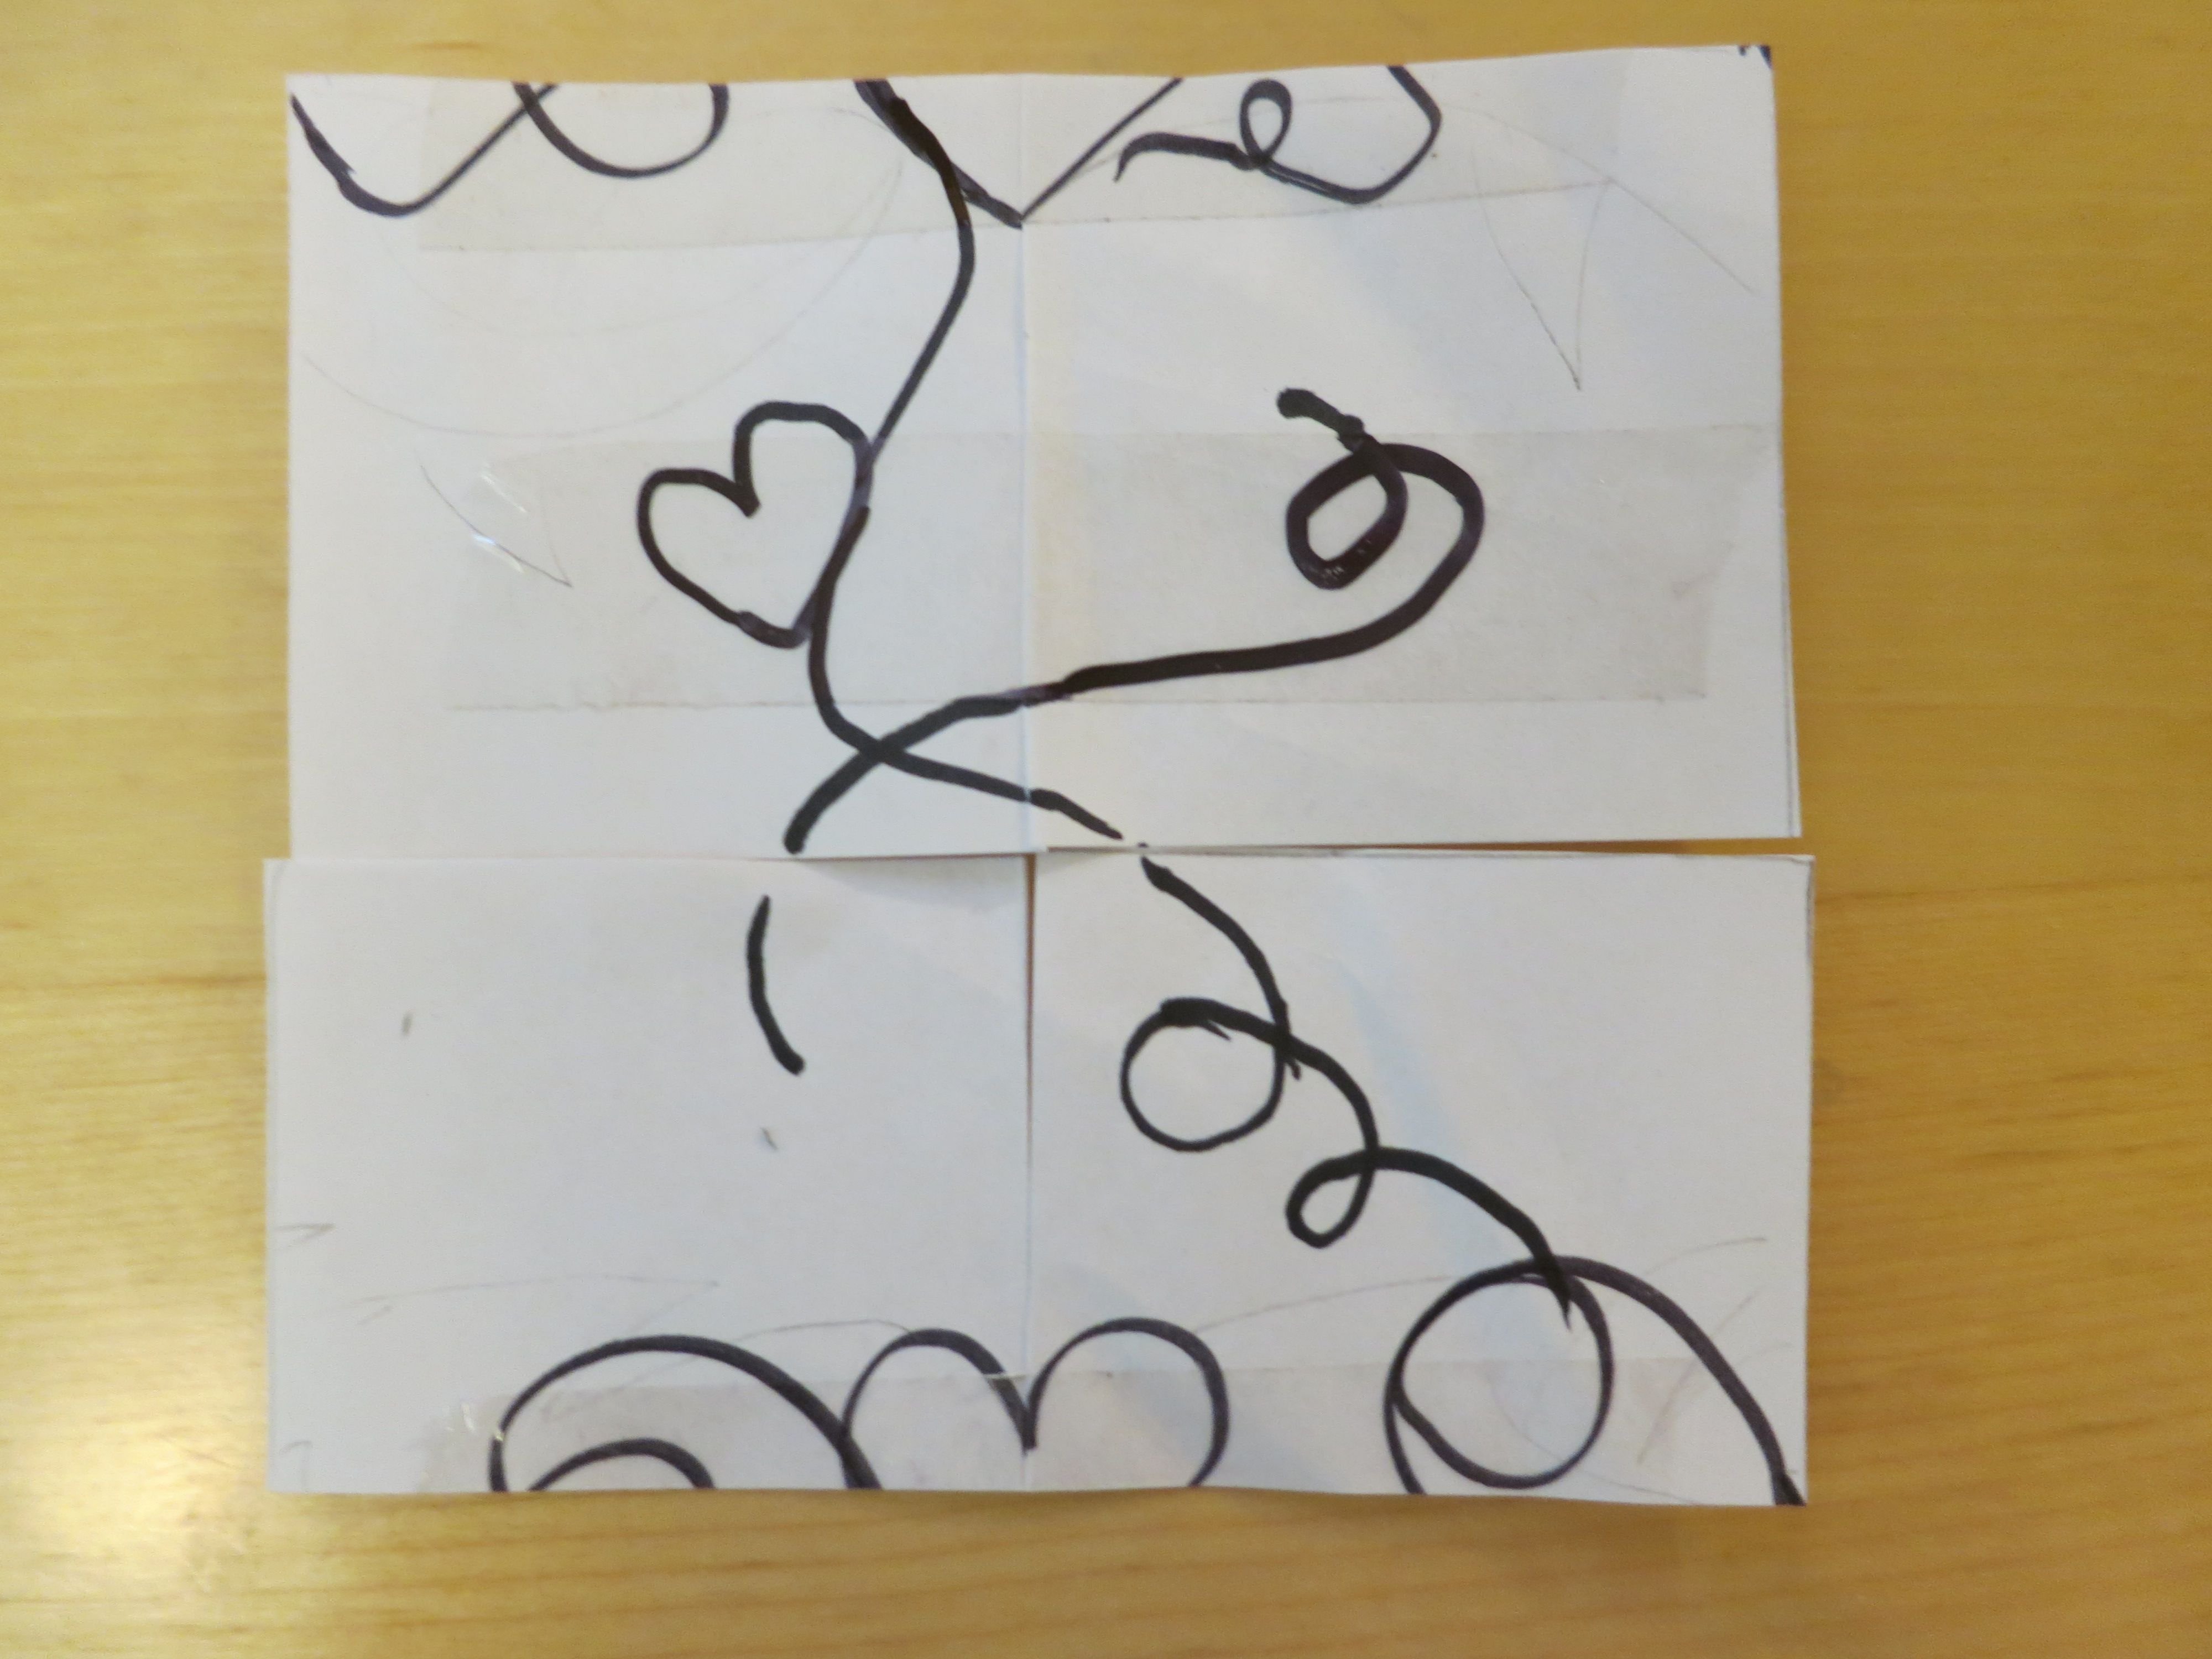
6 - For a repetitive pattern in all directions cut the paper in half horizontally.
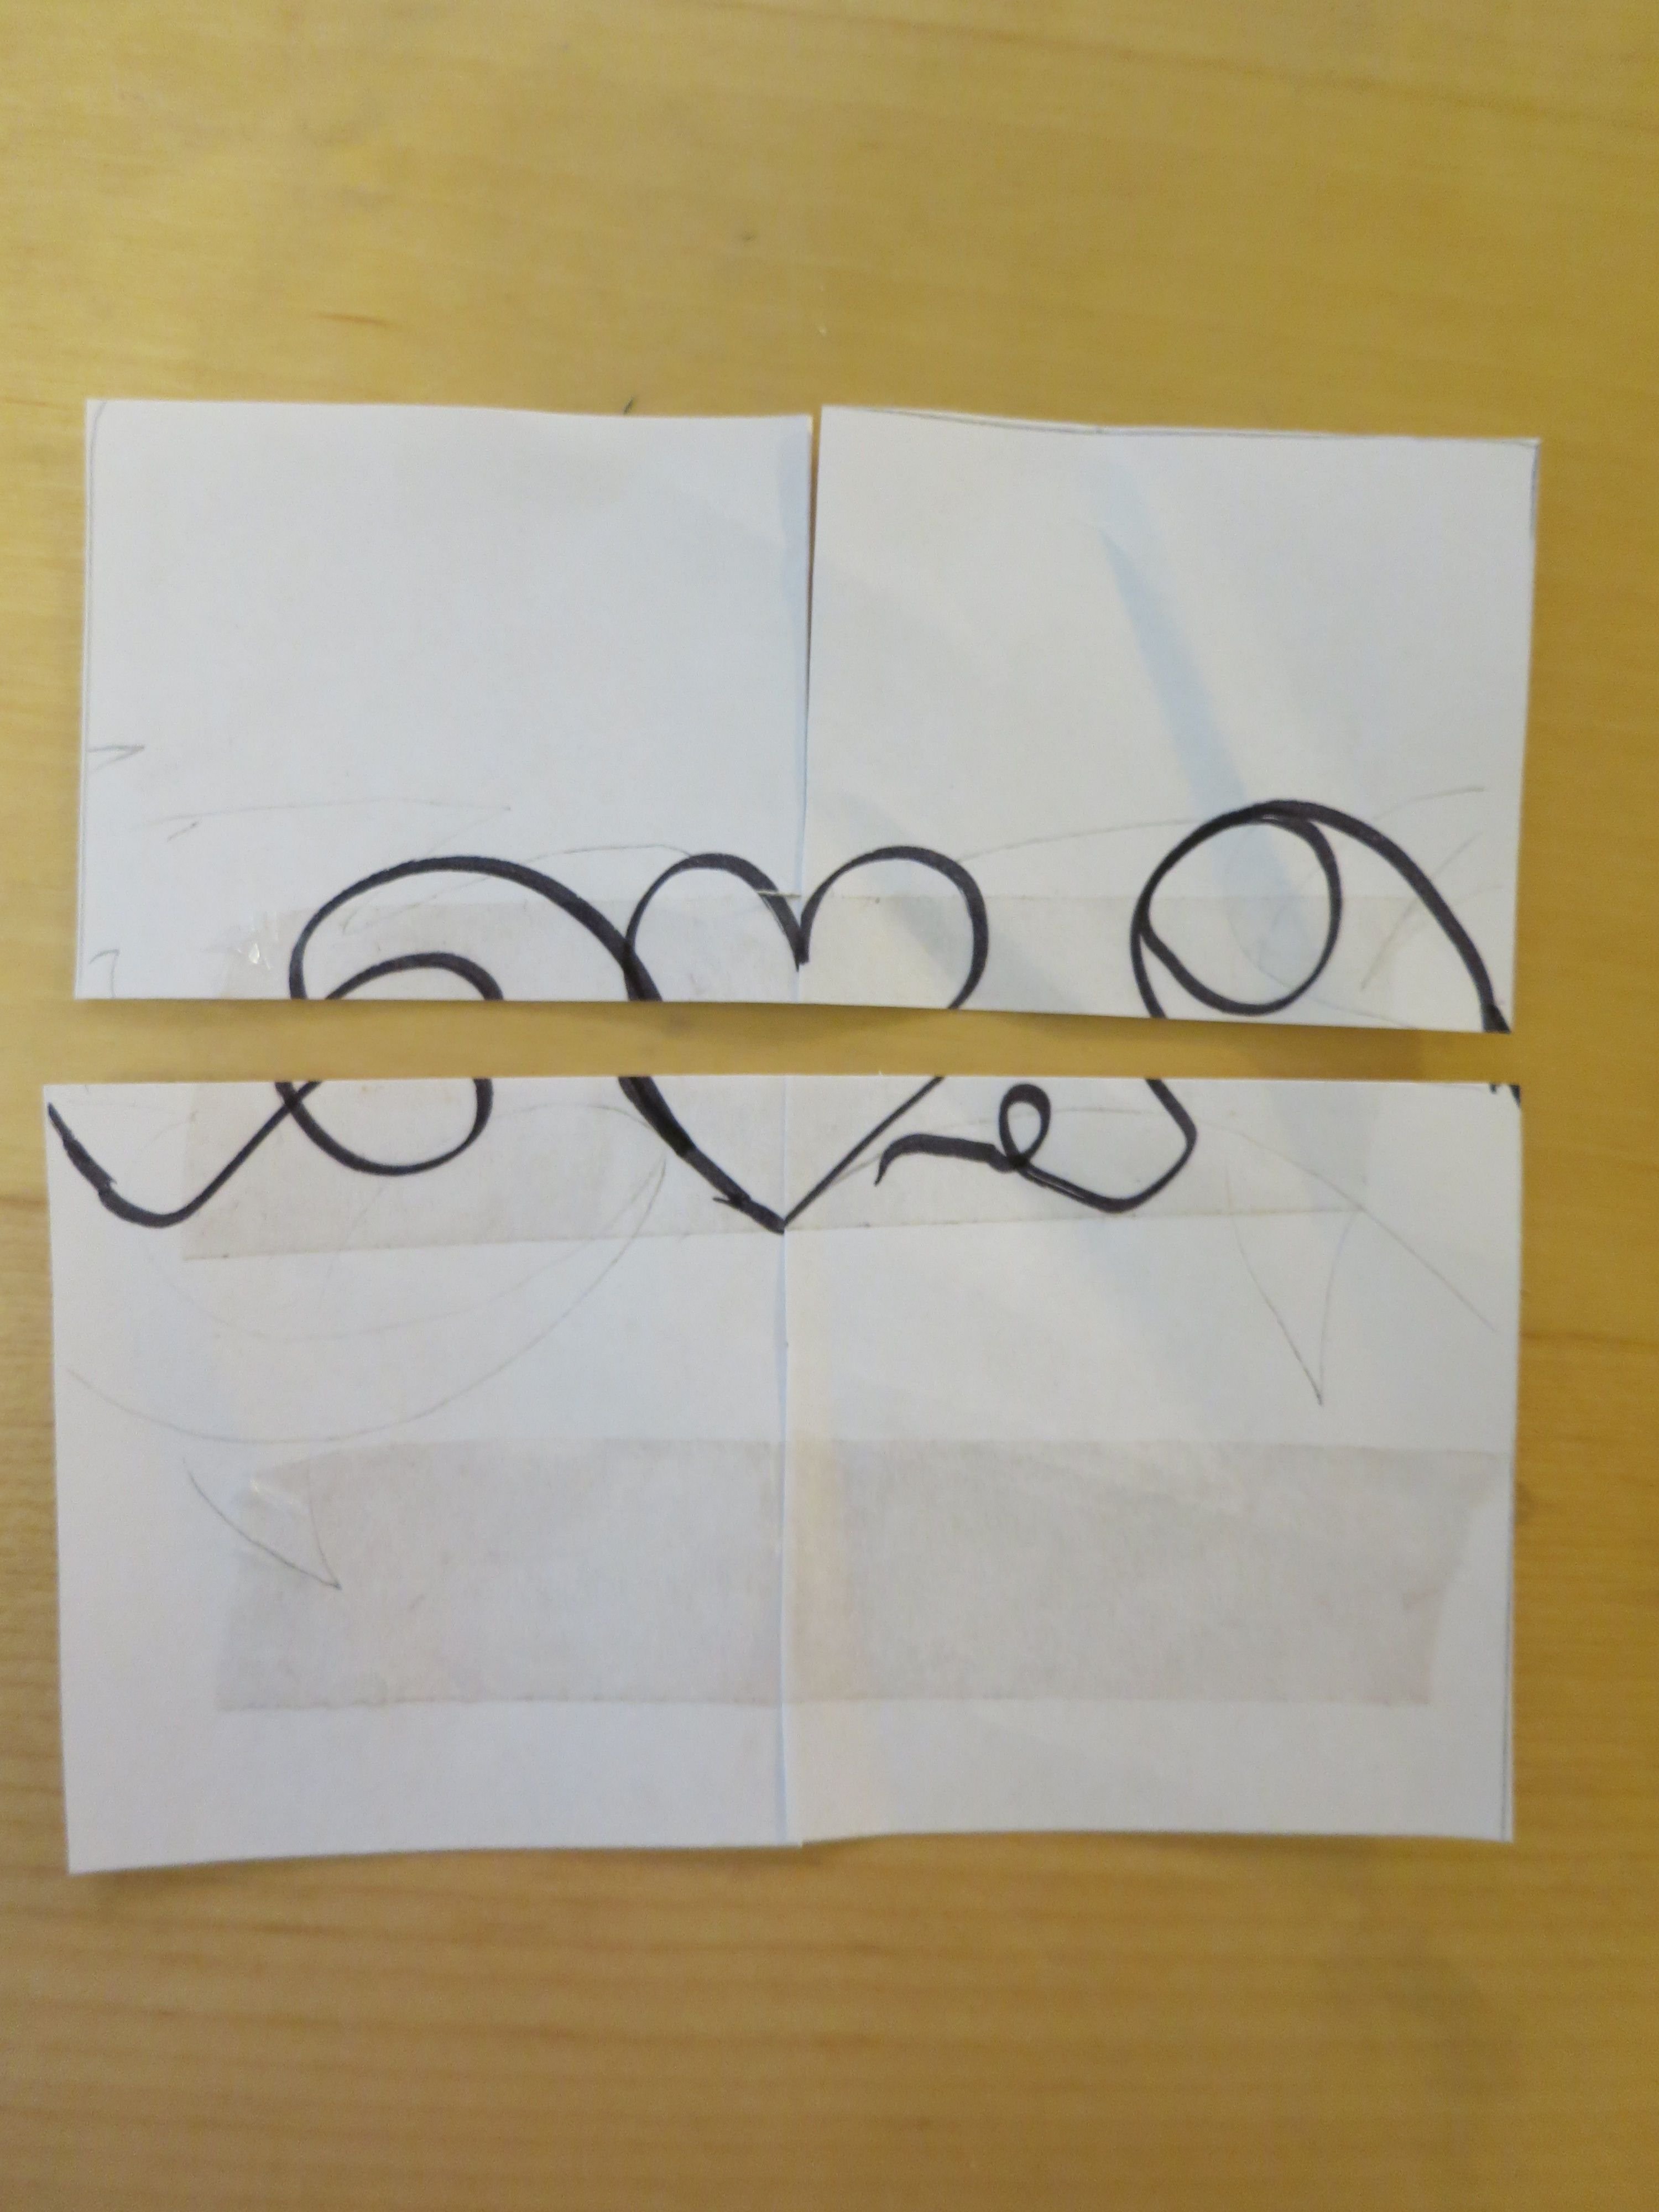
7 - Change sides.
8 - Draw something cool ! 😛
9 - Copy the pattern in all directions of the paper.
10 - And I almost forgot. There is another way to think about the second pattern, see below.

11 - And do this if you want the pattern to repeat itself in a triangular way.
Of course it's easier to make it digitally, but this is made for the tiny art challenge. And then you can apply the theory in any setting.
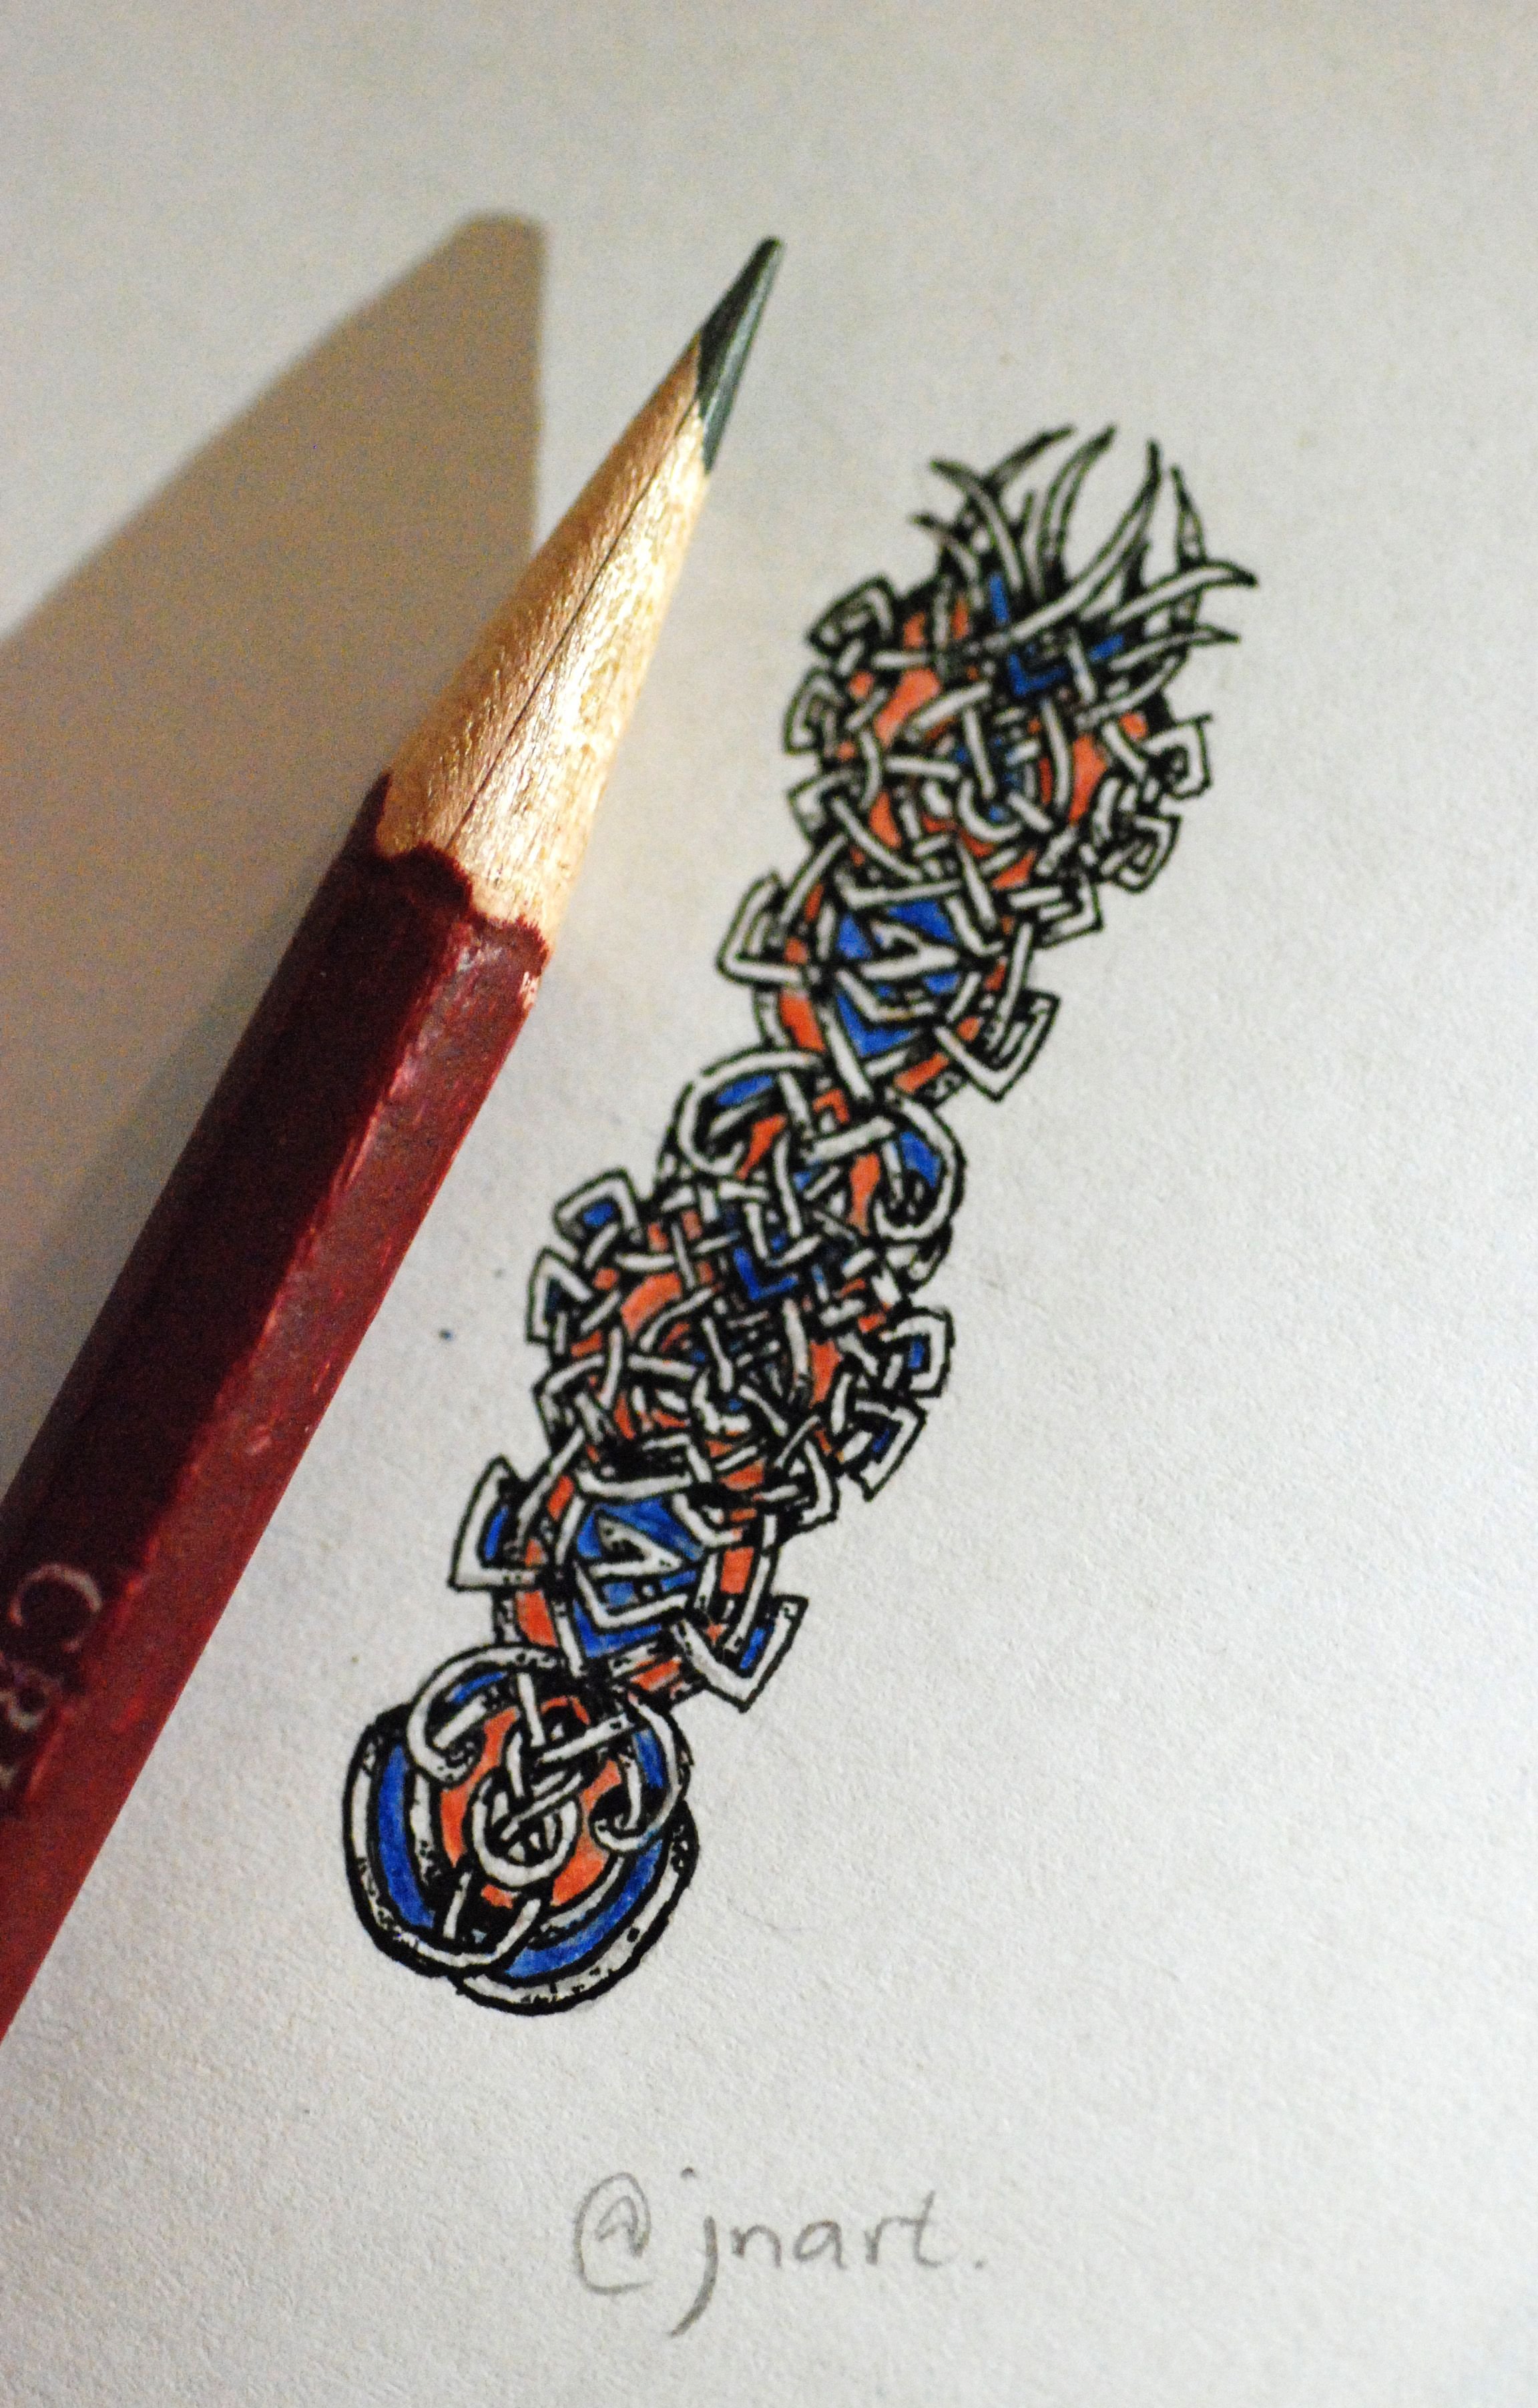
Part Two - How To Make a Tiny Celtic Pattern
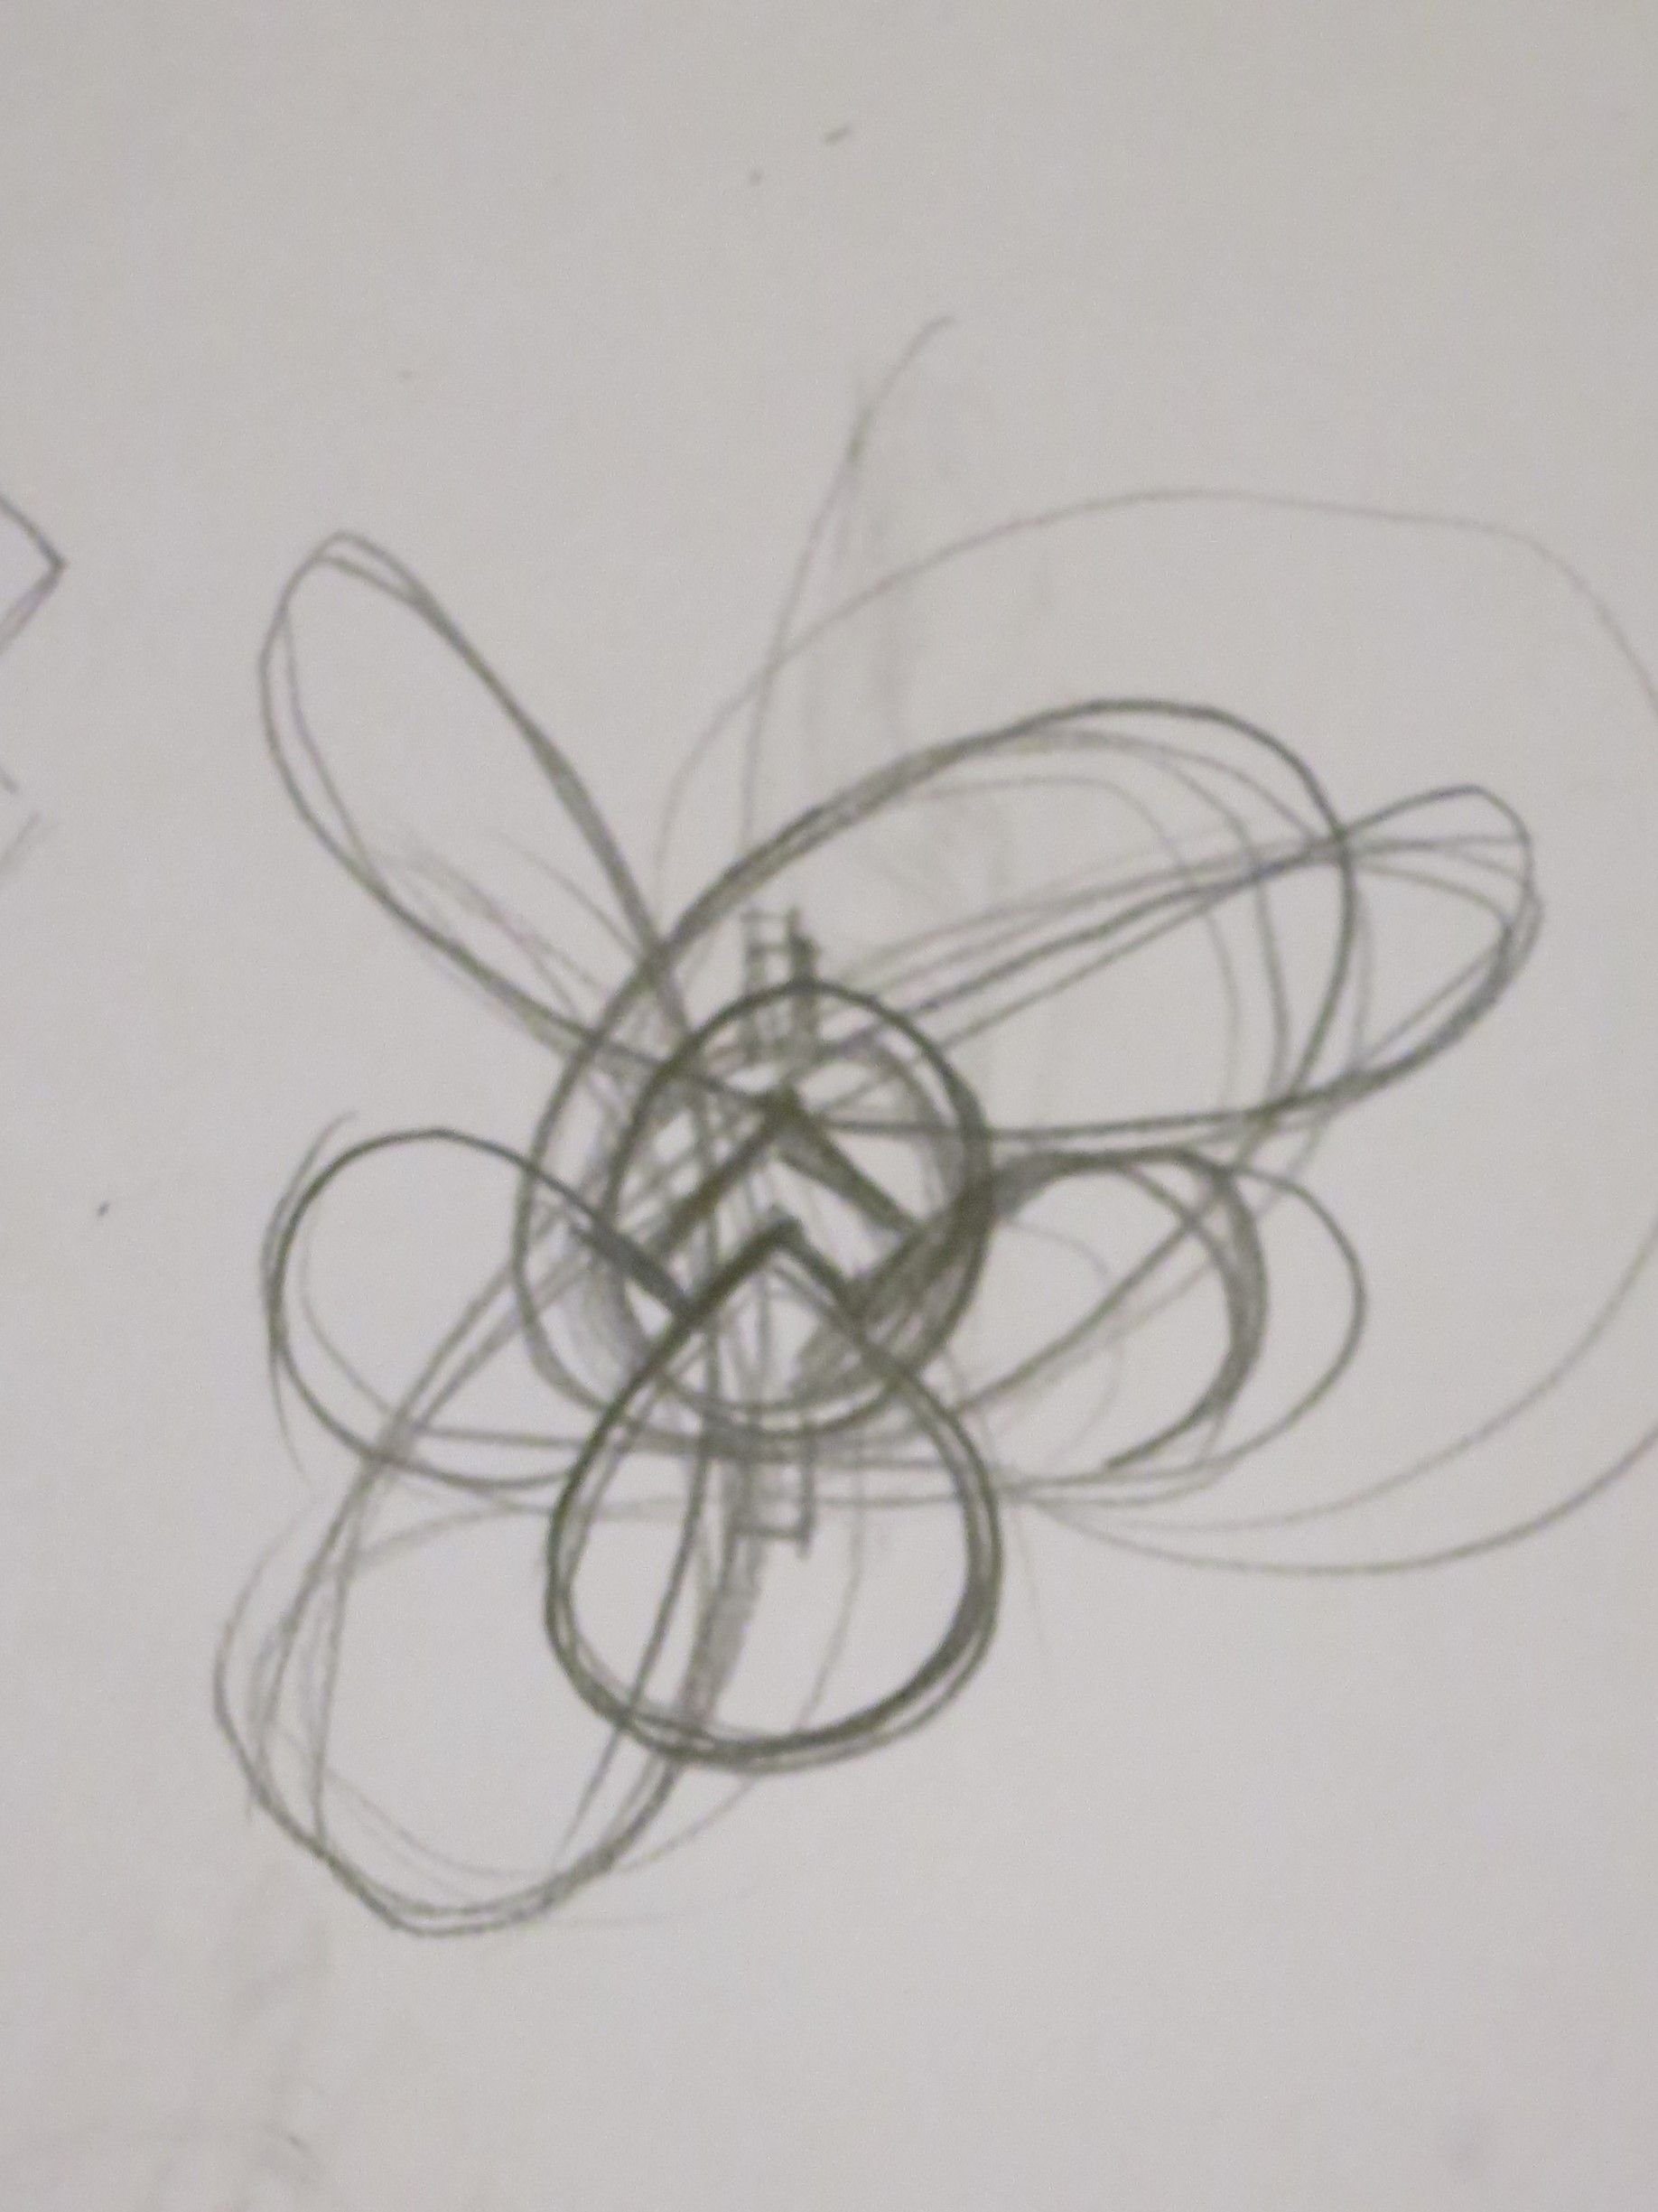
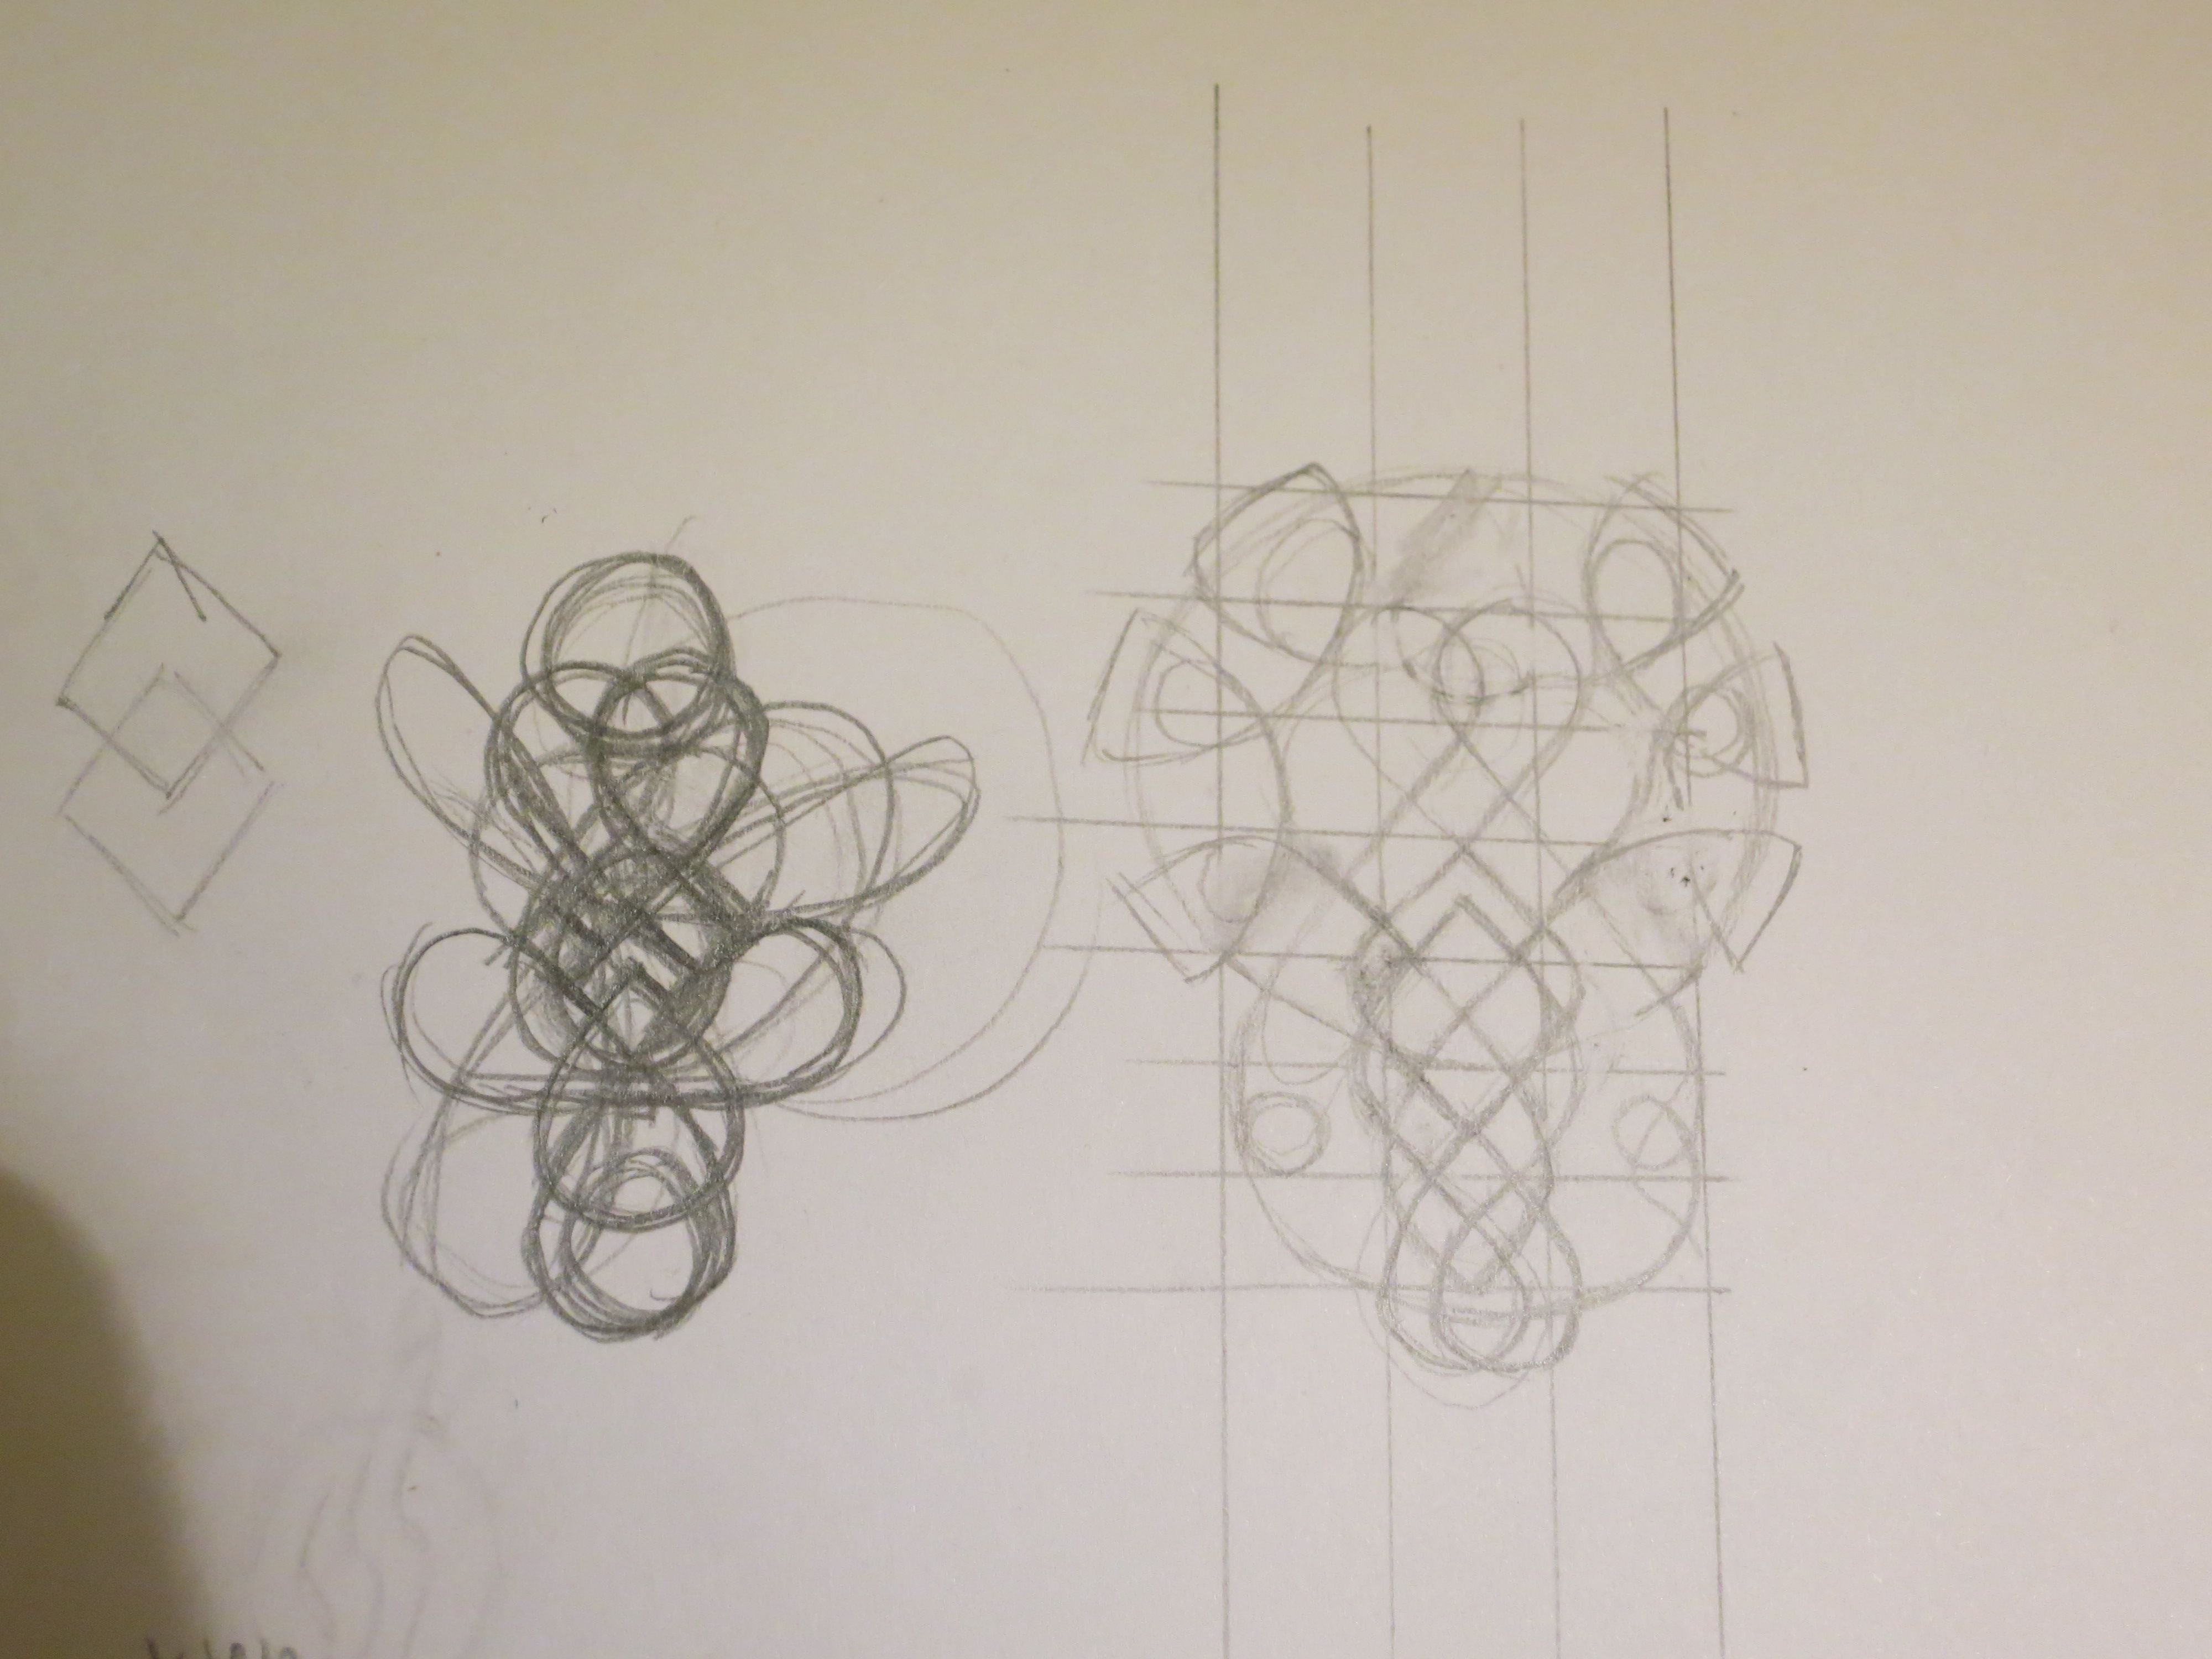
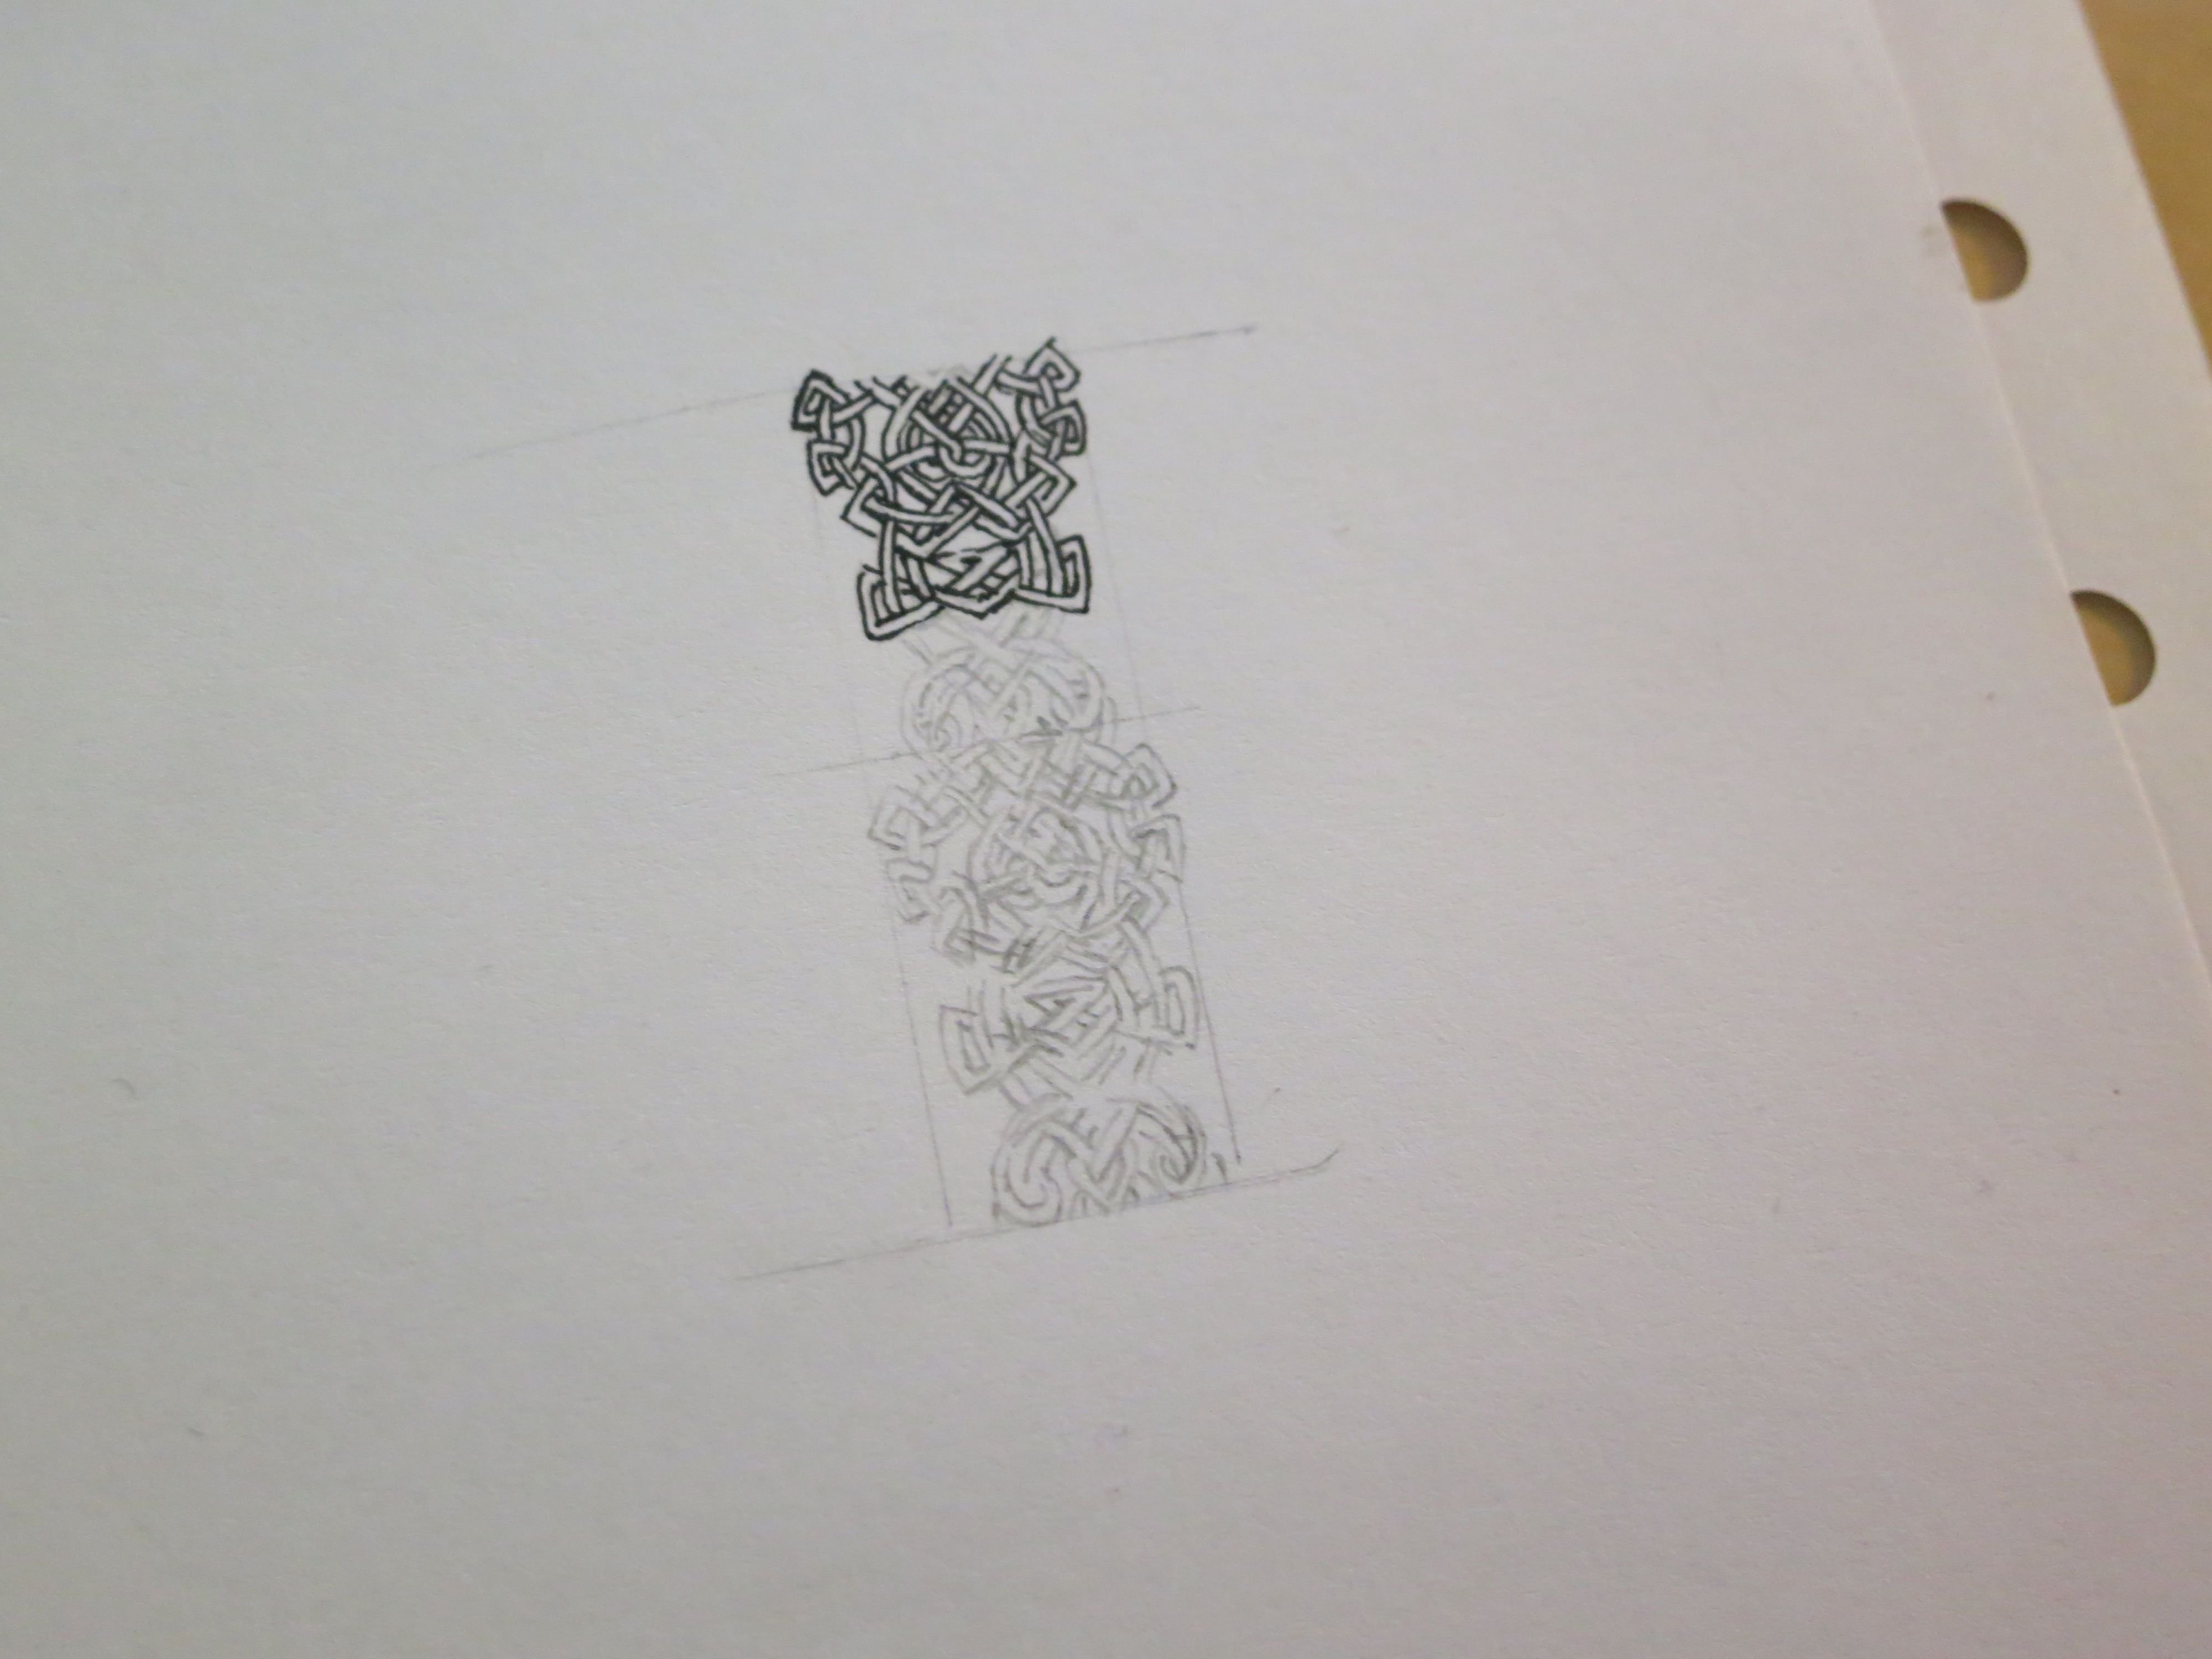
1 - I started by playing with some shapes.
2 - Then I started to make the shapes more symmetrical by drawing them in a grid.
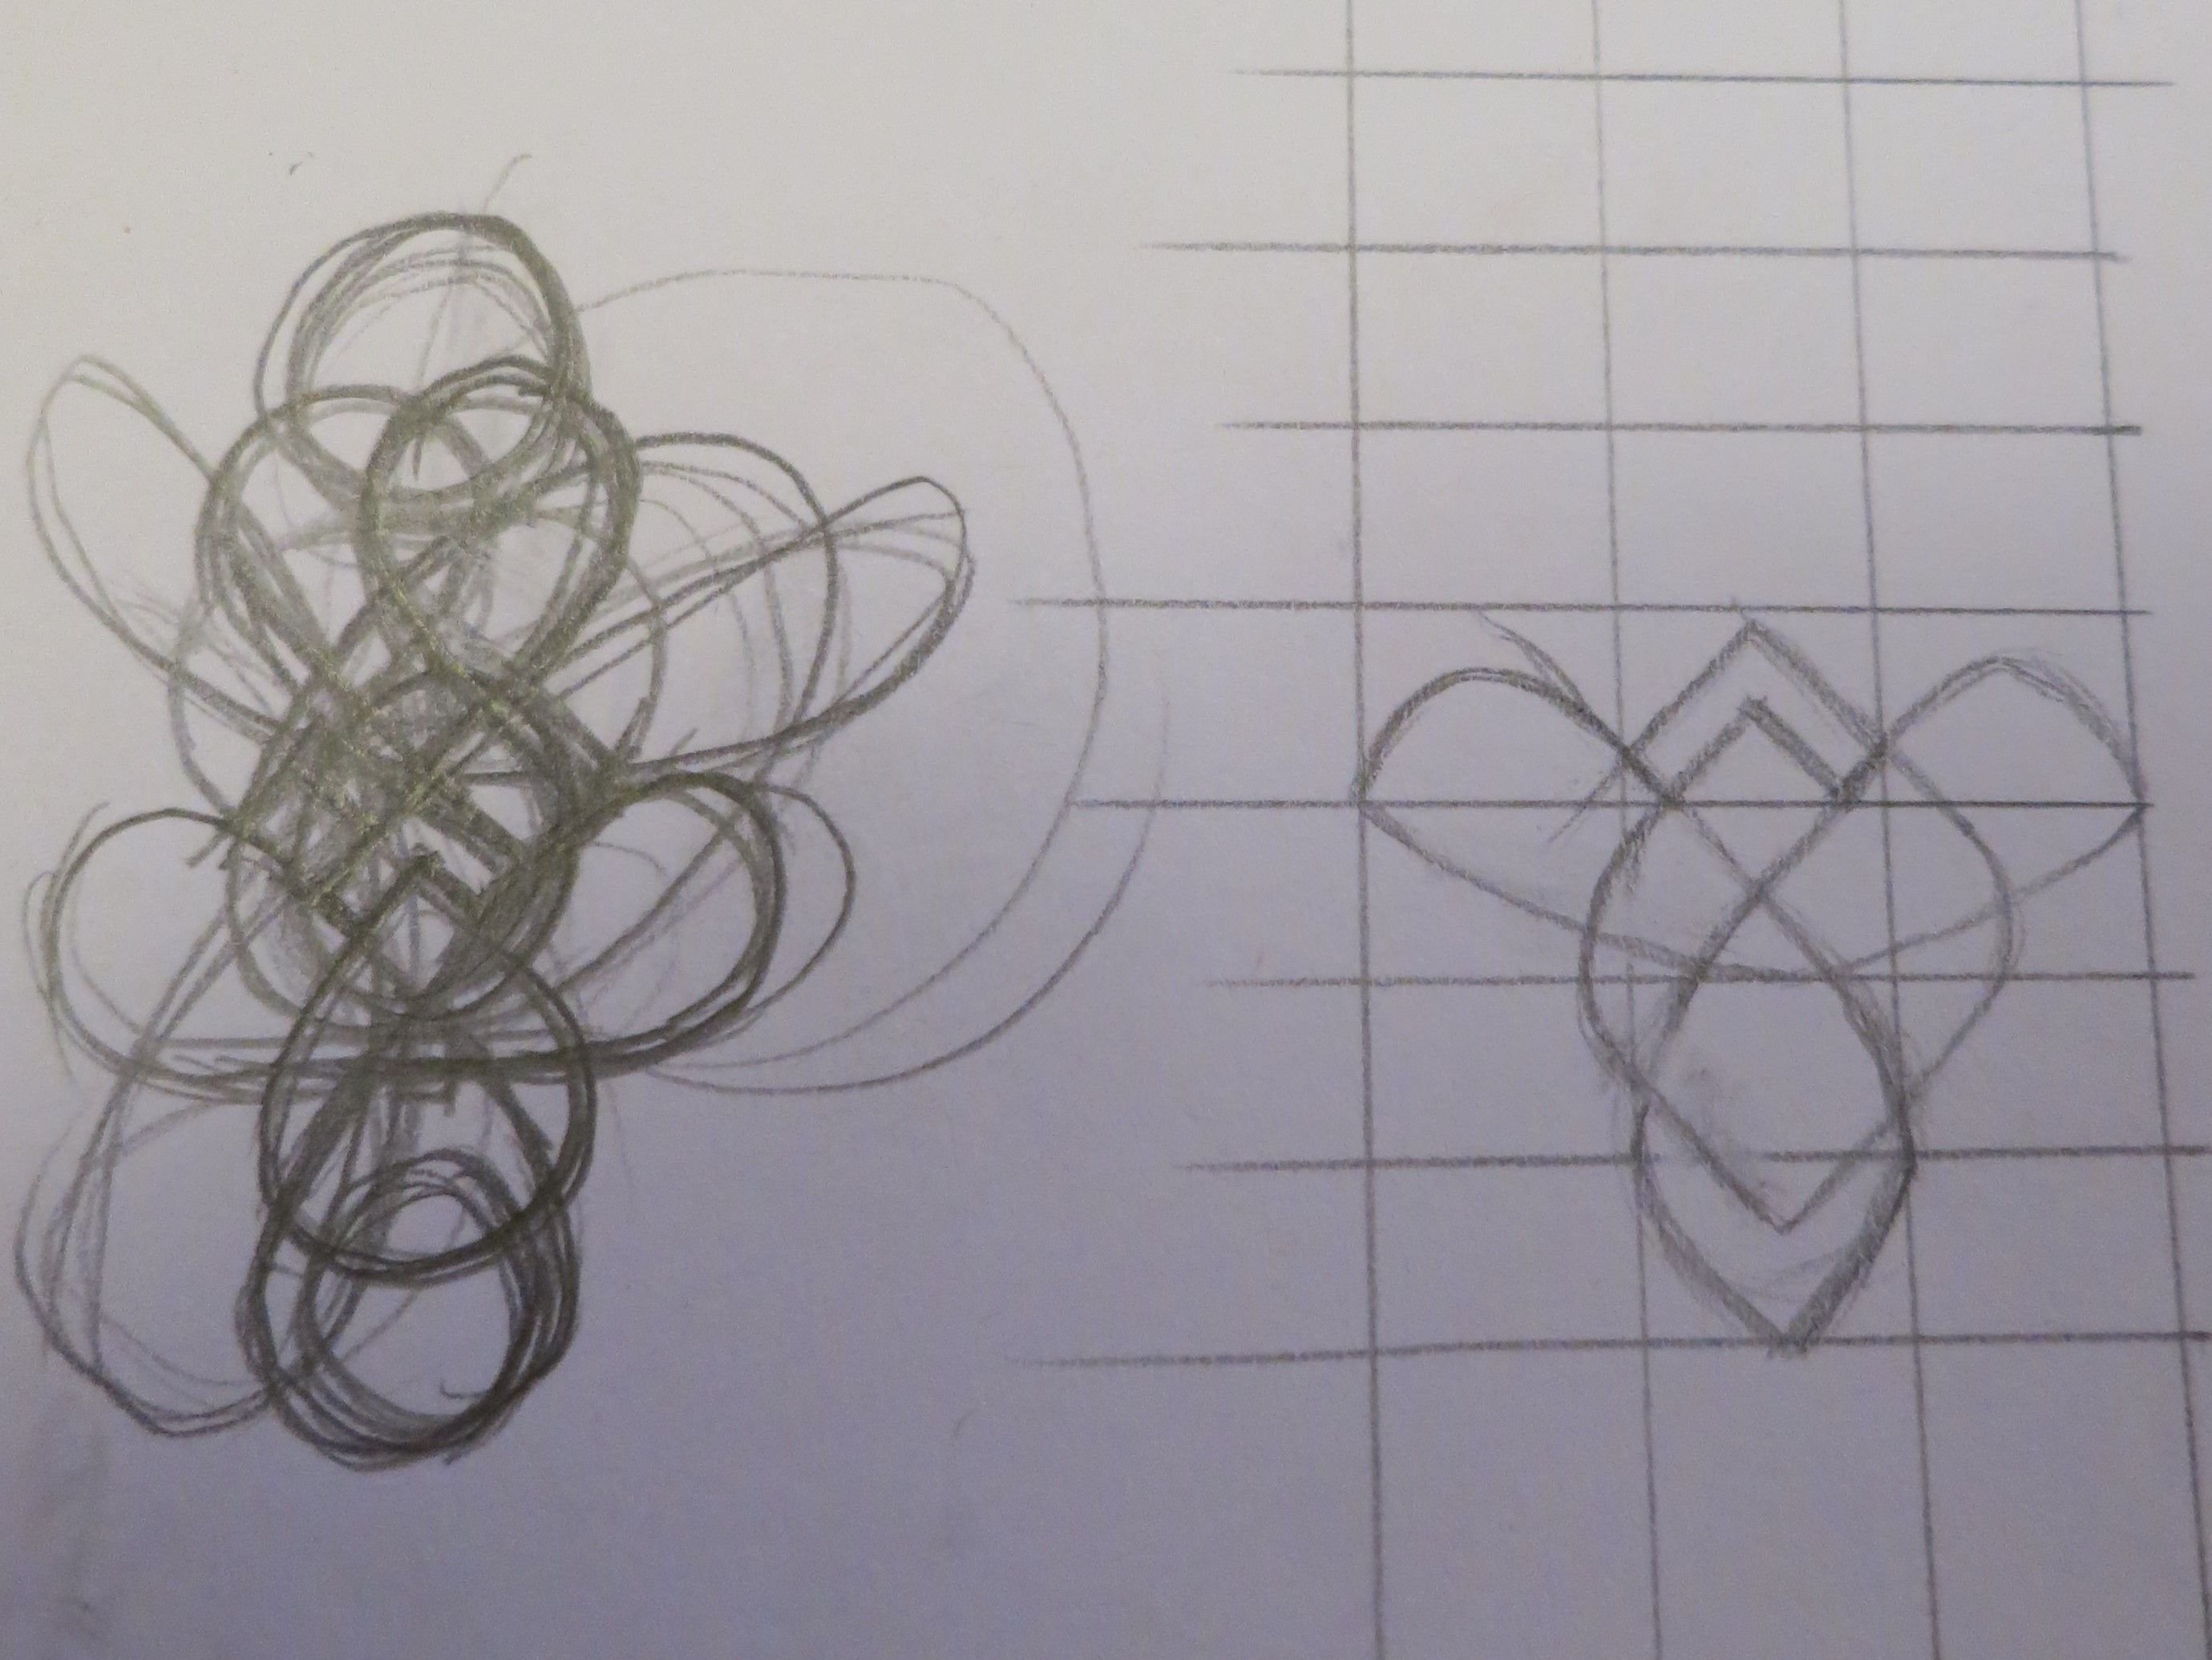
3 - I kept on working on the symmetry - at this stage only with single lines.
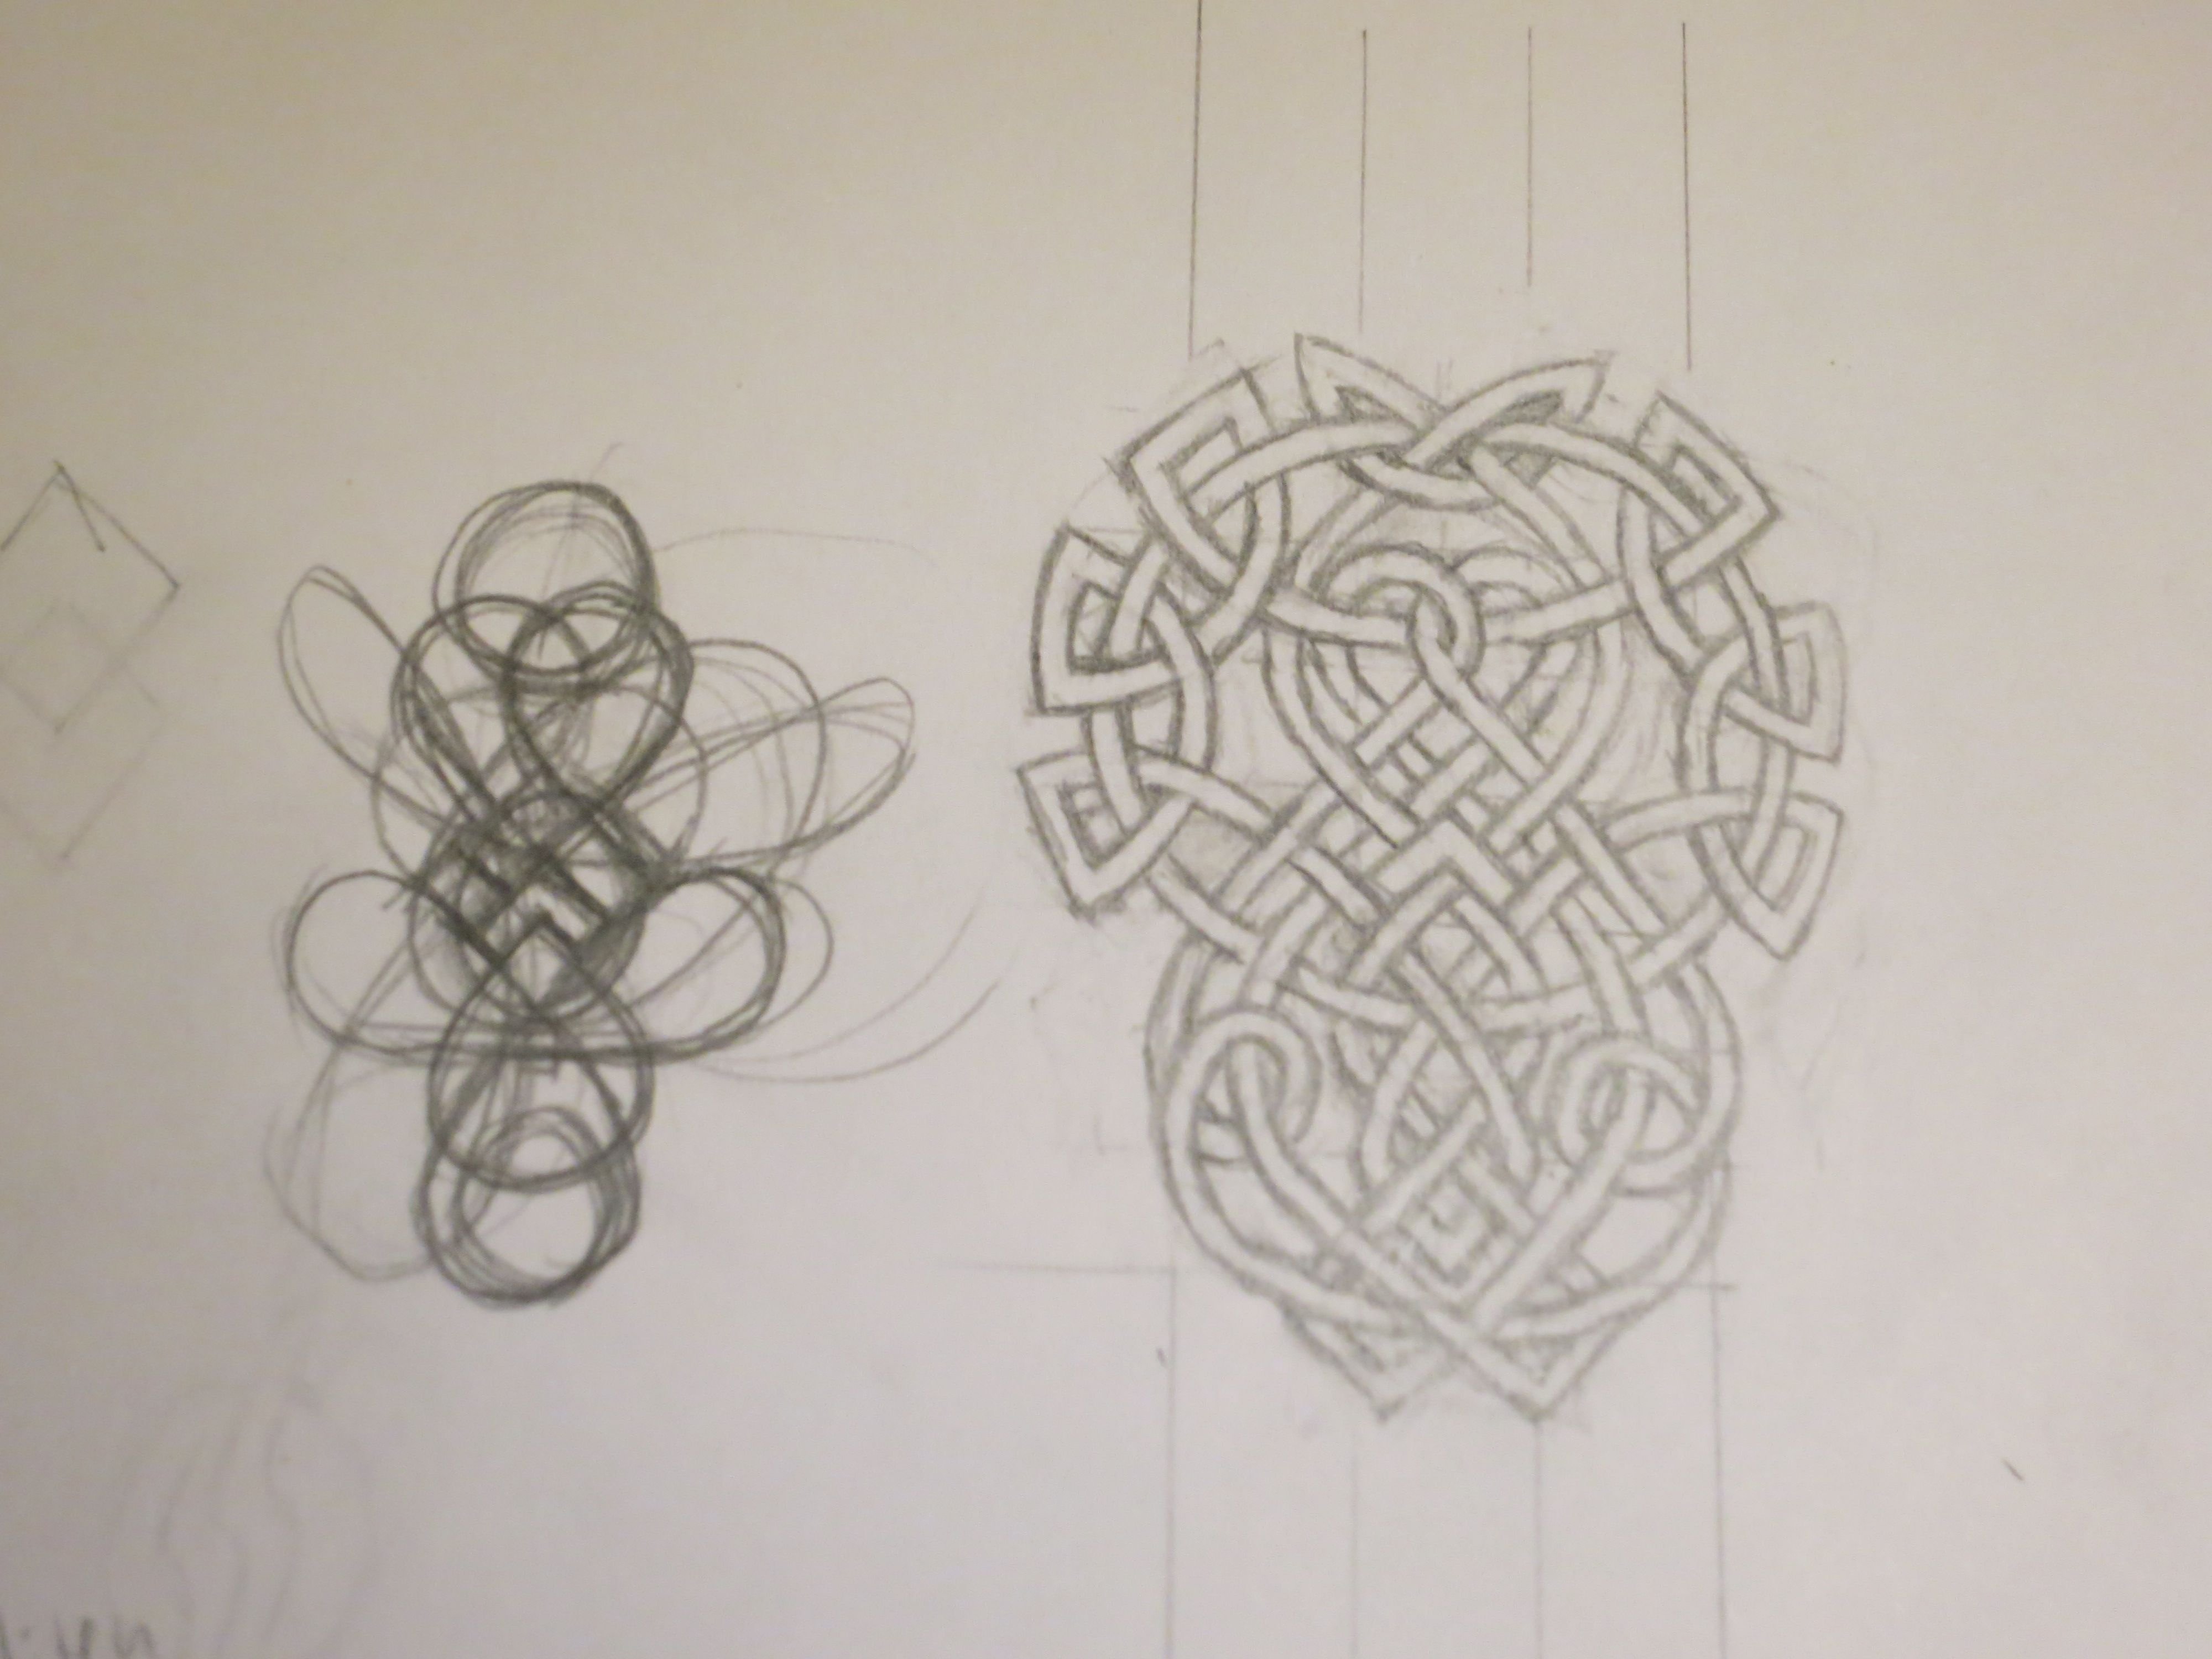
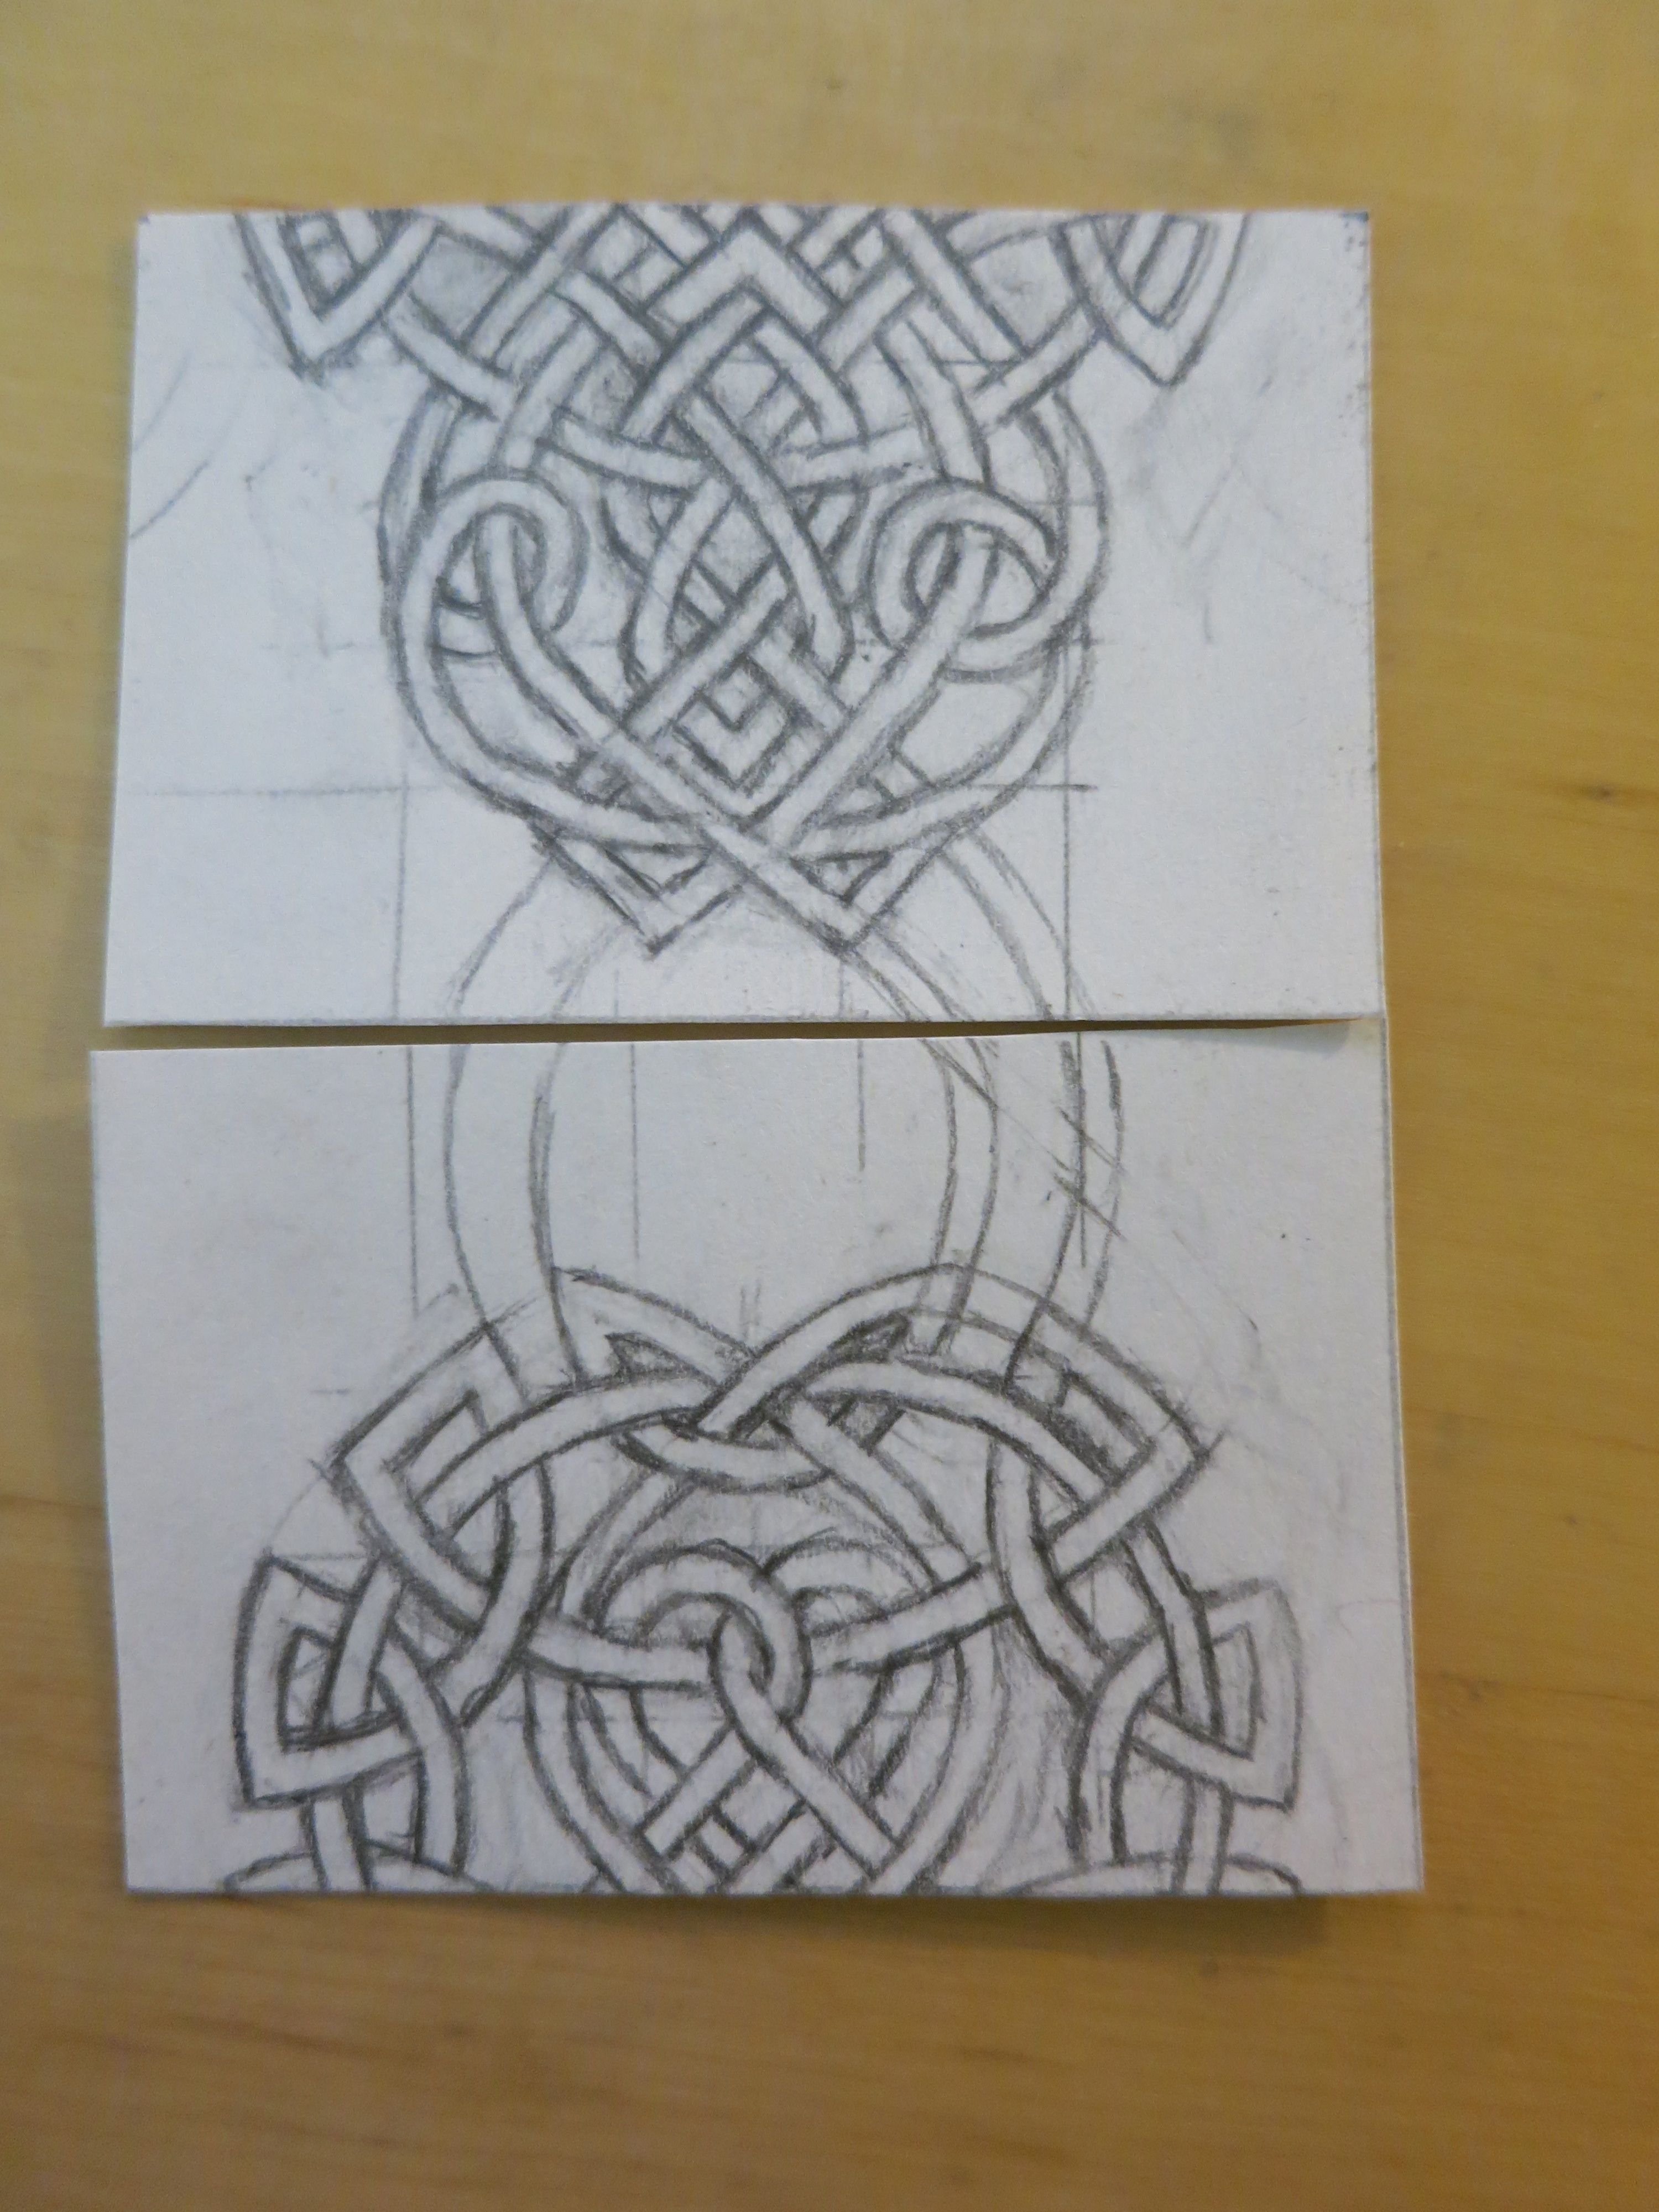
4 - When I thought the design looked okay I started to add thickness to the lines. But be careful not to have too many lines running underneath each other.

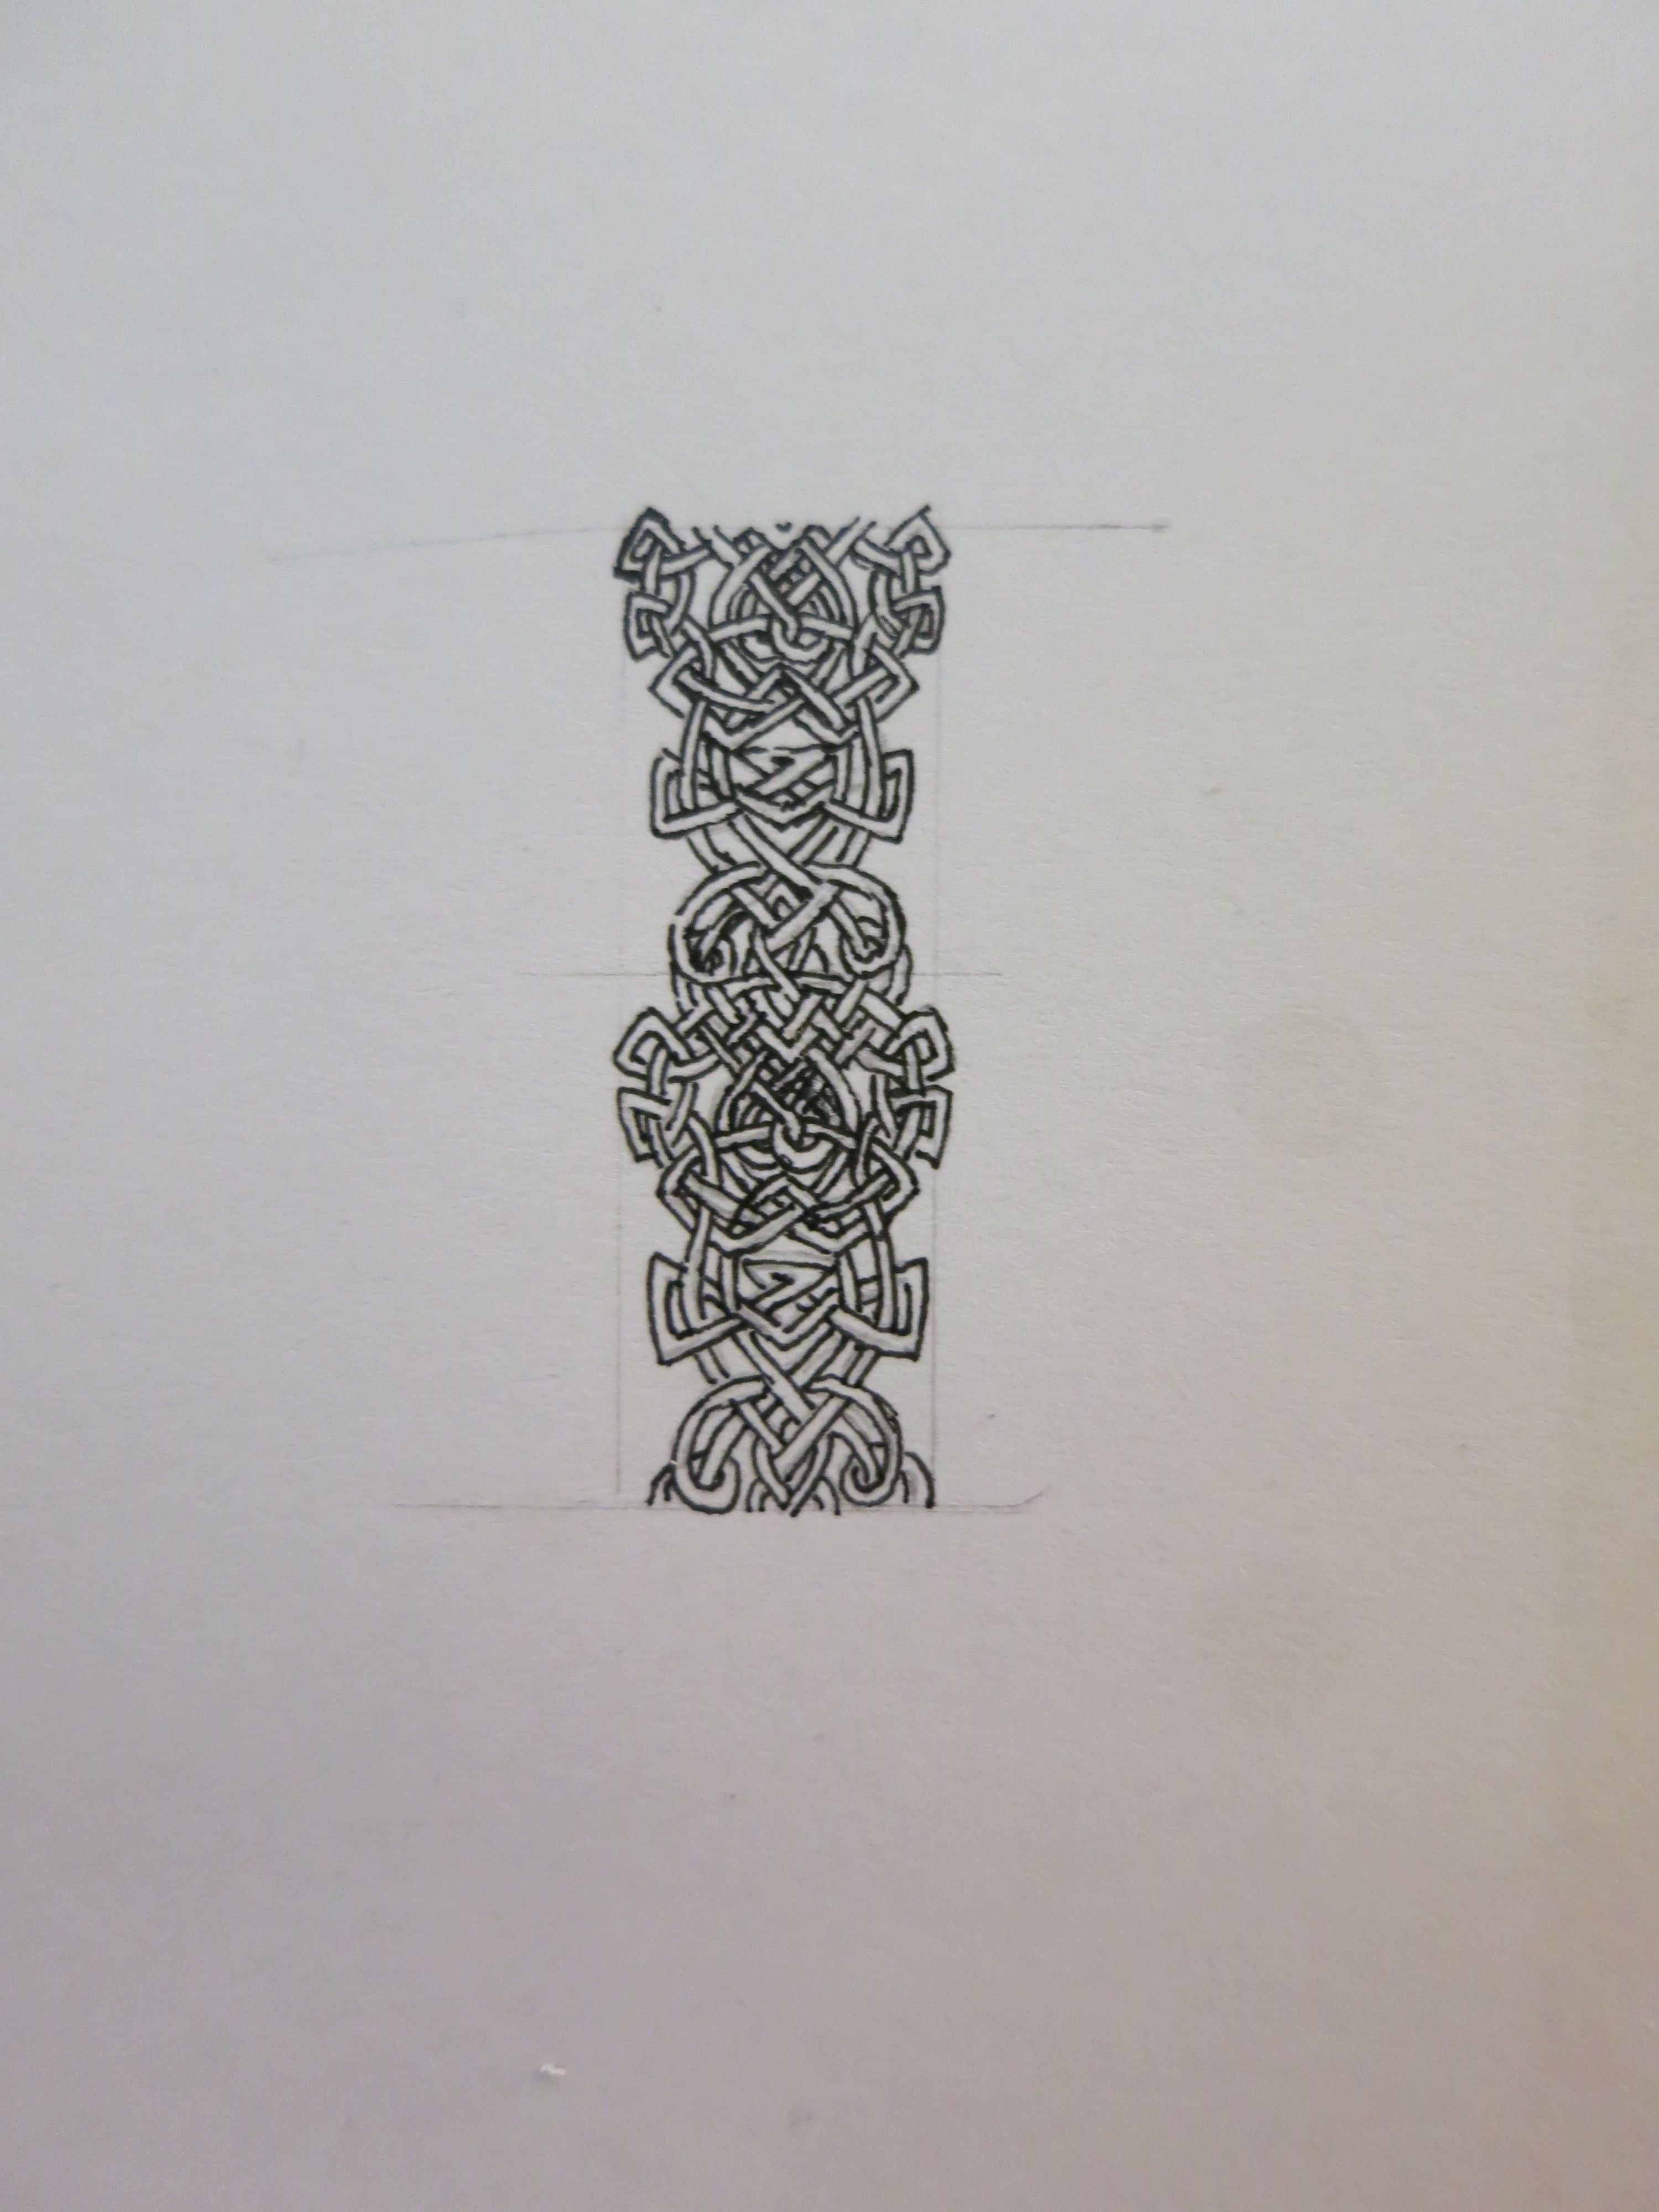
5 - Then the thicker lines was applied, I started to erase some lines and add thickness to others to make an overlapping effect.

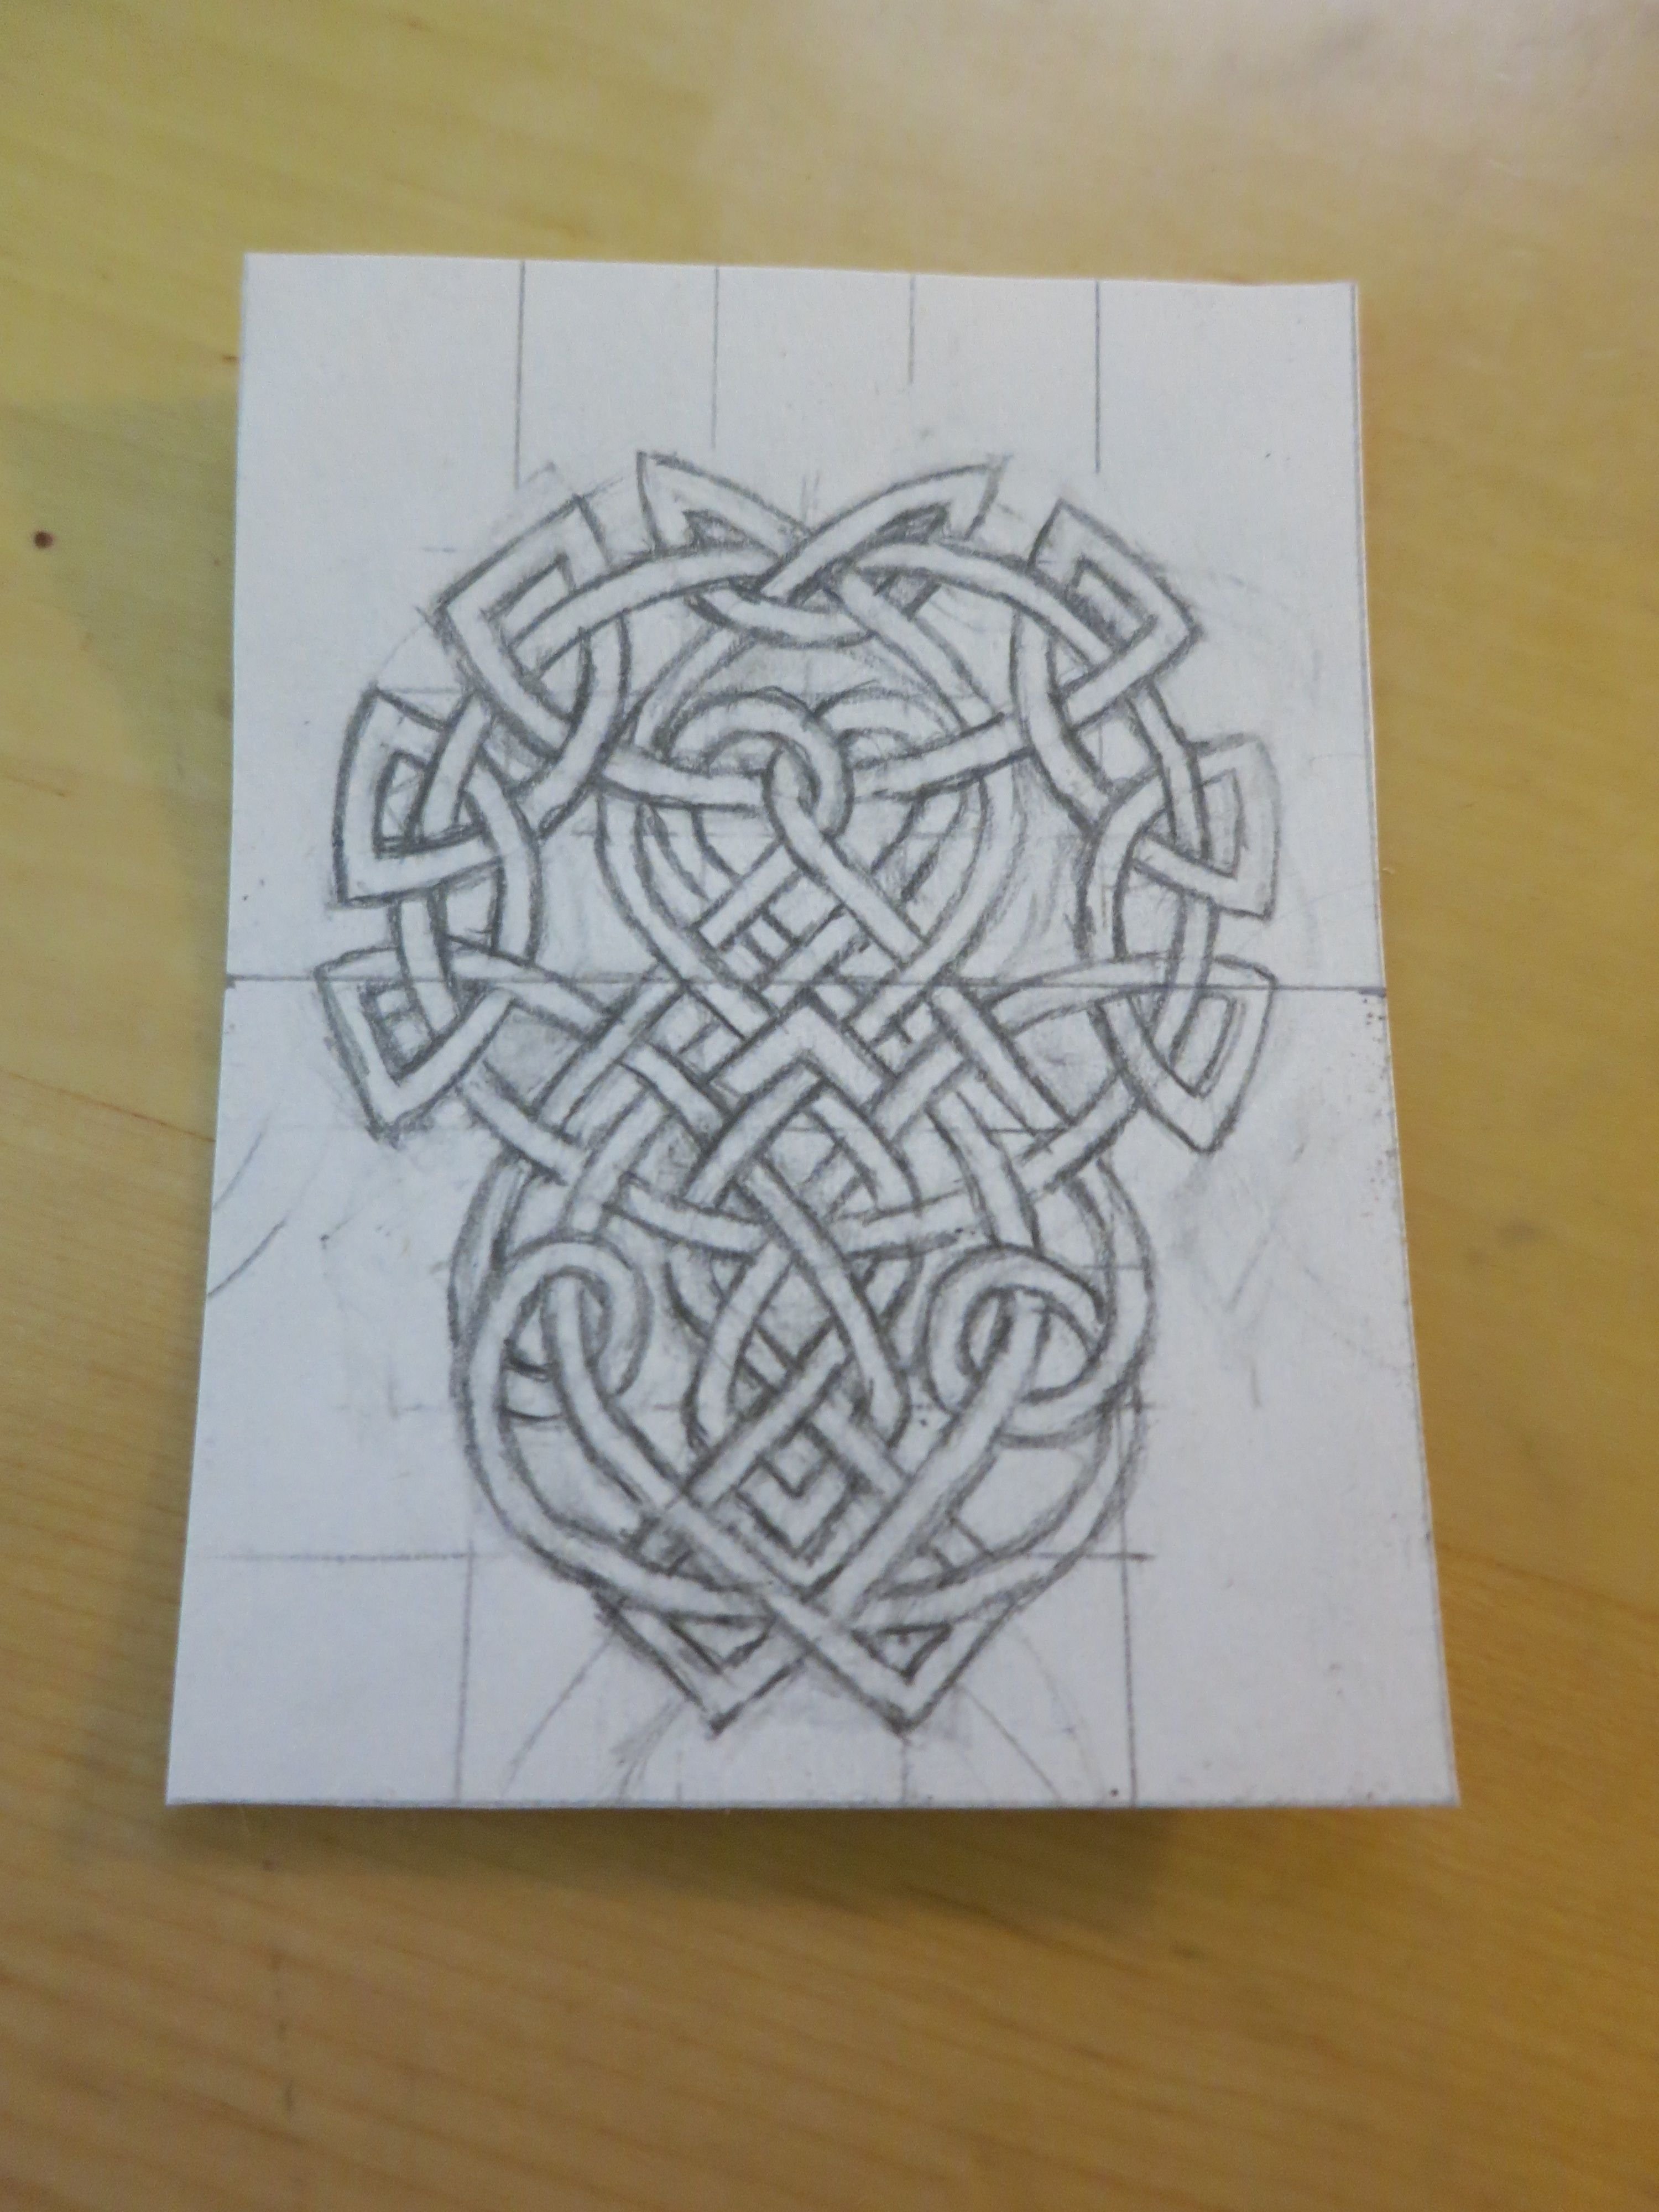
6 - I cleaned the drawing.
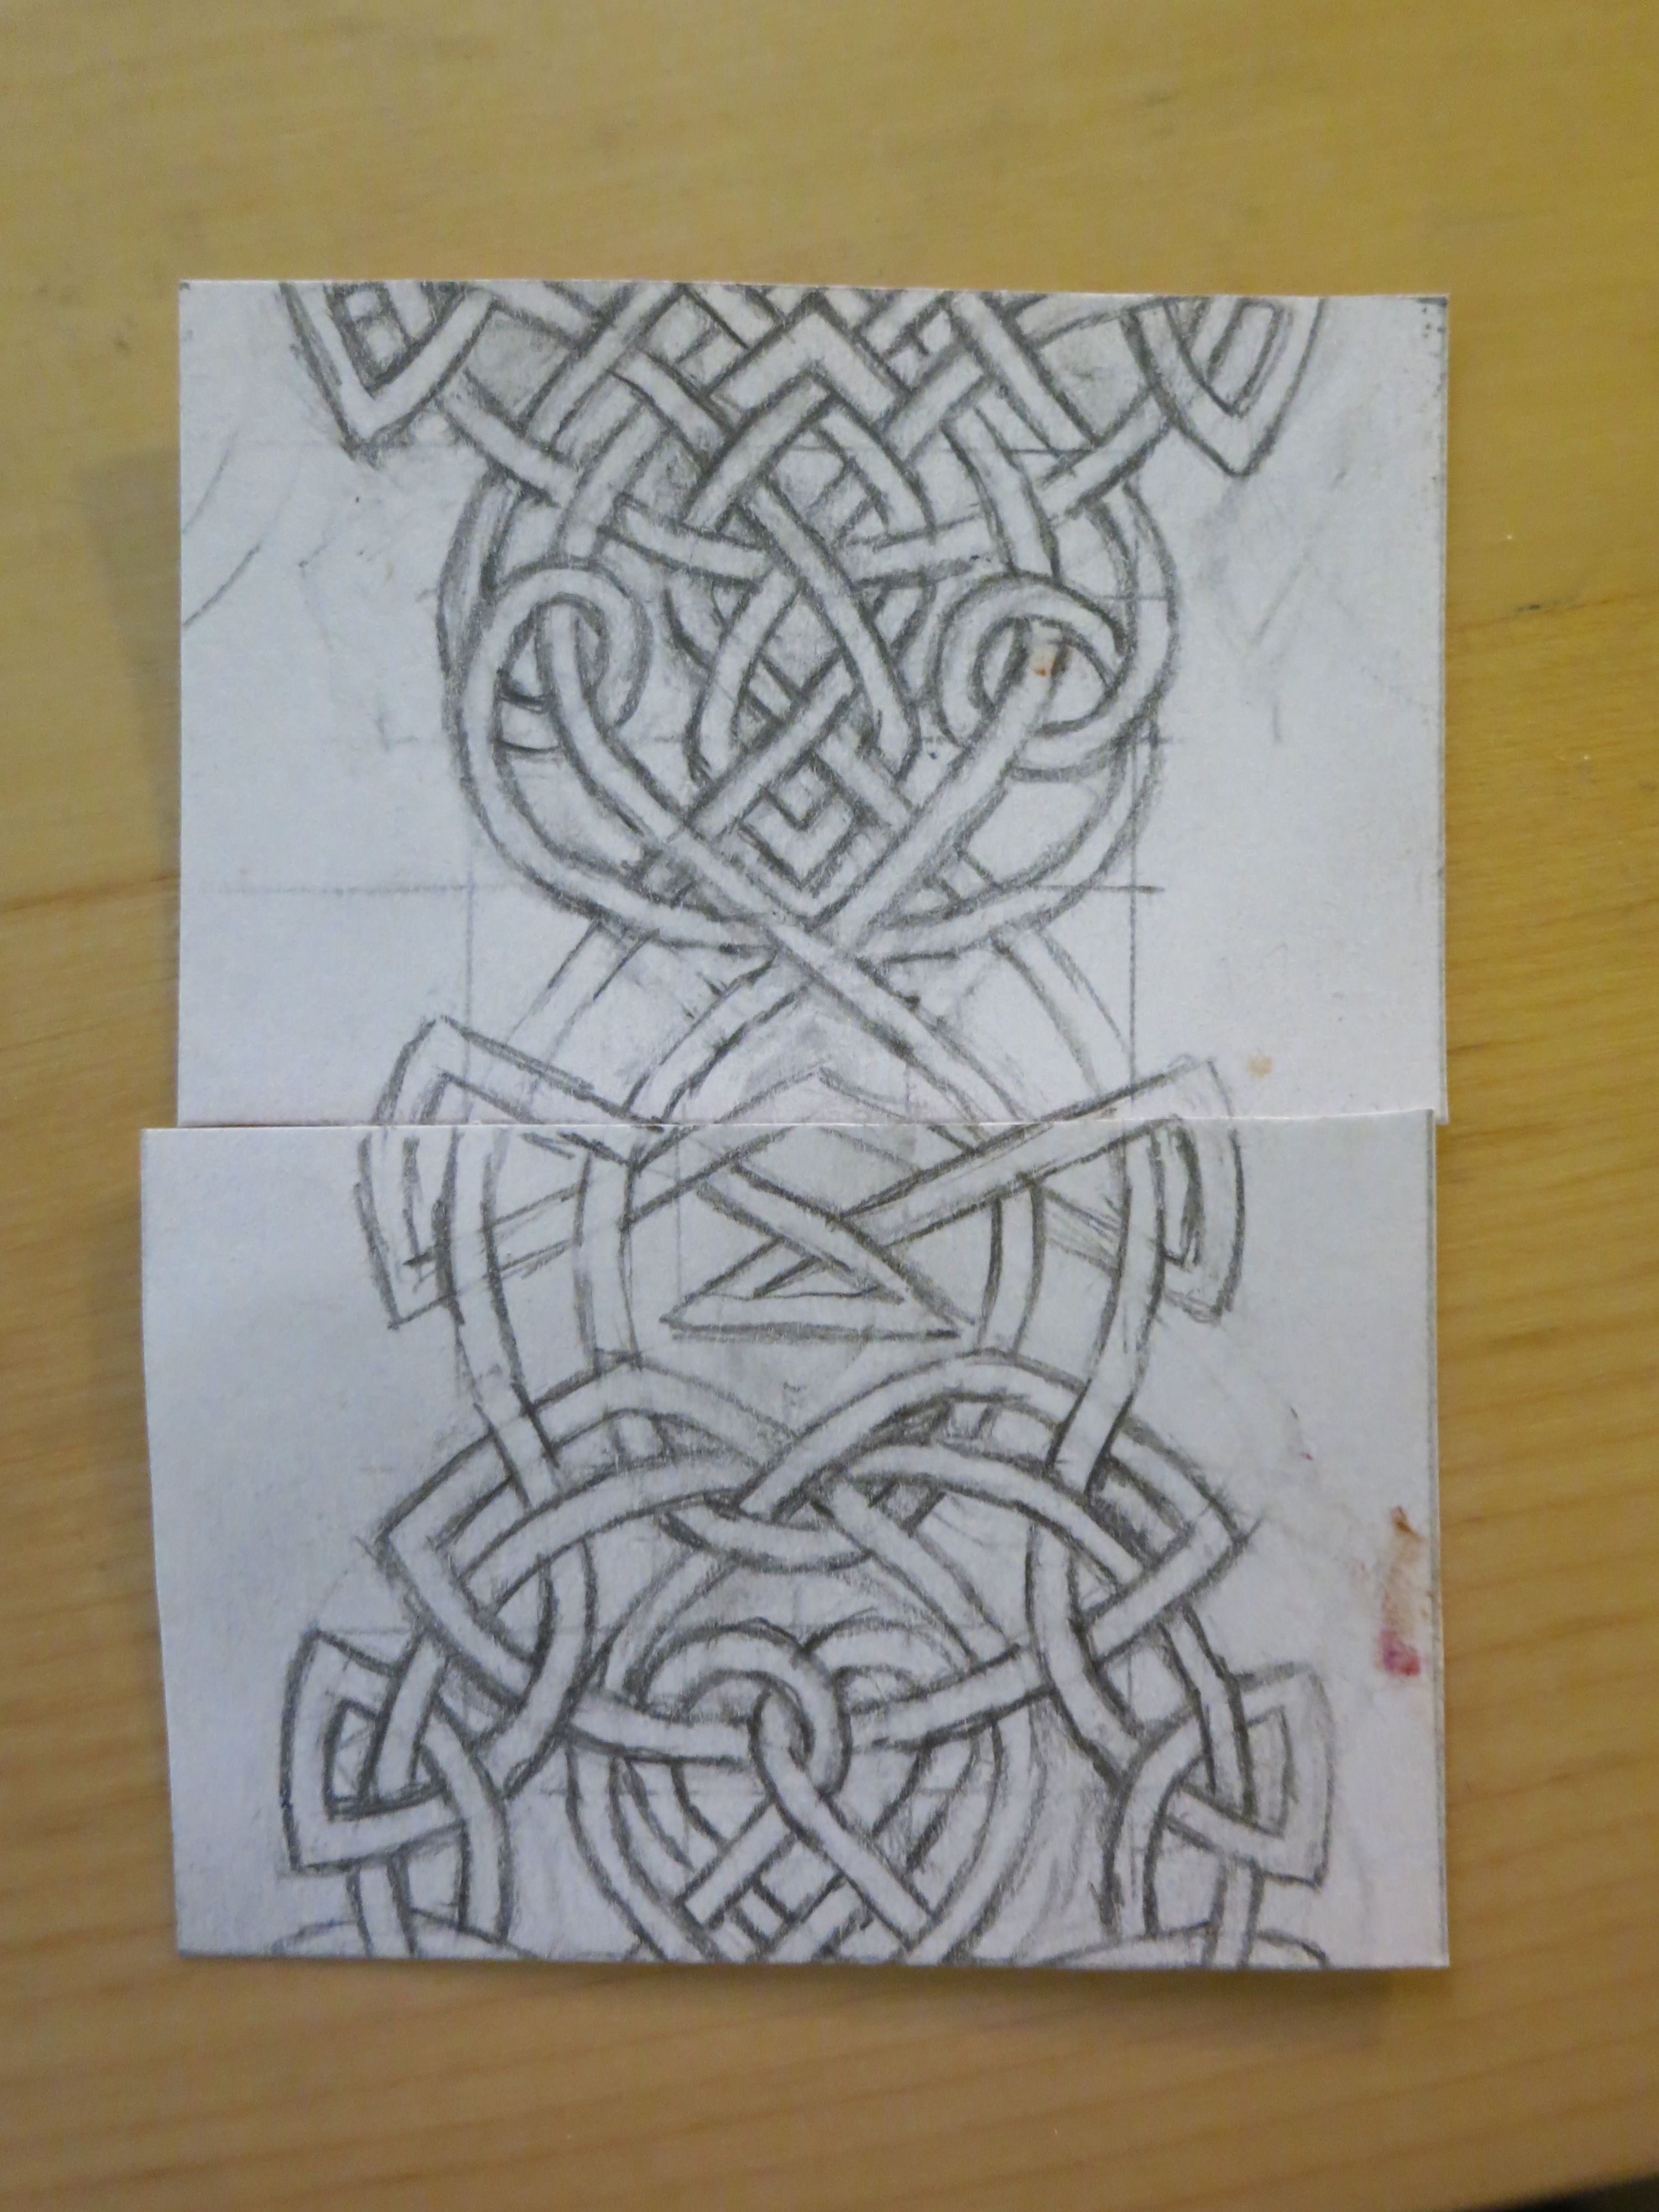
7 - Cut in half.
8 - Swapped sides and liked the pictures together.
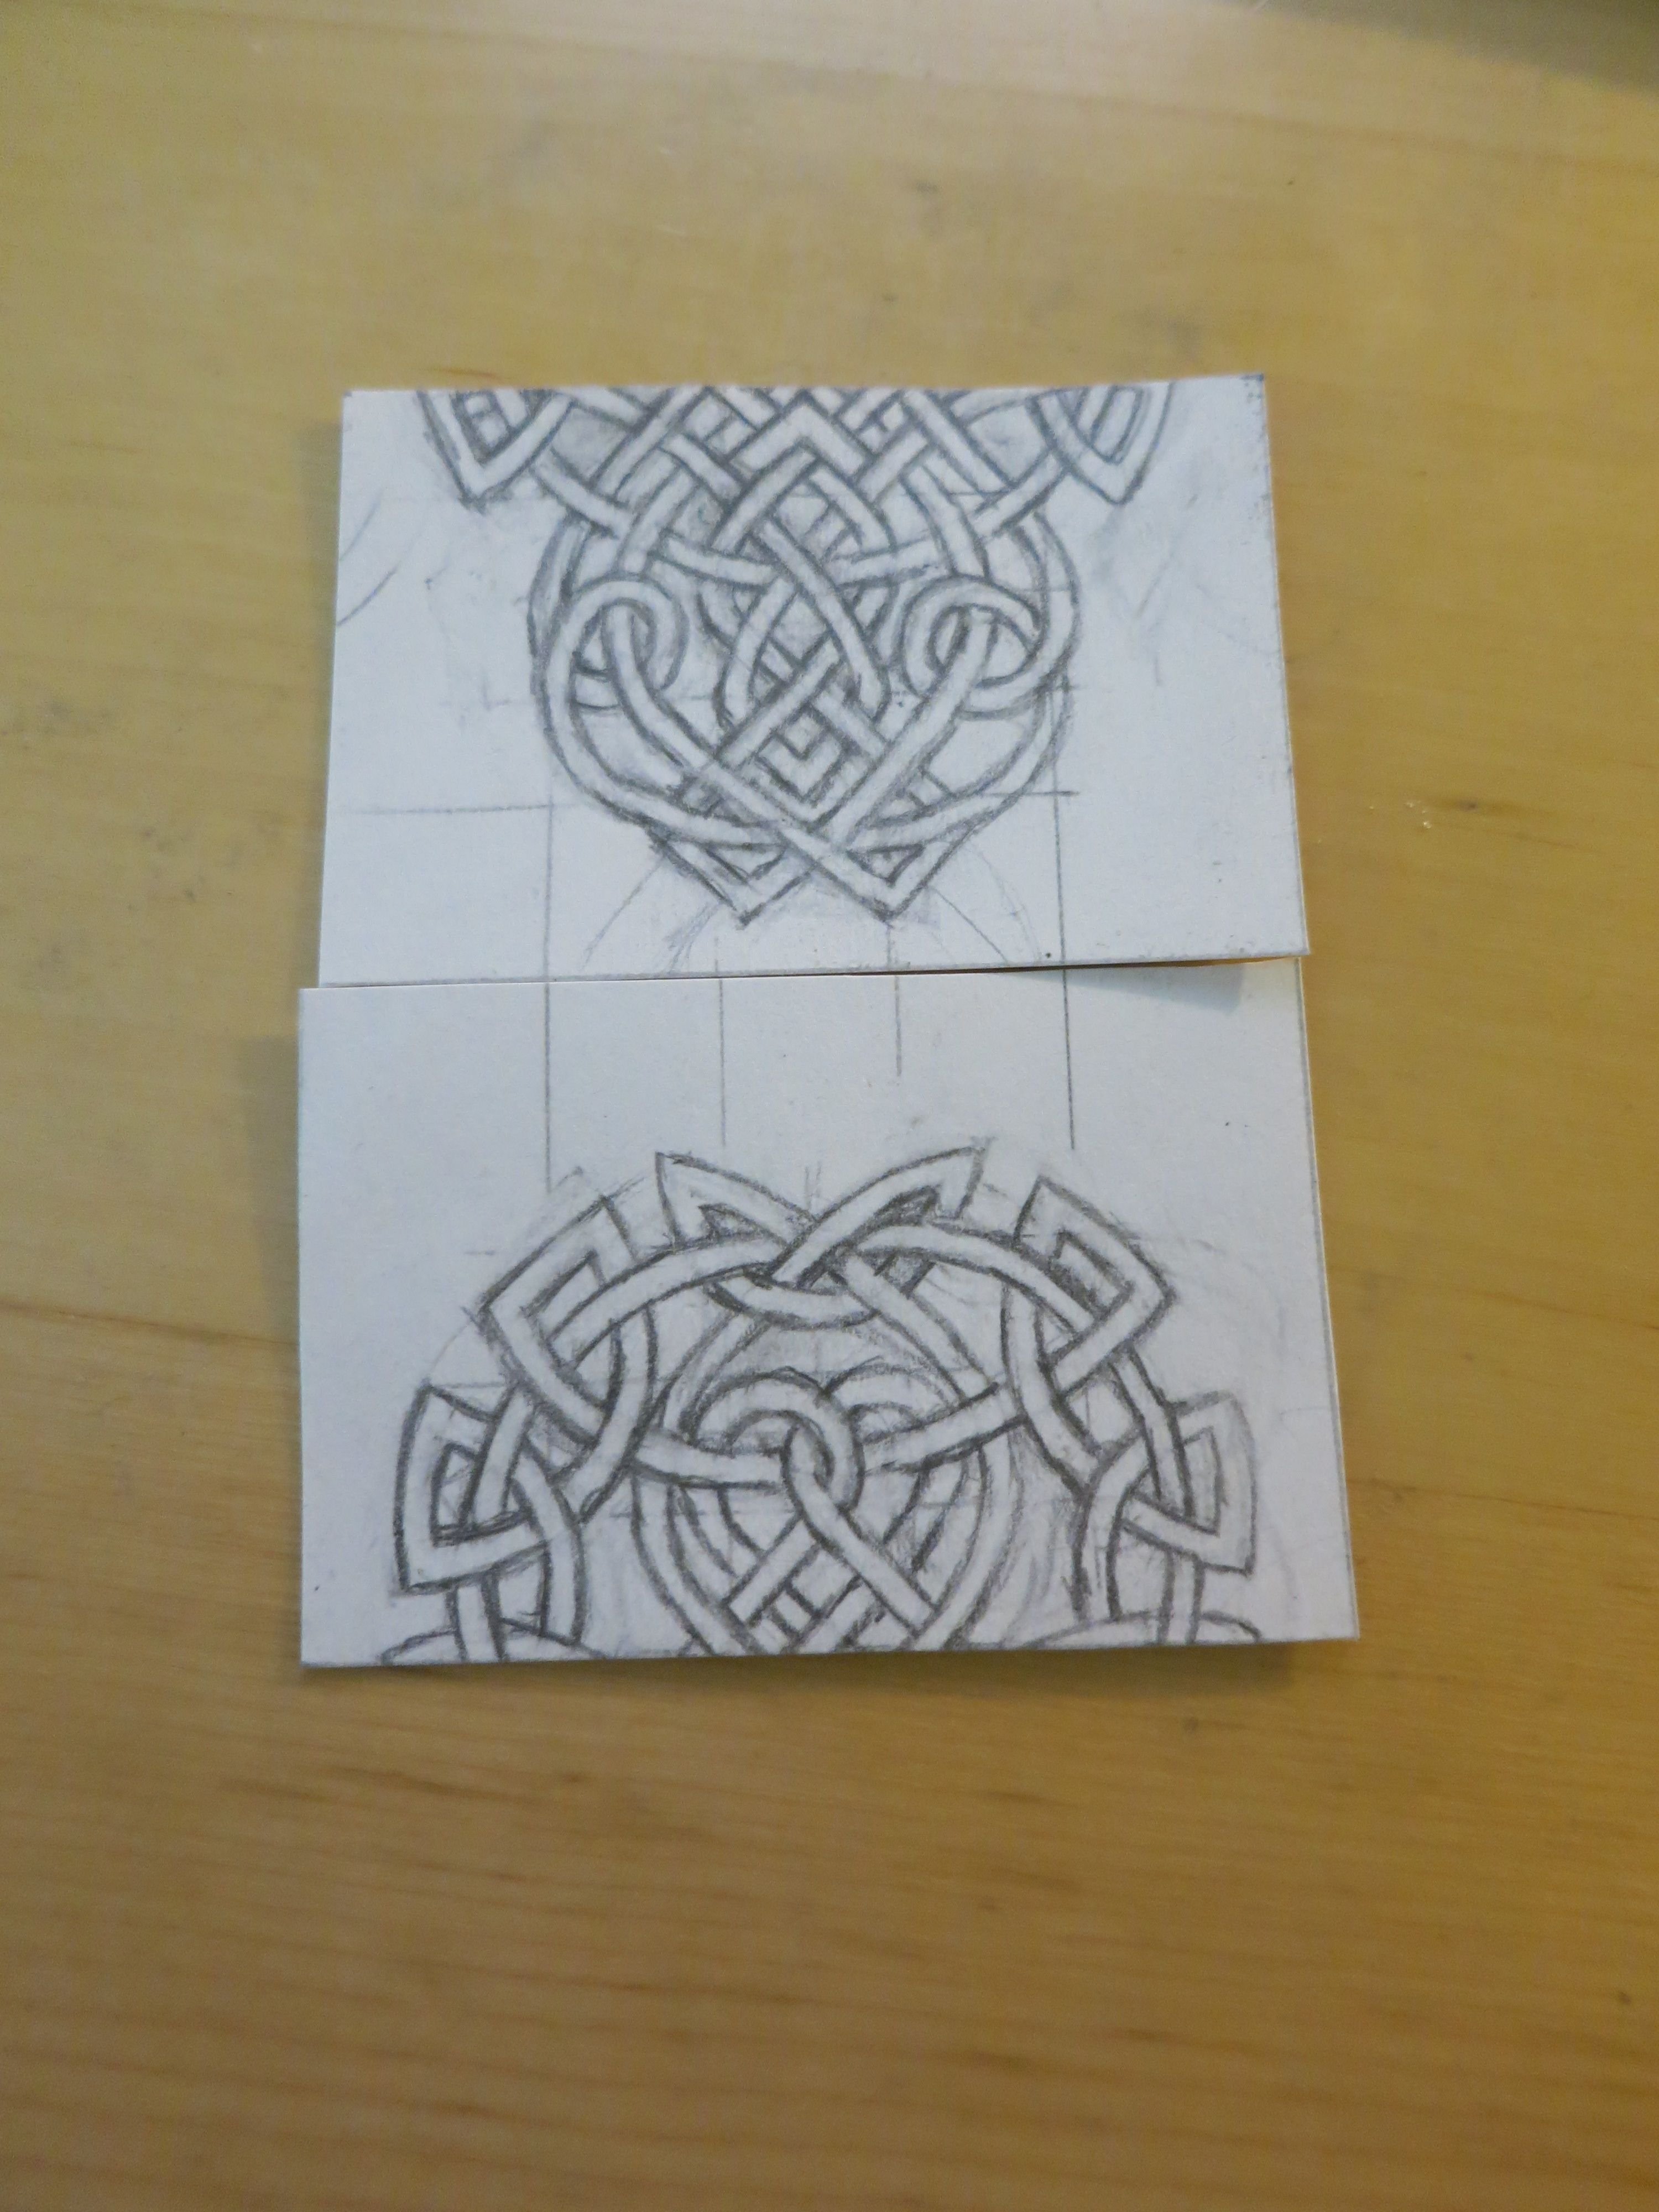
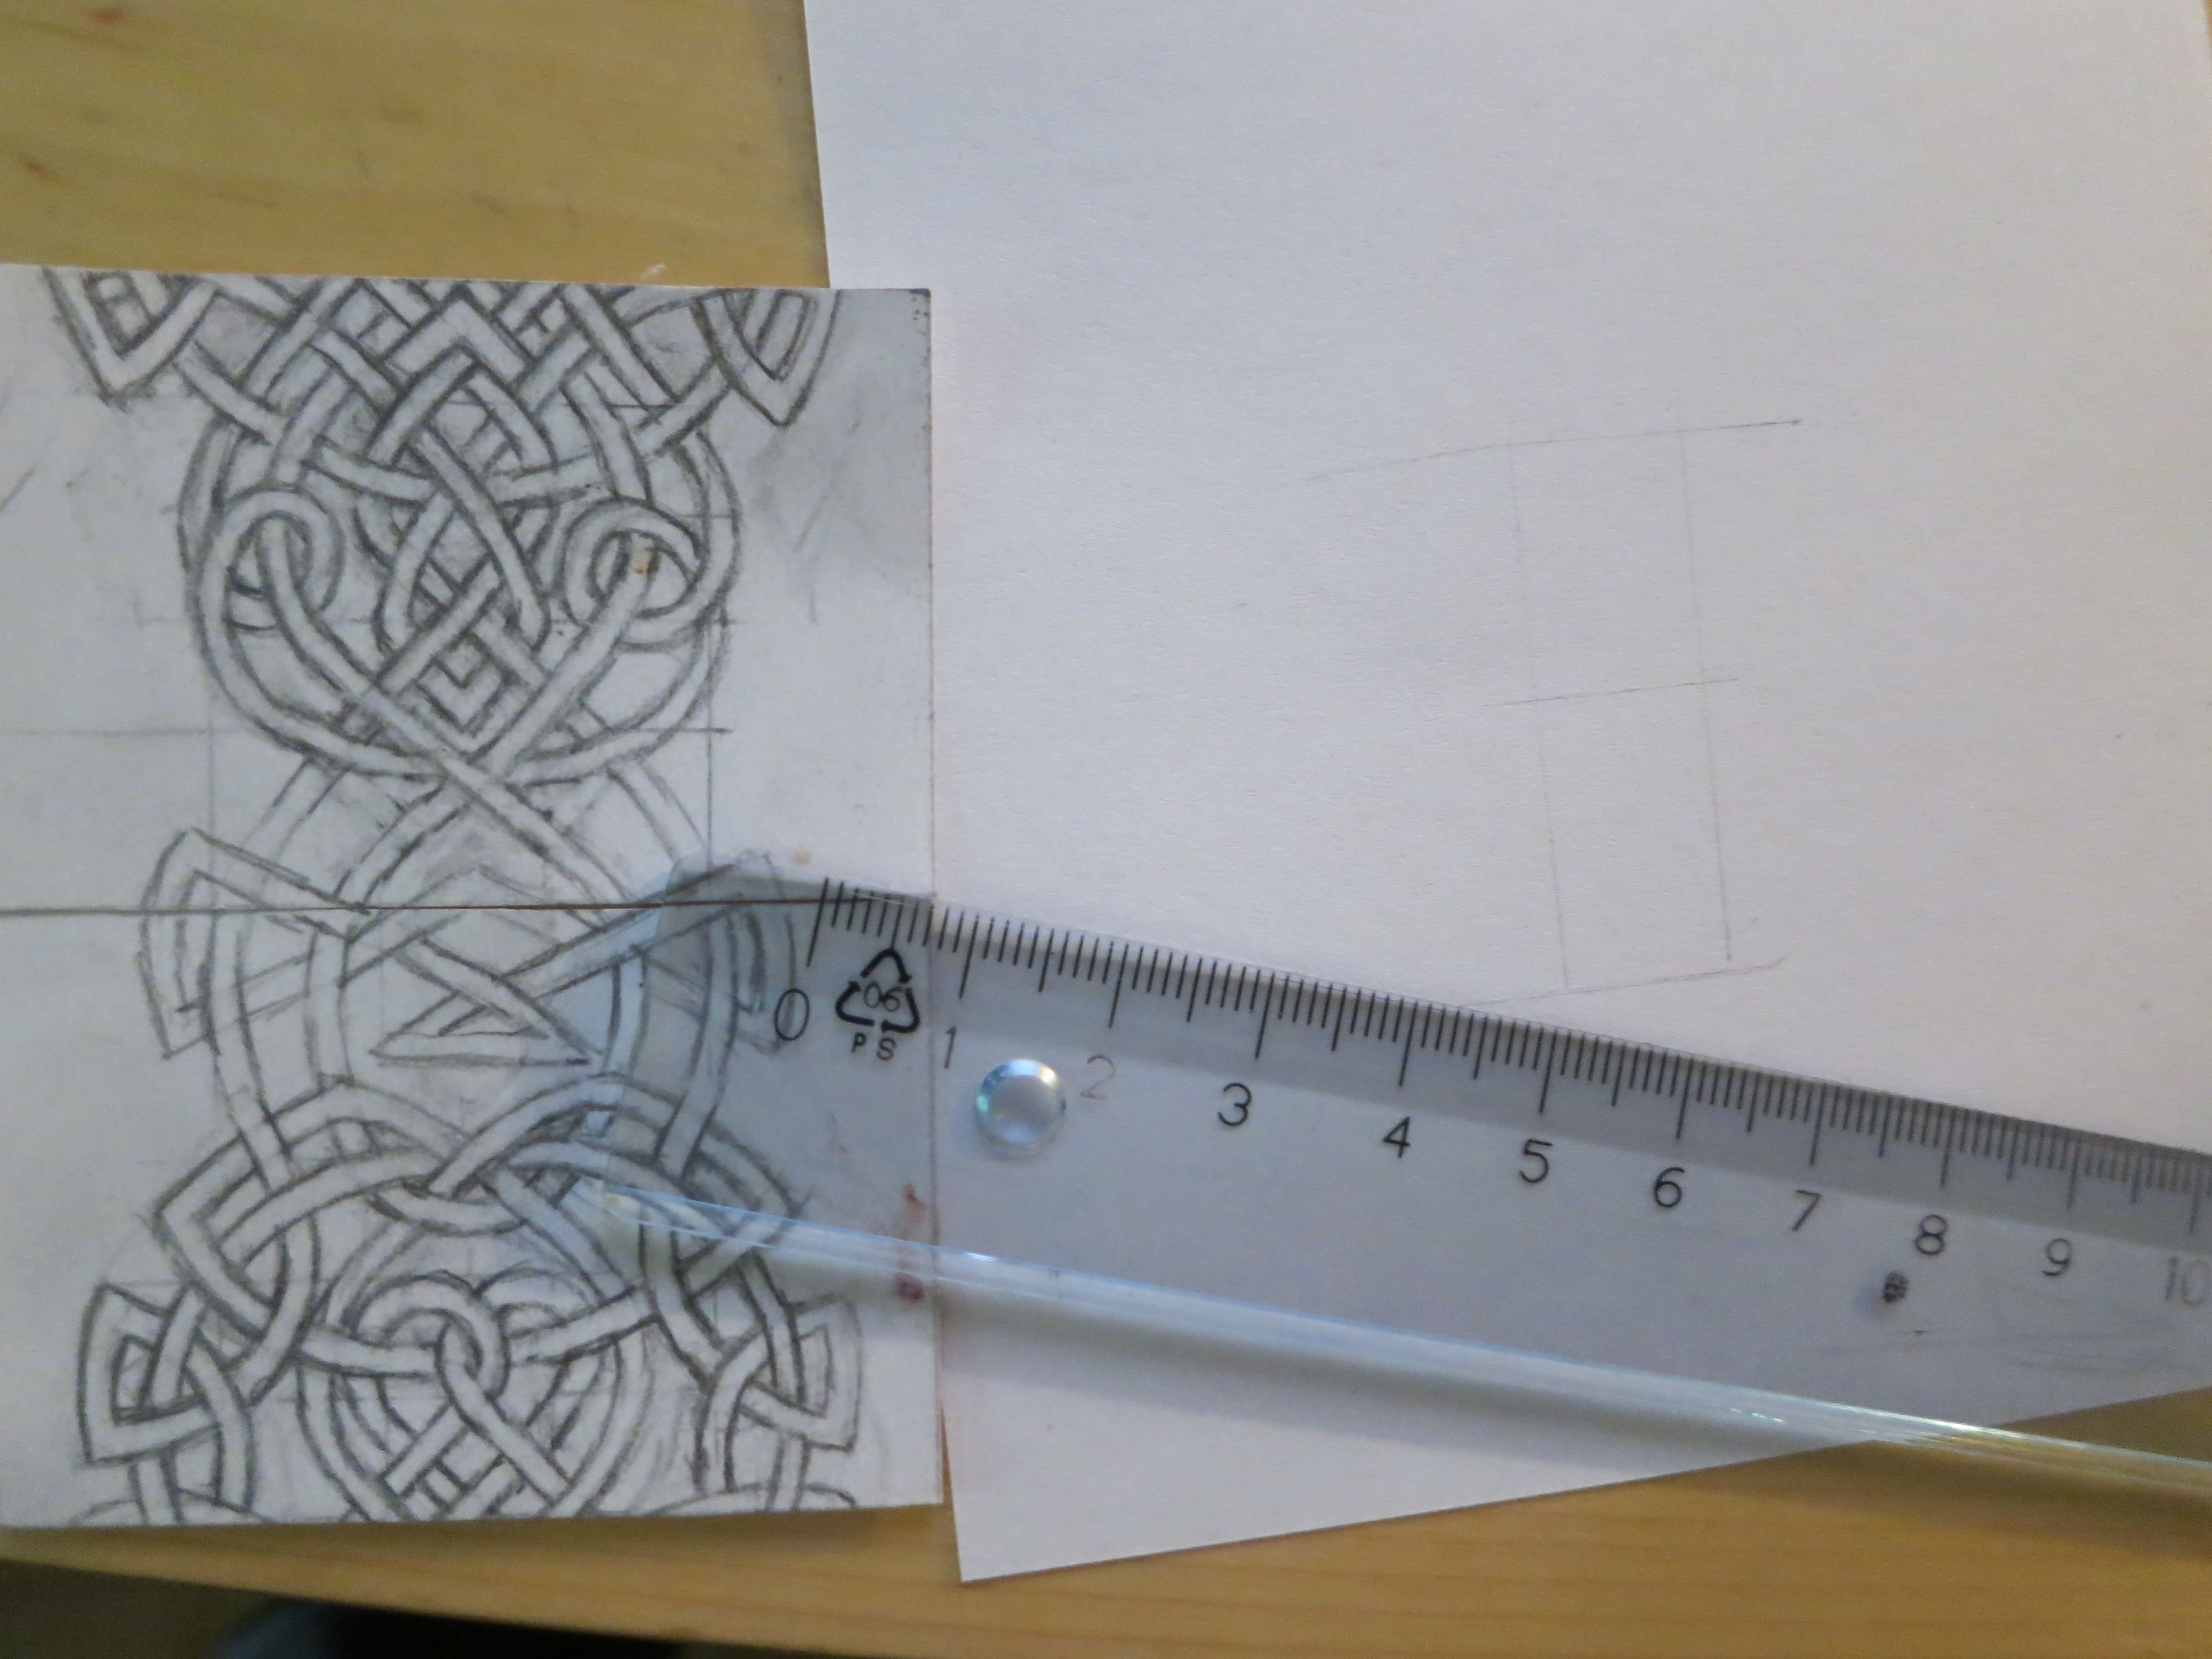
9 - And to make it a bit harder I translated the picture to a smaller size when the design was completed.
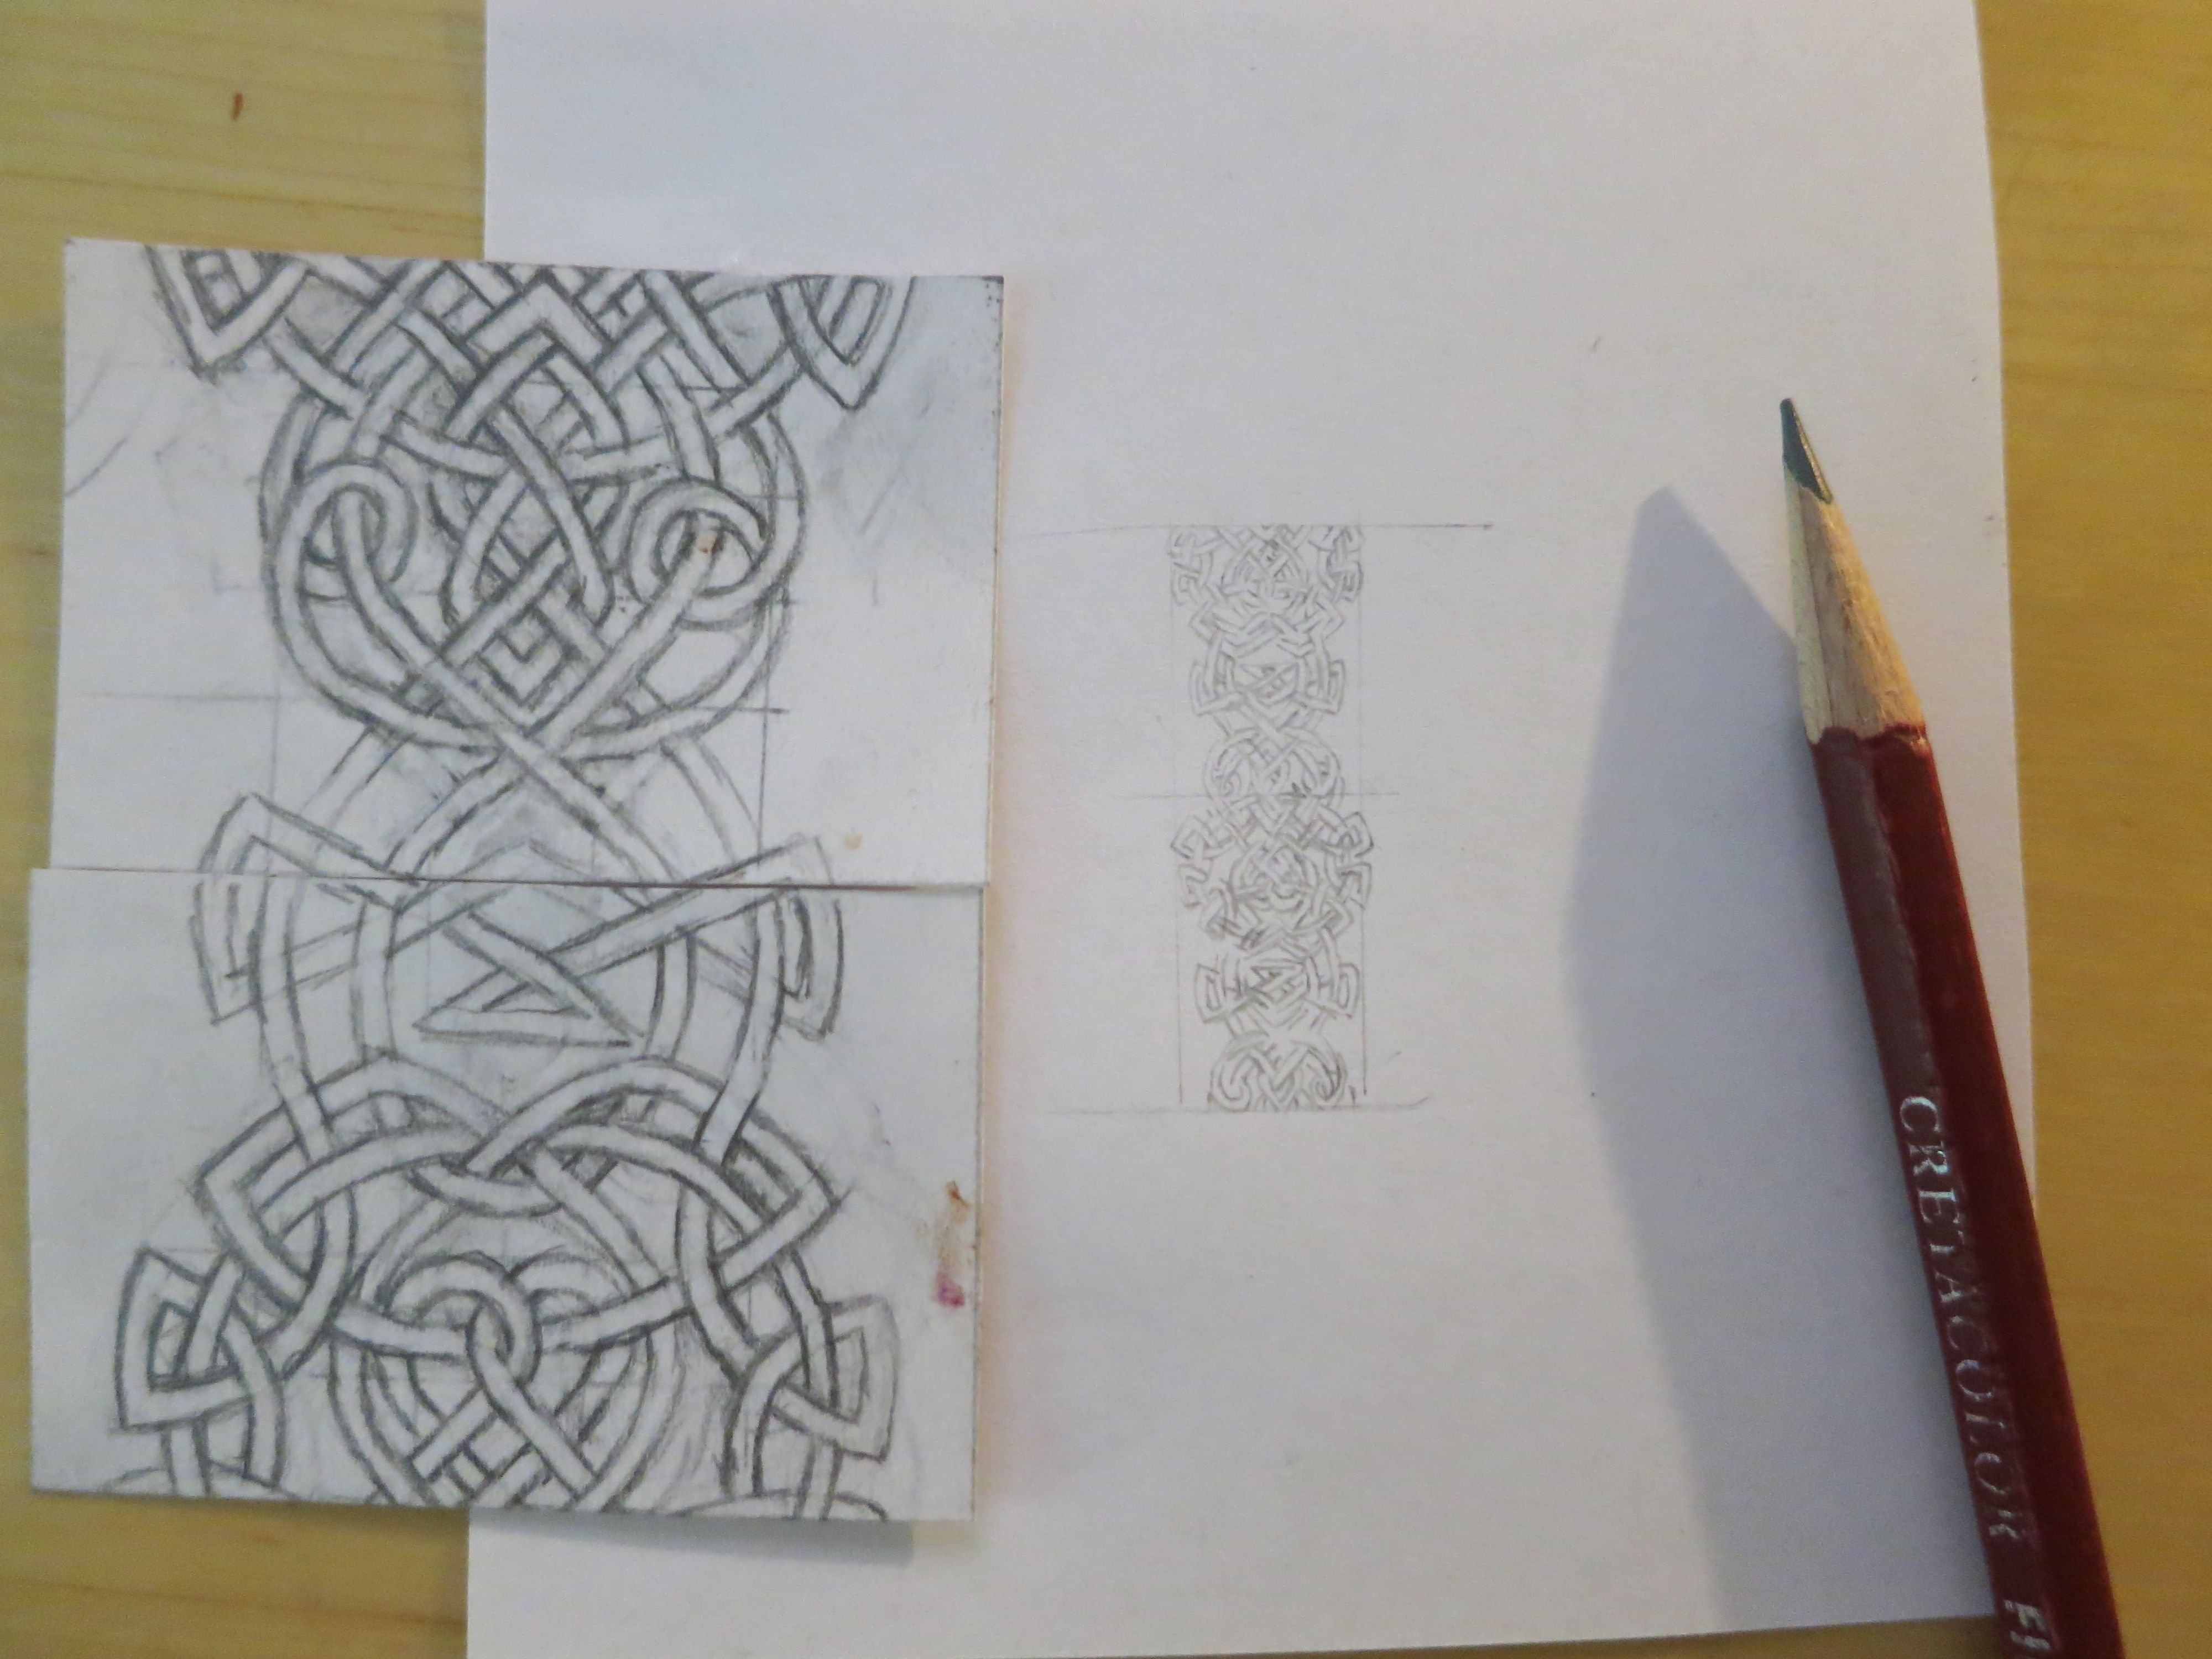
10 - I used my Pigma Micron 005 ink pencil to fill in the lines.
11 - I was a bit tired of the process at this stage and made some small error, it's human ;)
12 - To add some depth I drew black close to every overlap. And I wasn't planning to continue the patterns so I made a top and bottom.

13 - And finally finished with some color.
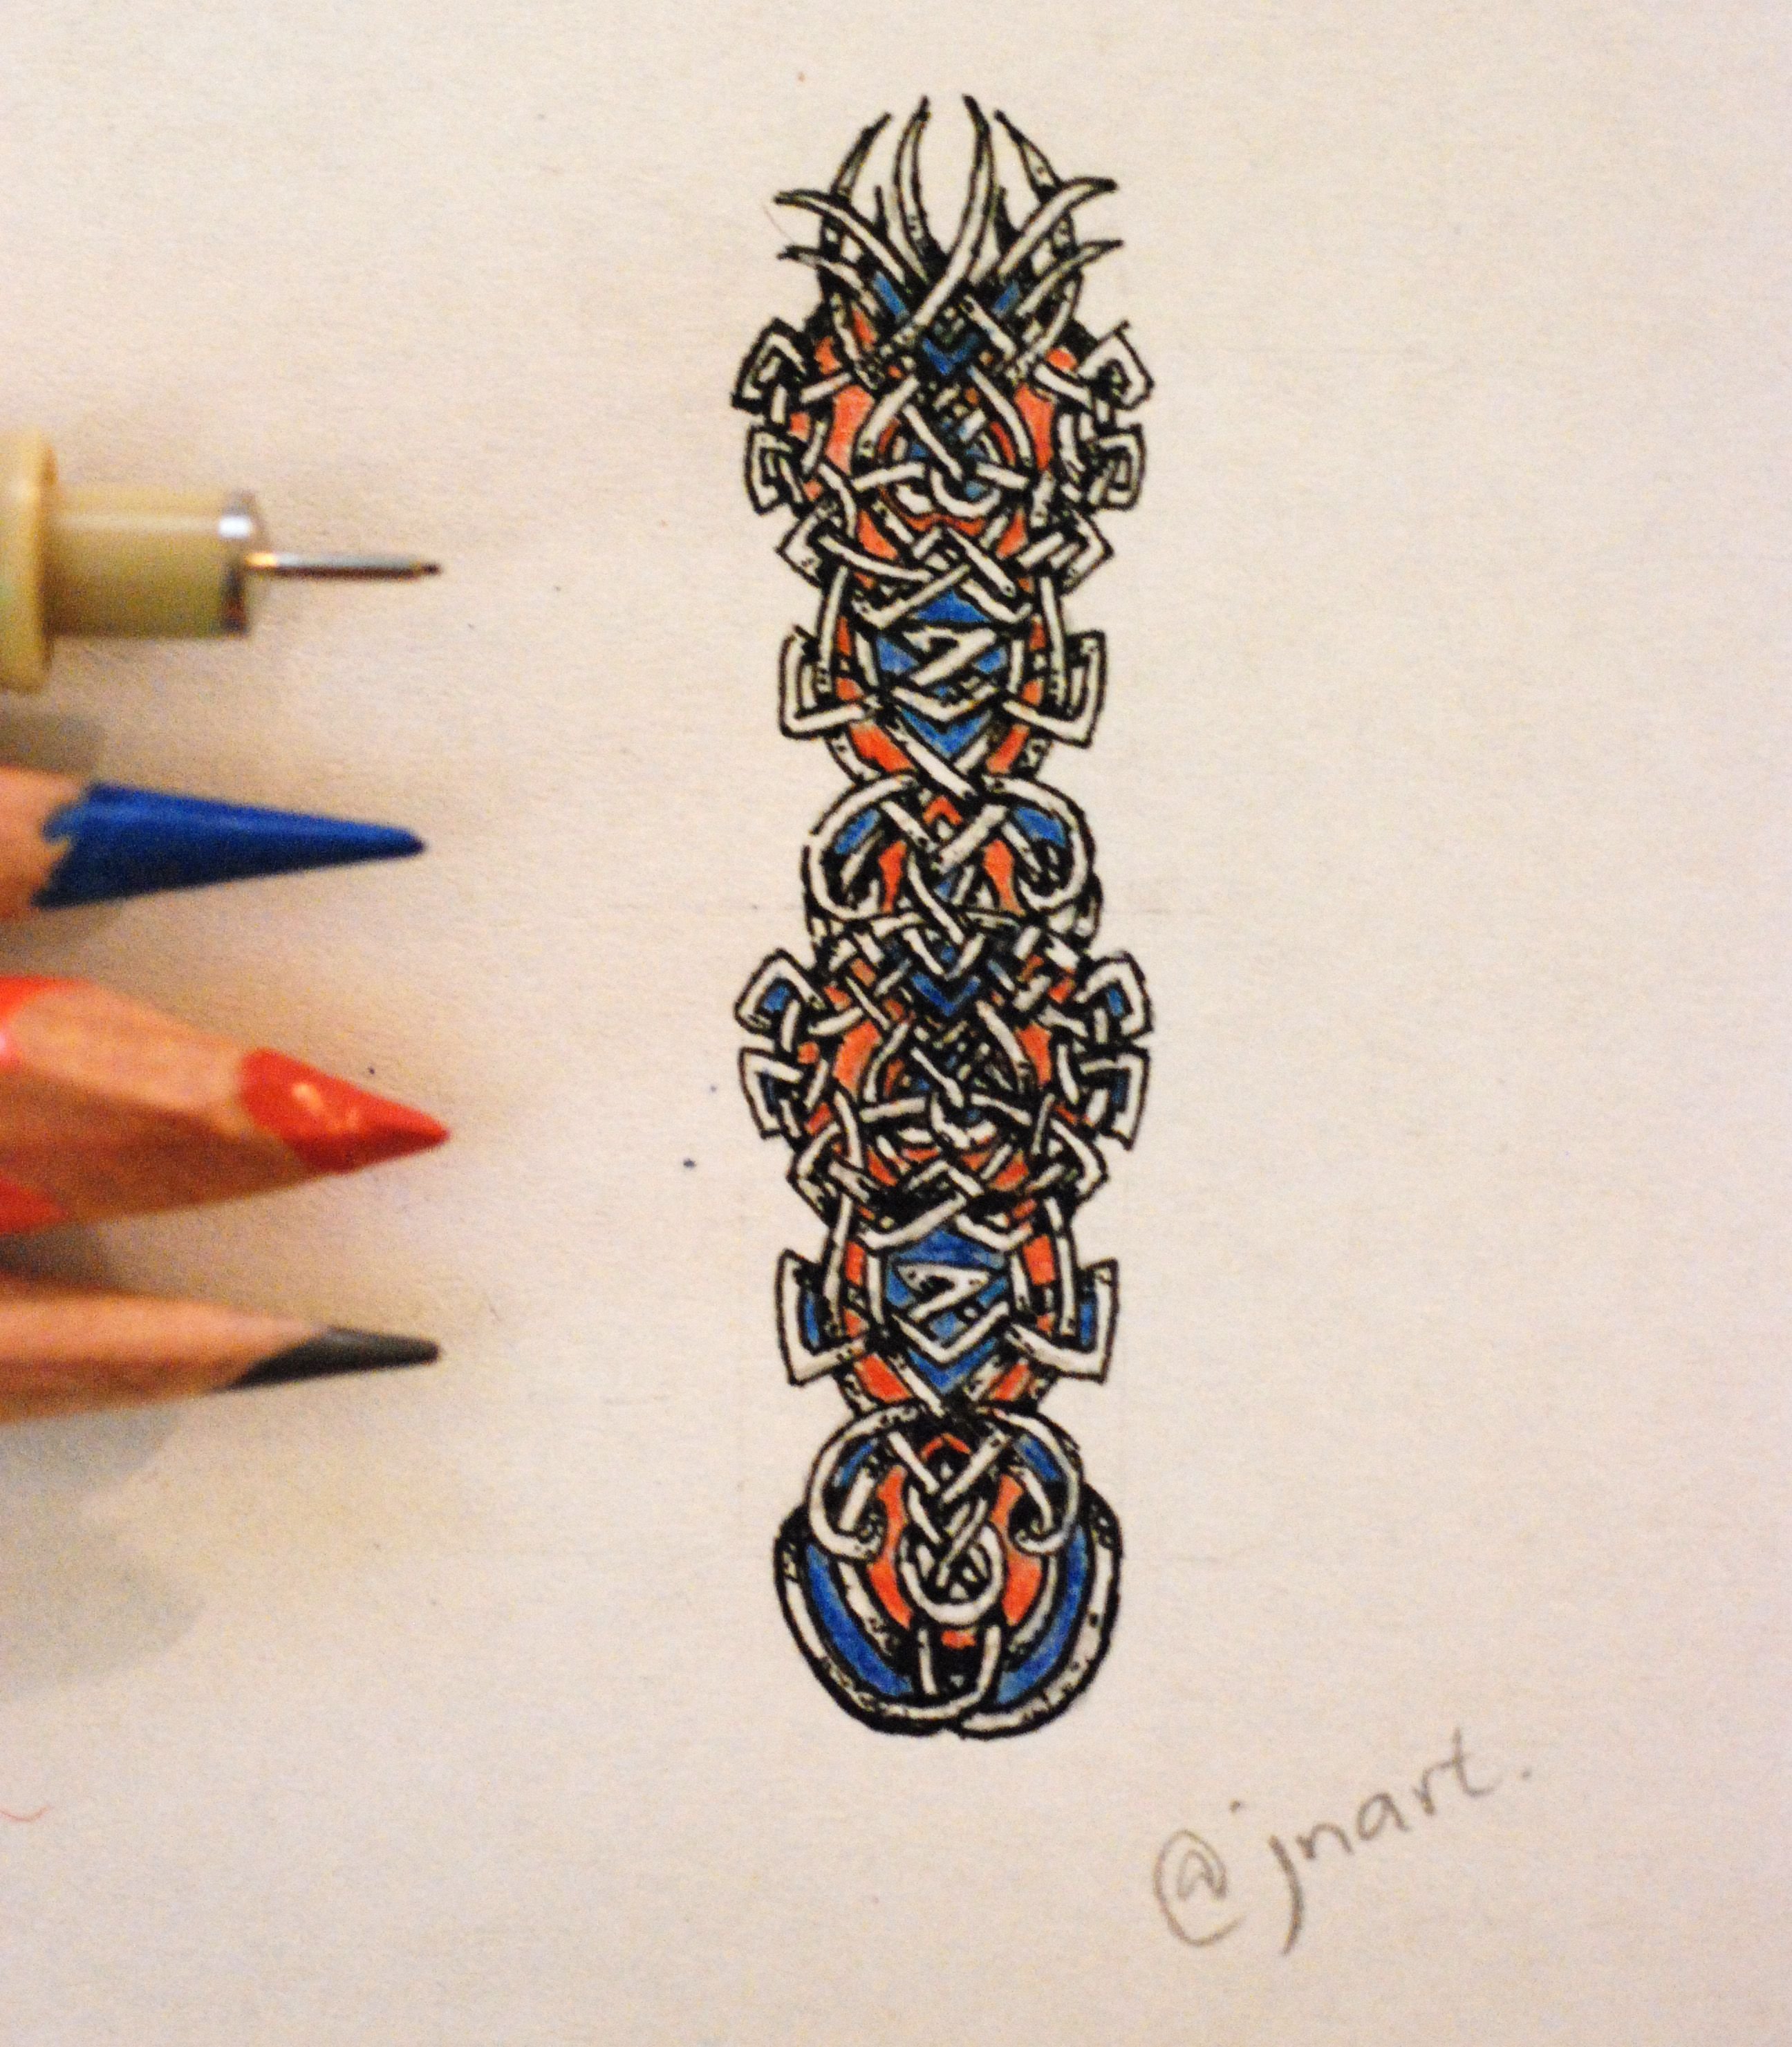
I figured out that Celtic patterns are more beautiful in bigger scale - this was the first serious try to make one. I will defeatedly try to make a bigger one at another time. They are super fun to make!