There is nothing quite like the bliss of a wedding day.
The anticipation of the special moment--of giving one's self to another in committed love, the careful preparation, the beautiful attire and decorations, and the joy of the festivities to come are something that photographers work hard to record so that the memory never fades.
As a professional portrait artist, I get asked to paint wedding portraits quite often, and I love to capture the moment. I like to pray that I can really paint the picture with the atmosphere of joy and especially to faithfully render the likenesses of the couple so that when it's given to them as a gift it will be a great blessing.
How do you paint a wedding portrait?
You begin much like any other portrait, but in this occasion, you have to keep in mind that very often it will be a whole figure- or three-quarter's length portrait, because painting the wedding gown is all part of capturing the bride's beauty.
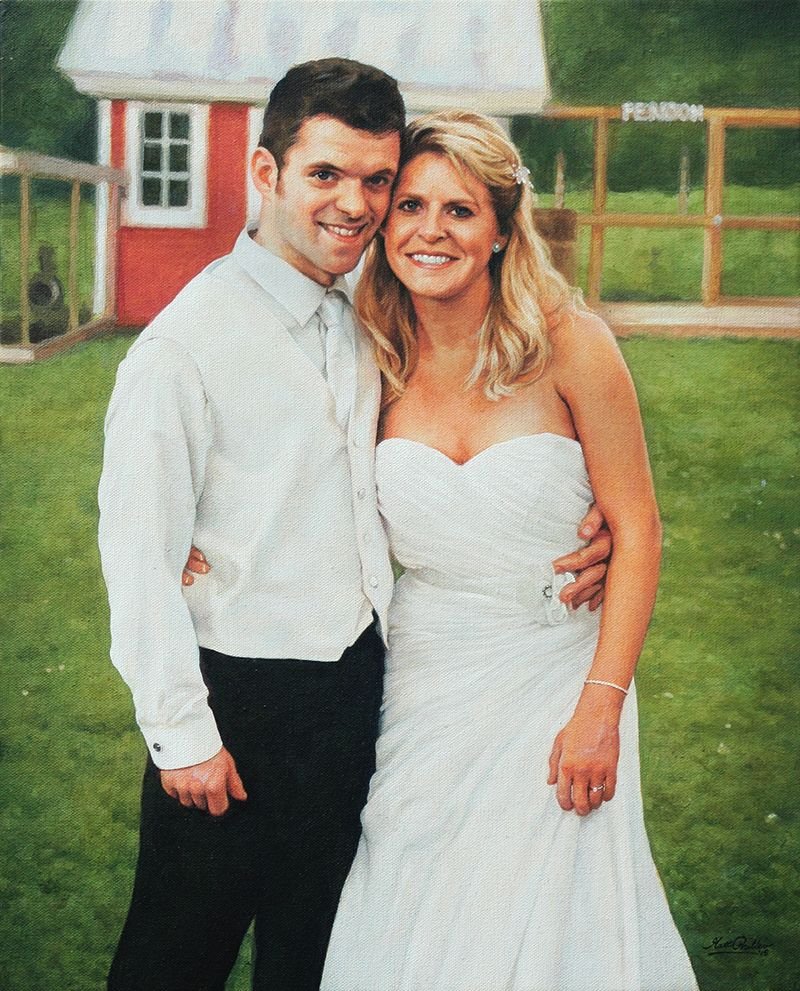
First of all, here is the completed portrait, a 16" x 20" acrylic on canvas. I painted this using the glazing technique. That is where you take acrylic paint and thin it down with clear acrylic medium, and paint translucent layers onto the canvas. Many of the Old Masters used to paint this way, and it gave their painting a smoothness, richness and depth.
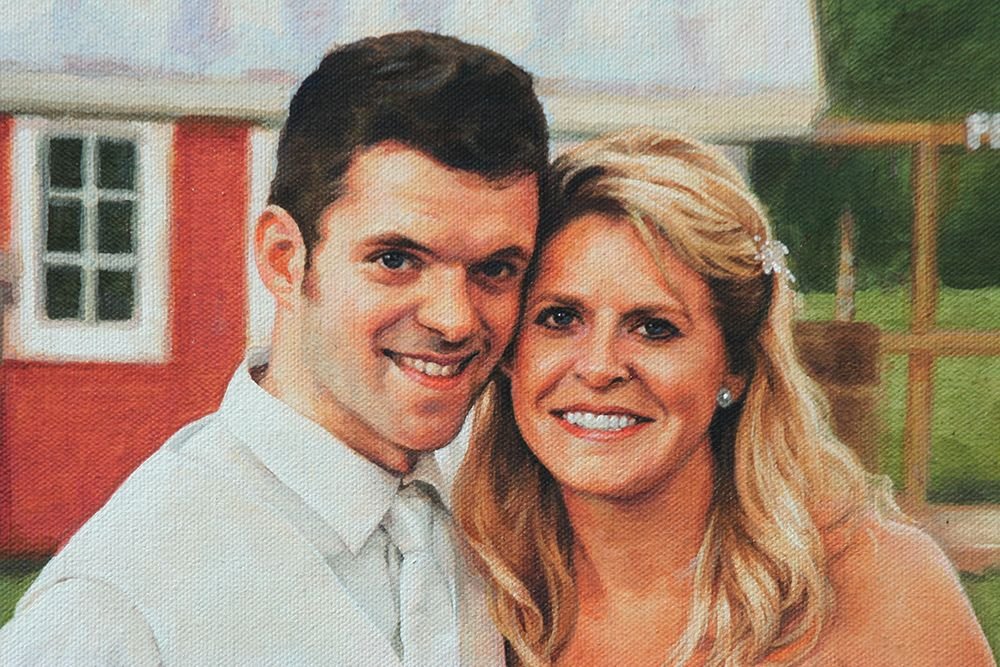
Here is a detail of the portrait.
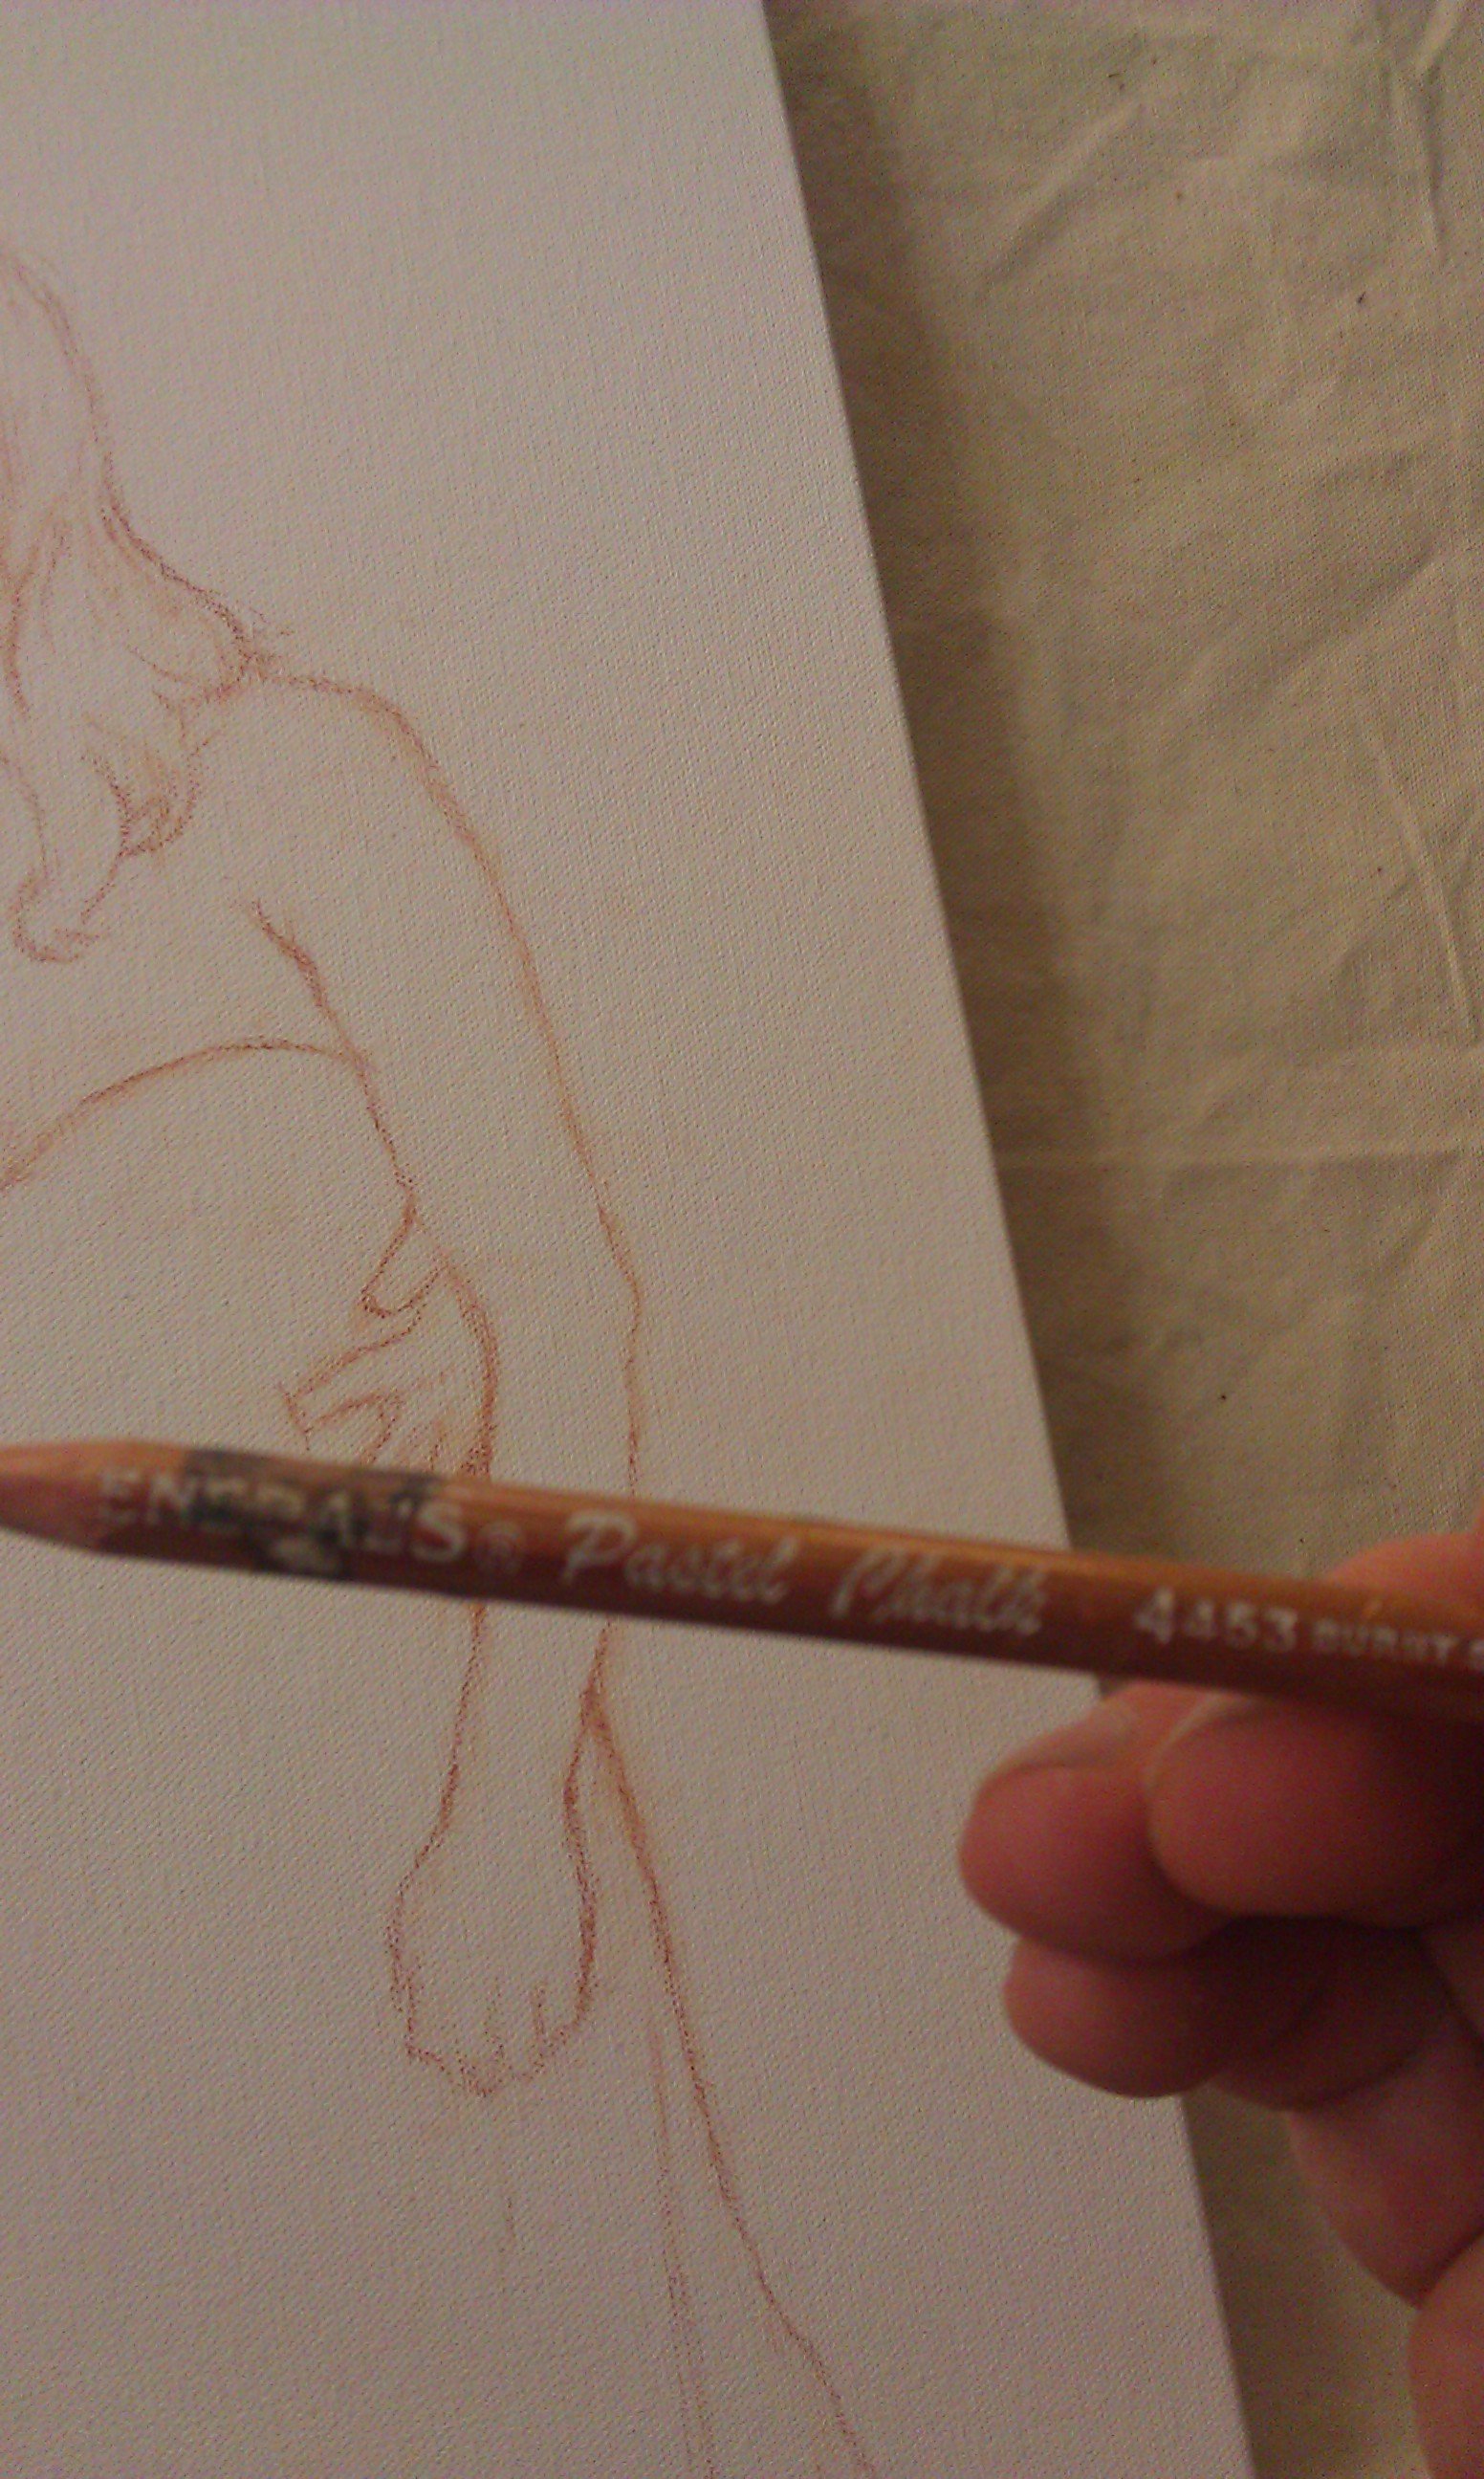
1.
To begin, you start with a sketch. In this case, I used a pastel pencil because it is very easy to erase and the sepia tone matches the skin, so you don't have to "fight it" like you would with trying to cover up grey graphite pencil.

2.
Next, you lay in the predominant color, using a flat brush. In this case, the green of the grass was the main color. Another consideration is that I like to work with the cool tones first, leaving the lighter, warm tones til later. This opens up a "pathway" for the illumination of the painting to emerge. Because using the glazing technique is all about capturing the luminosity.
This layer is very light. It was made using phthalo blue, raw sienna and yellow ochre and thinned down to about 95% medium/ 5% paint.
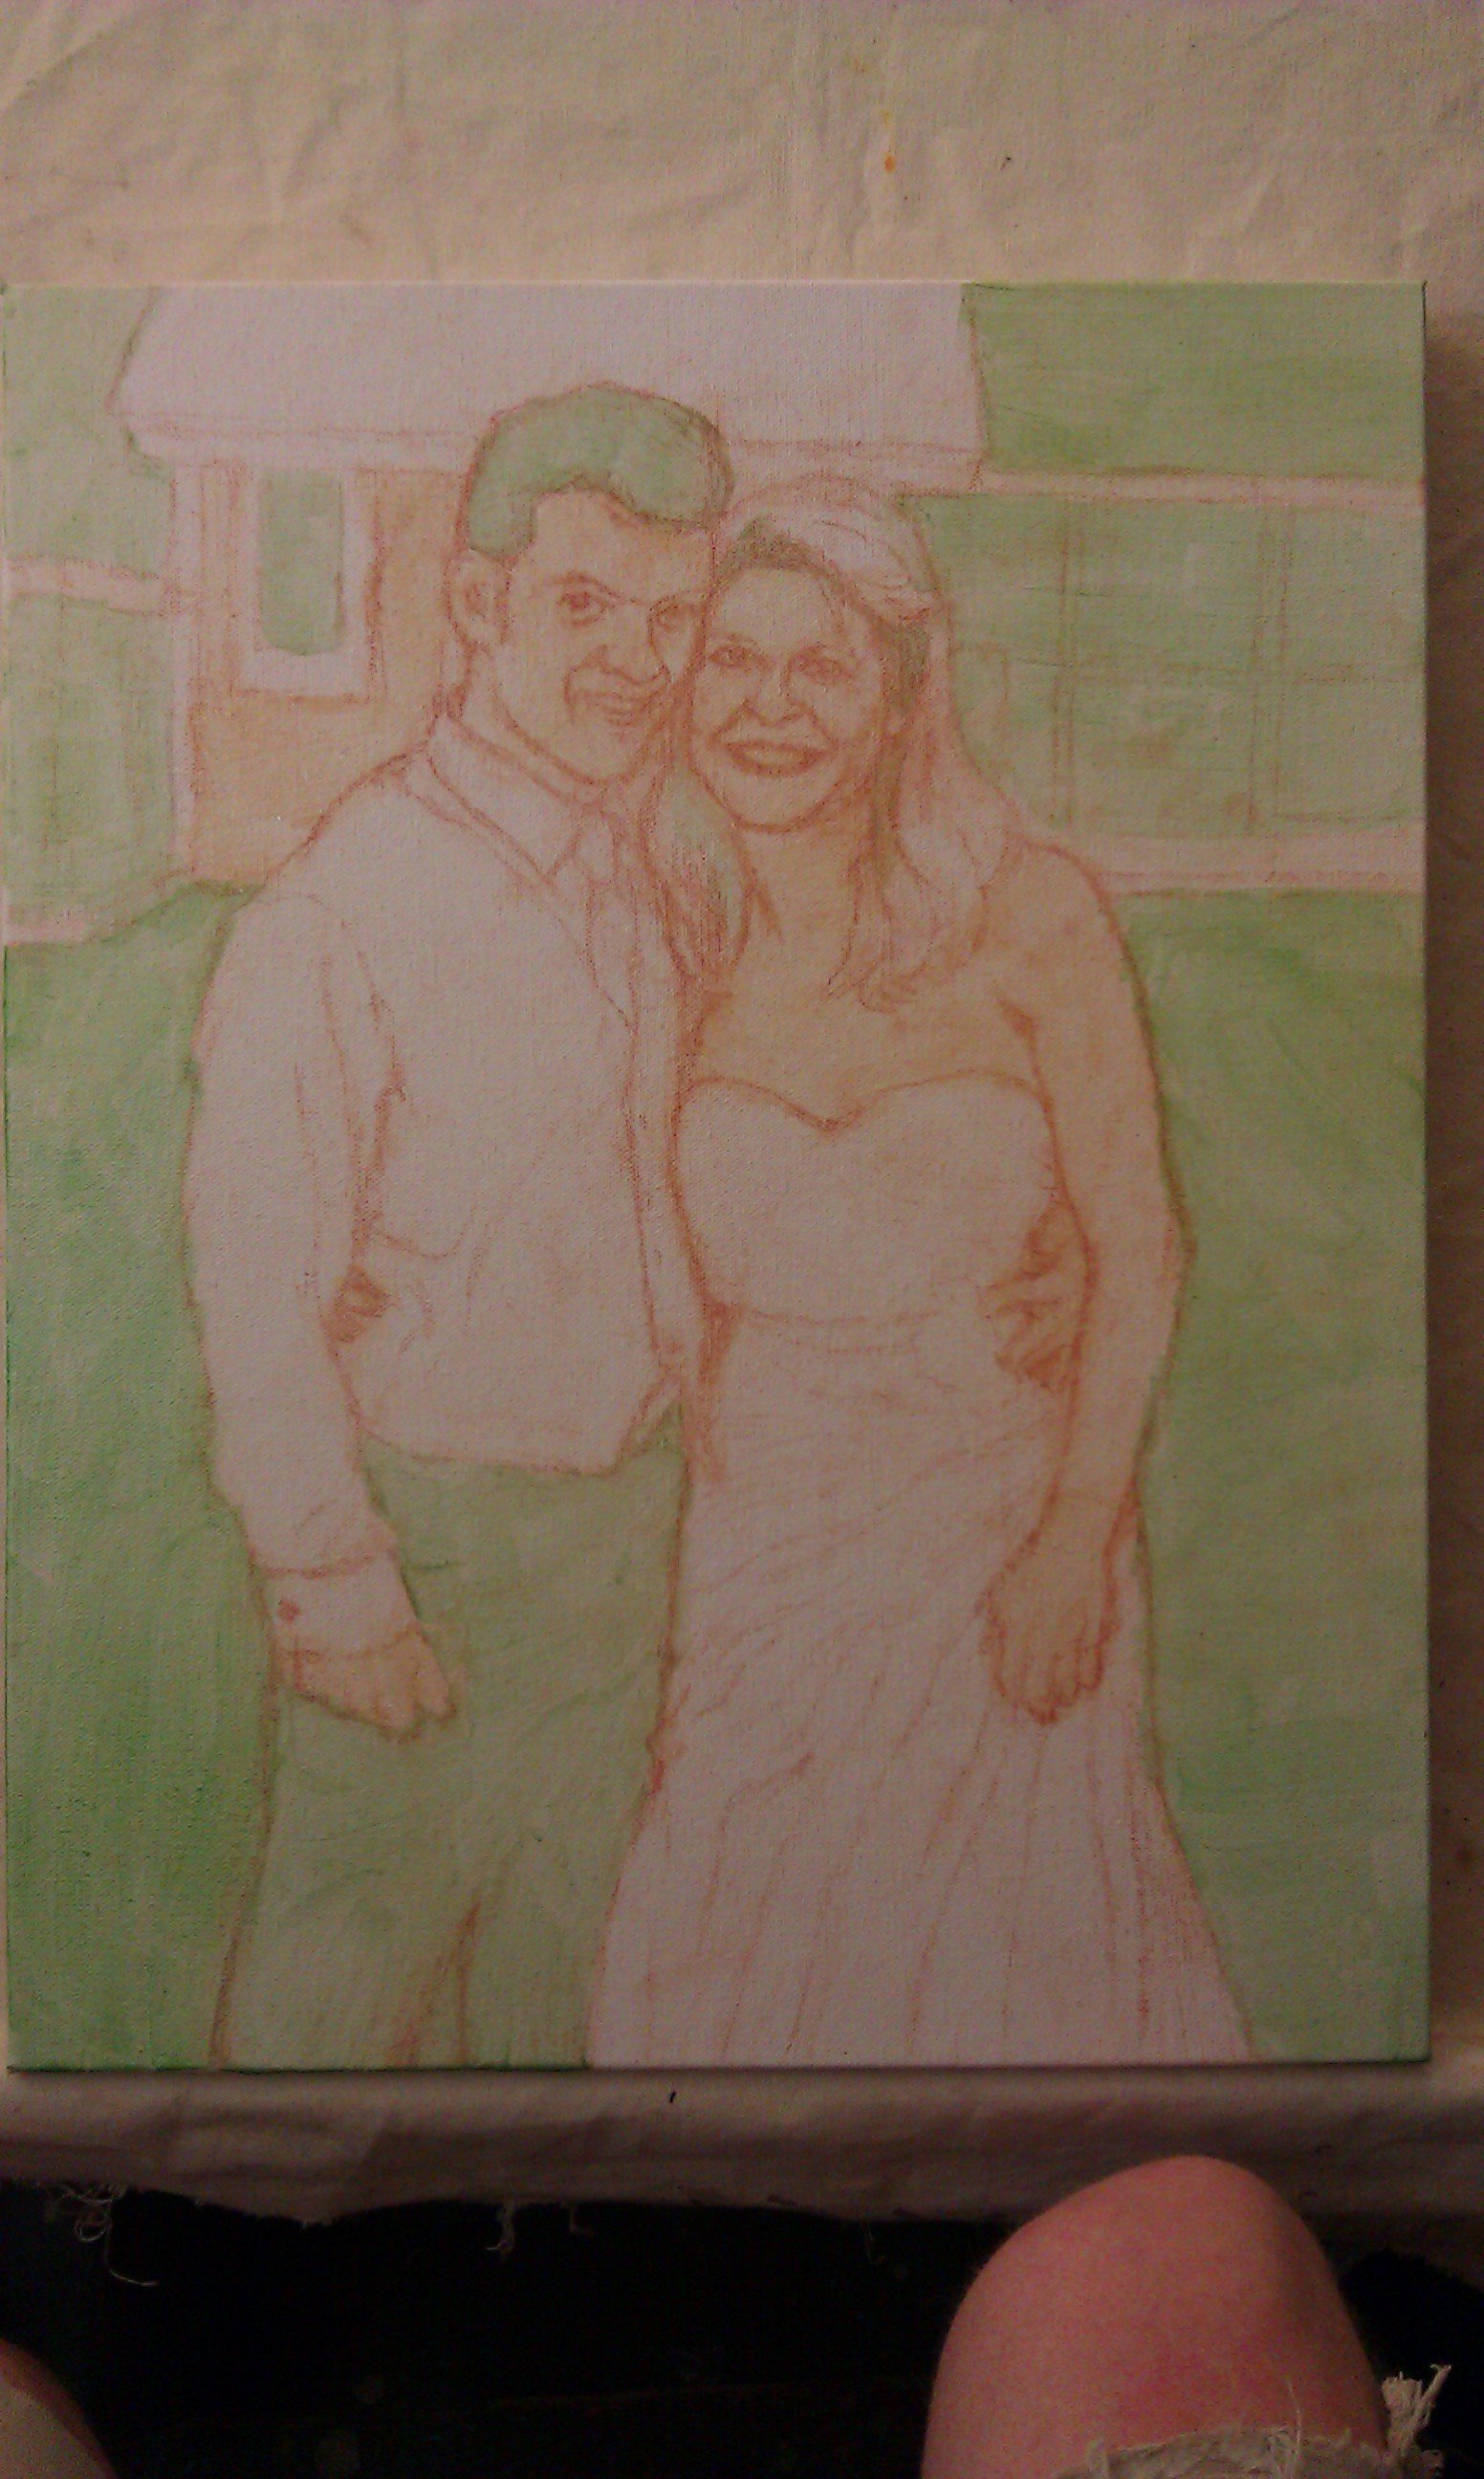
Notice how even the groom's hair and pants are green right now. This is OK! Filling in all these areas accomplishes two things:
It contributes to the darker values that will be needed in these areas eventually.
It brings color unity to the painting as a whole, since the color is distributed more evenly throughout the canvas.
3.
In this step, I darken the pants and hair of the man with raw umber dark and ultramarine blue mixed together. Also, I begin to lay in some different hues on both faces, the chest, and arms. With this, we are beginning to see differentiation between the values of the skin tones and the white of their shirts and the dress.
4.
Now, it is time to refine the details of the face with dark brown--the eyes, the eyebrows, the shadows in mouth, the hair, and between their bodies. Right now the shadows will be very extreme, but it is important to capture these dark values, and then we can go over them with glazes to blend them into the medium-value areas. The great thing about glazing is that it does not obscure your detail work and you don't have to precisely match a previous layer of color to achieve a gradient (an area that blends slowly from dark to light or vice versa)
I like to work my paintings as a whole, so that there is never unfinished area on the canvas. So with that, I add more layers into the background of green, and differentiate between the trees--which are darker--and the grass, which is catching more of the light from the sun.

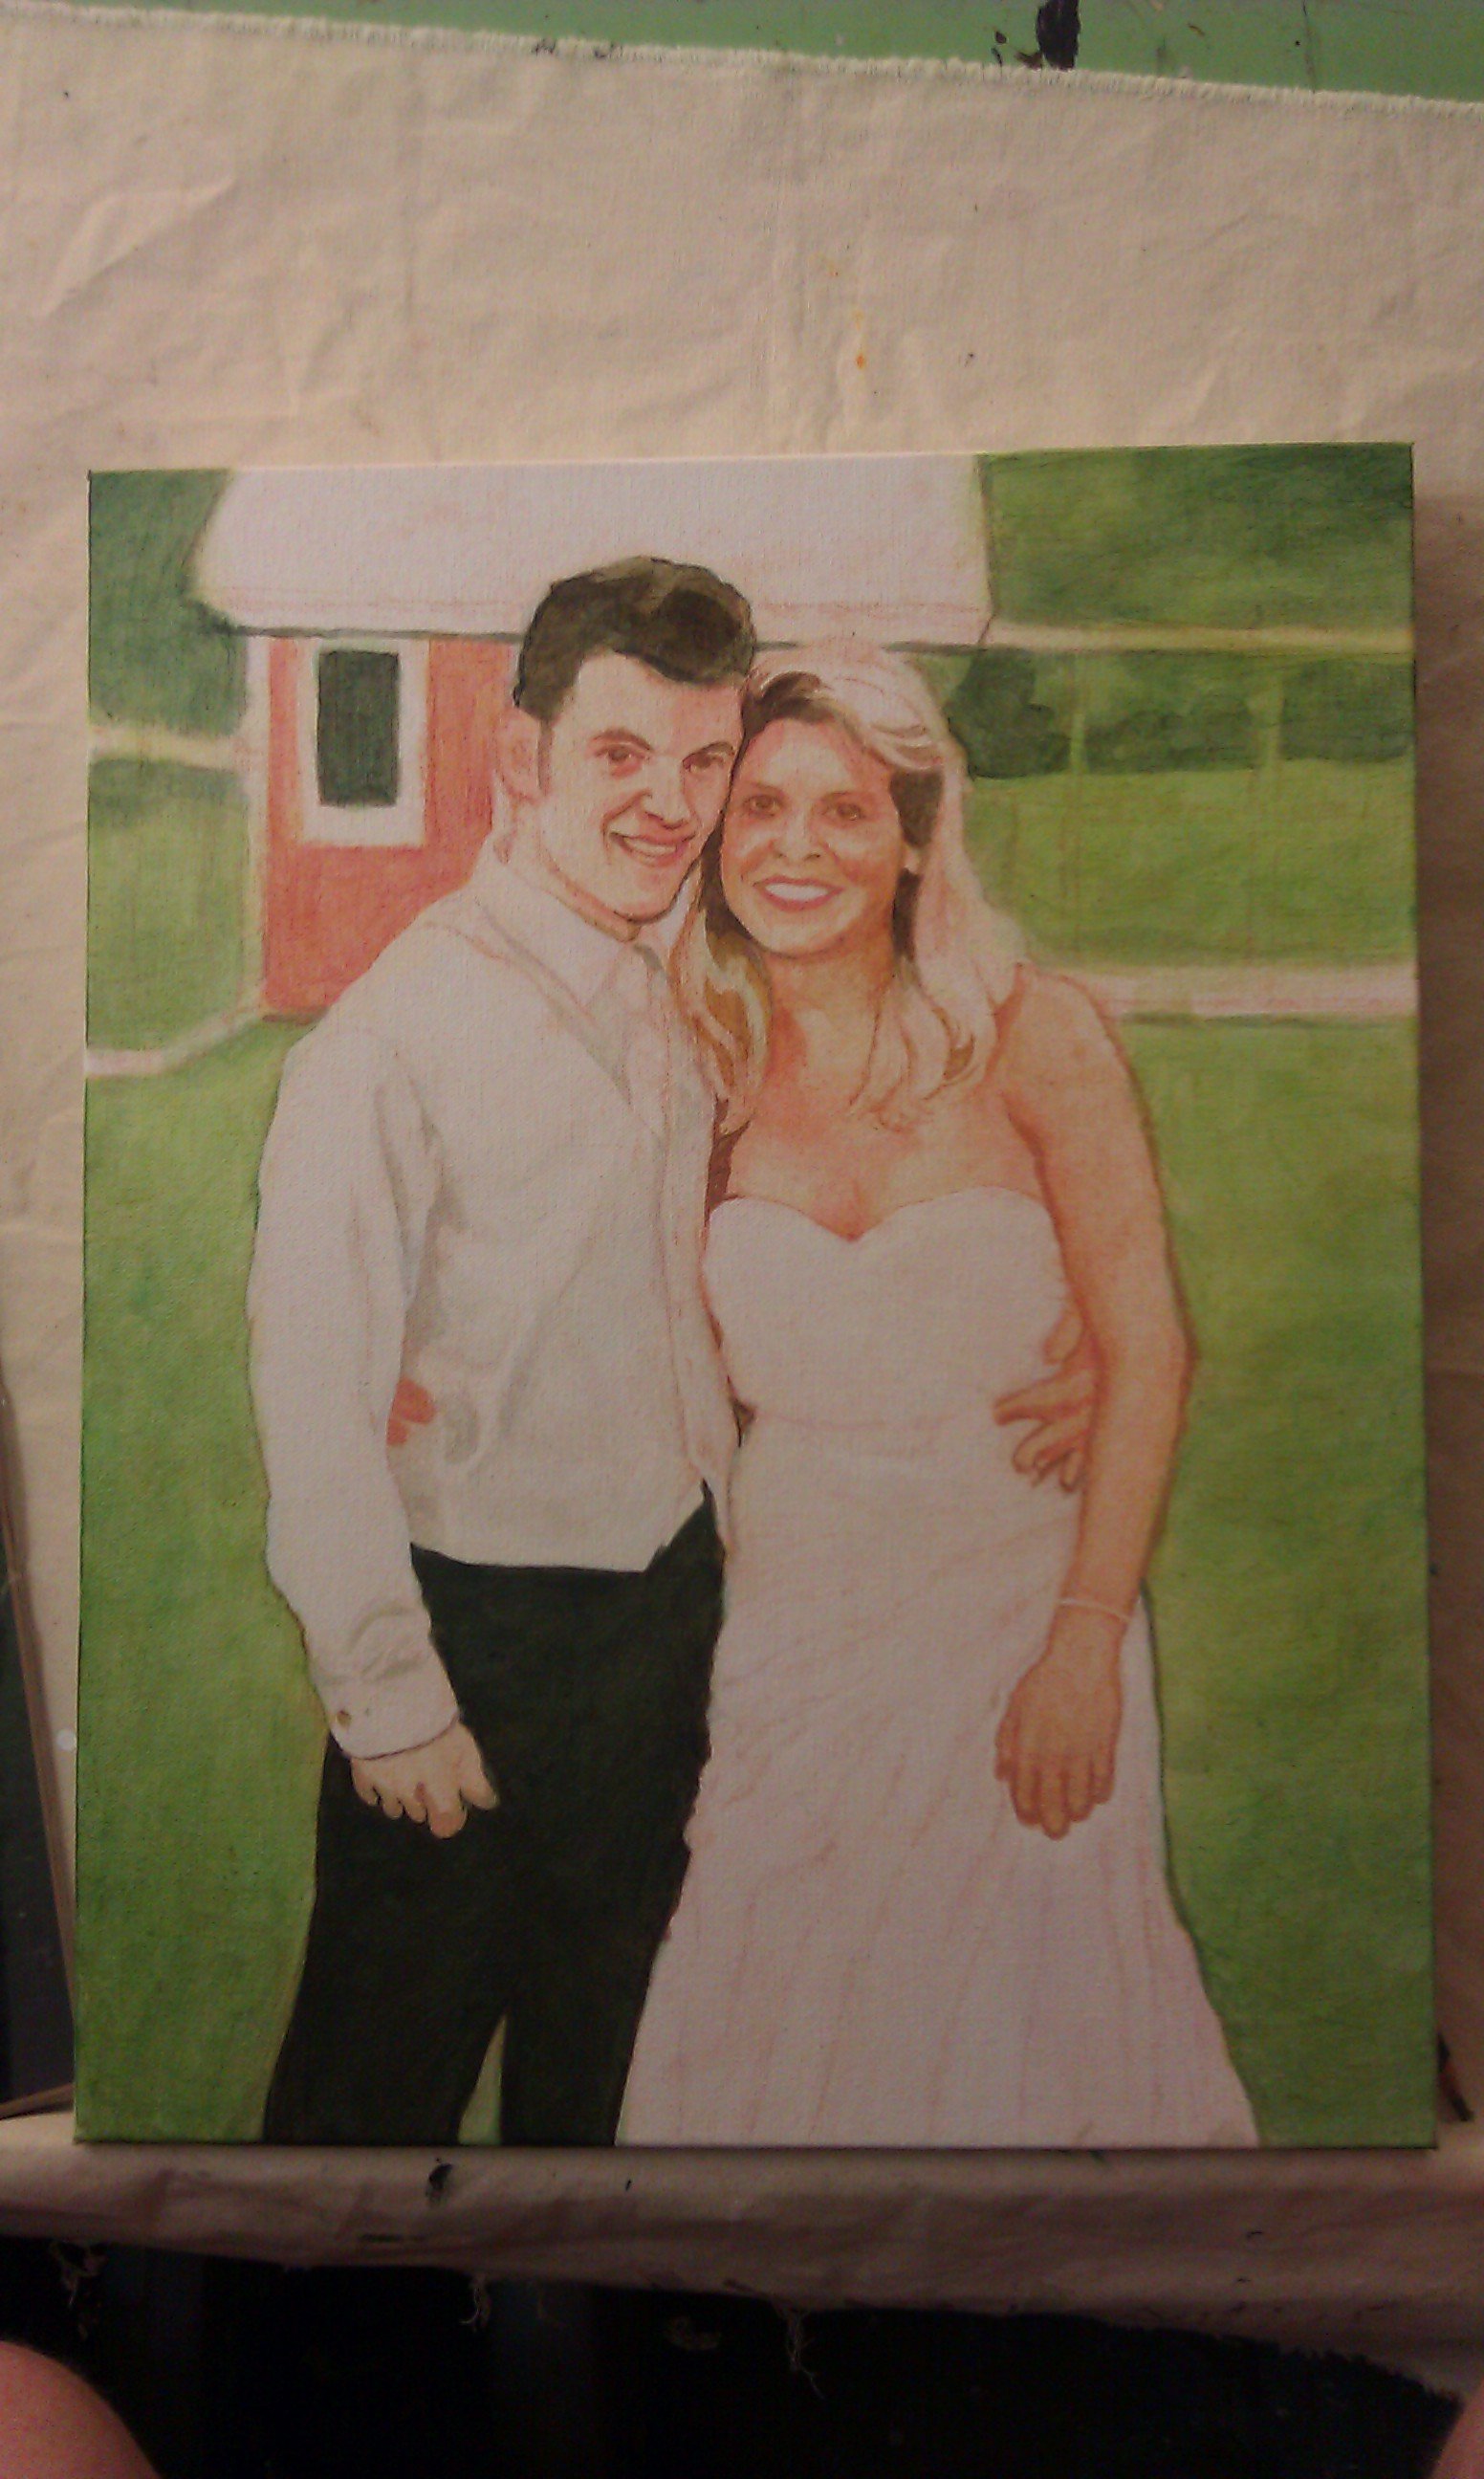
5.
We continue to redefine and shade, with more nuances of colors like burnt sienna and raw sienna, along with raw umber dark for shadows. The background is continuing to be built up with layers of green and also alizarine crimson and raw sienna for the shed.
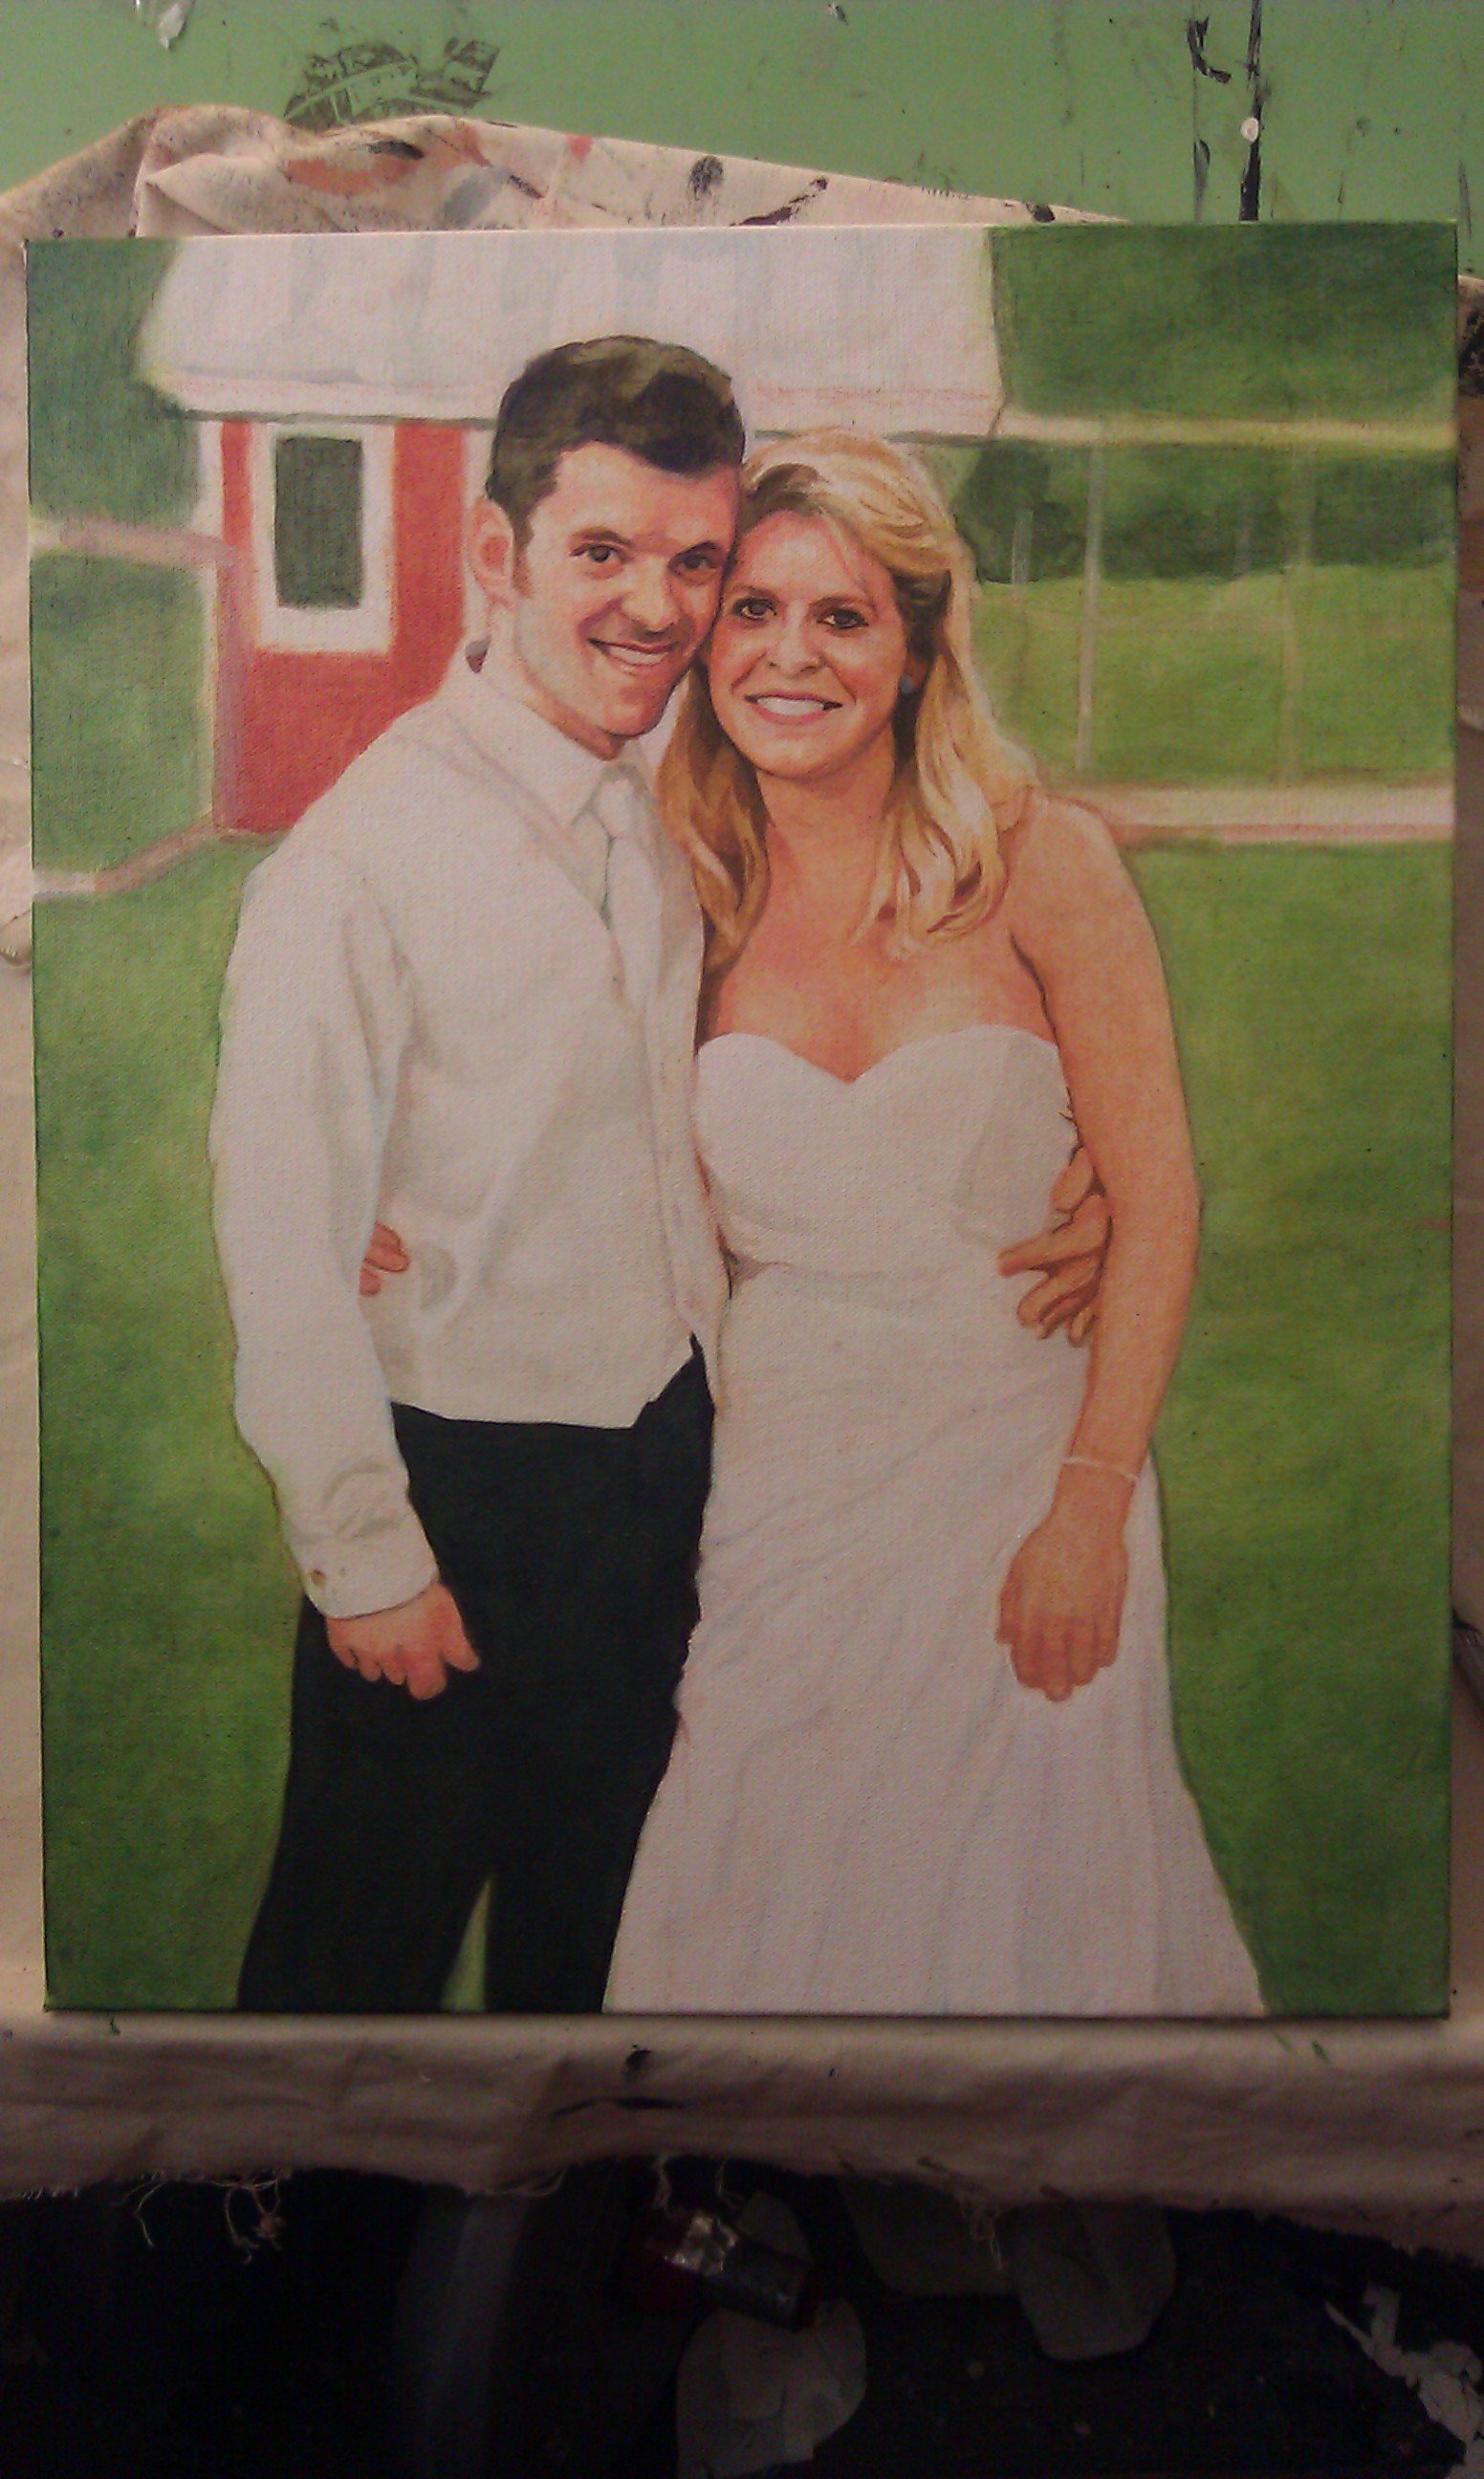
6.
In this stage, the painting is really starting to look done. It's time to add the reflections into the eyes, and details, like the lines between the teeth, and the earrings. I continue to darken the ground, and add various patterns to achieve the effect of grass texture. I make sure to darken it in the front so that it draws your eyes upward into the painting as well as giving it a three dimensional effect.

7.
Lastly, to bring it home, I refine some details in the background, even thought it is out of focus. I add the woodwork on the windows, the sign on the fence and more nuances in the trees.
On the couple, I add the details of the wedding ring and earrings on the bride, some nuances in her hair, the buttons on the man's shirt, and also sharpen the definition of their clothing in contrast to the background. This is where I have to remember to be patient, because some of these final details can really enhance the overall realistic effect, and make sure the client is thrilled with the final painting.
I hope you enjoyed this tutorial and I pray it encourages you to venture out in your own painting if you're an artist, or as an art appreciator, that it brings some joy your day.
Be blessed,

If you like this post, please upvote, follow and resteem. I post regularly on art, tips on painting and drawing, and encouraging thoughts.
See more of my artwork at: MattPhilleo.com