One of the most frequently asked questions about my process of making ceramic mosaics is “how to do you keep track of all of those pieces?” and it's a very good one.
@ddschteinn asked me this question recently and then yesterday again a studio visitor did as well so I decided to answer it more publicly. Often people wonder if I number each tile in order to keep track of it through the process of cutting, glazing, firing each part of a mosaic. This is a good thought but picking up each tile and putting a number on the back of each takes forever. I know this since I did it on the second mosaic I ever made back in 1996.
Actually it’s a funny story. I had a 18” square mosaic of a bluefish underwater laid out on a piece of wood. At that point it was all loose pieces put together but not affixed to anything. I was driving it home from my studio so I could install it on to a piece of tile-board. I stopped by a friend’s house and wanted to show her this piece I was so excited about. When I was walking up to her front door with the mosaic on wood, I tripped and fell. You can imagine the tiny tiles flying everywhere!
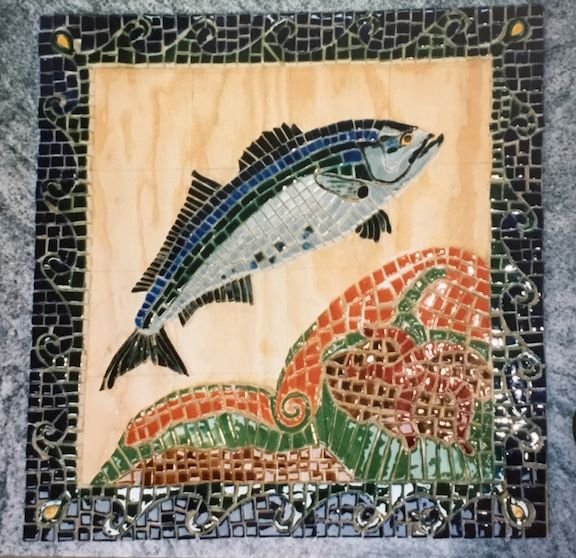
The next time I made a piece I diligently numbered the back of each tiny tile to prevent this kind of disaster but halfway through I gave up and decided that I would learn to walk without tripping instead ;-).
From the beginning of making my own mosaics from wet clay, I’ve had to develop systems to keep track of the tiles and at this point, it’s pretty simple. Really it boils down to keeping each section all together beginning to end.
Below are examples from my current mural project for a Portland Pool House. The mural is about 7' x 8' so it takes a lot of careful tracking of tiles and sections of tile.
I have a shop drawing (above) I’ve created by using a copy machine to reproduce sections of the original drawing (below):
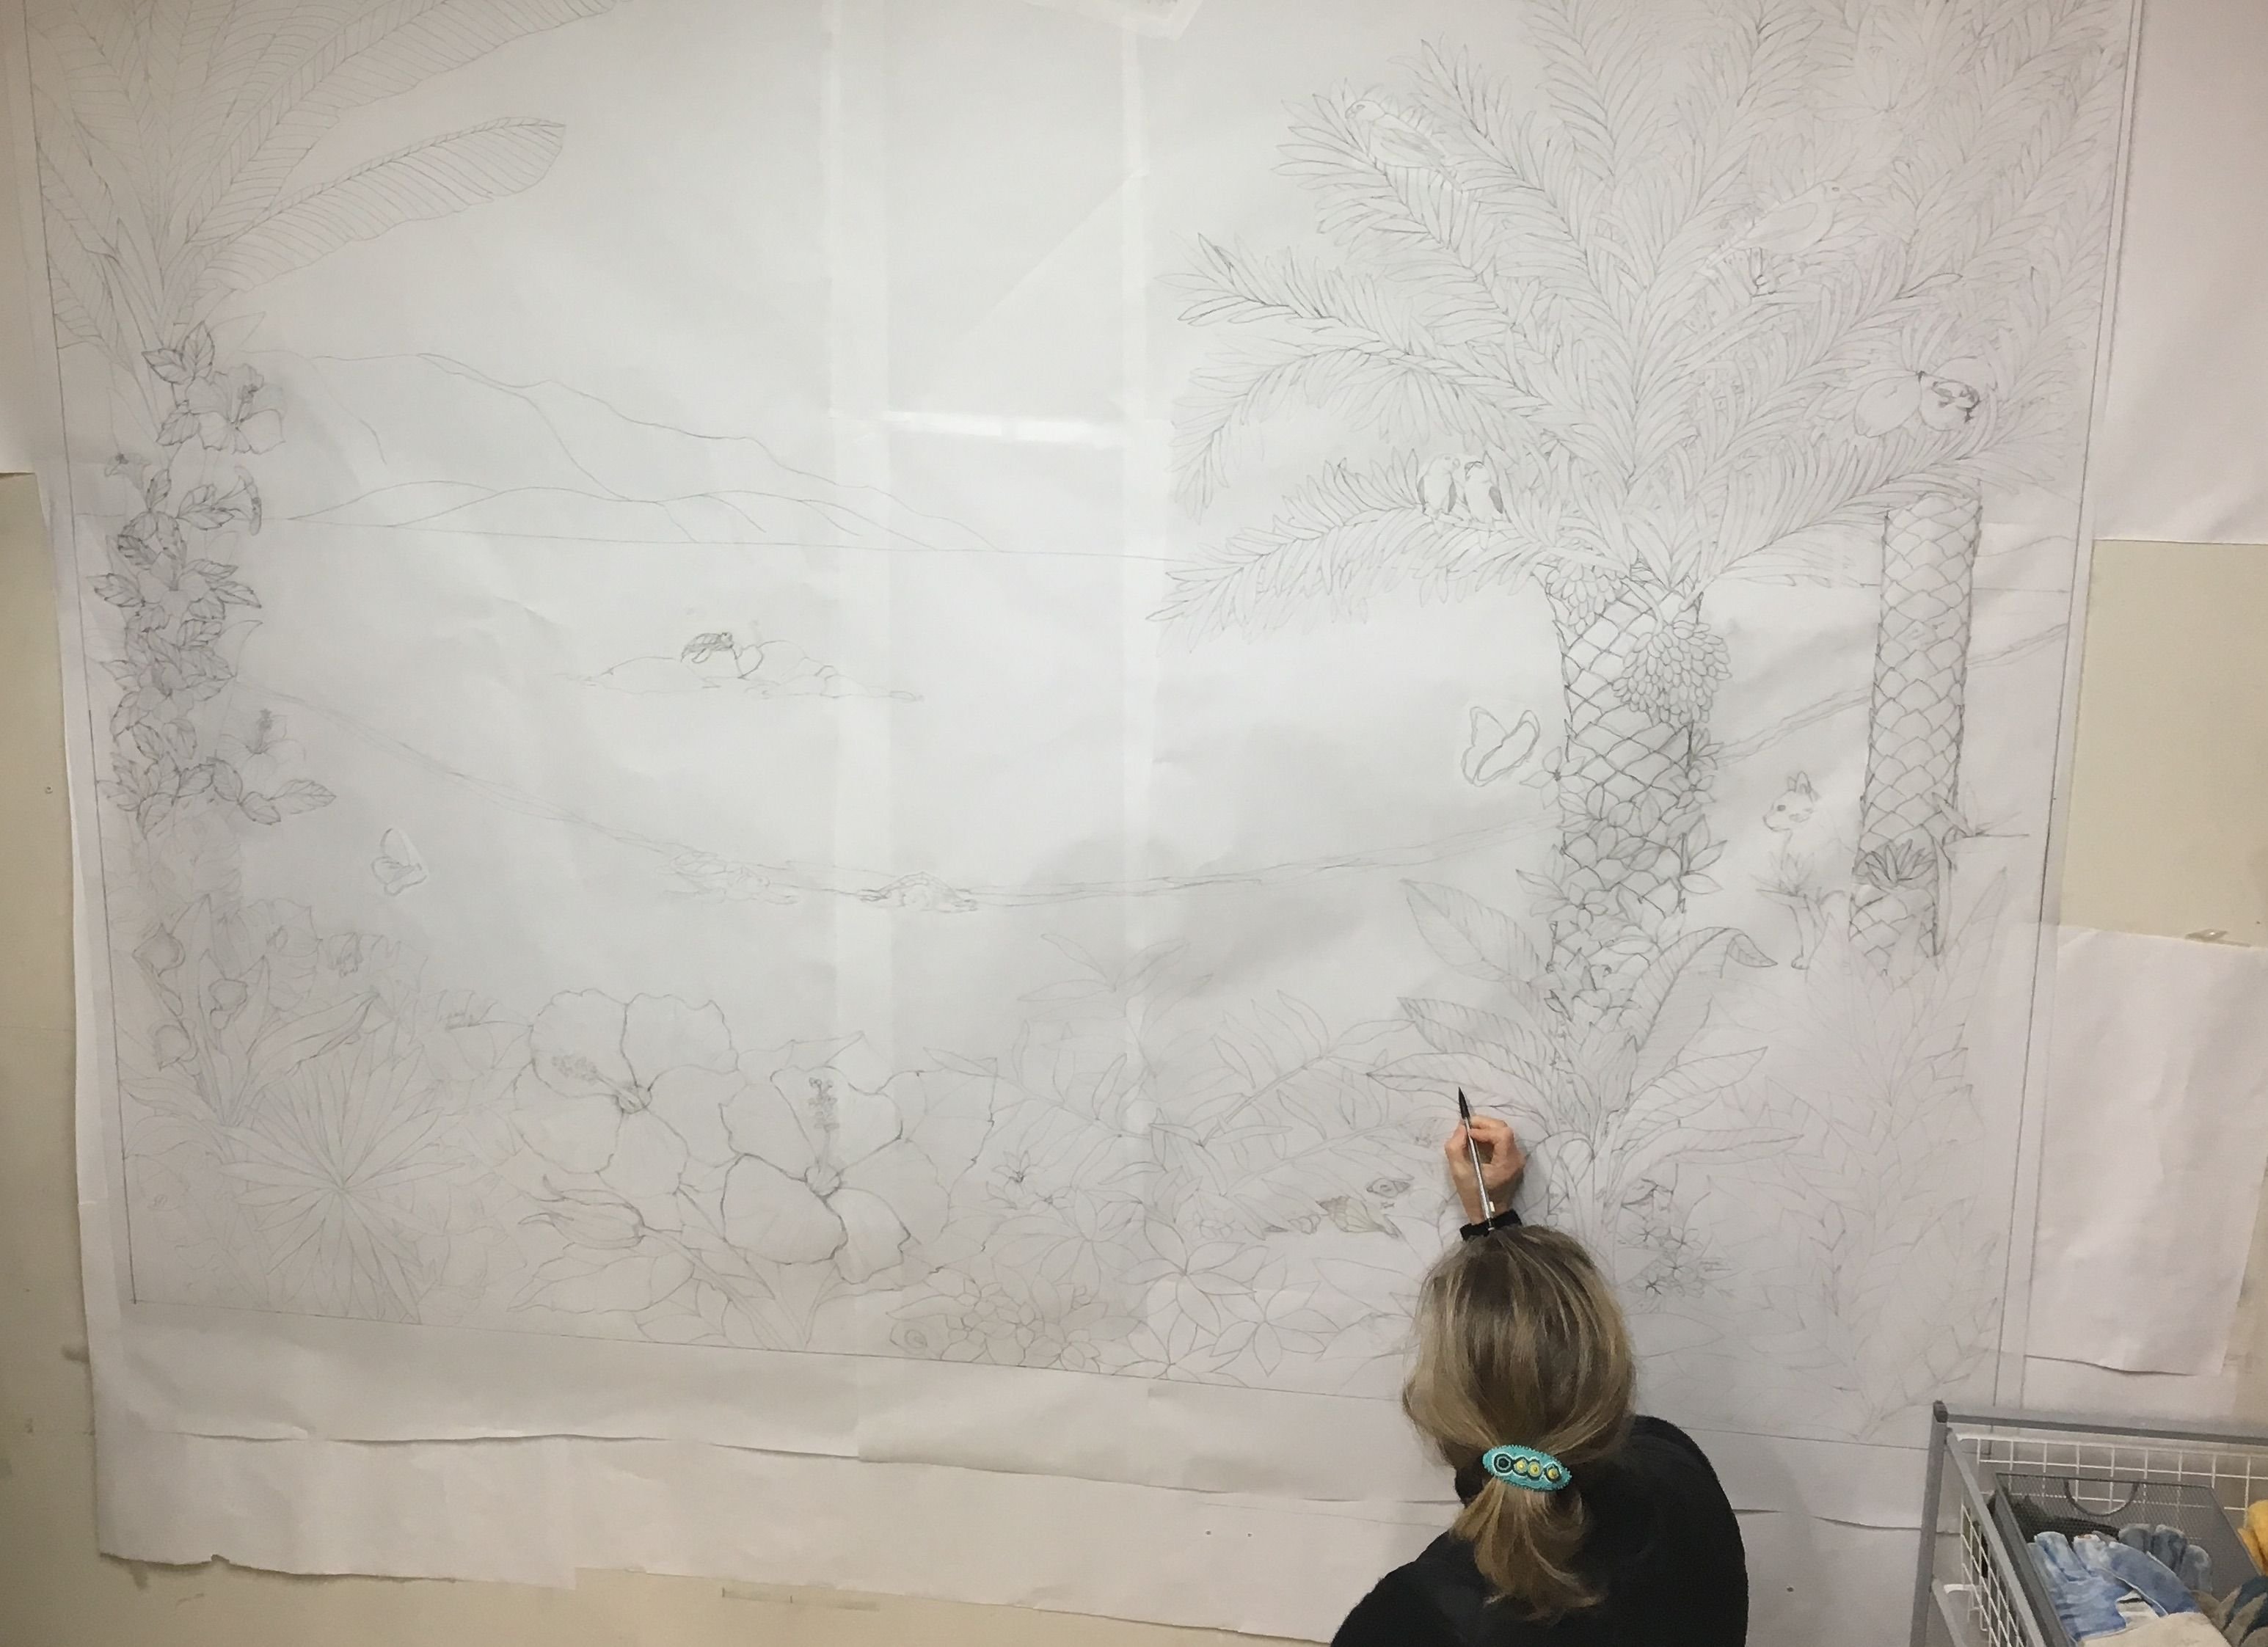
I created the drawing over the winter
I transfer/draw the drawing onto the clay:
Once I've cut it out, I'll move it onto a kiln shelf:
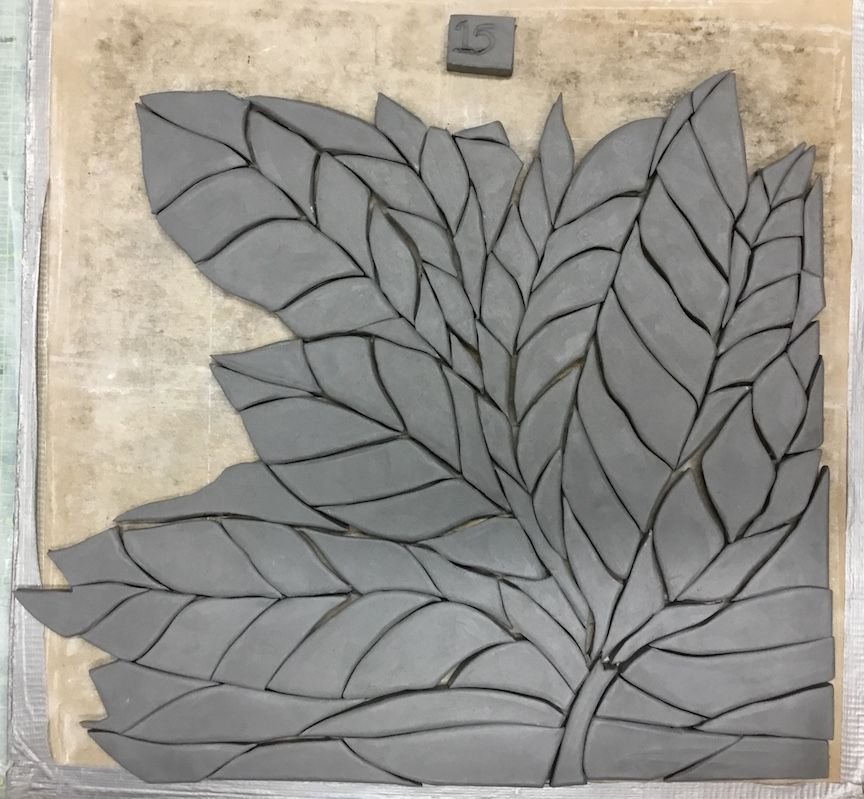
And it will stay in its section in its place next to the same neighboring pieces all the way through the bisque firing and glaze firing.
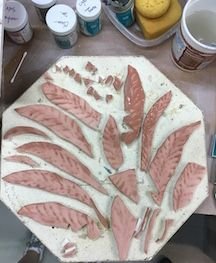 []
[]At this point the tiles have been glaze fired and are finished. I take all of these tiles directly off the kiln shelf and put them on top of the drawing and arrange them in the right place. It's usually pretty obvious what goes where given the shape, color and the fact that I've now drawn each, cut each, and glazed each one. In the photo below you can see, a few pieces are missing. They needed to be a bit darker so right now I am reglazing and firing them but once I have all the tiles for this section out of the kiln and placed onto the drawing, I'll put a face adhesive over them. This is a large sheet of tape that will hold them together so the installer can set each section as a whole. You'll see this in action in the next 4 weeks as I wrap up the project.
As always I appreciate your support and comments, your engagement here on Steemit makes all the difference!
