Hello everyone, I hope you had a good weekend! Here in Portland we had a sweet and brief return to beautiful warm weather for a few days before returning to cool and wet fall.
This is part 3 of my Mermaid Mosaic Project. I recommend scanning photos briefly in Part 1 and Part 2 to get a sense of what’s come before. The process will make more sense and this series will be more fun to see.
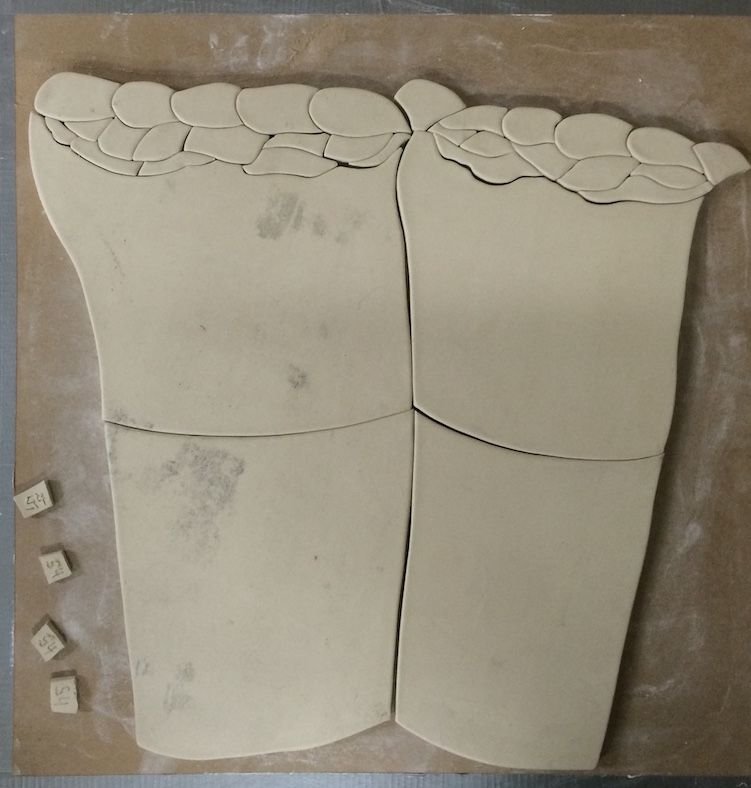
We left off with the cutting phase of the mosaic. For this, we use what’s called “leather hard” clay which are slabs of clay that have sat overnight pressed between pieces of drywall to give us the perfect firmness and give for hand-cutting (with a scalpel) and smoothing the clay.
This is a cut section of the shell where the mermaid sits:
Once we cut a section of the mosaic, we keep all the pieces together on a kiln shelf through the bisque firing at 1828 degrees fahrenheit and then for glazing and the glaze firing at 2232 degrees when the porcelain vitrifies and the glaze melts. This way, when it comes to reassembling the tiles onto the “set drawing” they are all in the correct configuration and can usually be put together without too much figuring.
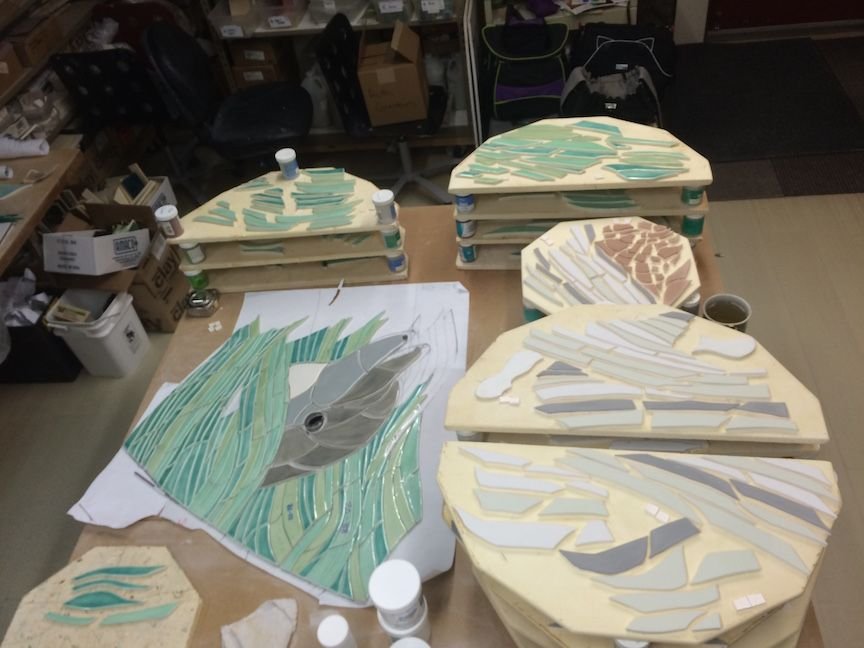
As we progressed, the sheer volume of this project filled every space in the studio. I had a few other small projects going on as well so we were brimming and spilling over beyond.
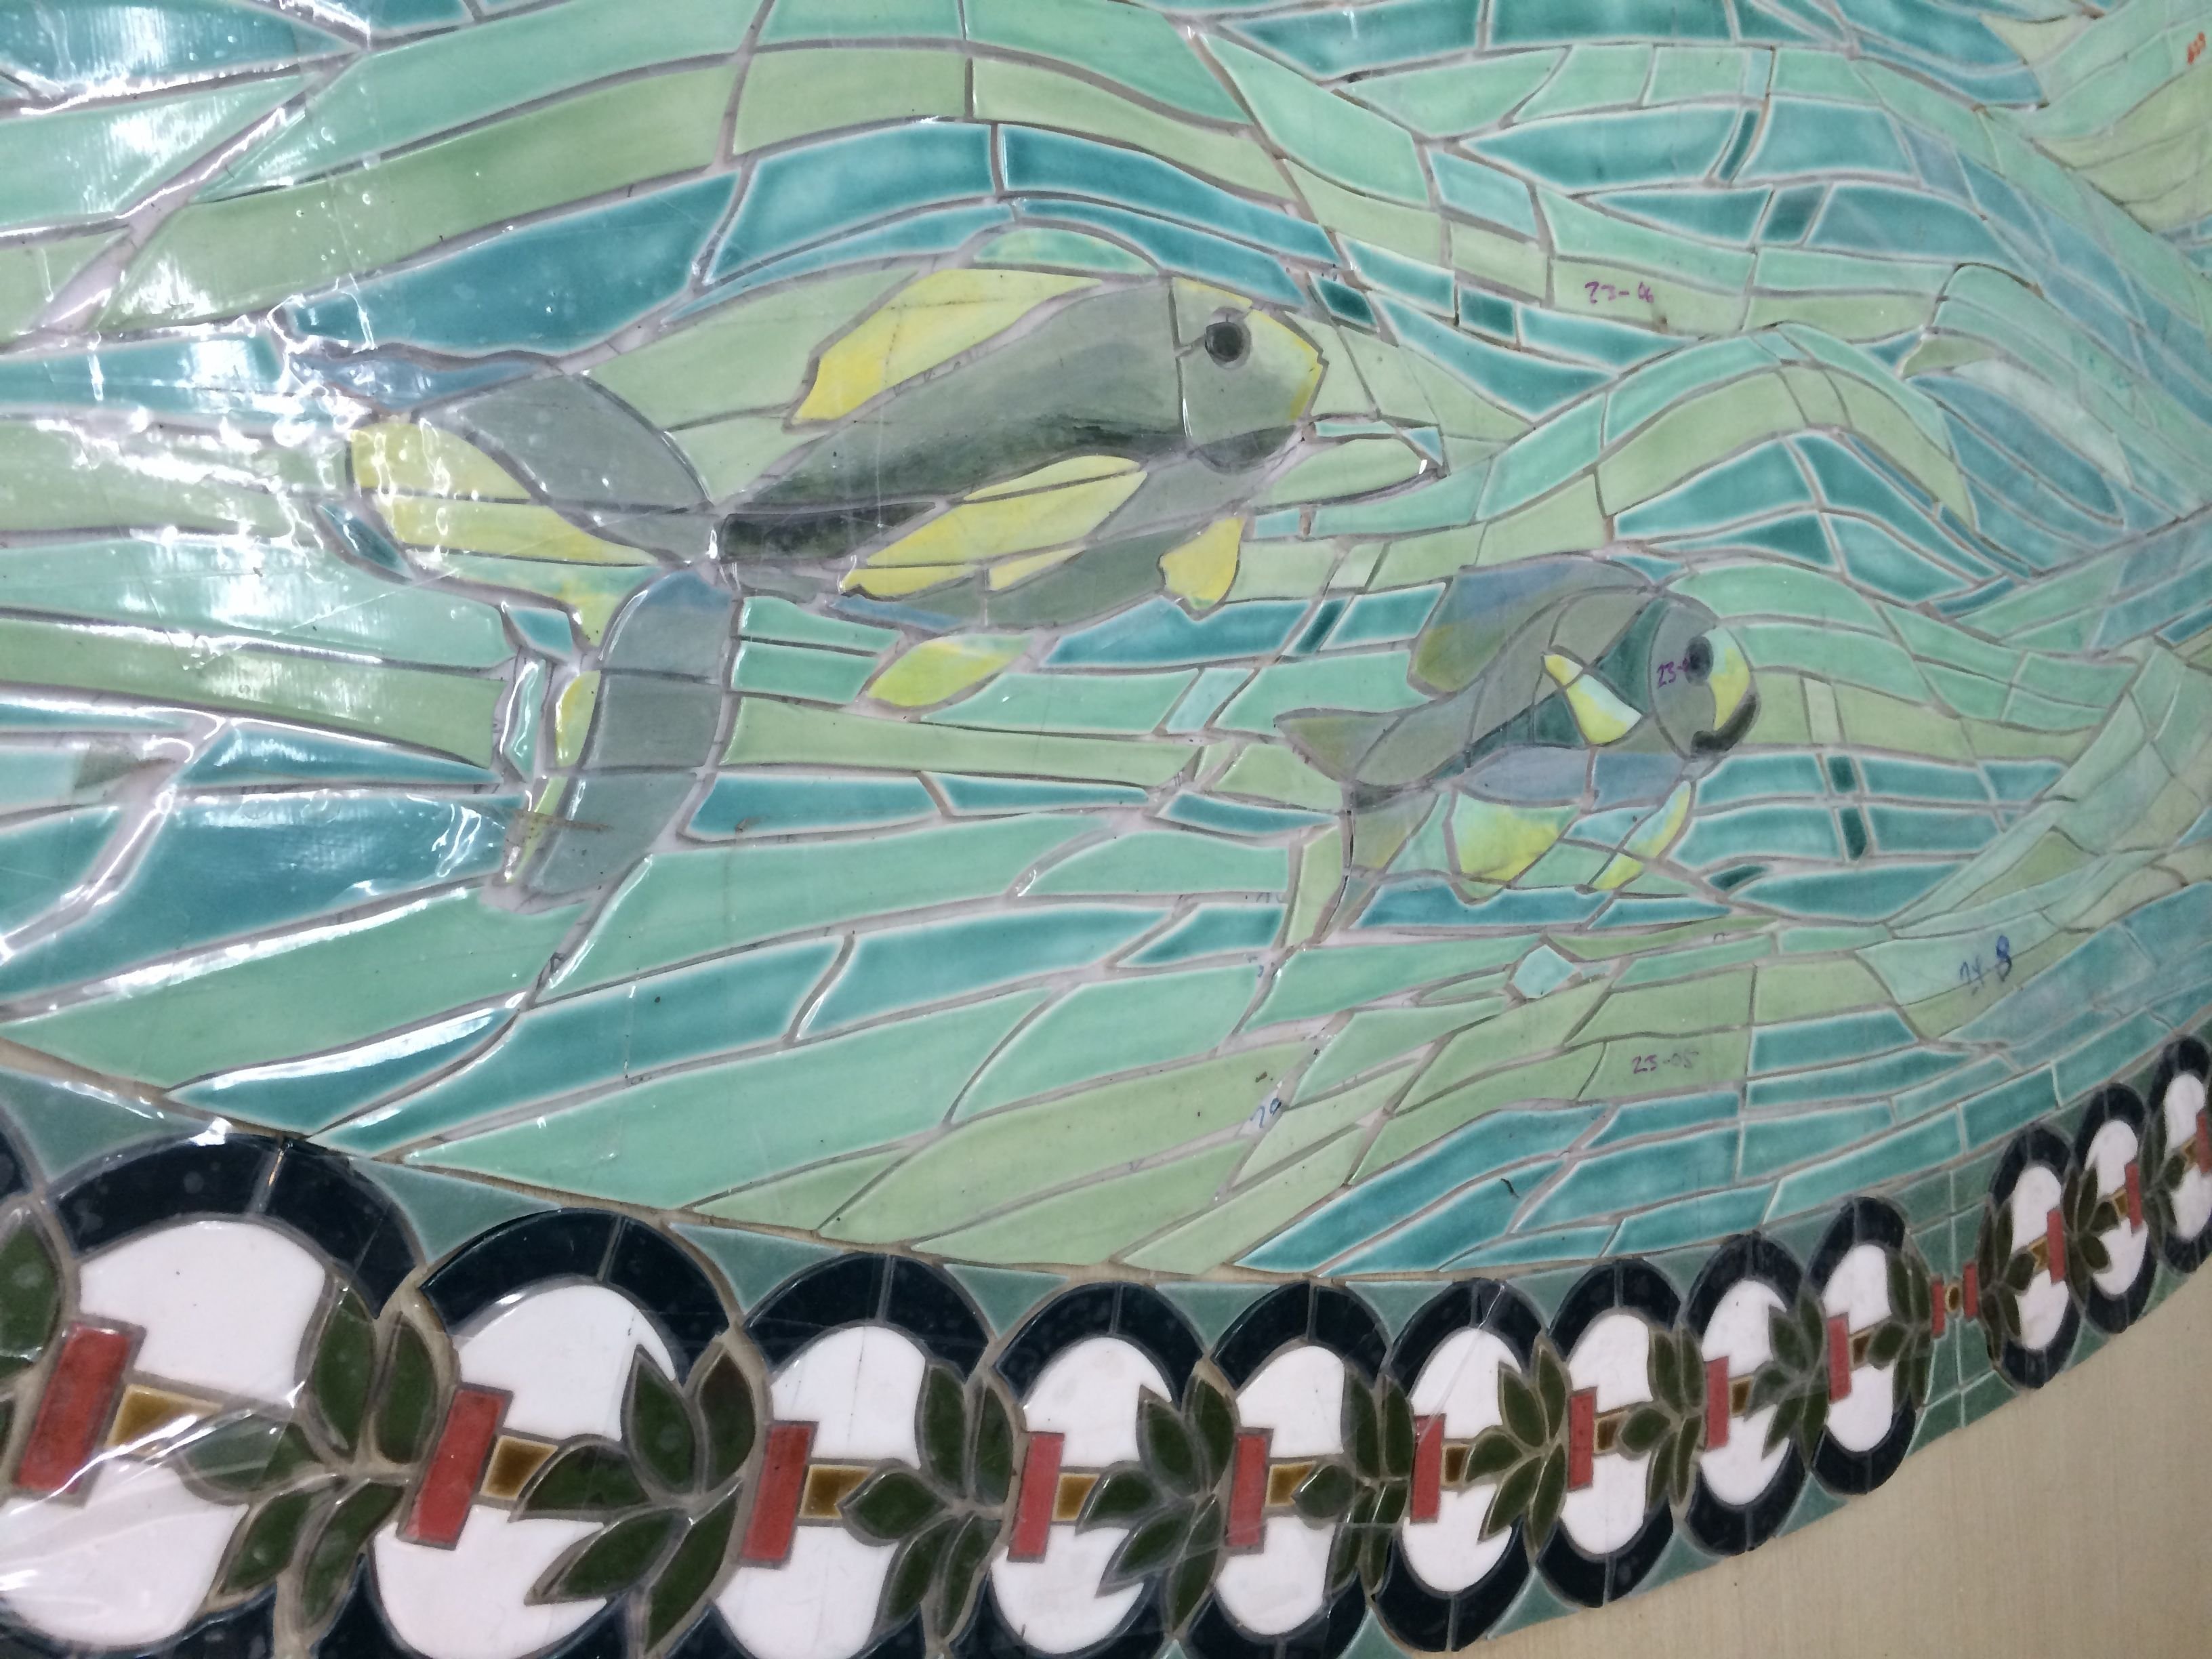
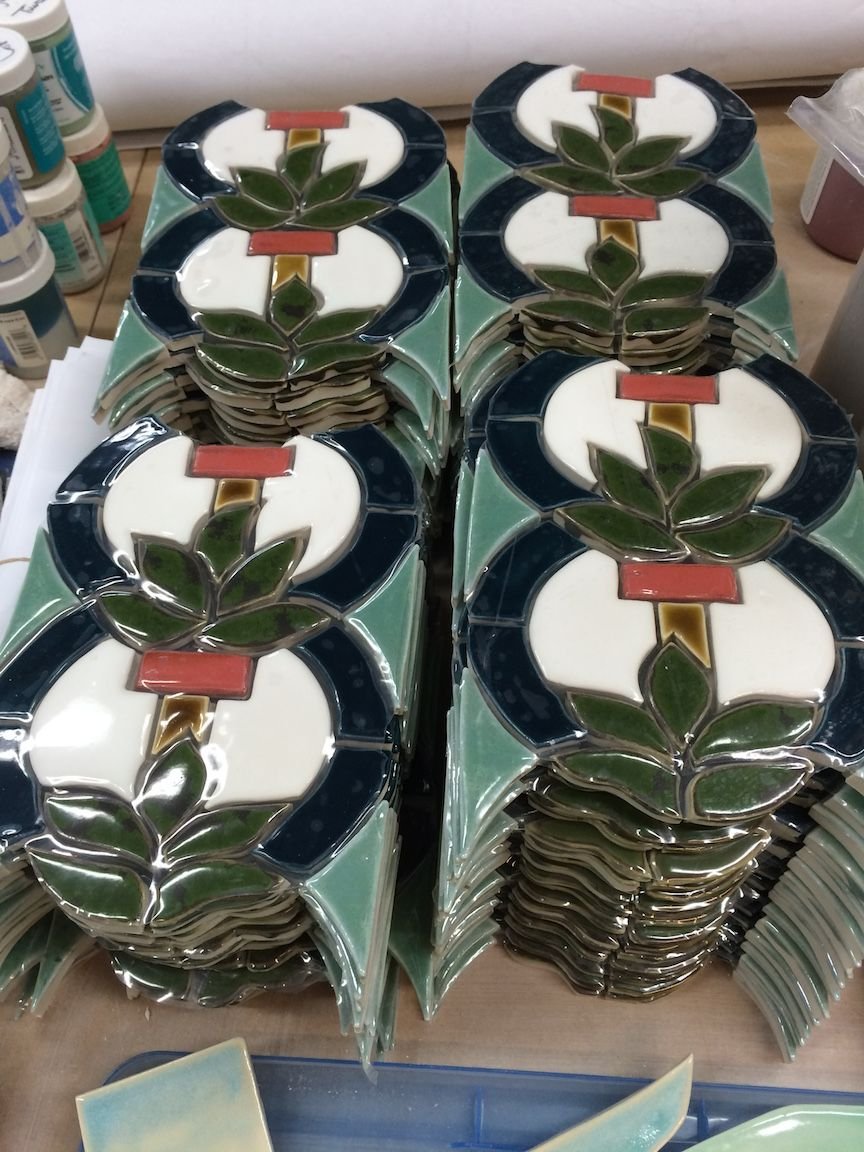
one of my favorite parts of this mosaic is the border which was inspired by seaweed
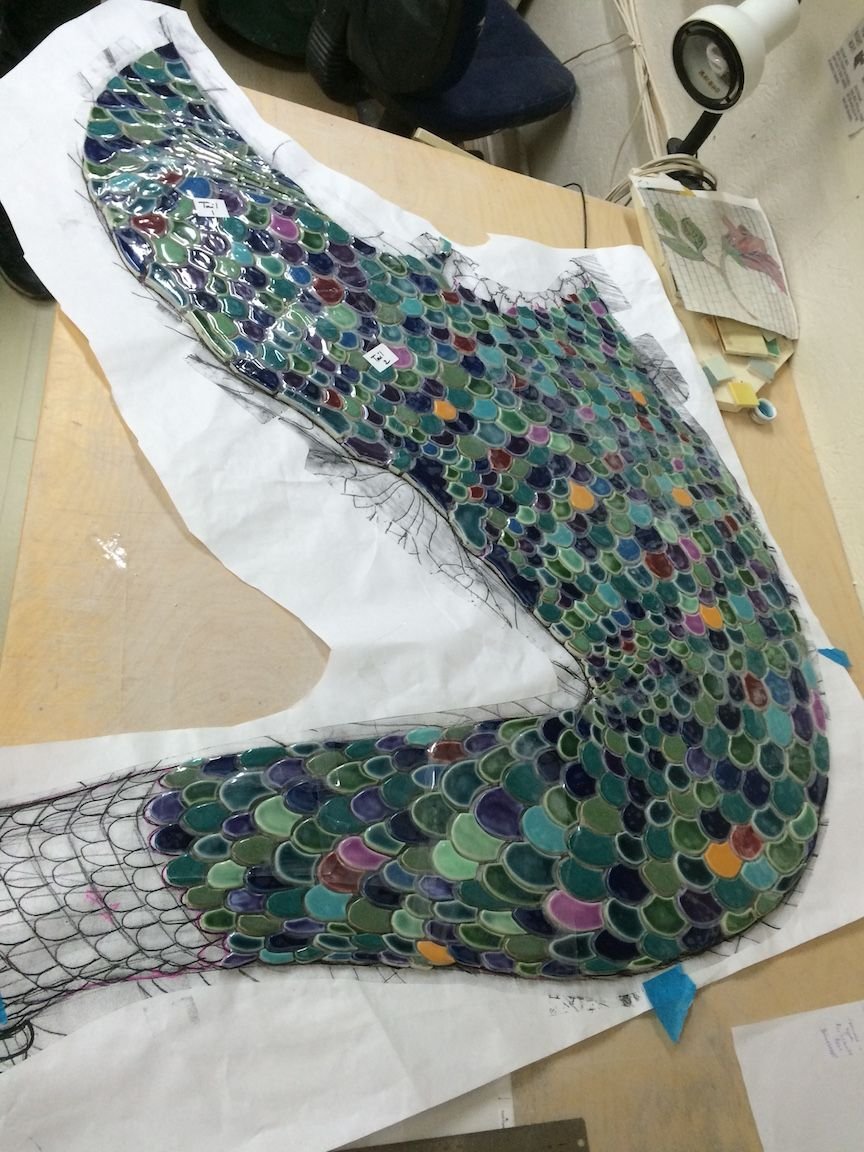
After sections come out of the glaze firing we arrange them and put a face-adhesive over the tiles to keep them in place for the tile installers. Each section is numbered and the tile setters are given a map to follow.
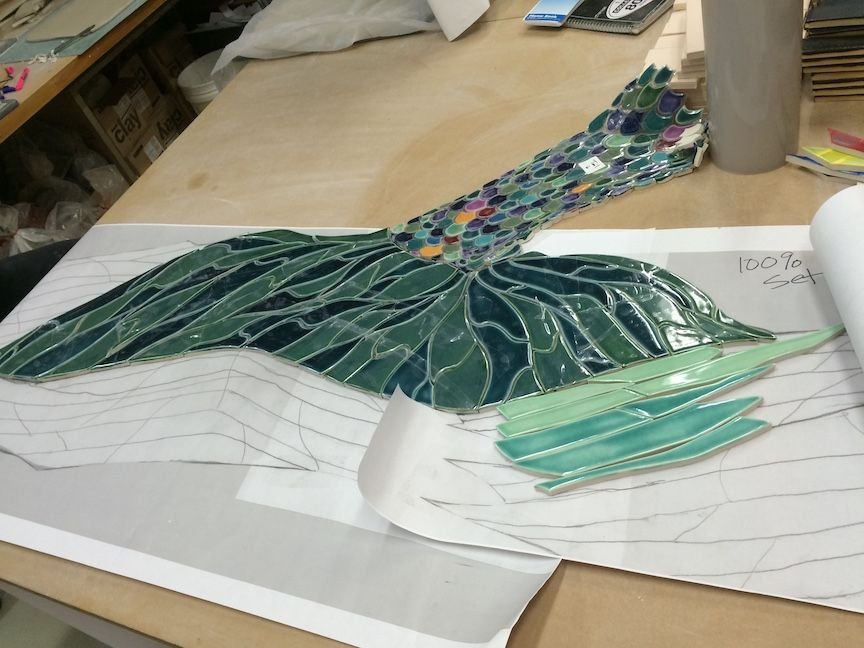
Here I set the tail which was extremely enjoyable. Getting each tile put in just the right place takes a bit of time but it is enormously satisfying to see the work come together!
And then arranging the fin:
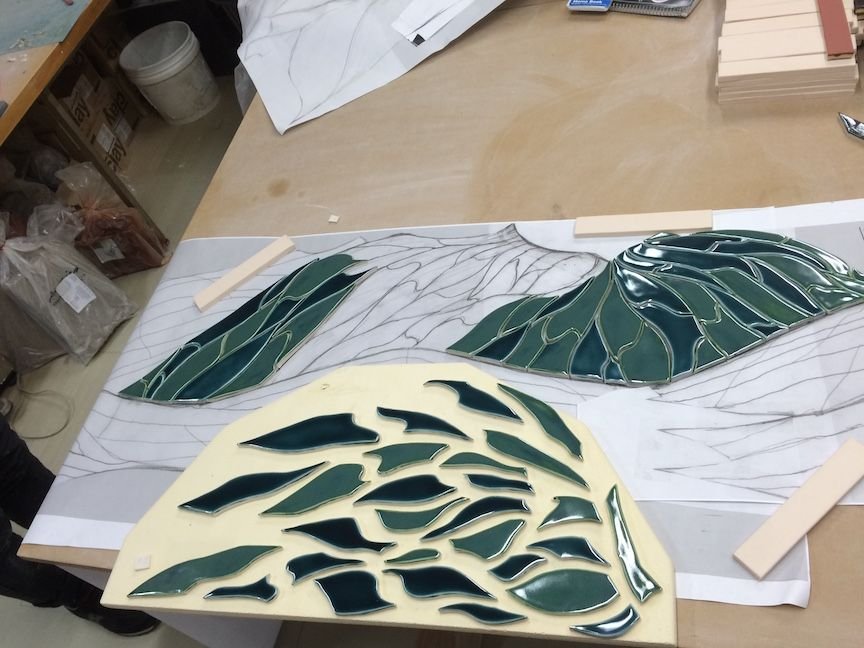
putting them together:
Rob putting together the seagull
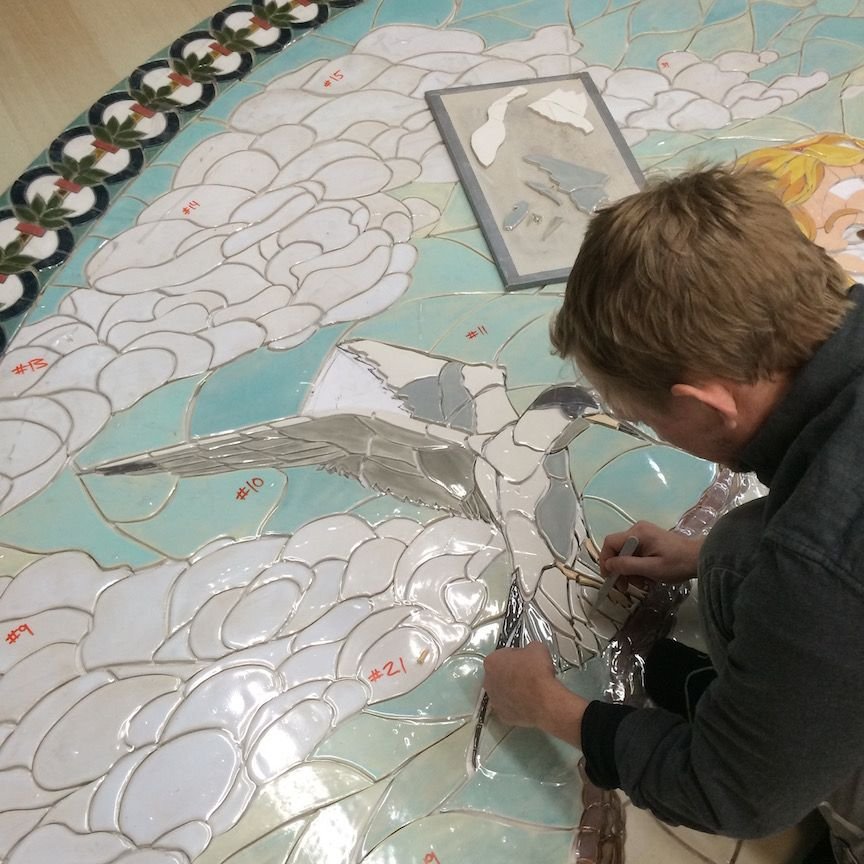
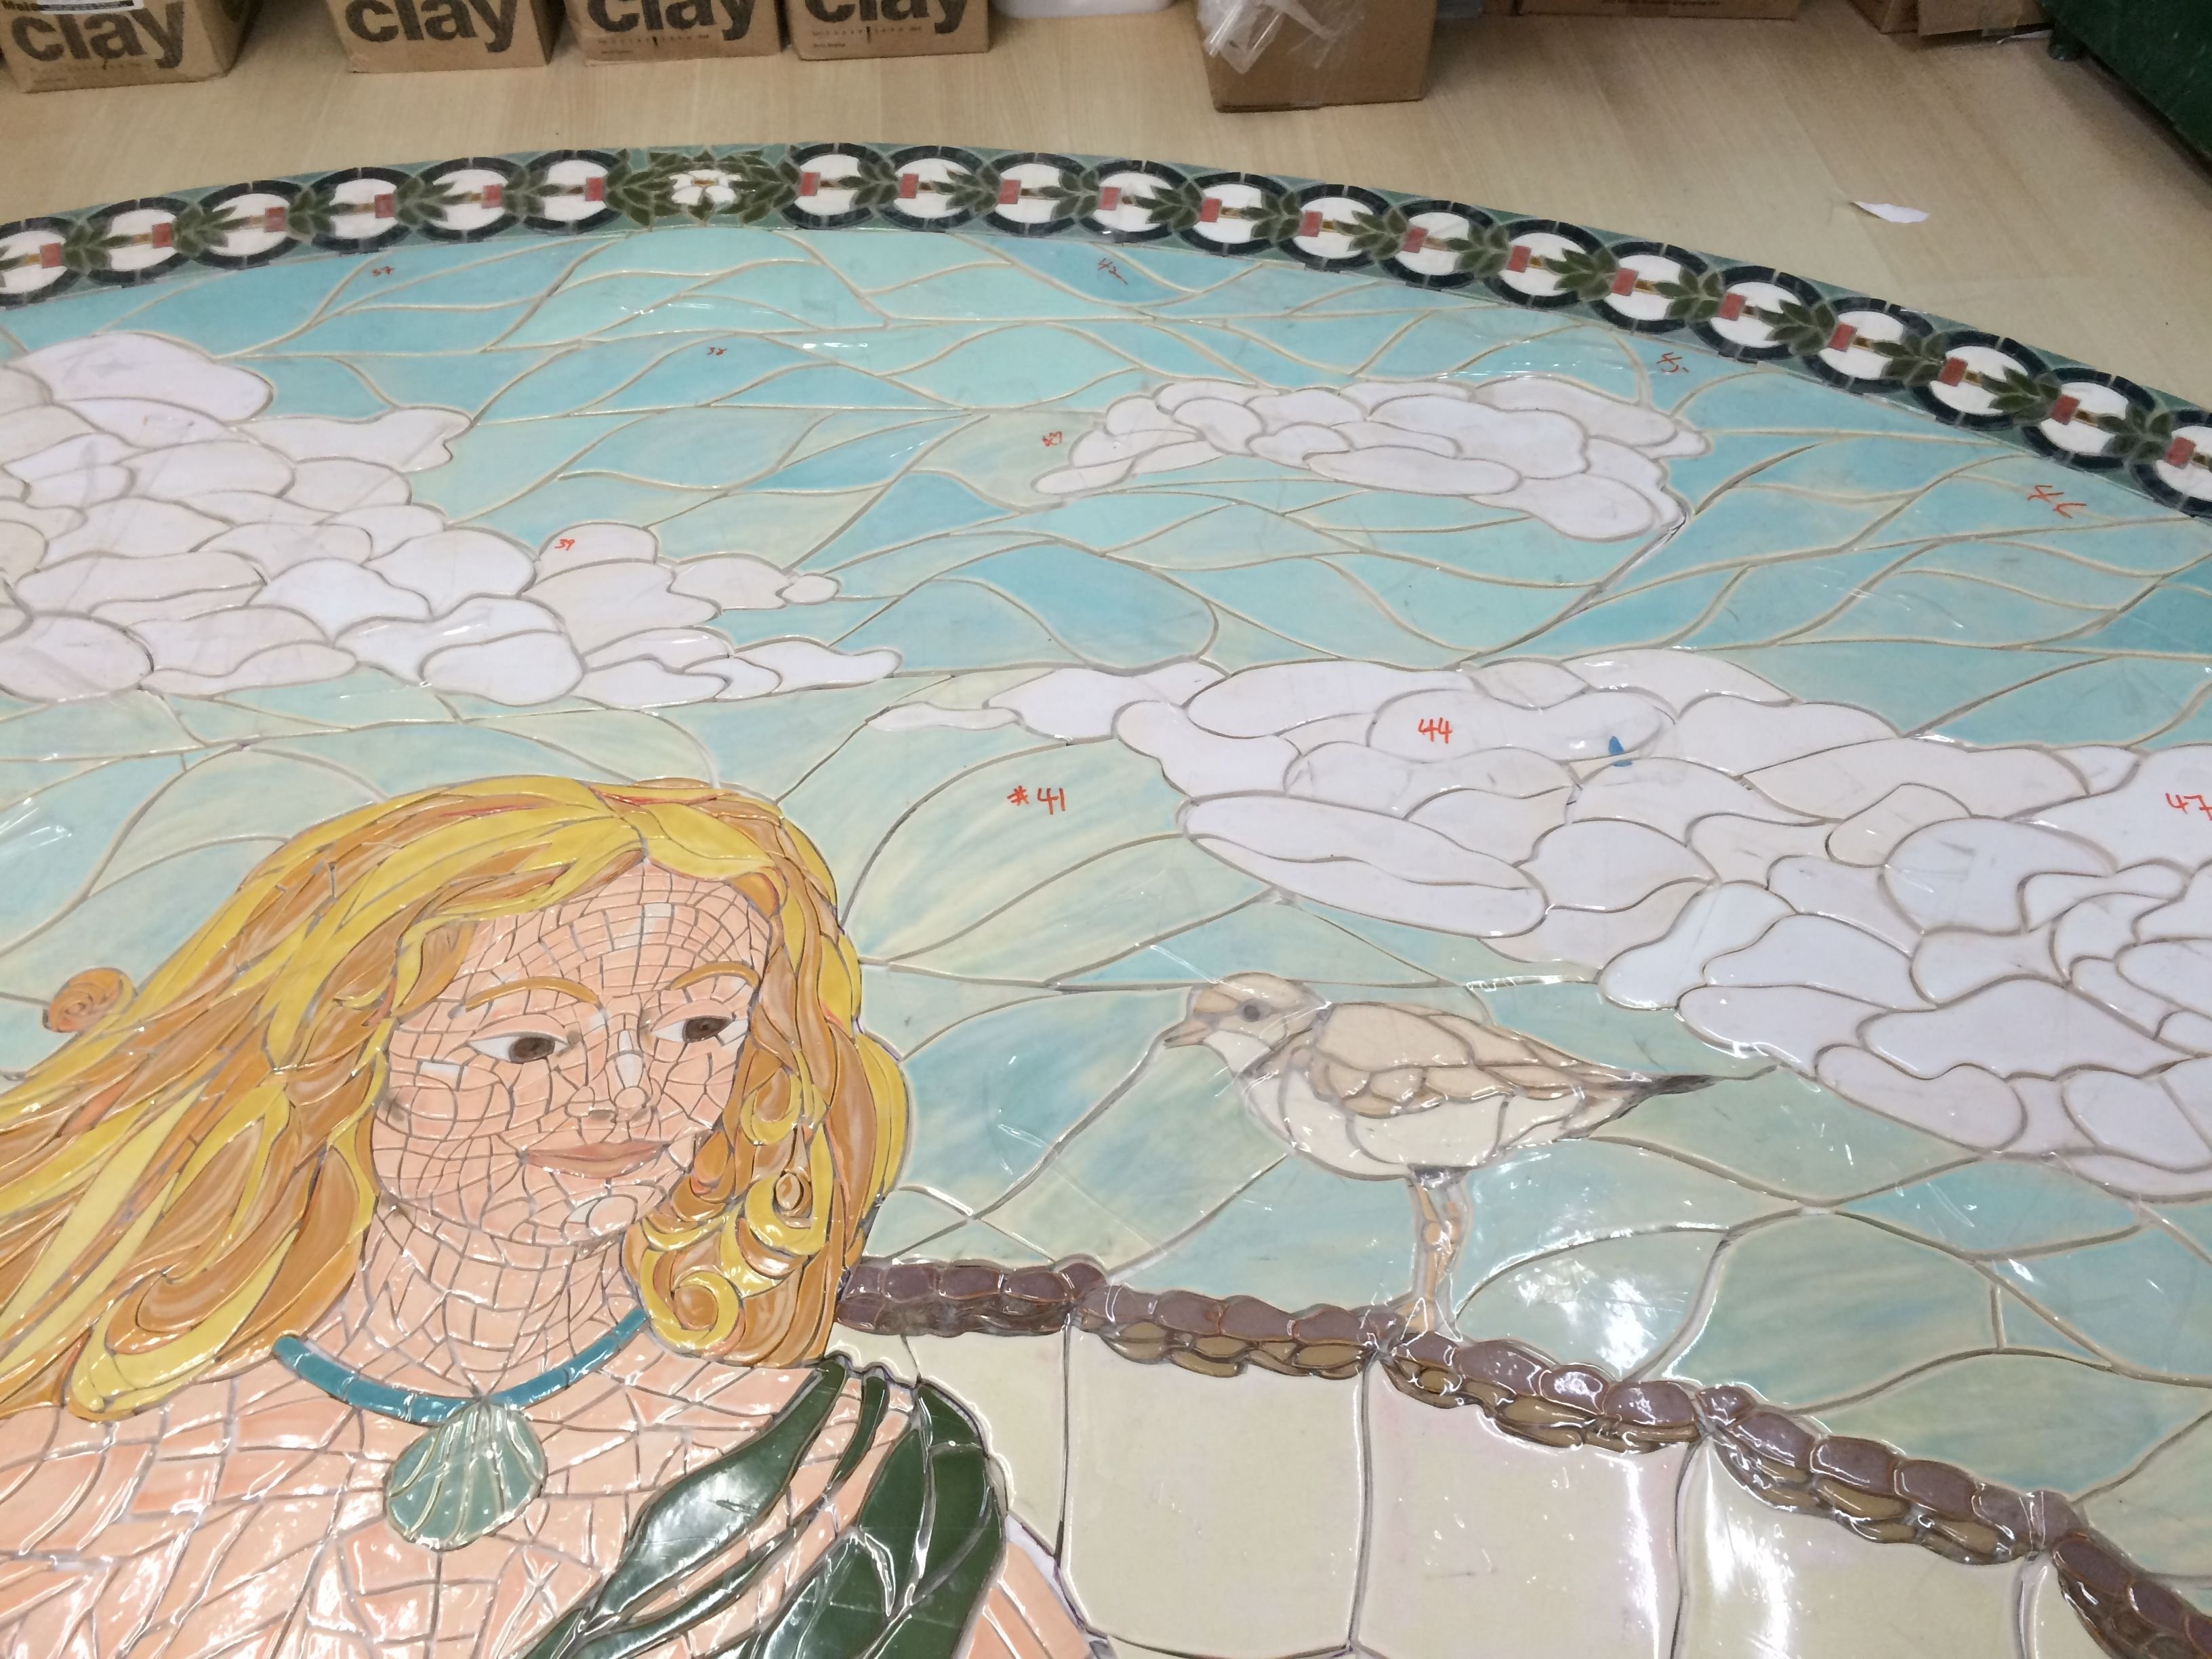
And lastly the face and Sandpiper detail. You can see the temporary numbers on the face-adhesive which is like a huge piece of tape. It gives the mosaic a peculiar sheen, but in the Part 4 you'll see it in it's final state installed and the quality of surface is beautiful.
Thanks for visiting and supporting, please come back for more! I post every 3-4 days or so.