Wednesday saw the arrival of my eagerly awaited delivery of art supplies. While doodling with pens over the last few weeks has been fun, I've been itching to revisit one of my favorite mediums good old fashioned ink. (I say that like I used to use it all the time in truth I used it a handful of times years ago when I was in collage. but they where my favourite projects. so it's definitly worth a revist and learning to do more with it.)
After spending a few days getting reacquainted by making a mess in my sketchbook practicing lines, curves, and pen technique it was time to draw.
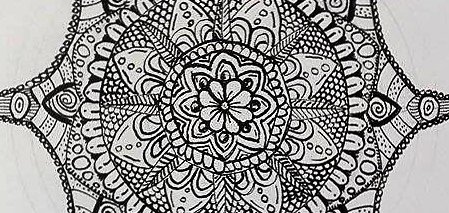
For this mandala I used Winsor Newtons Indian ink, Indian ink is a great choice if you wish to use watercolors or other coloured inks to add colour as it is waterproof once it has dried completely.
I used a dip pen that came with a variety of nibs but for this project I only used the one size to practice varying the line thickness by varying the amount of pressure I put on the nib.
When working with dip pens it's important to use a smooth paper as textured papers will damage your nib and shorten it's lifespan. If you want to work with watercolour opt for pressed paper.
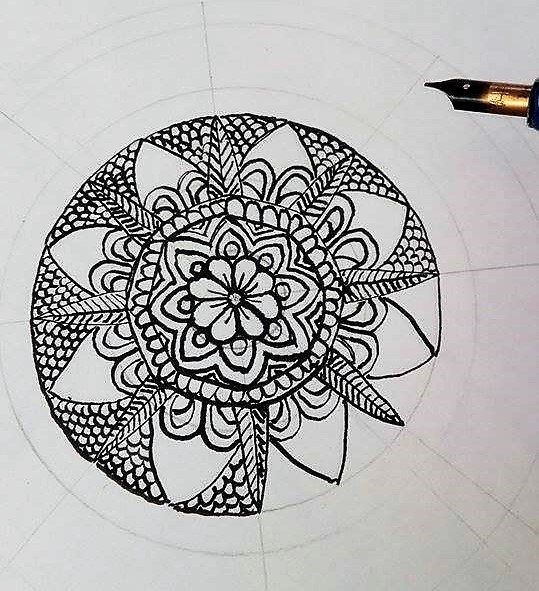
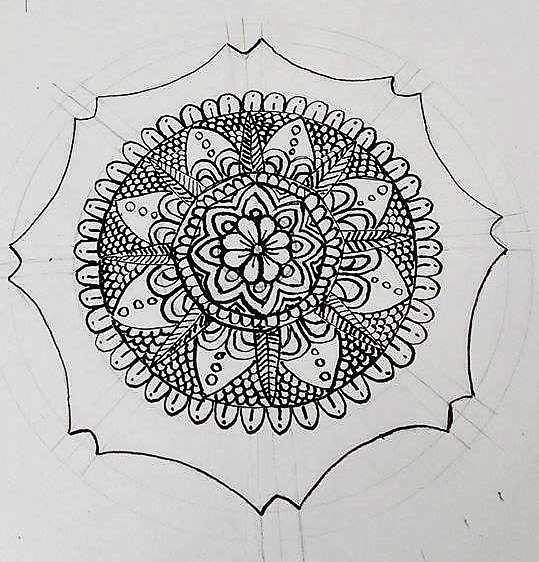
I started by using a compass to draw a series of expanding circles then used a ruler to divide the circles into 8 sections. I then started to build my mandala by repeating simple shapes in each section using my pencil lines as a size guide before filling those shapes in with finer patterns and details.
When I reached a point I wanted to change the shape, I used a pencil to try several designs.
Before committing myself to the one I was happy with in ink.
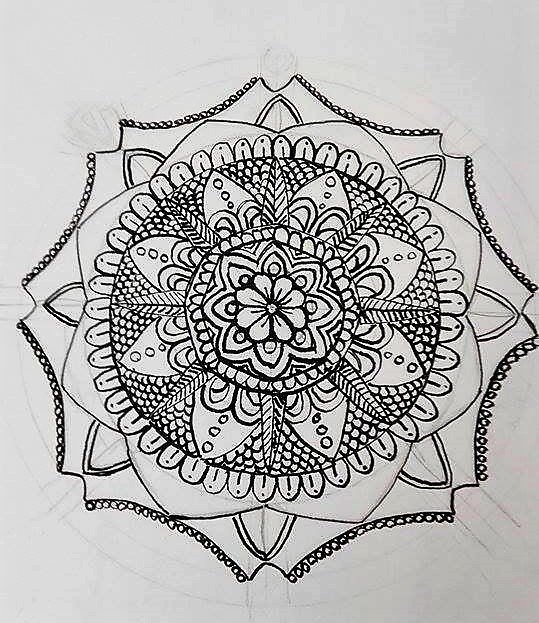
I used this process again when deciding how to fill in the large space between the new outline and the central section of the mandala.

When stopping to work in pencil it's important to take the time to clean your nibs properly, trust me you don't want to interrupt your work to spend an hour or two scraping dry ink off your nib to get it to work again.
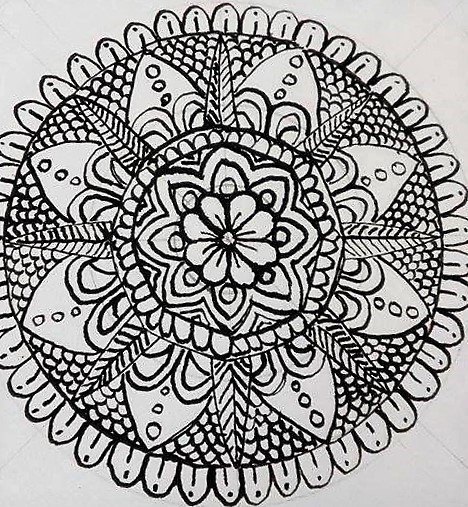
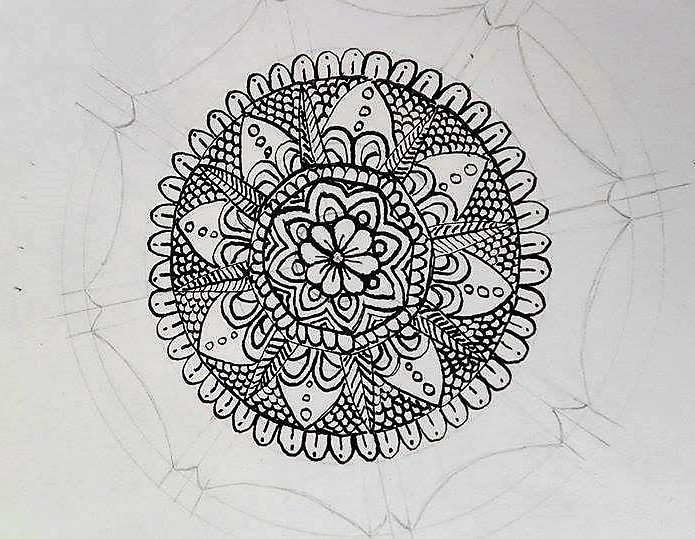
I once again committed to the shapes by outlining in ink and began detailing.
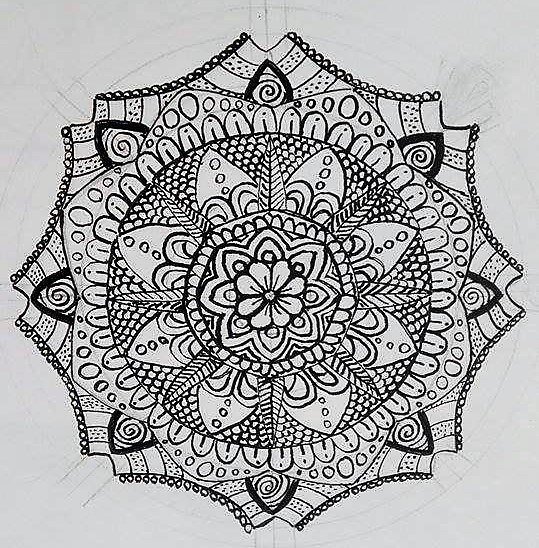
Detailing doesn't have to be complicated any line or mark can become a pattern if you repeat it often enough, and once completed any small variations (or mistakes if you want to get technical) will be barely noticeable due to the large variety of patterns the brain has to interpret.
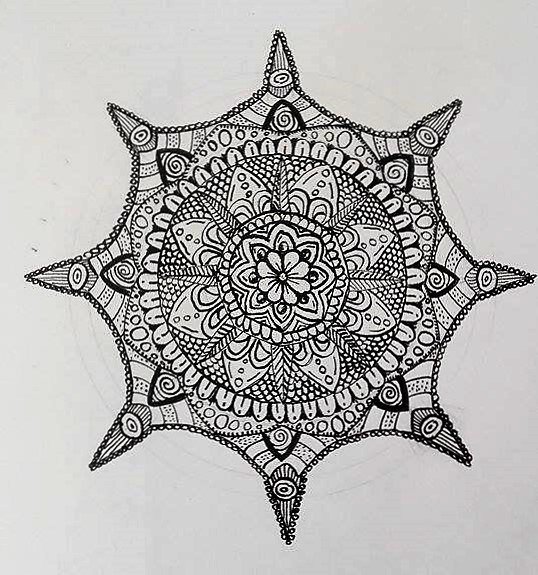
To finish I added points and a few extra detail to sections I thought needed a little enhancement and left the piece to finish drying.
While it did take a lot longer to compleat than many of the pen pieces (approx 9 hours including time to allow sections to dry to avoid smudging.) I have done over the last couple of weeks, I am much happier with the final result.
Now you have seen how it's done why not have a go yourself and be sure to share your results with us here.