Hello Steemers
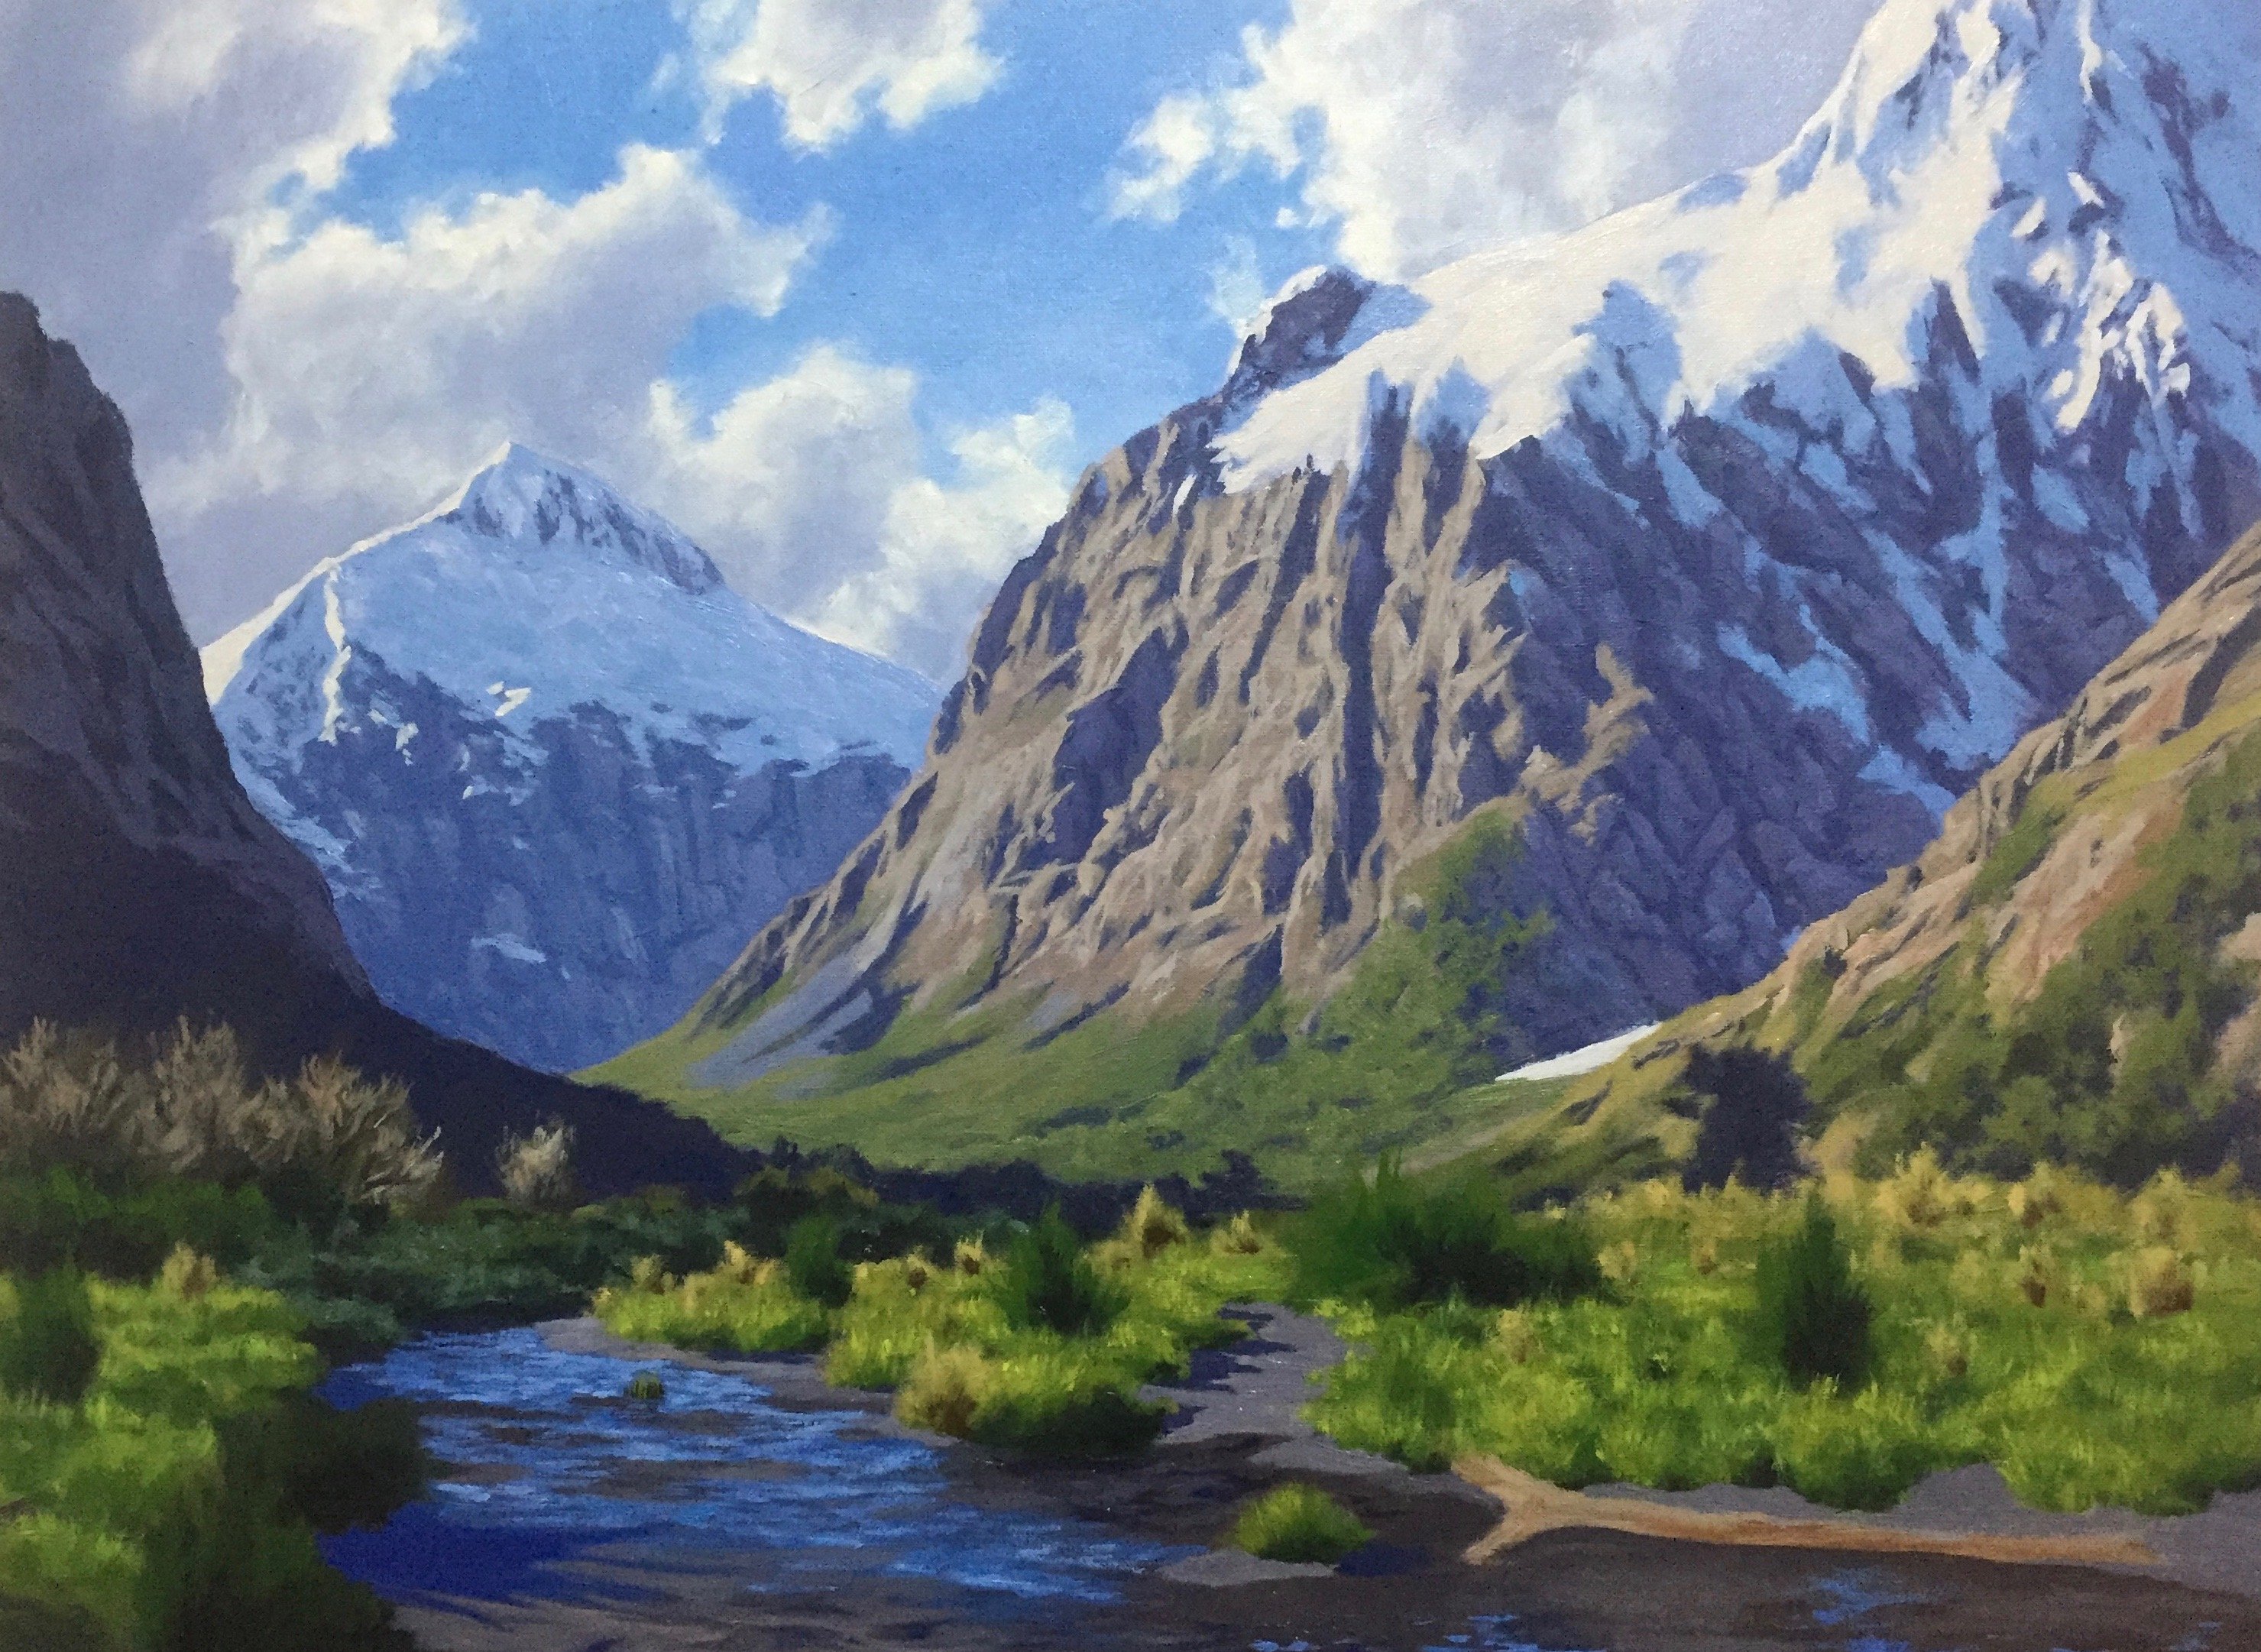
This is Part 2 of 'Painting a Mountain Landscape', where I show you how I painted this oil painting of Mt Talbot and Mt Crosscut in New Zealand.
In this blog post I show you how I started to build up the detail and refine the painting following completion of the blocking-in stage.
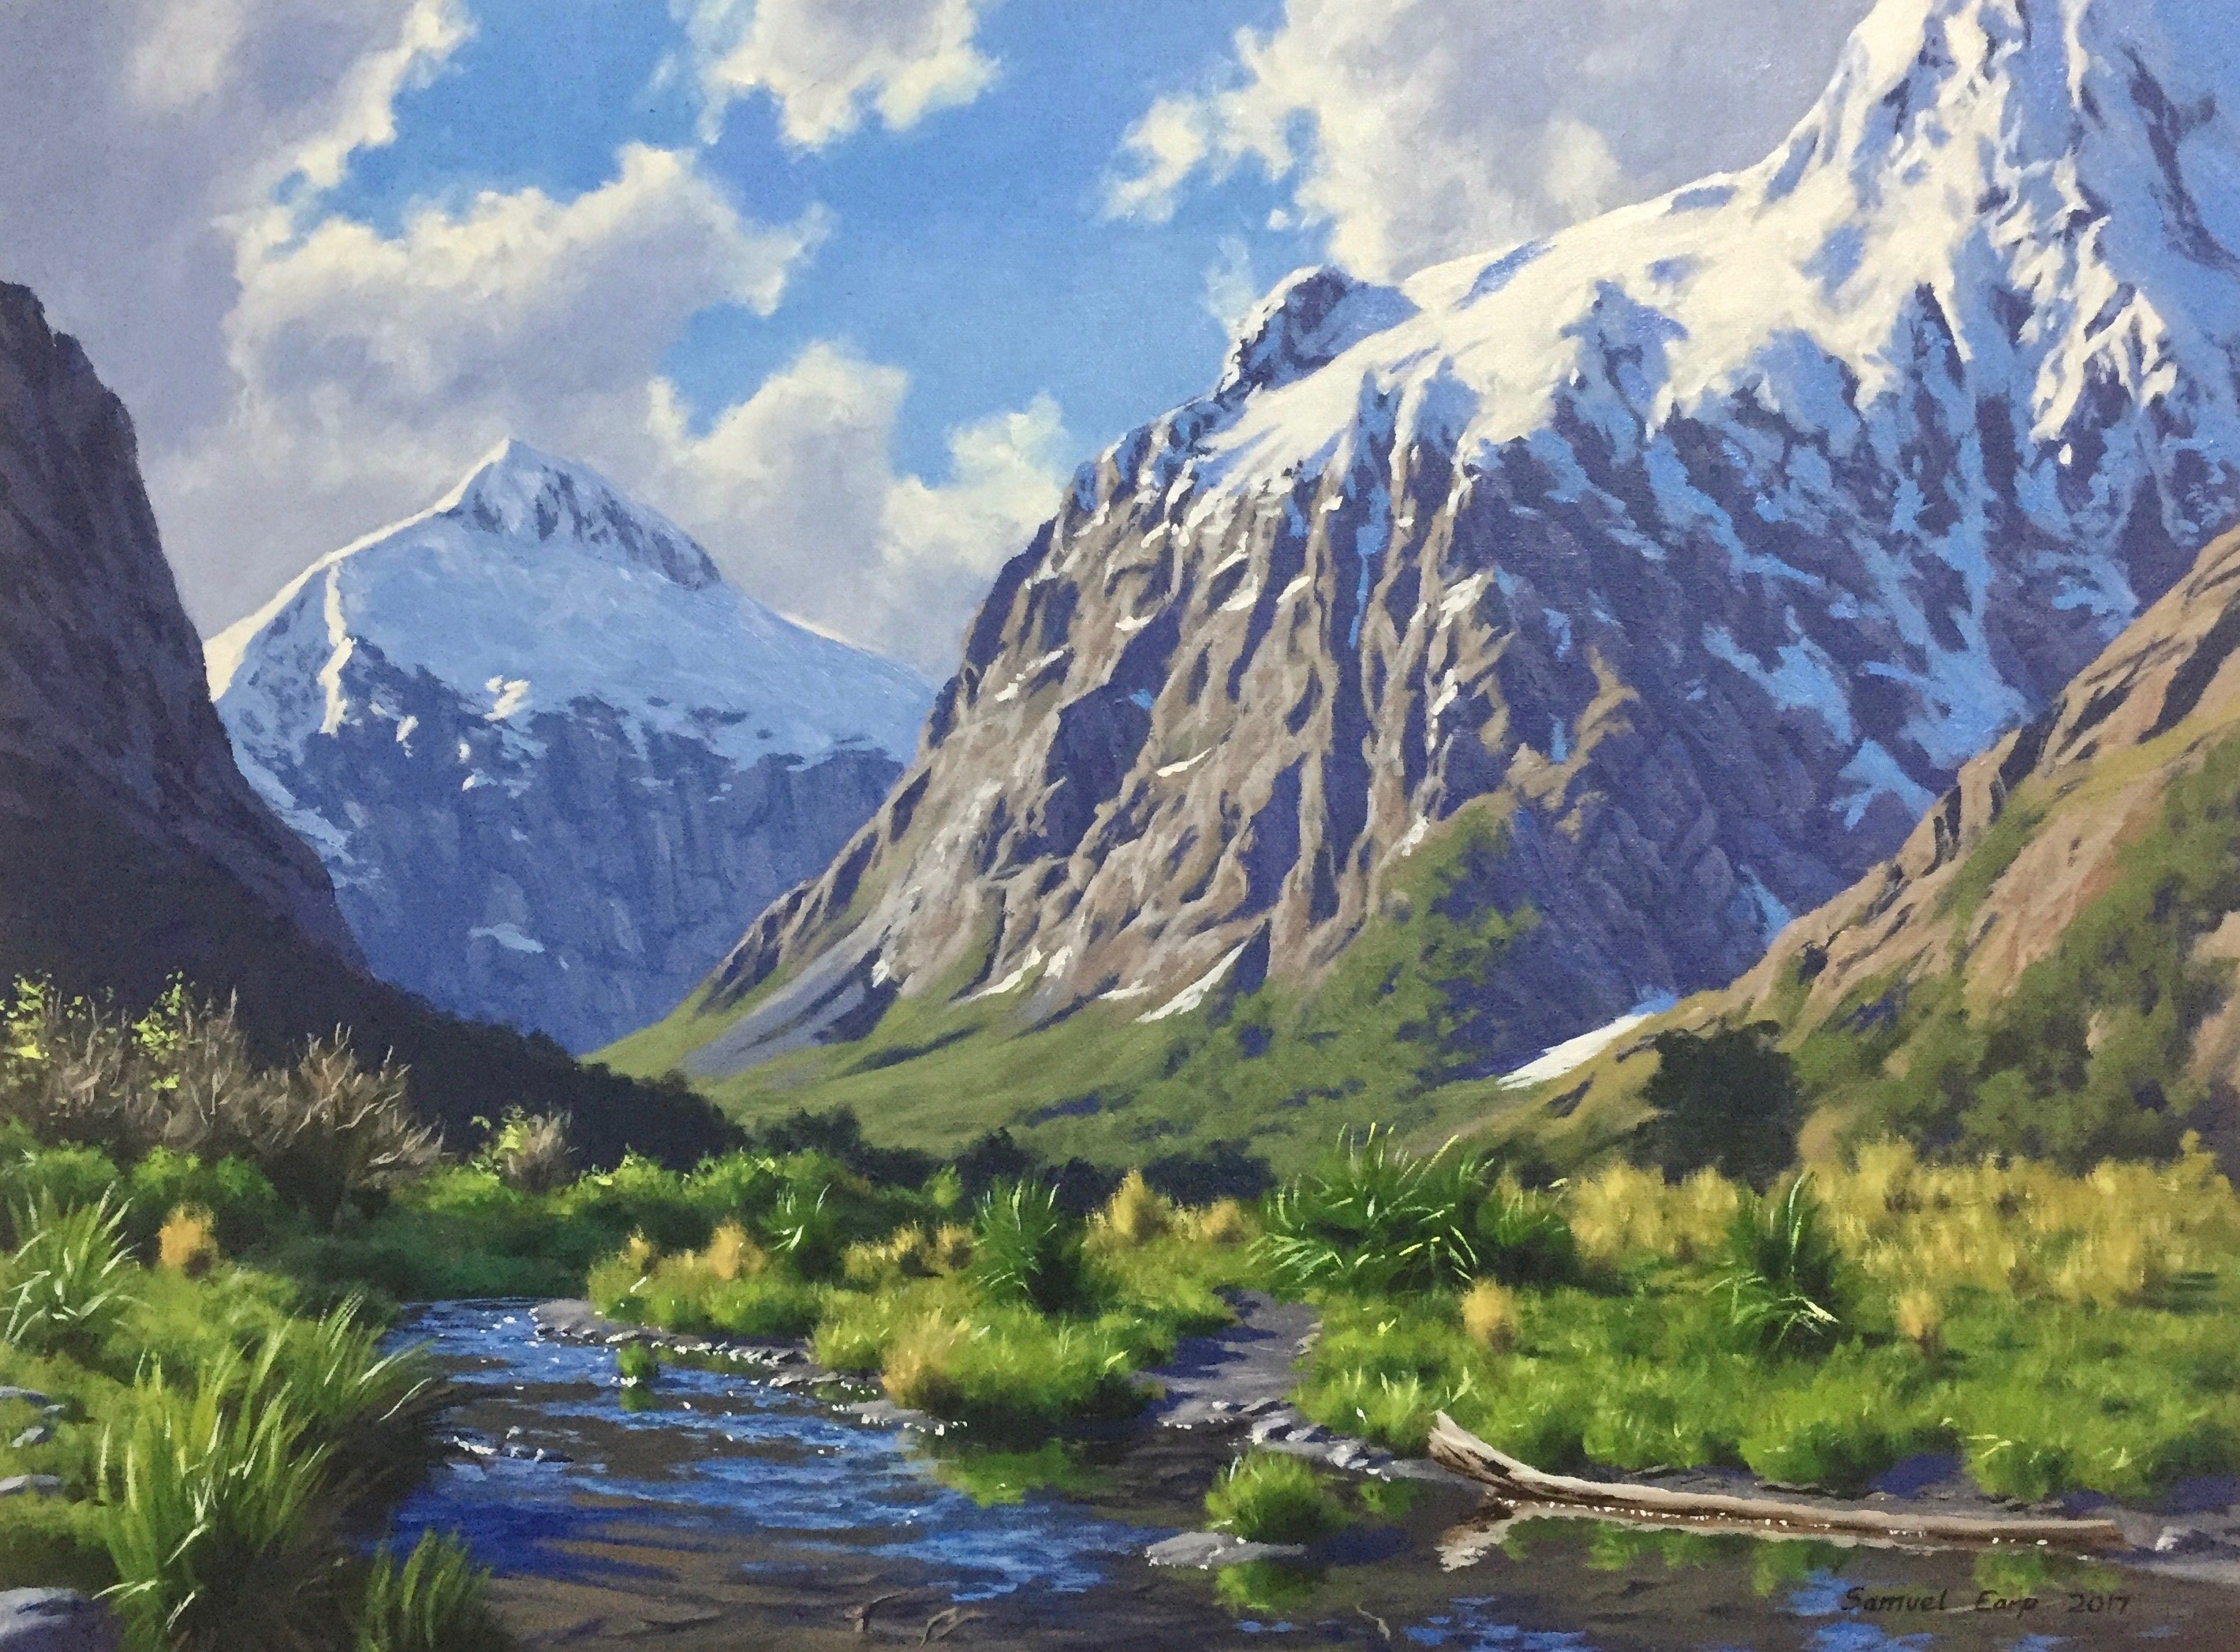
Check out the previous blog post where I explain how I designed the composition of the painting with pencil sketches and a colour study and the initial blocking-in phase where I start painting the final art work.
/@samuel-earp-art/painting-a-mountain-landscape-part-1-sketching-and-blocking-in
So now that I have allowed the painting to dry I start working on the detail. I start back with the sky and begin defining the clouds. I use ultramarine blue, burnt umber to reduce the saturation, quinacridone magenta to give the clouds a violet tint and titanium white to increase the tone. I use a flat bristle brush and a dagger brush to define the shapes of the clouds.
The highlights of the clouds are white, but not a pure brilliant white, instead I have dropped the tone by mixing the white with a small quantity of ultramarine blue, burnt umber and quinacridone magenta.
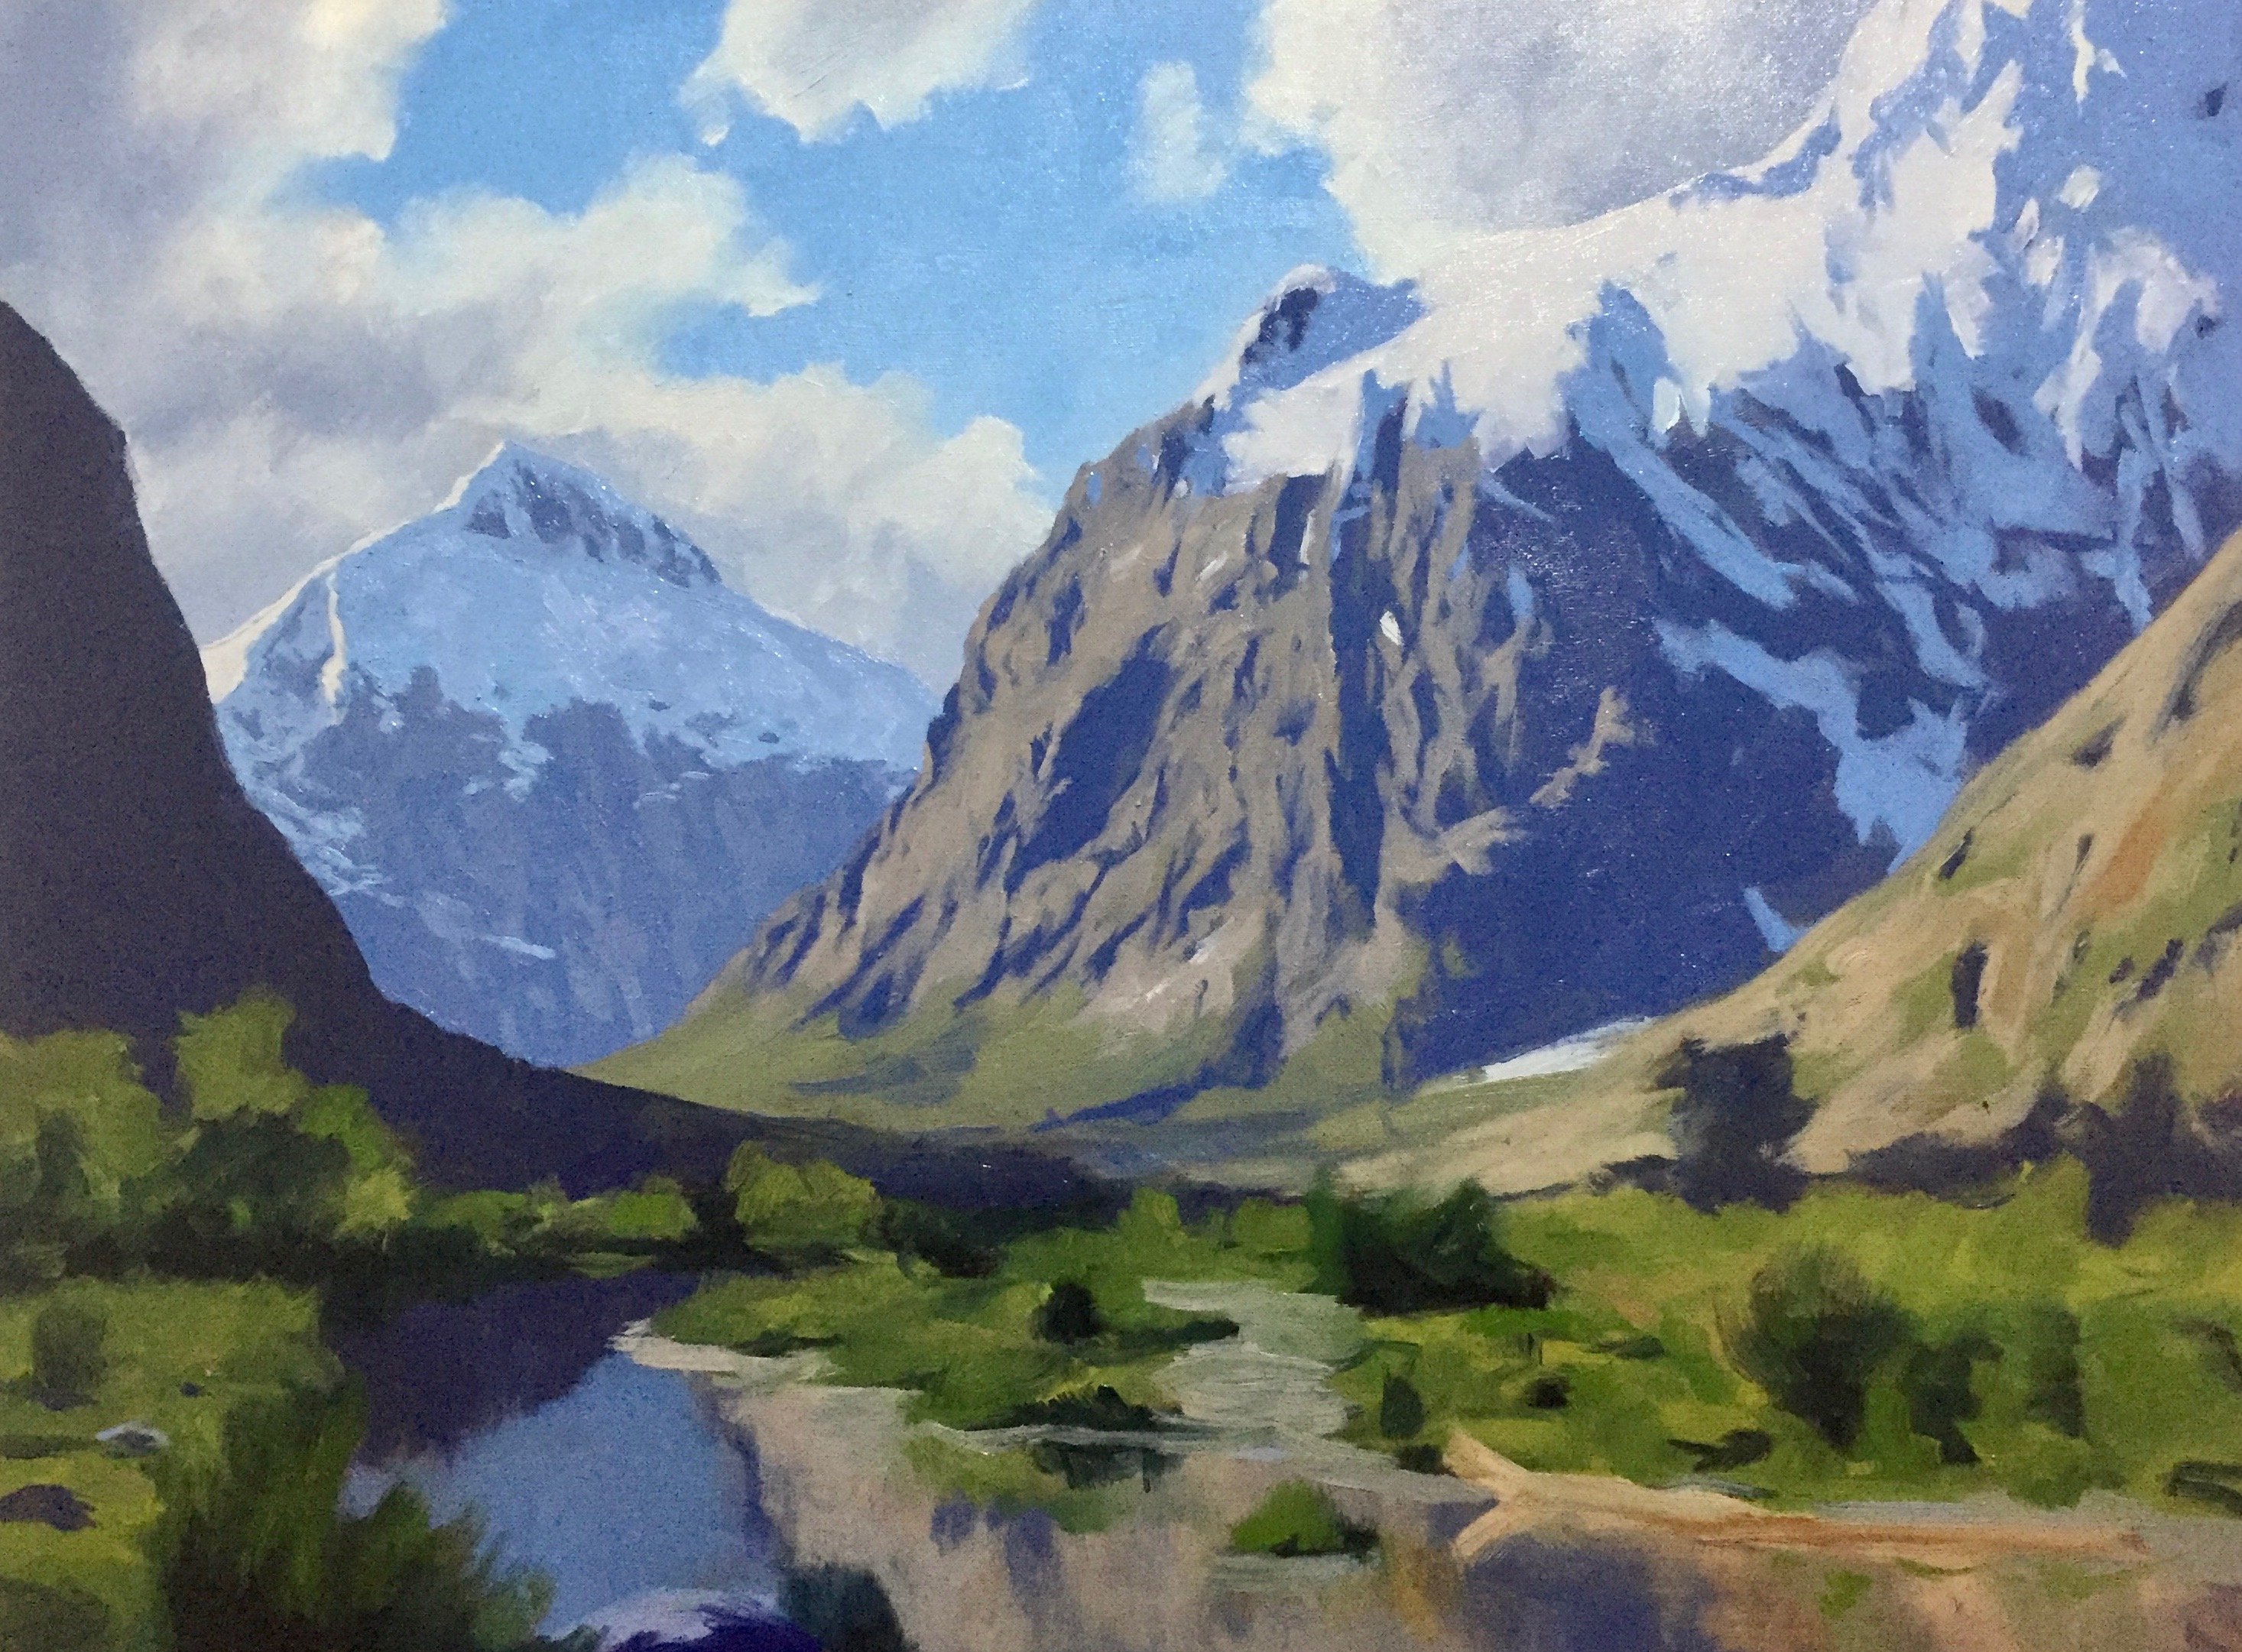
Next I begin working on the highlighted mountain face of Mt Crosscut and Mt Talbot in the distance. I don't go overboard with detail with these distant landforms as too much detail would be confusing on the eye and could potentially disrupt the composition. Often the suggestion of detail is much better as the human brain fills in the rest of the gaps.
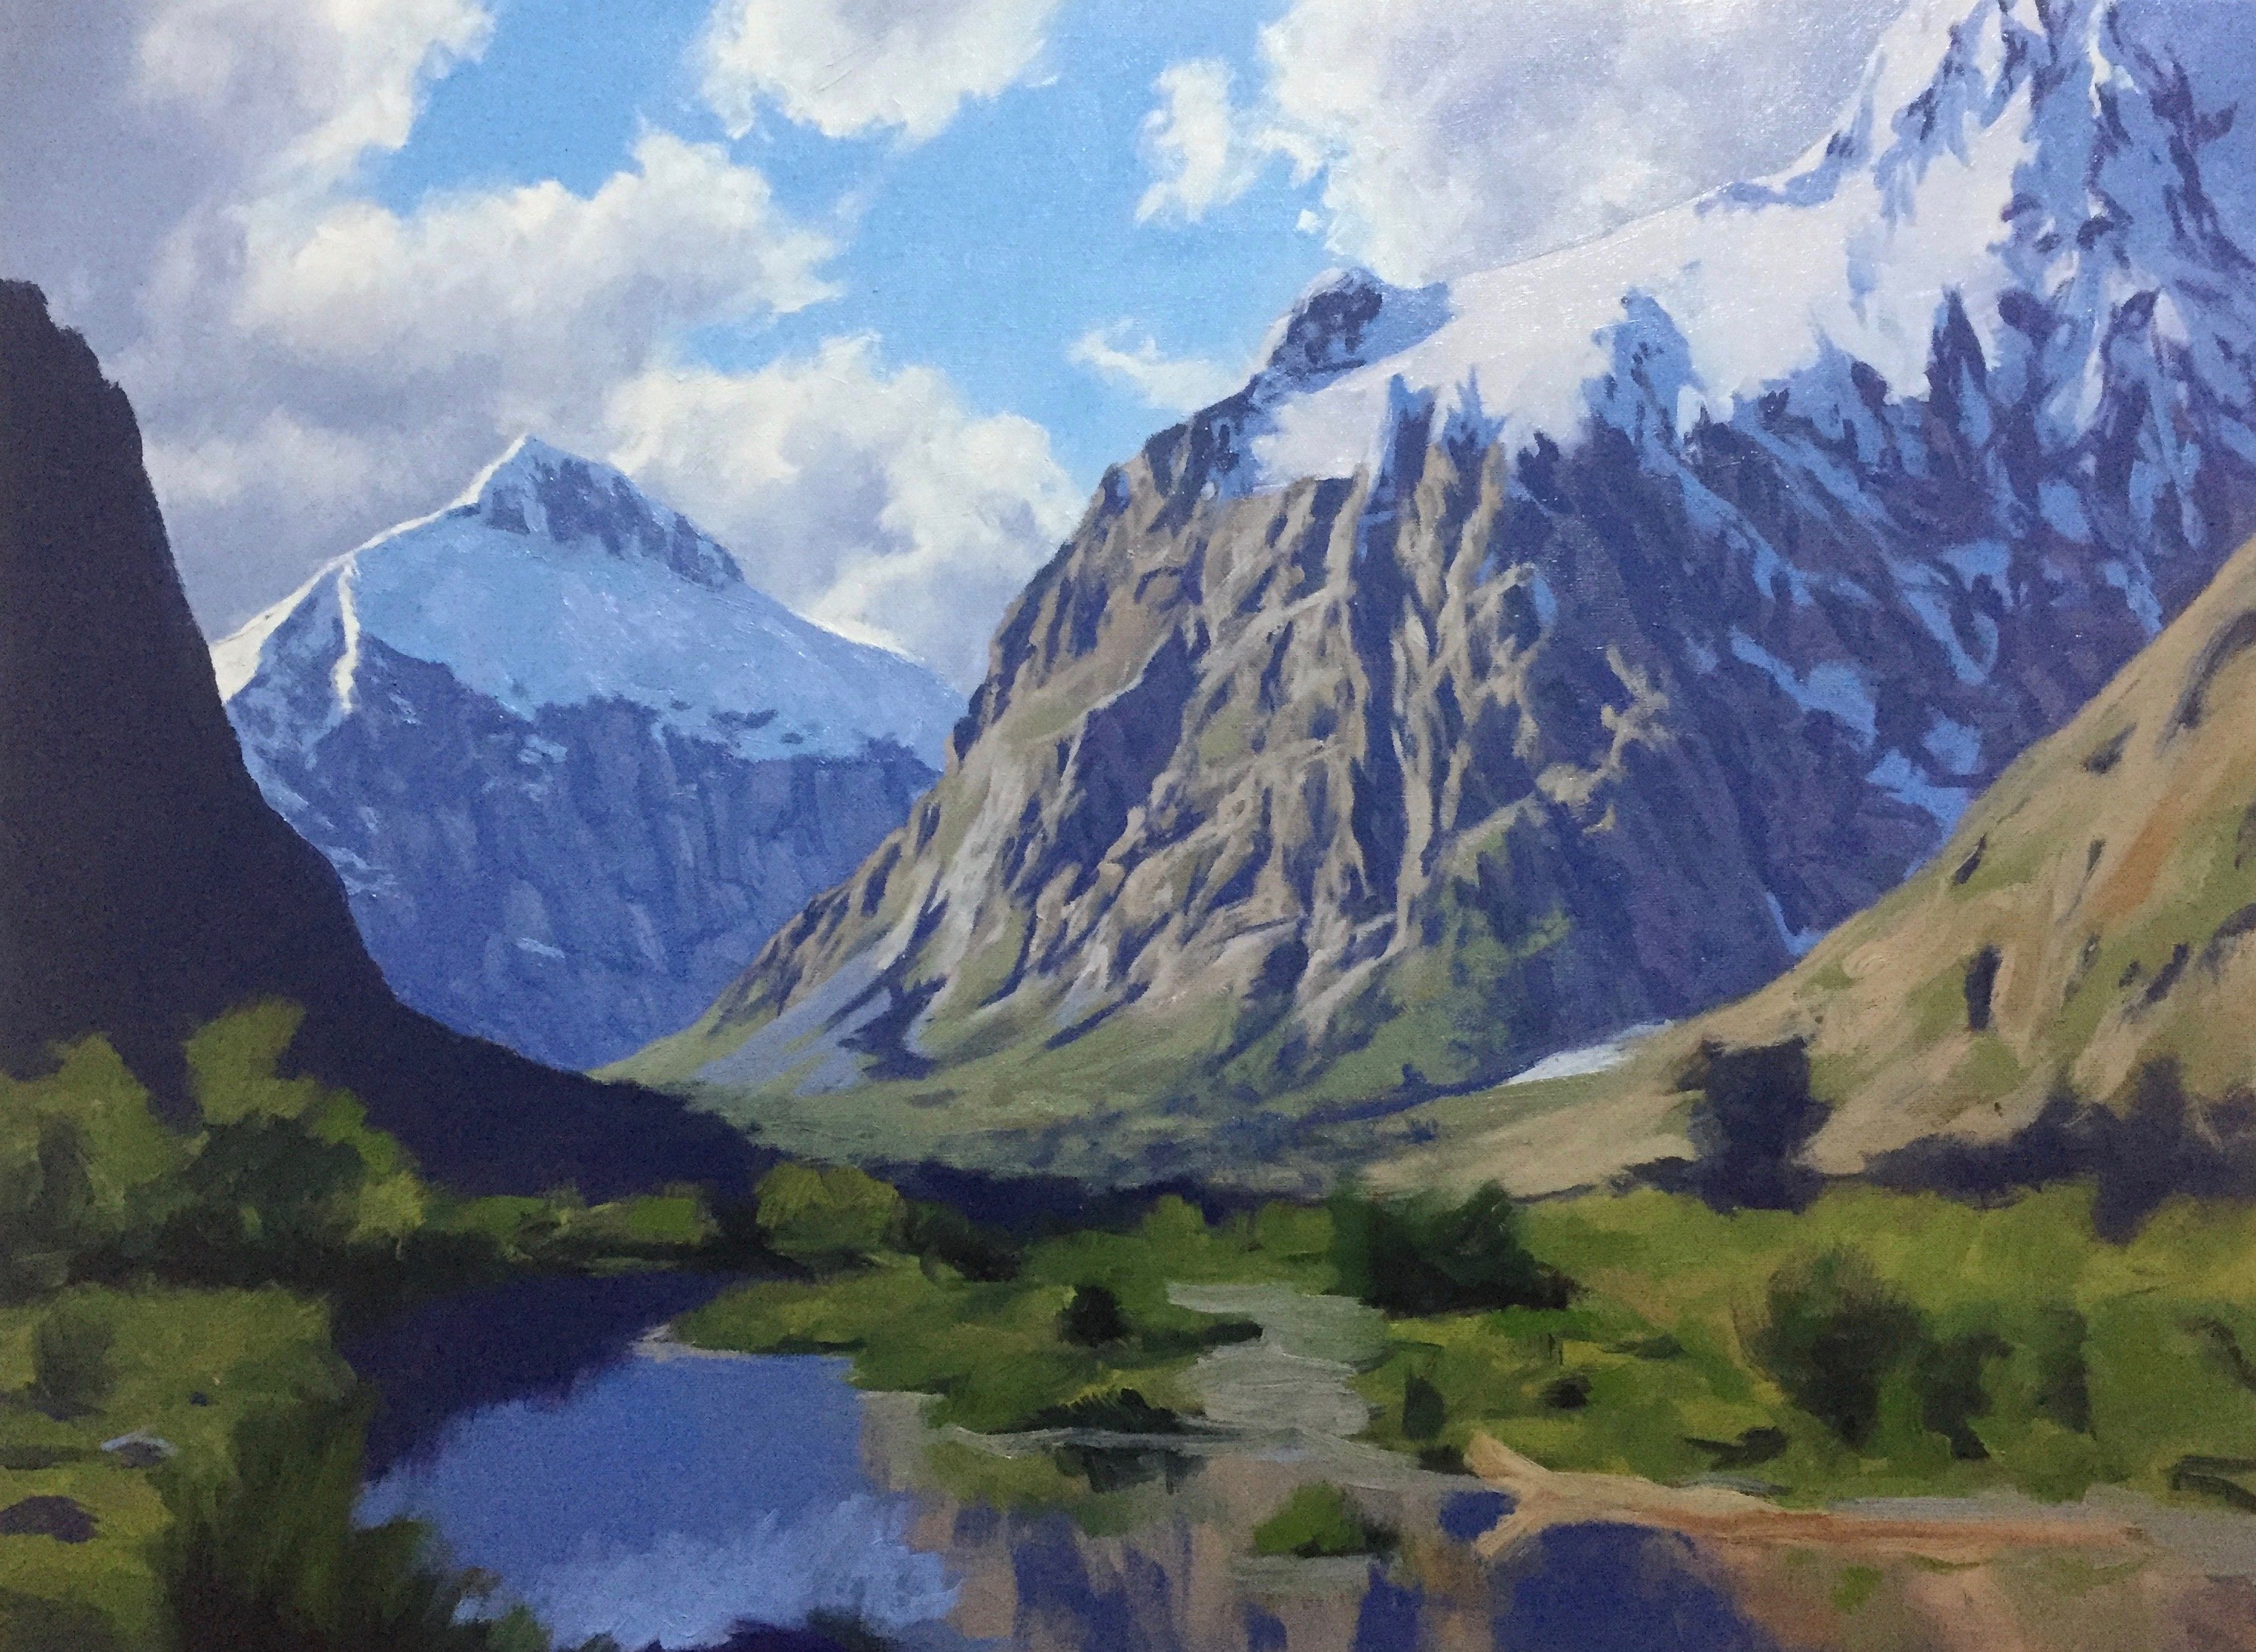
I paint the reflected light in Mt Talbot using ultramarine blue, burnt umber, quinacridone magenta and titanium white making the tone a little lighter than the rest of the mountain shadow. Here at this distance my darks are not dark which in a painting will give the illusion of distance.
I paint the highlights on Mt Crosscut again using the same colours ultramarine blue, burnt umber, quinacridone magenta and titanium white but using more burnt umber in the mix.

As I build up the detail of the snow on top of Mt Crosscut I am again mindful not to have it too bright at this stage, so I can add further highlights later on in the painting. I paint the shadows of the snow using a combination of ultramarine blue, cobalt blue and titanium white. I add a little quinacridone magenta in areas to give the appearance of reflected light. If the colour is too saturated I knock it back with a little burnt umber.
At this stage I start build up the detail of the foreground including the grass and foliage, as well as the water. I also work on the mountain face on the right of the painting which is in full sunlight. Here I increase the saturation of my colour but not too much that it comes too far forward in the painting. The green of the foliage is mixed using yellow oxide, ultramarine blue and titanium white where I then add cadmium yellow deep and a little pthalo green in increase the saturation of the green.
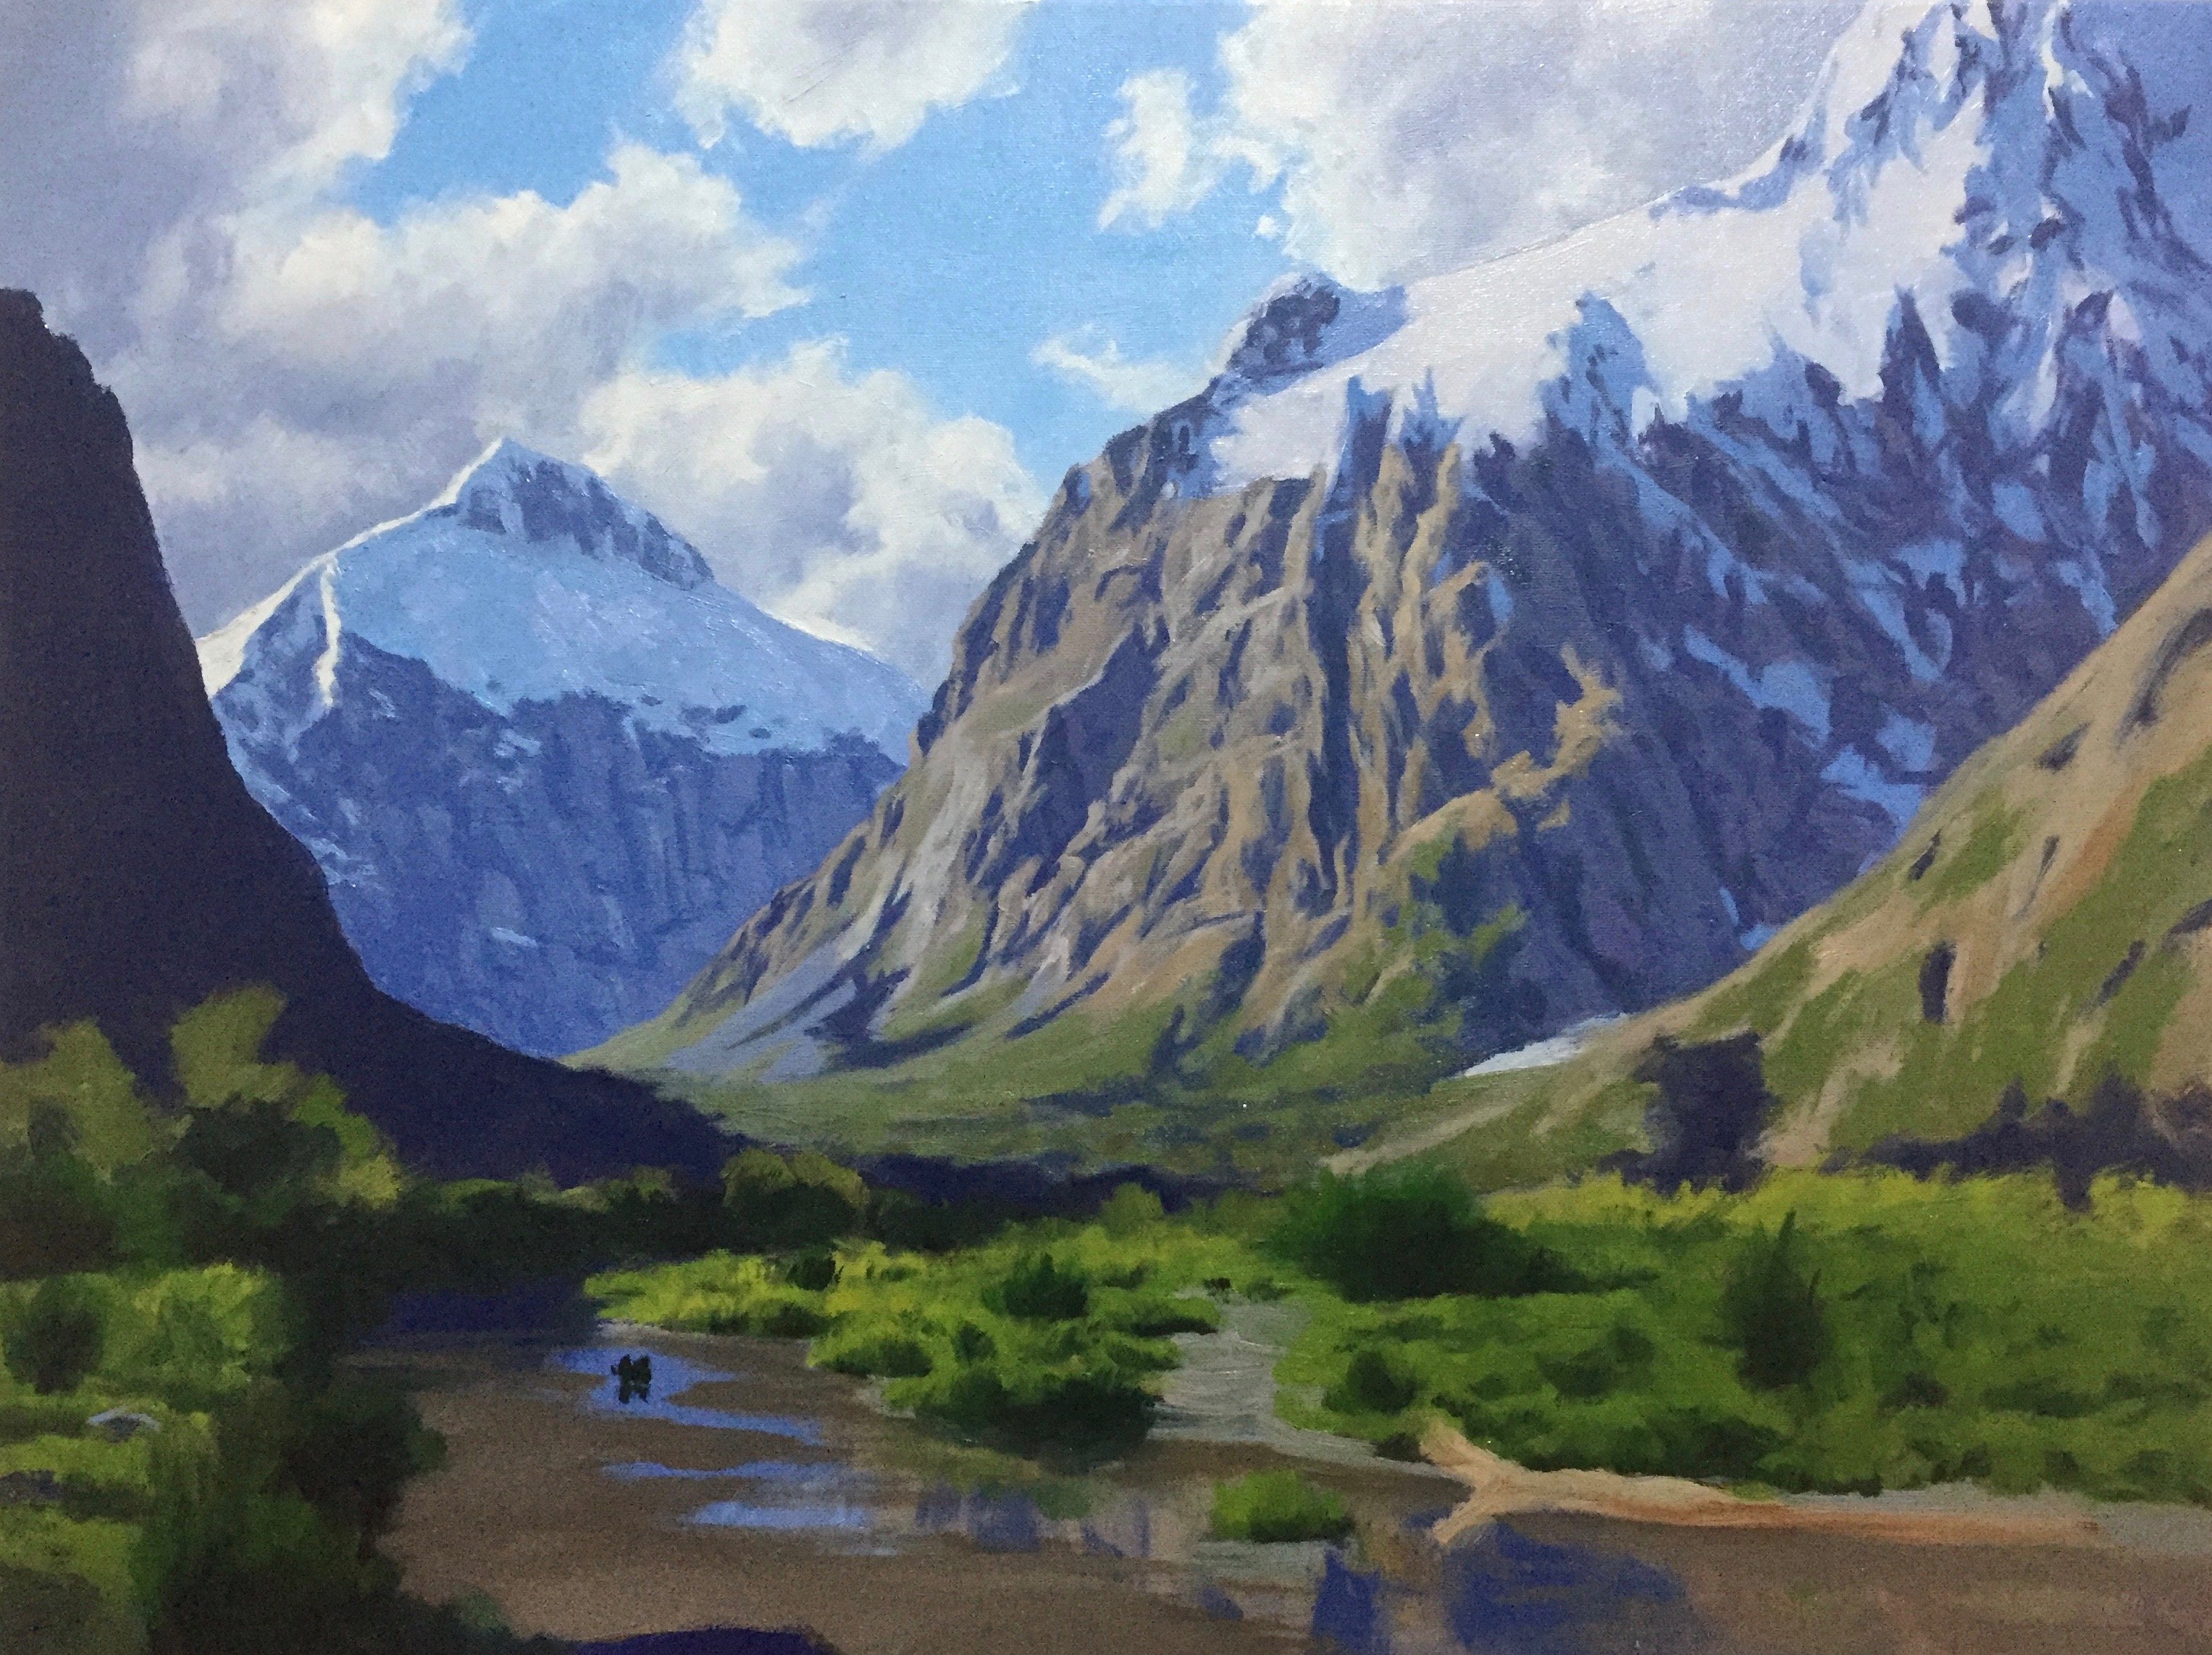
At this stage of the painting it is well underway, I refine areas of detail such as the shadows in the distance trees and the rock structure on the side of the mountain. I use a variety of smaller brushes but still using mainly flat brushes and dagger brushes.
I focus more of my attention on the foreground and begin painting the ripples on the water, bearing in mind they are reflecting the sky, so I am using plenty of cobalt blue, ultramarine blue and cobalt teal.
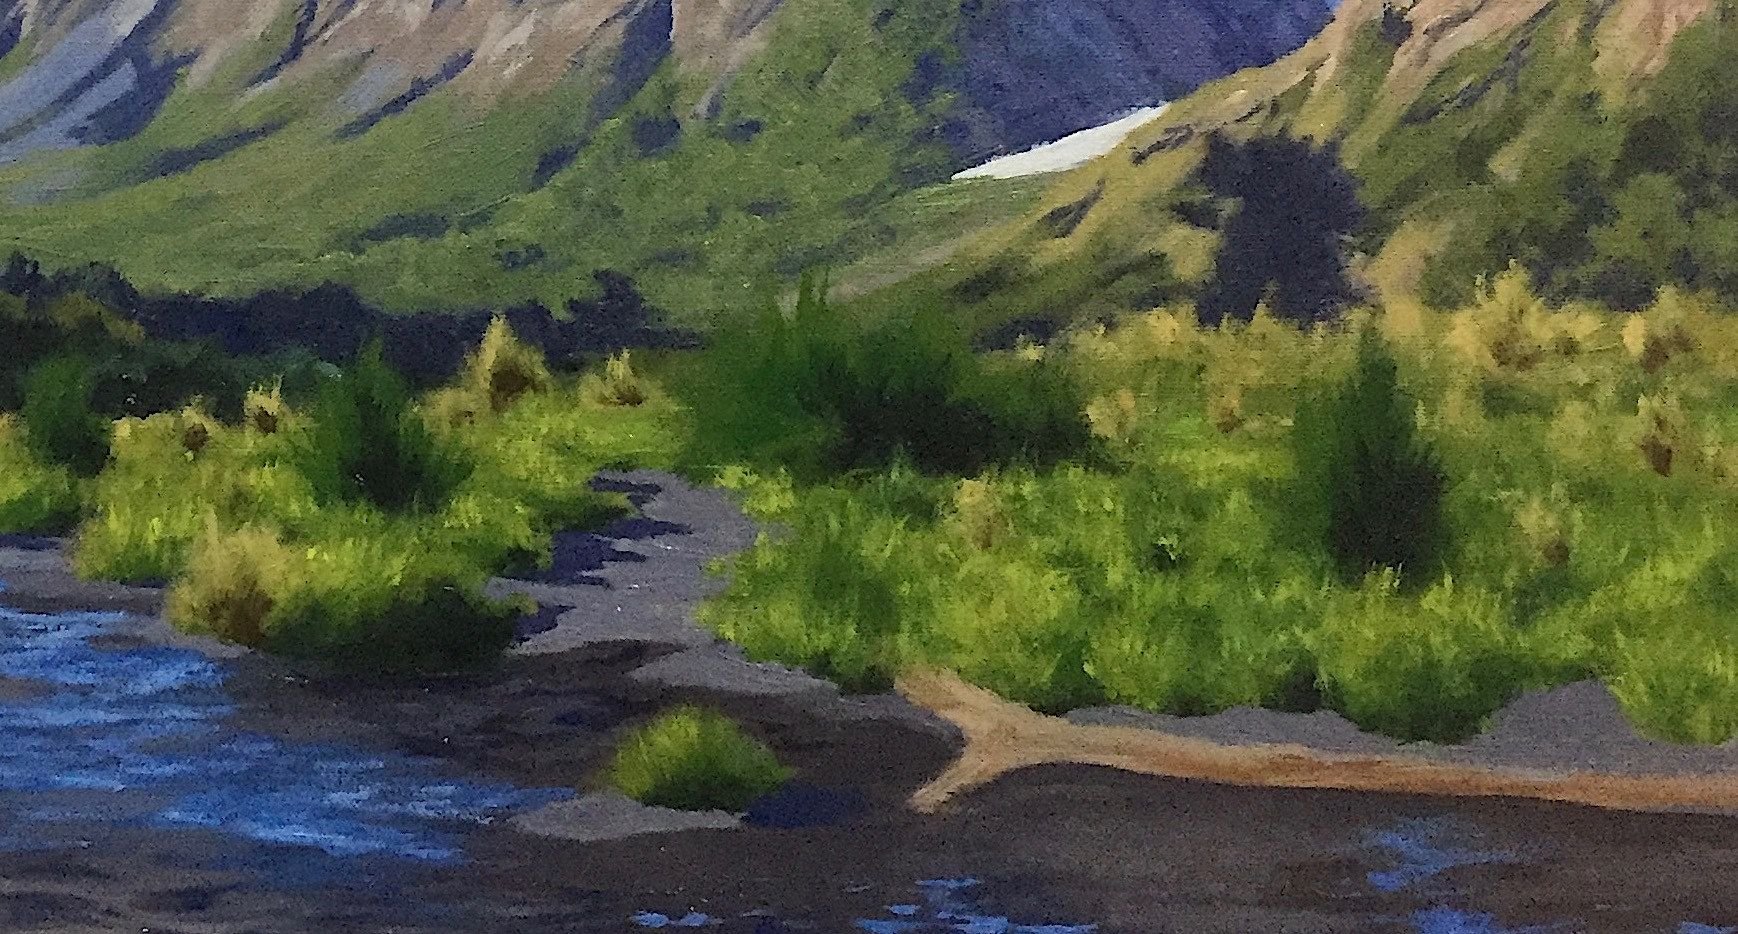
I add more highlights and detail to the grass and foliage in the foreground using ultramarine blue, cadmium yellow deep, pthalo green and titanium white. I add either burnt sienna to the mixture or quinacridone magenta to earth it the green and make it look more organic. Adding quinacridone magenta will also reduce the saturation of the green as being the opposite on the colour wheel to the red in the quinacridone magenta, cancels each other out.
To really bring out the shape of some of these bushes and grasses in the foreground I paint in some dark shadows using a combination of pthalo green and quinacridone magenta which creates a near black. This colour combination also dissipates nicely into the highlighted green hues.
When painting masses in the foreground you can use your most saturated colour and on a tonal scale the shadows will be at their darkest and lights at their lightest. Having strong dark shadows in the foreground can give your painting a real sense of depth and atmosphere especially when it's juxtaposed with the light and mid tones of the masses in the background.
I hope you enjoyed this blog post, stay tuned for the last part of this painting demonstration where I show how I add the final details to the painting and bring it to life.
If you found this blog post interesting and helpful and you like what I do, any tips to help support my art career would be greatly appreciated.
Bitcoin: 1Px9bSmVfw69F2uEUso8Zz46BV2DmGLZJg
Litecoin: LQYz47A7pZfMLRjqpR29YbxnY36aoLrFAT
Dash: XmHqFwzmyhax3zm2Q3hVhqAYfMZ2AqaZ3f
Check out my website for more painting demos and my art: samuelearp.com
Subscribe to my mailing list for news, new paintings and art tips and receive a FREE digital art print download of one of my seascape paintings suitable for printing an image of any size: https://www.samuelearp.com/subscribe/
Part 3 (the final part) of Painting a Mountain Landscape to follow soon....
