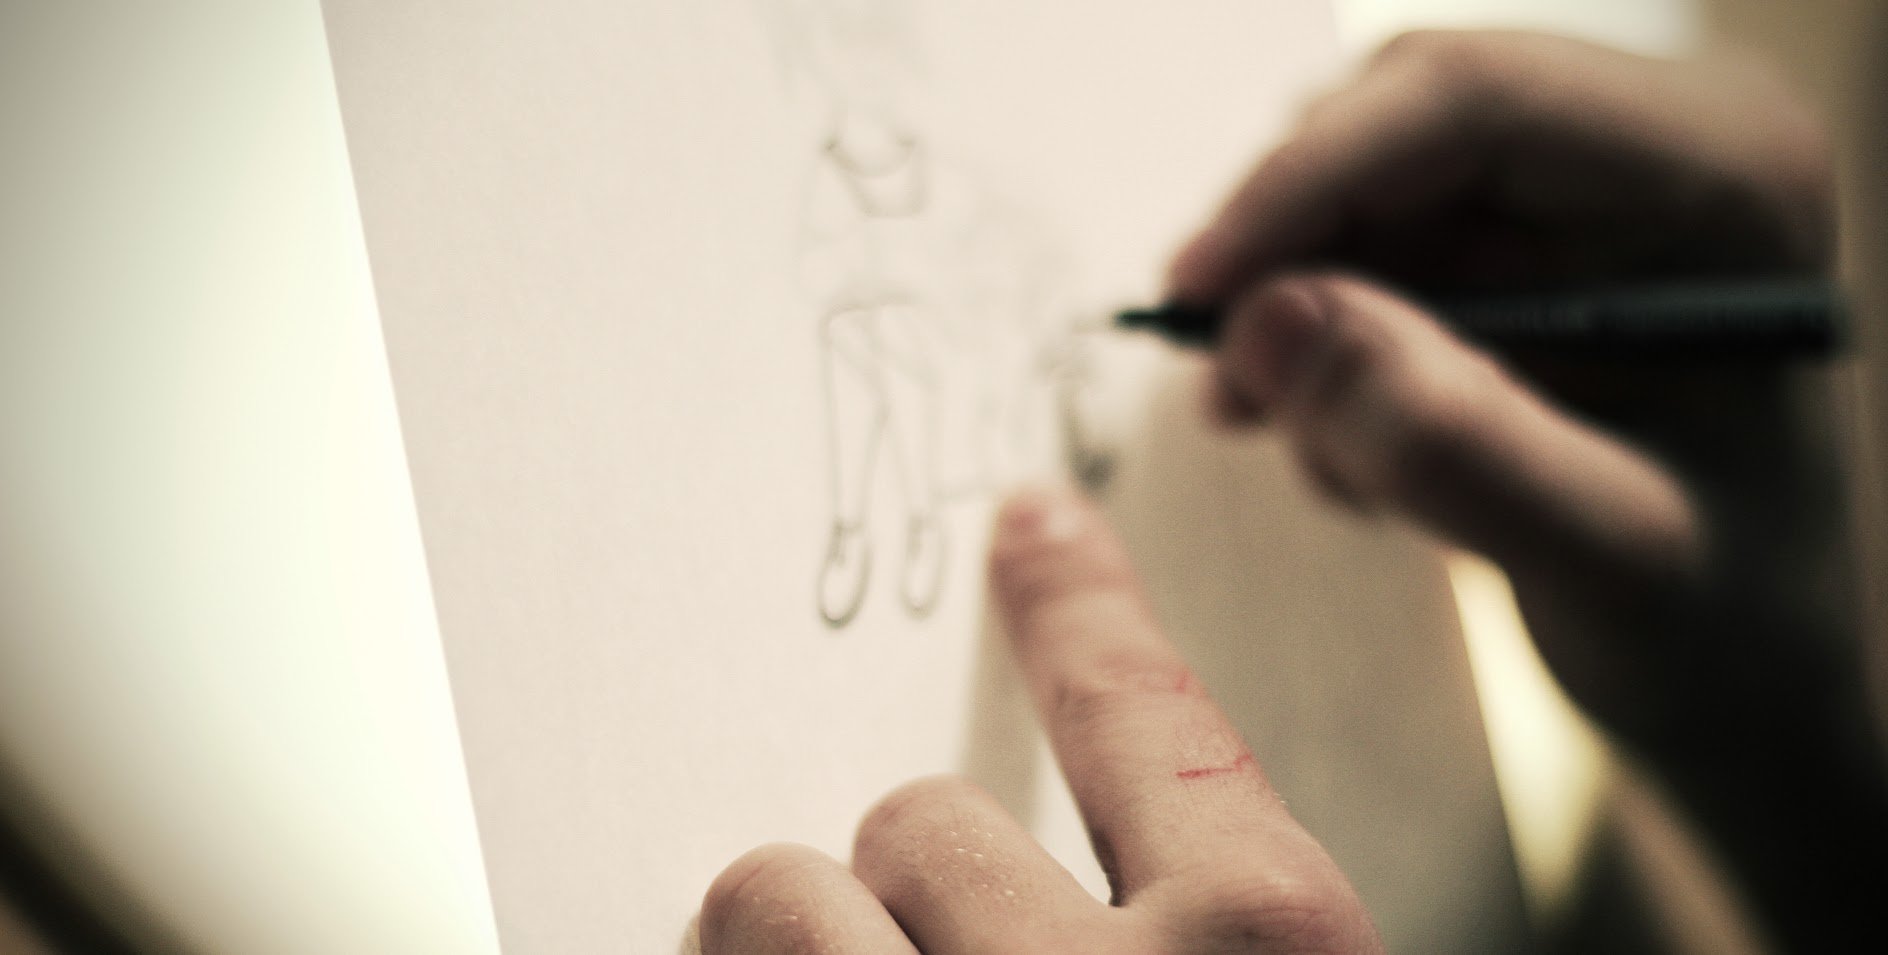
I'm an animator. I like to animate by hand because I'm insane. I could probably make the videos I want to make with much less effort since the average viewer probably doesn't even notice or care about the difference between flash and hand-drawn 2D animation. Either I'm a glutton for self-punishment or I'm in love with a dying art form and believe that it's beauty is unparallelled by any other motion picture art form.
I'll go with the latter.
Animation takes time and effort. I have to draw out literally every single frame of motion. That usually means 12 drawings per second of footage. However, for quick movements I often need to animate at 24 frames per second. Depending on how complex the each drawing is a full second of animation can take days to create, or I can hammer out it out in an hour.
This little diddy was an absolute motherf***er to animate.
So animation takes a lot of time. Time=effort and effort=pain. Staving off carpal tunnel is the constant struggle. But I'm getting distracted. I came here to talk about something specific that I animated. It was a multi-step CGI/hand-drawn hybrid. Let me take you on a journey through my work, hand cramps, and ultimate triumph.
My Goal
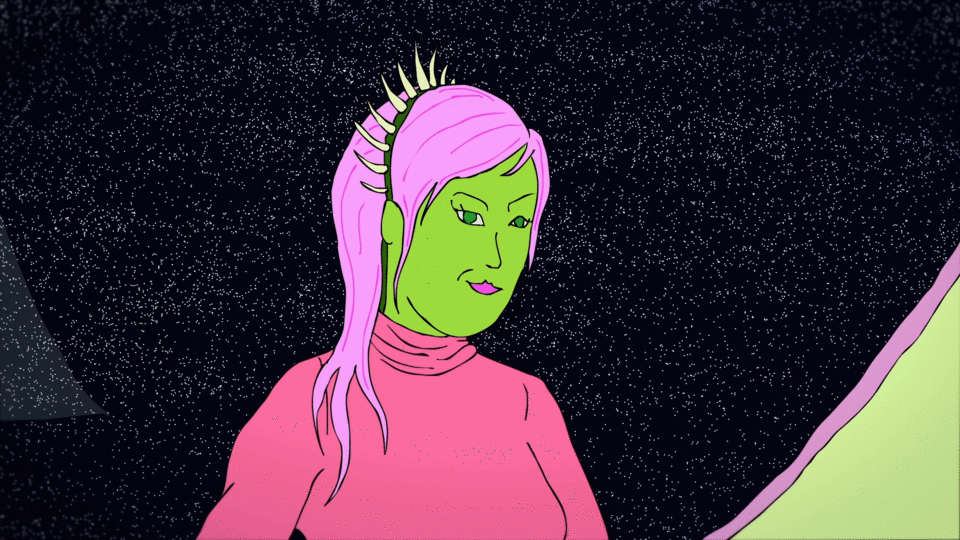
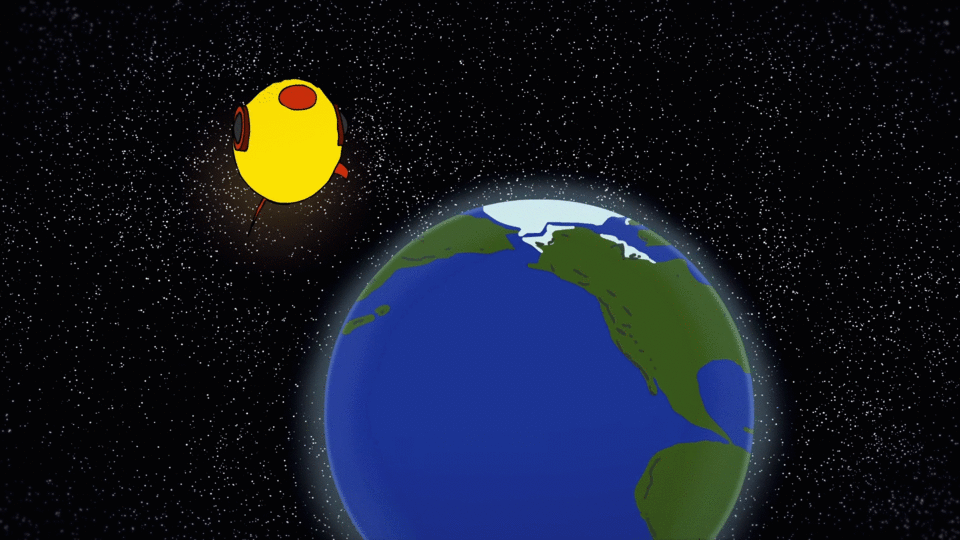
I was working on a hand-drawn animated music video that takes place in space. The GIF features above is from that video. I wanted to animate a few sequences that displayed a rocket ship flying through space and I wanted it to look like it existed in 3D space. In the shots I had imagined, the audience would see the ship from multiple angles.
I knew I didn't have the skill to do this completely by hand, let alone the patience to keep track of the geometry so these are the steps I took. I tend to ramble a lot. This was meant to be a brief intro, so I'll try to let the images speak for themselves as much as I can from here on.
Step 1: Storyboards
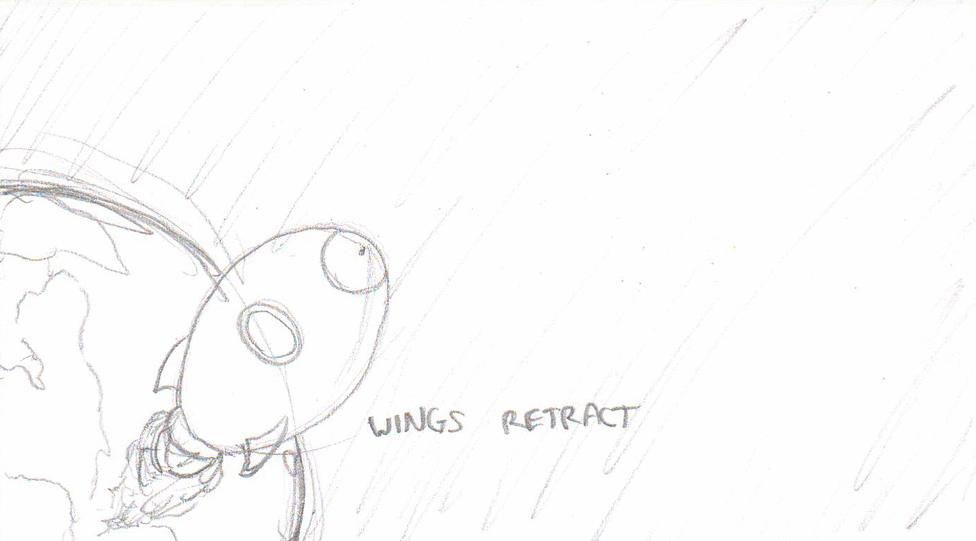
I drew out these storyboards to get a sense of the movement of the ship. These storyboards would then be used to develop...
Step 2: CGI reference model and animation
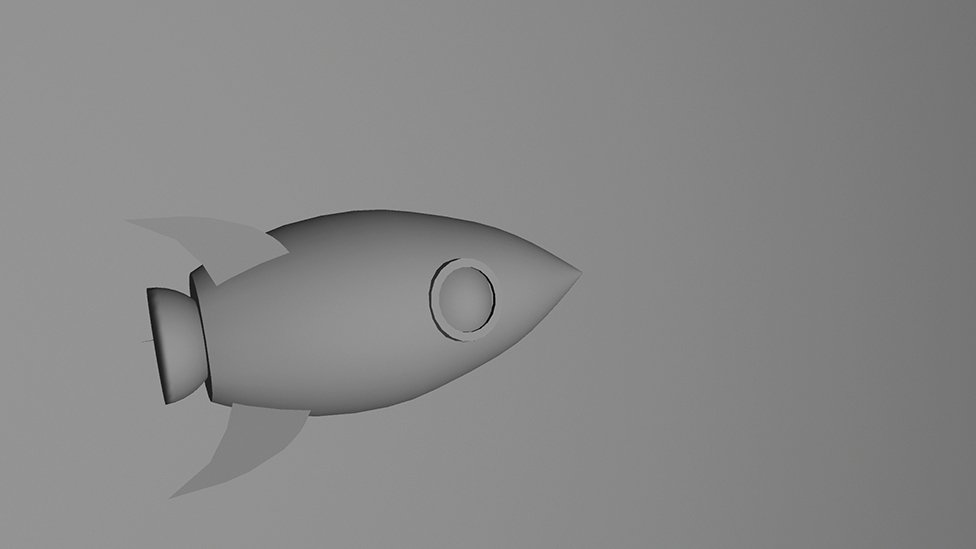
I didn't include a GIF of this since I don't want this page to take too long to load. But as you can see this model is very basic. It was just enough for me to be able to make out the shapes and lines for the next step...
Step 3: Rotoscoping
I'm very proud of how this looks so I'm embedding a video so you can get the full quality.
Rotoscope animation is the process of tracing over subjects (usually human) from actual filmed footage. Sometimes this method is used just as a reference for movements like in many classic Disney movies. And other times rotoscoping defines the style of the animation itself like in the films of Ralph Bakshi or the Richard Linklater film A Scanner Darkly. I wasn't drawing overtop of a live subject, it was a CGI animation, but the process I used was exactly the same so I think I can still call it Rotoscoping.
...And the Finished Product
Honestly, I've got to say I like the way the line drawing looks more than I like this version that appeared in the music video. I think because it's more obvious that the line drawing was created by a human and I find the subtle changes and wiggles around the edges very beautiful. Here I go, gushing about my own work. But I love this medium, and that's why I do it. That's why I put in all this time and effort and deal with (translation: drink through) the pain.
I hope you enjoyed this article/animation showcase. I would love to hear your feedback in the comments!
You can watch the music video here: "https://www.youtube.com/watch?v=uTZSiXO2ka8"