Hello friends, Steemians, and lurkers alike... Are you sick of using other people's images for your blog, but can't afford to buy nice cameras and image editing software? Do you want you content to stand out hard and get noticed by other users? SAY NO MORE! Hello, I'm shello, and I'm back at it again with another art tutorial. This one's geared at the normal writer who would love to make great images for their blogs without spending hundreds of hours learning how to use design software. Not everyone is here to make art, so what about the people who simply love writing?
Topics in This Article
- Why is this guide important?
- The Pixabay Alternative and the goal of finding different images
- Making and Using Memes, and other ways text is used on pictures
- How to get amazing fonts (and to properly install them)
- A Walkthrough of the best and free MOBILE image-editing application
What sparked the idea to write this post?
Earlier this week Steemian @inquiringtimes hit me up in the MSP (minnow support project)/PALnet Discord to see if I was game for a small design job. Of course I accepted, because I've never done a paid commission art work in my life! I was ecstatic to help. He approached me wanting this post to use Steemian made art which I respect, as nowadays everyone is abusing Pixabay to find free-use images for their articles. This resonated with me. Although I have made some interesting artwork in the past for my blogs, I too ended up finding images on this site and just giving image credits instead of producing my own work at times. Being lazy isn't going to get you more traffic.
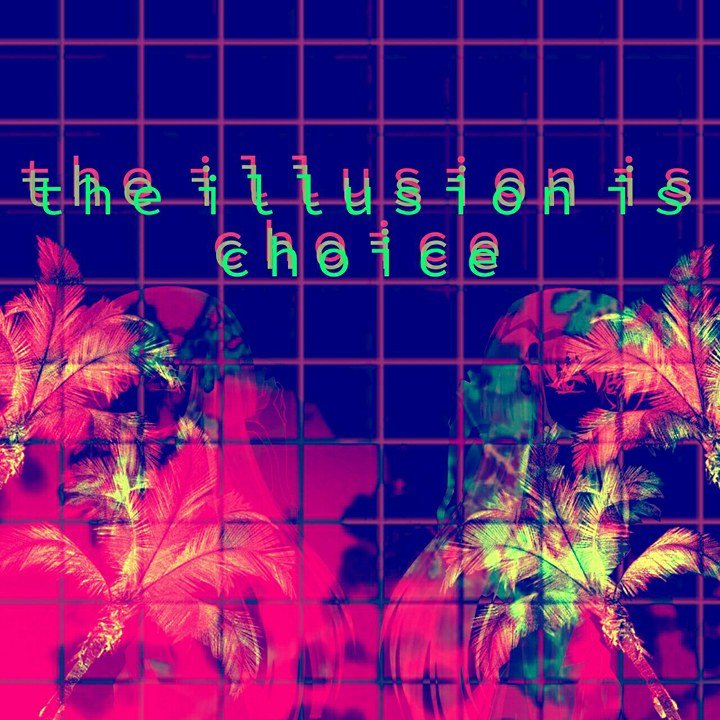
What he asked for was some elevator artwork that would help solidify the foundation for this post, and asked if I could draw something for it. What I ended up doing was taking a ride in my elevator for a bit, getting various shots, and running them through Photoshop to get the desired look. I sent maybe 12 images total in around an hour, and he was very happy with the work.
This got me thinking, that producing many images to put together for a post is not the easiest thing to do. Given, @inquiringtimes is extremely busy with other projects leading up to SteemFest2, many other users could benefit if they knew about the many resources that are actually available to them for free. Just a little bit of effort can go an extremely long way in getting a blog seen. This is not a tutorial for Photoshop, and considering how fast you can put together art with this, it may even be better in a lot of cases. This is a tips and tricks guide that will help


SXC.HU The Original Free Image Gallery
The other day I stopped using Pixabay for my images, when I realized the sheer number of other Steemians using it. I even saw a different user in my feed use an image I also recently posted. Which is perfectly fine, since everyone is allowed to use the images on the site however they'd like. -But what happens when you can't find an image that you feel perfectly fits your blog?
This site is now called freeimages.com, and it sounds like something that would give you a virus lol. This site is 100% legit to use to grab images from as well. I came across this site back in 2009, when I was a nightclub manager and flier designer. You can still type in sxc.hu and it will redirect you to this page. A possible re-branding of the site, but still offering the same service of providing free images. You will need to sign up, but using it is free! -And you can still log in with your old account if you have one.
When typing in a search, you will be presented by "premium images for purchase" in the header and footer of search, no pop up windows, and there are many images that are not commonly used, but still high quality. I cannot tell you how many times I was tempted to buy the premium images though, they're amazing! Make sure to always include you image source, when using another person's images!
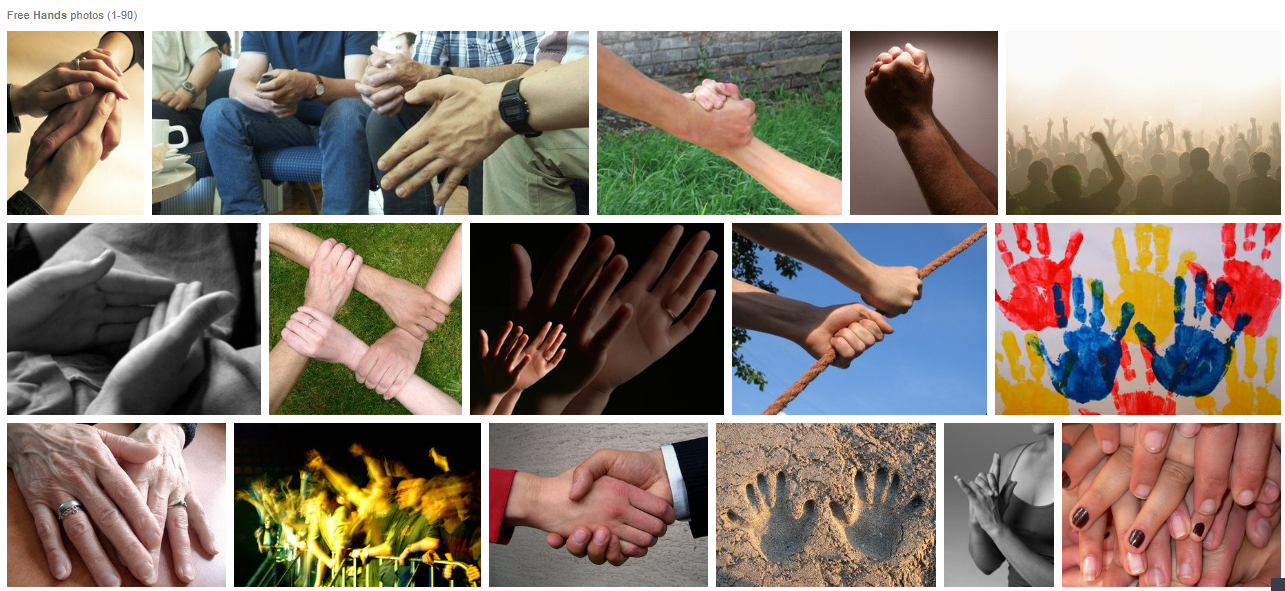
The trick to this is getting good images into your blogs, but not the same ones that everyone else on the site has seen. That just makes you look lazy!~

Making Memes and Inspirational Quotes
I used to have a memepage, where I either did funny memes, or inspirational original quotes. A picture may speak a thousand words, but a picture with 2 lines of text is enough to send people into a thousand worlds. Let me provide you some of my favorite examples of my past work.
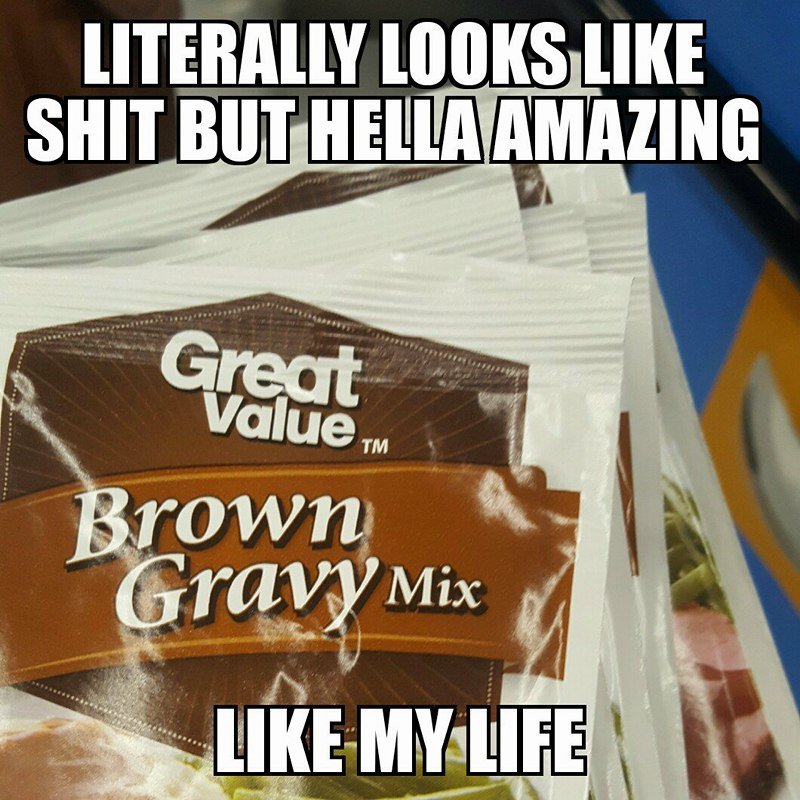
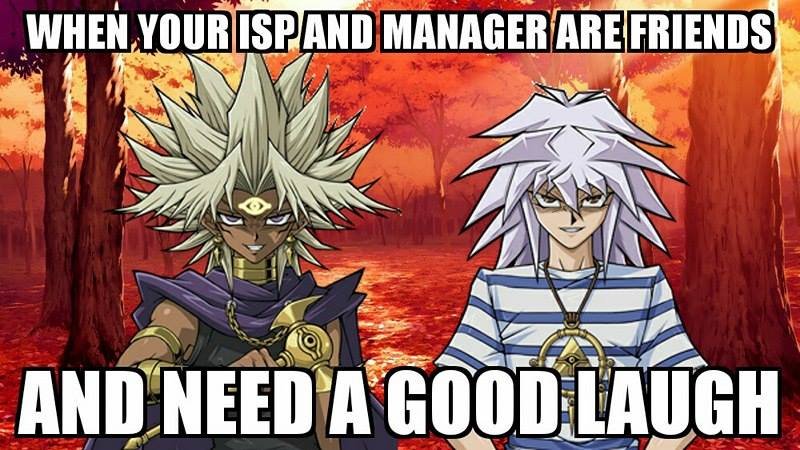
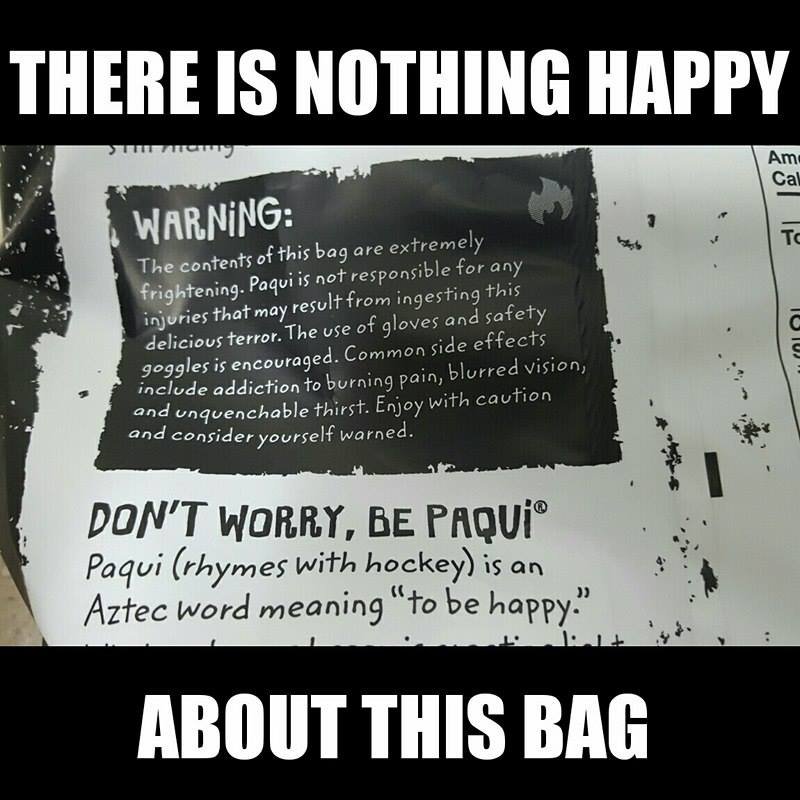
Text on Pictures is ENTICING
You could just use your images you made or found, or you can induce hilarity and insight by putting text on those pictures. What gets at a lot of people and myself is finding the right font to add to the images. If you like making memes you can easily find phone apps that align and use the right font for you, if that's the path you're going down. It can be pretty fun and the only difficulty is writing the punchline.
I see a lot of people posting a one-off funny meme or picture often, but I have YET TO SEE many posts on Steemit that memes what the author is typing about in one of the many images. Adding the right meme to your blog may help get readers to pay more attention to your topic. You can even have a serious blog and use it for comic relief.

How To Choose Cool Text For Pictures That Are NOT Memes
I'm just kidding, everything's a meme. There's a site for an expansive collection of fonts called DaFont, and any possible style, logo, wingding, and script you'll be able to find here. Fonts help to add an additional layer of expression. I even use a font named; "I hate comic sans". Each font will have the usage rights listed next to it (Demo, Donationware, Free for Prsonal Use, and 100% Free).

Font categories on DaFont.com
On Steemit, we use a Markdown language editor, and can't make our texts colorful, and do a bunch of the personal edits made back in the days of Myspace or even Xanga. So how do we add personality to our articles? Quality of information, originality, writing style, and use of images. That's all we have to go on. So why not add text to explain the image, or even add titles to make them dividers for your content?

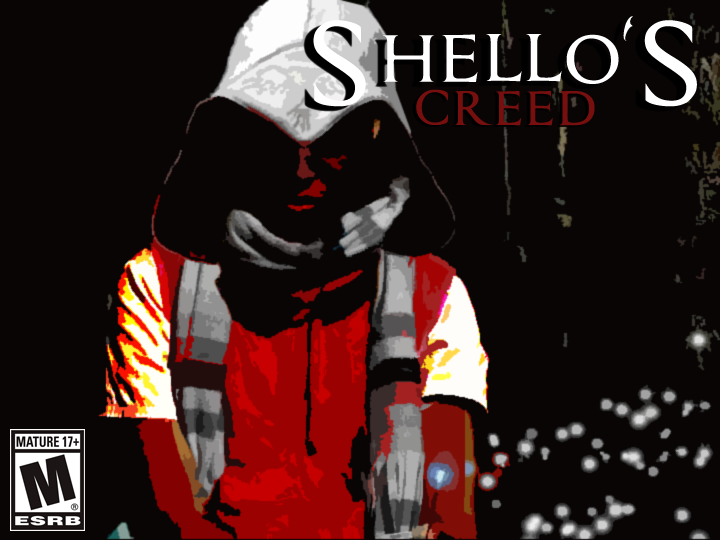
Today I decided that I want to use the Assassins Font (Assassin's Creed). Grabbing fonts to use is very easy! Just click "download", and when it's finished use Winrar or 7Zip to open the extract the tff (true type font) file to your desktop or the location where you want to keep your fonts.
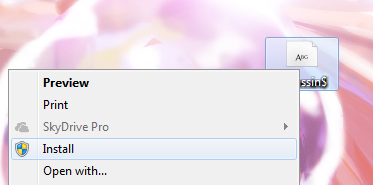
Then right click the file, and select "install". That's it. Your font will be usable in Paint, or any image editor you are using on your computer. Sometimes, I enjoy collecting specific fonts for projects.

The Mobile Image Editor Ahead of Its Time
Want to make professional looking, or absolutely obscure images for free? There is an application in the Play Store called; "Pixlr", and it is hands down the best image editing program I have seen. It's sleek, fast processing, and has more effects and filter galleries than you are EVER going to know what to do with. Best part is that it's free, and they are constantly adding new frames, filters, stickers, and effects. I'm literally surprised that not that many people know about it or use it. It's a great app, with an easy learning curve.
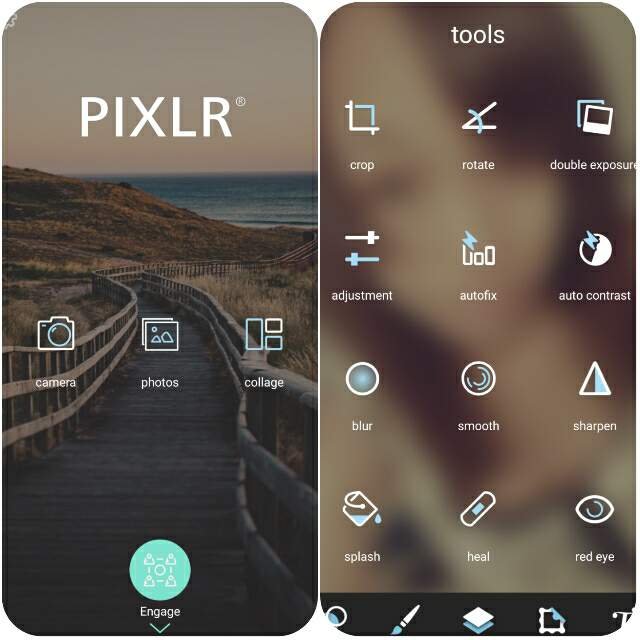
Pixlr (pix.lr) used to be an fully functional in browser image editor, and before I learned Photoshop, was my program of choice. I found out they made an app, and I was completely satisfied with what they did with it. You can open images, or your camera, and there is even a make collage option. The controls are extremely intuitive, and to make something larger or smaller you use a squeezing motion, you can also turn your motion to rotate images and text.
There is every essential tool for manually editing images, and numerous filter galleries (and fonts) that you can easily add, align, style, and colorize as well.
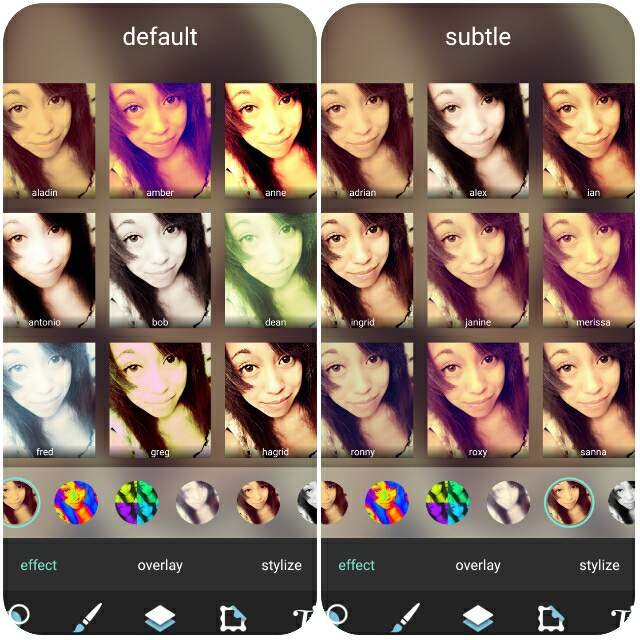
Hundreds of filters
And that's not a hyperbole. Each circle in the ribbon, is it's own gallery, you can scroll sideways quite a bit on this one. There are many image editing suites that do less than pixlr- for purchase. If you like to play with your pictures, this app is the easiest to use, and also the most fun. To save, you hit the little save icon, and you also have the option to save the finished picture to your phone's memory, if you don't want to share it straight to social media. I've saved images upwards of 2500 pixels and this program has never frozen on me.

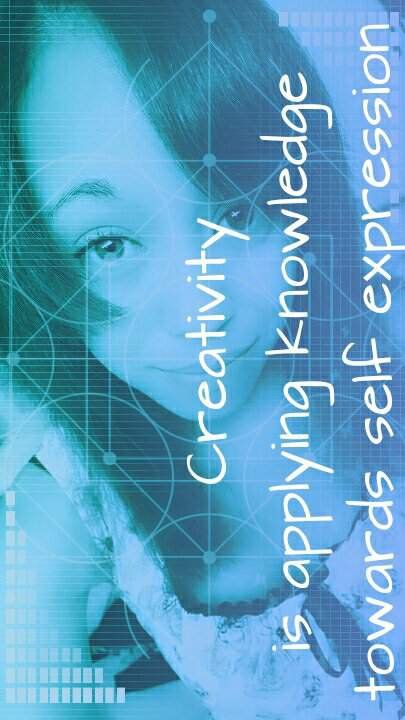
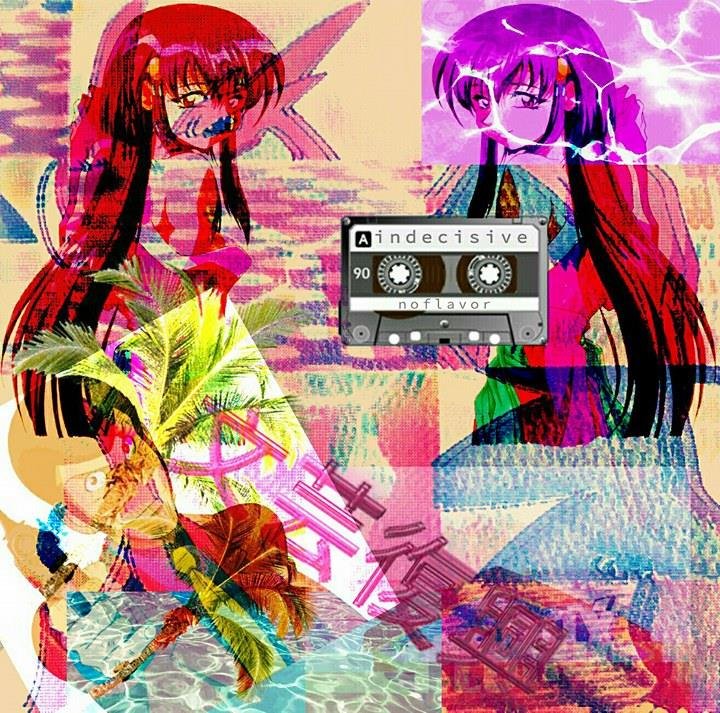
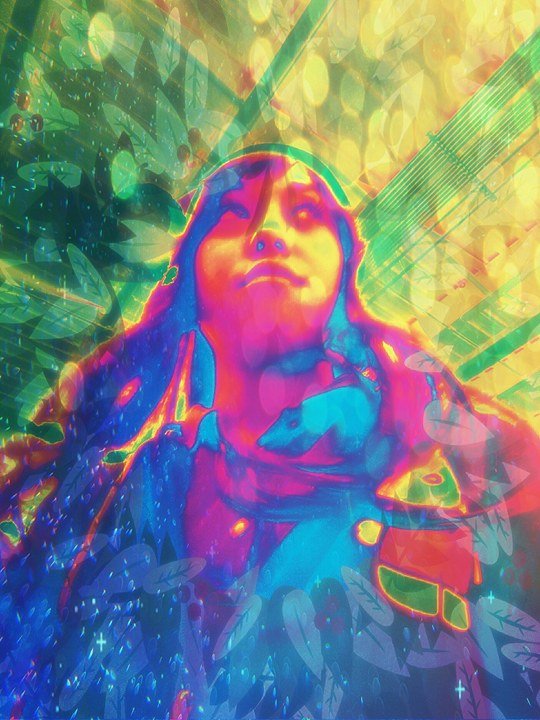
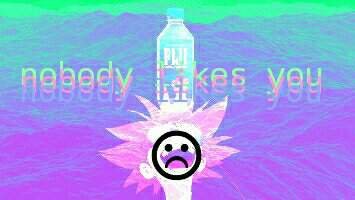
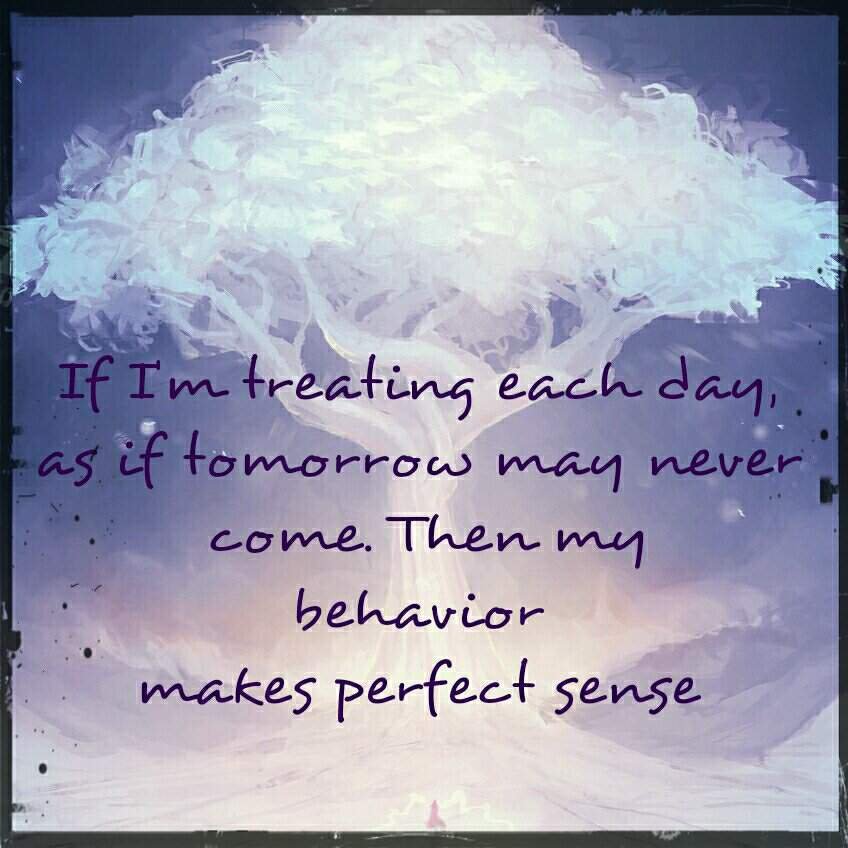
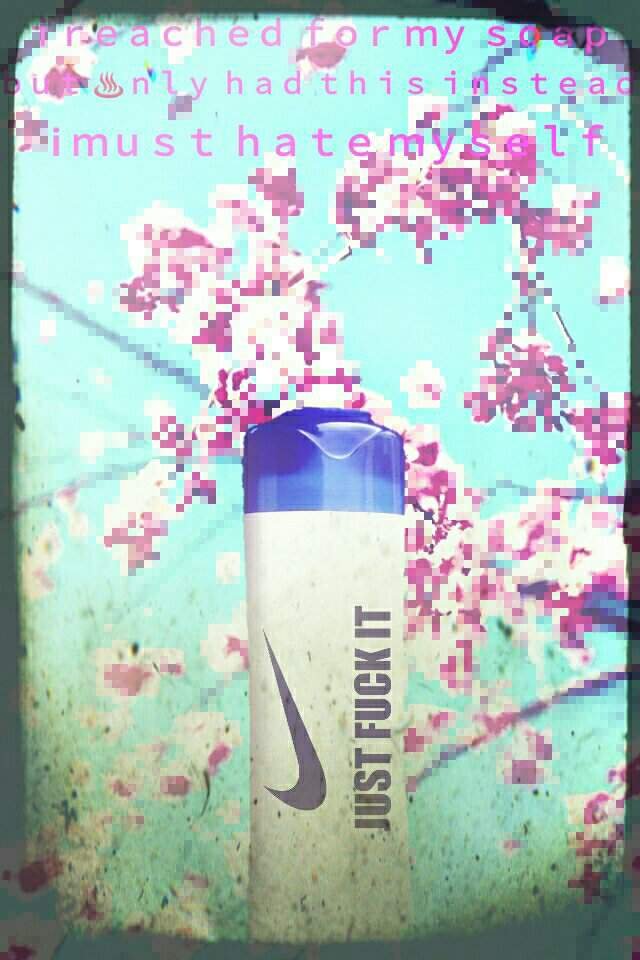
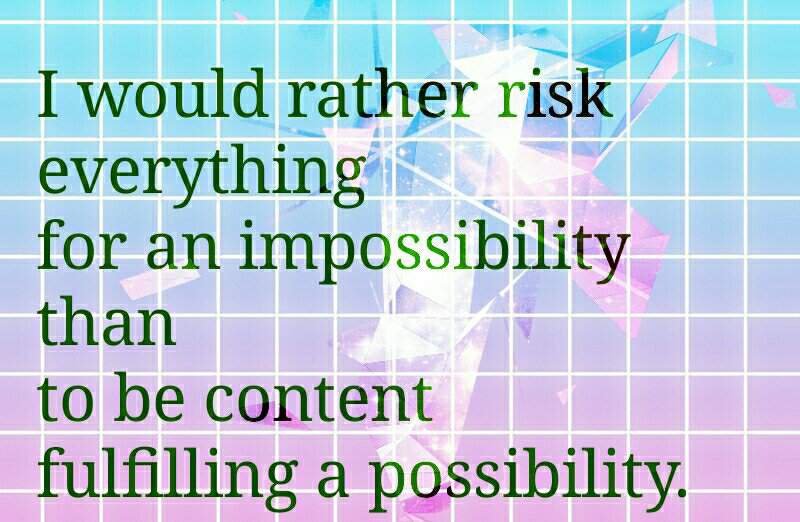
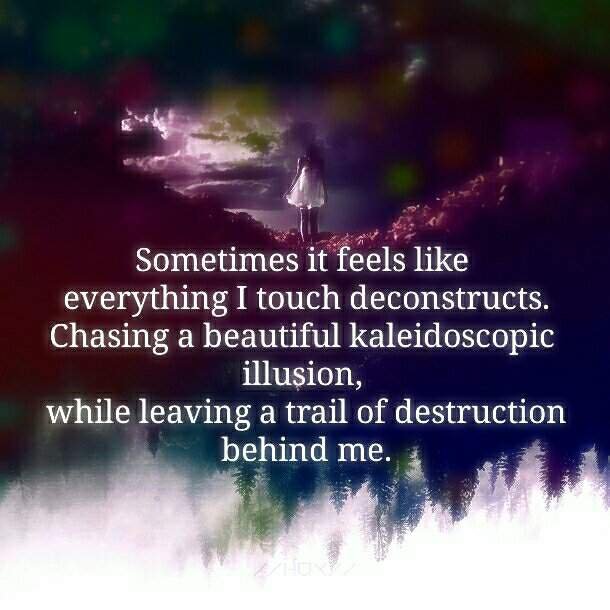
Please enjoy some of the art I've made using Pixlr, I'll let you be the judge at how well it works c:
All of these are made only using Pixlr and nothing else. You can use layers (double exposure) to place pictures on top of others, but you need to make sure that you are completely finished with one layer before saving and adding the next!~

If you like this post, please feel free to upvote, comment, and resteem, I'm always posting interesting pieces about things I like, and fun tutorials and motivational advice. It isn't impossible to make original content, if you know where to look. Hopefully this post encourages you to flirt a little more with your wild side, and make your pictures bring your blog to life. Thank you for stopping by!~

