뭘했겠어요. 그림 그리고 놀았지요.
Here is the fake watercolor painting I worked on last weekend.
지난 주말에 아이패드의 클립 스튜디오라는 앱으로 수채화를 그리는데 도전해봤습니다.
This is the process of painting a fake water color using the Clip Studio app with the iPad Pro and Apple pencil.
먼저 완성작을 보시죠.
Let's see the finished work.
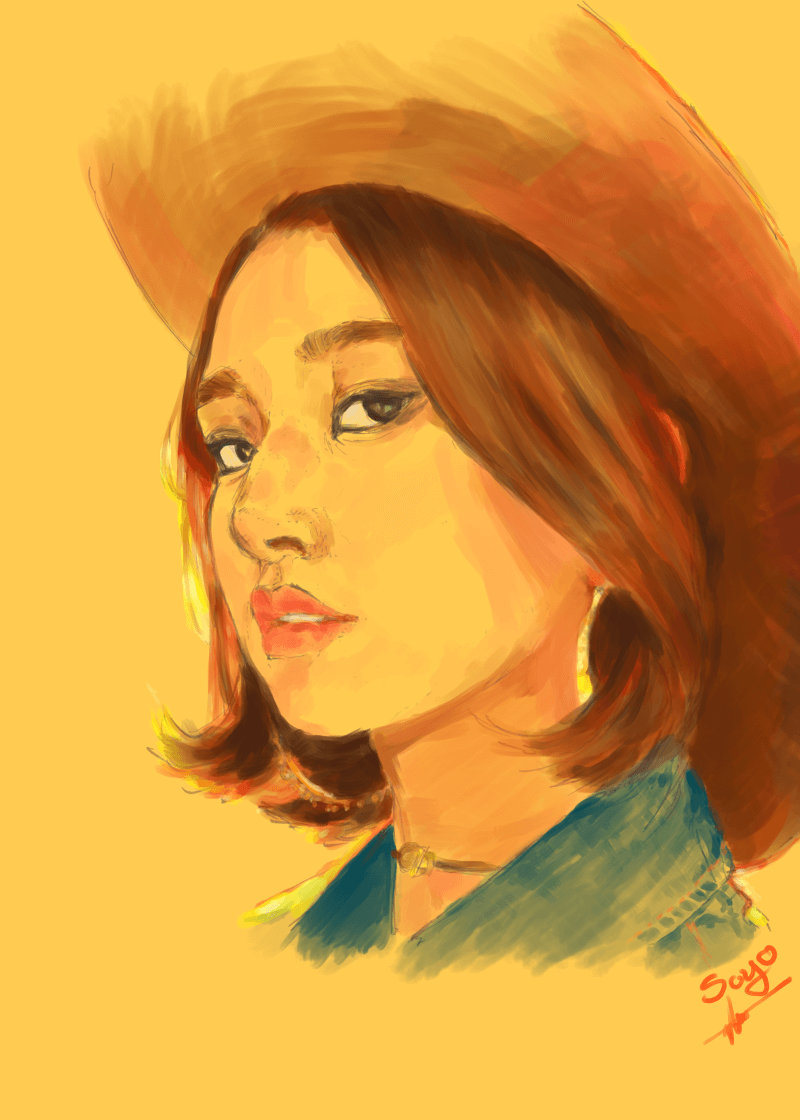
제법 수채화 비슷하게 나왔습니다.
Does it look like a watercolor?
지난 주였나? 지지난 주였나? 아이패드로 수채화 그리는게 가능한지 궁금해지더라구요.
그래서 도전해봤습니다.
중간에 우여곡절이 좀 있는데 일단 과정샷부터 보시죠.
Let's see the painting process.
sketch
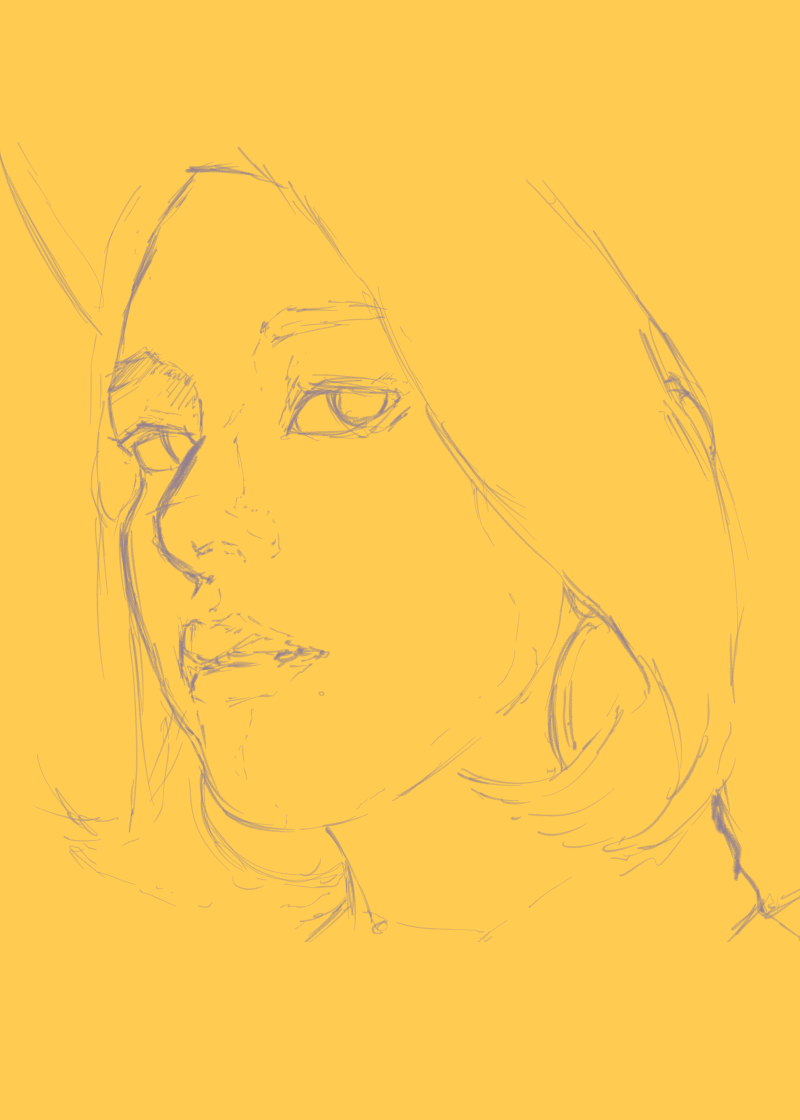
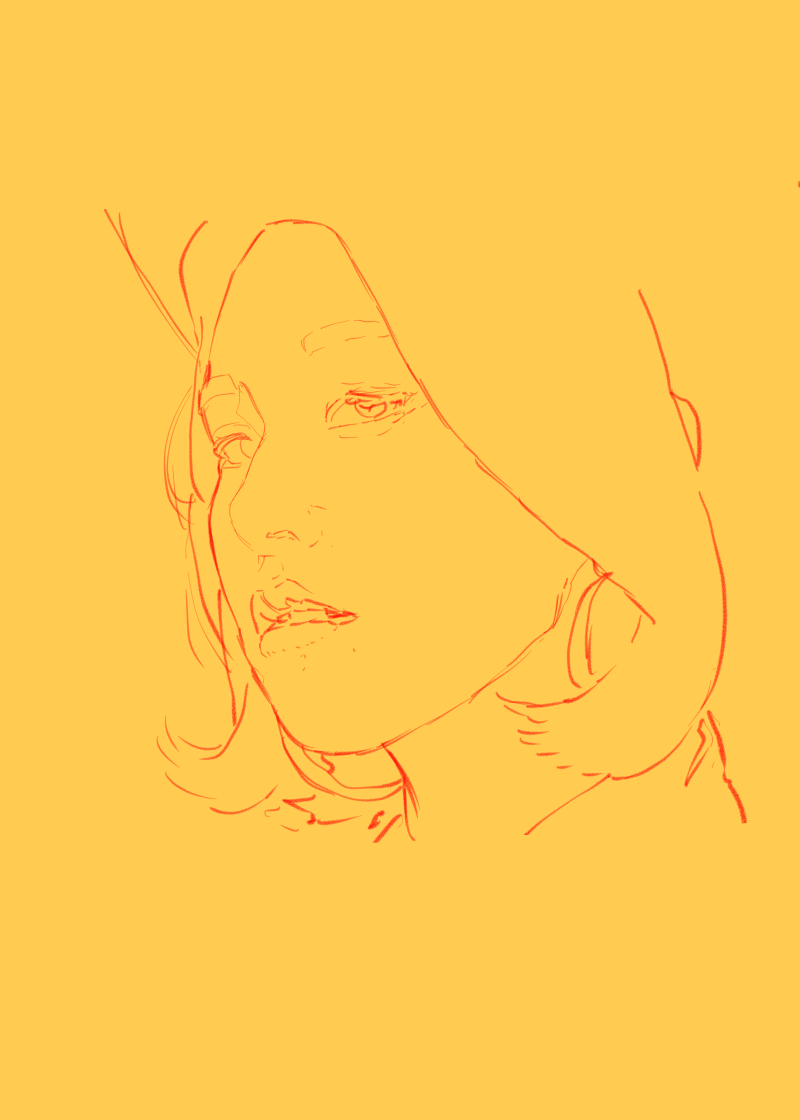
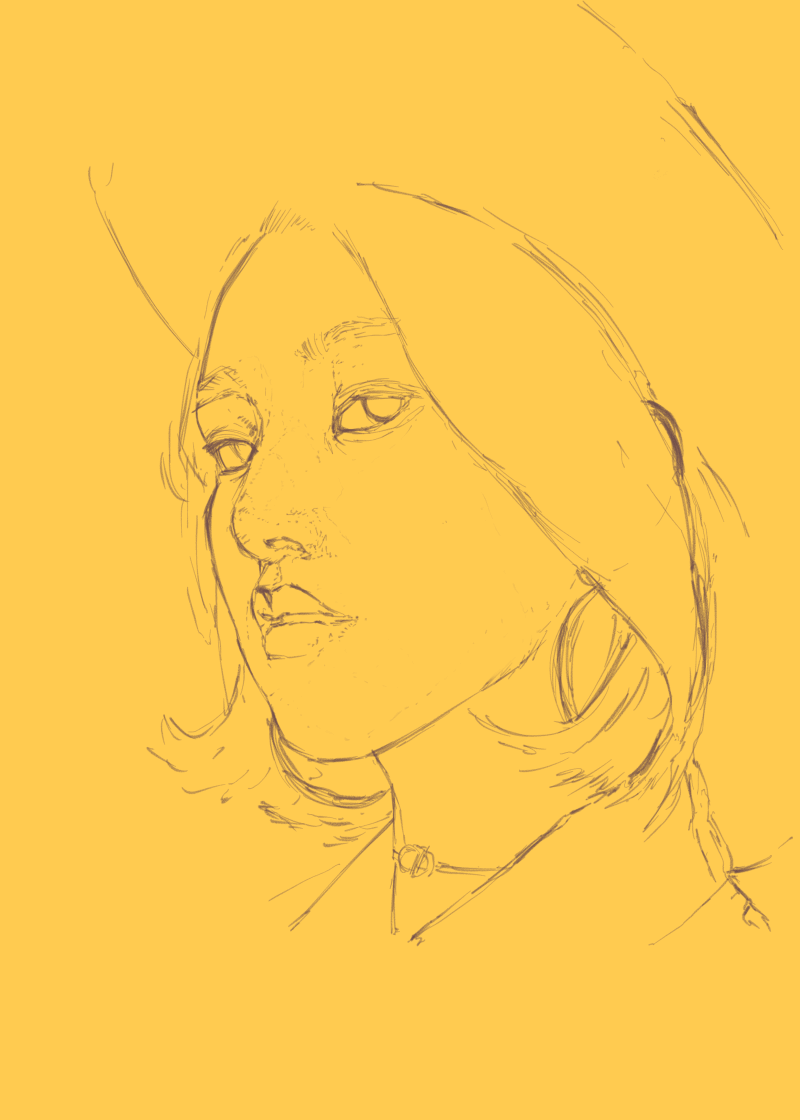
언제나 그렇듯이 스케치를 합니다.
이번에 선택된 모델은 이 트와이스 뮤직 비디오에 나오는 채영이입니다.
넵 또 트와이스 입니다.
As always, I will sketch first.
The model is the girl of the cowgirl costume in this video
 |  |  |
|---|
세번째 버전이 약간 싸한 느낌 드는게 마음에 들었습니다. 의자에 뒤로 누워서 그렸더니 애가 좀 길어졌네요. 나중에 턱을 좀 깎아주기로 합시다.
Repeat the sketch to get the desired shape.
I did not use the technique of copying the original like the grid technique this time.
I enjoy distorting objects created in improvisational drawings.
color
클립스튜디오라는 앱을 요즘 연습하고 있는데요.
여기 보면 수채화 브러시라는 게 있습니다. 막 호기심이 생기지 않나요? 진짜로 수채화 그려지나?
결론부터 말씀드리면 되긴되요. 근데 제가 이걸 쓰는 법을 몰라서 그런건지 과정이 좀 복잡합니다.
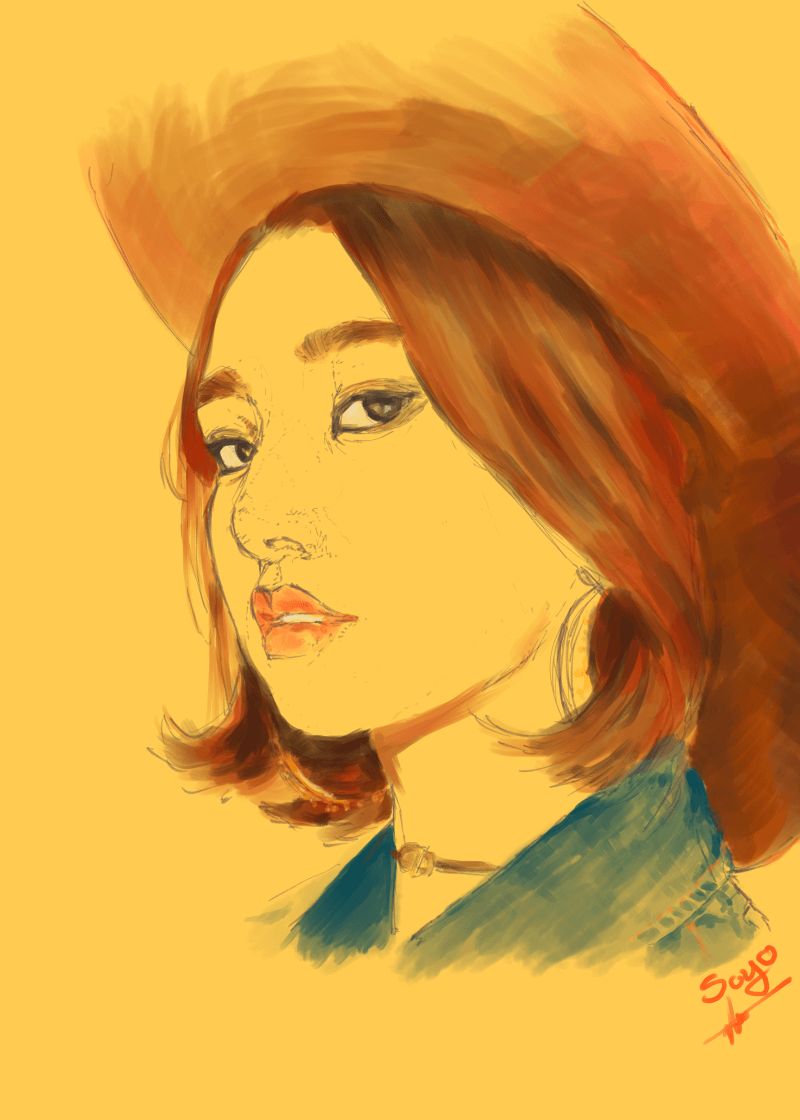
일단 예시로 얼굴에 채색하는 과정을 보여드릴께요.
I'll show you step by step how to paint the face part as an example.
step1
스케치한 형태를 따라서 물감이 묻어 있지 않은 빈공간을 만듭니다.
이 경우에는 워터컬러 브러시가 기본적으로 블렌드 모드로 작동하기 때문에 각 부품들을 모두 다른 레이어에 그렸습니다.
Clip Studio's water color brush works in blend mode.
So all the parts are drawn on different layers so that the colors of the parts do not get mixed.
step2
애플펜슬의 압력을 조절해서 두단계의 미드톤을 한번에 그릴 수 있습니다. 마치 진짜 수채화 물감으로 그리듯 옅은 색과 짙은 색을 표현하는 것이 가능합니다.
By adjusting the pressure of the Apple pencil, you can draw two levels of midtones at once. It is possible to express the change of the pigment concentration as if it were painted with real watercolor paint.
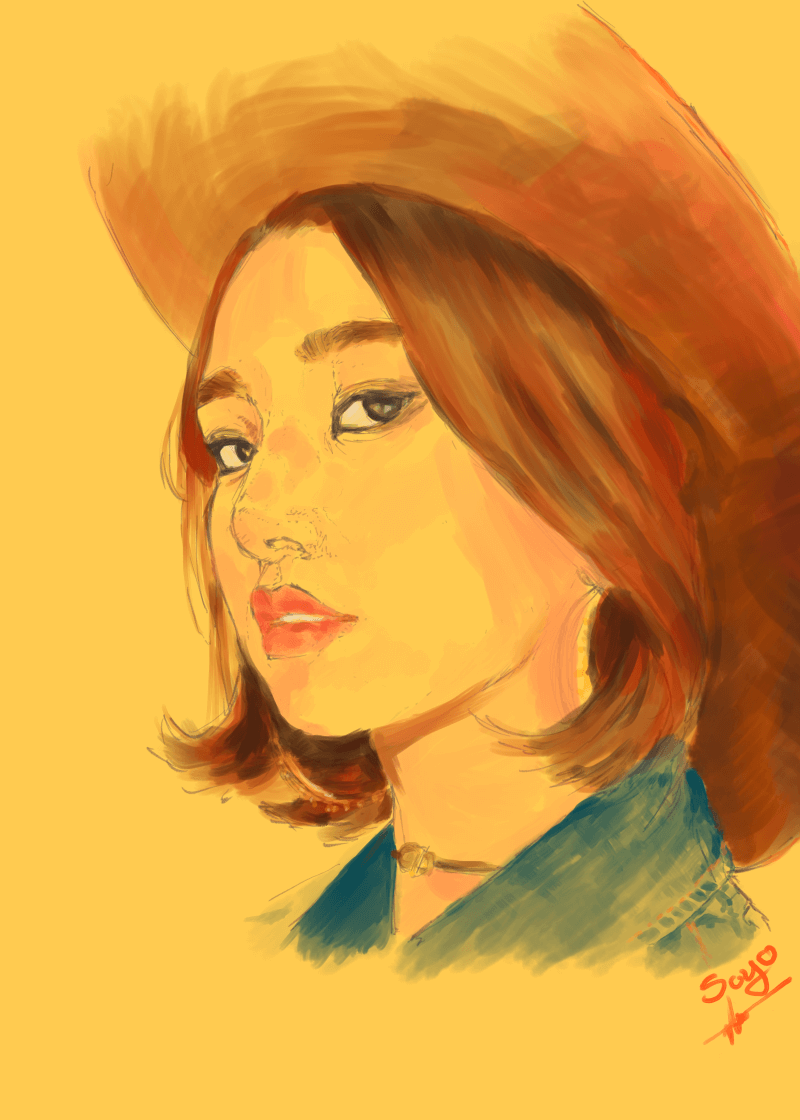
정말 신기하죠? 물감으로 그리는 느낌이 듭니다. 근데 문제가 하나 있어요.
이 물감은 어떻게 말리죠? 워터컬러 브러시는 기본적으로 블렌드 모드입니다.
겹쳐서 그리면 계속 섞인다는 뜻이죠.
물감을 말린 다음 위에 겹쳐서 붓자국을 쌓아가는 테크닉을 사용할 수가 없습니다.
Is it really amazing? I feel painted with paints. But there is one problem.
How do you dry this paint? Water color brushes are blend mode by default.
If you draw it over and over, it means you will continue to mix.
I can not use the technique of drying the paint and stacking on top of it to build up brush marks.
step3
그래서 레이어를 분리해서 작업했습니다.
채색 레이어를 두개 겹쳐서 하단에 가장 어두운 부분에 해당하는 색을 작업해줍니다.
레이어의 오퍼시티를 조절하지 않아도 겹처 보입니다.
So I worked on separating layers.
Overlay two layers of color and work on the darkest part of the color at the bottom.
It overlays even if you do not adjust the opacity of the layer.
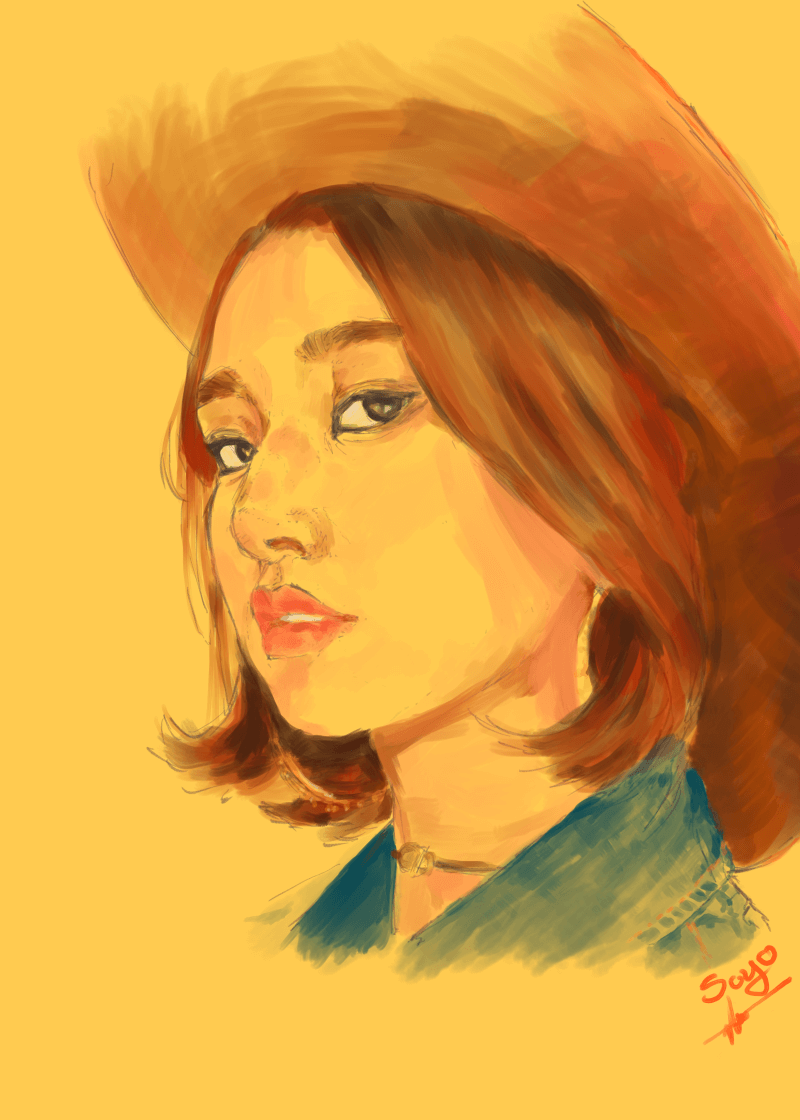
모자와 입술, 눈동자도 같은 방법을 채색했습니다.
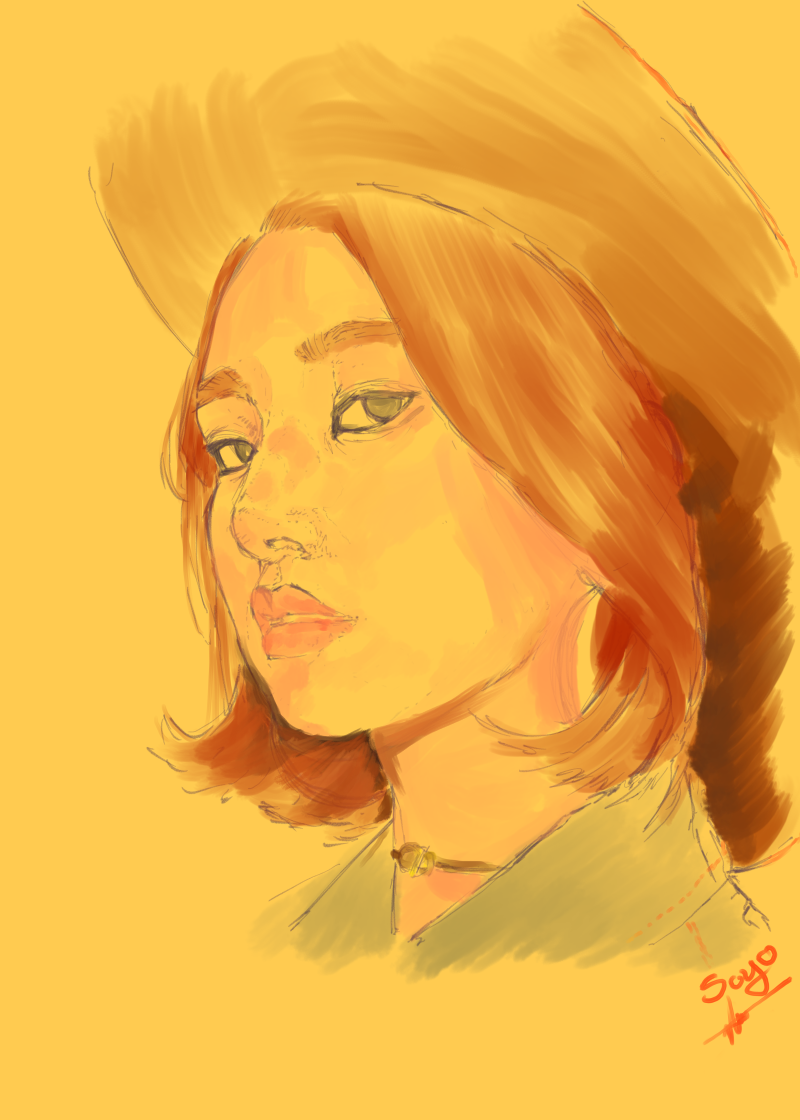
이해를 돕기 위해 사진을 한장 더 첨부합니다.
첫번째 채색이 완료된 형태입니다.
Hats, lips, and eyes were painted the same way.
Attach one more photo to help you understand.
The first coloring is completed.
 |
|---|
step4
빛과 세부묘사 등을 더 해준 후 펄프 느낌의 텍스쳐를 입혀주면 완성입니다.
Add more light and details, and apply a paper-like texture to your fake watercolor. This is done
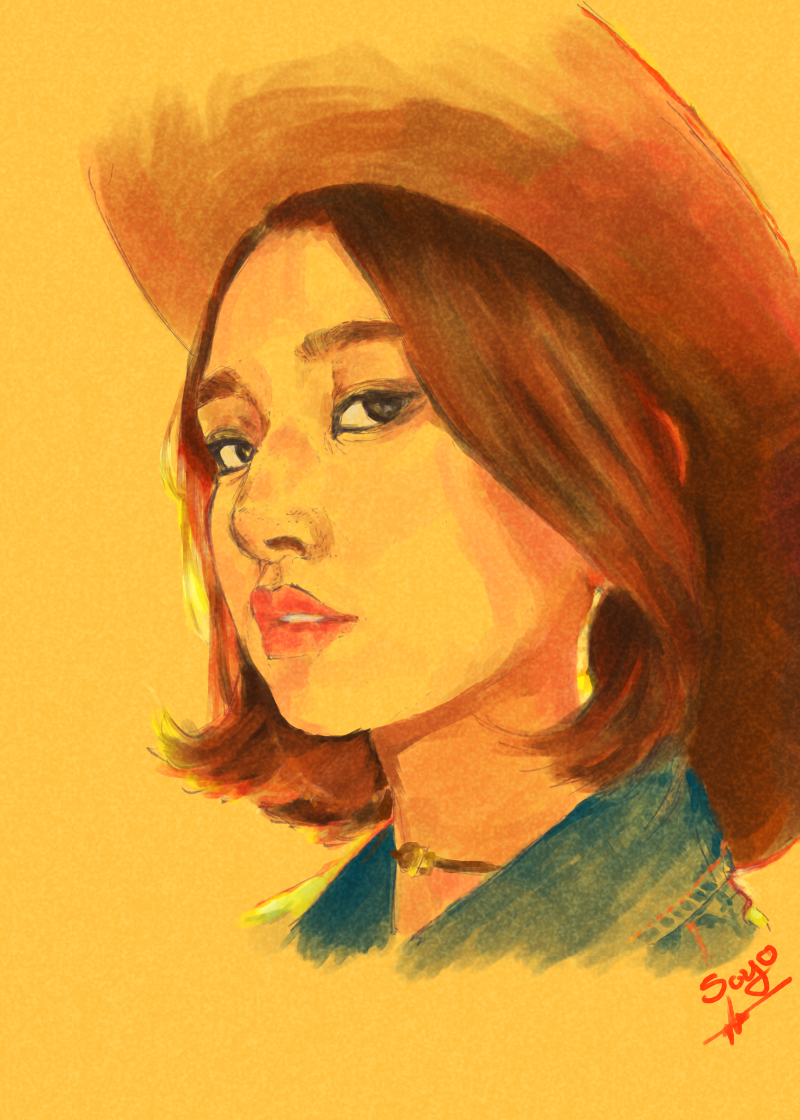
이번 시간에는 수채화의 가장 기본적인 기법들을 재현하는 실험을 해보았습니다.
다음 시간에는(언제가 될지는 모르겠지만) 수채화의 물번짐을 재현하는 실험을 해보도록 하겠습니다.
This time I tried to reproduce the most basic techniques of watercolor painting with digital painting.
Next time (I do not know when it will be), I will try to reproduce the water blurring of the watercolor.
그럼 다음 시간까지 모두 안녕~!
See you next post ~!
