Revolving Wine Glasses
Recently I've been posting a lot of photography and travel guides so I thought I'd change it up a bit and share some of the glass I've made recently.
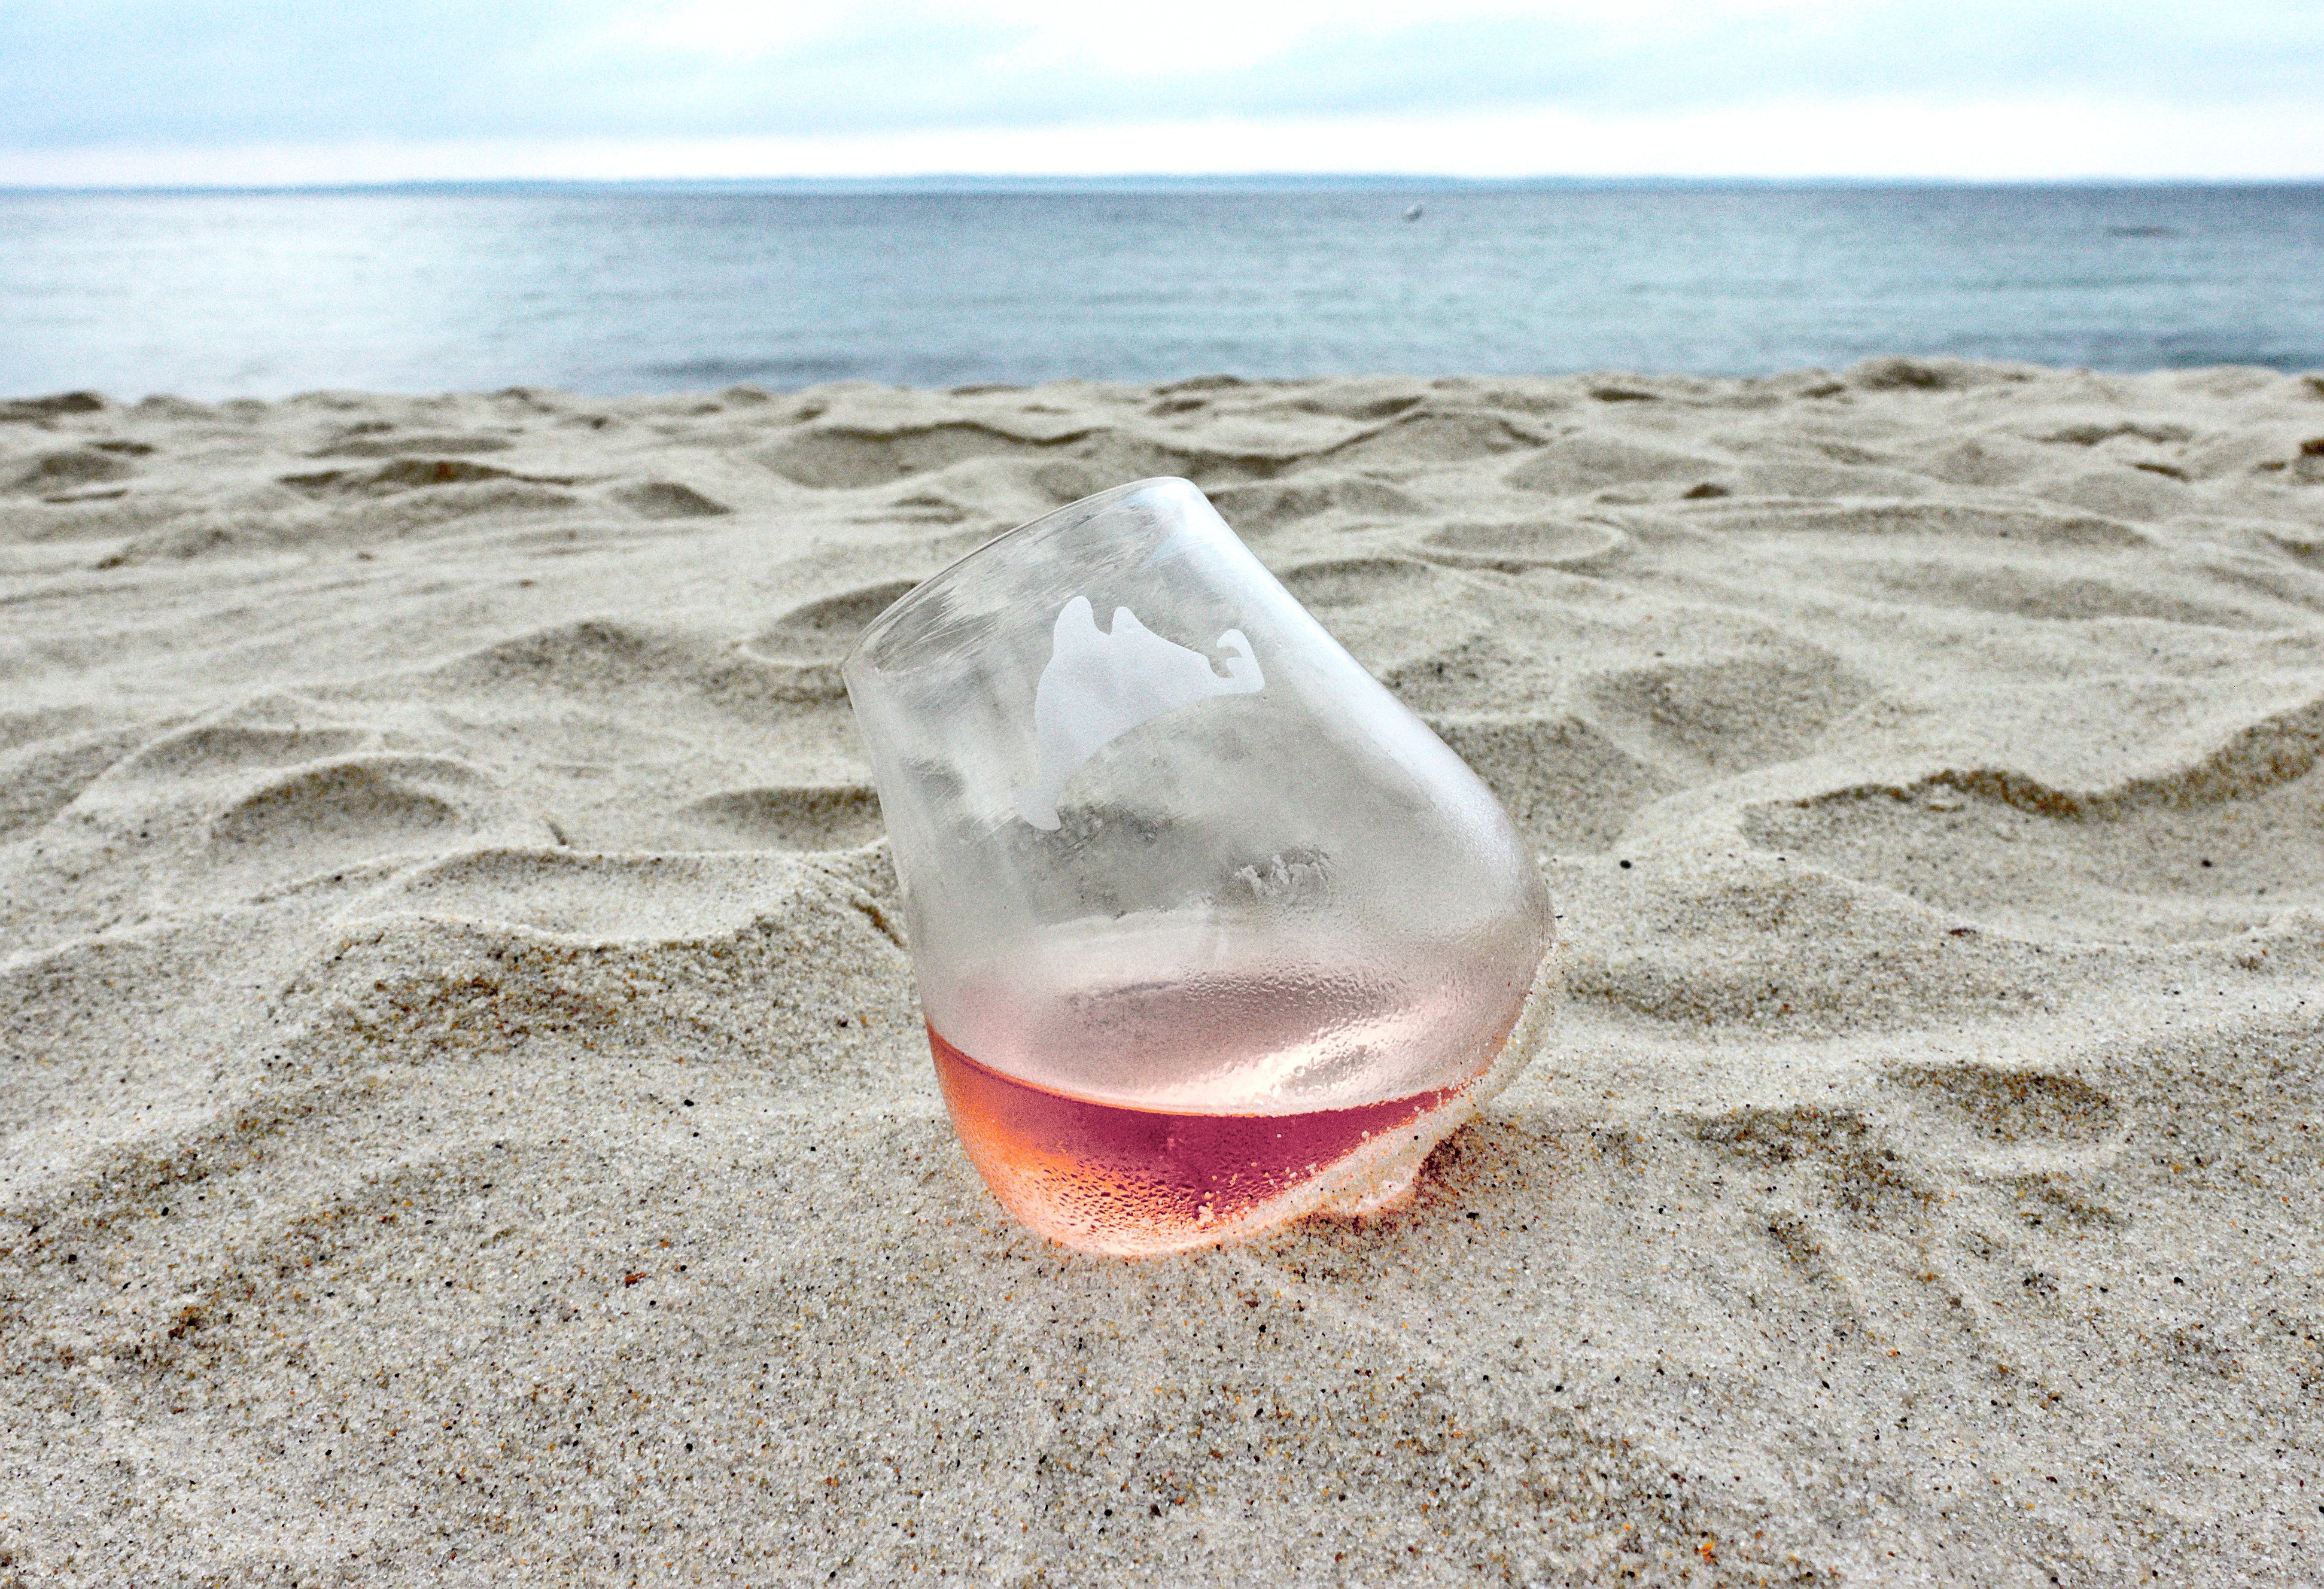
While at a wedding in the spring I was talking to my friend's father about wedding gifts. I had made the bride and groom a pair of stemless wine glasses (being a glassblower really comes in handy when you need wedding gifts) and this piqued his interest. His wife really enjoys wine and he is a fan of commissioning art so he asked for a set of glasses to give to his wife as a gift. I told him about a new design I'd been practicing; stemless wine glasses with a small bump on the bottom, this allows the glass to sit at and angle and revolve in place, thus aerating the alcohol.
The design can be most easily seen here:
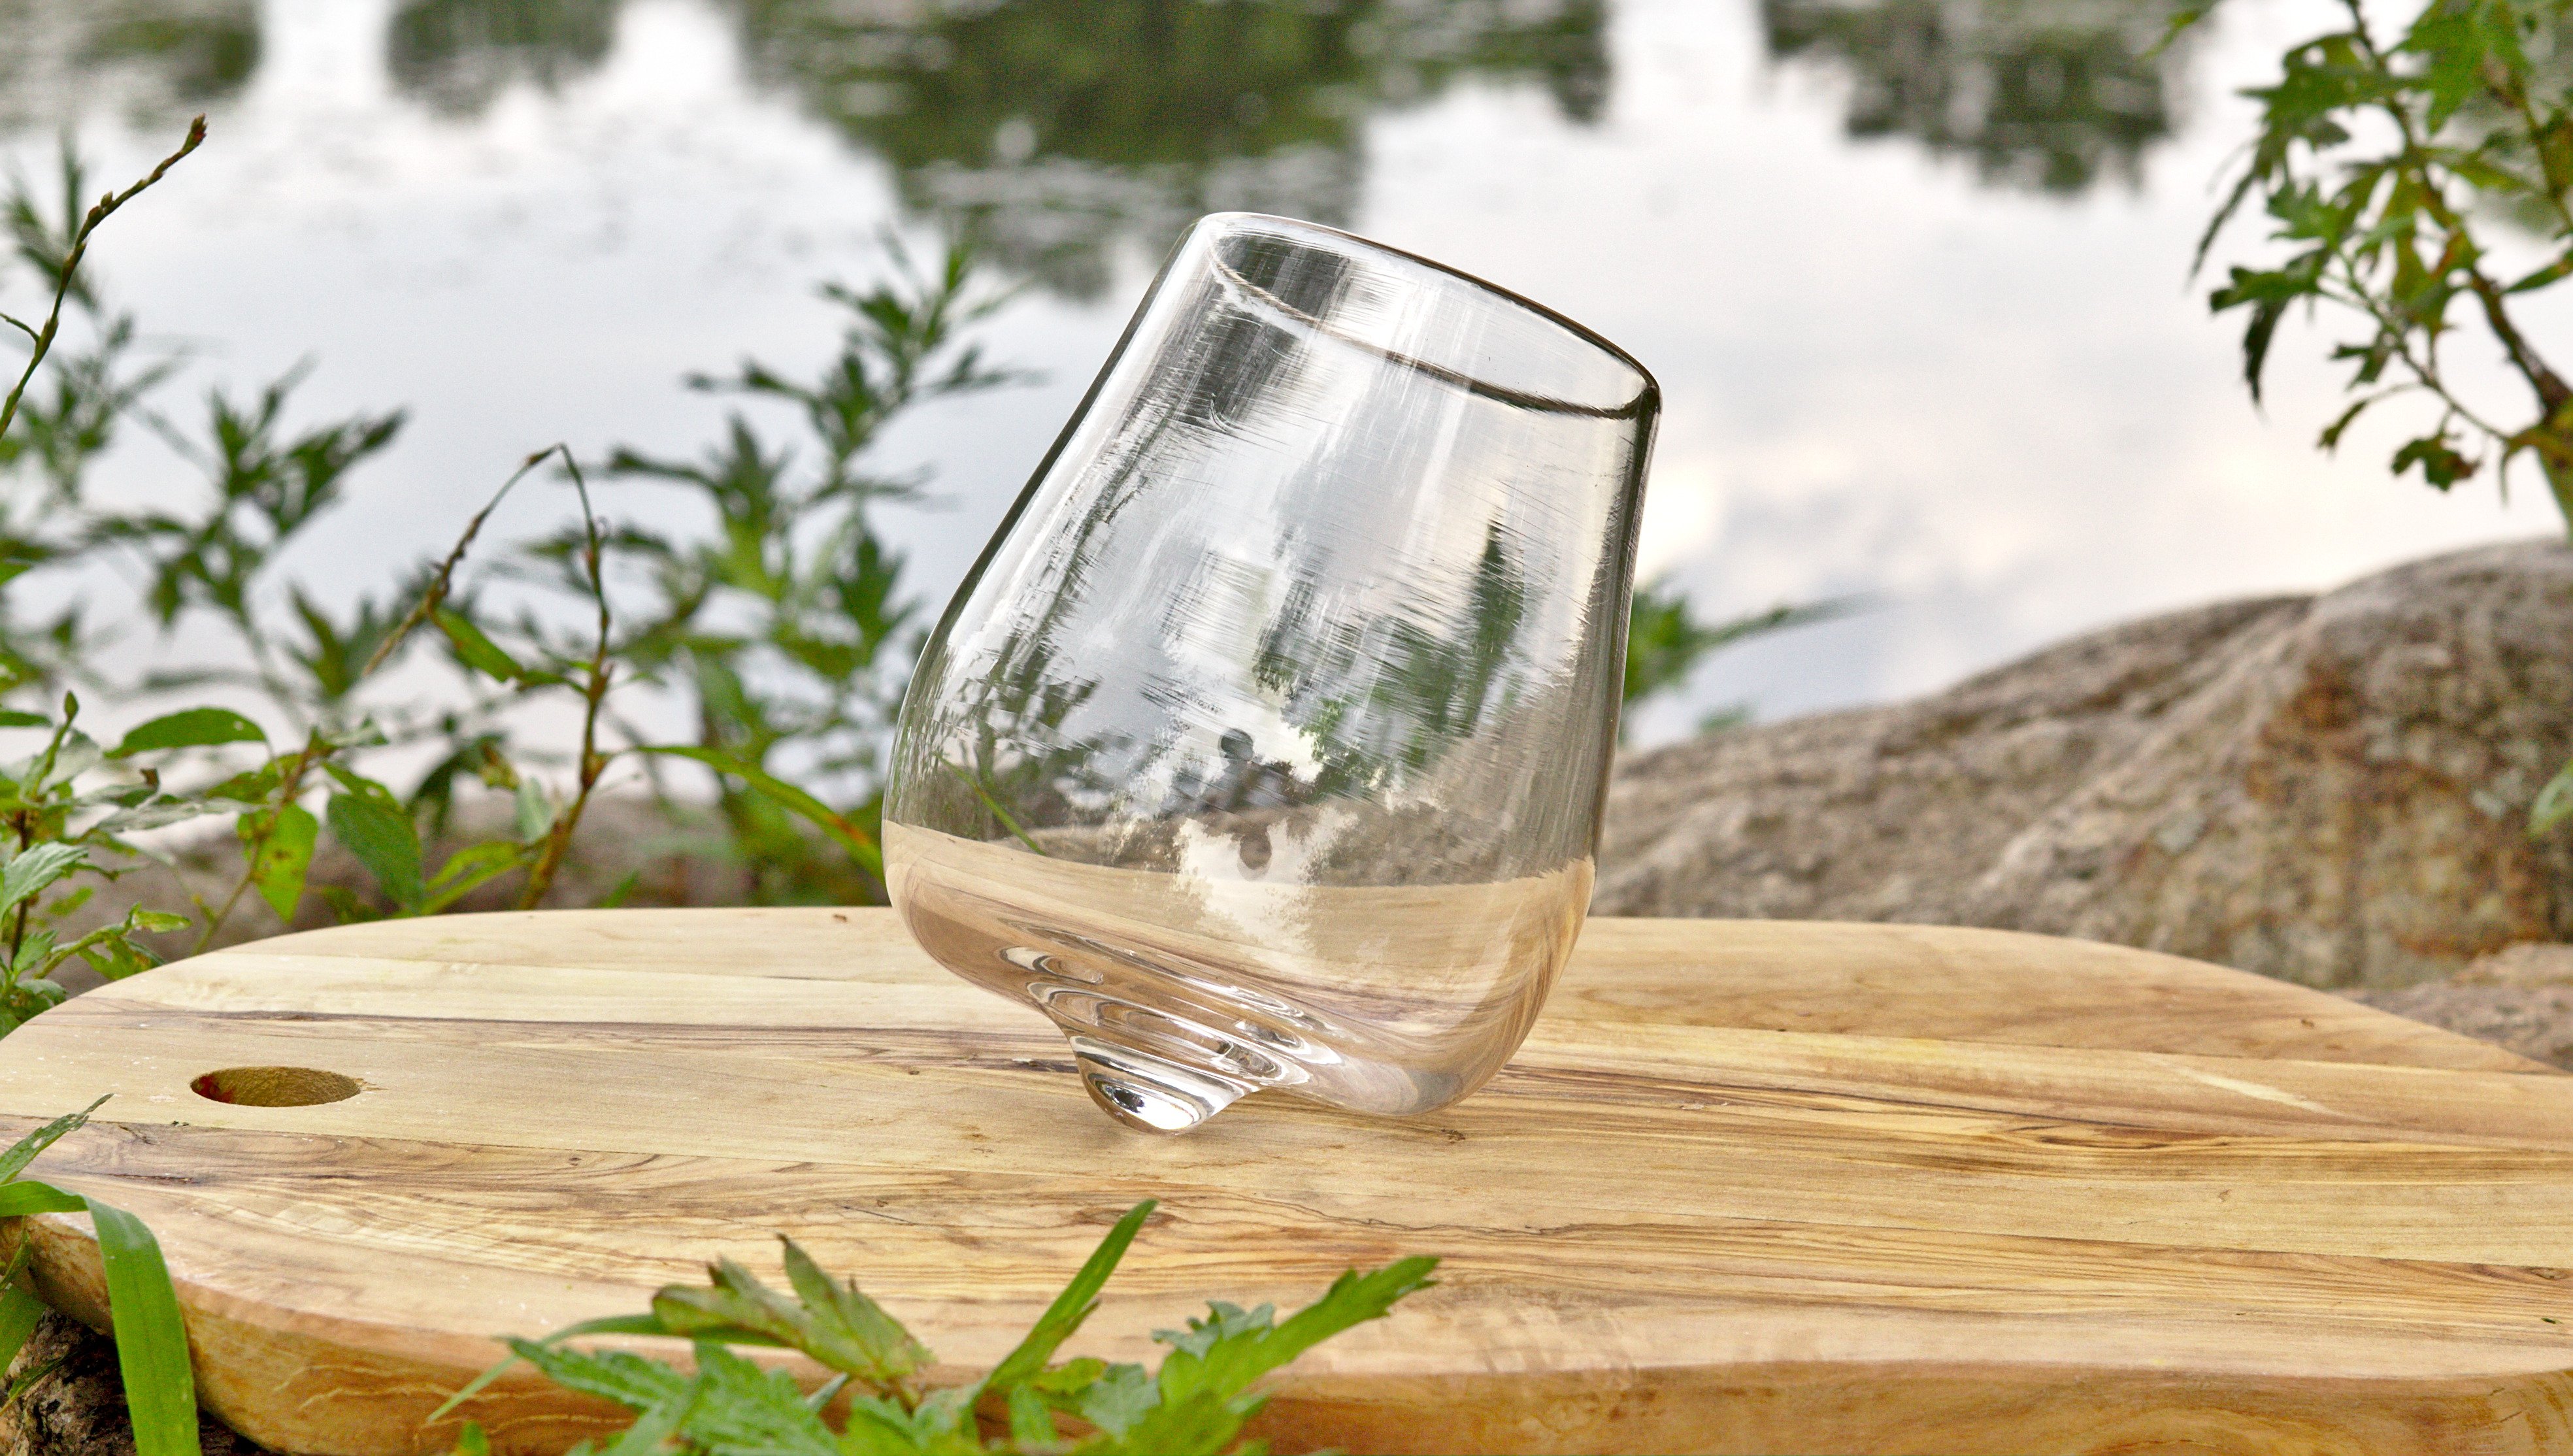
(This glass is for sale on my etsy, if you're interested check the link below.)
He really liked the sound of the design and decided to commission me for a set. We chose to iron out the details of the of the commission later and enjoyed the rest of the wedding. Although, one thing was decided, I would deliver the glasses to him at his home on Martha's Vineyard when my partner and I visited his family in the summer.
The Commission
I hadn't thought too much about the commission but I assumed I would be making two or four glasses and not much else, but as the commission was discussed it turned into a much bigger project.
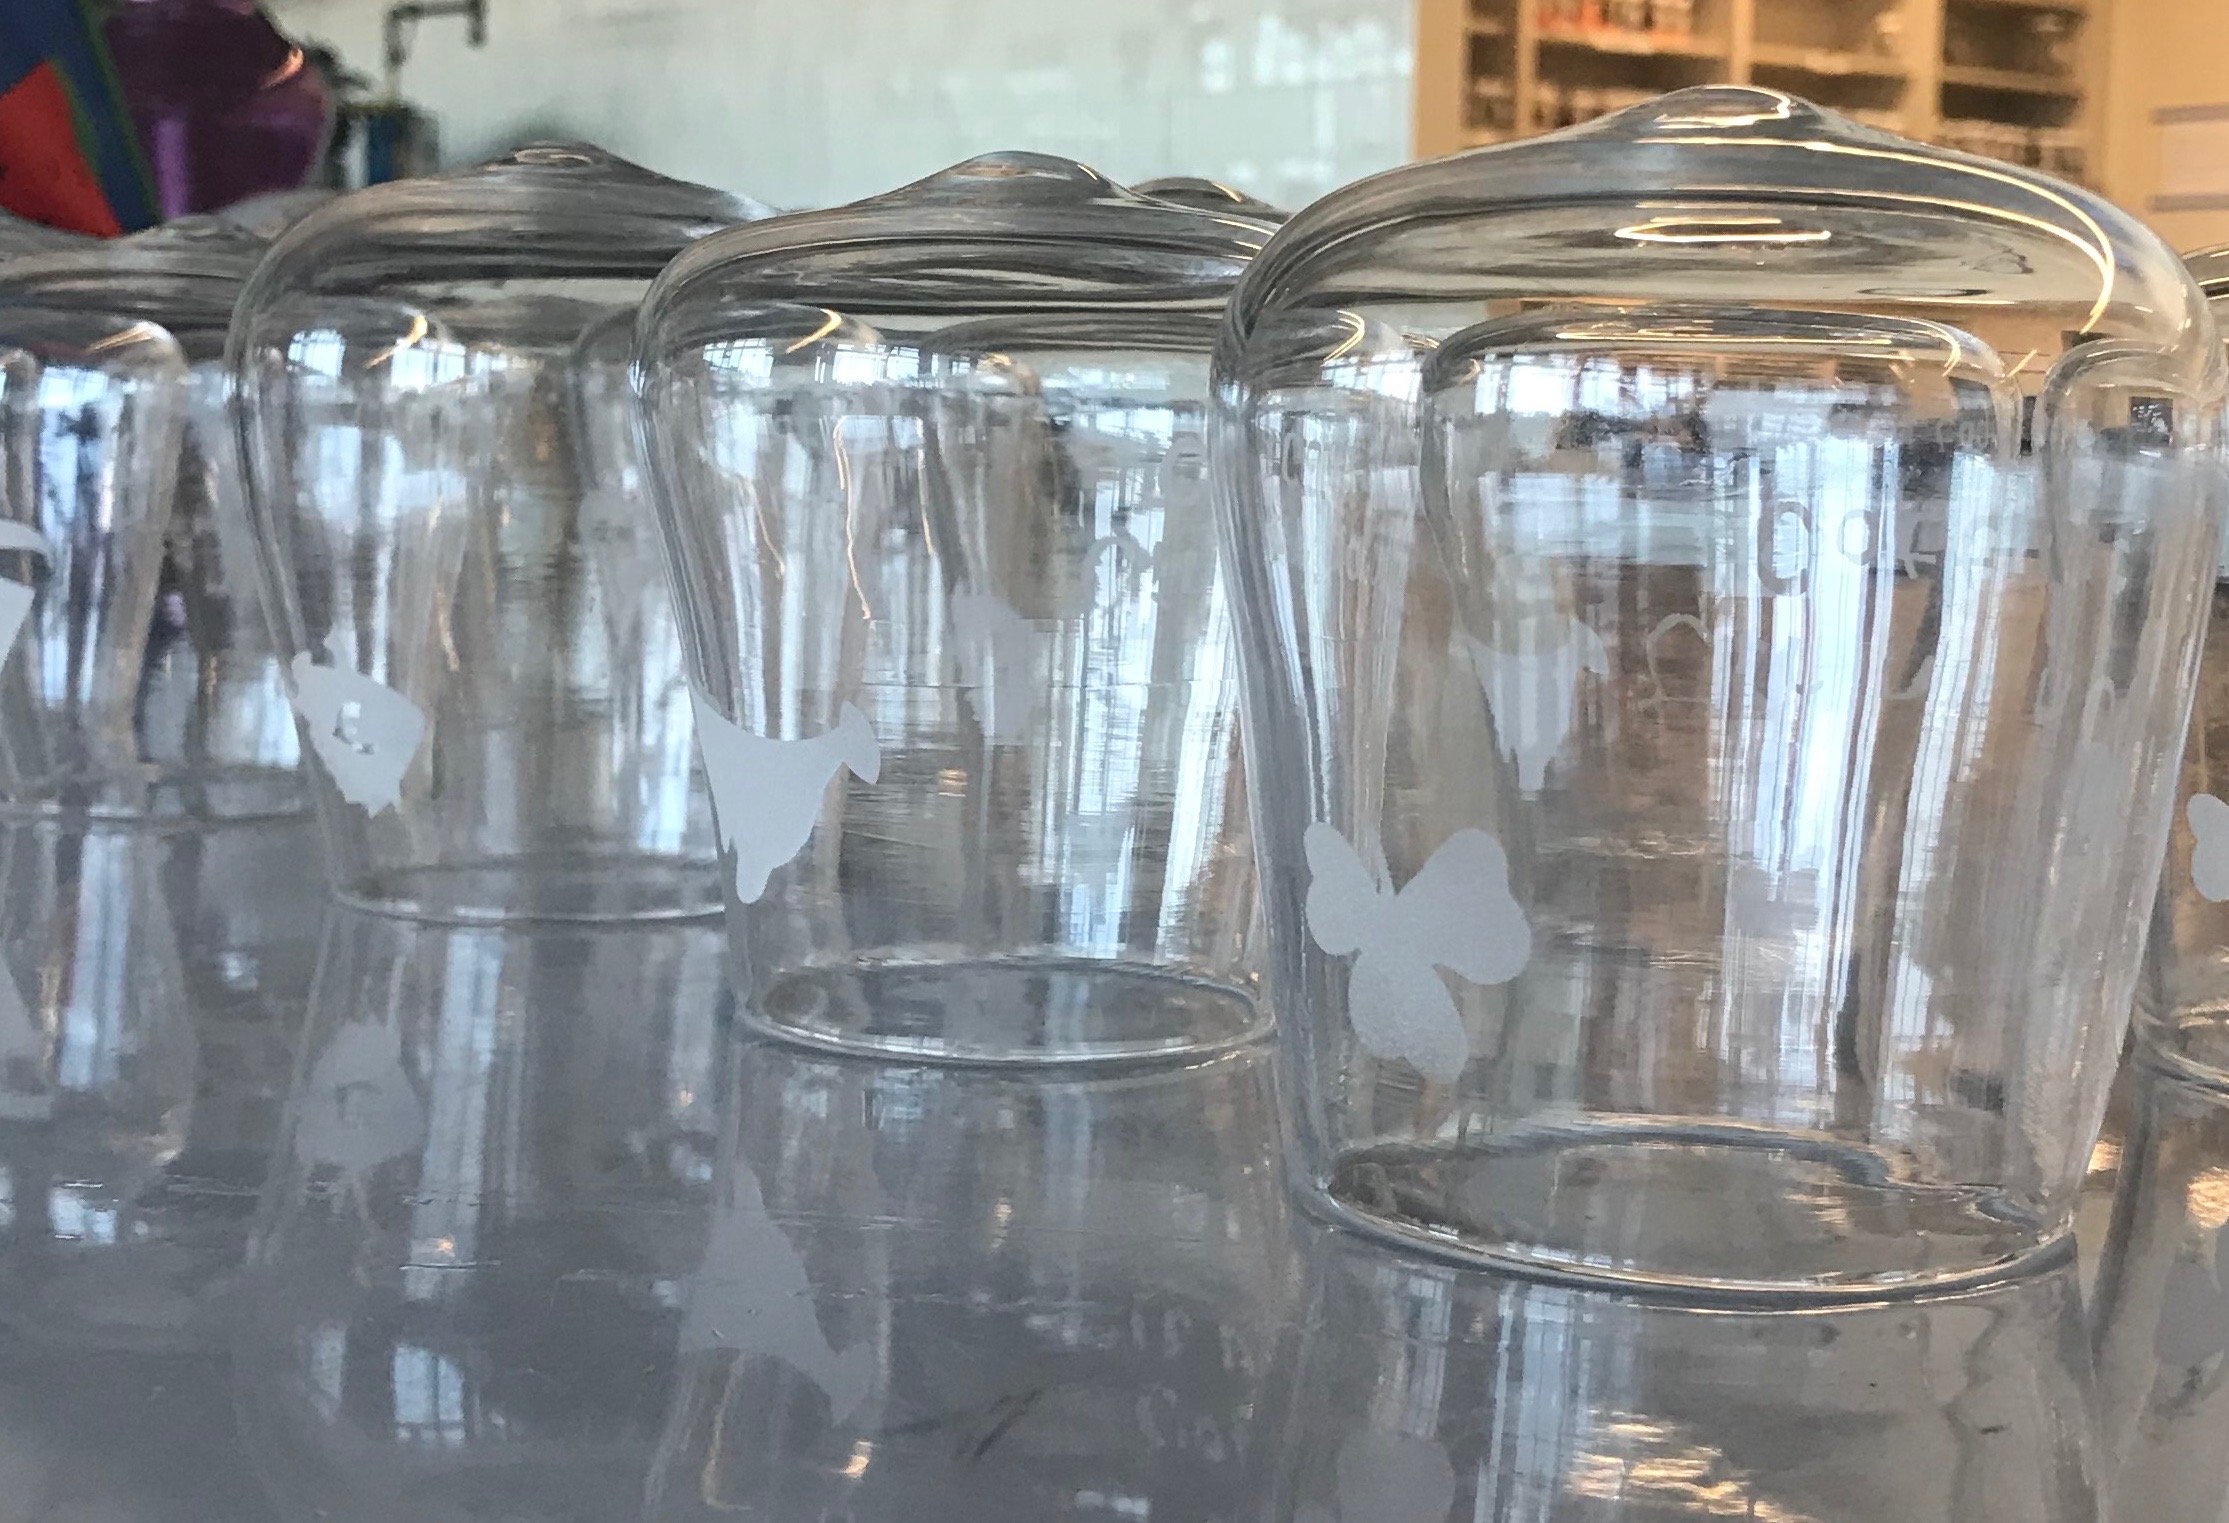
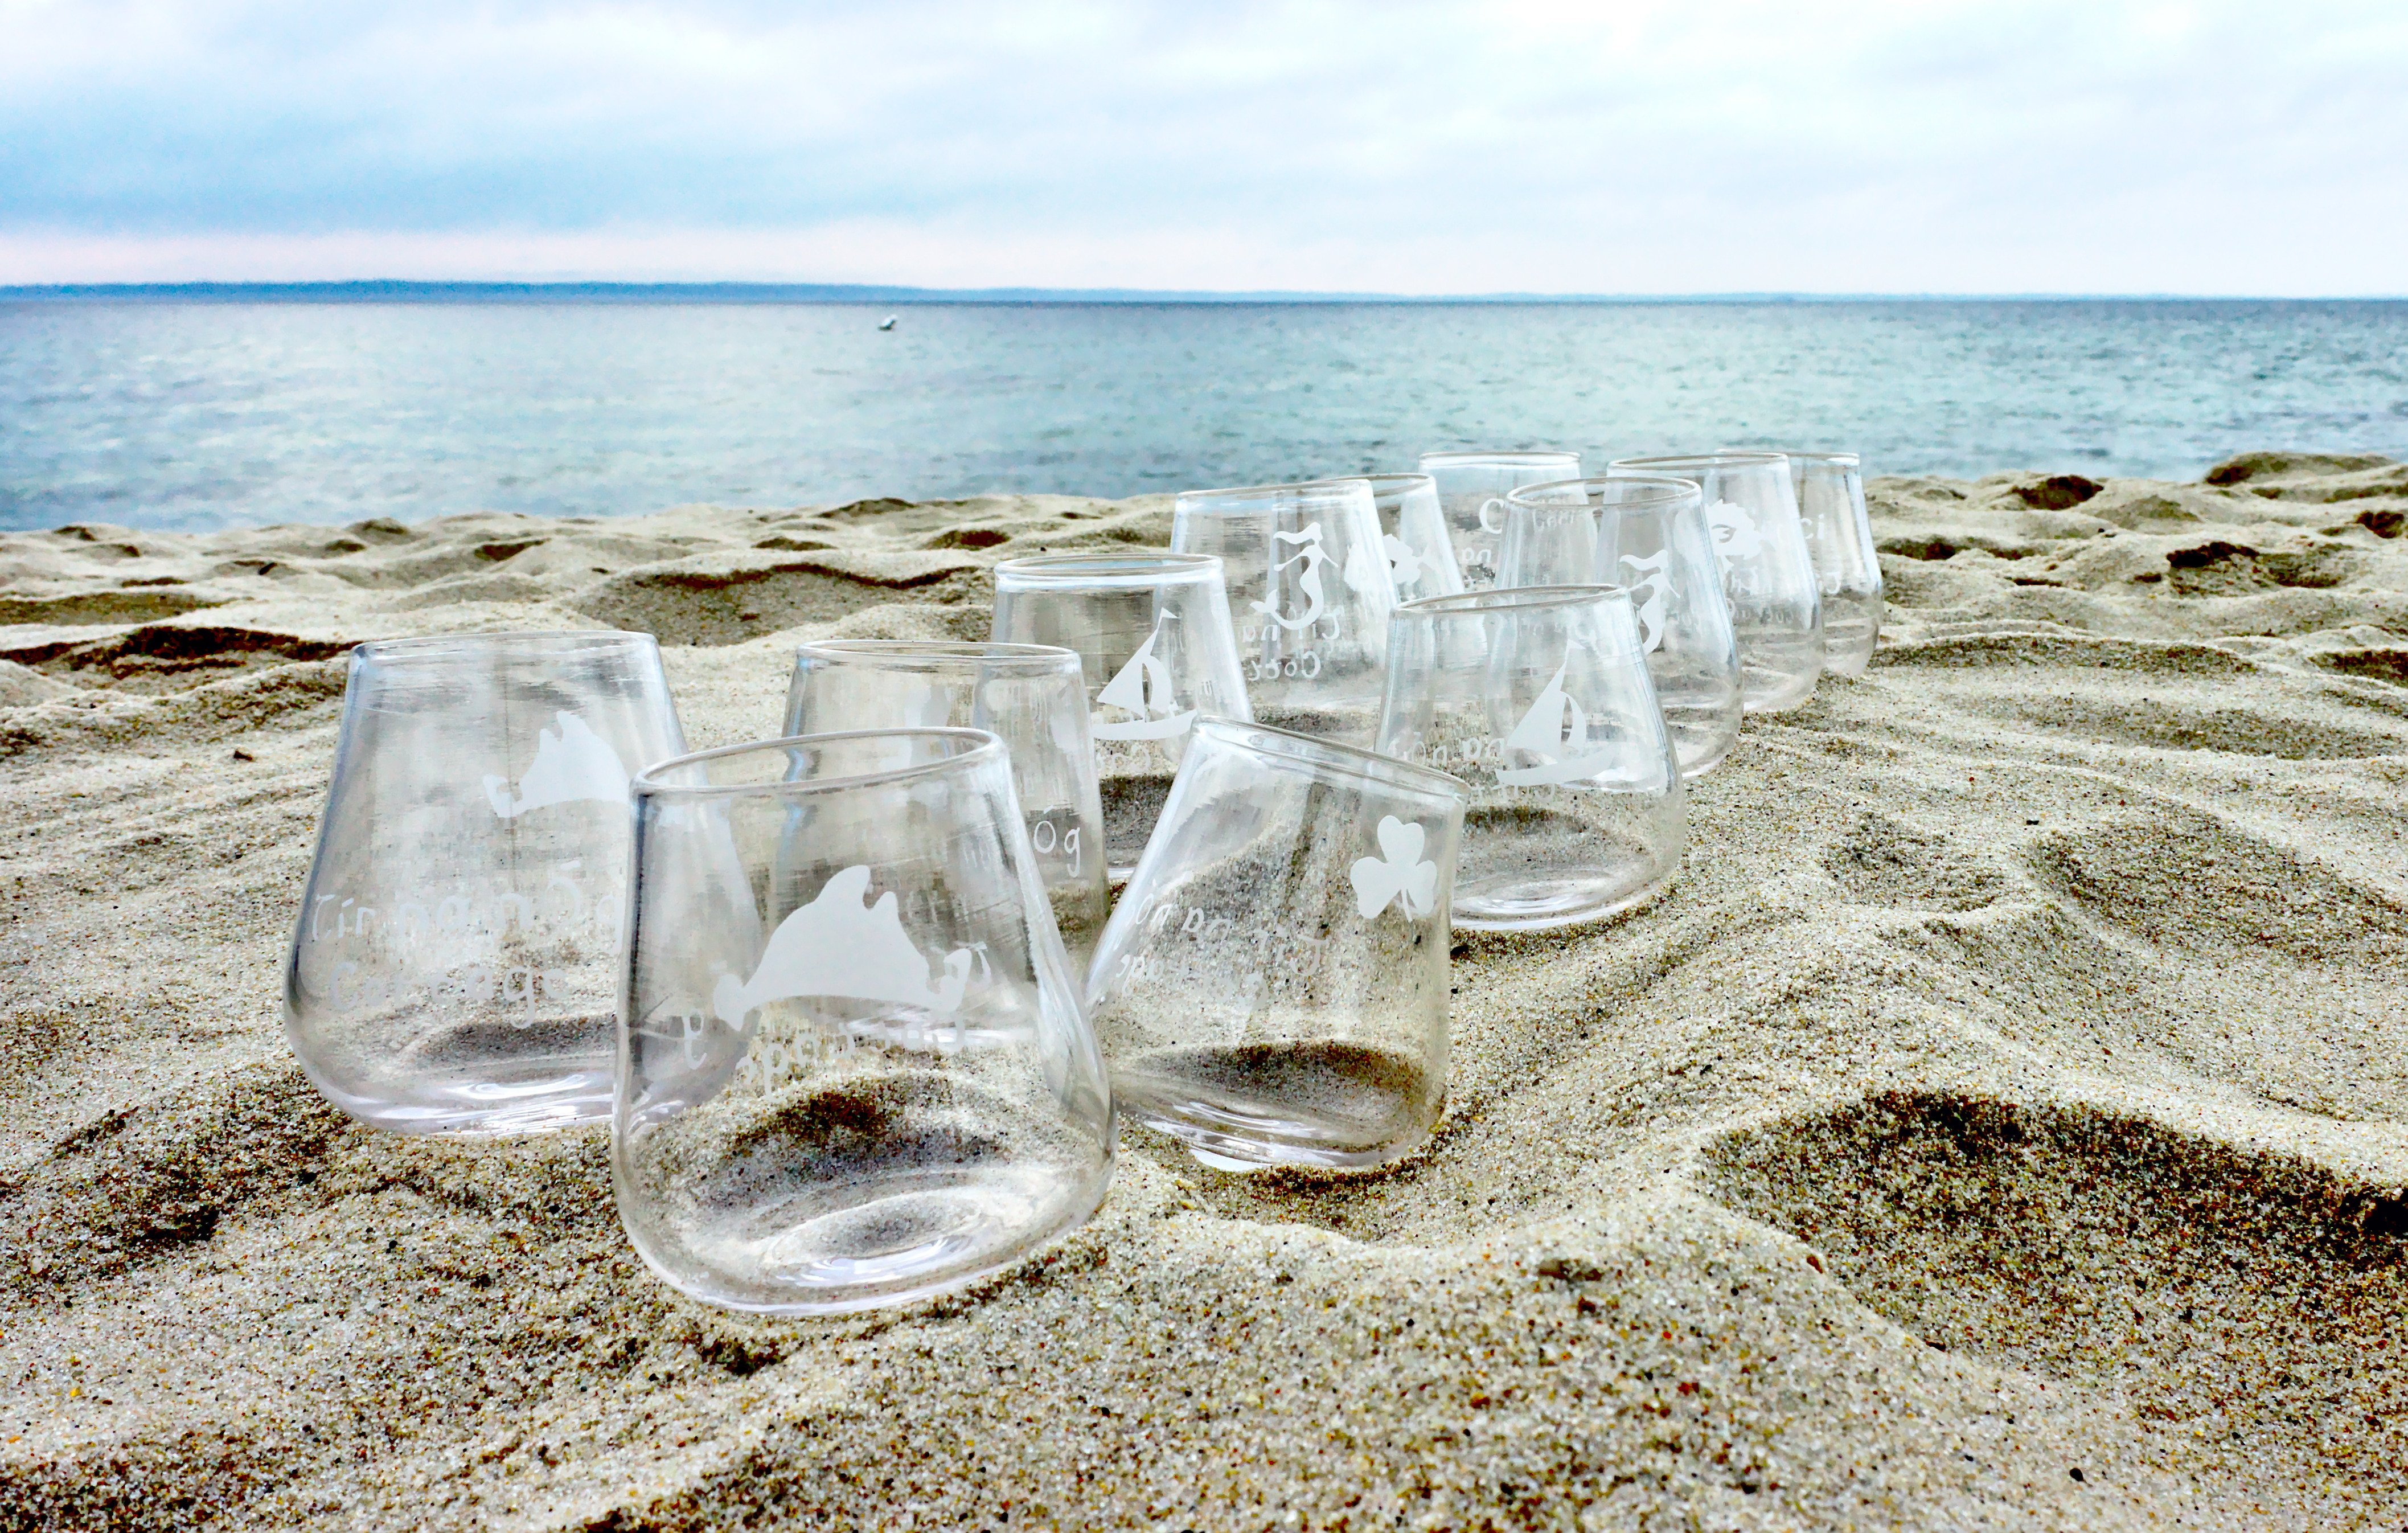
By the end of the conversation we decided on twelve wine glasses, and each would be individually stenciled and sandblasted! The first photo in this post shows the Martha's Vineyard stencil which was used on two of the twelve glasses.
I was extremely excited about this project but as a student living in Oregon, with plans to drive across the country in the summer, I had very little time to spare. My partner and I decided to rent about ten hours in the glass studio over three days and crank out as many of these glasses as we could. Here are a few pictures from the process.
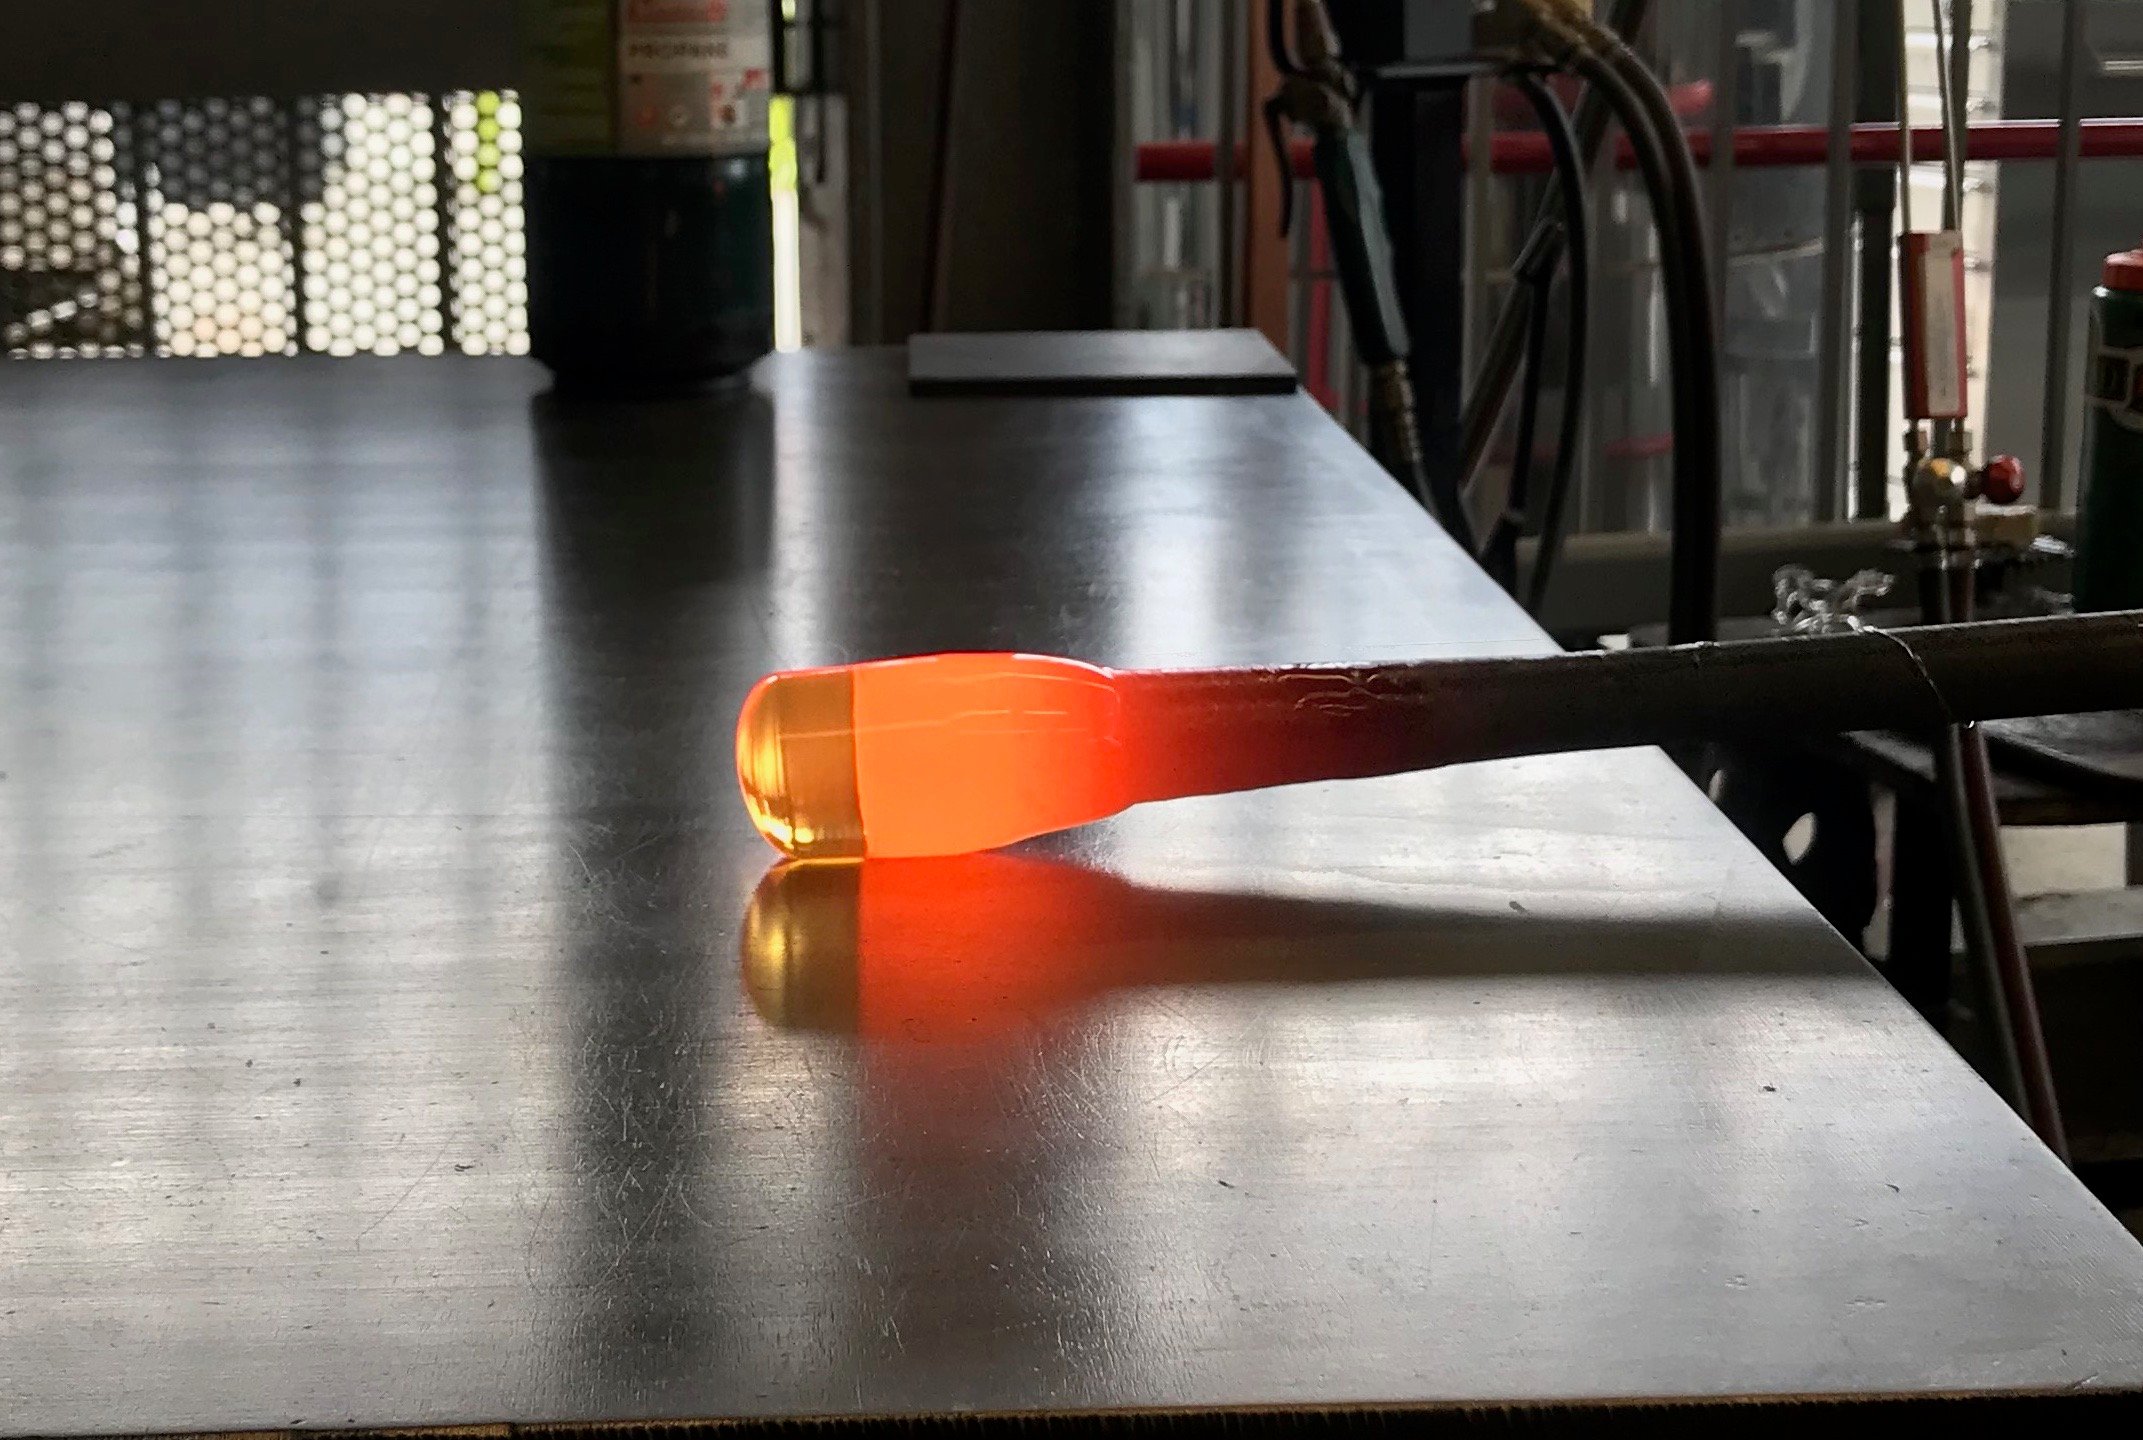
This is the initial gather of glass on the end of a hollow pipe. Here I'm shaping it into a cylinder and I'm about to blow air into the back of the pipe to create an air bubble.
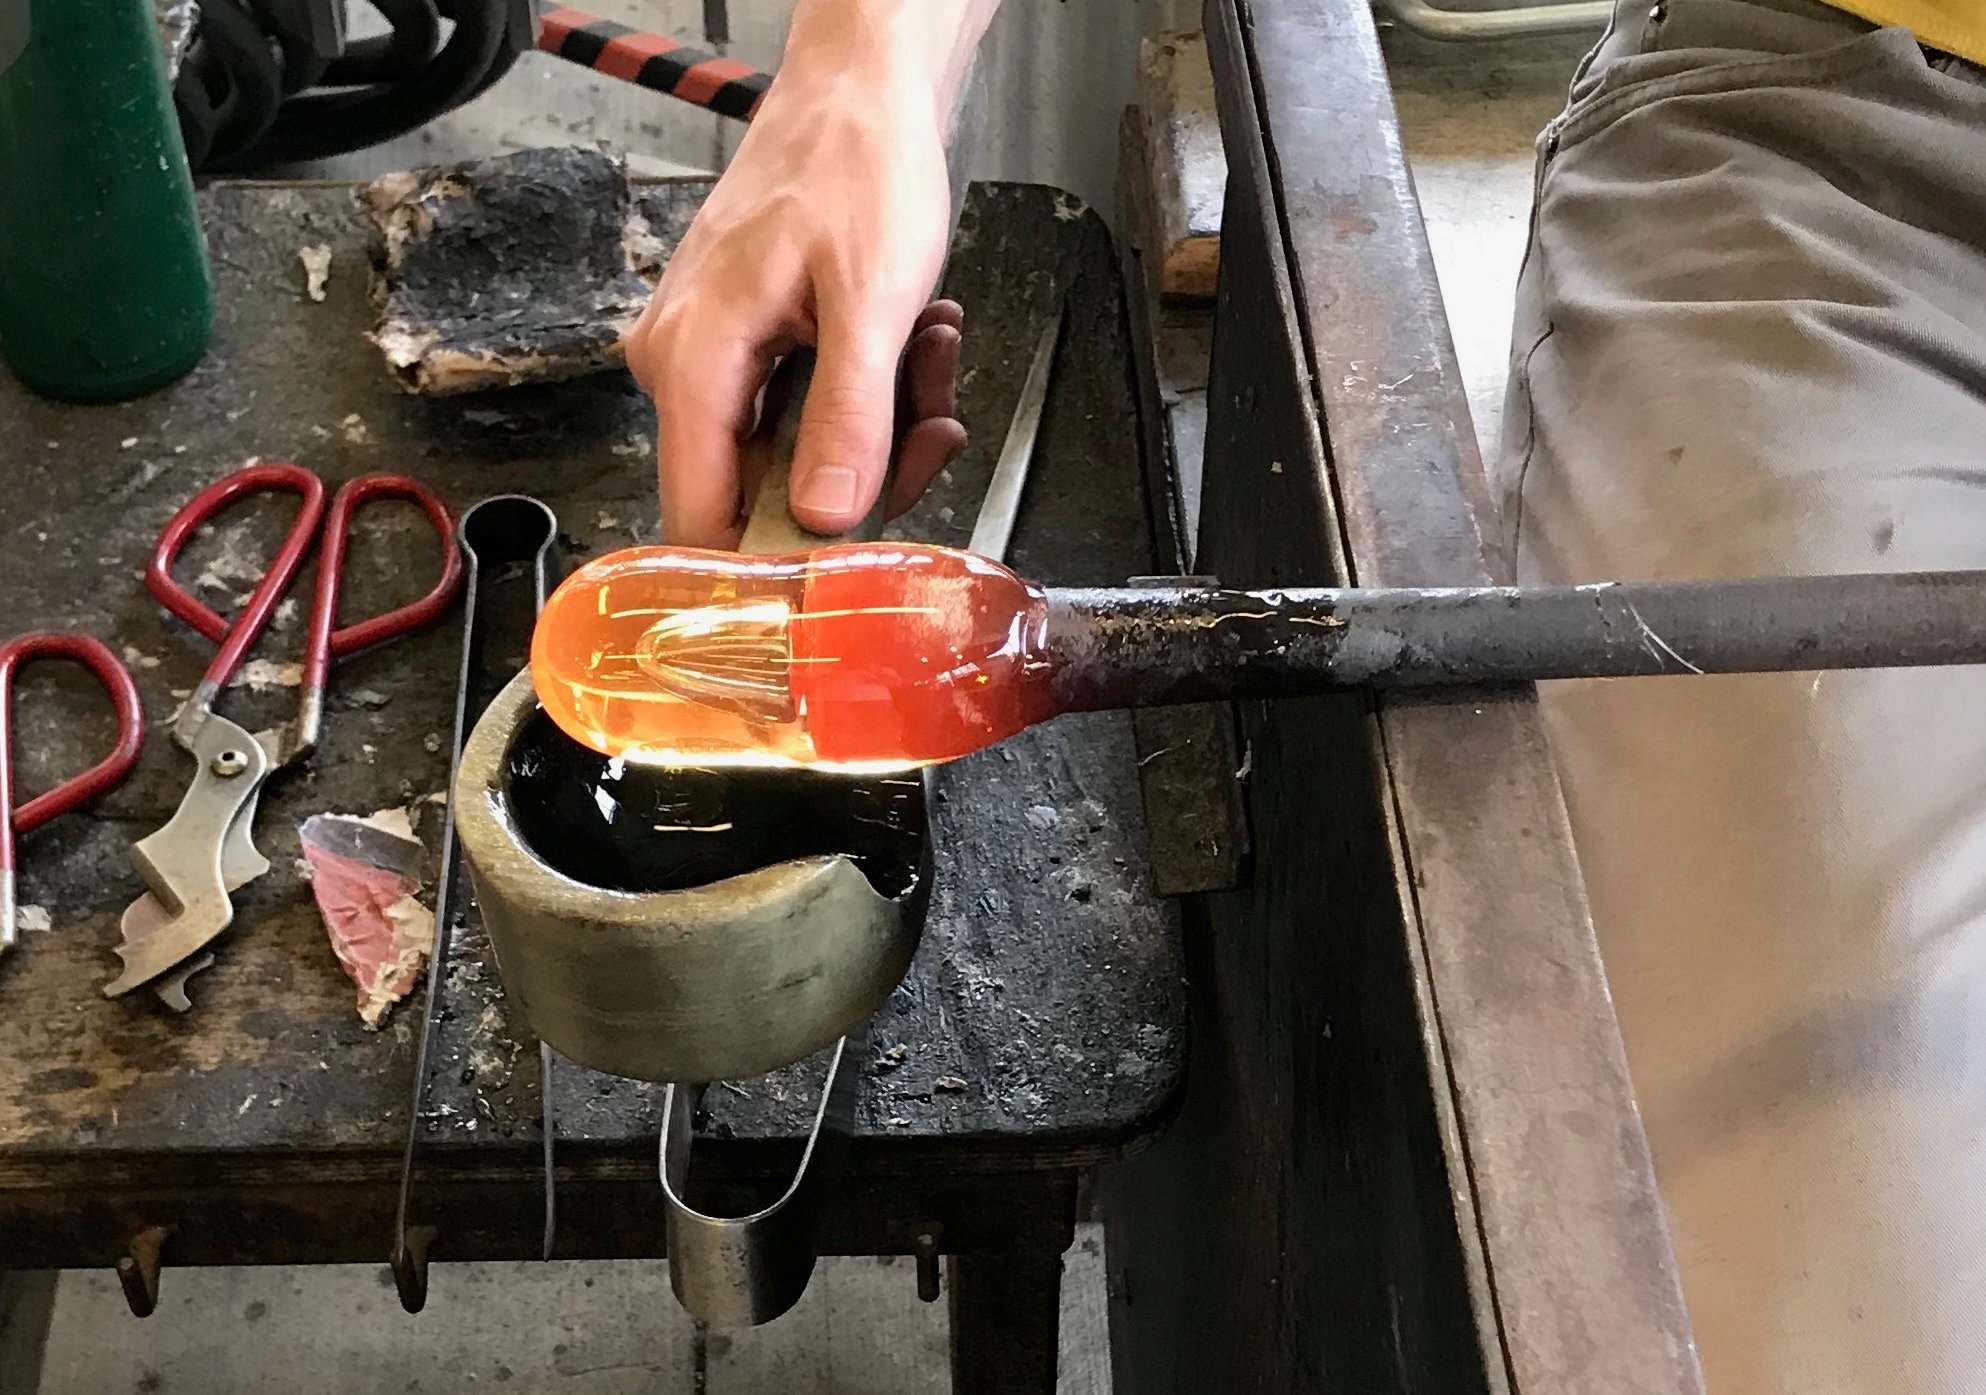
This was taken after the bubble was blown and right before I used the wooden mold (or block) to shape the glass into a sphere.
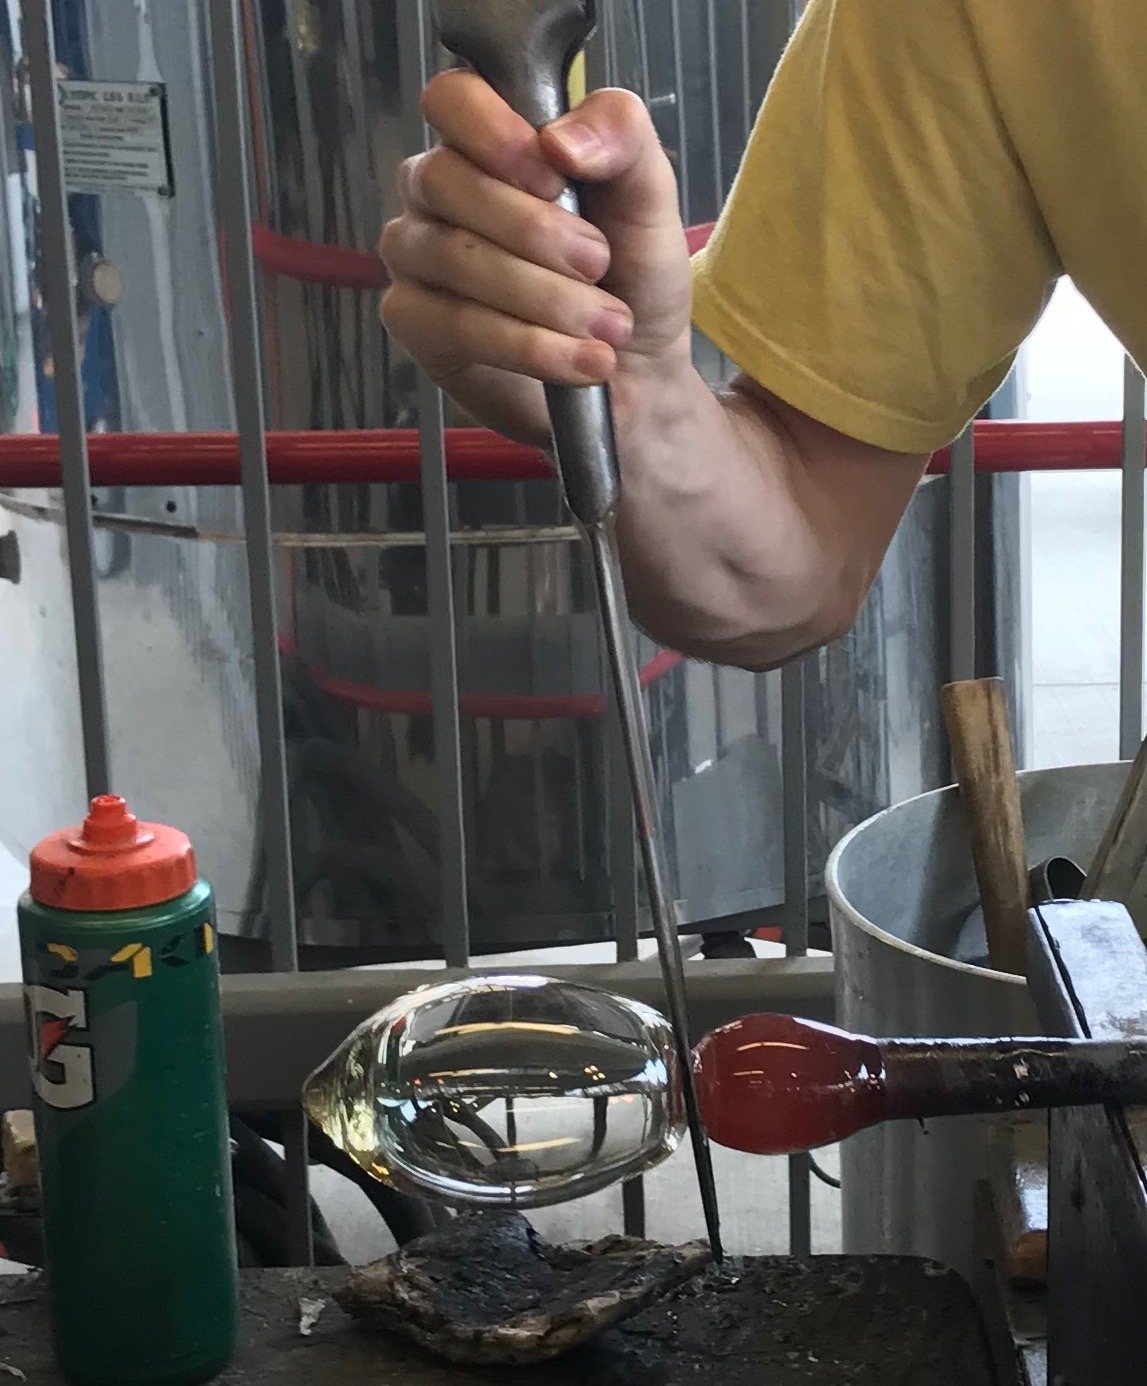
This is towards the end of the process. Here I am squeezing a constriction in the top portion of the cup. This creates stress at the constriction point and will allow the cup to be broken off at narrowest point.
In the end we had about twenty-some glasses and we were ready to stencil the best twelve.
Unfortunately, we were leaving Oregon the next day and stenciling takes a long time. We had about two and a half weeks to get across the country and finish the project. Plus, we wanted to create a separate surprise gift to thank the family for letting us stay with them on Martha's Vineyard. Ath this point this seemed like a pretty tall order for the amount of time we had. Fortunately though, we were able to stop in Chicago, where a friend of mine has access to a glass studio and we could sandblast the stencils (I’ll explain sandblasting in a moment).
To create the frosted glass design my partner used a rubbery substance called Buttercut to cut the designs she created. This substance sticks to glass and protects the rest of the glass from becoming frosted. My partner designed six stencils, which all had to do with the family commissioning us.
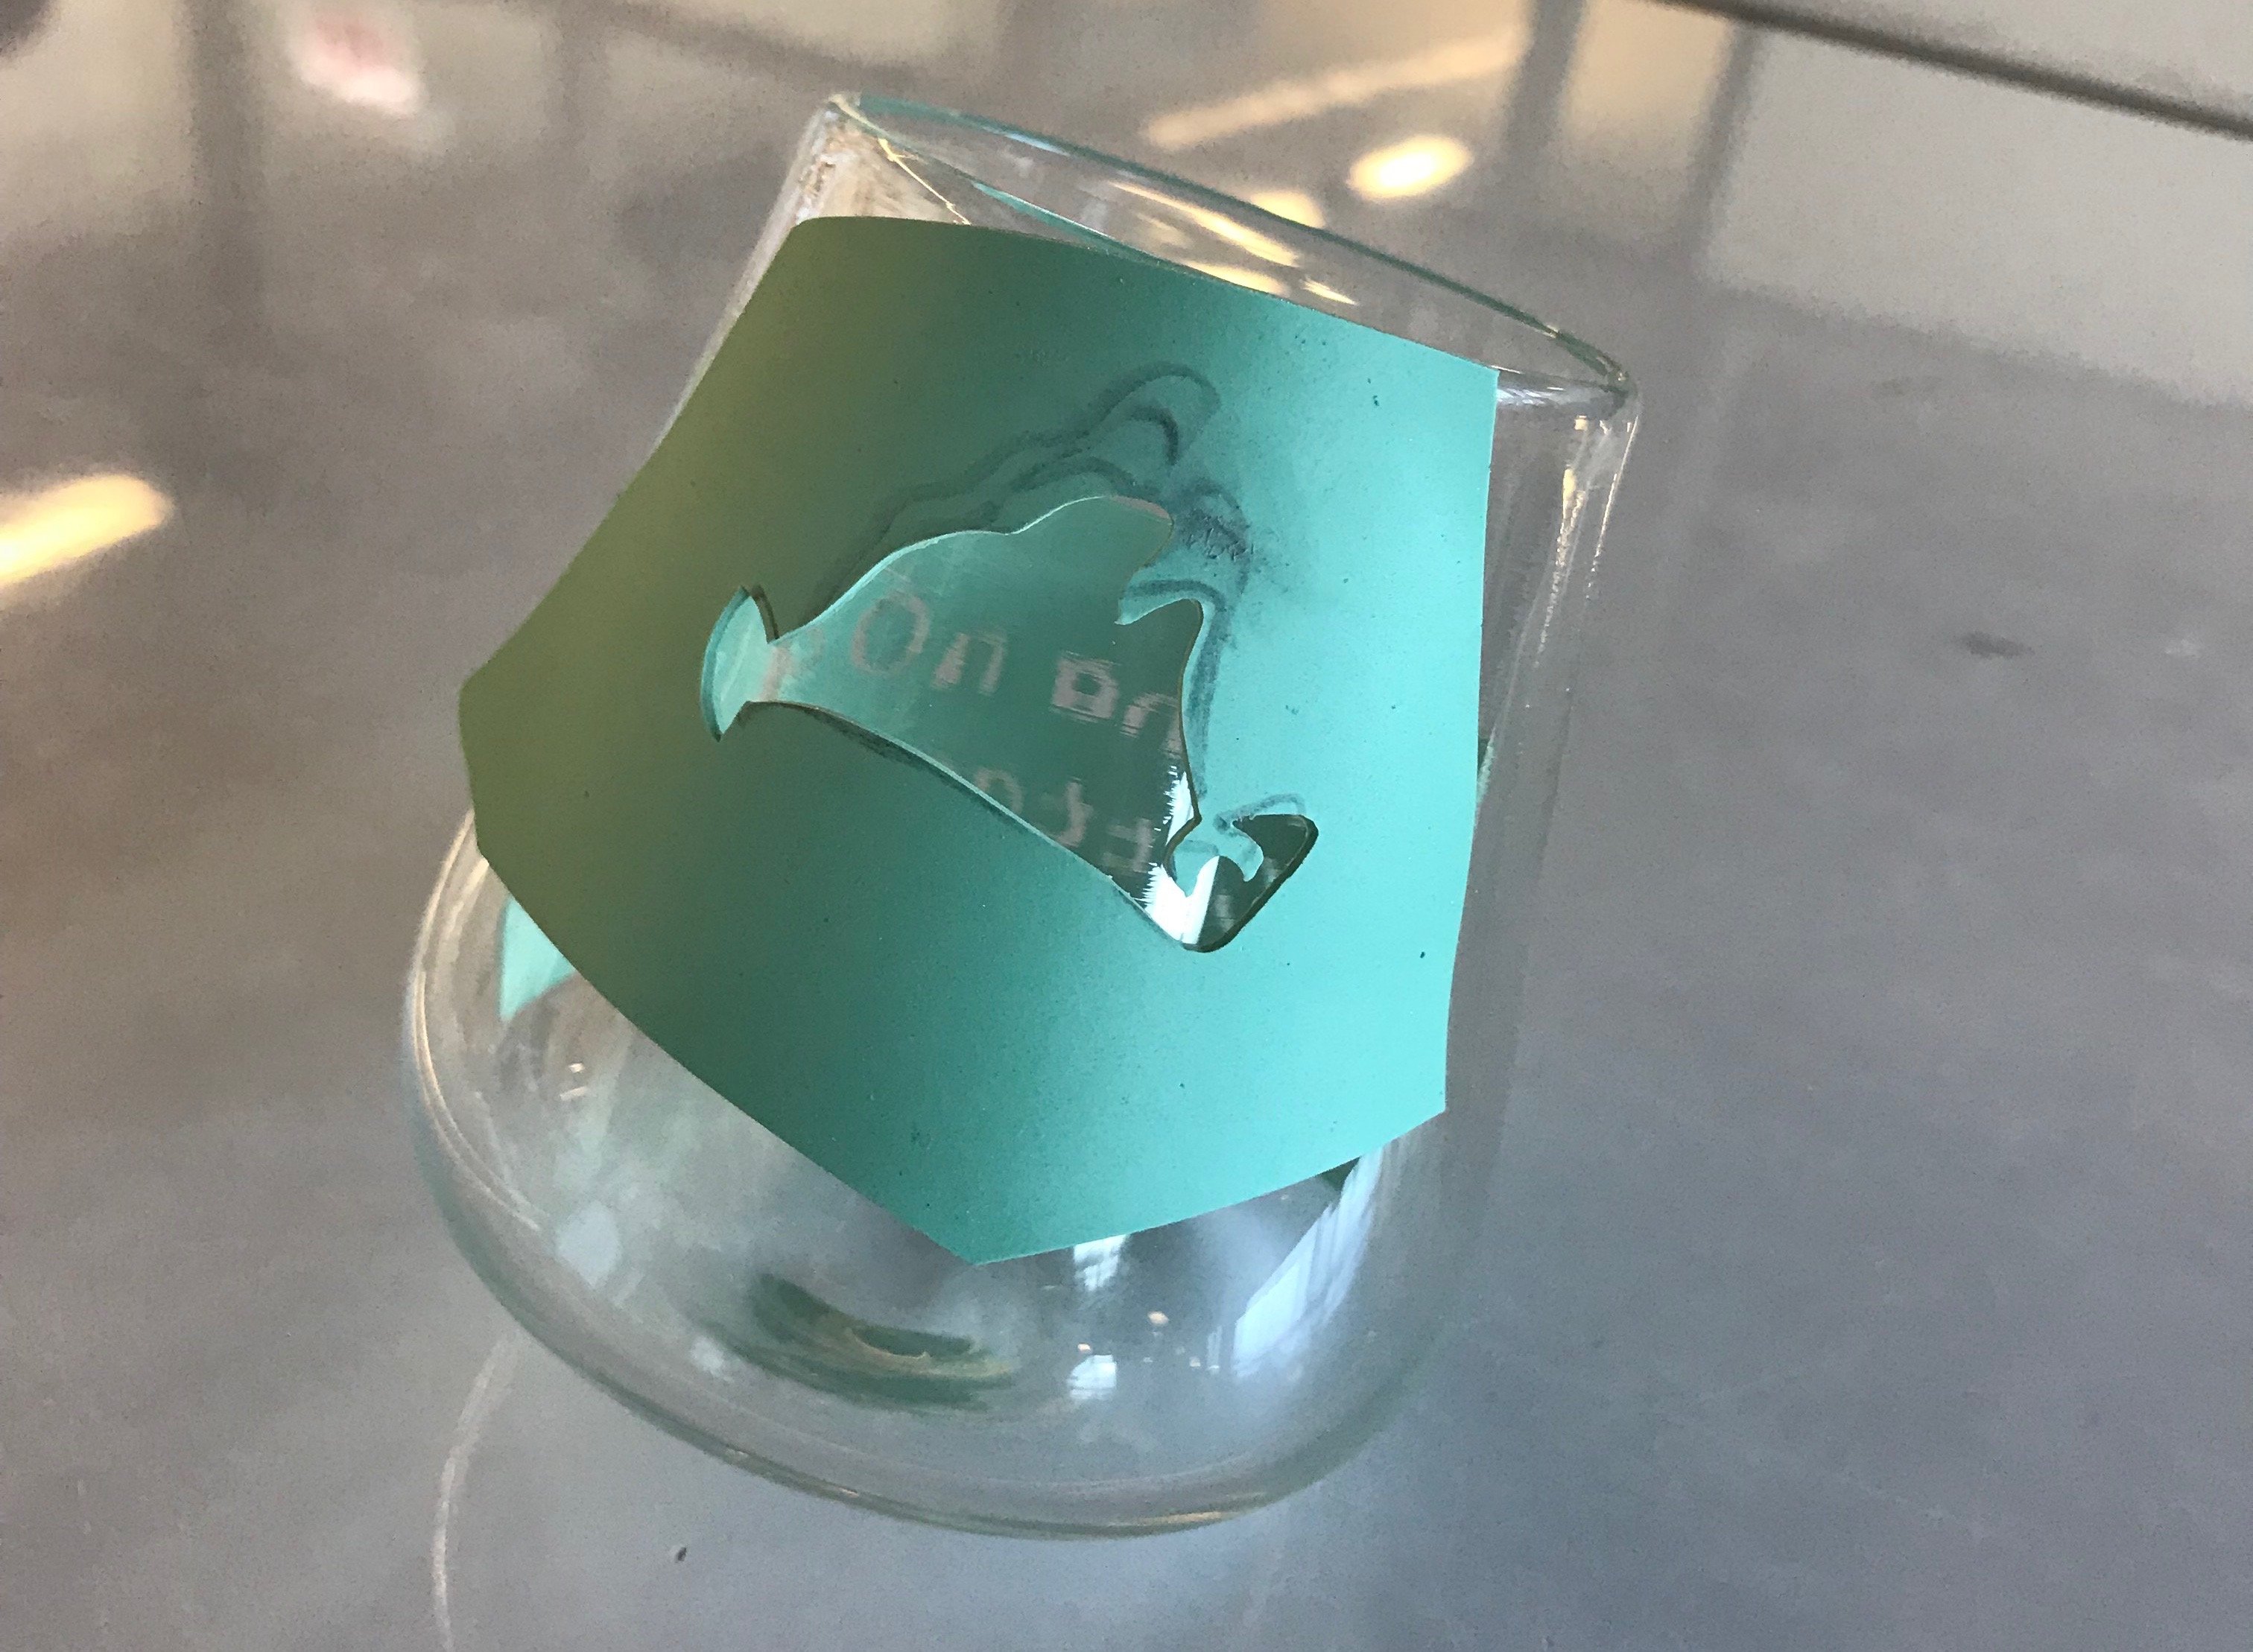
Here you can see the outline of Martha's Vineyard. The glass that is showing through the green surface of the Buttercut will have sand, funneled through a tube and shot out with compressed air, blasted on to the surface. This leaves a rough frosted area which you can see on the middle glass in the picture below (also in the first picture of this post).
Finally, just a week before heading to Martha's Vineyard, the commission was complete. But wait, we hadn't even started the surprise gift and we still needed to drive from Chicago to Martha’s Vineyard!
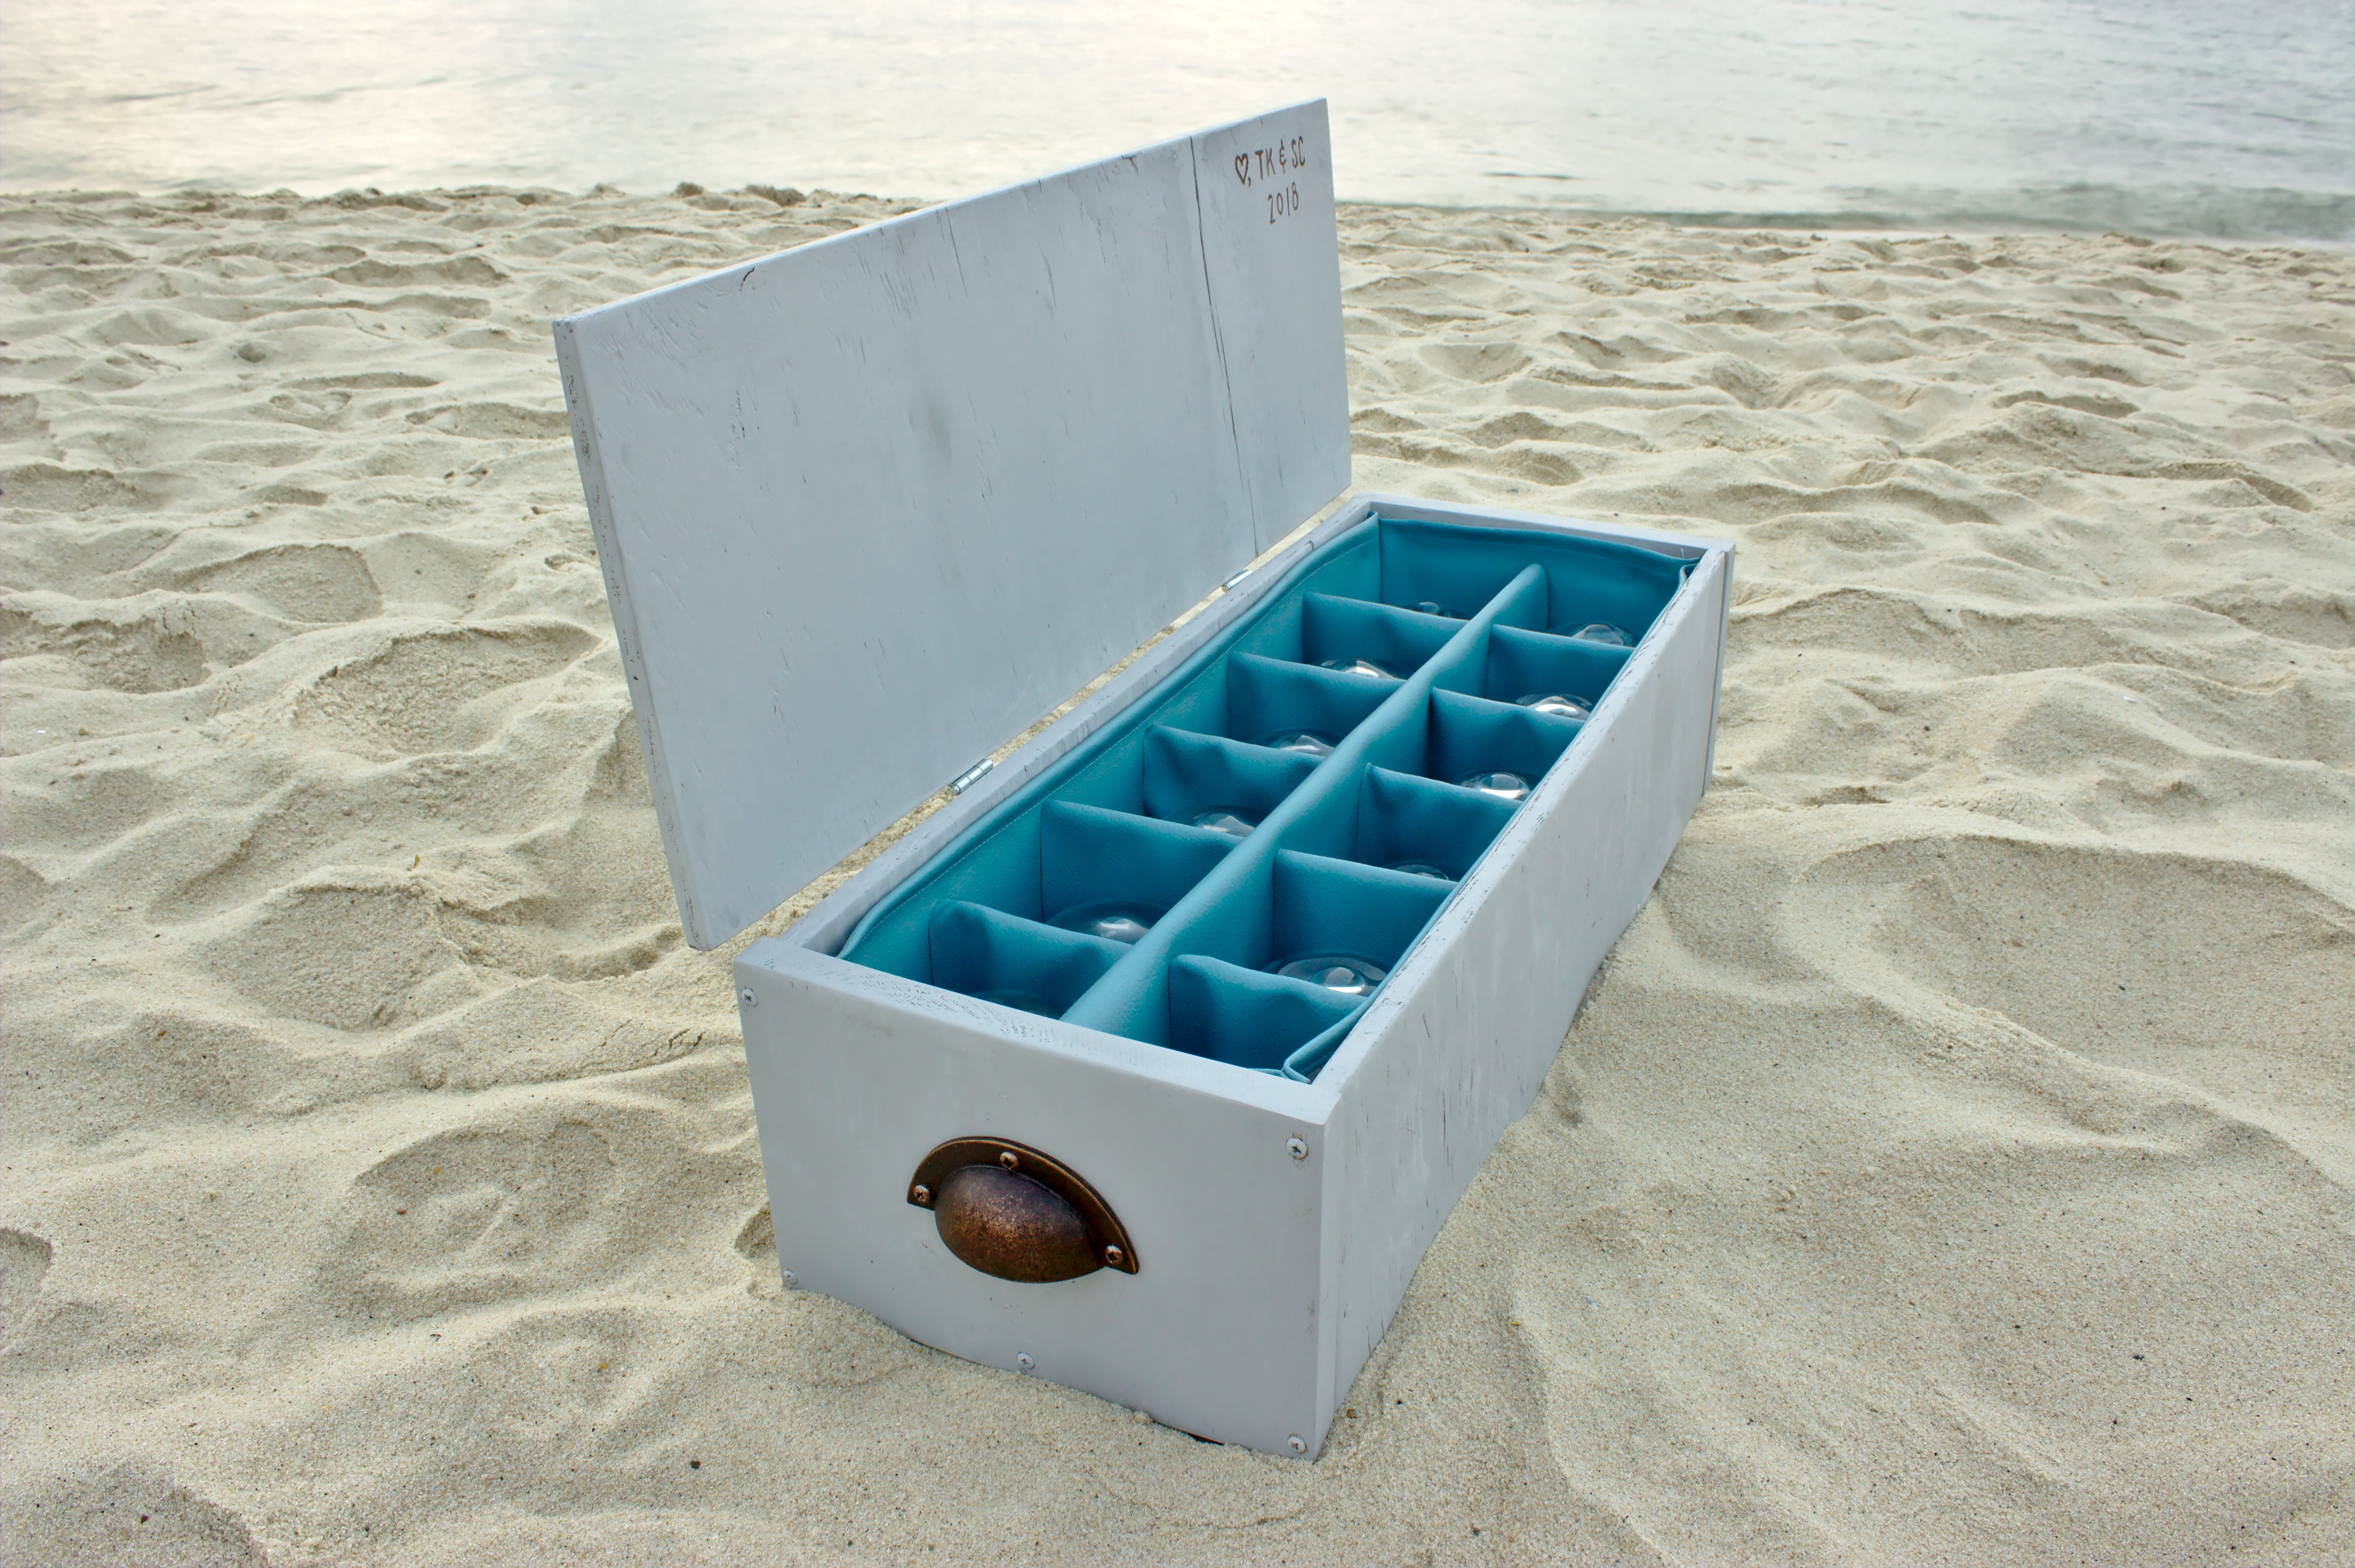
We wanted the family to have a nice safe place to keep all twelve cups so we decided to surprise them with a hand made box built specifically to hold the glasses. I had never done any wood working before but was excited to try this box for a first project.
The glasses were stenciled in pairs (one stencil for every two glasses) so I designed the box to hold the glasses six by two. Meanwhile my partner designed a pattern out of blue leather to line the inside of the box and thus protect the glasses.
We had a mad rush of wood working, sewing, and painting but in the end, we finished everything on time, with only about 4 hours to spare!
It was amazing how a short conversation at a wedding turned into such a large project but the family loved the gift and we had a blast making it.
After all this hard work we took the finished piece to the beach, had some wine, and took some pictures.
Thanks for reading!
By the way, if you're interested in purchasing some of my work or commissioning a project, please contact me or check out my etsy: https://www.etsy.com/shop/SteveChadwickGlass?ref=l2-shopheader-name
Also, if you’re curious about my glass you can follow me on instagram @spcglass


