Welcome to the first in a five-part series about making money from your art at fairs and festivals.
I've sold my work at nearly 100 events across the United States over the past 12 years. It has been a rewarding and lucrative experience. Participating in festivals can help you meet new fans of your work, get feedback directly from buyers, and make money at the same time! I have learned so much from selling my work at events, and am sharing everything here in this big five-part series. If you've ever considered applying for a show, I encourage you to go for it! A five-part series may seem overwhelming, but I will break down EVERYTHING you need to know. You can do it!
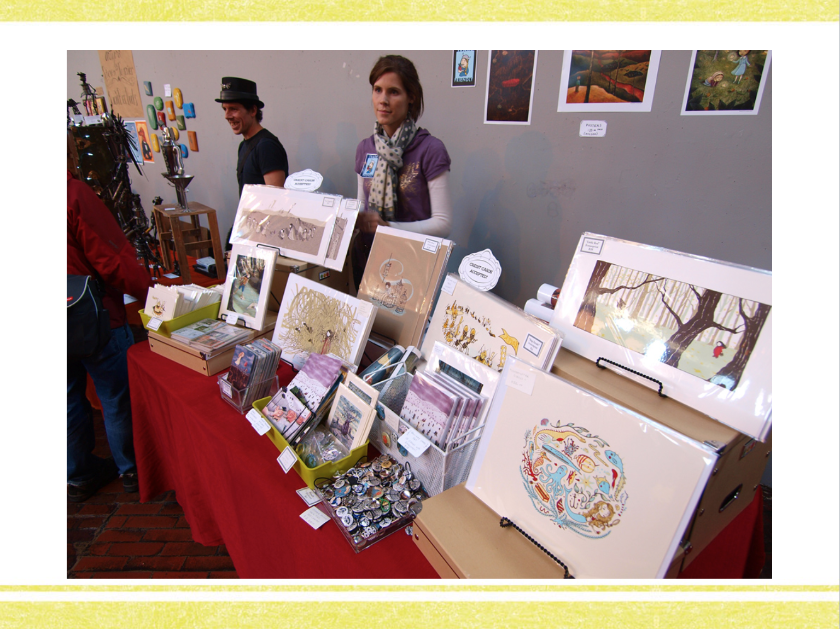 A picture of me at my little table at a small indie craft fair in Boston in 2008.
Part One: Finding Shows and Getting In
Part Two: Preparing Your Work
Part Three: Preparing Your Display
Part Four: Getting Sales
Part Five: After the Show
Part One: Finding Shows and Getting In
If you have made it this far, you are most likely an artist (or designer, or illustrator, or creative thinker) and you’d like to make some money selling at fairs and festivals. You presumably have work you’d like to sell to the public, and that is why you are here. If you don’t already have art or products for sale, much of this will be covered in Part Two. You may also get some ideas from the links in this post.
Look for shows that best reflect your work.
If you have the most amazing work in the world but are at the wrong show for buyers of that work, you will not sell your work. It’s important to find a good match. Do your research before applying to an event to save money and time!
In the simplest terms, I can sort potential events into four categories: Traditional art/craft events, Indie craft events, Specialty art events, and General events with opportunities for artists. Most of those cited in my posts will be in the United States, but much of the information will apply to any show anywhere.
Many events will have application fees, and most will have booth fees. I have participated in shows that cost from $25 to $550 for a booth with varying results. In most cases a higher booth cost will reflect more overall sales, but this is not always true! If you are unsure about an event, try contacting someone with work in the same category as yours who participated in the same event the year before (usually this information is posted on each show's individual website) and ask how the show went for them. Most people are happy to answer a question or two, and every once in awhile this step will save you from making a bad investment.
The Traditional Art Fair
The traditional art fair is still going strong, and there are many opportunities to sell. An example of a traditional art fair is the Utah Arts Festival.
If you search through the artists and artisans on this site, you will see that the quality of work is high, the price points are usually pretty high, and the work is mostly original. Many of these shows will only let you sell a few prints or reproductions. They expect that most of the work you are selling is one-of-a-kind. This is where you would apply if you have $500 paintings to sell. The style of work at these fairs is a bit more traditional, but there is definitely a range. If you want to participate in shows like these, you may want to start with a few small local shows to feel it out before committing to a larger (and more expensive) event. Smaller shows are also better if you are just starting out and have a limited amount of work to show. You might find these smaller events by asking your city and local community centers if they are aware of local shows. Some local farmers' markets allow arts vendors as well, though the quality of these shows vary. If and when you are ready to tackle a bigger event, you may want to start your search at Zapplication .
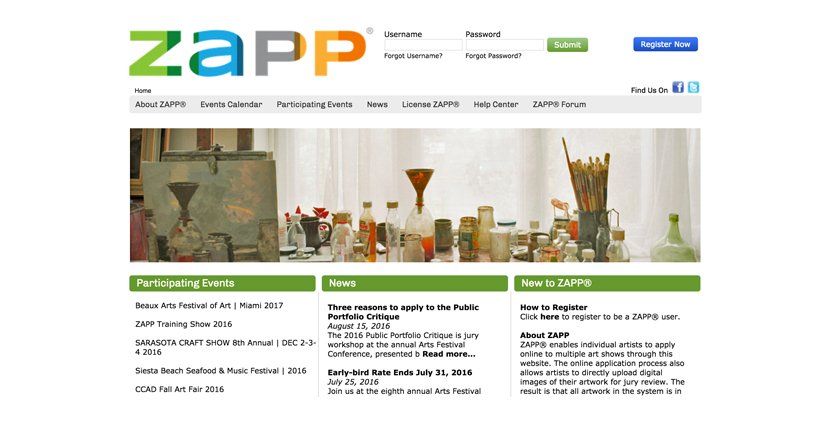
Zapplication is a central spot where larger shows often put their calls and applications for artists. You can use it to find shows to investigate. Then when you are ready, you can often apply directly through the site.
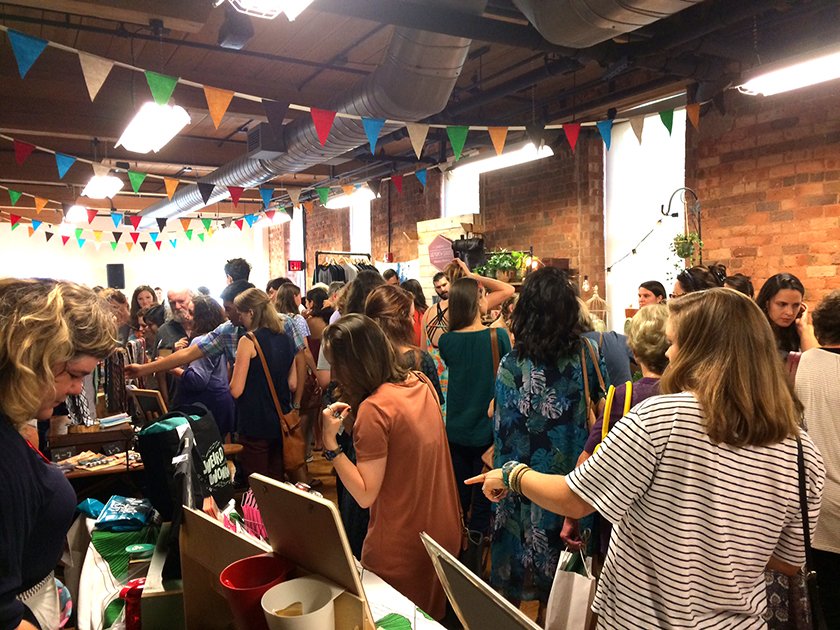 The view from my table at The Indie Craft Parade last week!
The Indie Art Fair
Indie art fairs have grown remarkably over the past 10 years. While these shows began as a younger, newer, and slightly “edgier” version of the traditional craft show, most vendors today have very sophisticated and polished work. A good example of an Indie Art Fair is The Indie Craft Parade, a show I participated in this month.
While the level of craft and some of the price points rival those at the traditional fairs, the subject matter is usually geared toward buyers who want jewelry, art, clothing, and gift products that are unique but reasonably affordable. There is a bit more emphasis on personal brand at these shows and the work is not as classical as in the traditional art fair. I have never sold an original painting at an Indie Art Fair, but I sell tons of prints, t-shirts, illustrated scarves, and cards. Reproductions are welcome here, though many still choose to limit their editions and most are hand-printed. The emphasis at these shows in on handmade goods. They are expecting that you are a small operation and have a personally created all of your products.
If you are interested in finding more Indie Art Fairs, there are many lists online, but this list is a pretty good start. Most Indie Fairs have applications directly on their sites, and fees are often quite a bit lower than traditional shows. Booth fees are often lower as well, but this is not always the case.
Specialty Art Events
Specialty events are often overlooked, but many makers have a specialty that they may not realize or think about. That specialty may be a technique, a specific genre, subject matter, or cause. Be sure to tap into specific events that highlight your interests. If you make fantasy art, you might want to try Dragoncon. If you are into character design, you may to rent a table at CTN or another animation festival and sell prints or drawings to fans of animation. If you make comics or write stories, you might want to try the Small Press Expo or similar events. And yes, there are even faerie festivals, where vendors I know (who like drawing woodland creatures) have has their best ever sales! Be sure to investigate very specific venues for your specific interests. These shows will draw people who already have an interest in what you are creating - which is a great start.
There are also artist markets at music festivals, Renaissance Faires, and nature expositions. If you can think it, it might already exist, so try a web search!
The Application
Application requirements for art festival and fairs vary, but most require an artist’s statement or bio, a description of items for sale, photographs or website link with pictures of your work, and sometimes a photo of your booth display.
The Artist Statement
The thought of writing an artist statement can be intimidating. You’ll probably be asked this question for more traditional and large festivals where you’ll be displaying original fine art works or products. Though there’s a common misconception that artist statements need to feel lofty and important, it is a much better idea to write in words with which people can connect. You are not soliciting the Metropolitan Museum - you are writing to art buyers and people with an enthusiasm for what you do. Keep your statement brief and include why you create your art, what inspires you to create it, what the work represents, and what makes it different from other work. You can also include what your artwork means to you if that connection is important.
The Bio
An artist’s bio can vary in length from a few short sentences to a few paragraphs. Many applications will specify the length of the bio they would like. Include your name, what you make, what inspires you, what level of training you’ve had (or do mention that you are self-taught if this is the case!), where you are from, and any relevant experience or awards you have won, as well as personal anecdotes or philosophies that are relevant to your craft. You can keep your bio straightforward or playful. This is usually just the most basic information about you. Keep in mind that art buyers might actually want to know that you paint from a little cabin, or that you feed your passion for art by painting every night after your kids go to bed. For more formal shows, a bio is usually crafted in the third person. For art shows in the indie category, a bio can be more personal and may even be written in the first person for a more casual feel. If you have time to dig in and perfect your bio, this article has some great pointers for writing a short and effective one from a fine art perspective, and this short post gives you some pointers for crafting a more casual introduction.
Description of Items for Sale
When it comes to describing your items, the following things are usually important:
1. Materials used
2. Size
3. Price points (consider having items in varying price categories)
4. Adjectives that describe the work
For instance, I might briefly describe my items like this:
"I draw and paint pictures of people and places far away. My whimsical fine art prints range from 4x6” to 16x20”. They are printed on acid-free paper with archival inks, so they’ll last a lifetime in the spaces of children and adventurous adults. My items are priced from $2 for a picture-postcard to $75 for a limited-edition signed-and-numbered screen print, with the average print price of an affordable $30."
Photographs
Having good photographs of your work is very important. If you are a 2D artist who works small, you may scan your work for the best results if you have access to a scanner. Otherwise you’ll need to photograph your items. Photographs have the power to make mediocre work look amazing and amazing work look mediocre, so be sure that you put energy into getting good-quality images to send to the jury. If you sell a product, you may even want to photograph that product in its element. If you make small sculptures, for example, you might photograph one on a trendy desk among items of a similar aesthetic. This is how catalogs sell you merchandise, and the technique can certainly work in application photos as well. Of course you can always play it safe with clear photographs against a white background. When you are ready, there are plenty of product photography tutorials on the web. Click here for a good one written by the folks at Shopify.
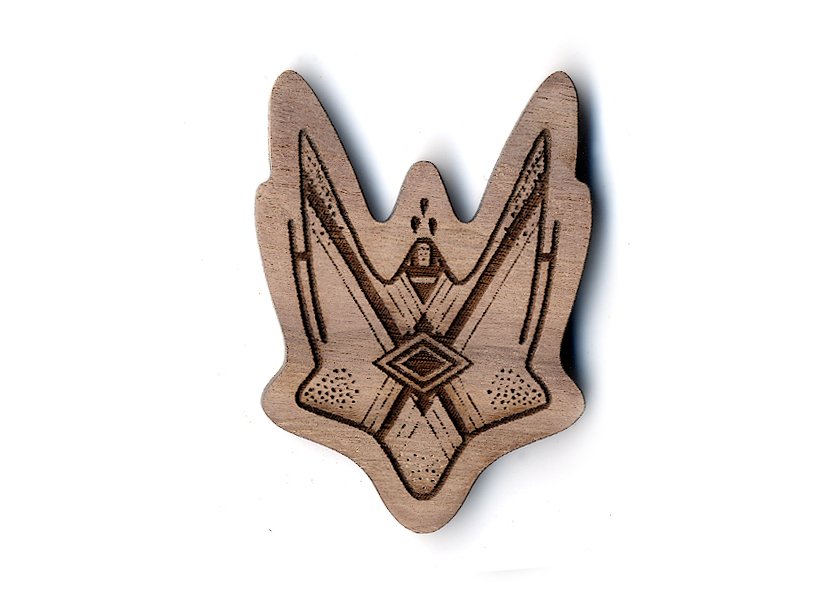
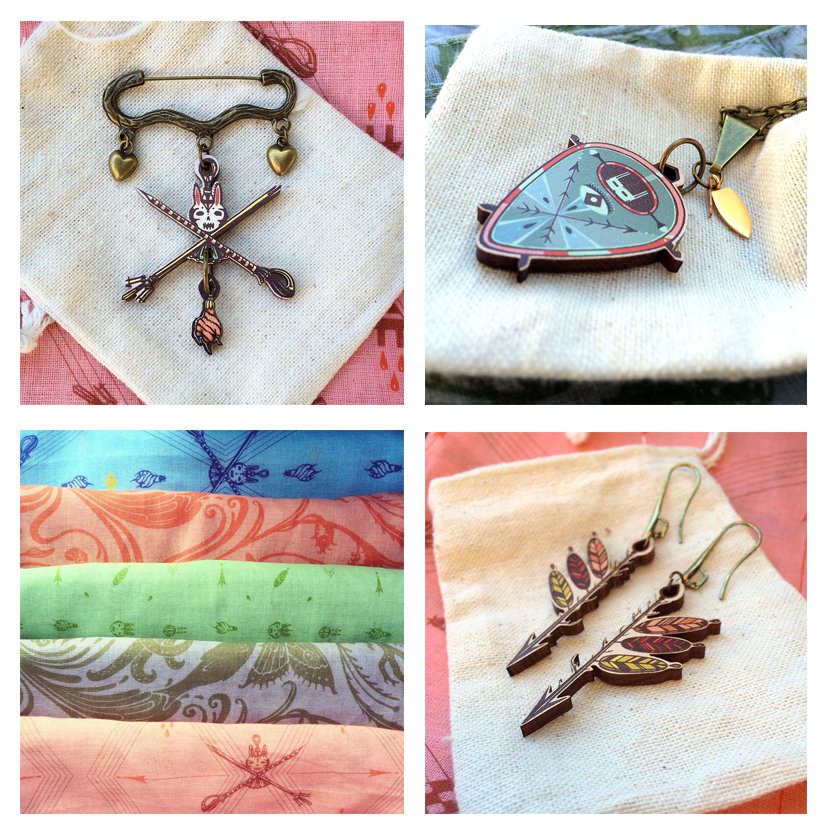
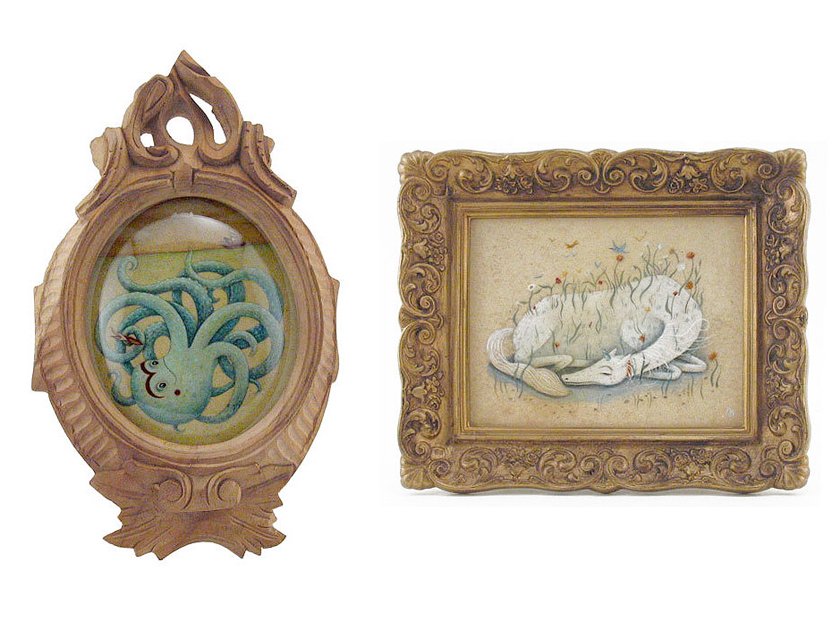
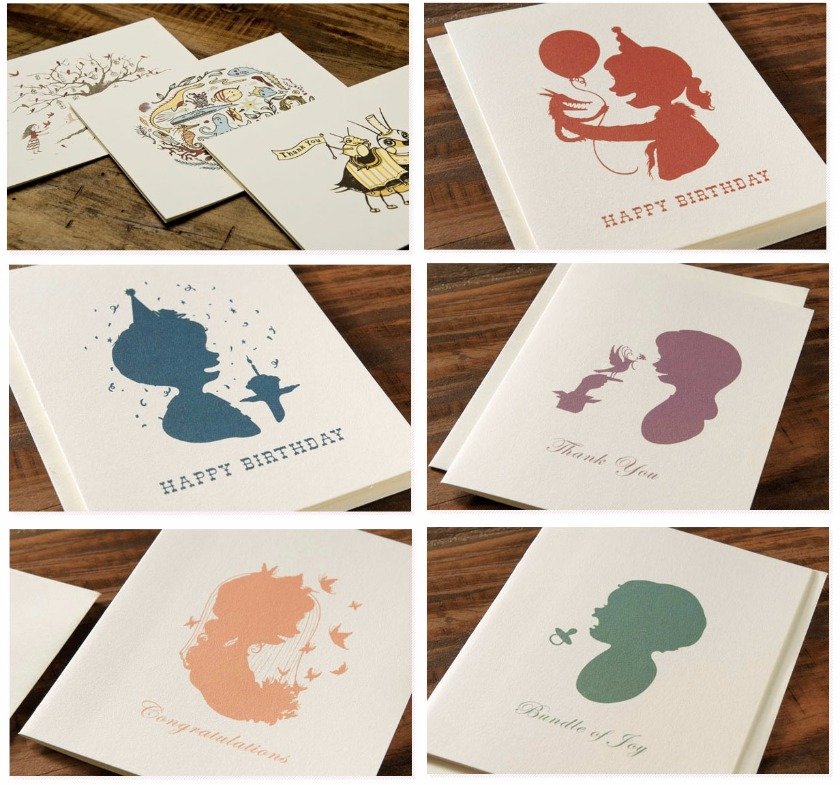
Below are some photos of my work. They are not perfect, but they do the job (and the jewelry ones were simply taken with my iphone!) Above all, the photographs need to be in sharp focus and have good light. Natural light usually works best.
Website
Some applications will ask for your website url, but most will not require that you have one. Sometimes you are allowed to link to a website instead of submitting product photos. Website design is its own beast. I use Squarespace for mine, and have found it reasonably intuitive and perfect for my purposes, but there are numerous options out there. As an alternative, if a show requires a website, you can make a quick Etsy shop in just a few hours if you have your photos ready. There are many other online shops to explore, including Shopify and BigCartel. These will most likely work if you don’t have the time to set up a new website and need to have a web presence for an application. And you can sell directly from these websites too! Since most shows do not require a website, don’t let this be a deterrent for you to get started.
Booth Photo
This is the catch-22 of the trade. You need to get into a show to get a booth photo, but you need a booth photo to get into a show. Not all shows require booth photos. If you run into this problem, my first suggestion is to apply to show that doesn’t require a booth photo first. Take a photo of your booth at that show and use it on future applications. Alternatively, there is no harm in setting up your booth somewhere outside where you can photograph it ahead of time to use for your application! Booth design will be covered in Part Three of this series.
Application Fees
I have seen application fees range from $5-$40. While some events make money from applications, many use the money to put back into the event and the fees pay for the time it takes to fairly jury hundreds of applicants. Because there are booth and application fees, make sure you are ready and willing to participate in the show if you are selected!
Submit Your Application and Wait for A Response
You’ve submitted your work, and now you must wait! This is probably the most difficult part of the process. Many shows will list the date they’ll notify applicants of their acceptance status, so you’ll have some idea when you’ll hear back. As difficult as it may be. DO NOT be discouraged from trying again if you do not make it in the first (or second or third) time. Artists tend to take these results very personally, when much of the time decisions are based off of specific show demographics and needs, and not just the quality of the work. Some categories are more competitive than others, and some shows are more competitive than others, so keep trying! It is also a good idea to attend or volunteer at any shows to which you’d like to apply. This will give you insight into what the organizers are looking for.
Whew! We’ve made it through Part One, and now we have submitted our applications.
Be sure to come back soon for Part Two: Preparing Your Work where we'll dive into getting your work ready to sell. We’ll talk about tapping into multiple price points and buyers, as well as expanding and creating (and sometimes outsourcing) your product line for a show. We’ll also chat a bit about packaging and branding your work and how it can lead to more sales!
Thanks for reading! If you have any questions about finding and applying to art events, do ask them in a reply and I'll answer them if I can.
photographs © Jaime Zollars
