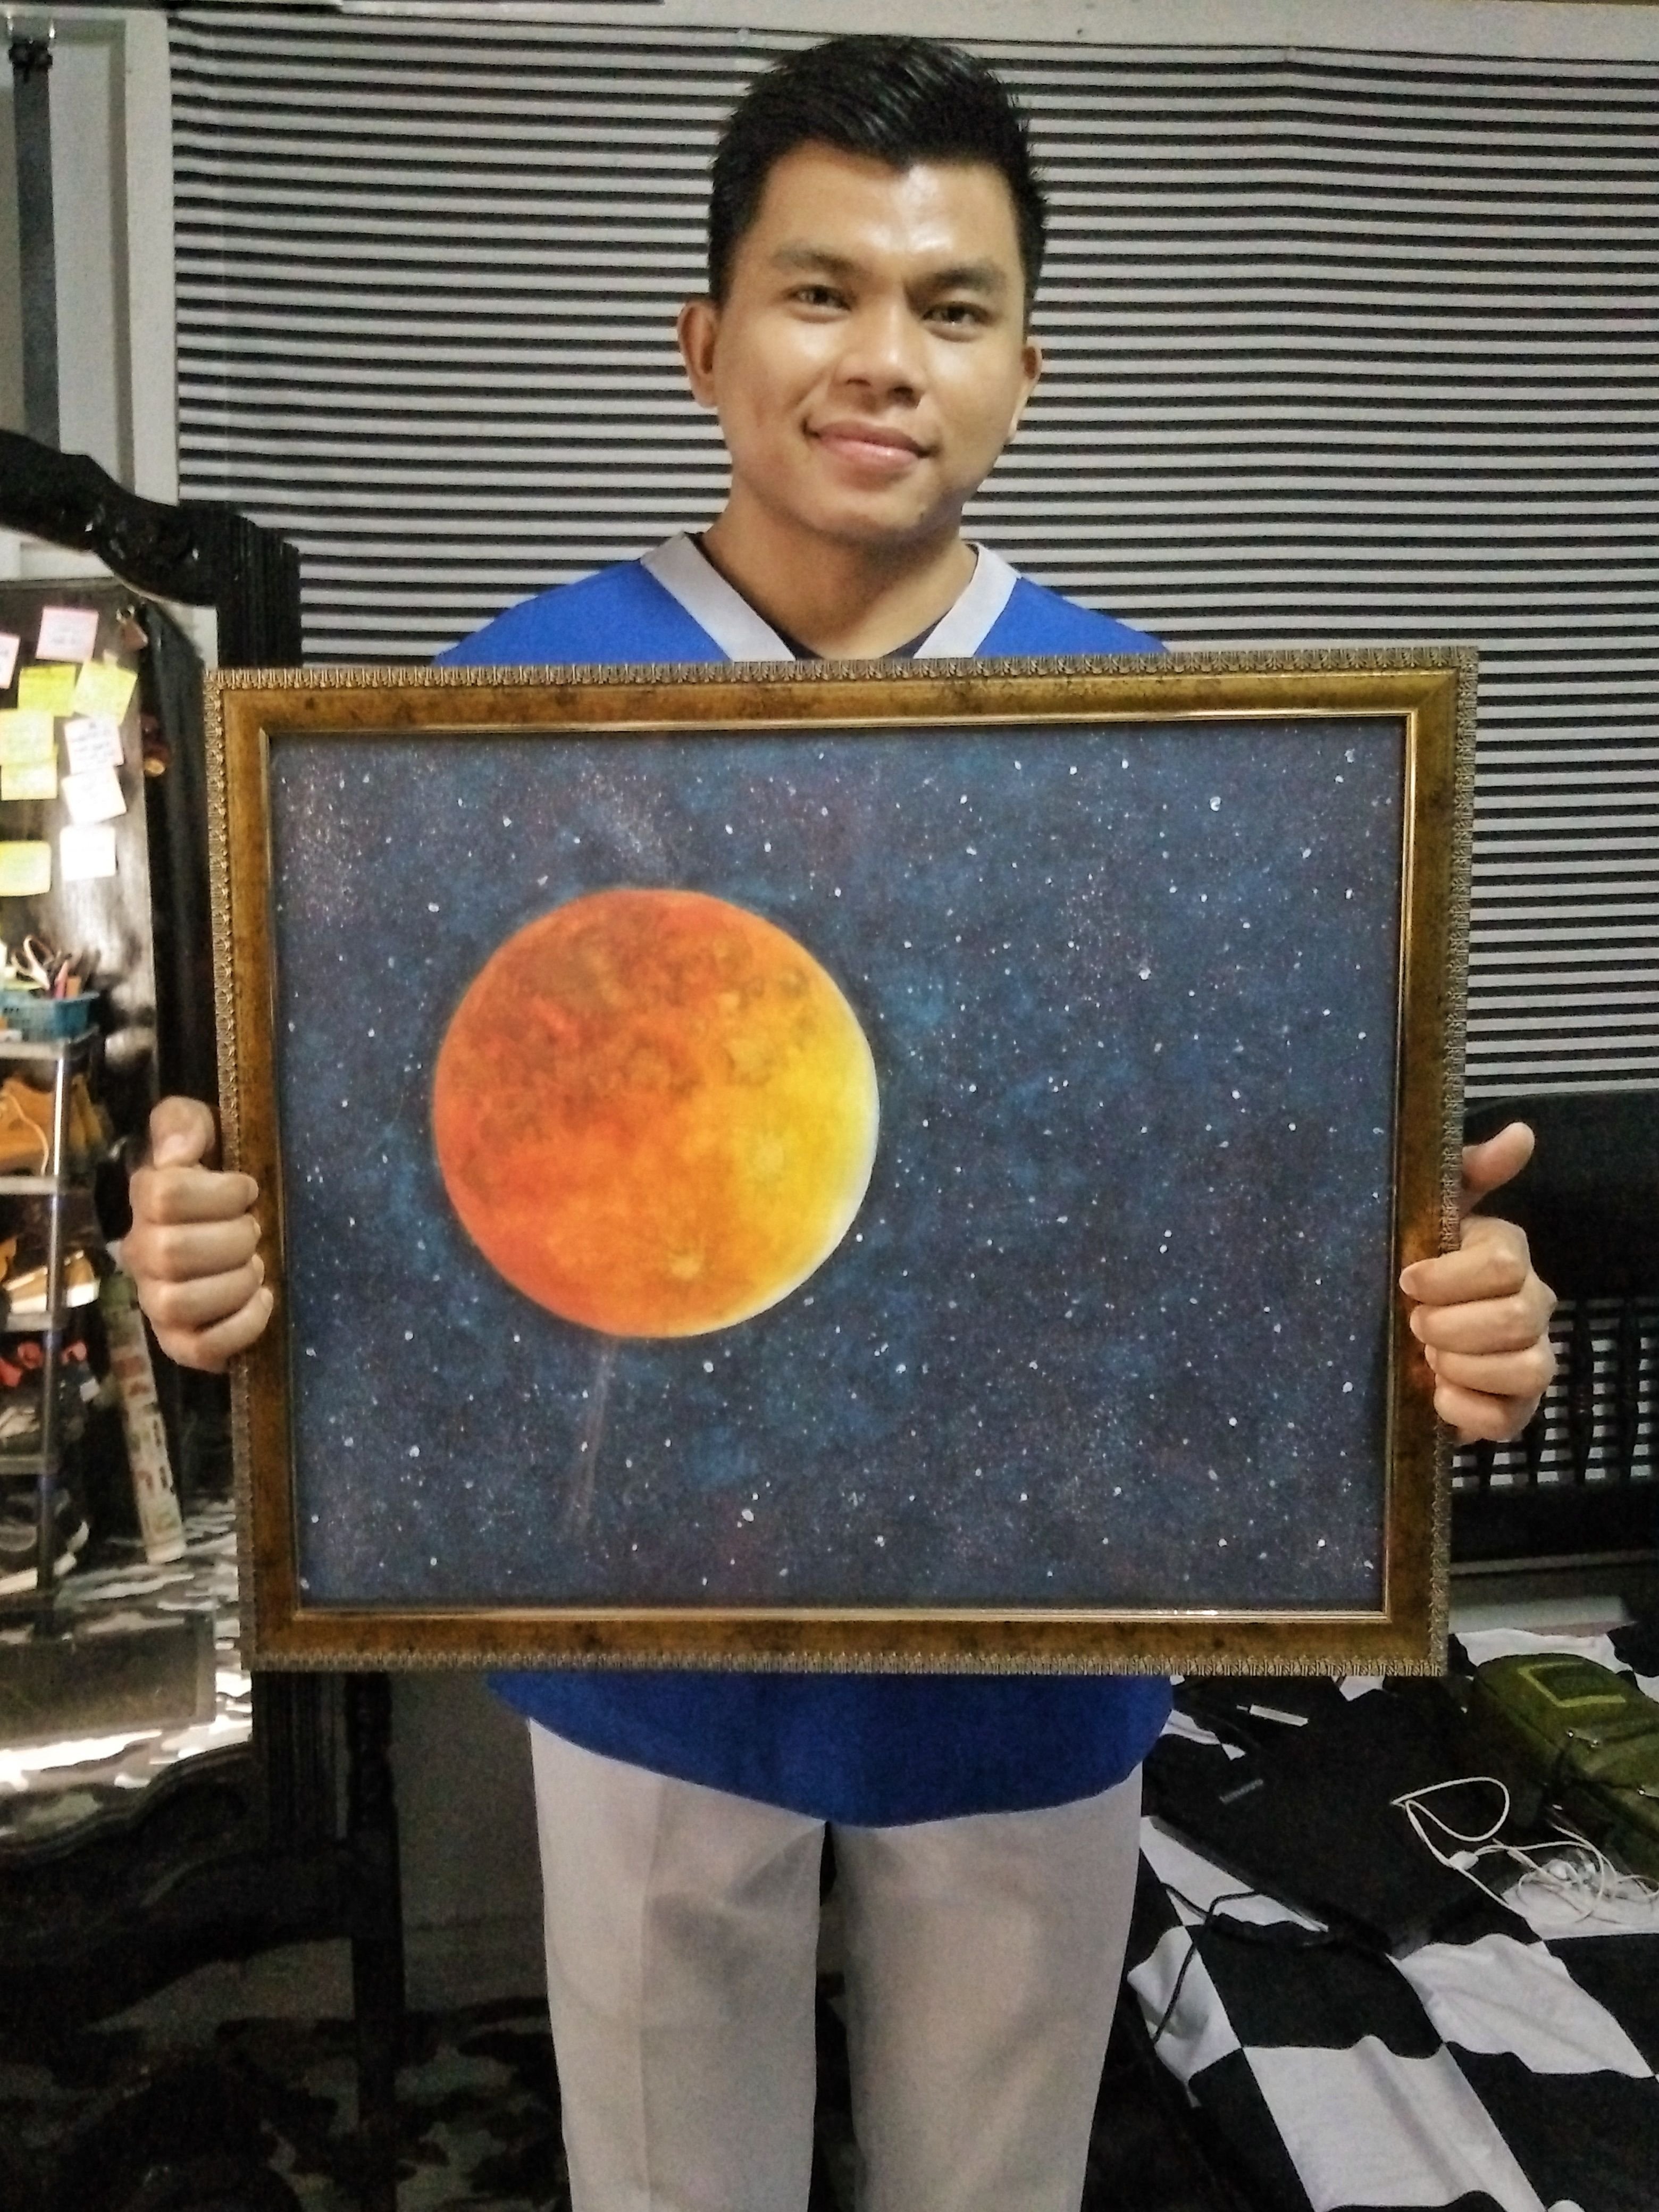
During the last days of January 2018 I was able to witness how colorful and peculiar moon could be!
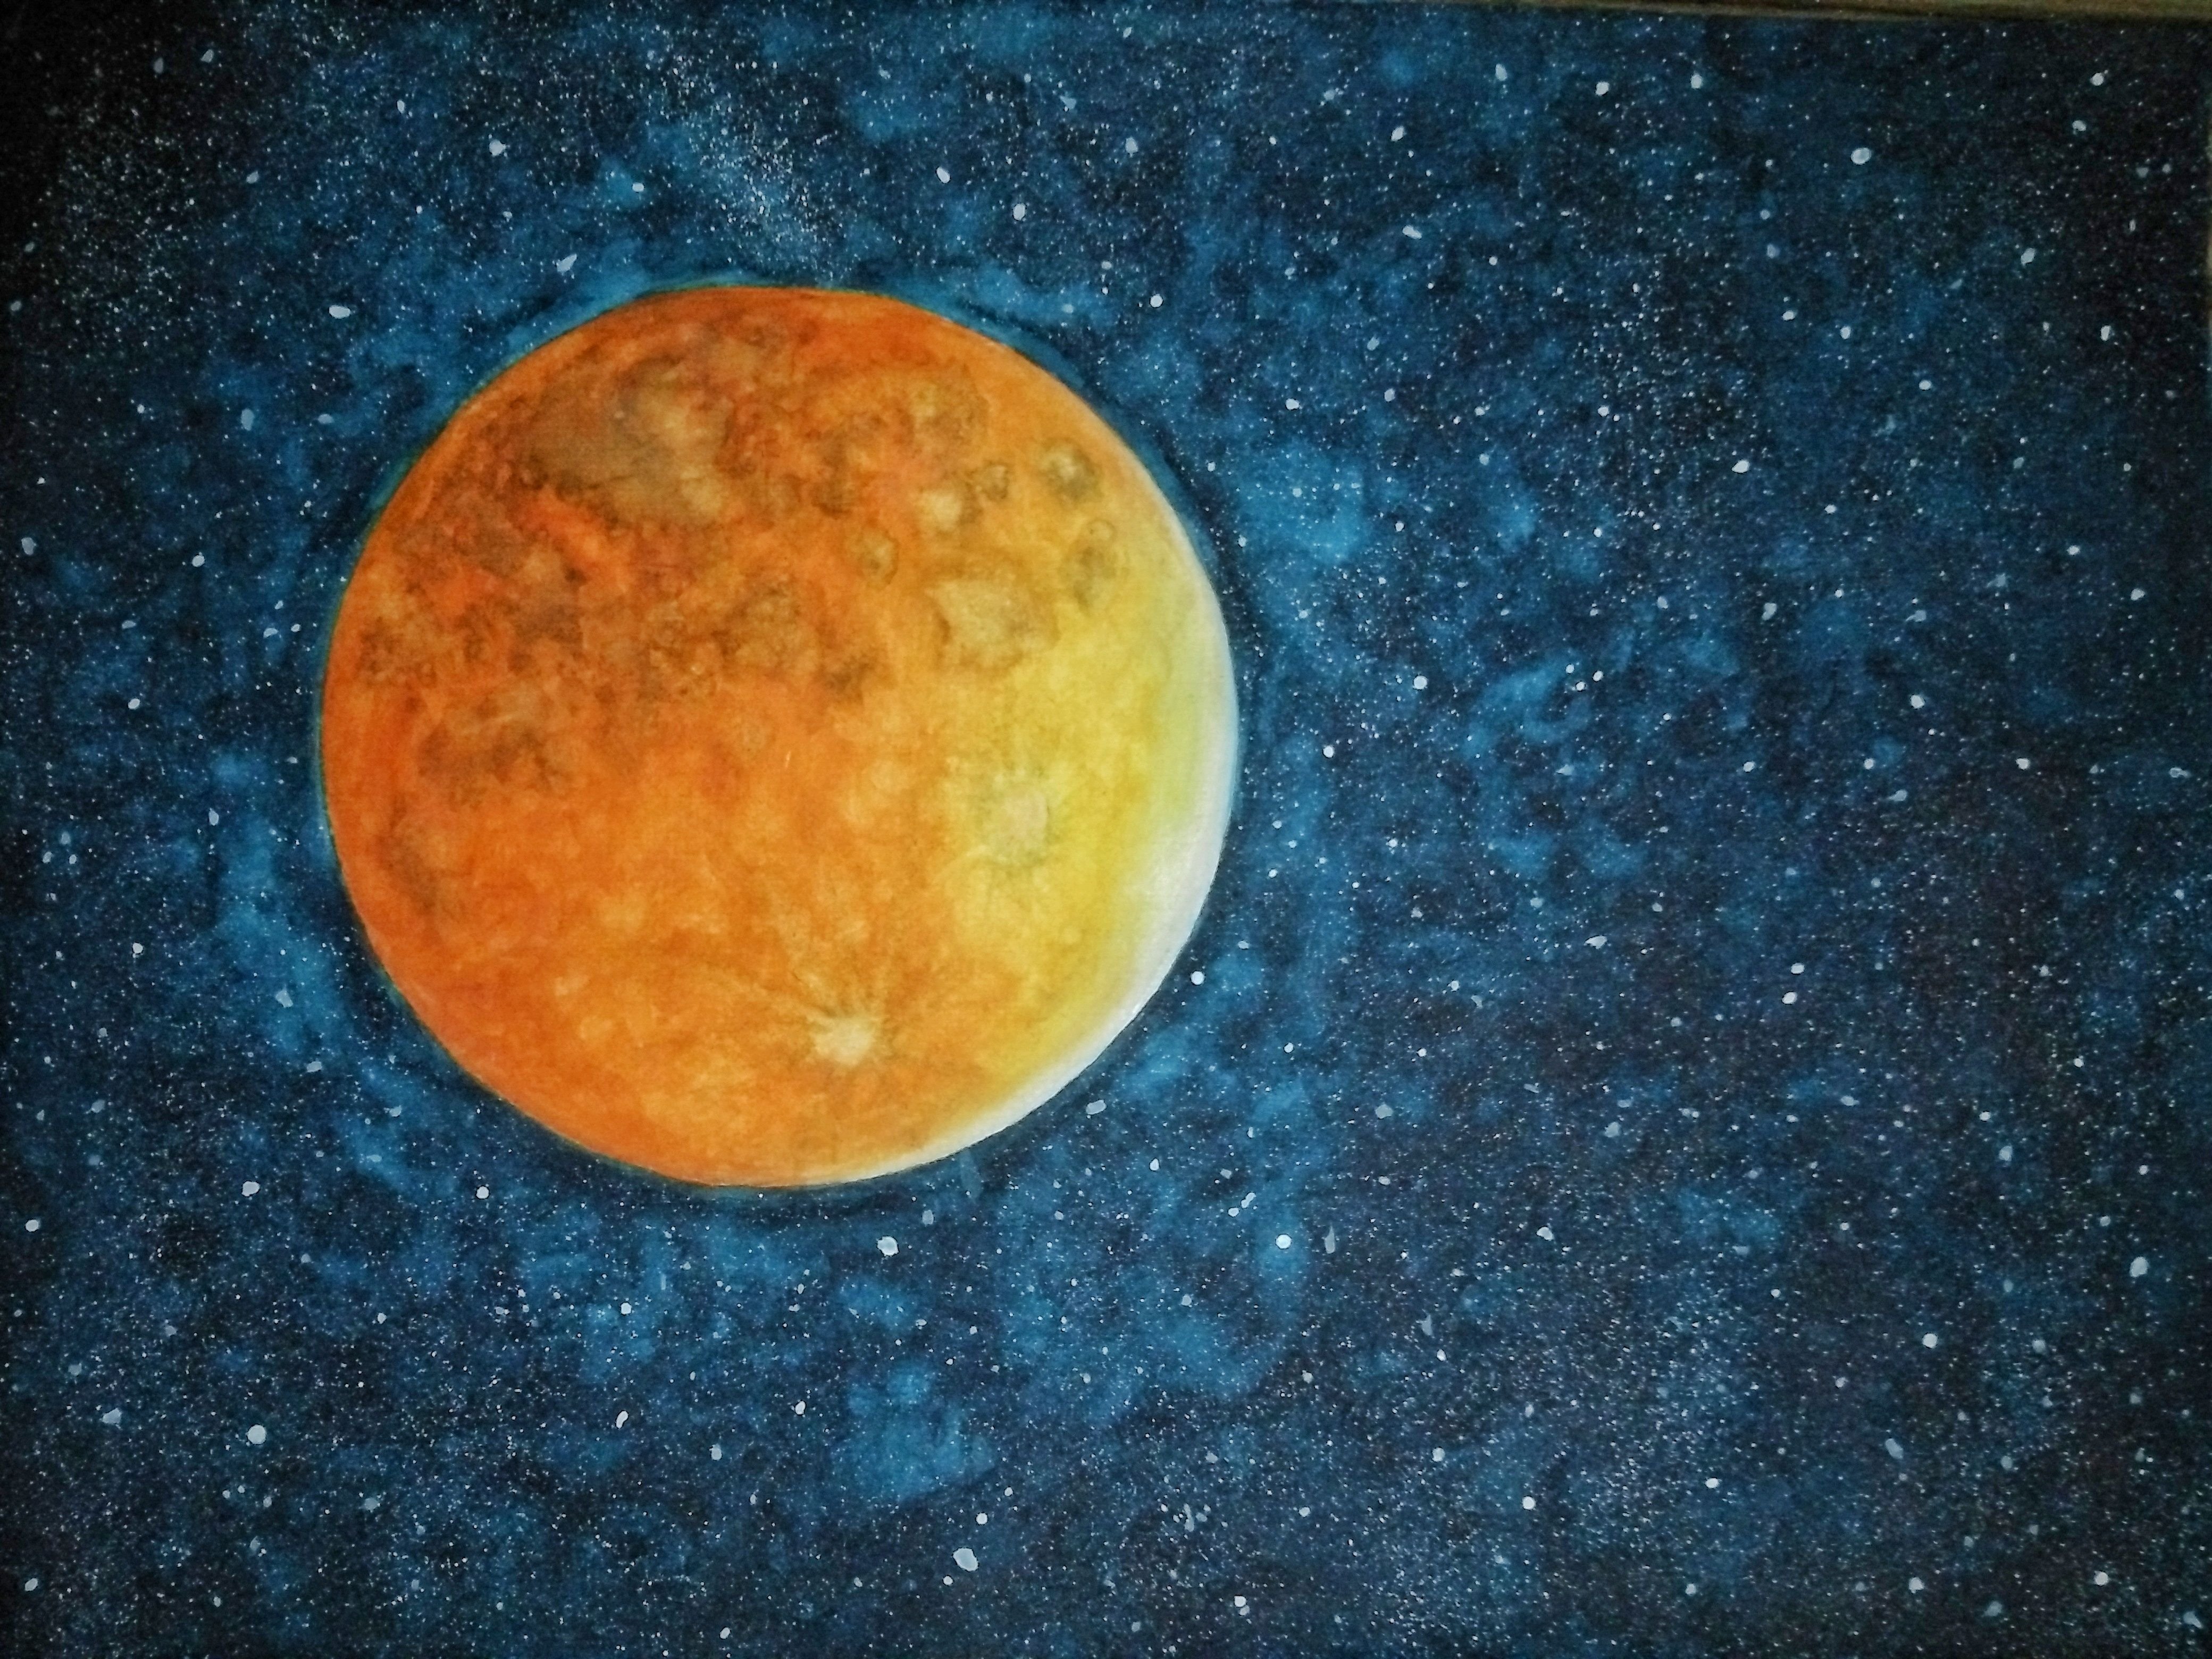
I was with my brothers walking to pier when I concluded that the Blue Blood Moon was such a spectacular scenery above the sky, I wanna catch it during the moment but my phone and our DSLR could not capture it well. Hence, last night I gave my photographic memory a realization and painted it for more or less five hours! (I slept at 3 AM to come up with such project)
I want to show you how guys! I hope you like it.
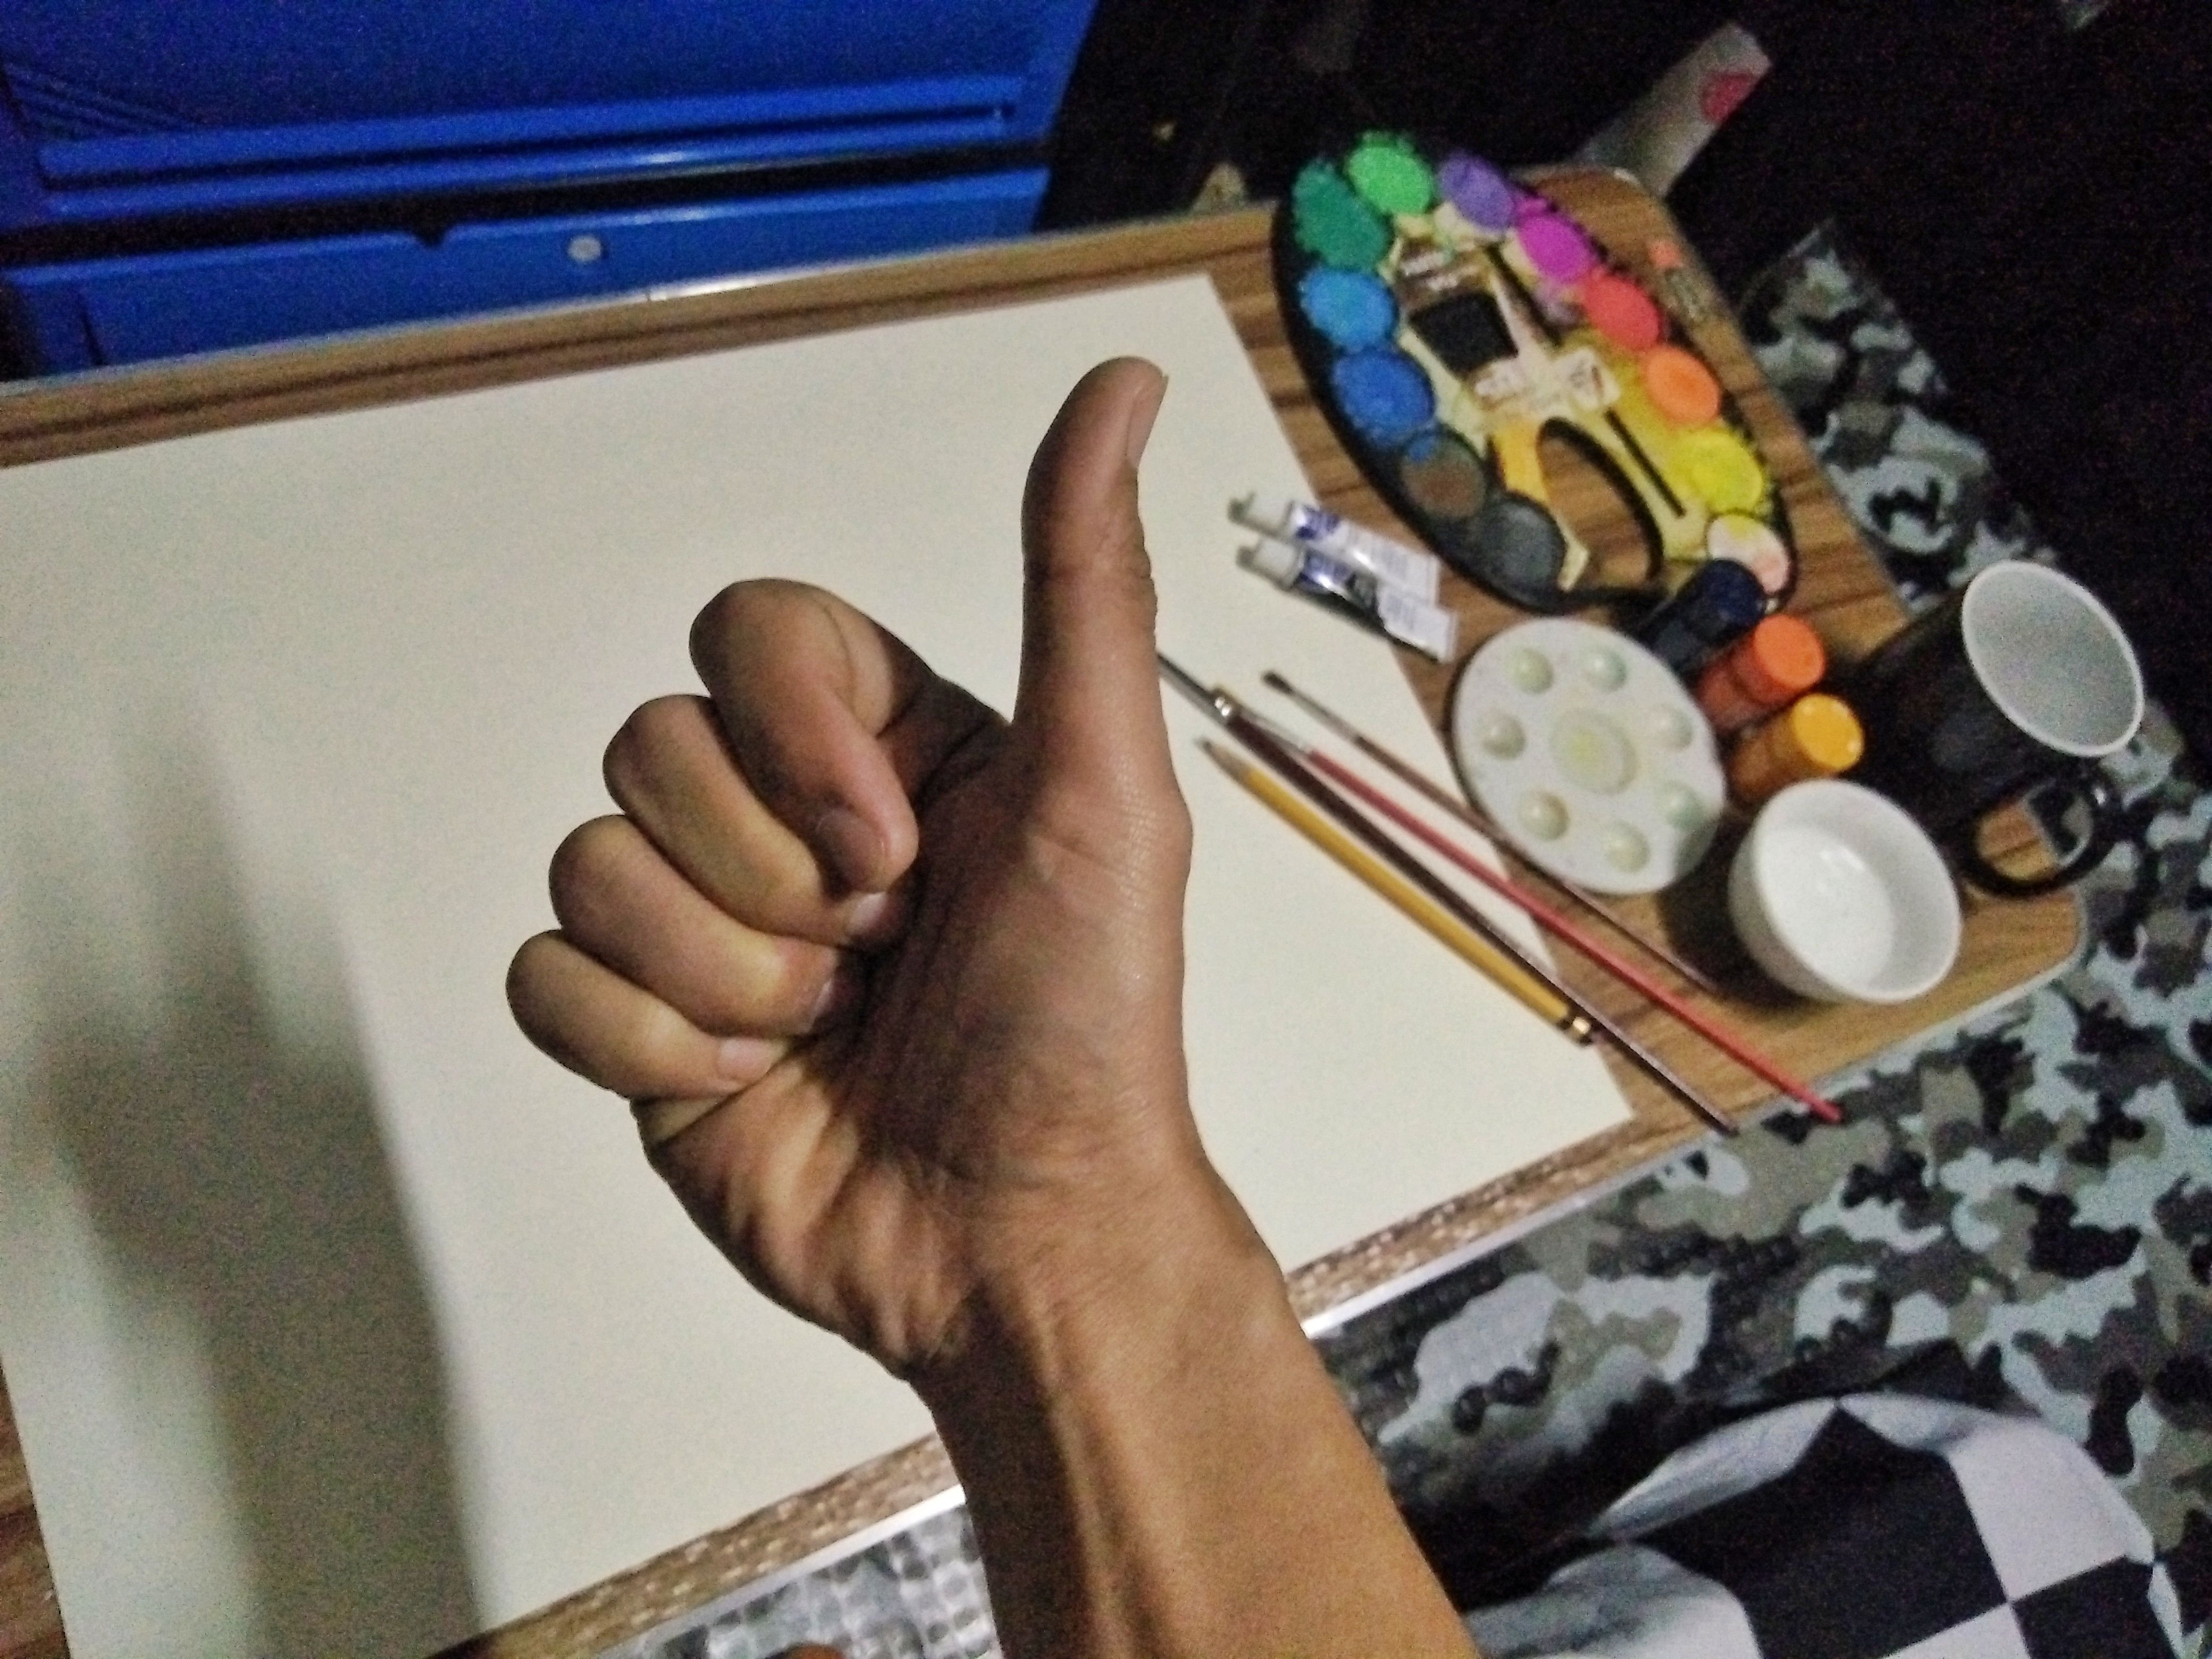
THE MATERIALS
~watercolor paper 16x20 dimensions
~watercolor
~water (ofcourse)
~pencil
~different sizes of paint brushes
~toothbrush
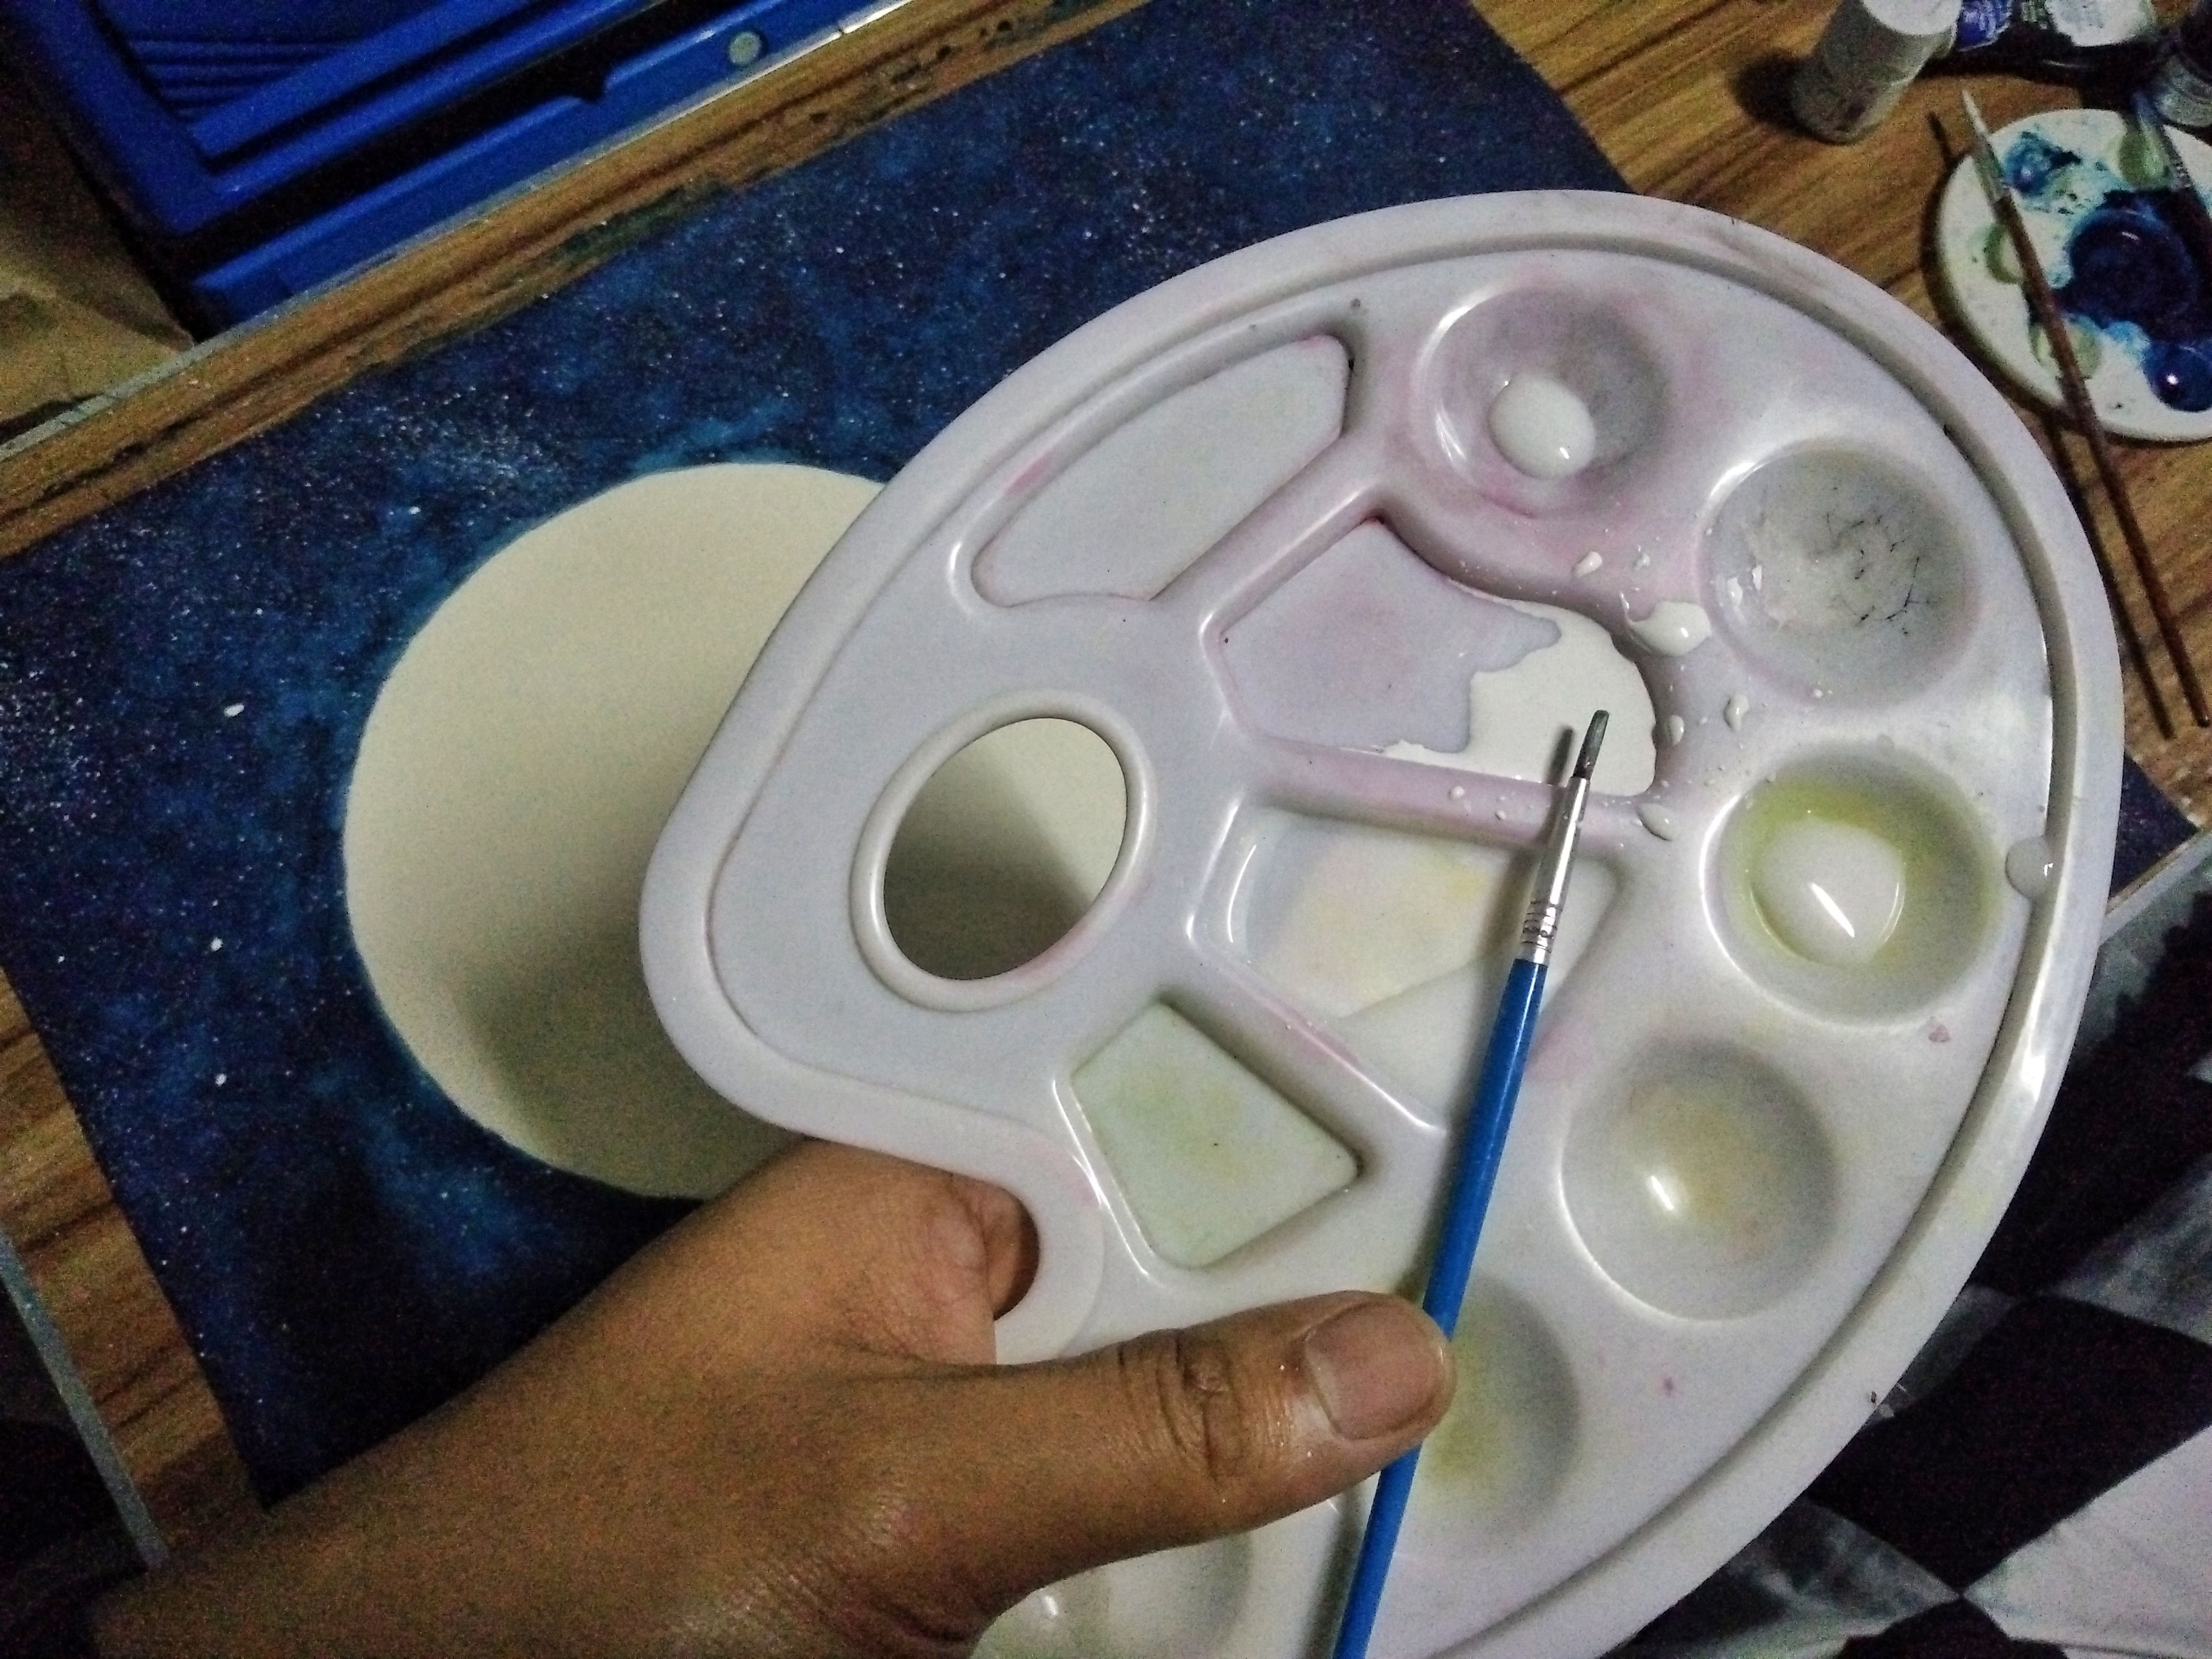
~pallete
~tissue
~blower
~plate
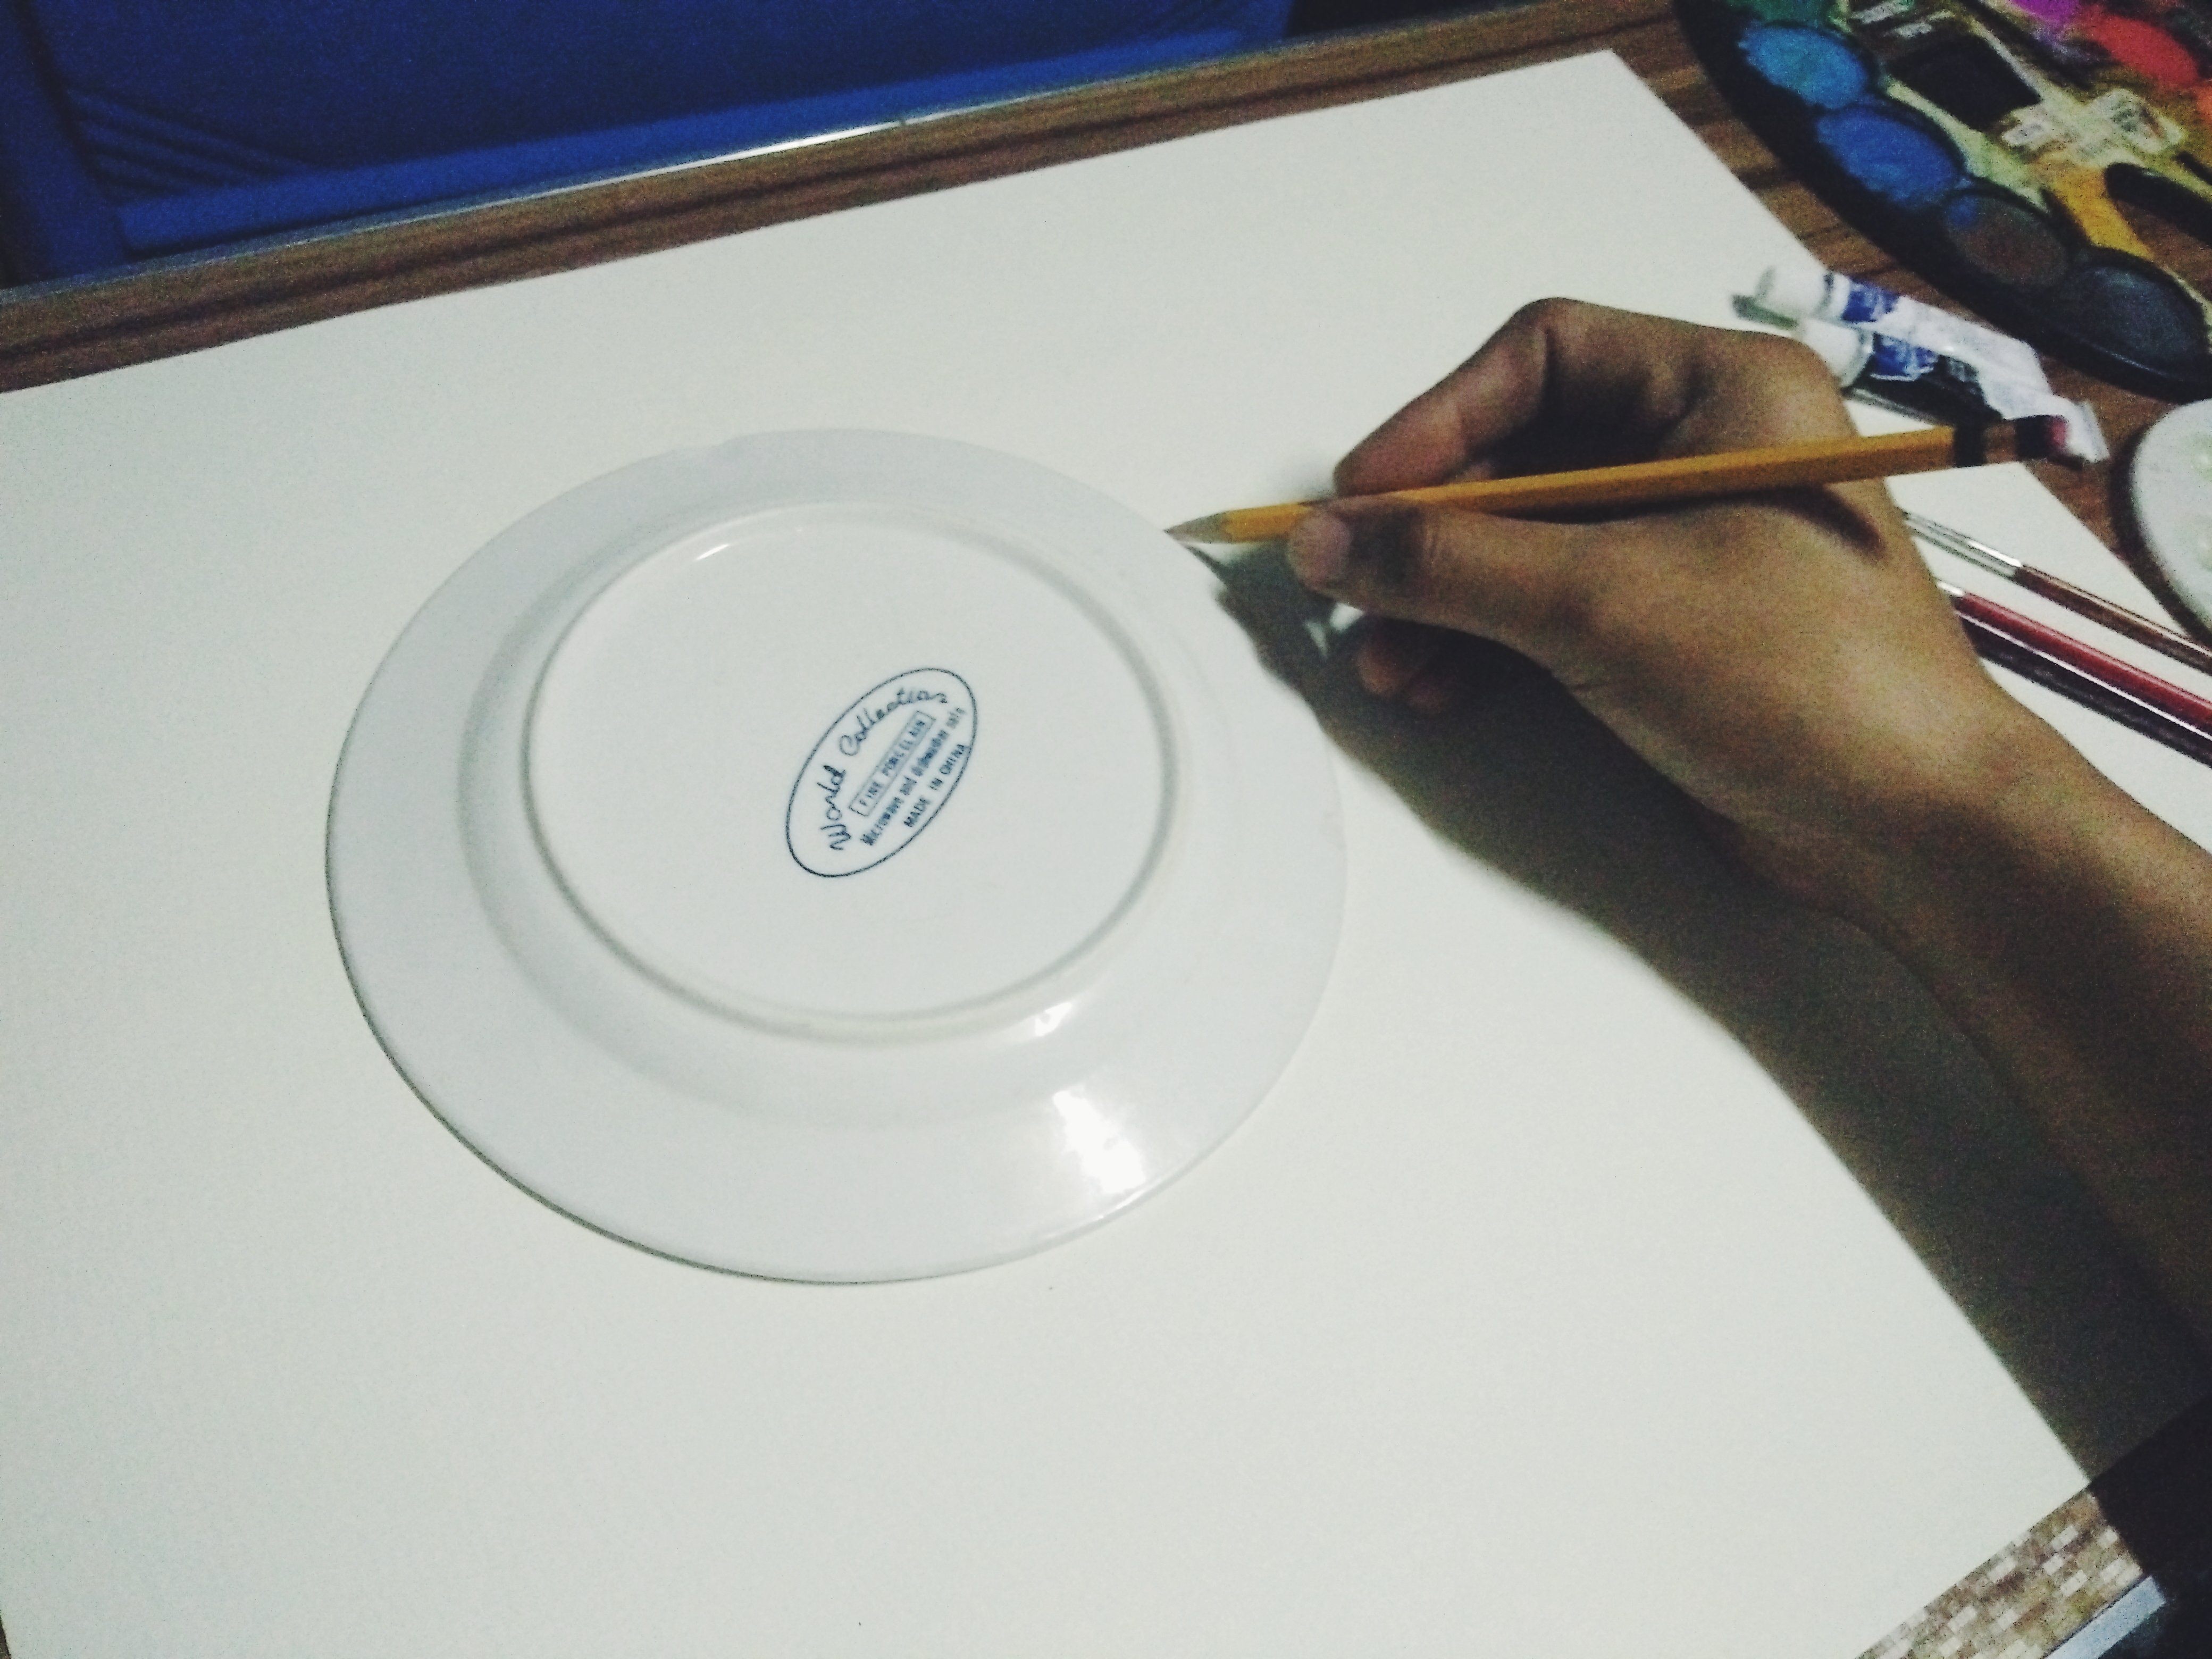
Using the plate, trace a circle to be your moon outline.

Make sure it's not too dark not too light.
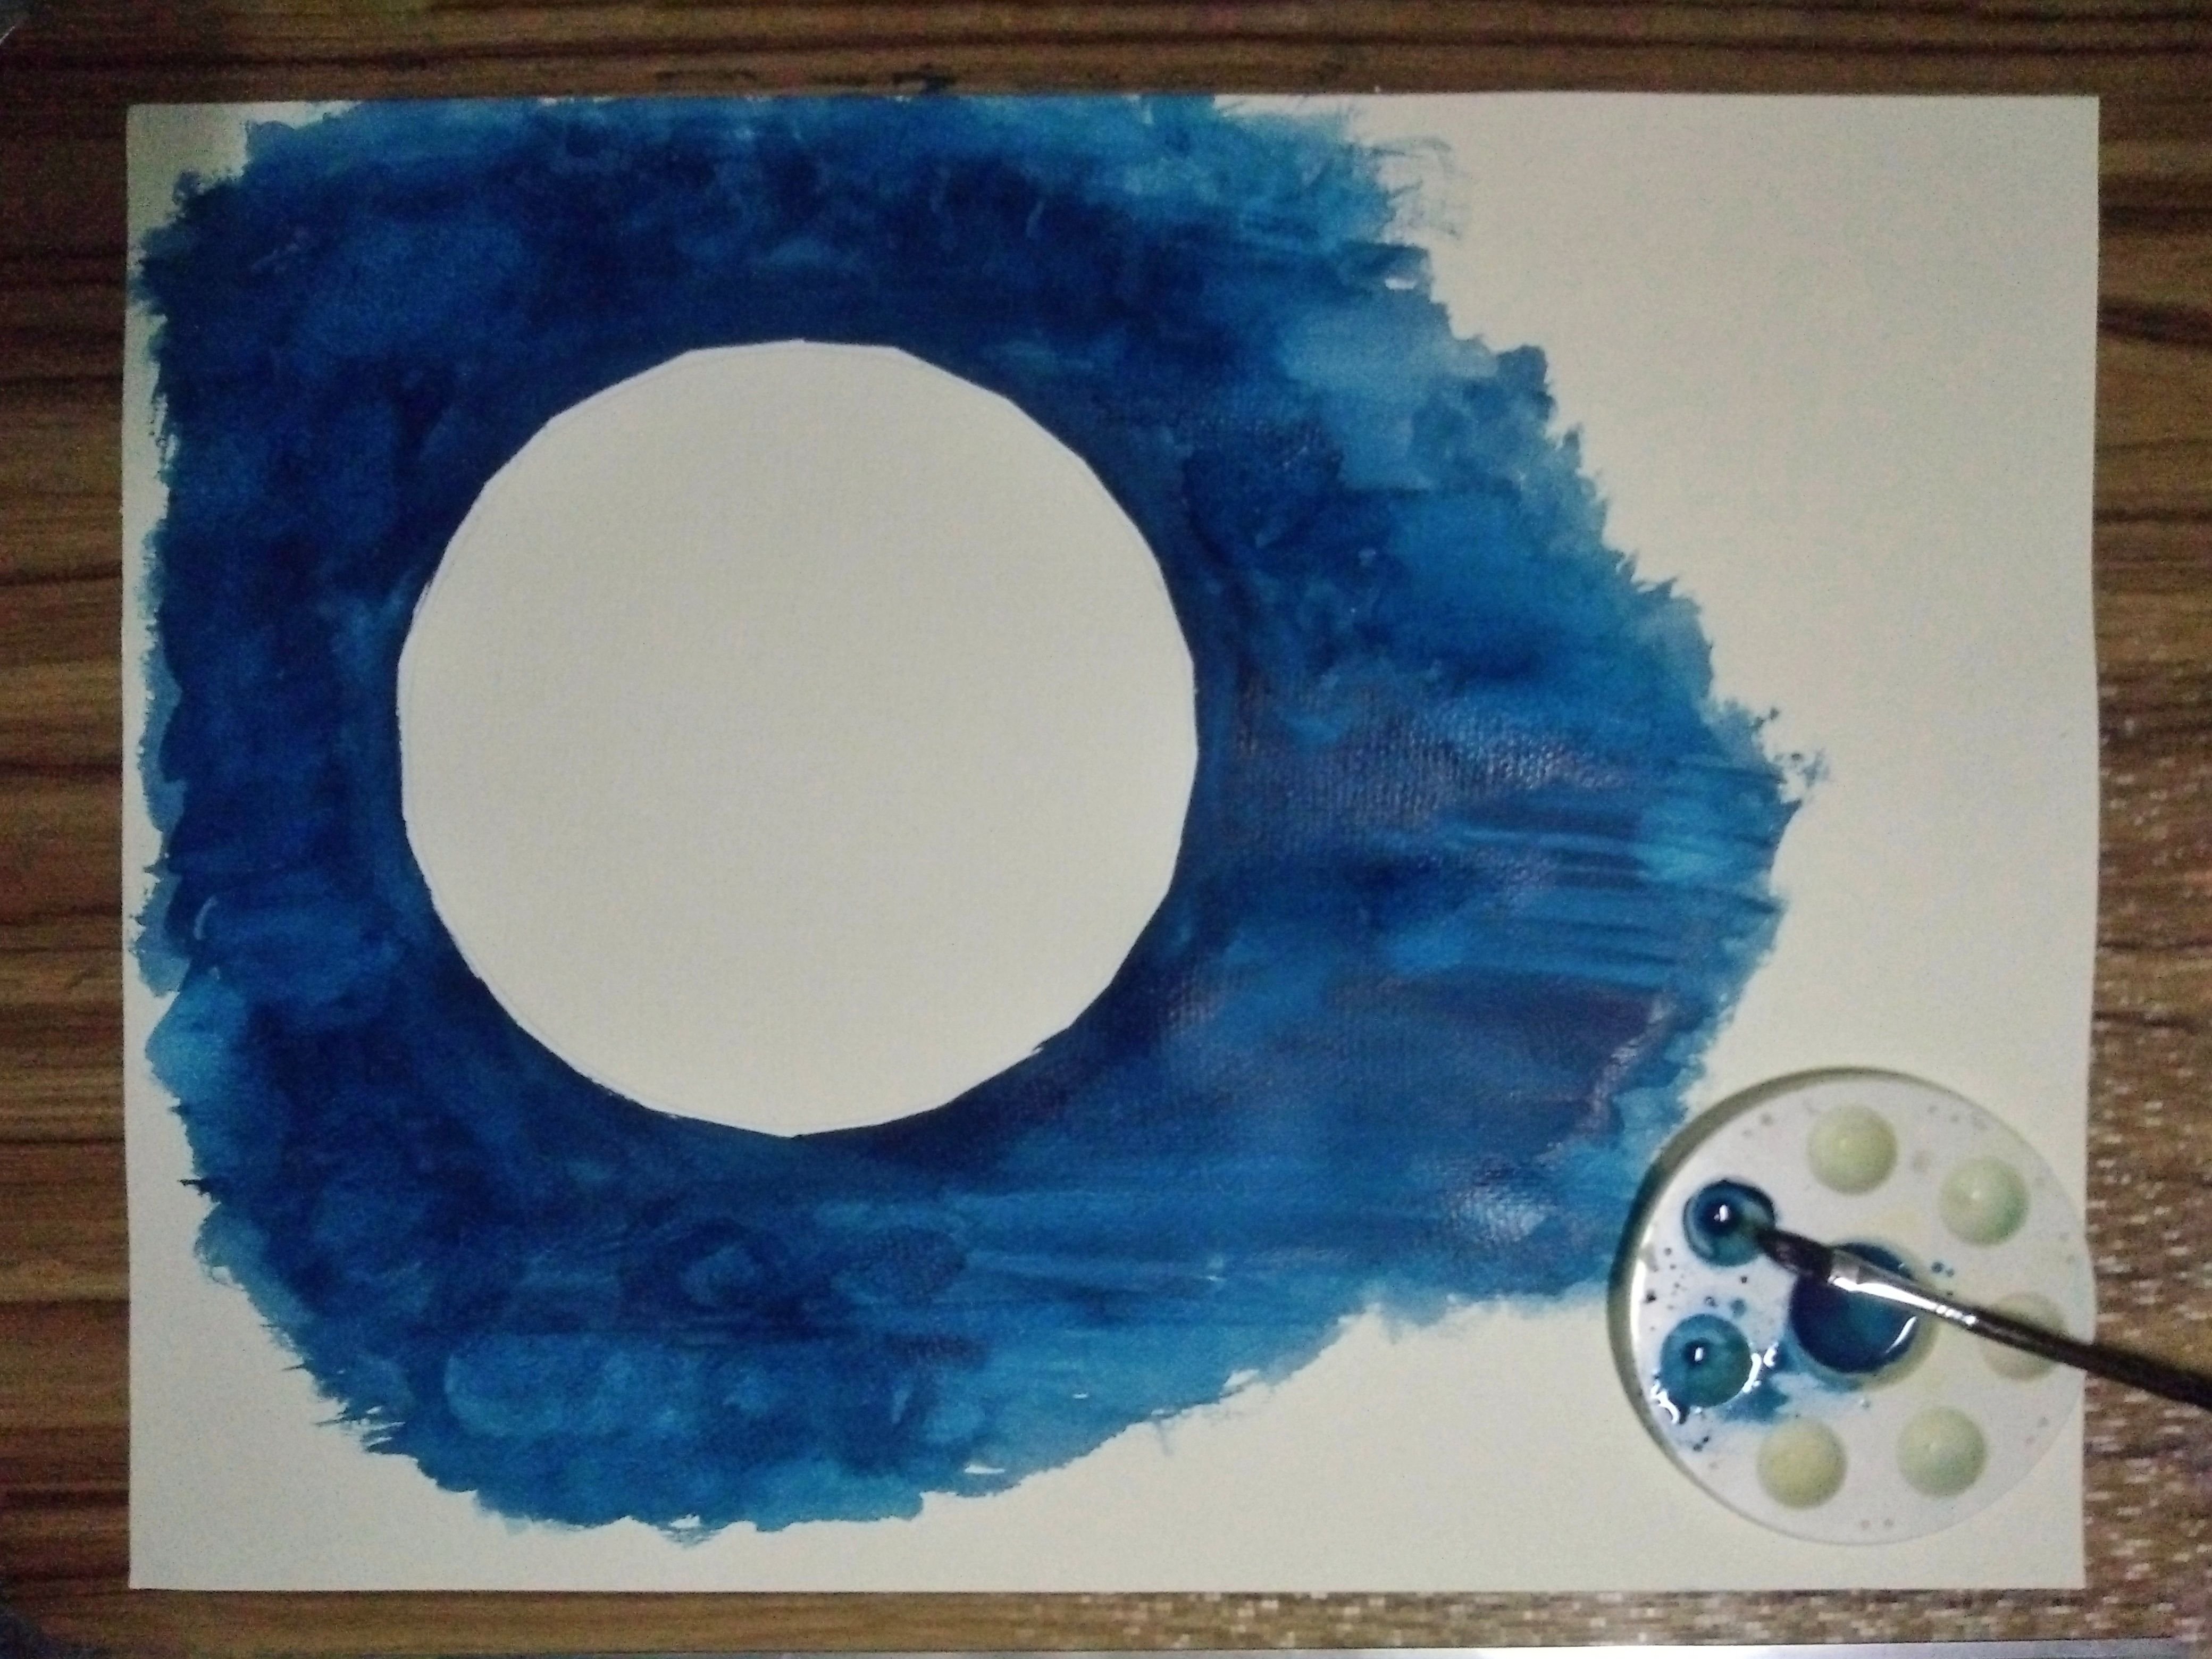
Pick Prussian Blue as the color of the sky and begin spreading, you may opt to color the outside of the outline first to keep the moon neat and clean.
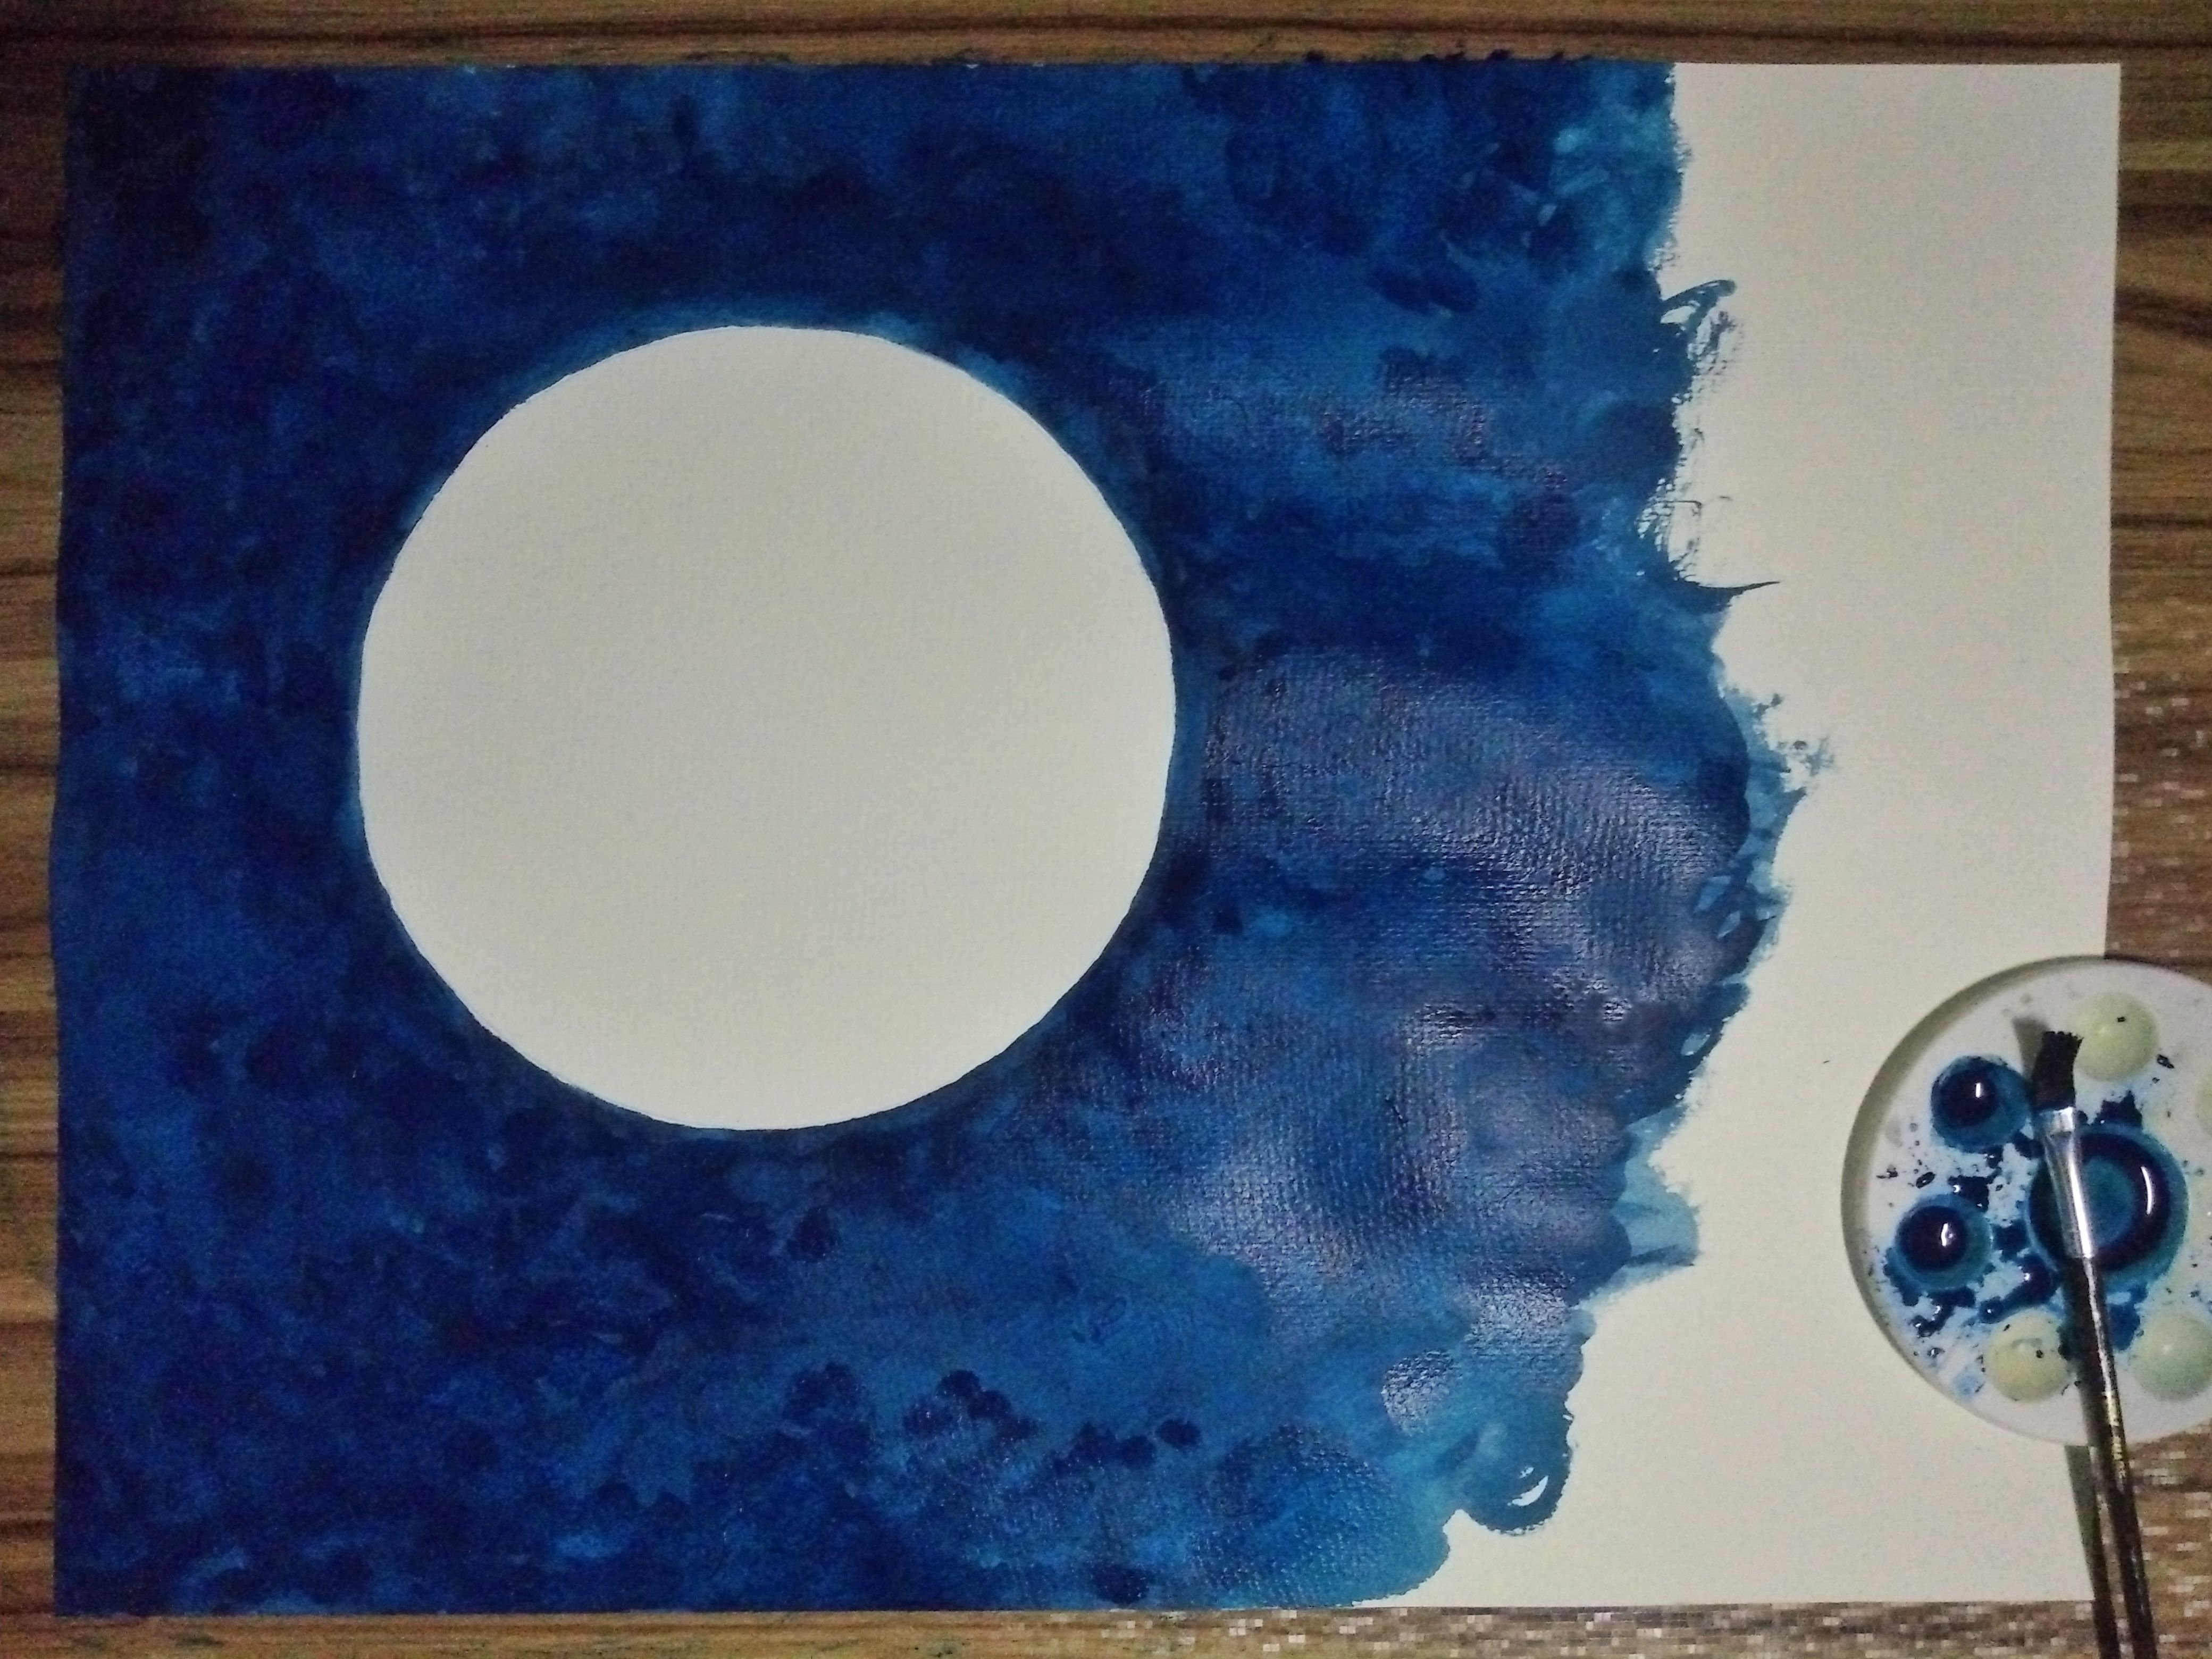
Keep spreading. I actually spread the color by twirling the brush to create a layered illusion of dark and light hues.

While still wet, add darker hue (less water to Prussian Blue to make it darker) on the edges so it would appear lighter around the moon.

Let it dry. I blowdried it to hasten the process.
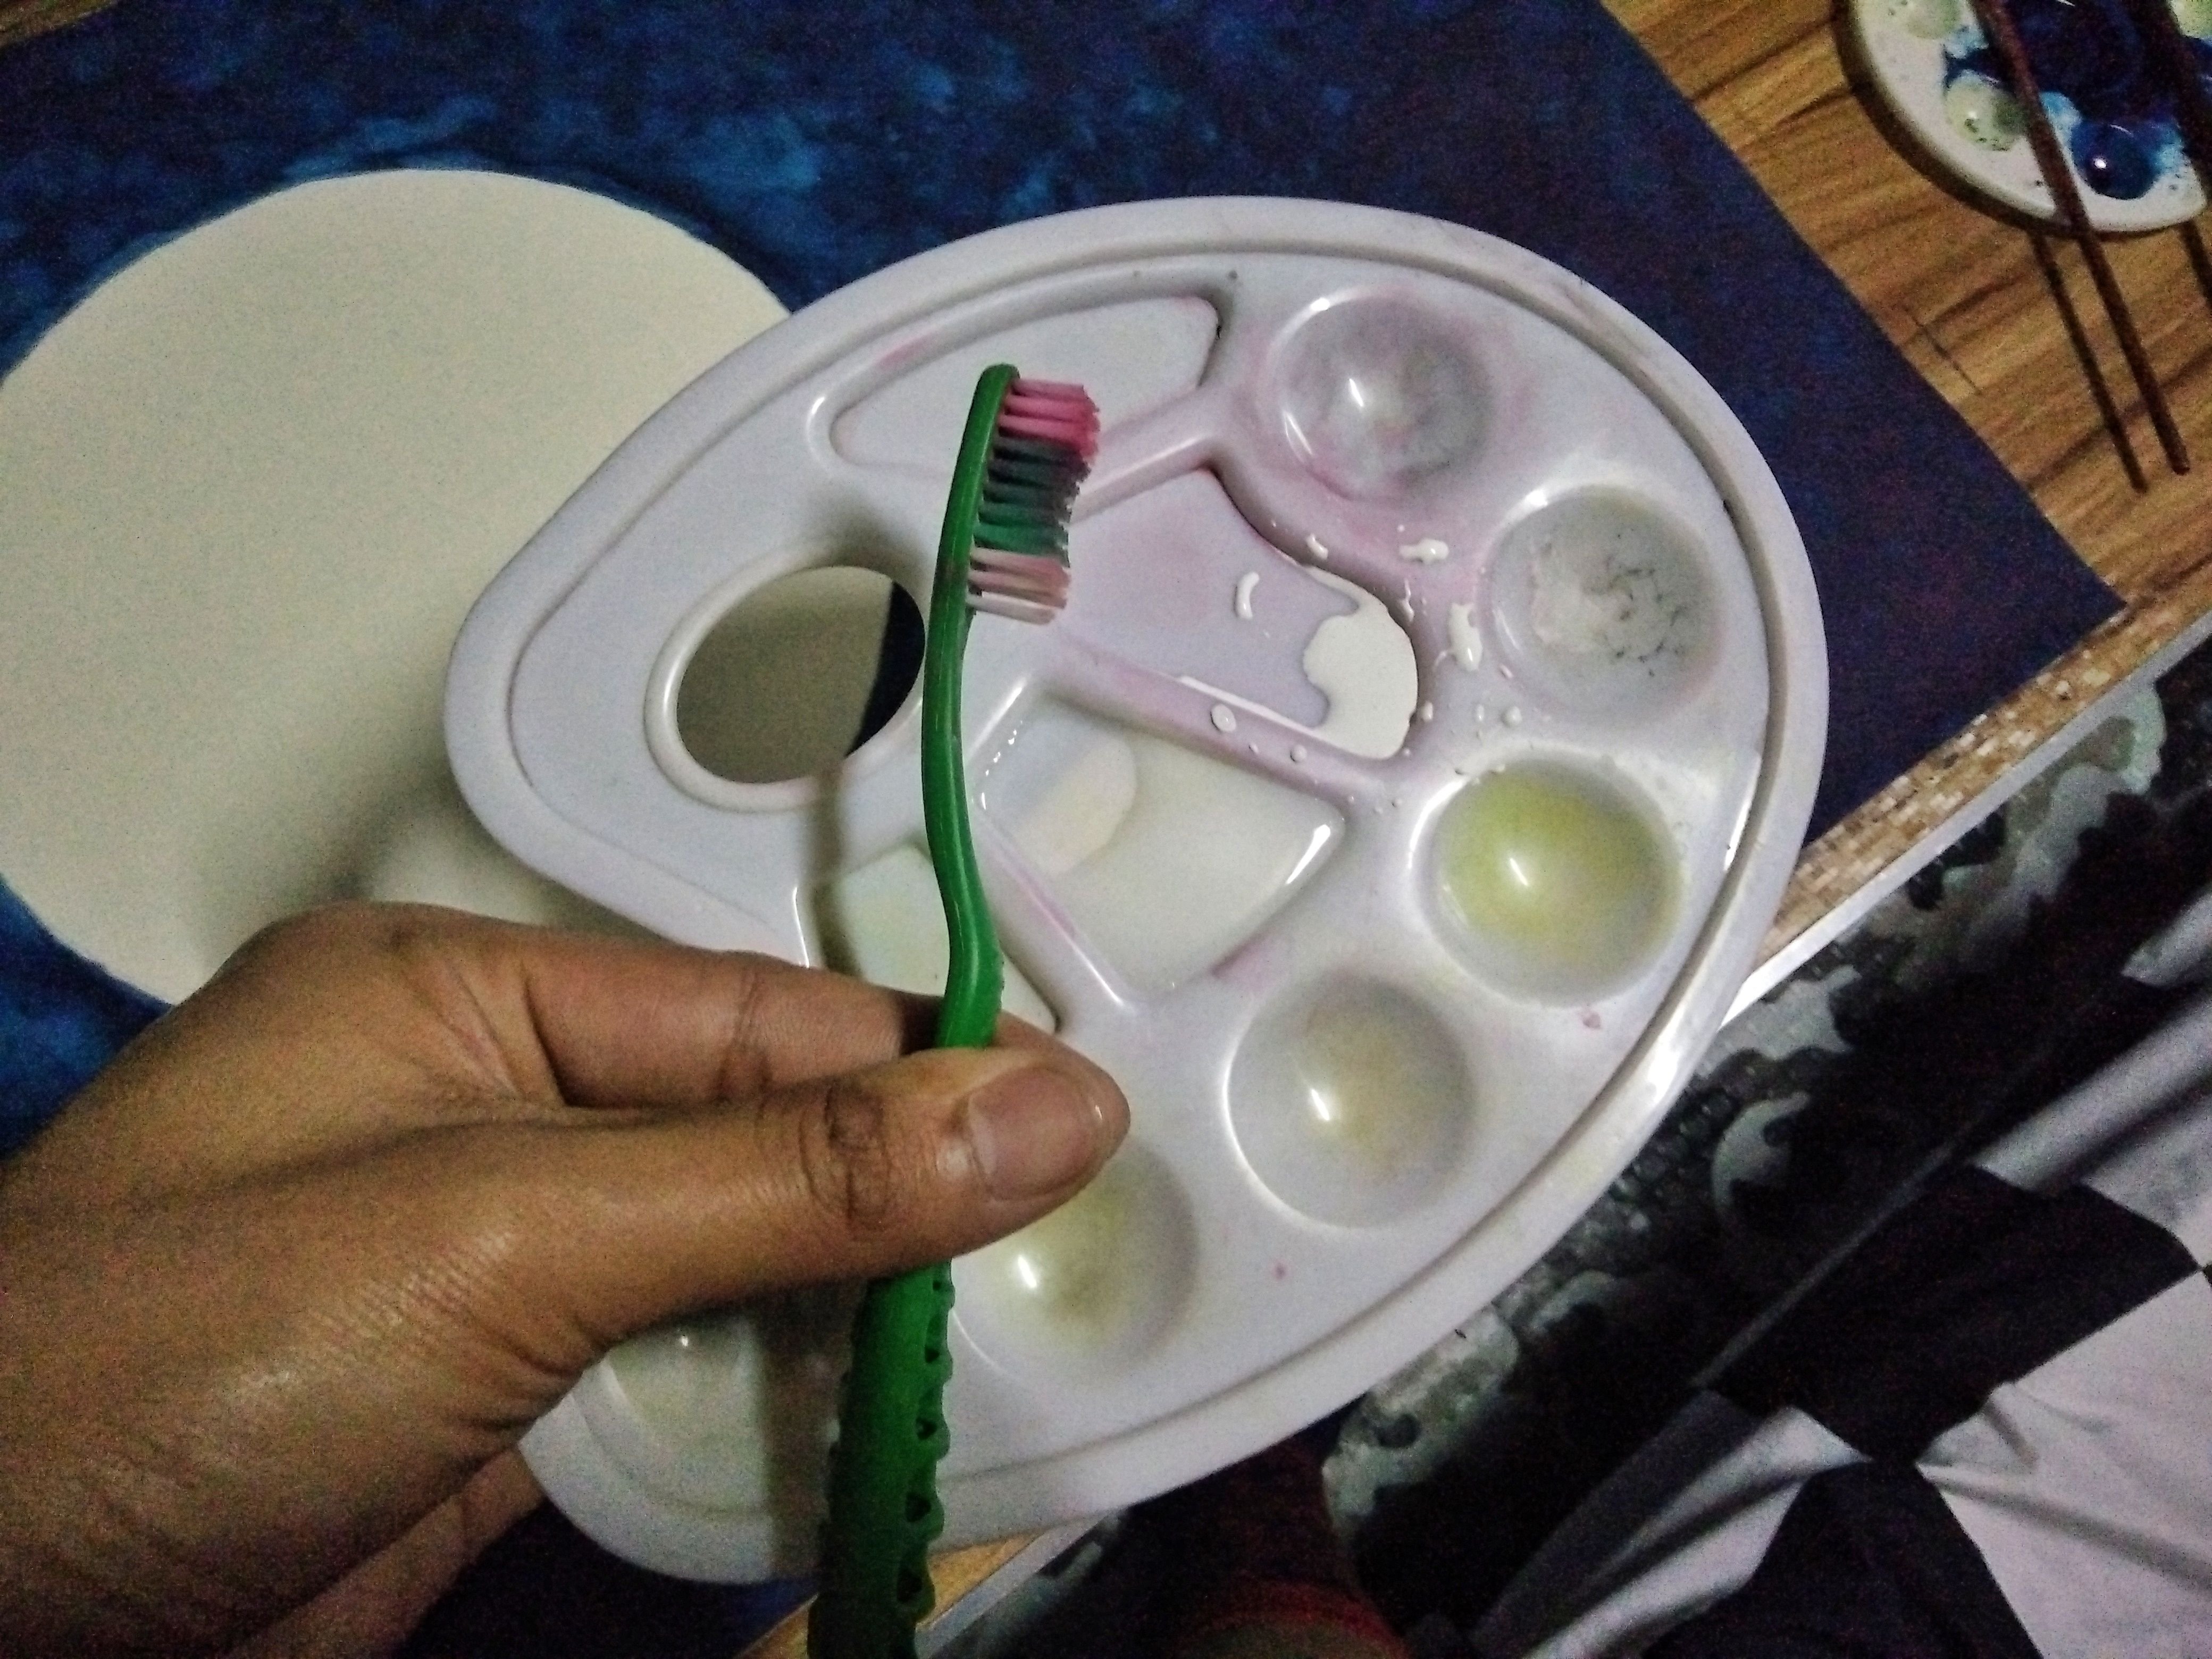
Use the toothbrush to produce tiny splatters and serve as your faraway stars. White watercolor to sparkle.
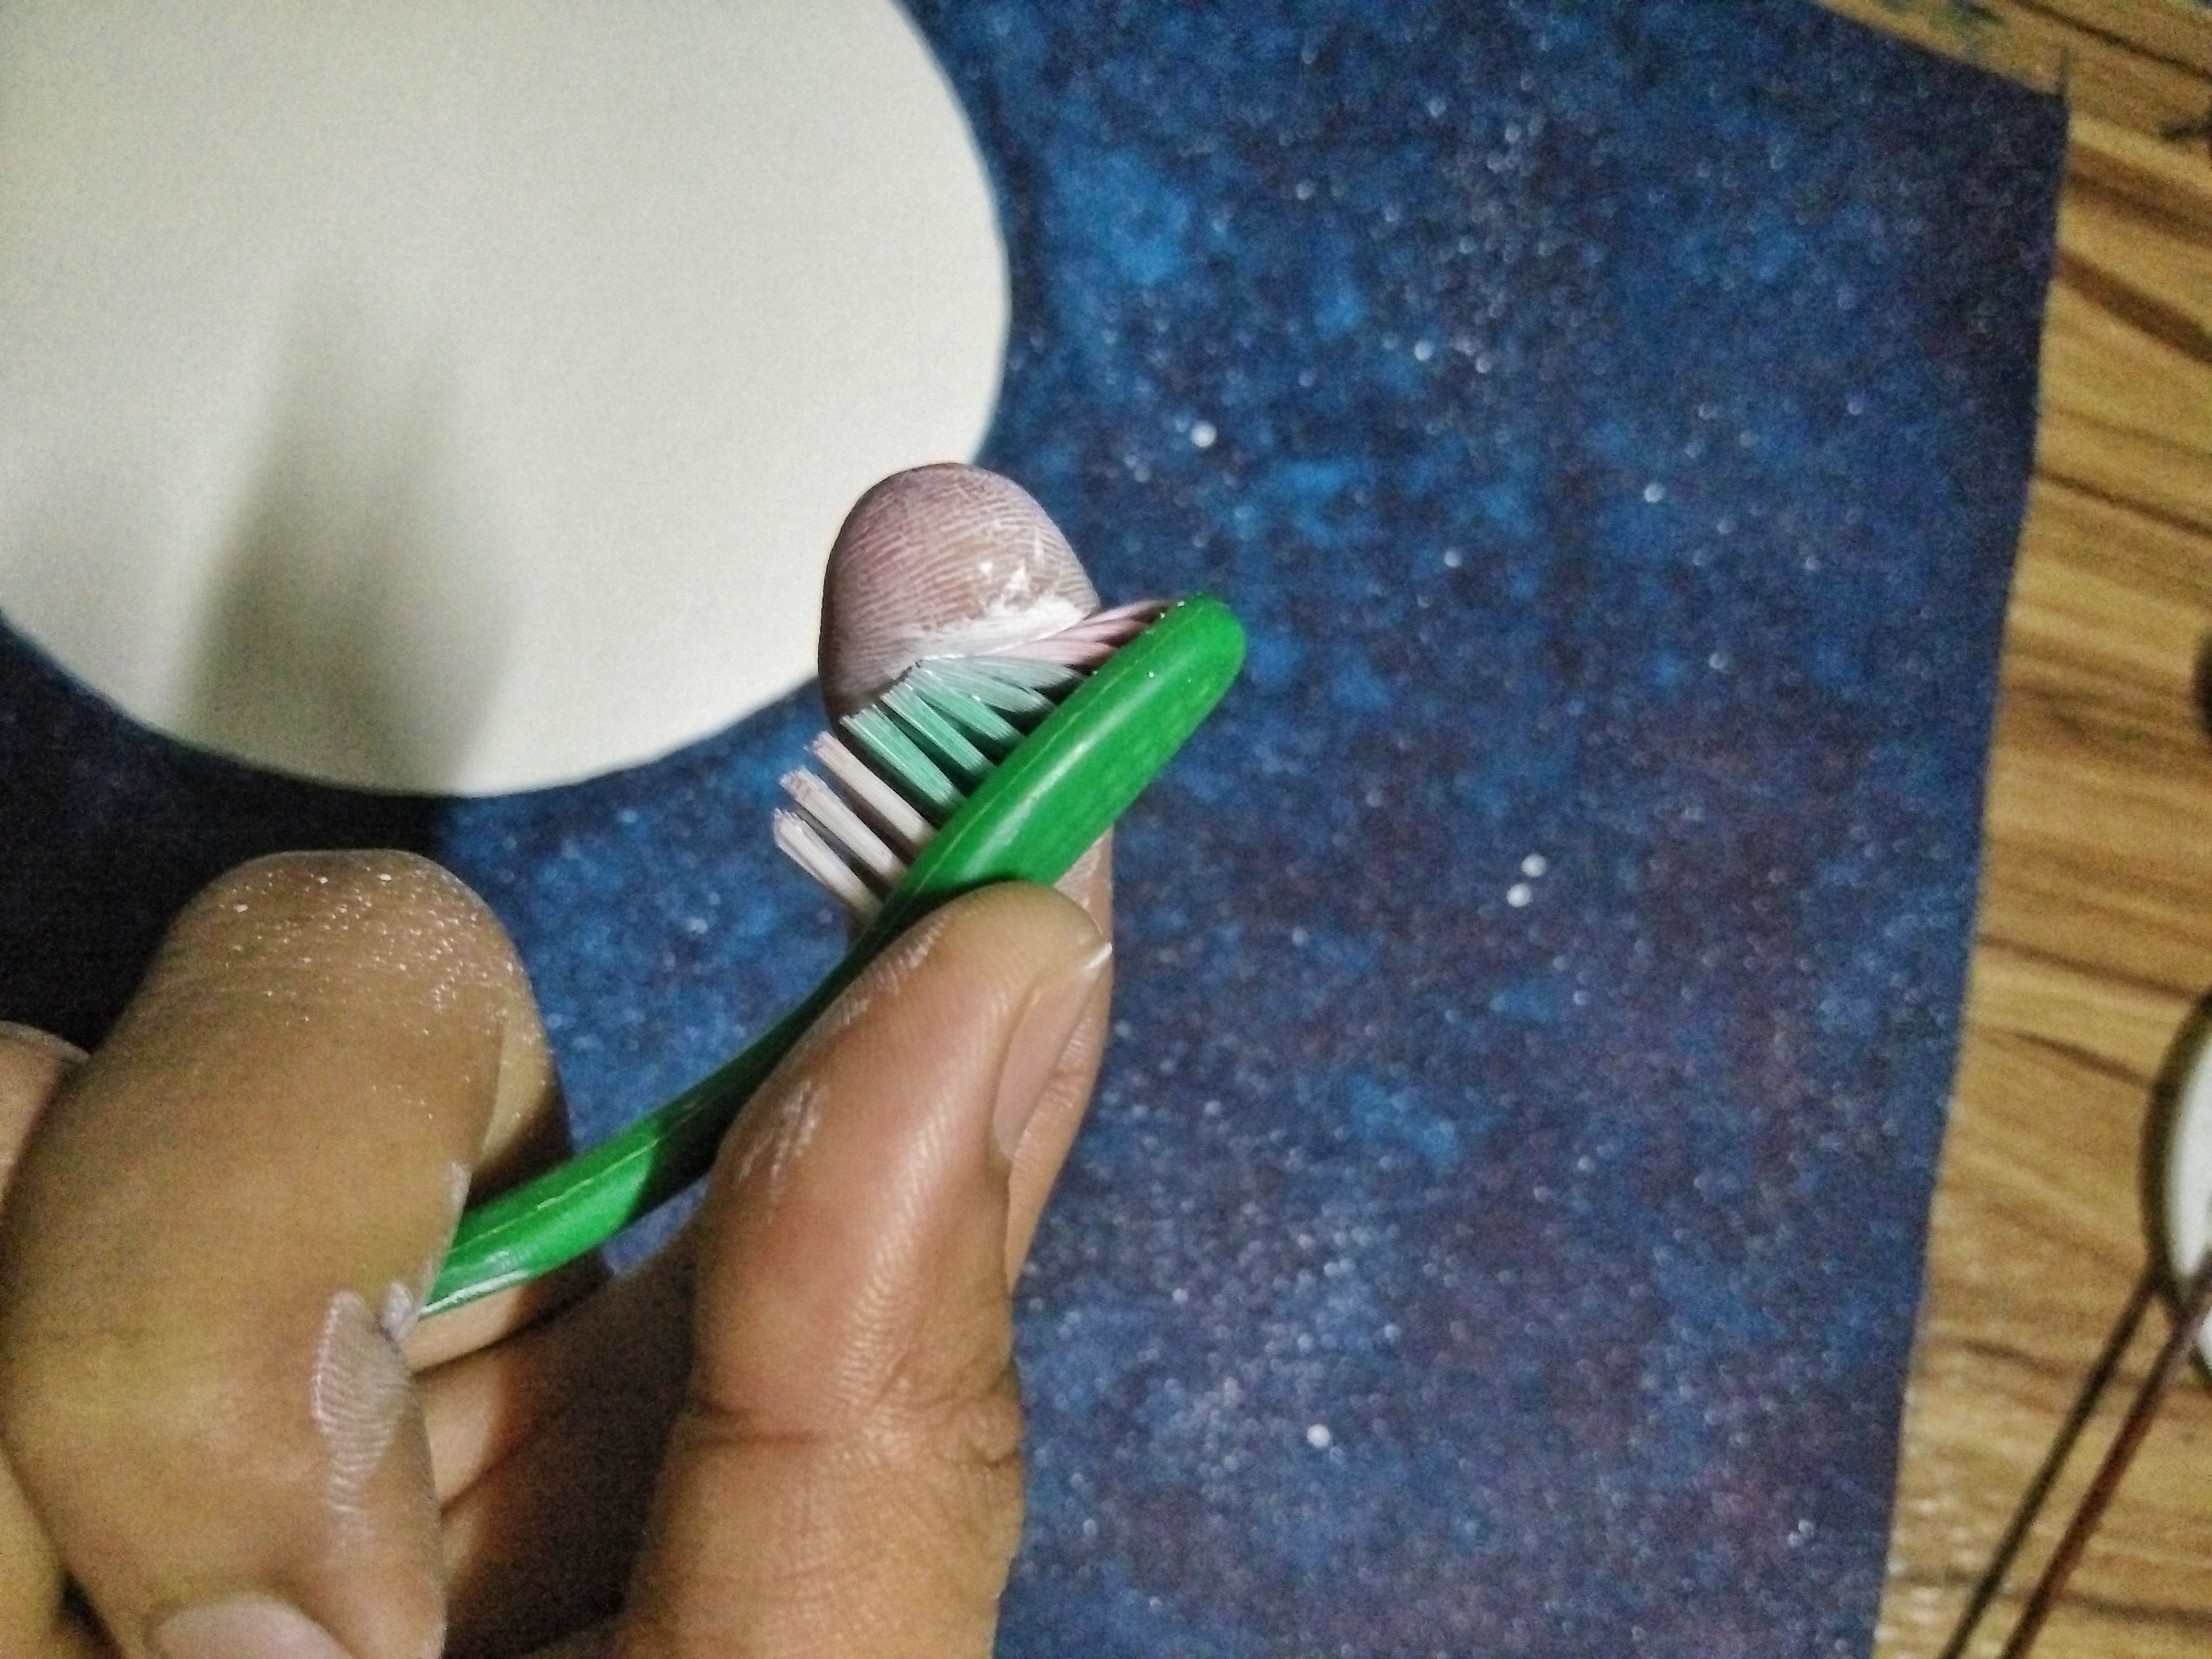
Press the toothbrush...like this.
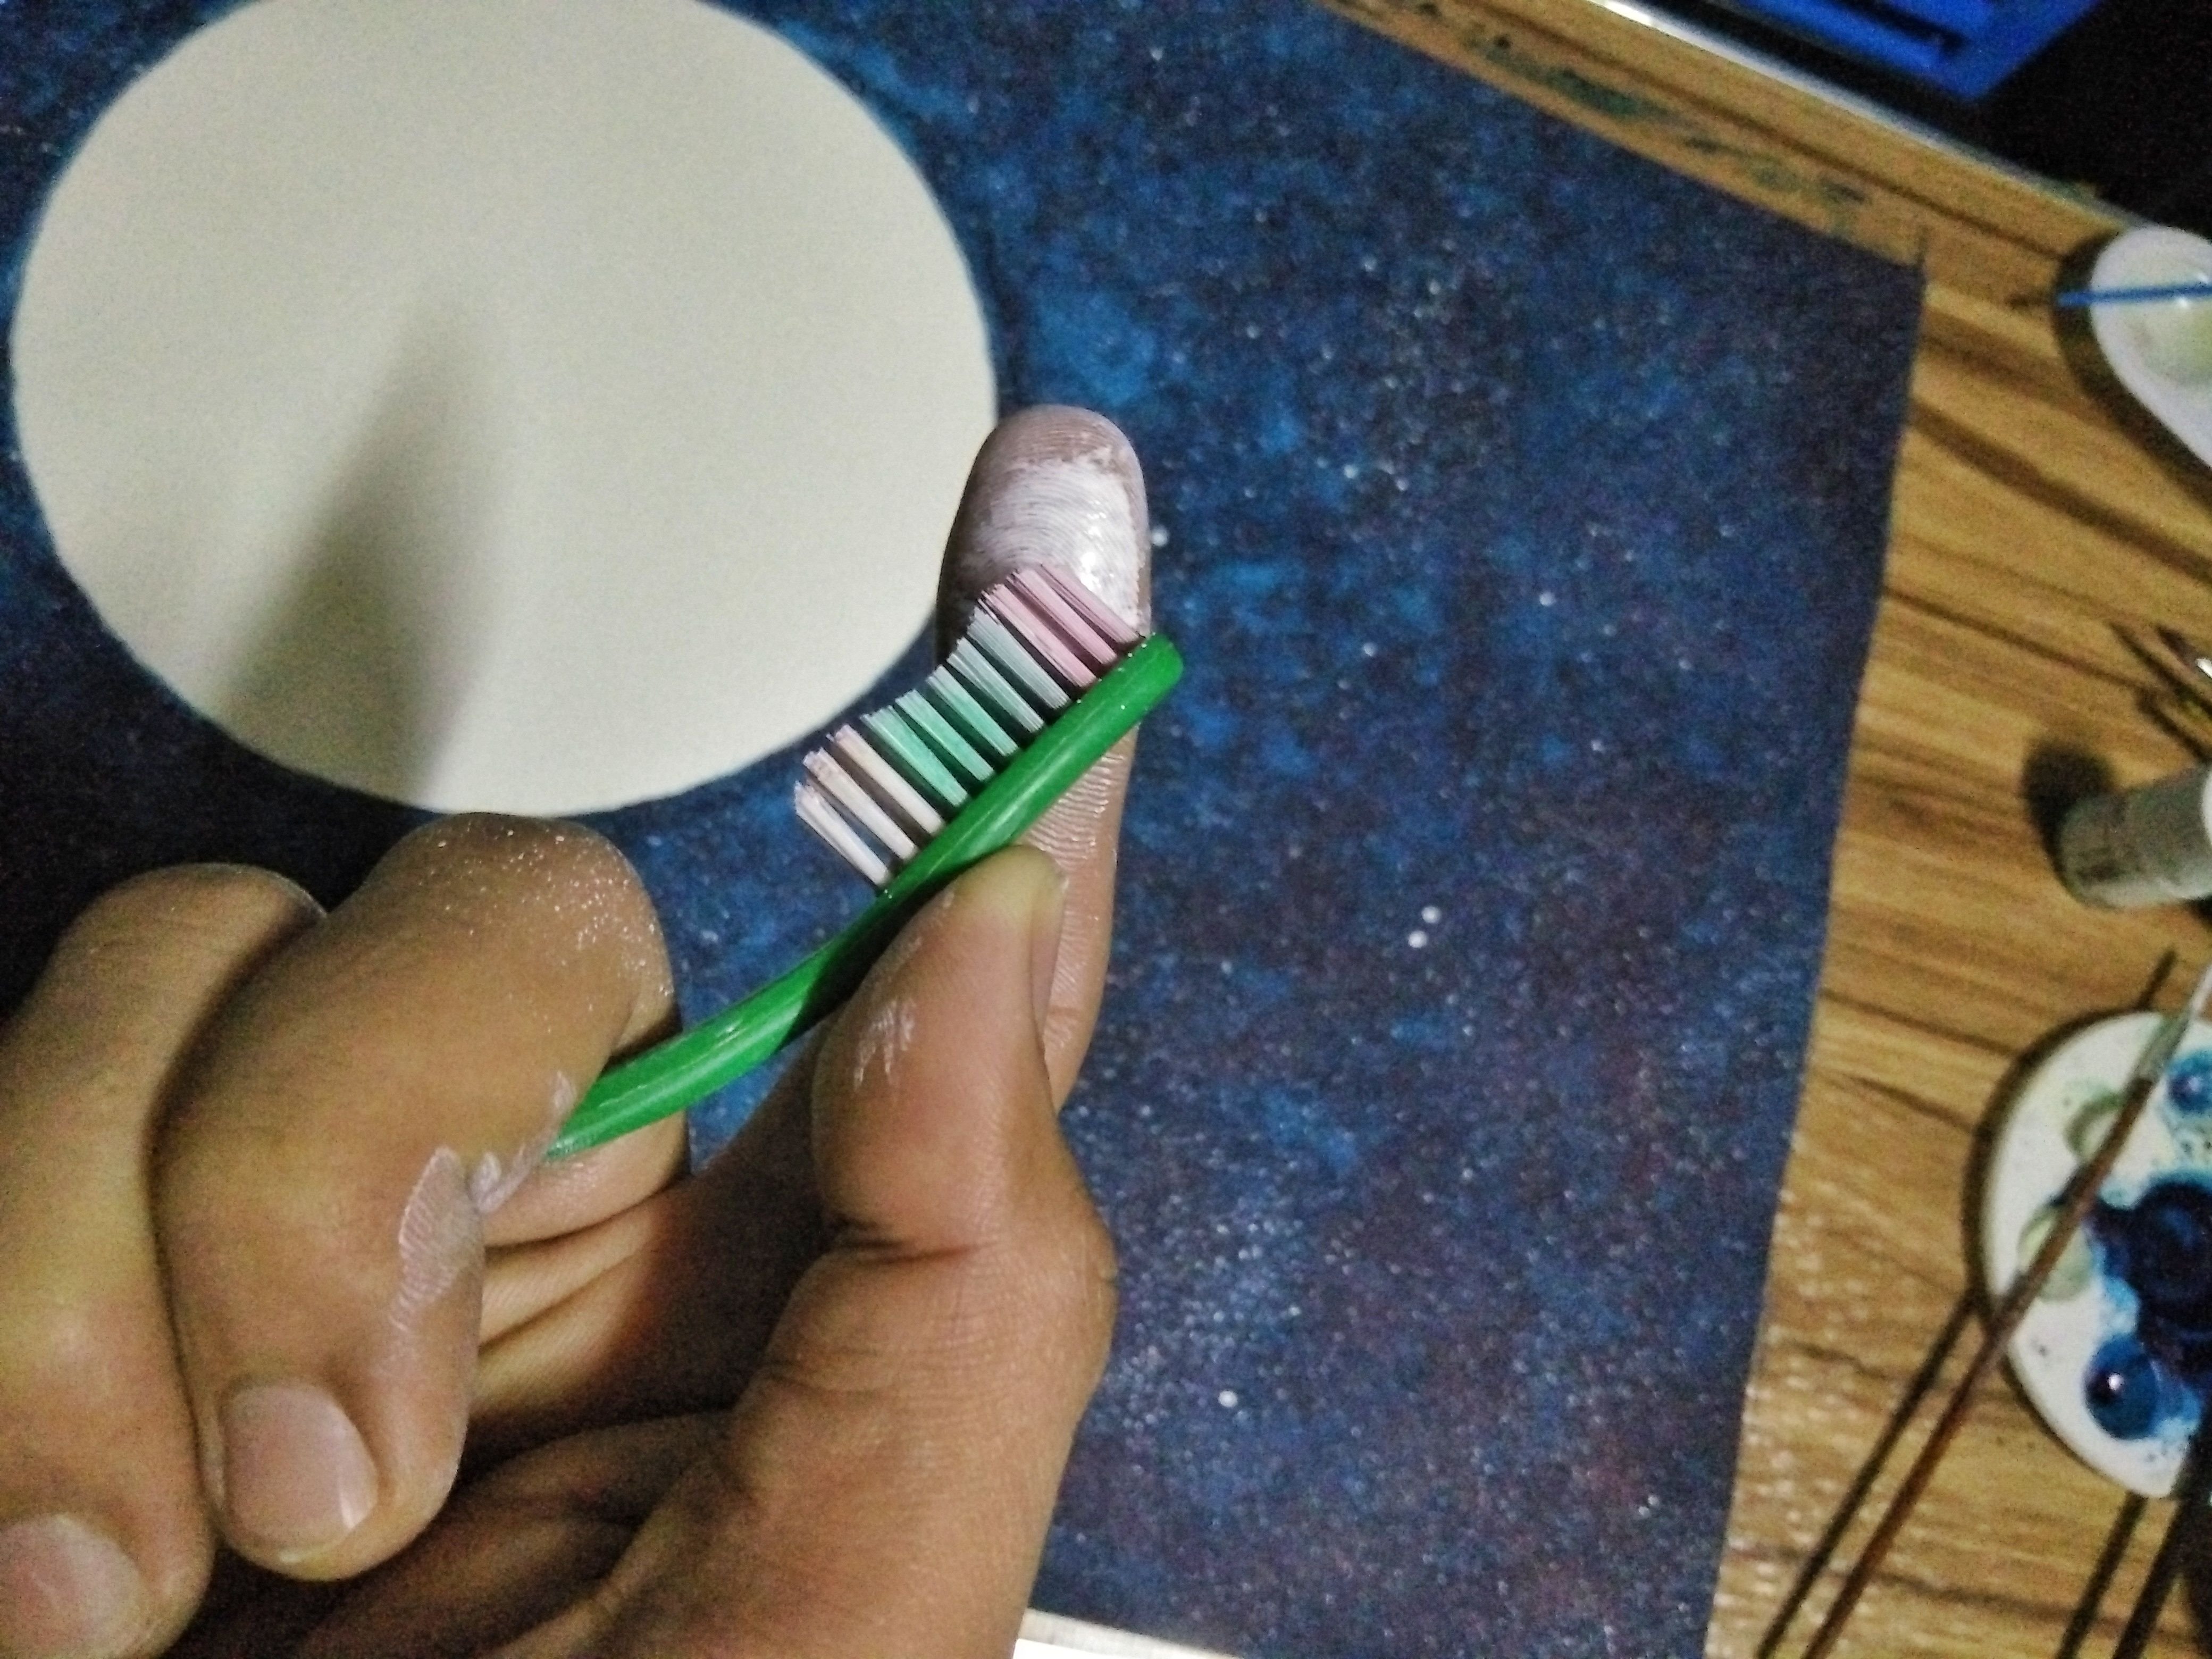
And release.
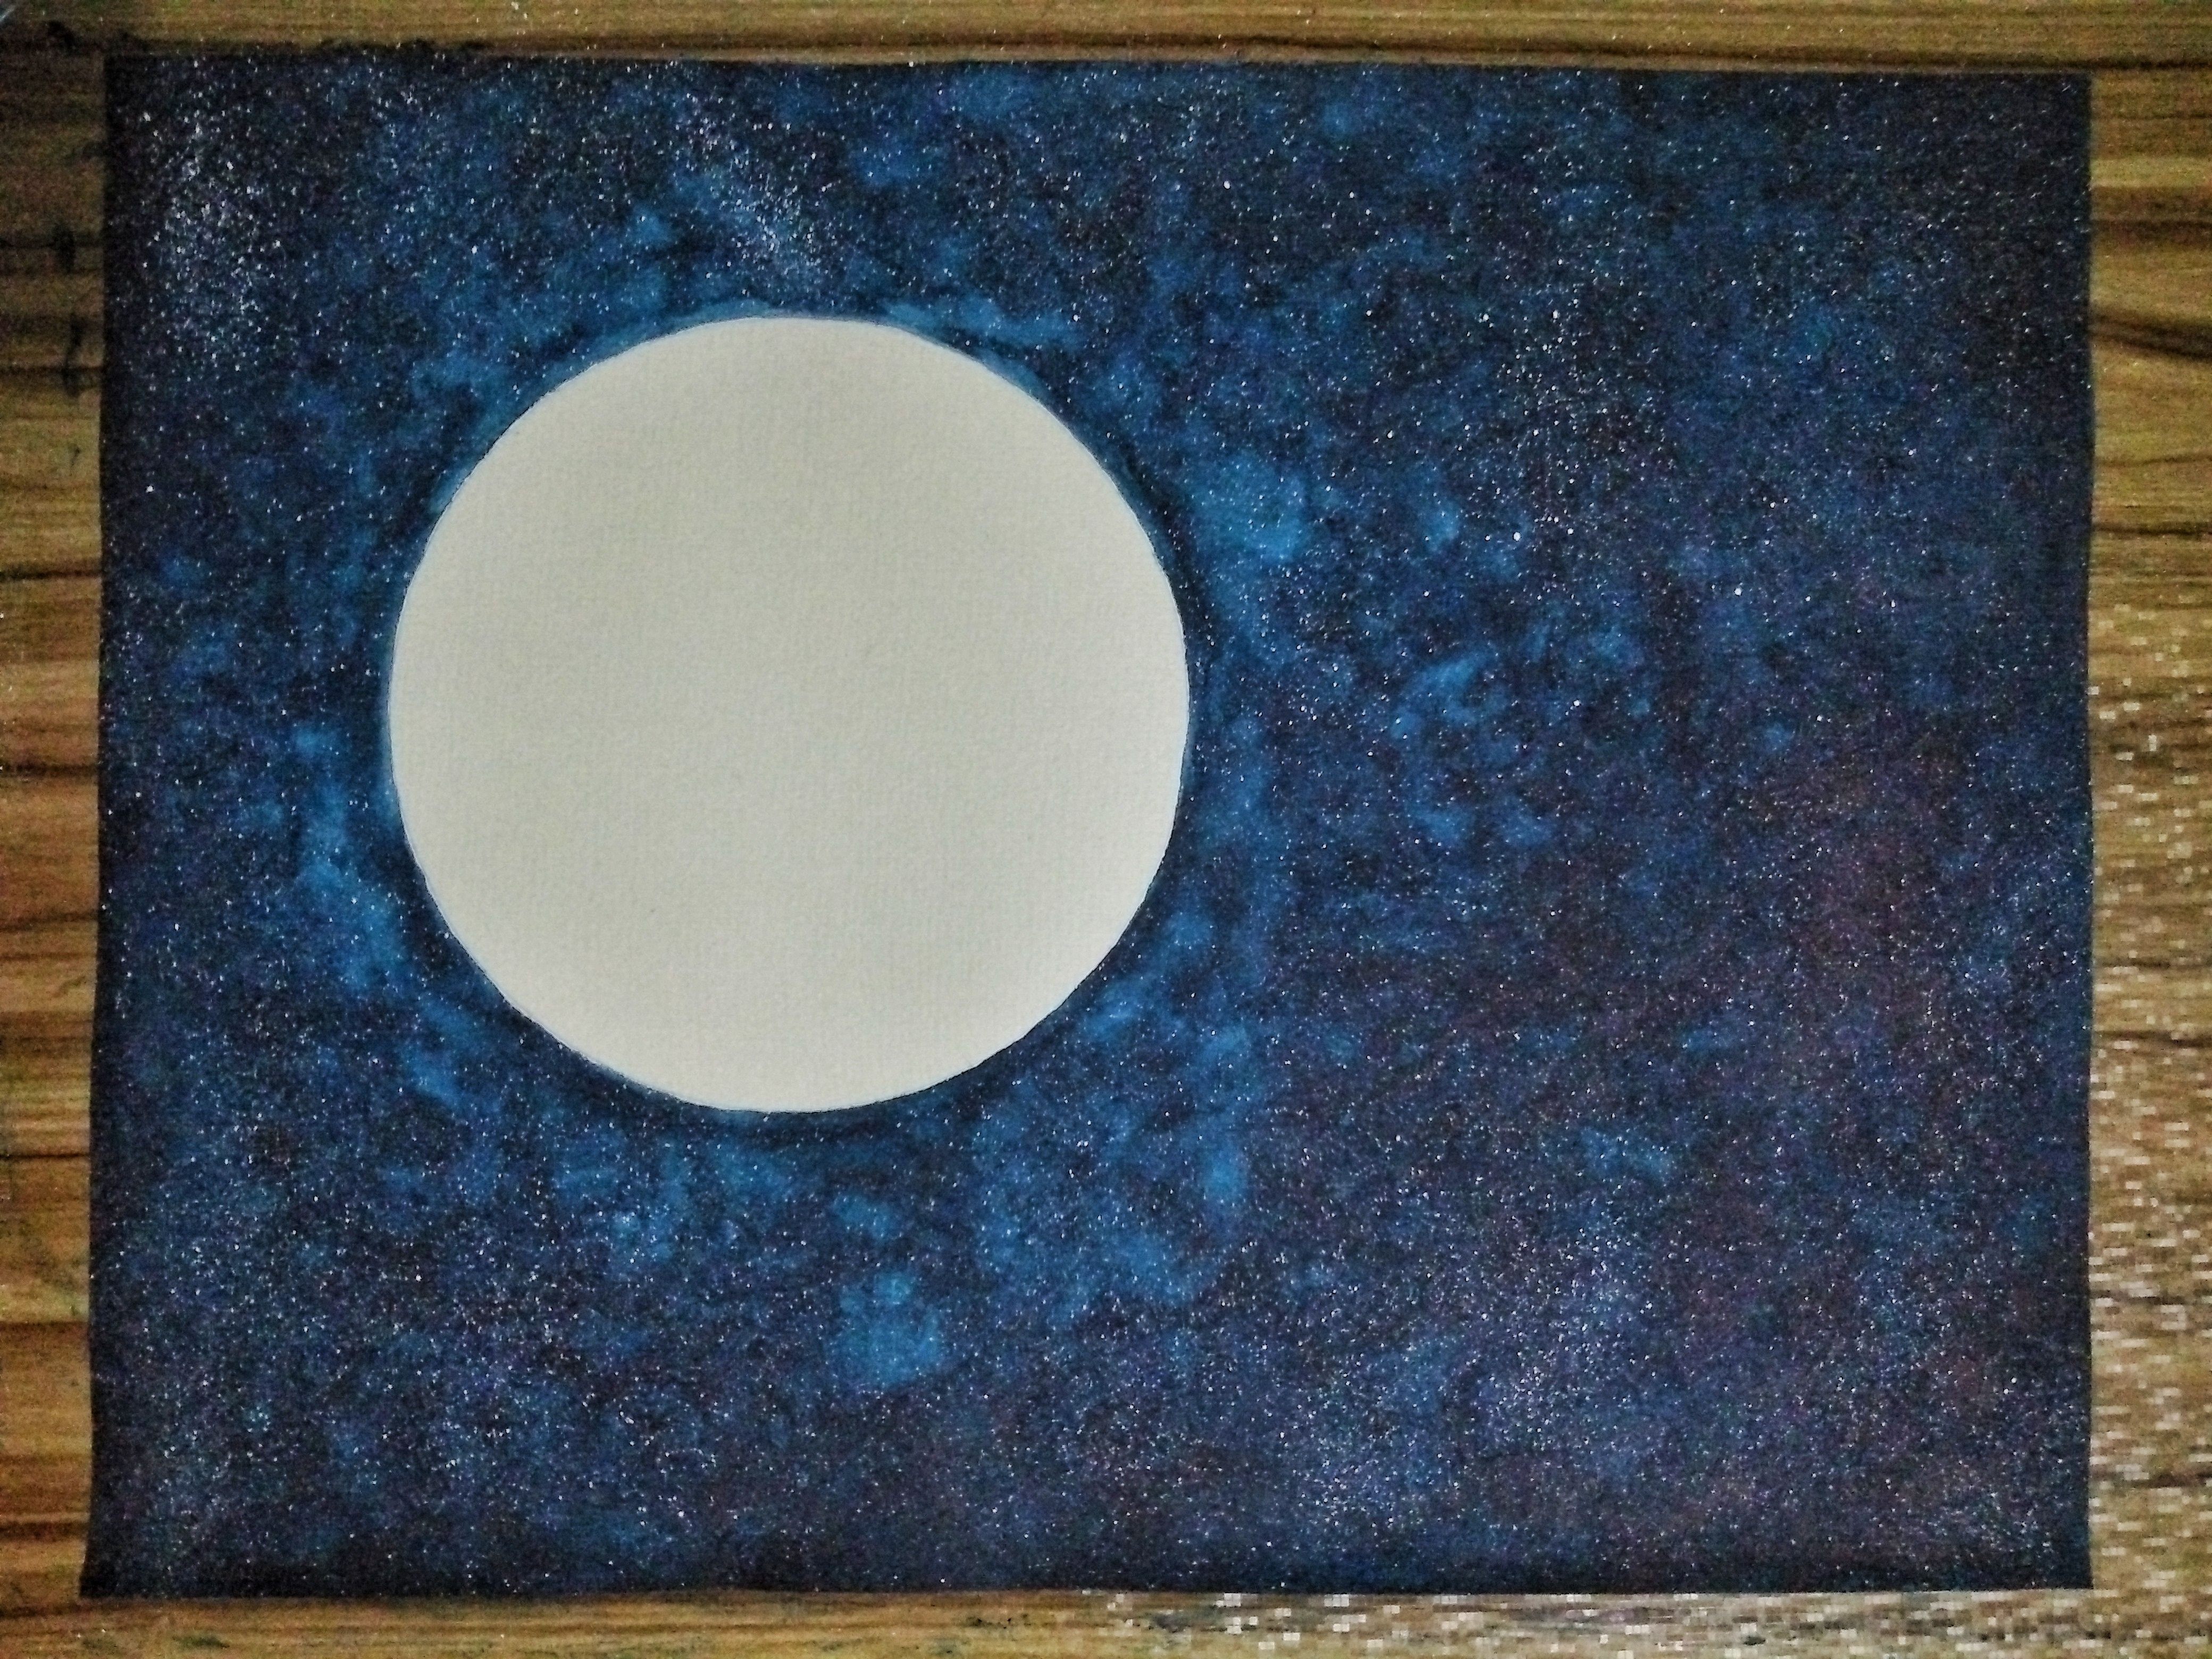
There... your tiny faraway stars. Please control your toothbrush so your sky will still be a sky with stars and not stars with a sky. Lol.
This time use your smallest brush to create bigger stars.

Distribute it well.
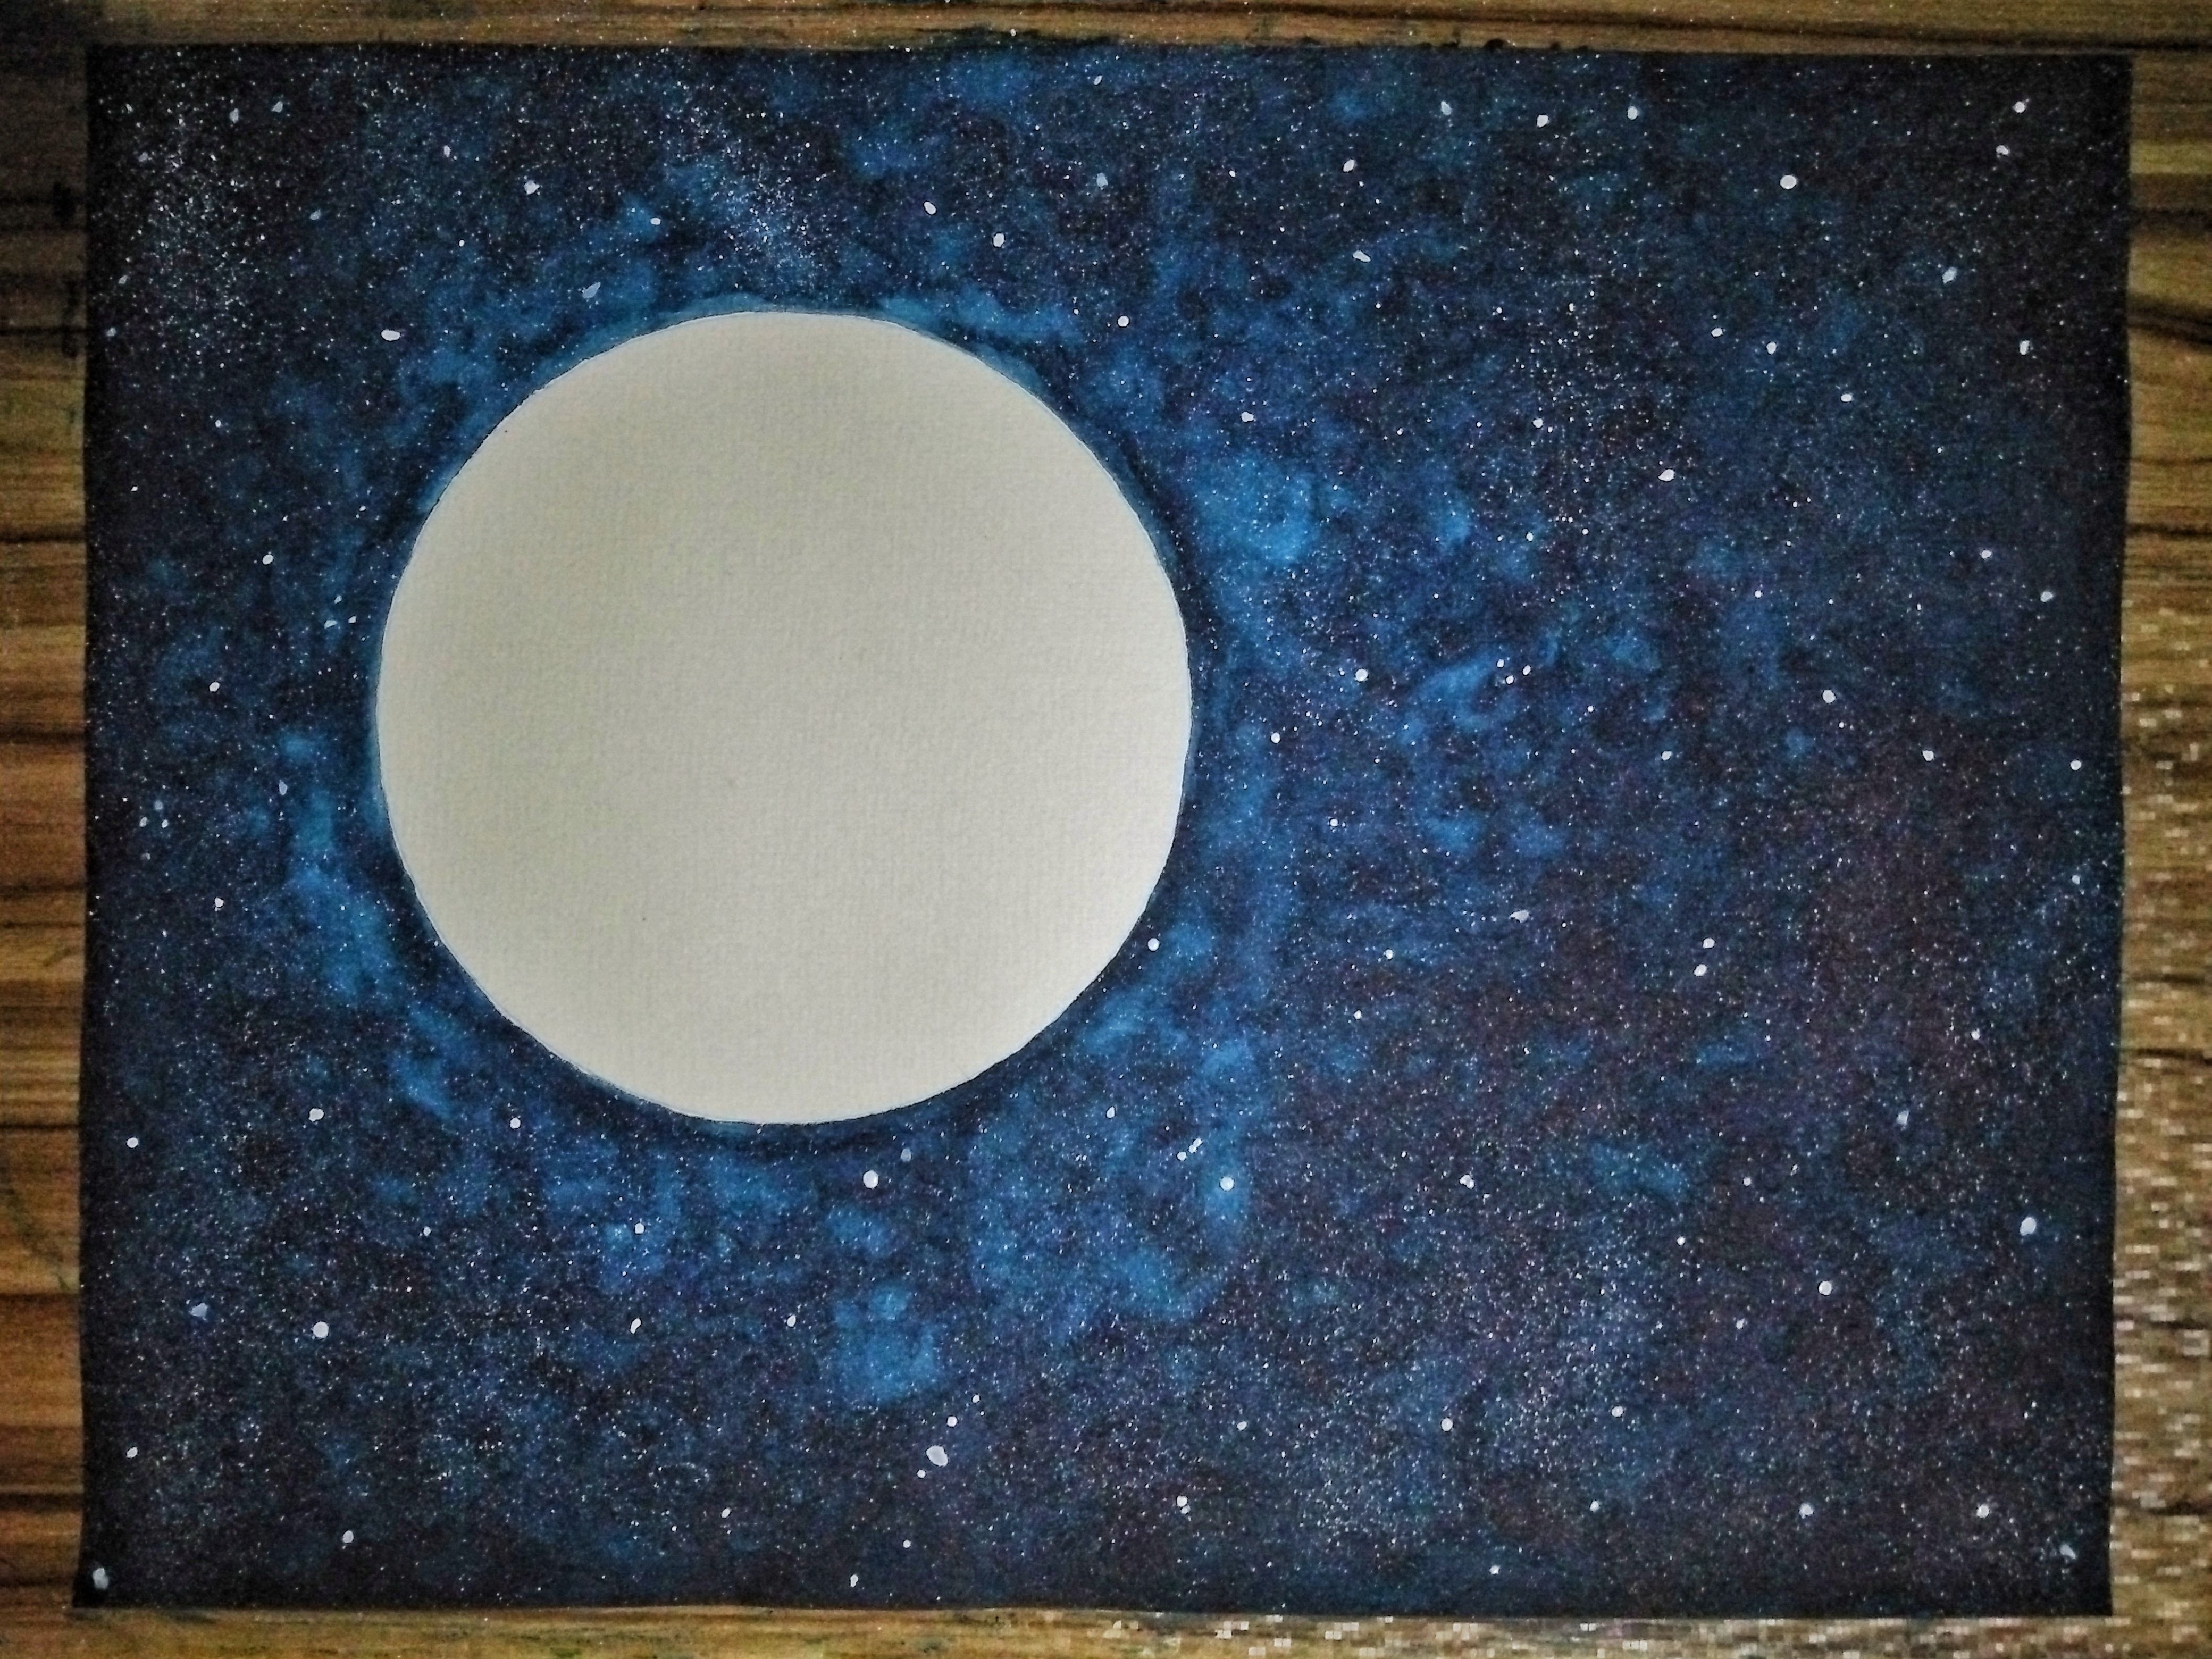
When already satisfied, let it dry.
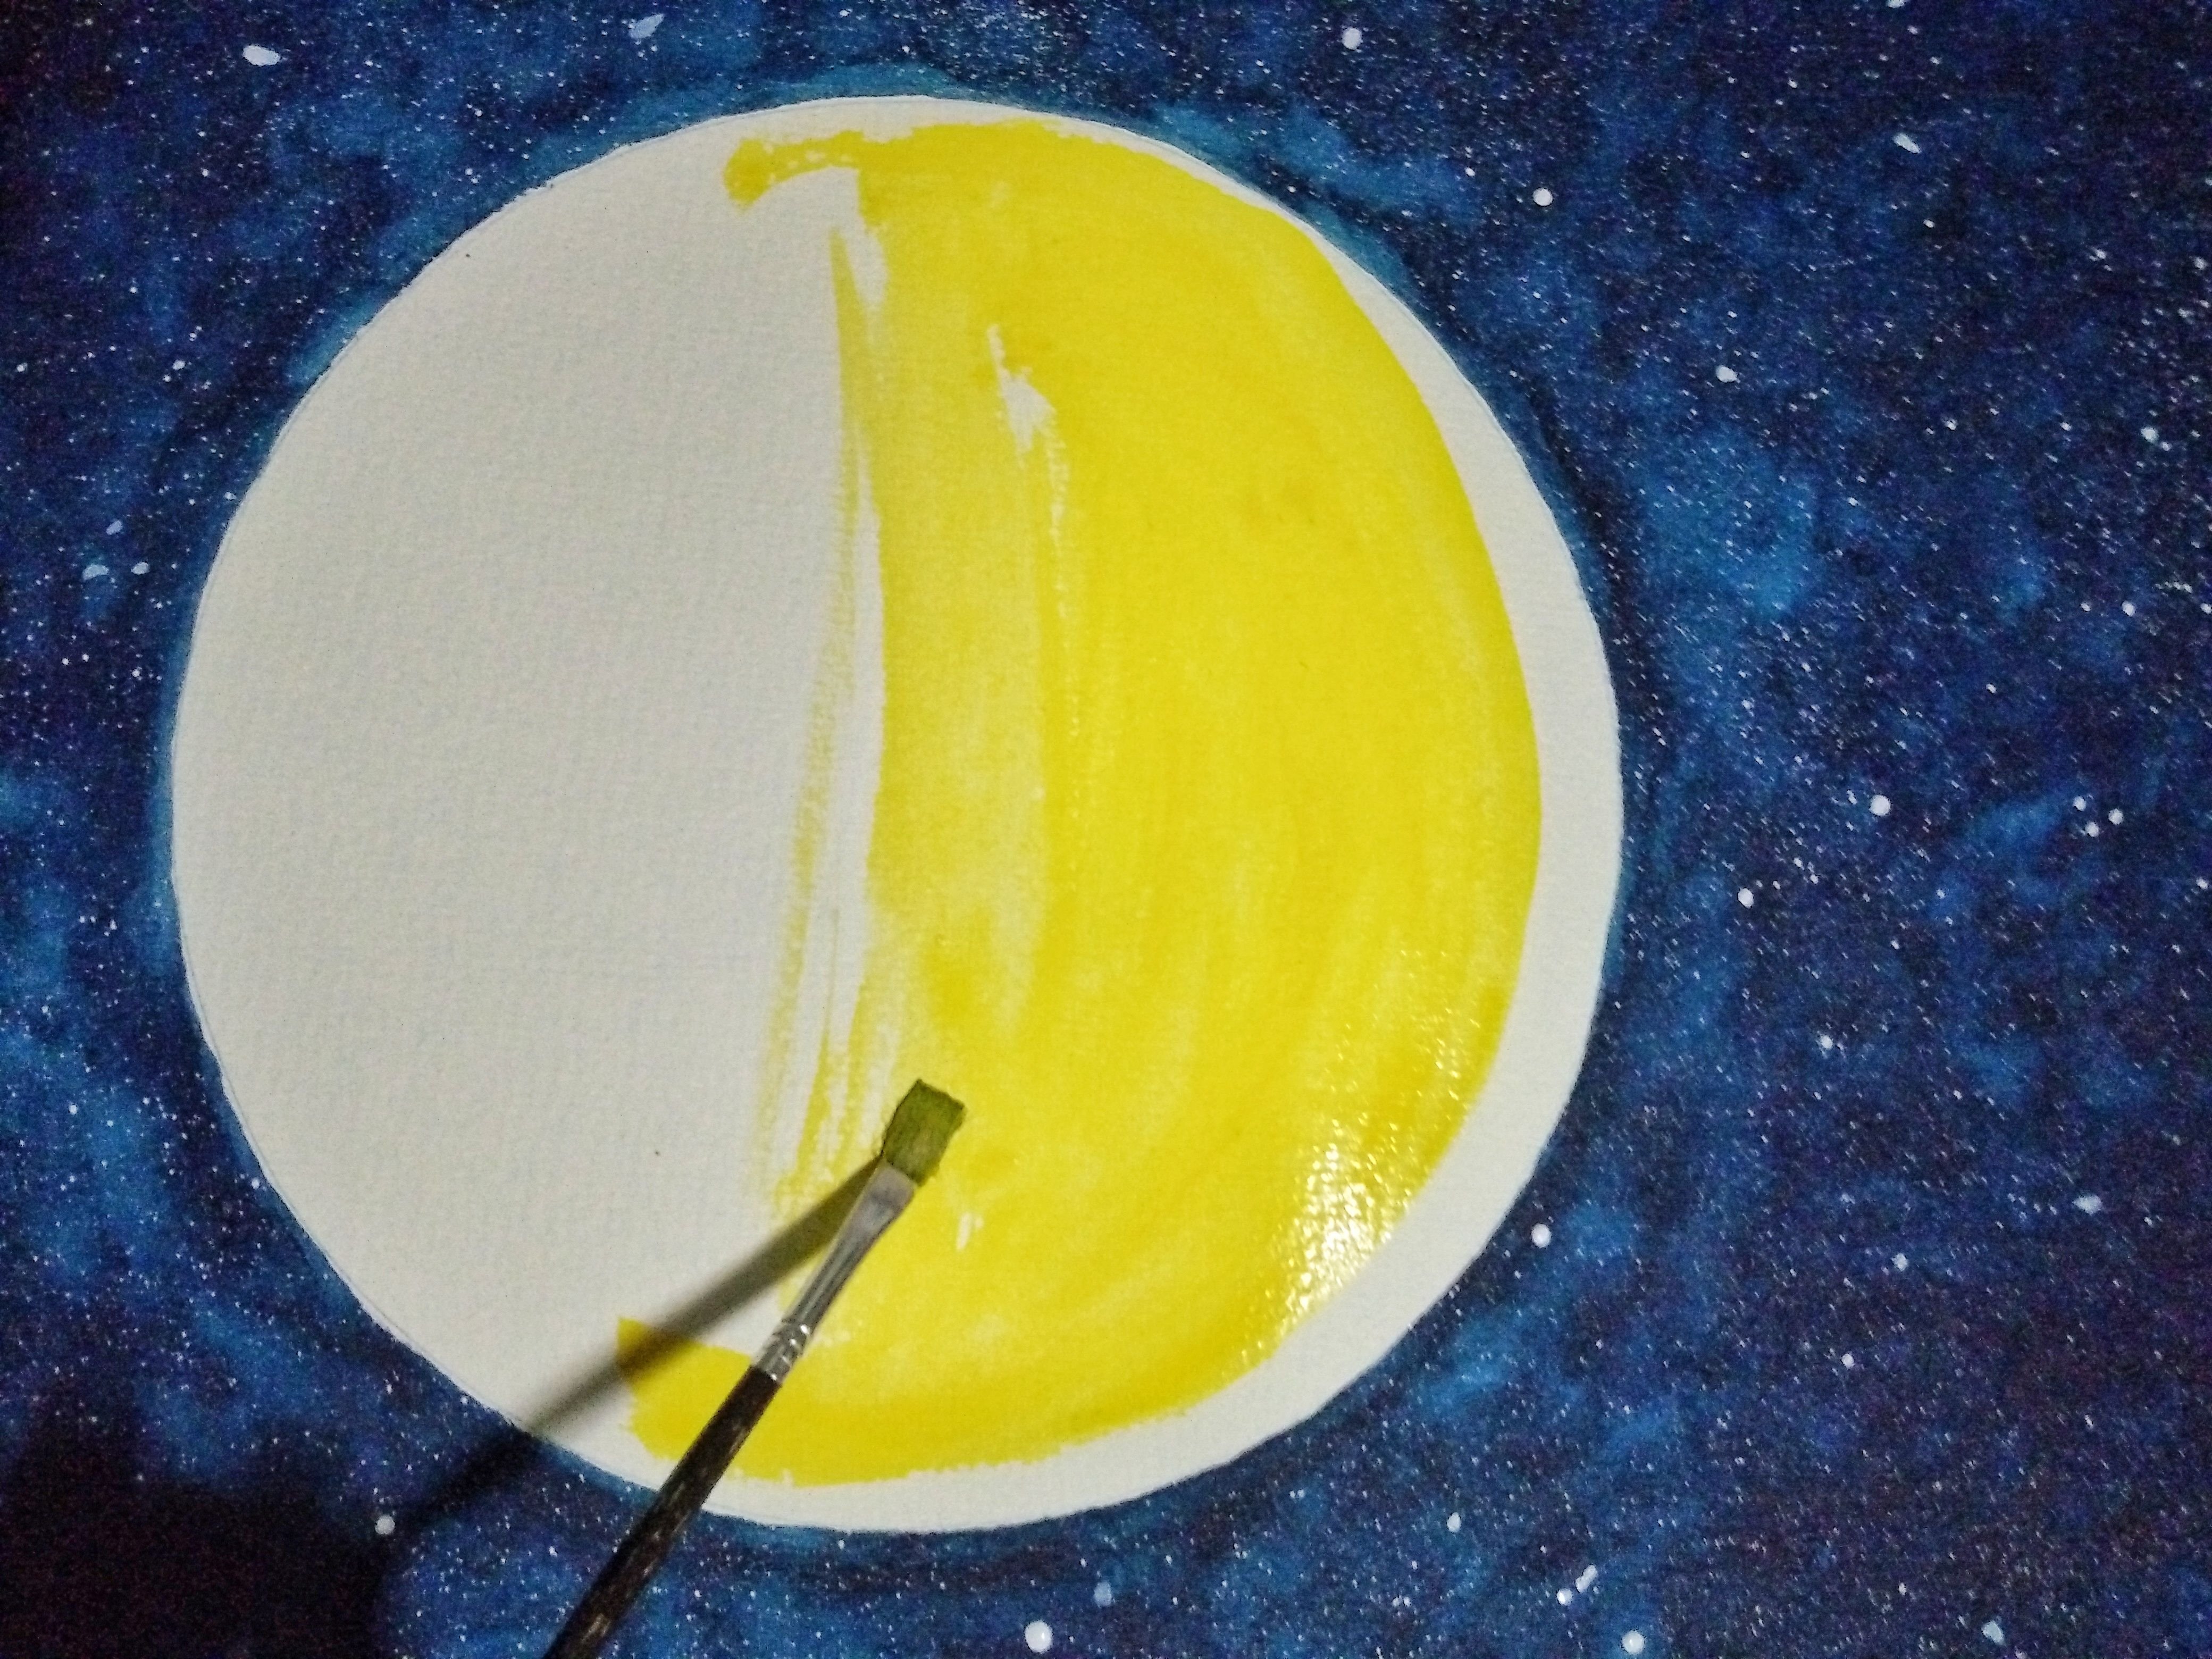
Let's proceed with the moon itself. Use Chrome Yellow.
Leave the right edge portion untinted.
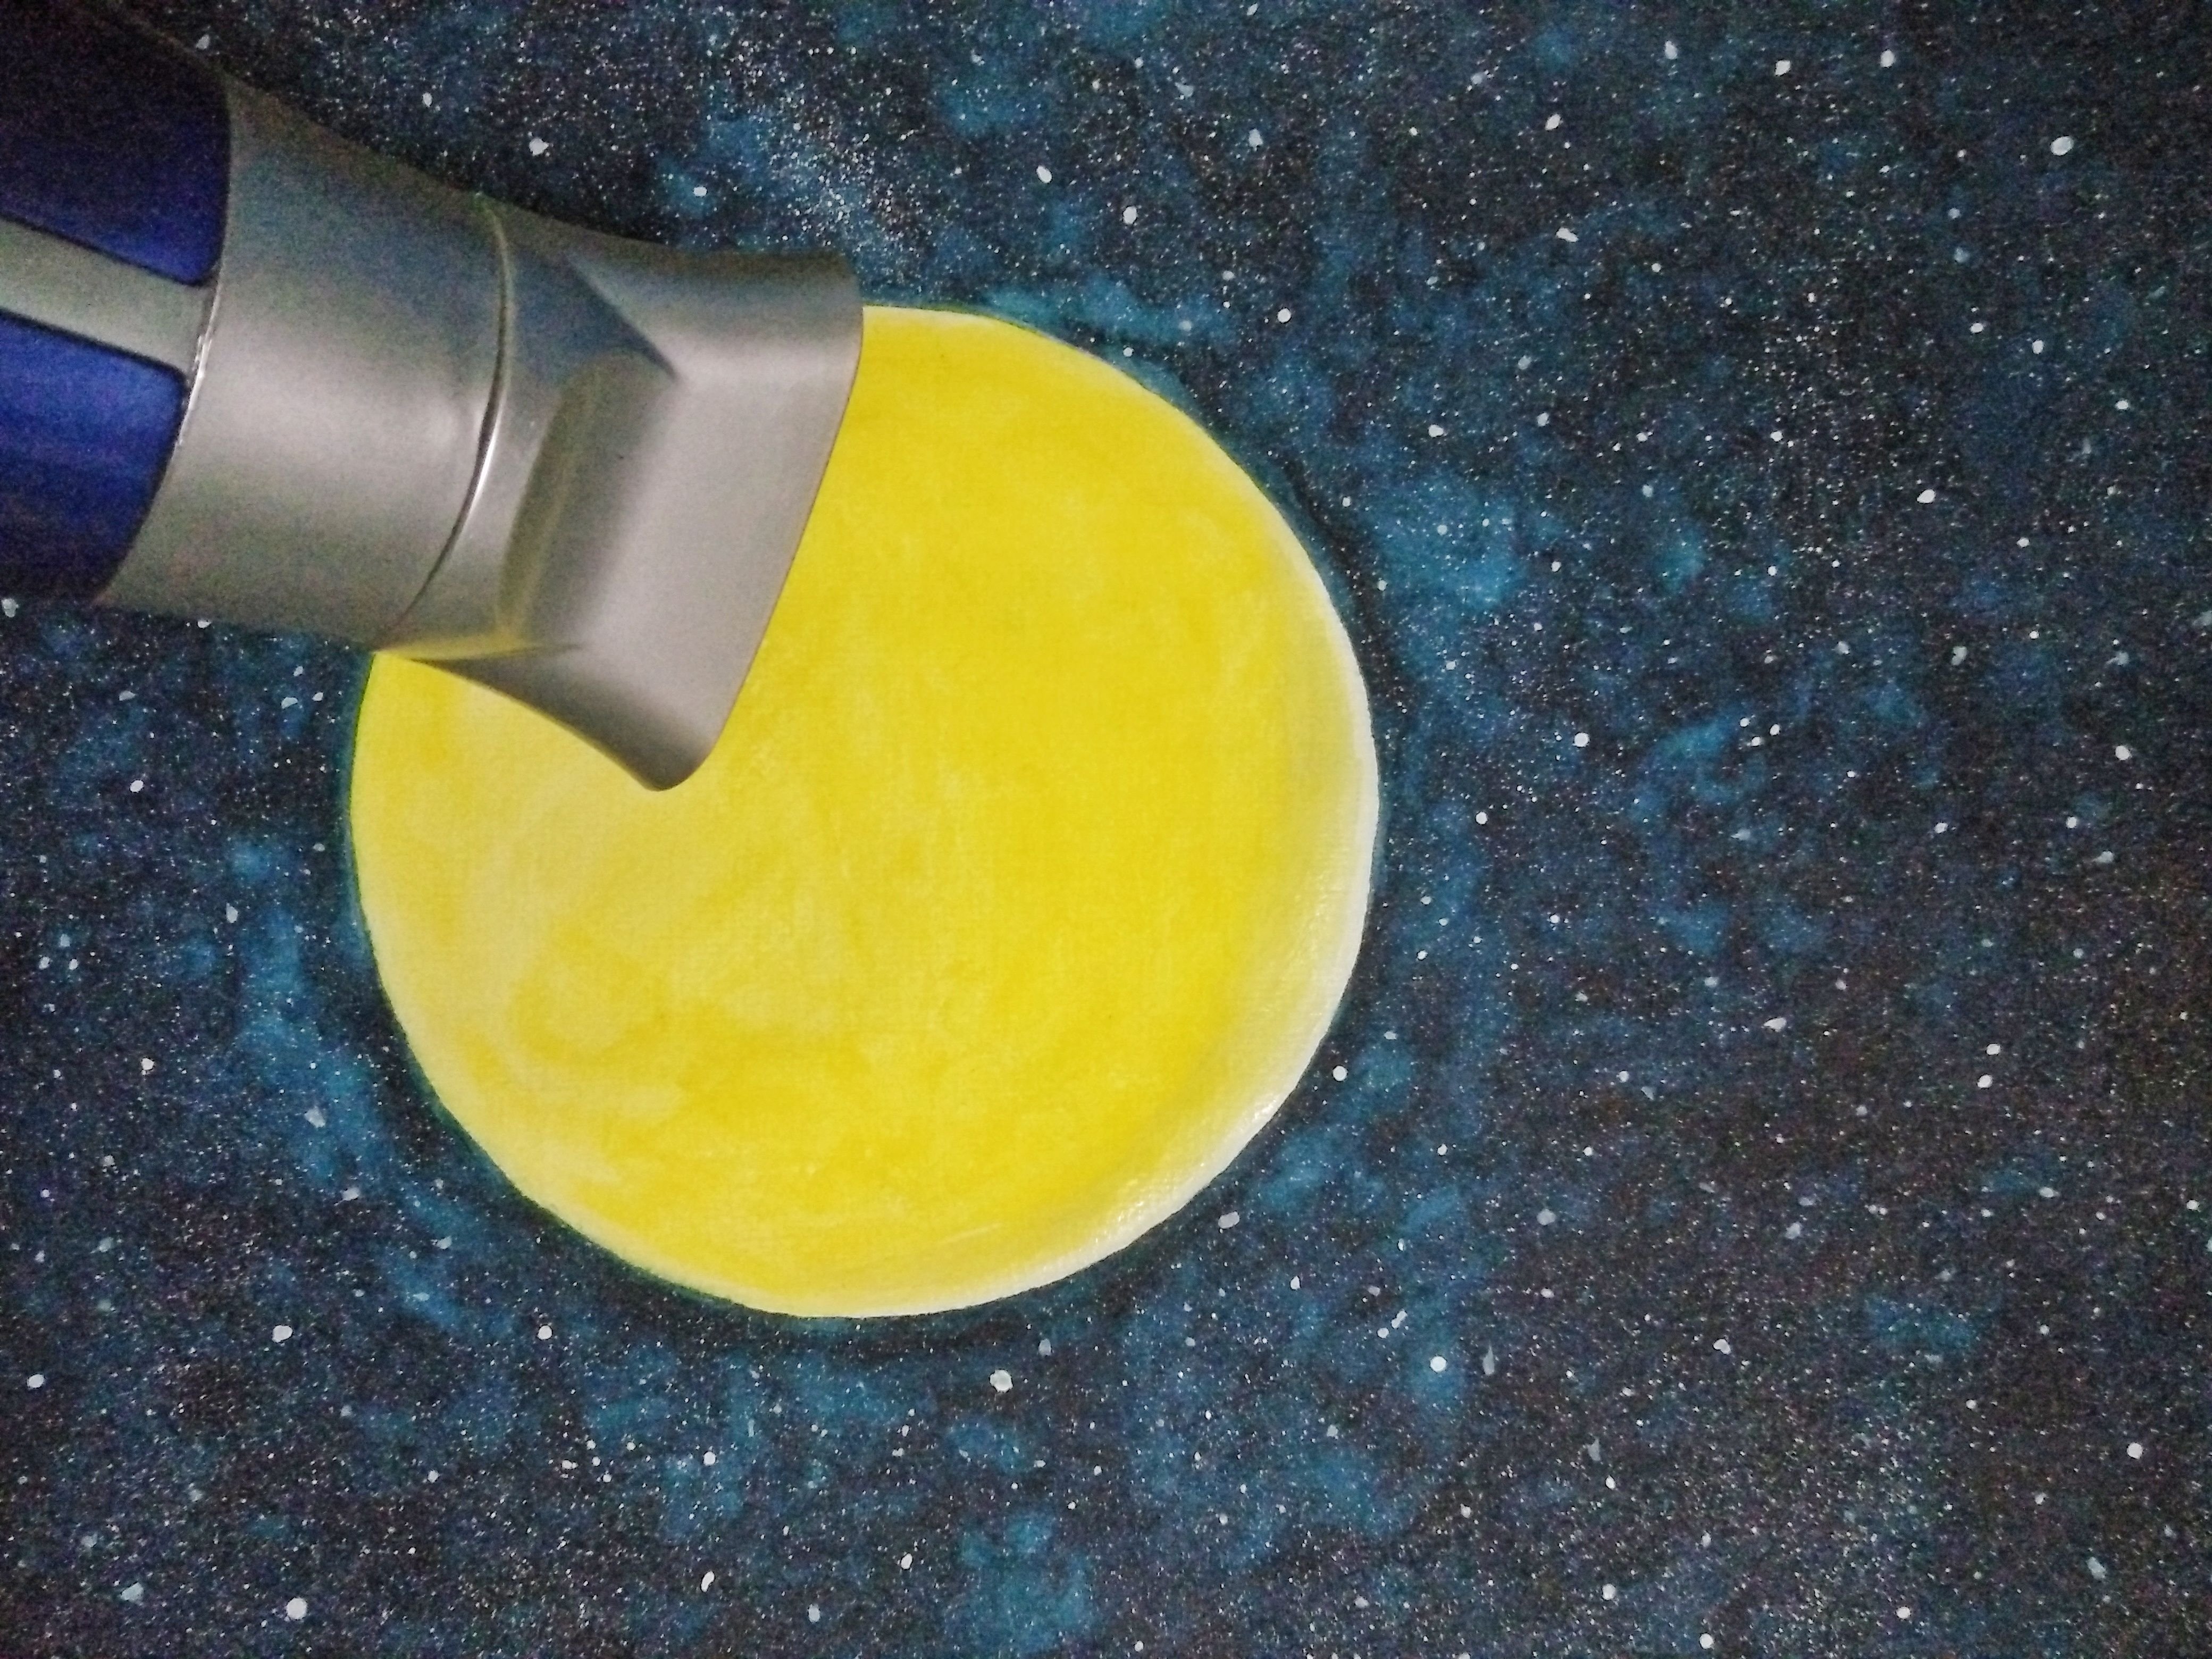
Set to dry.
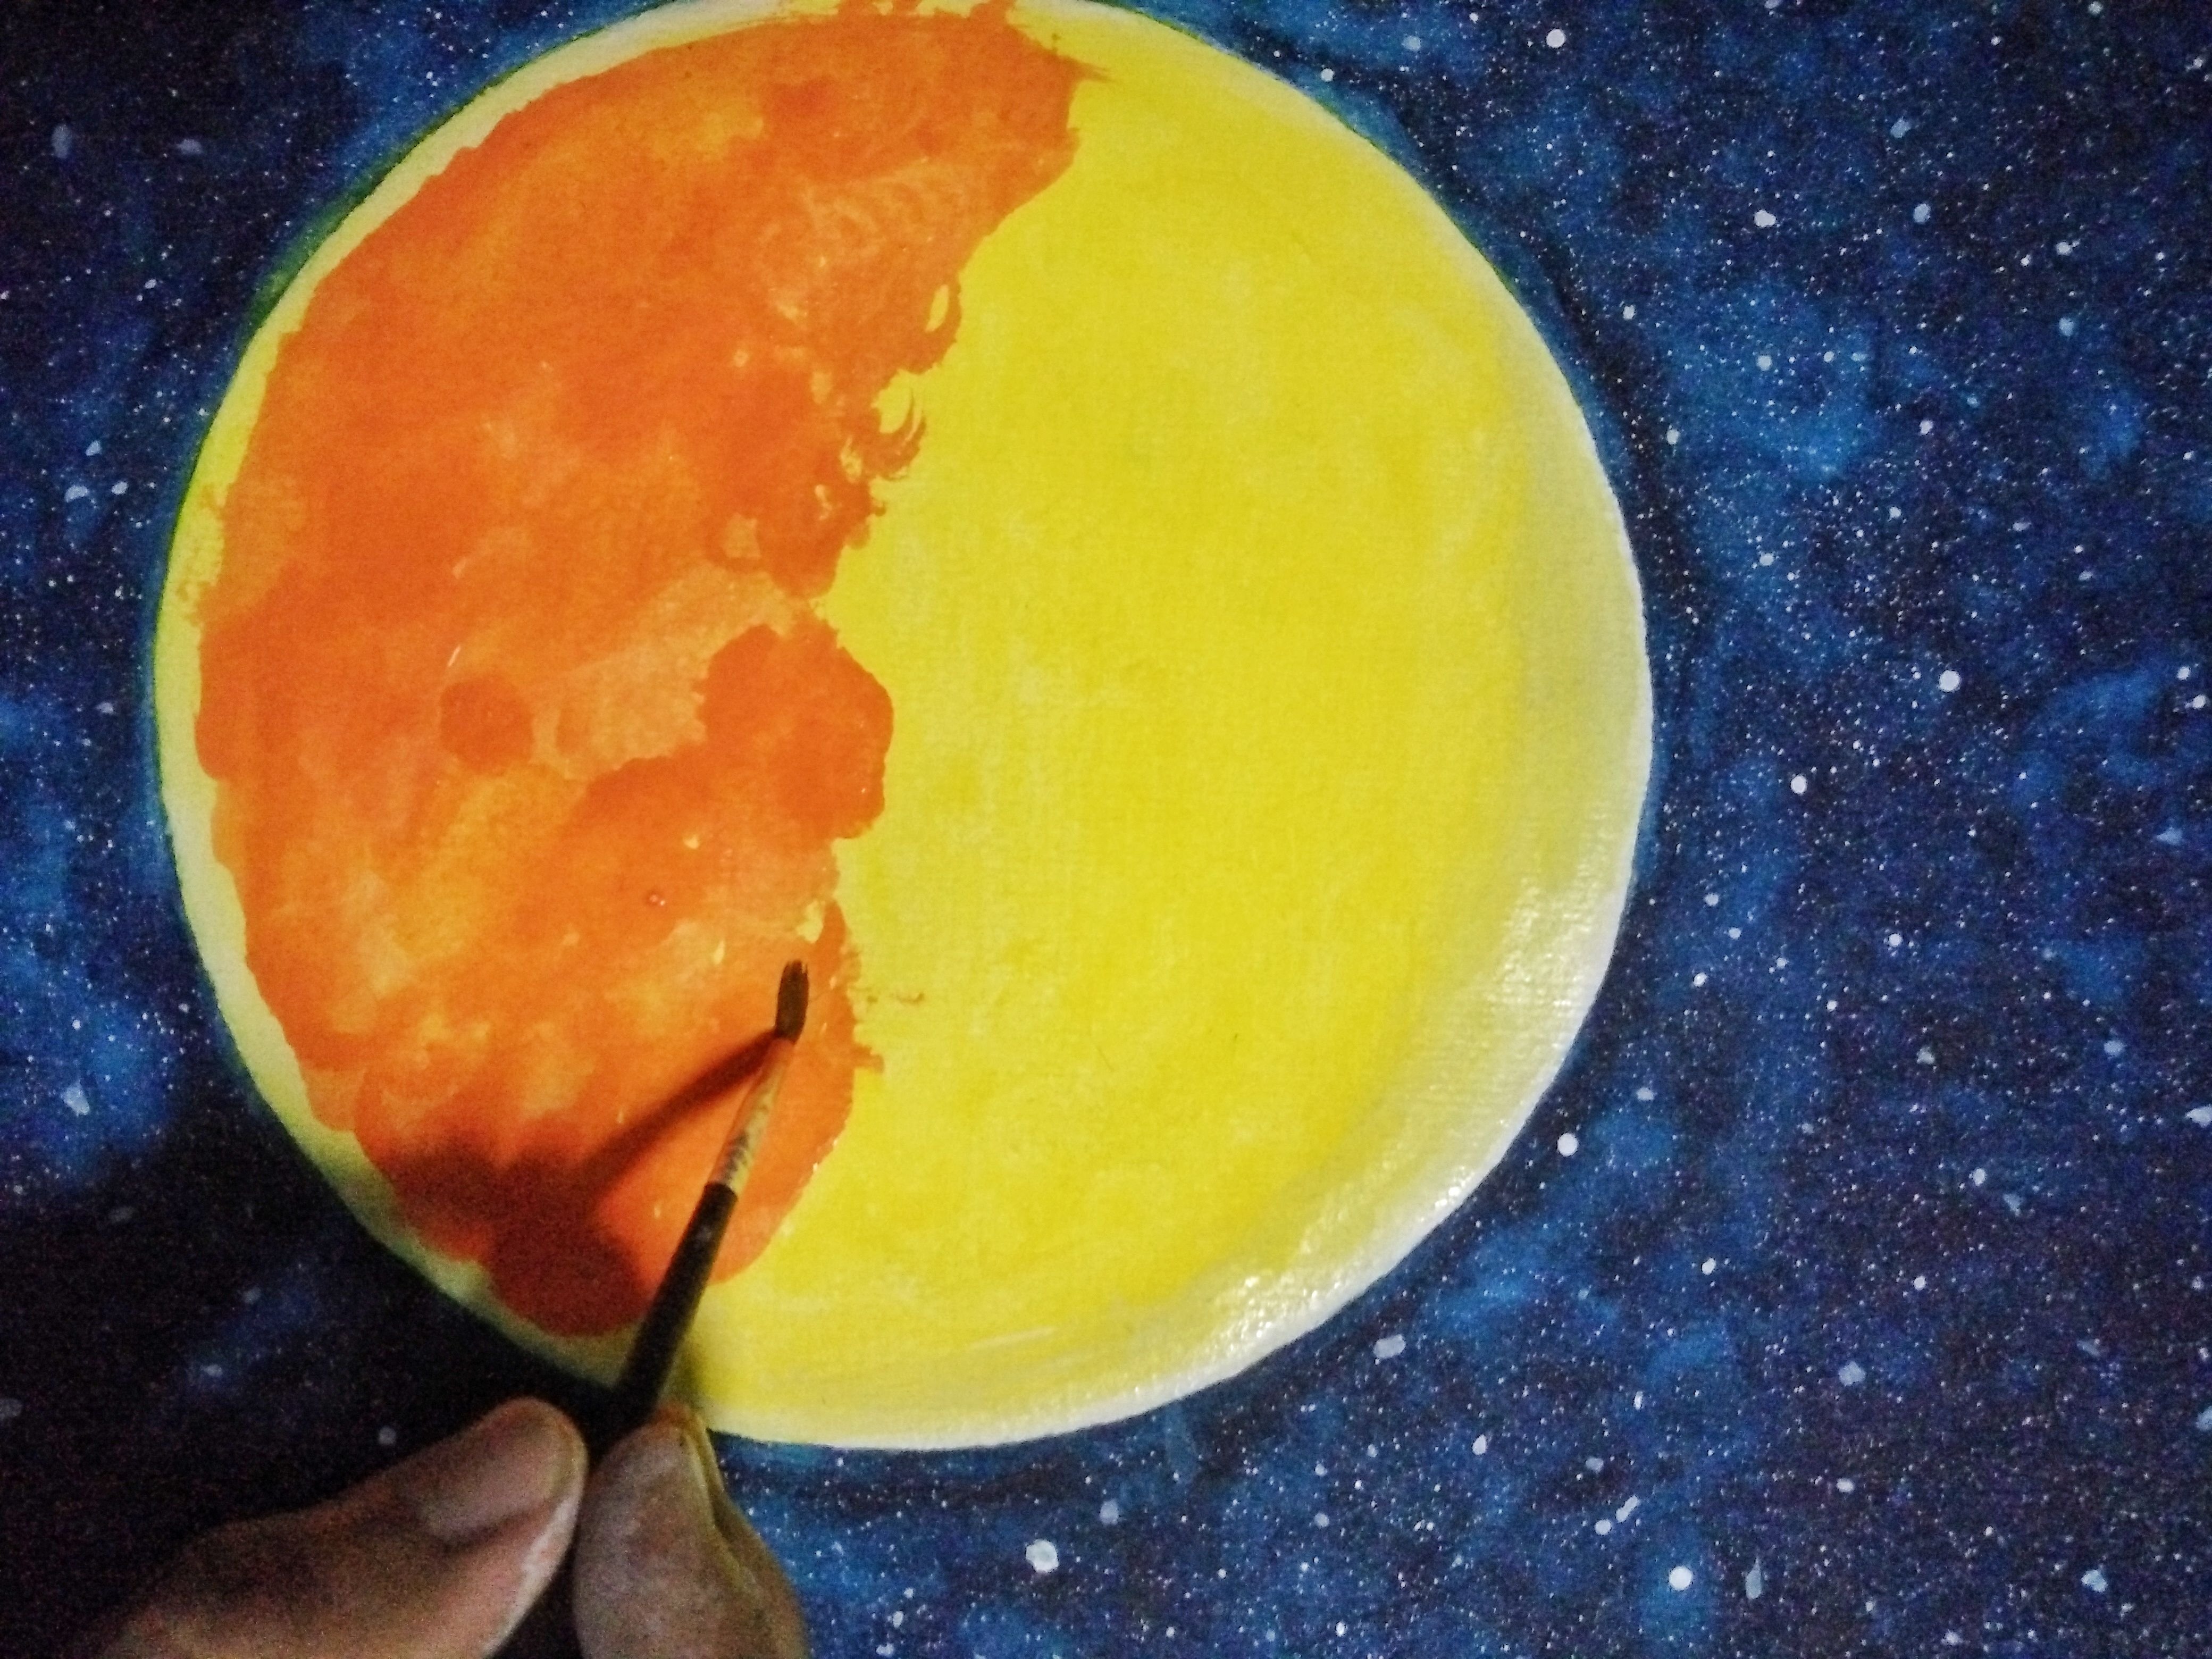
Apply the Orange color . Begin on the left side to the right.
Twirl the brush when spreading to create dark and light hues.
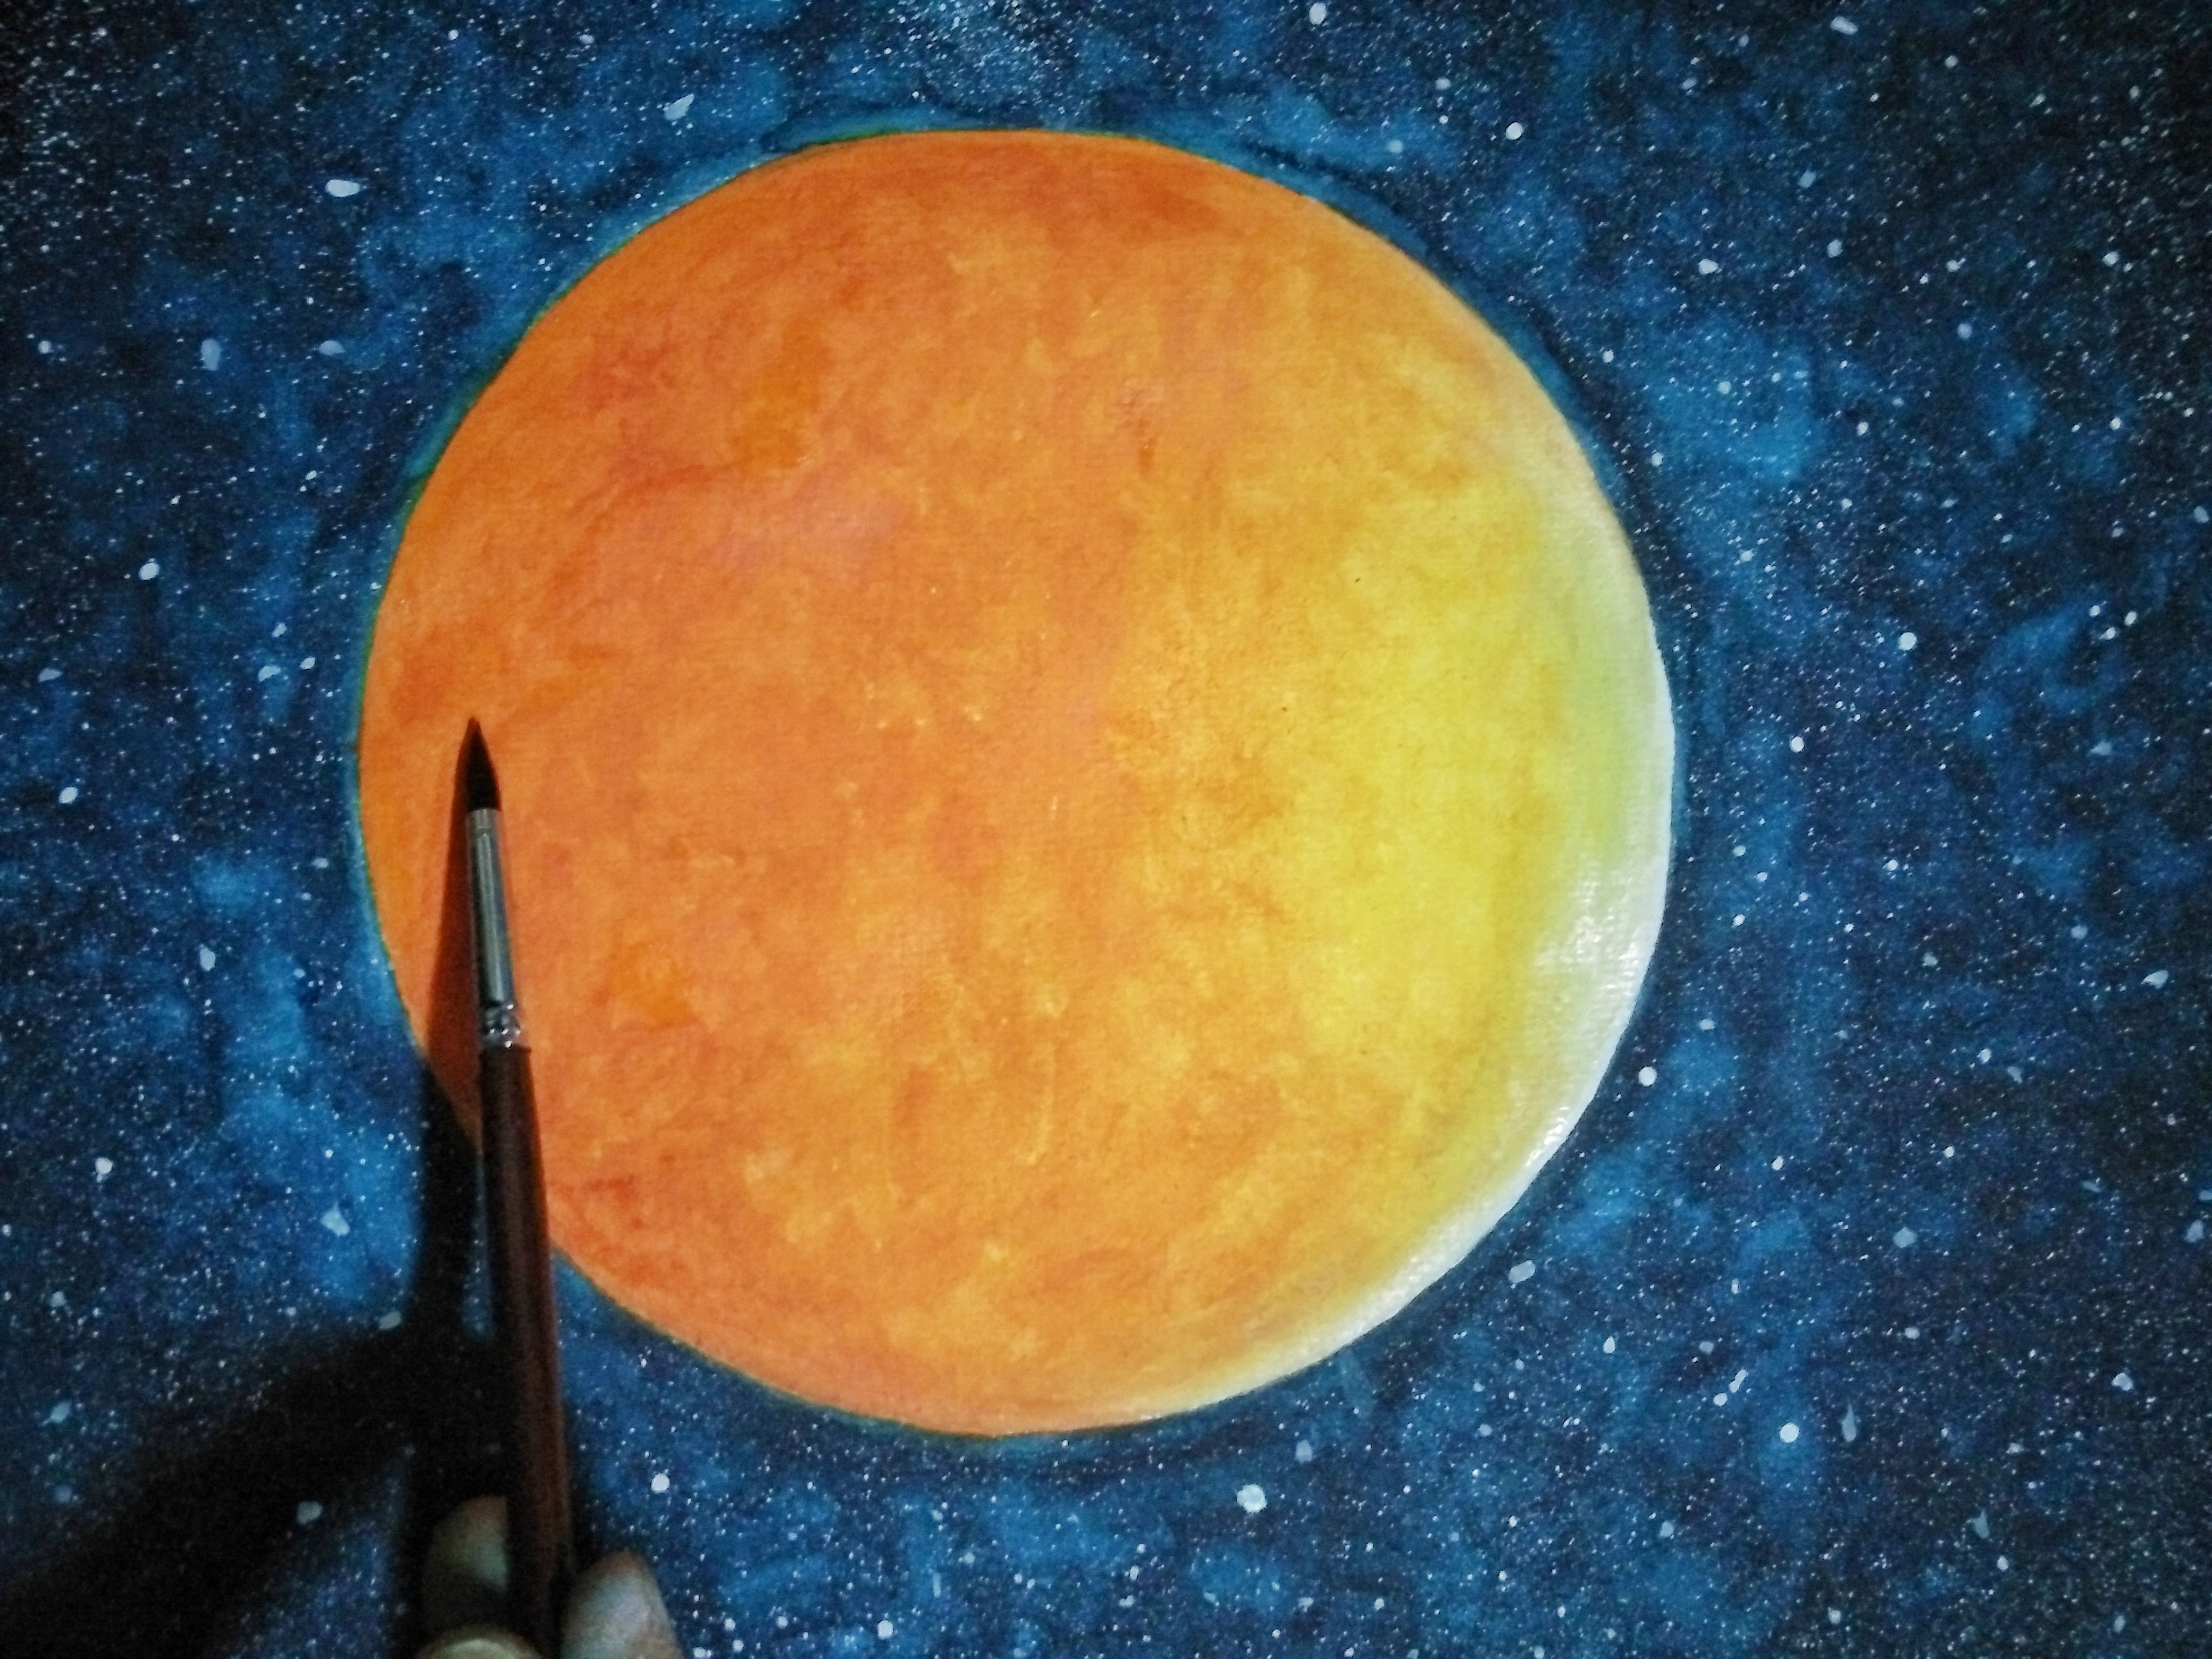
Apply Red on the left edge of the moon to make it darker.
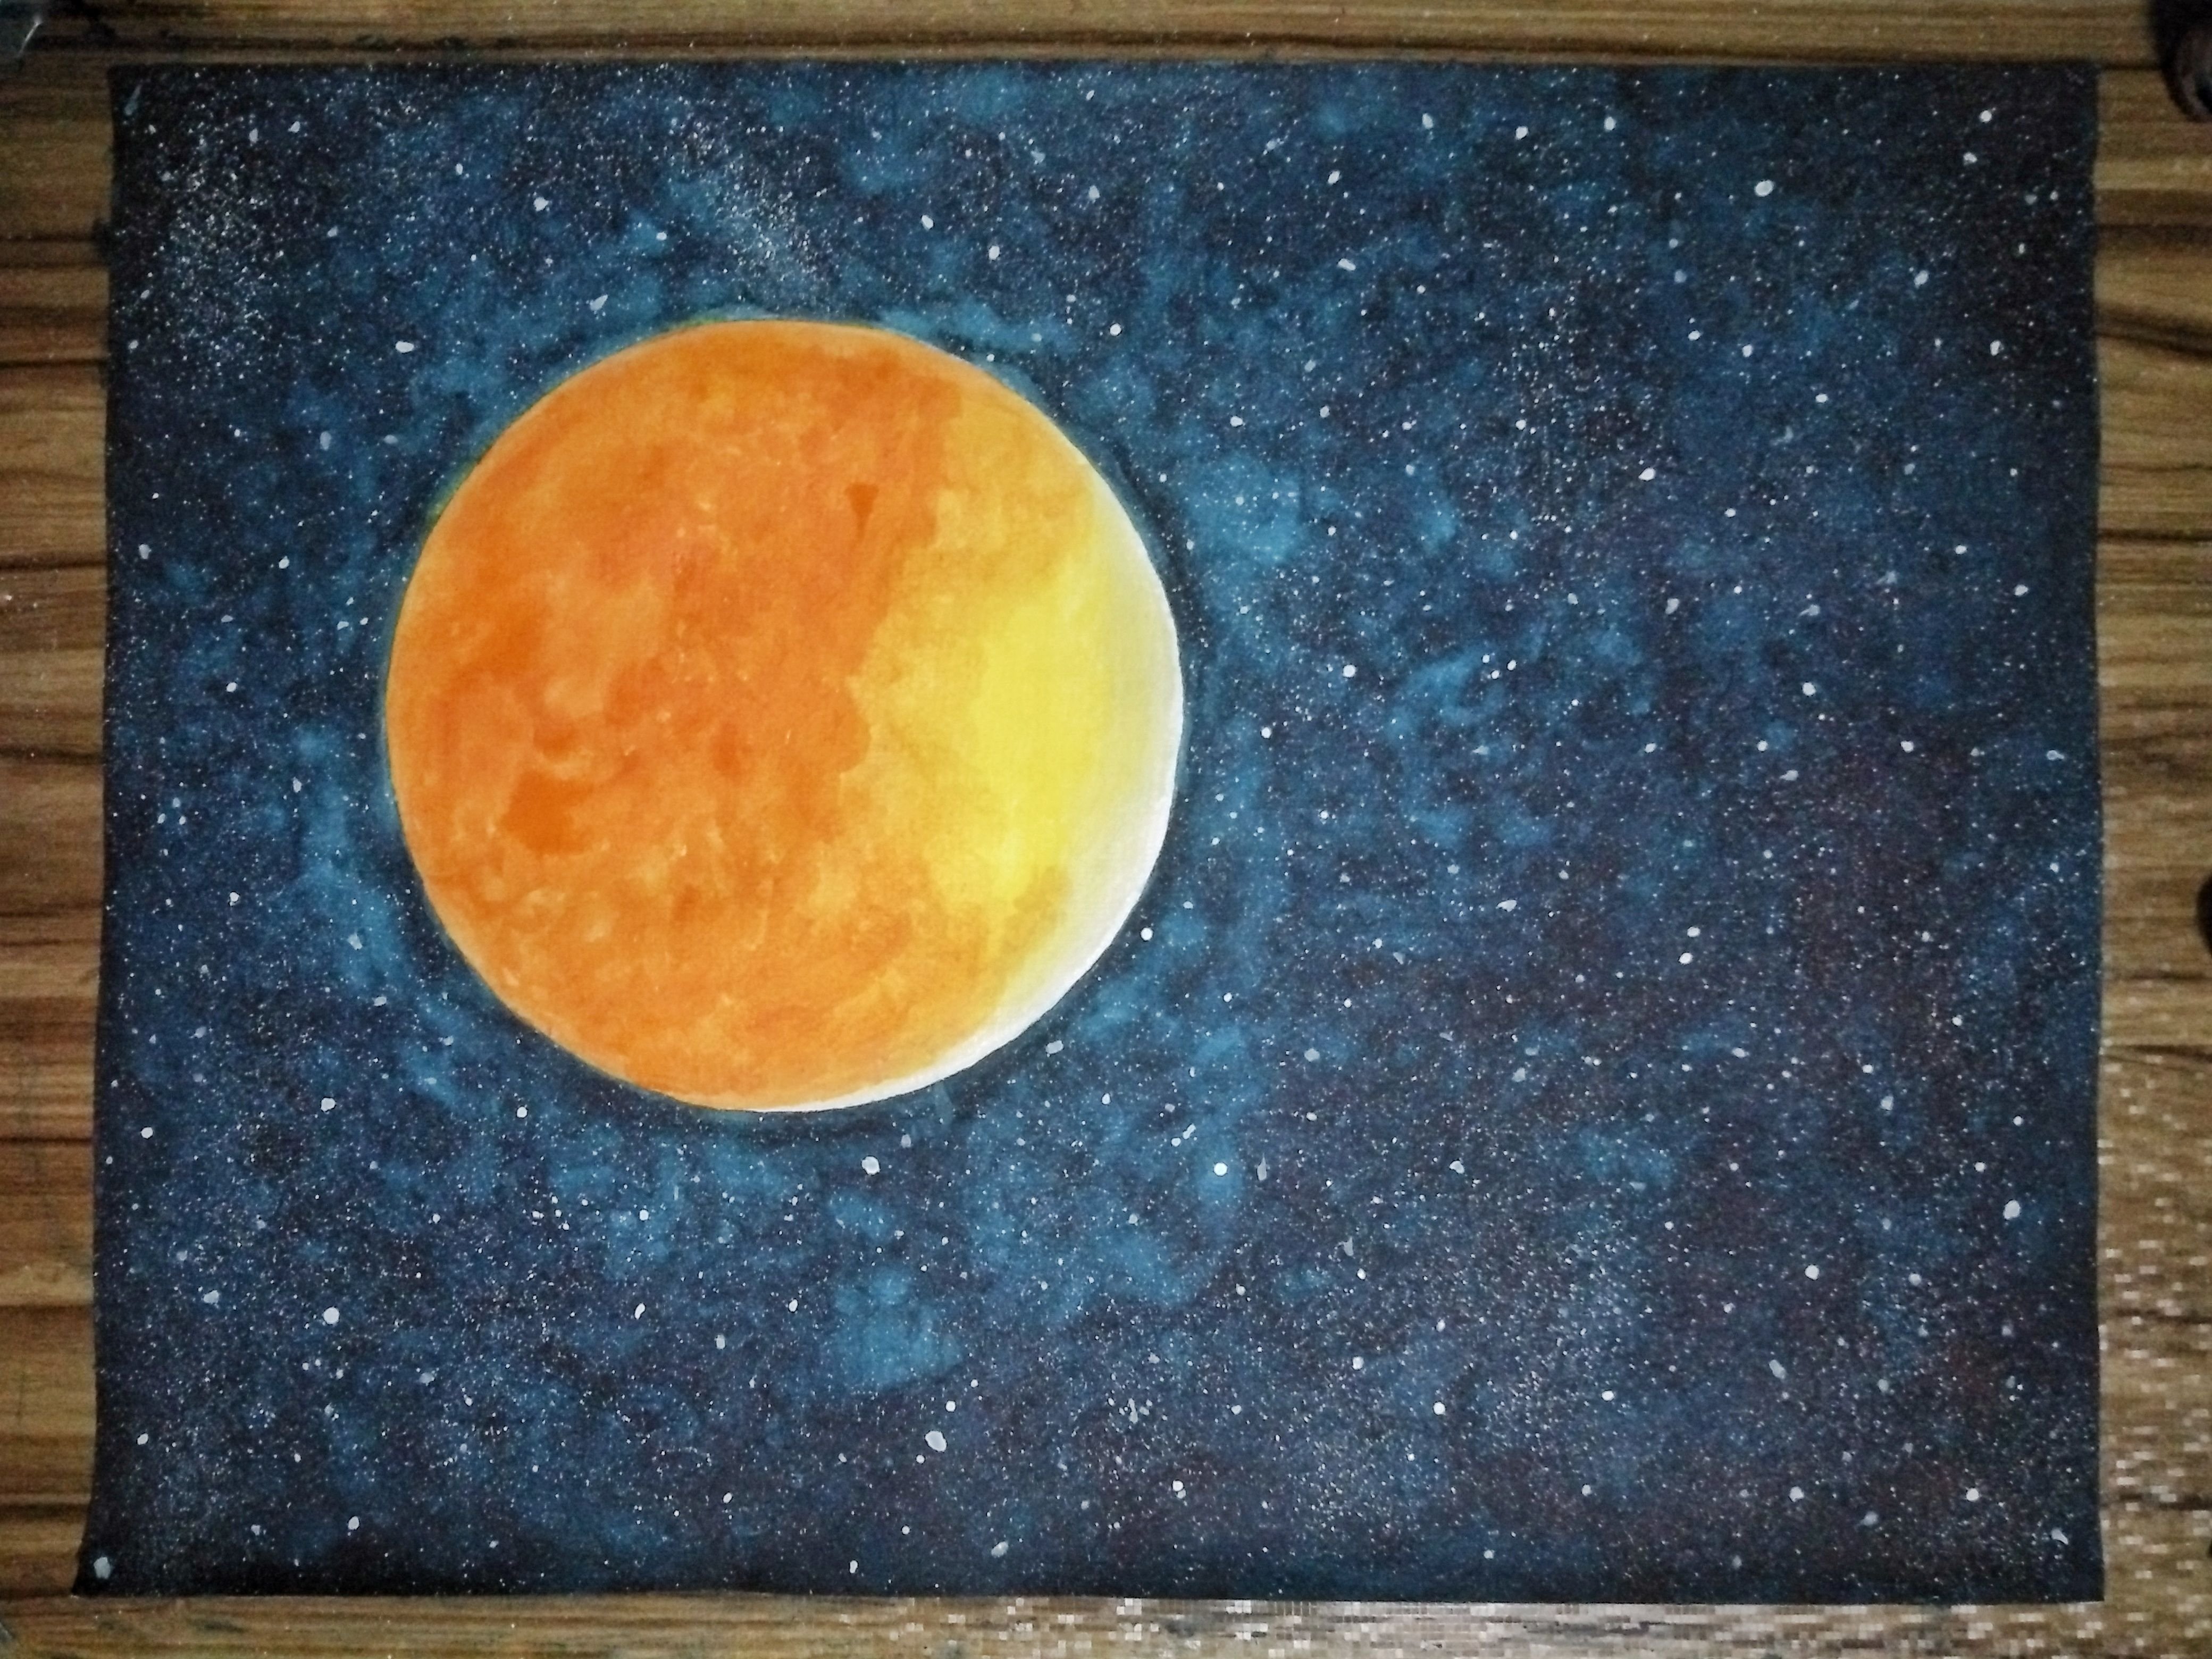
We are almost there.
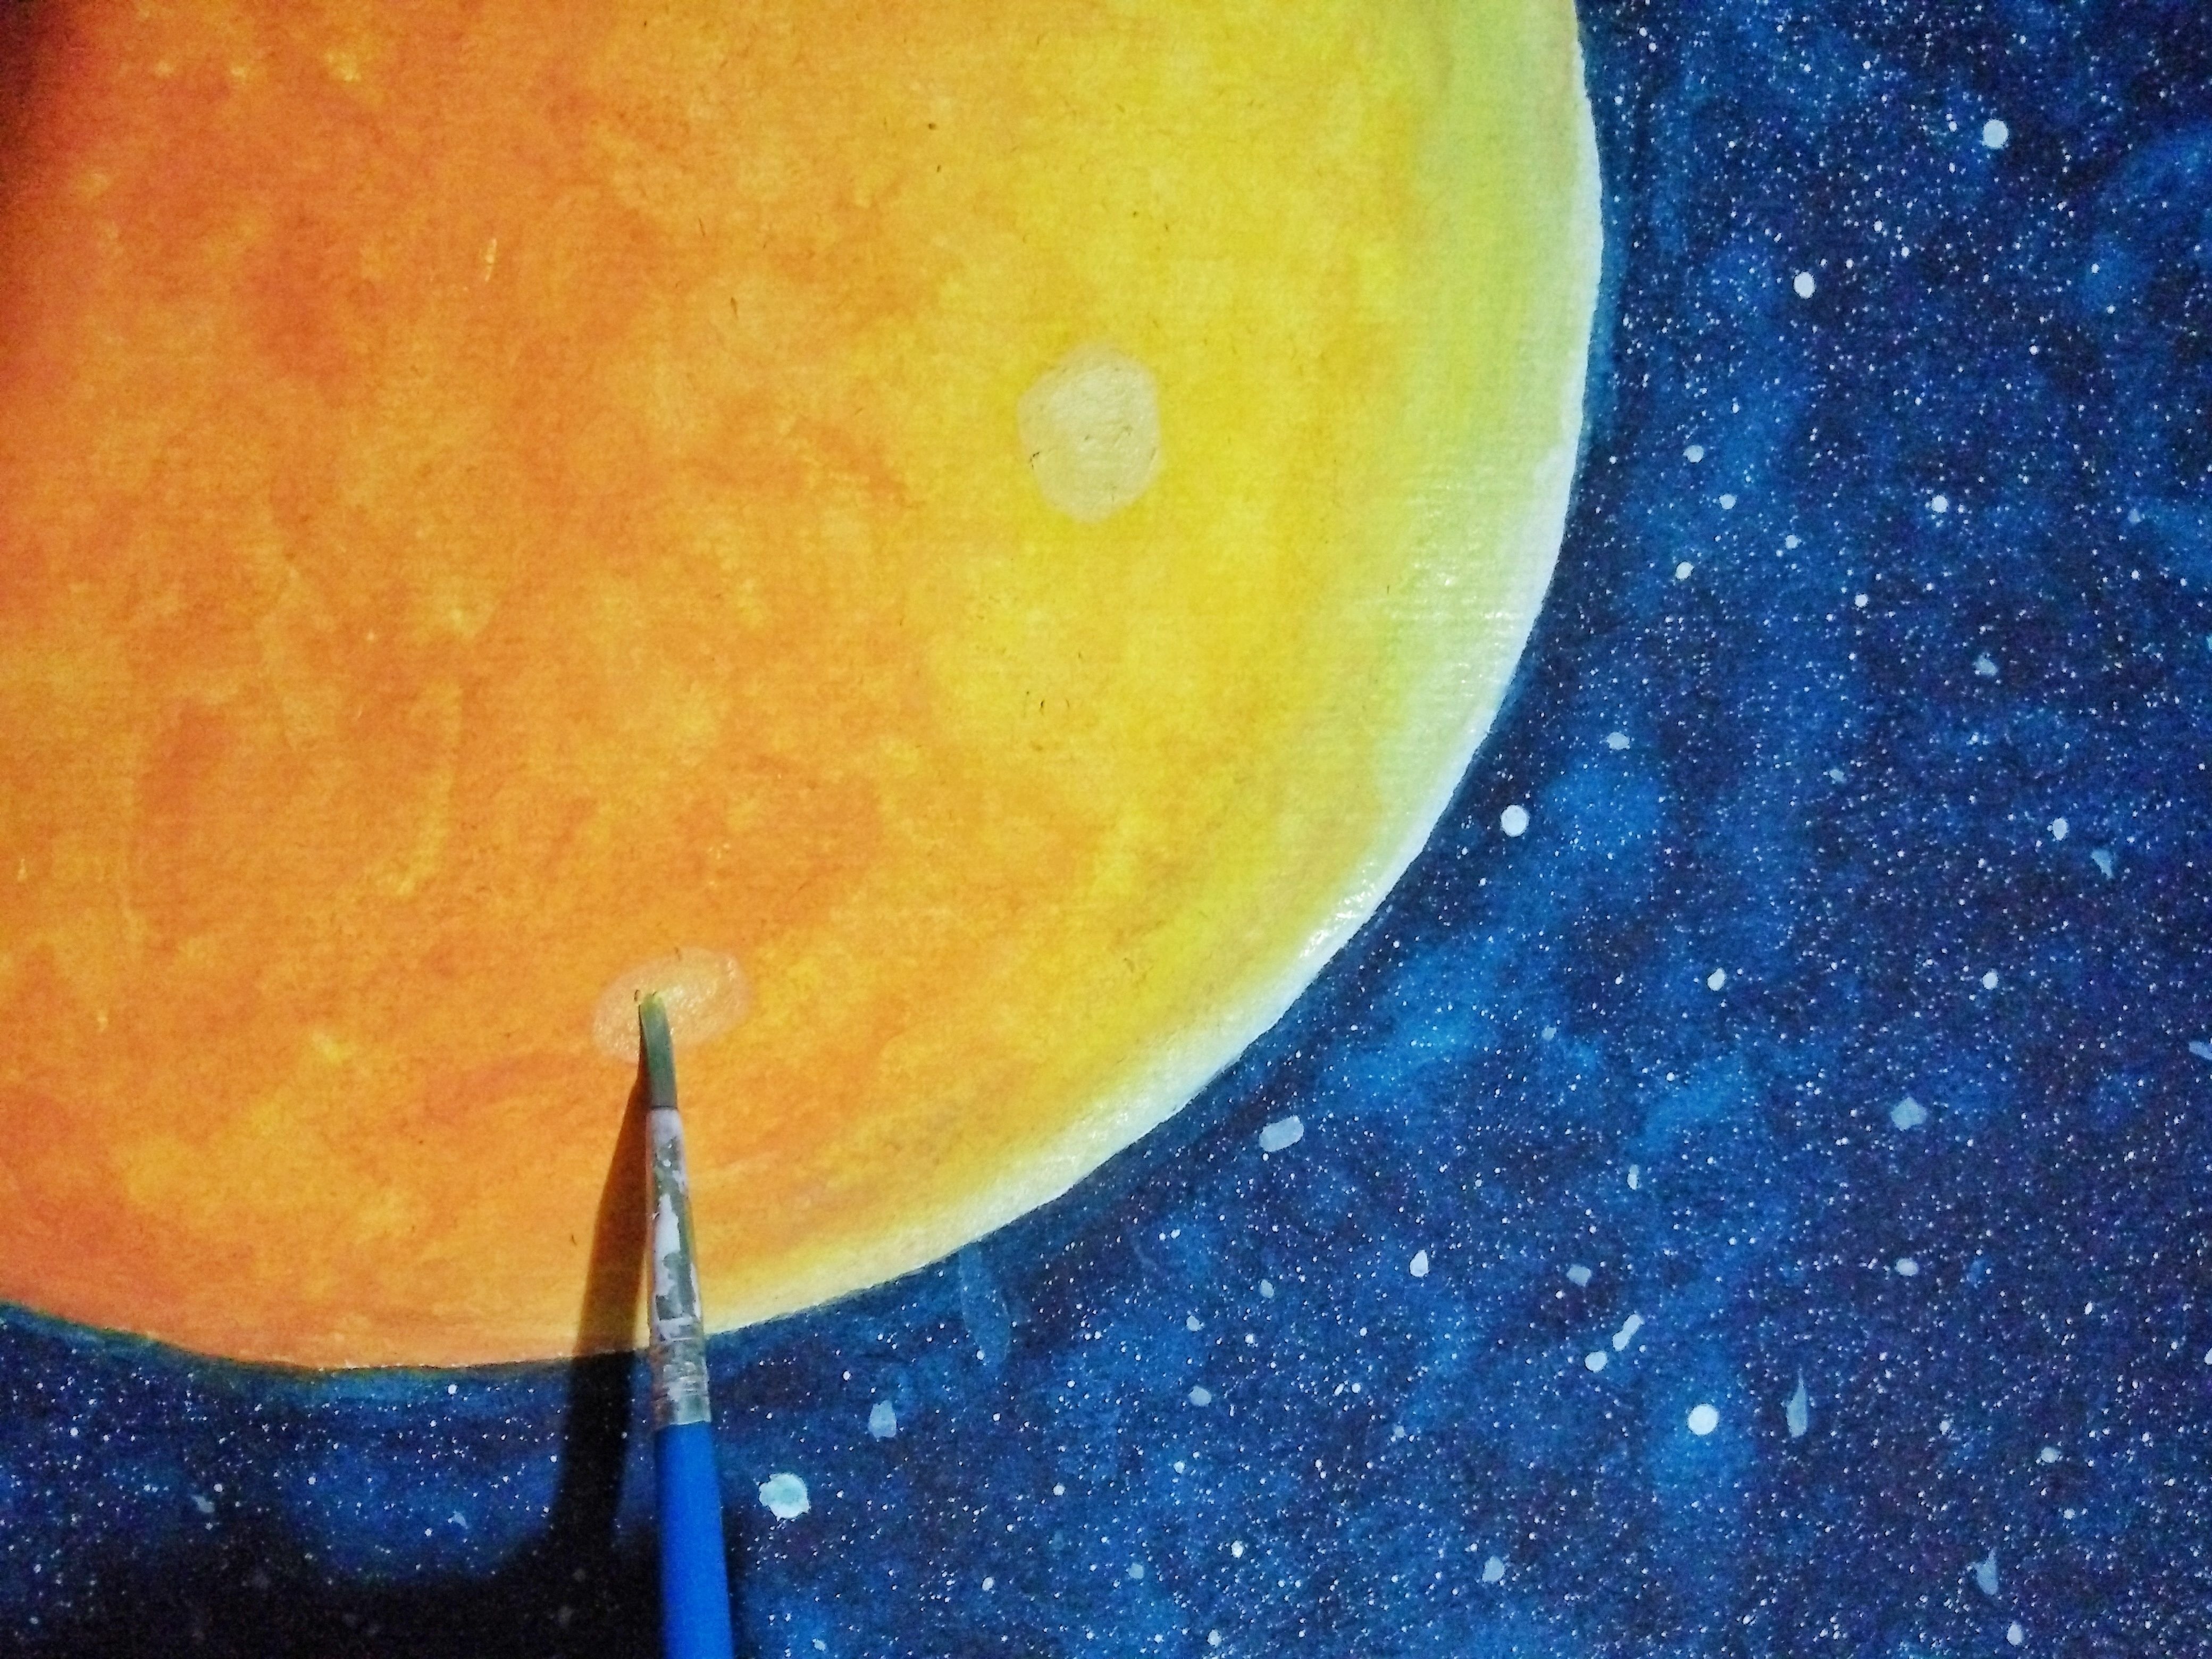
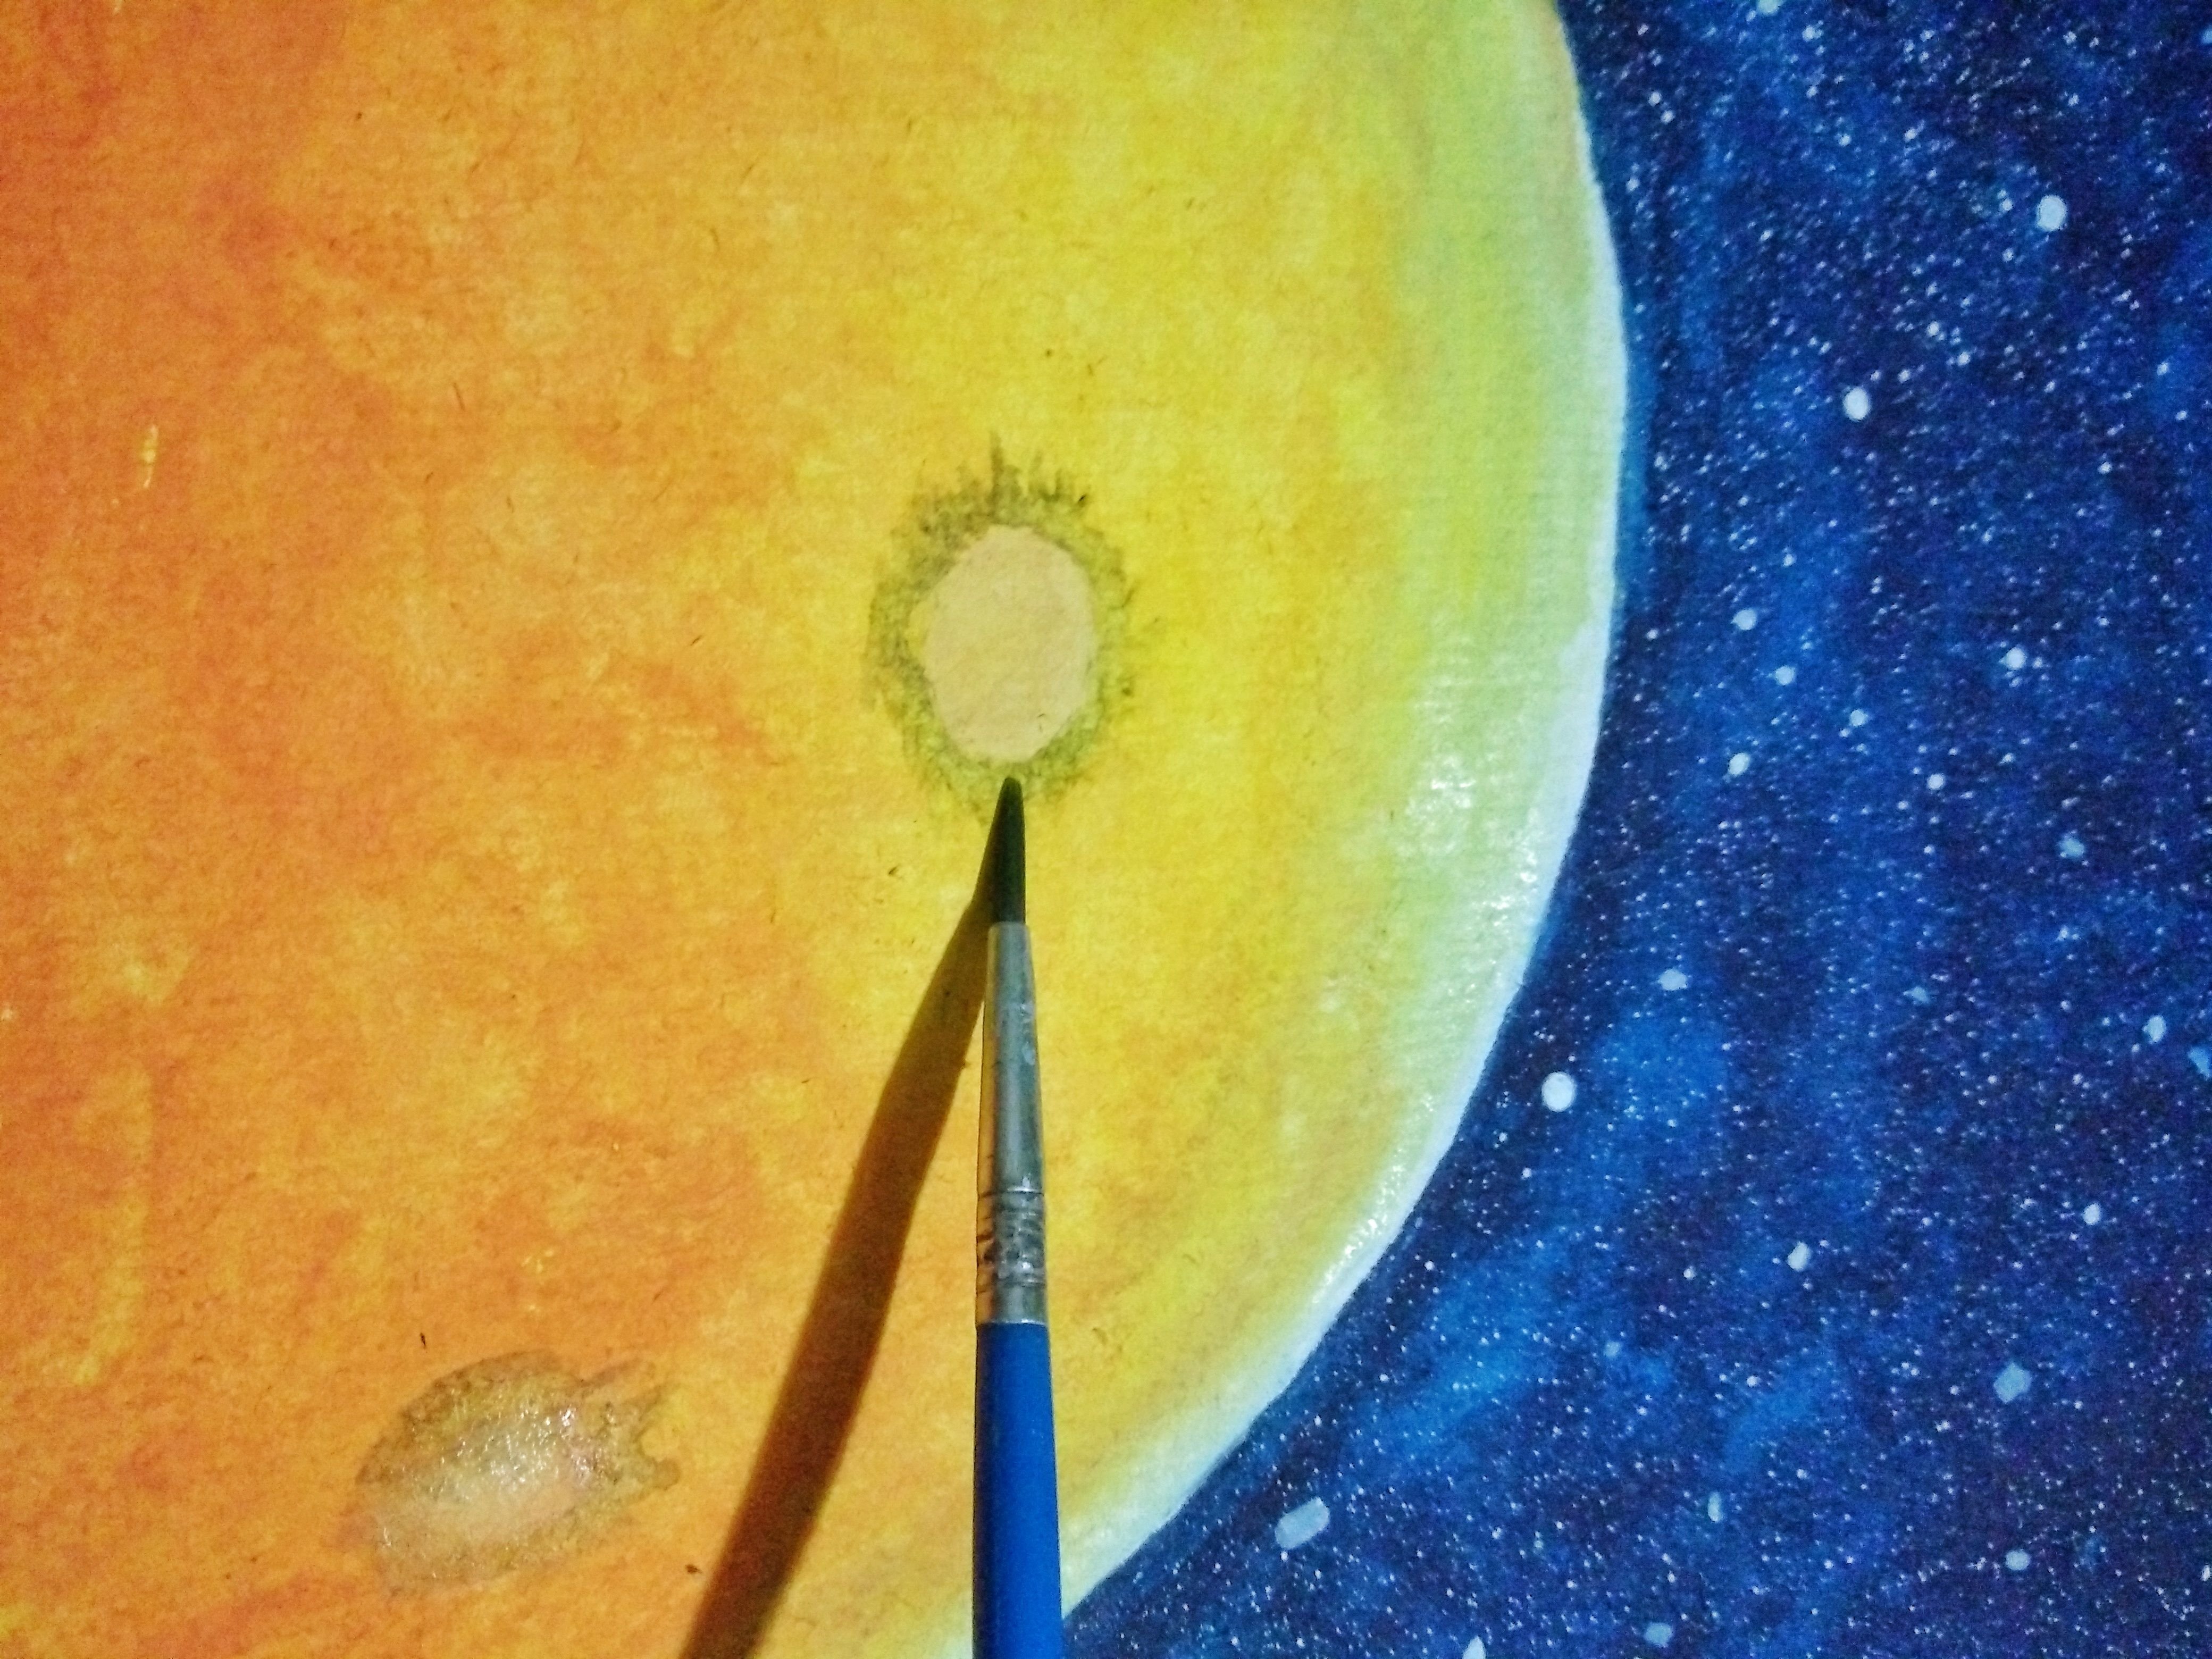
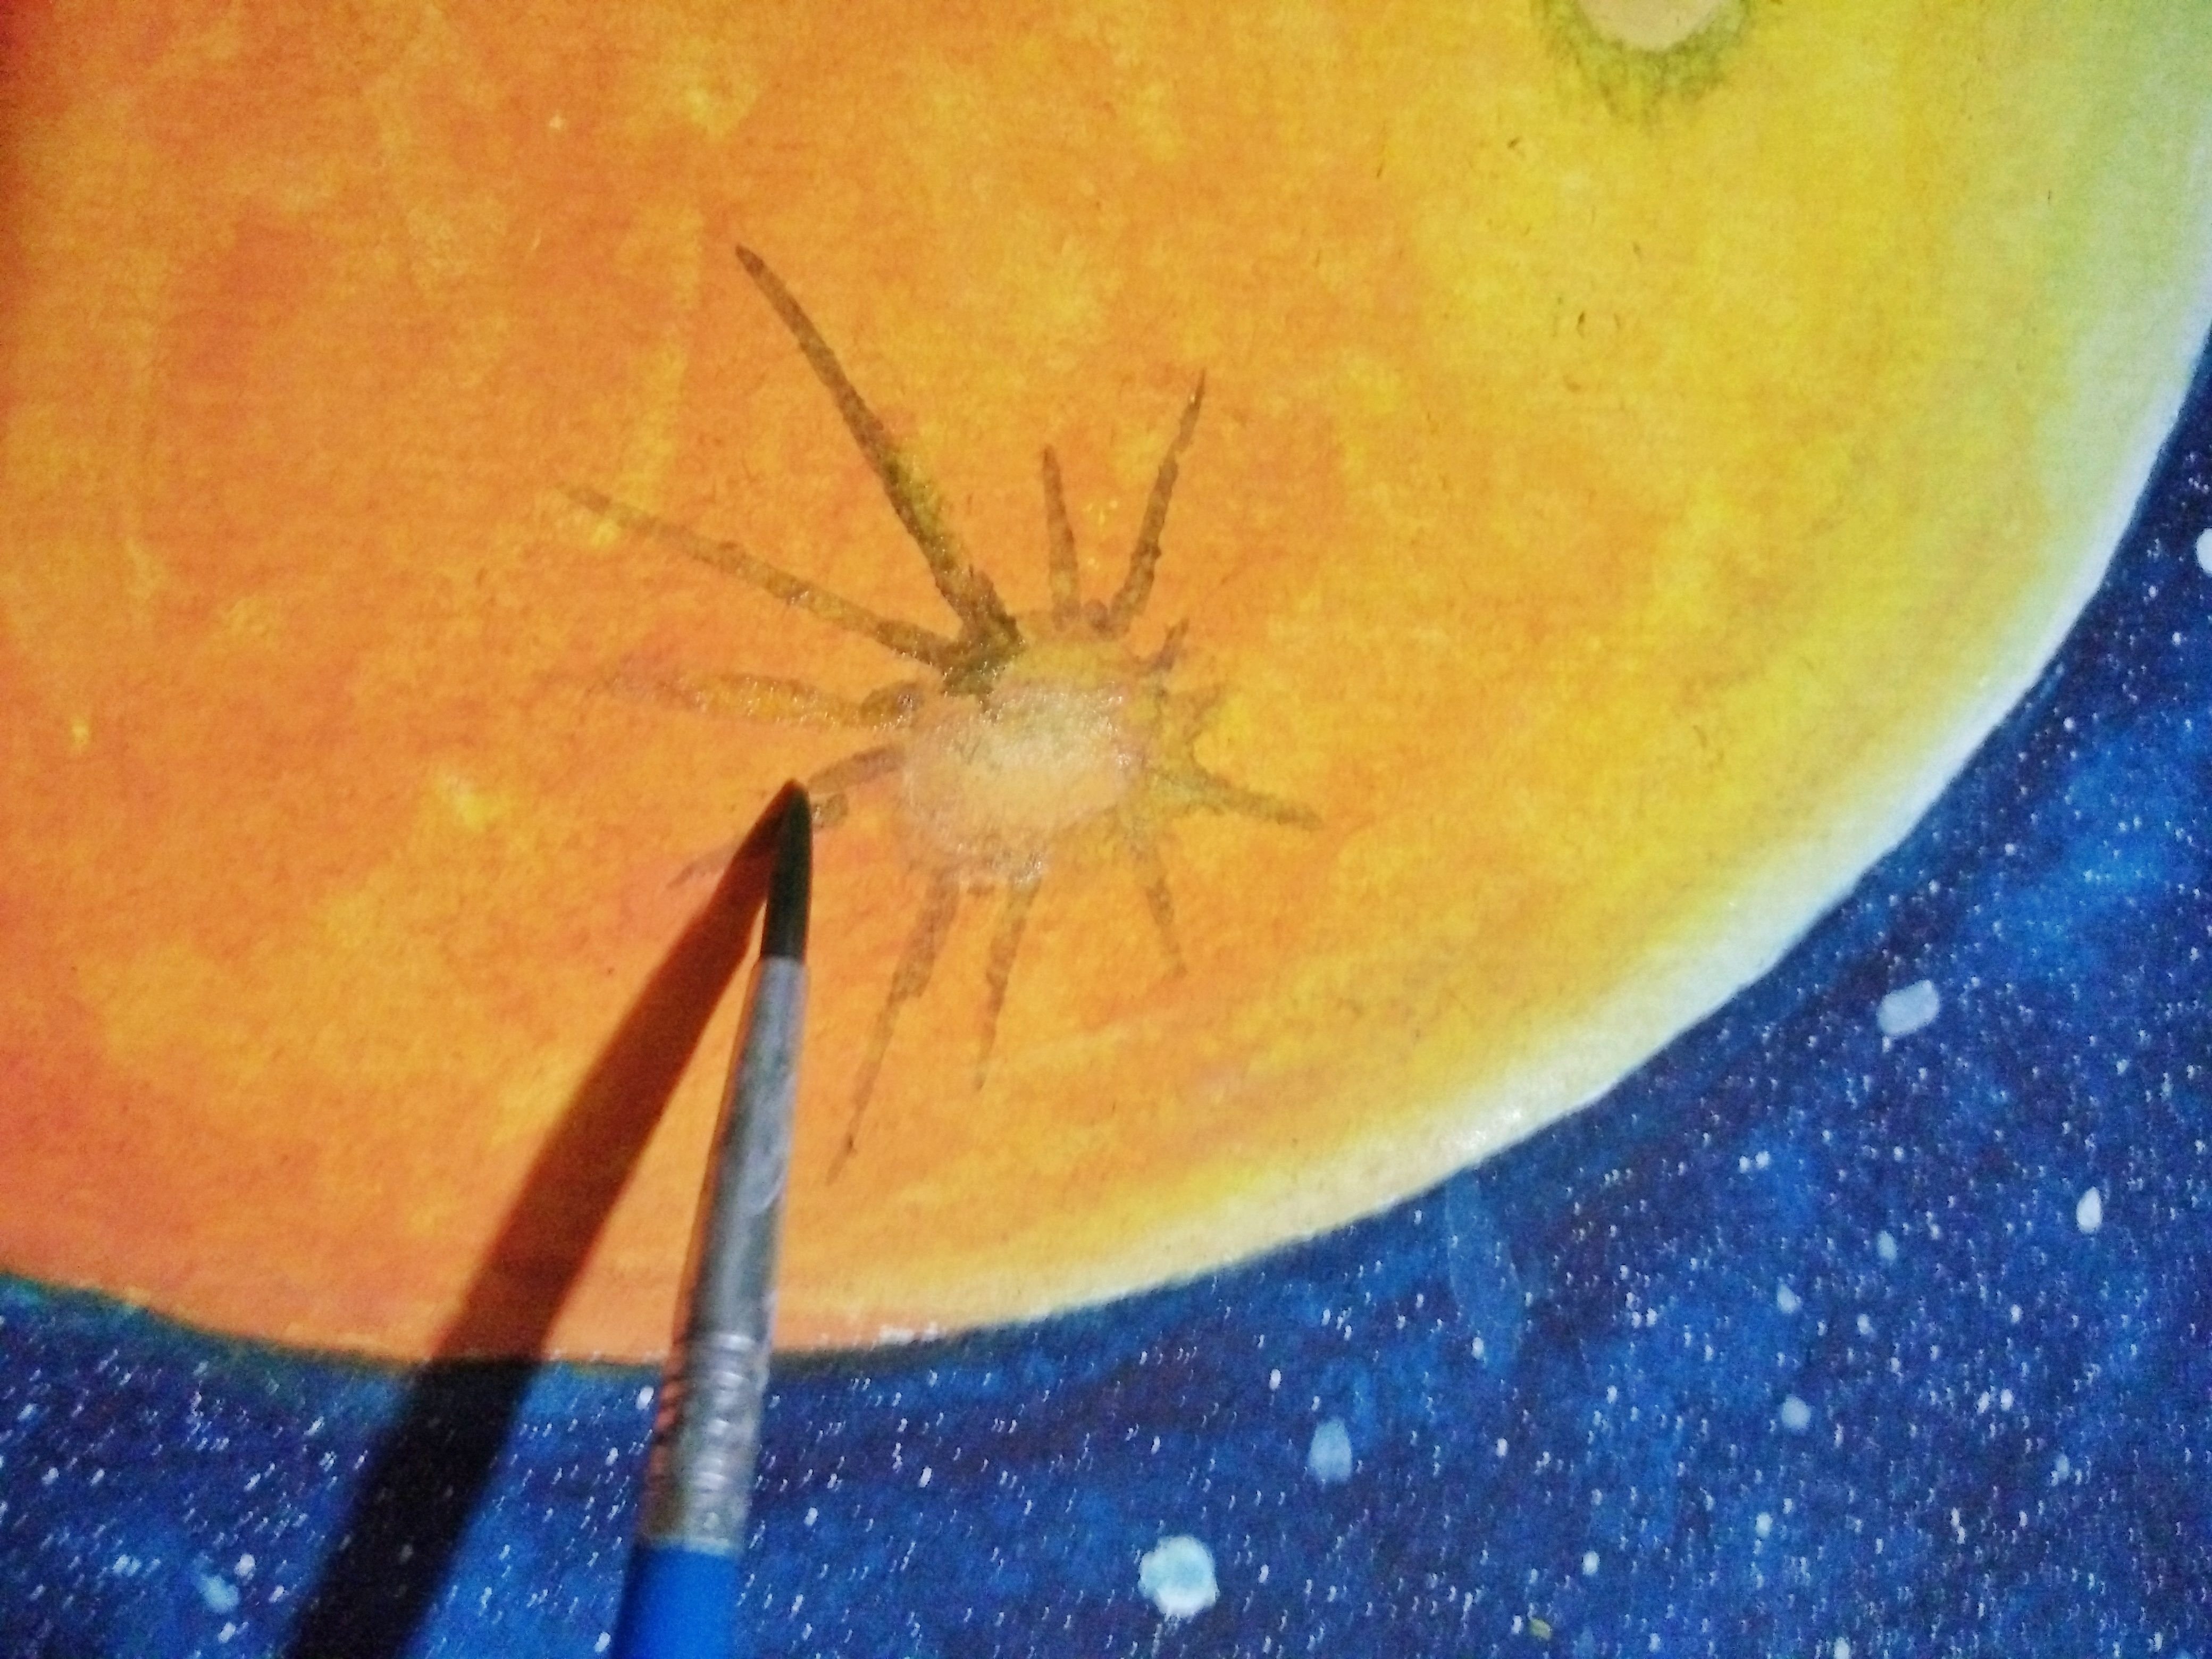
Add intricate details to the moon to make it more realistic.

Almost there!
Add freckles to the moon. Use the combination of light gray and light brown. (You can actually make it lighter by adding more water)
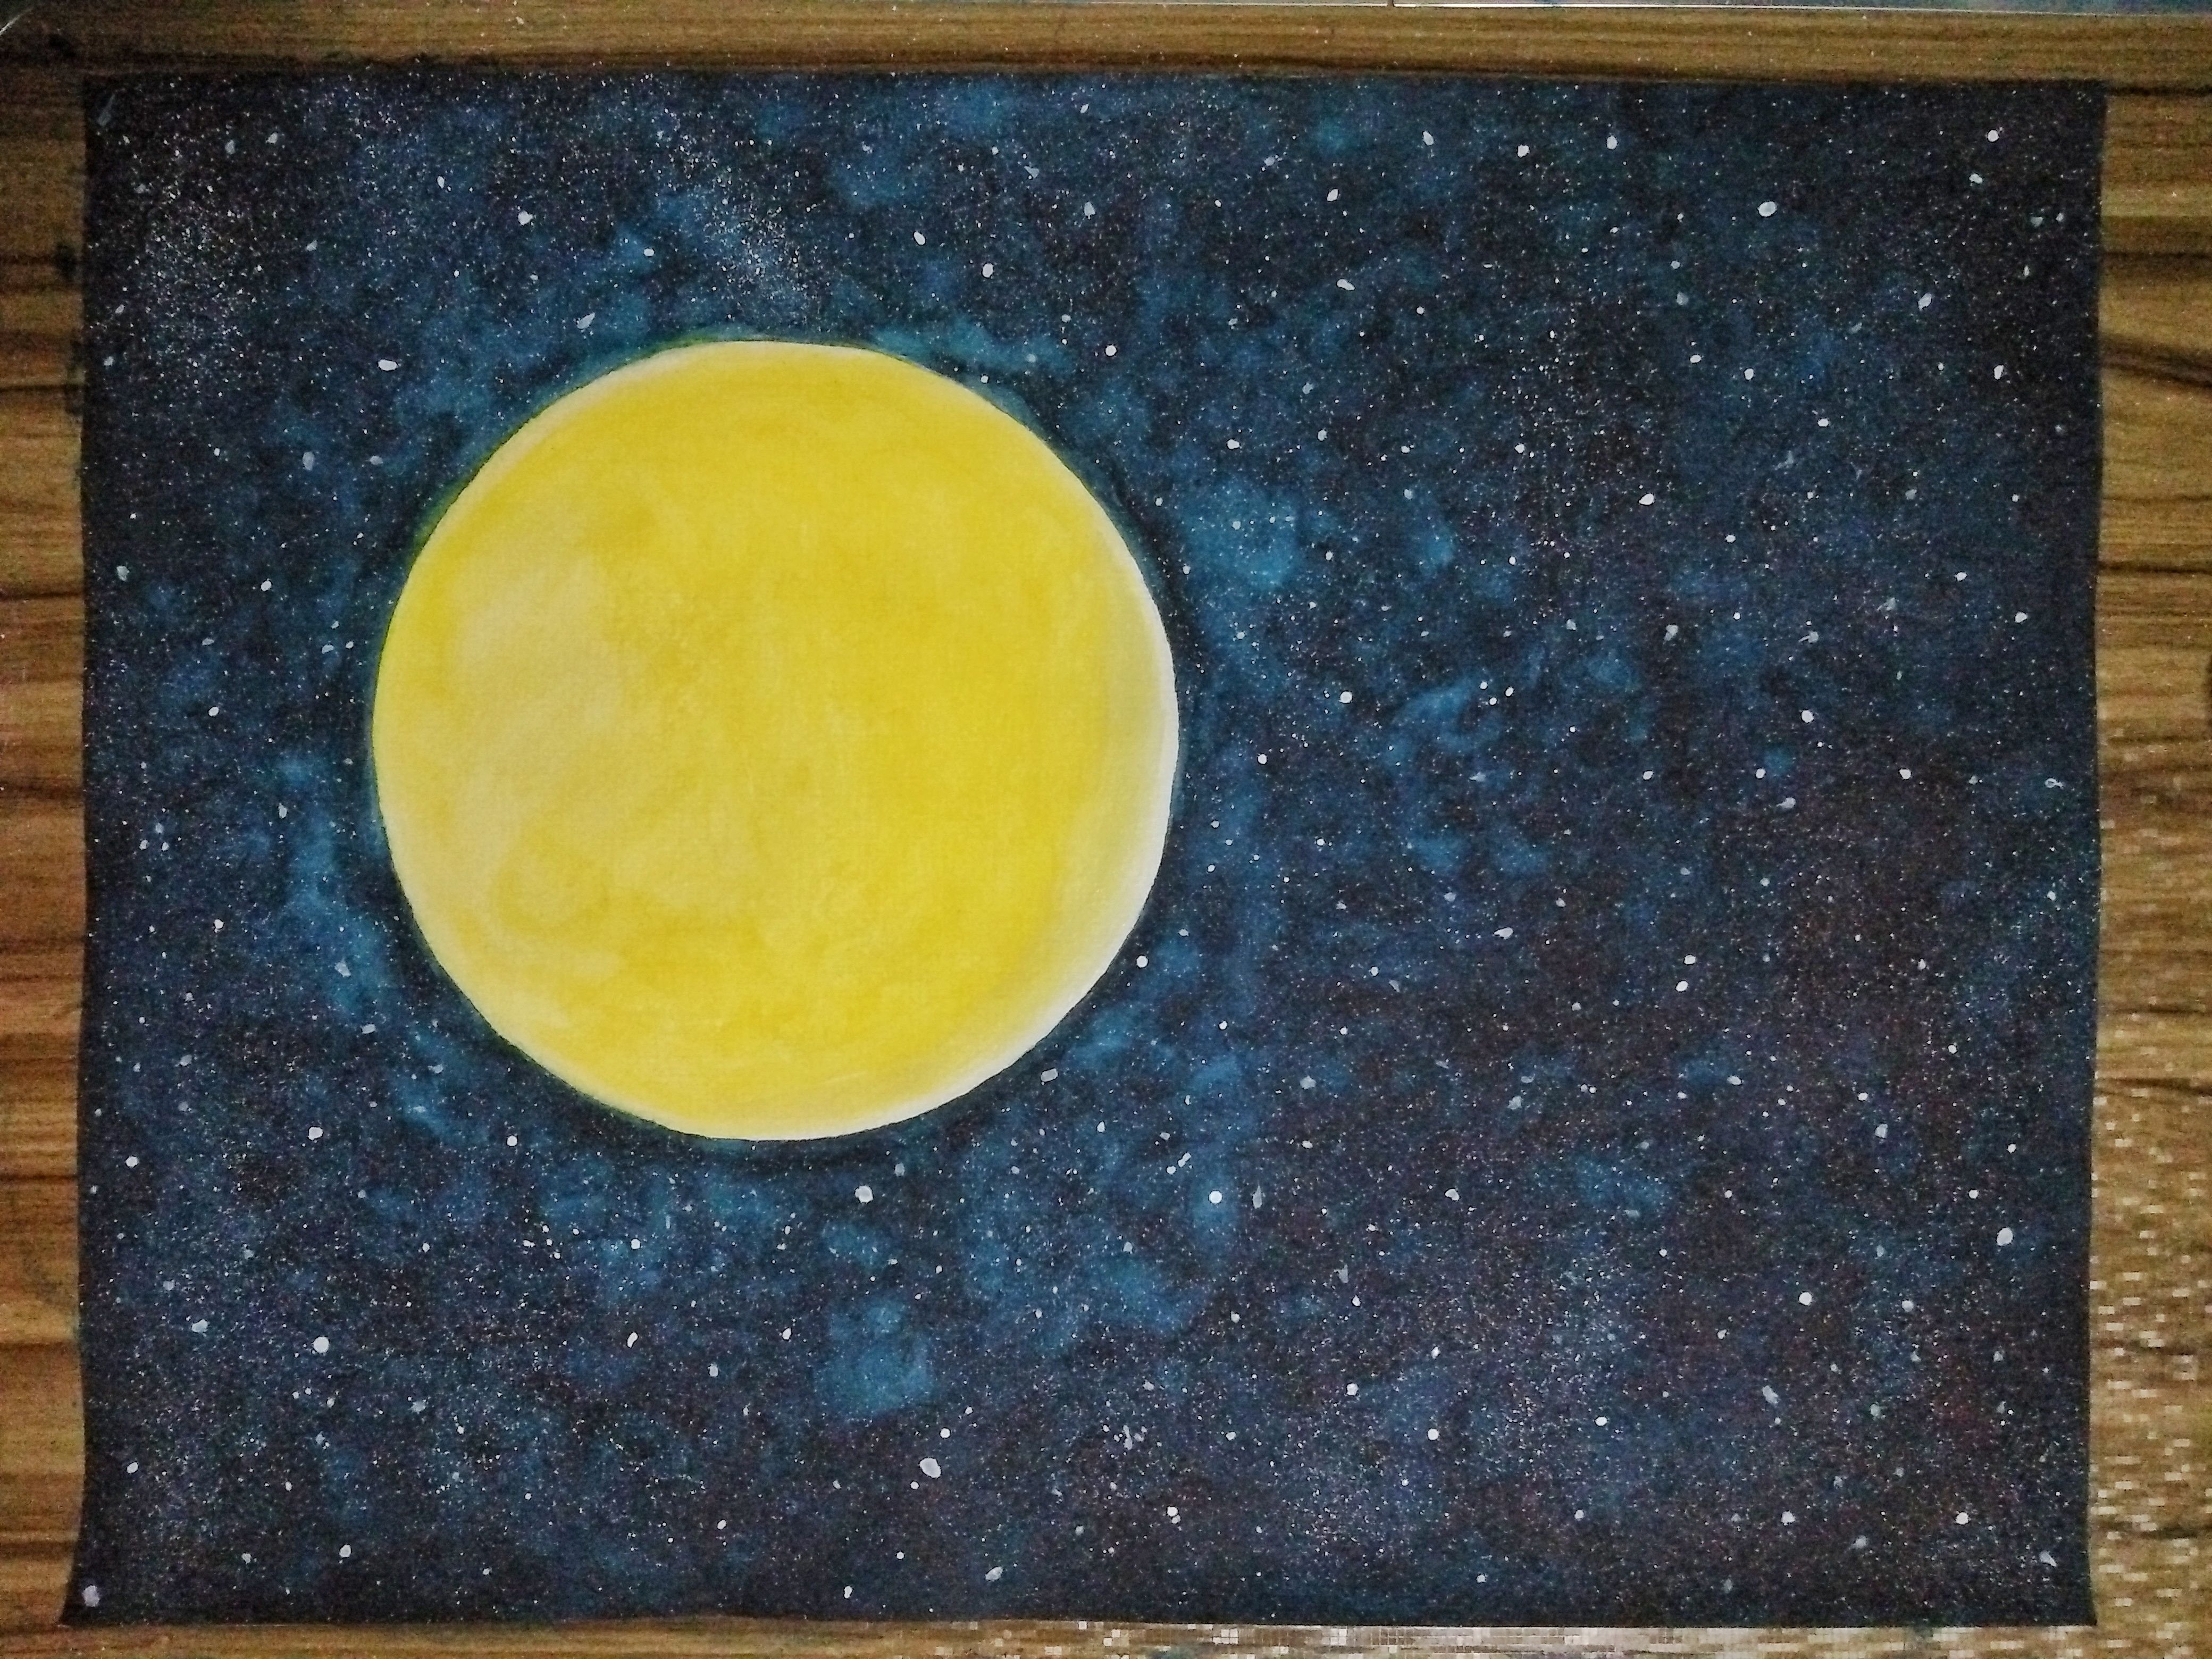
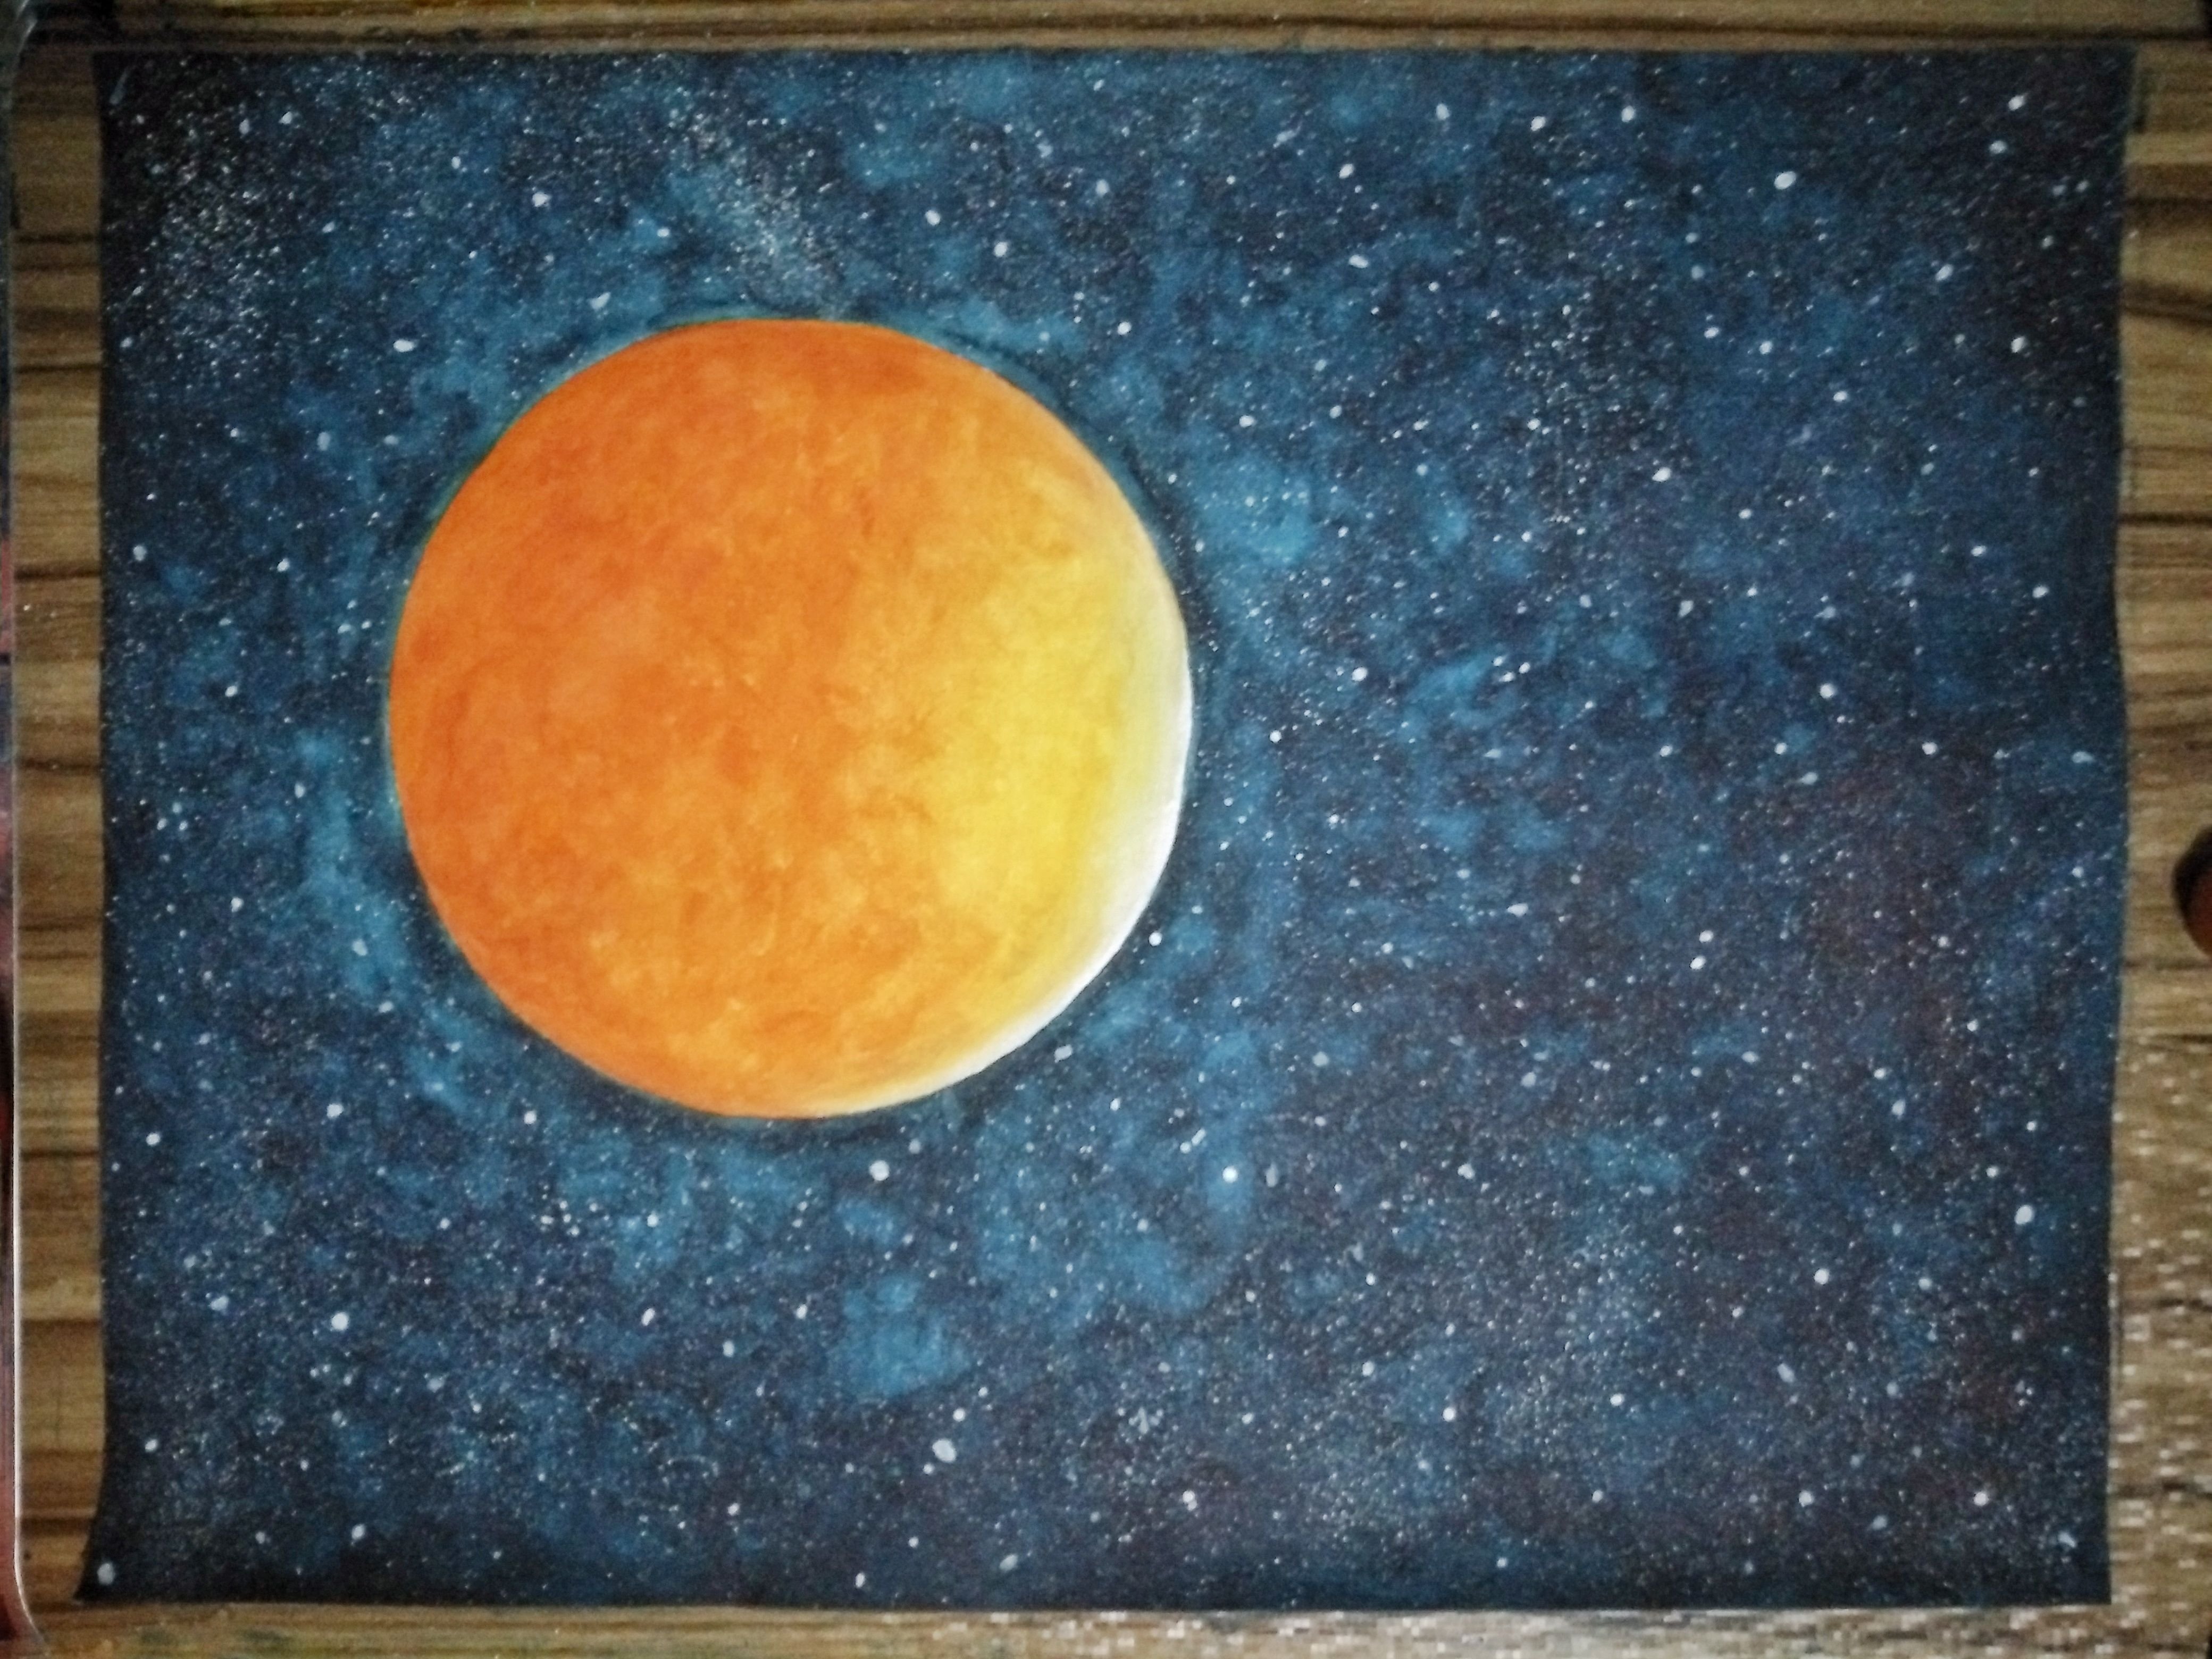
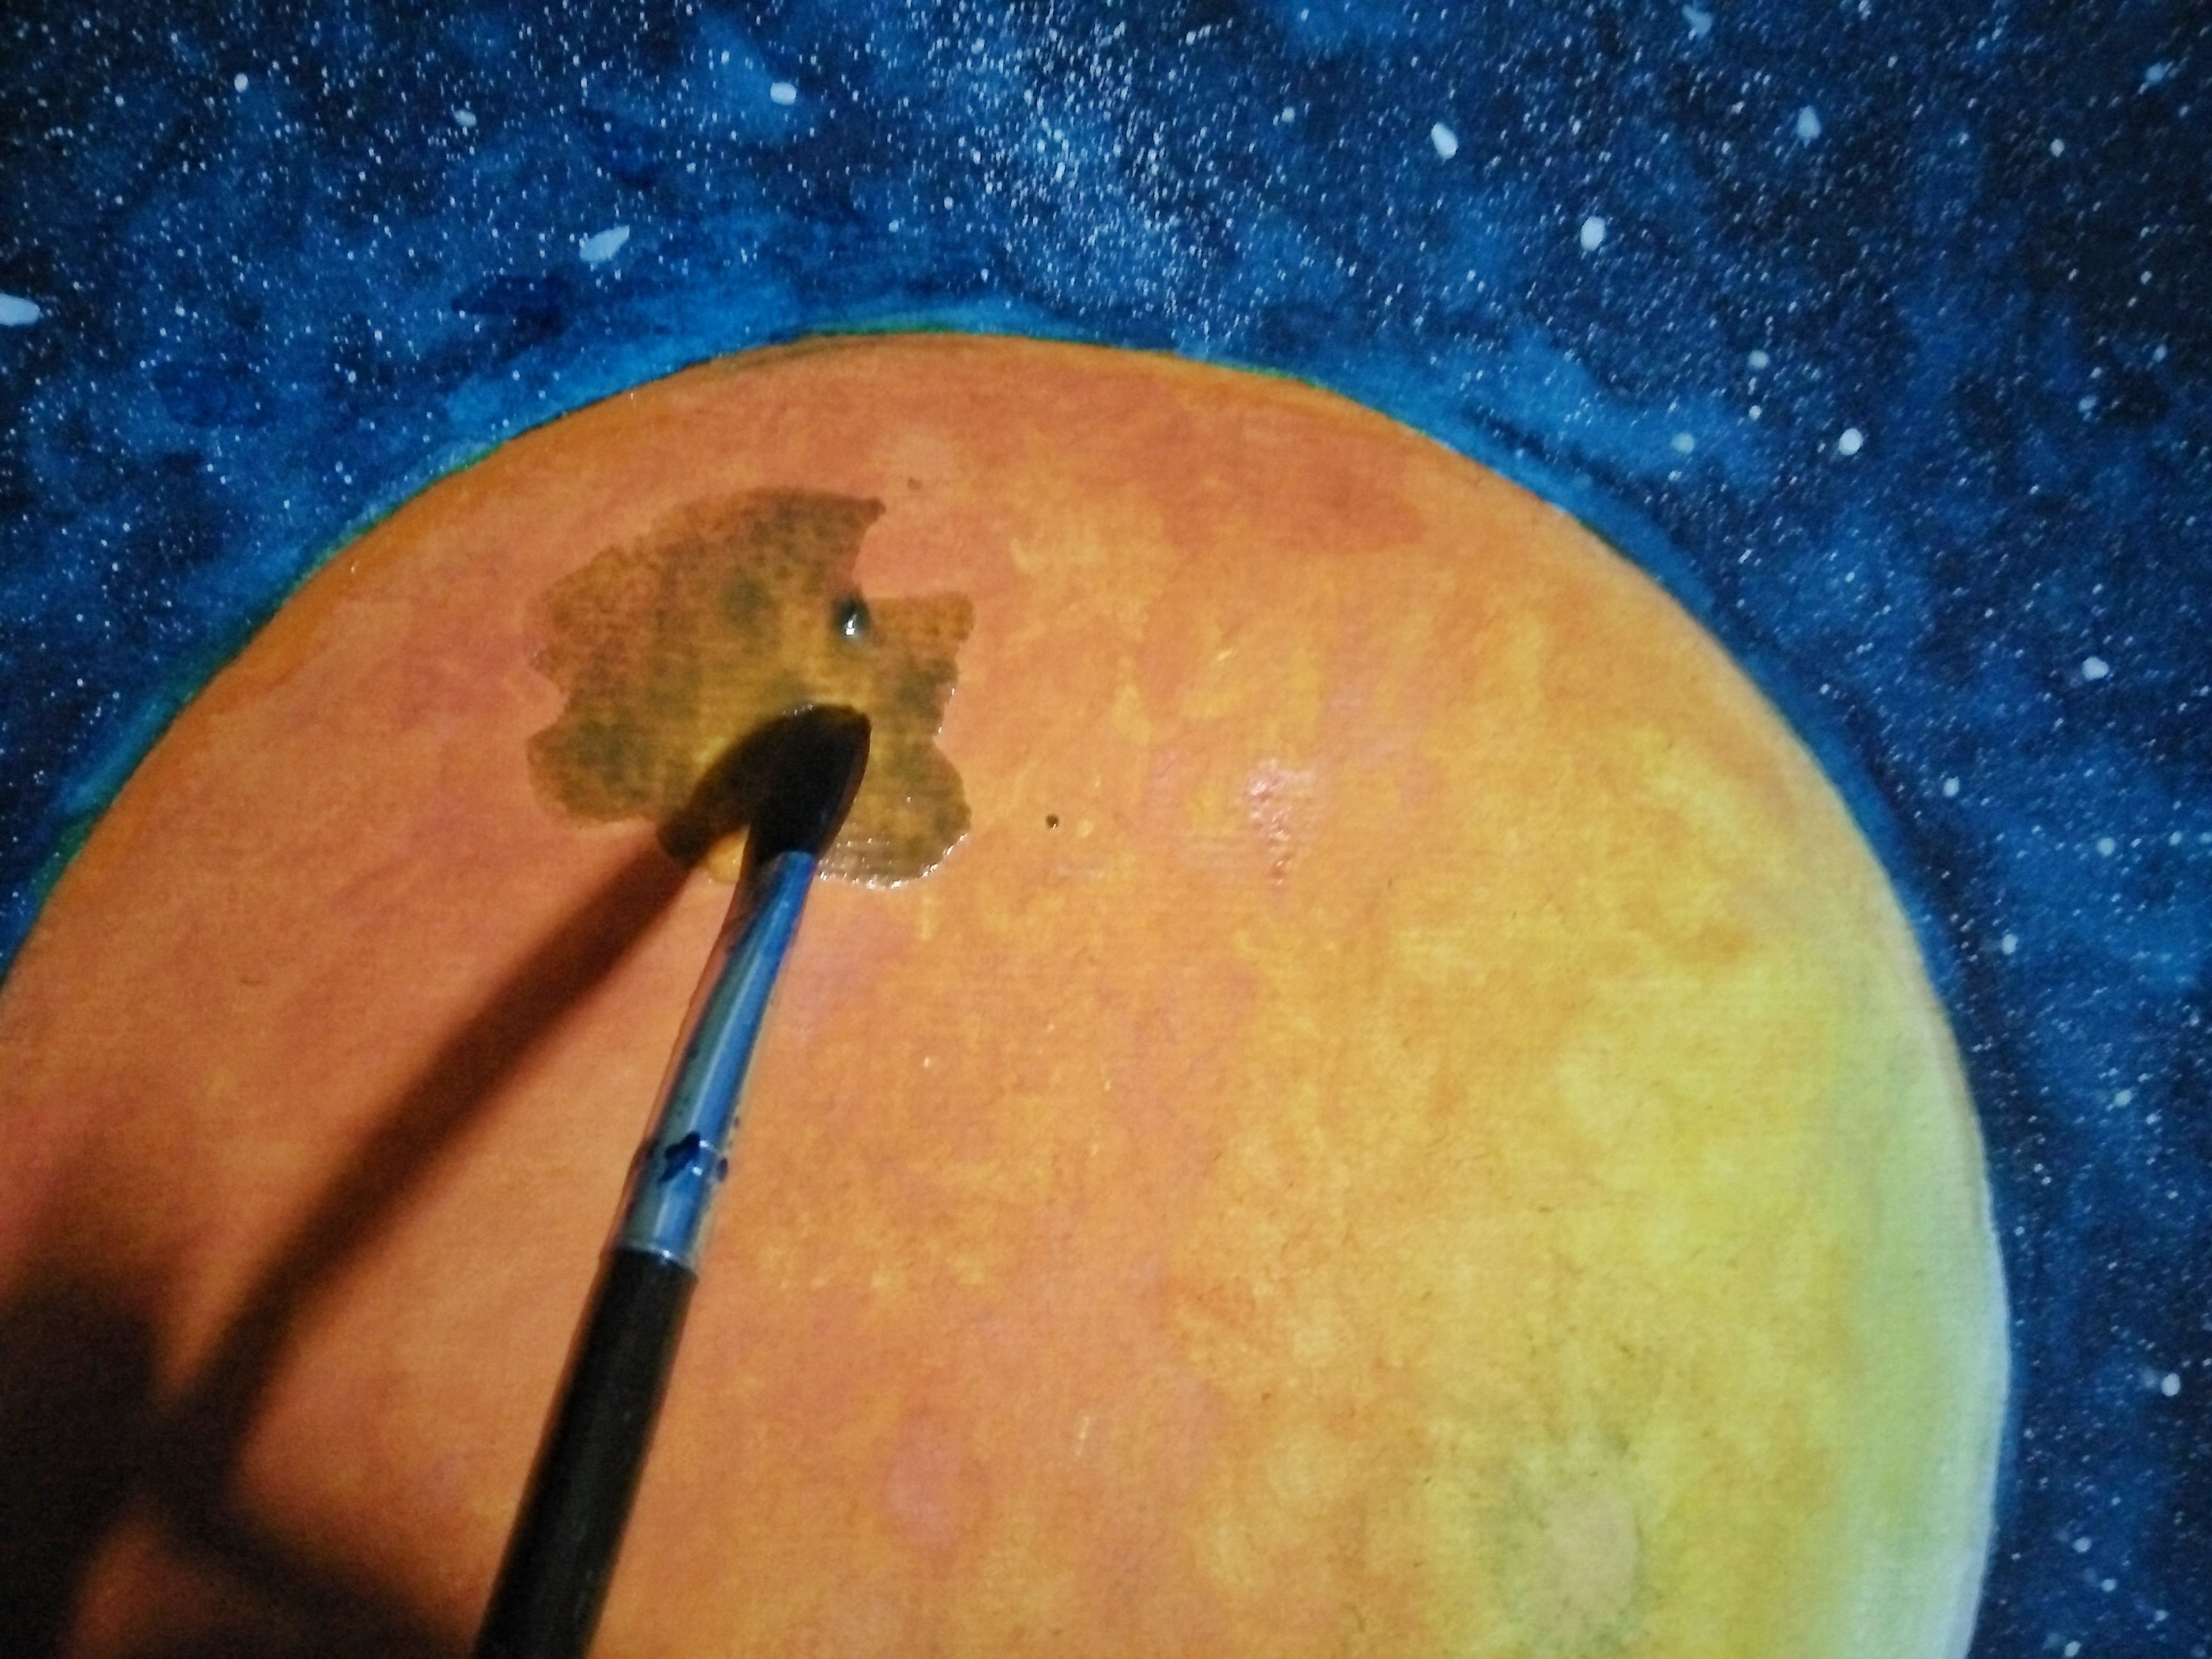
Clean all edges by masking it with white. And we are done!
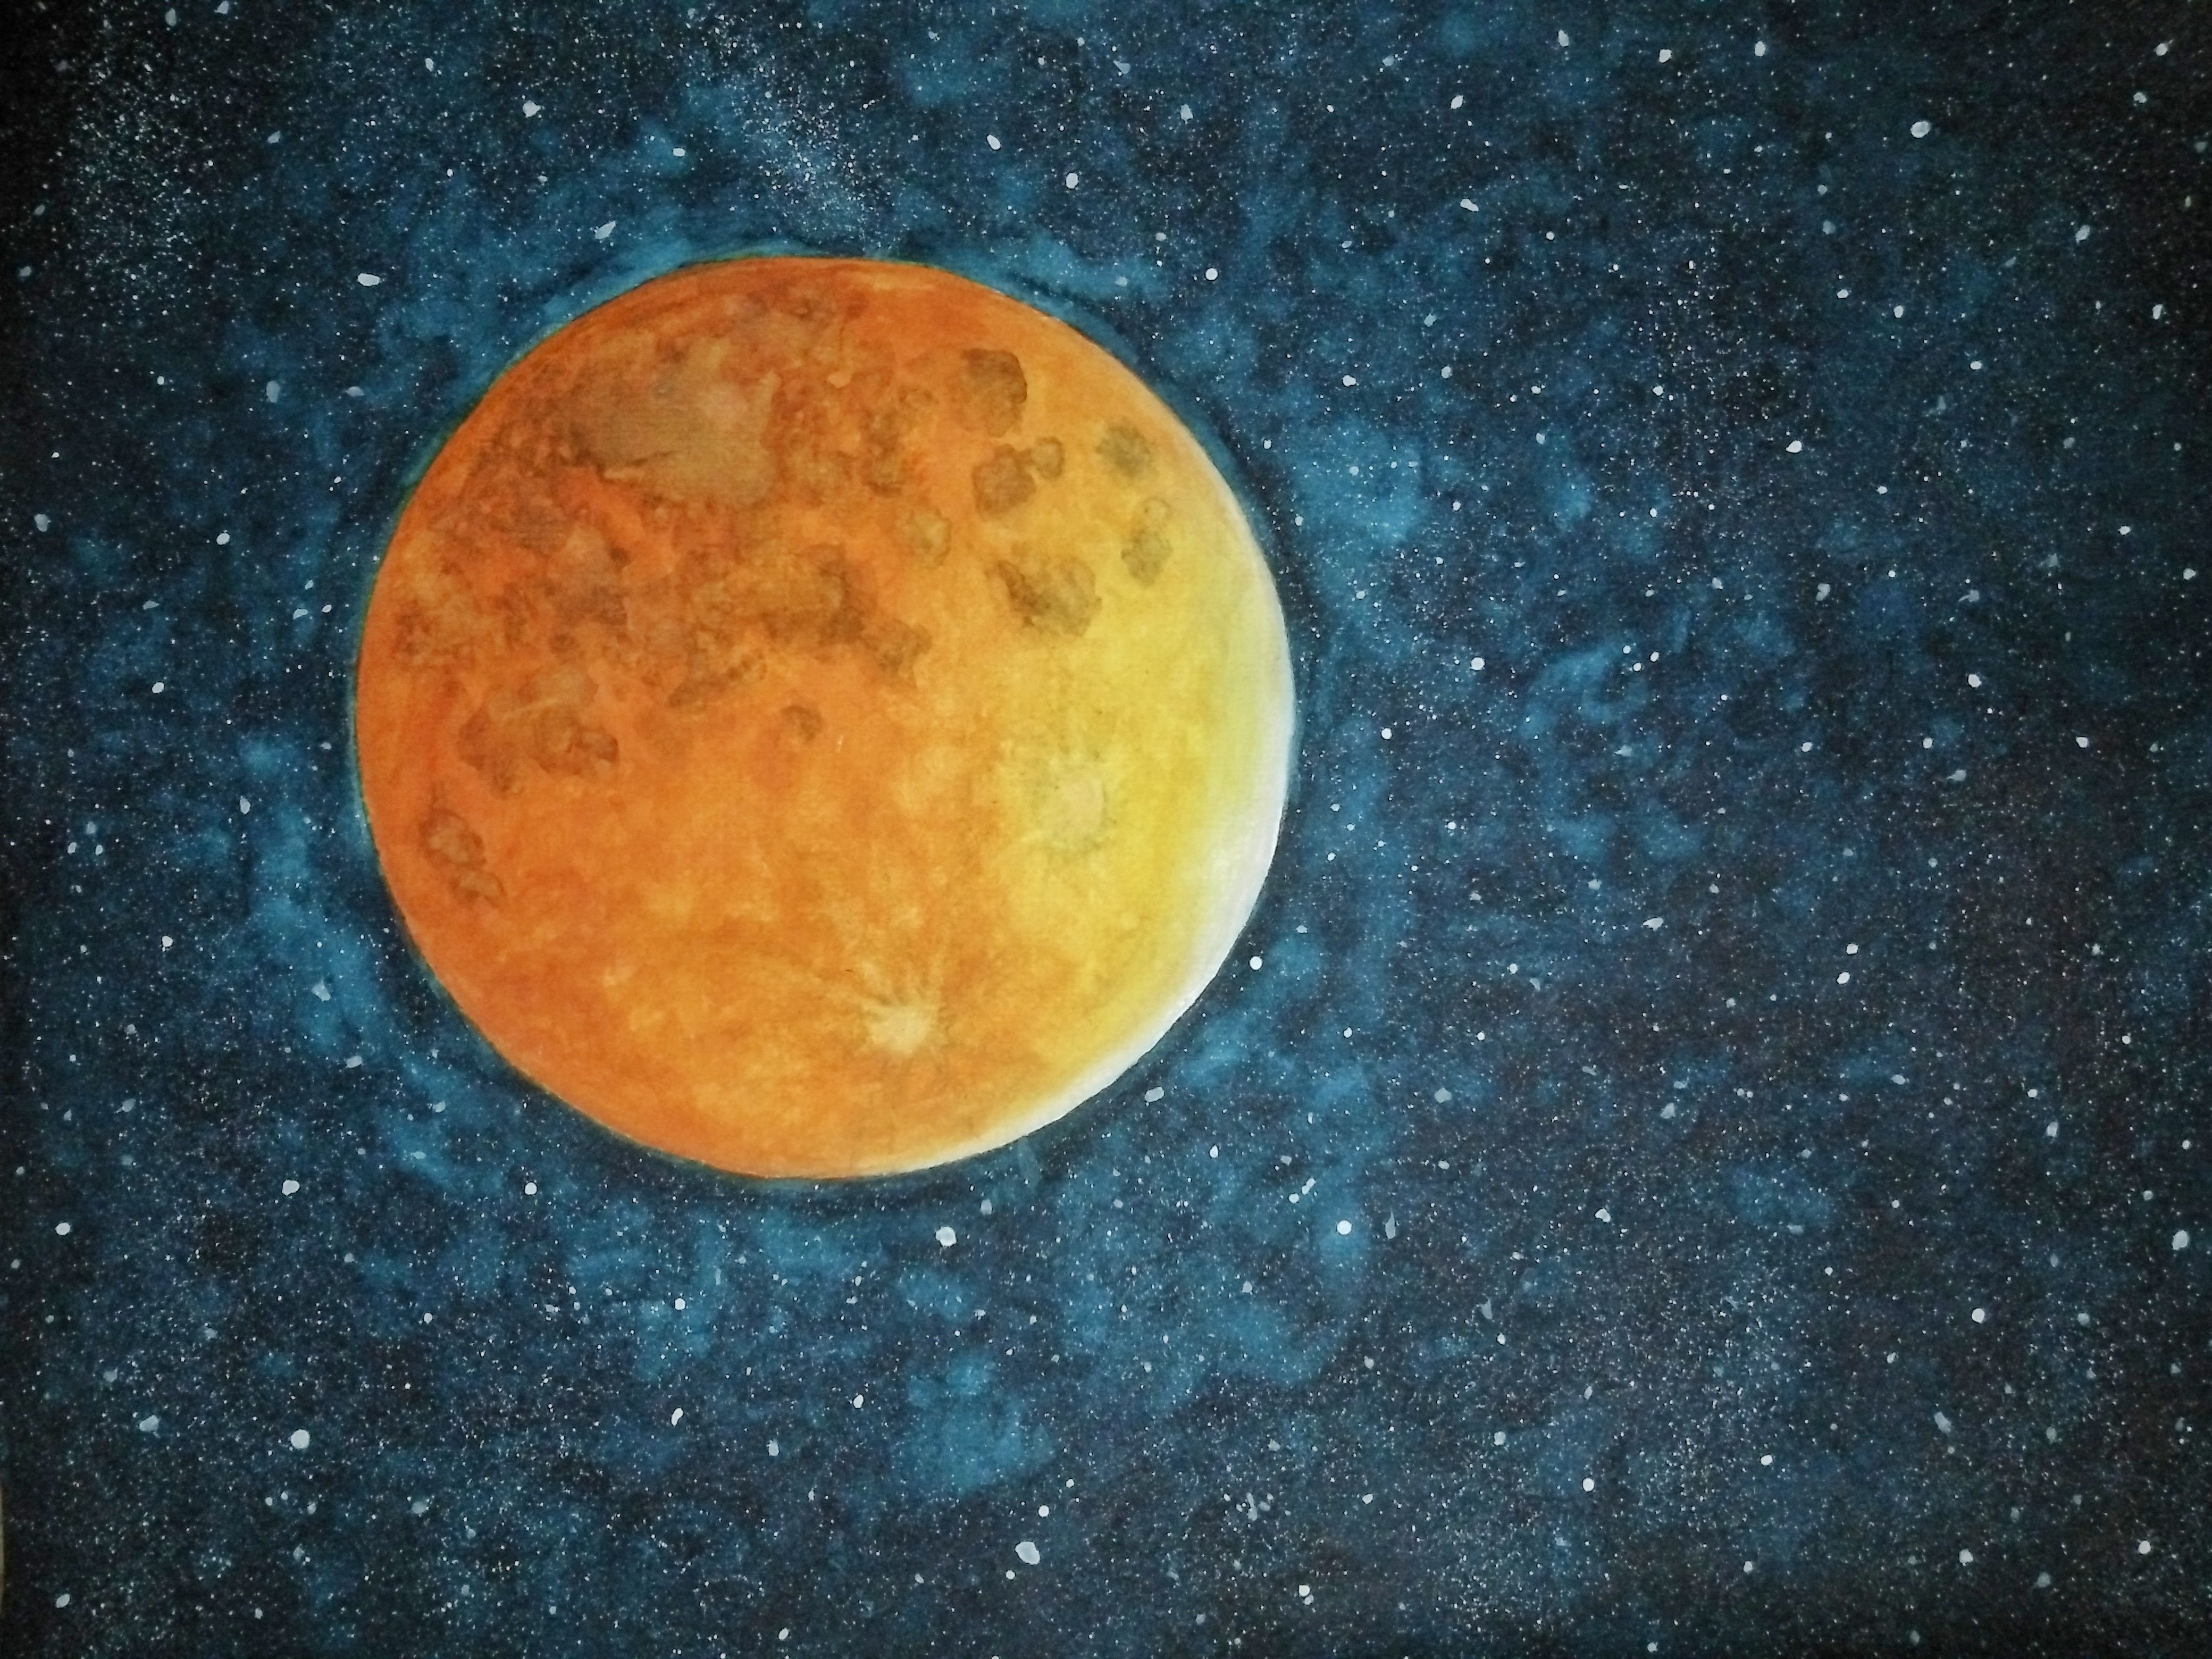
FINISHED PRODUCT!

Thank you very much and I hope you like it!
Please support the Smart Media Token @teardrop project by Sir @surpassinggoogle and follow https://www.facebook.com/teardropstokens on Facebook.
Please also support @surpassinggoogle as a witness by voting him at https://steemit.com/~witnesses and type in "steemgigs" at the first search box.
If you want to give him witness voting decisions on your behalf, visit https://steemit.com/~witnesses again and type in "surpassinggoogle" in the second box as a proxy.