Dear Steemians!
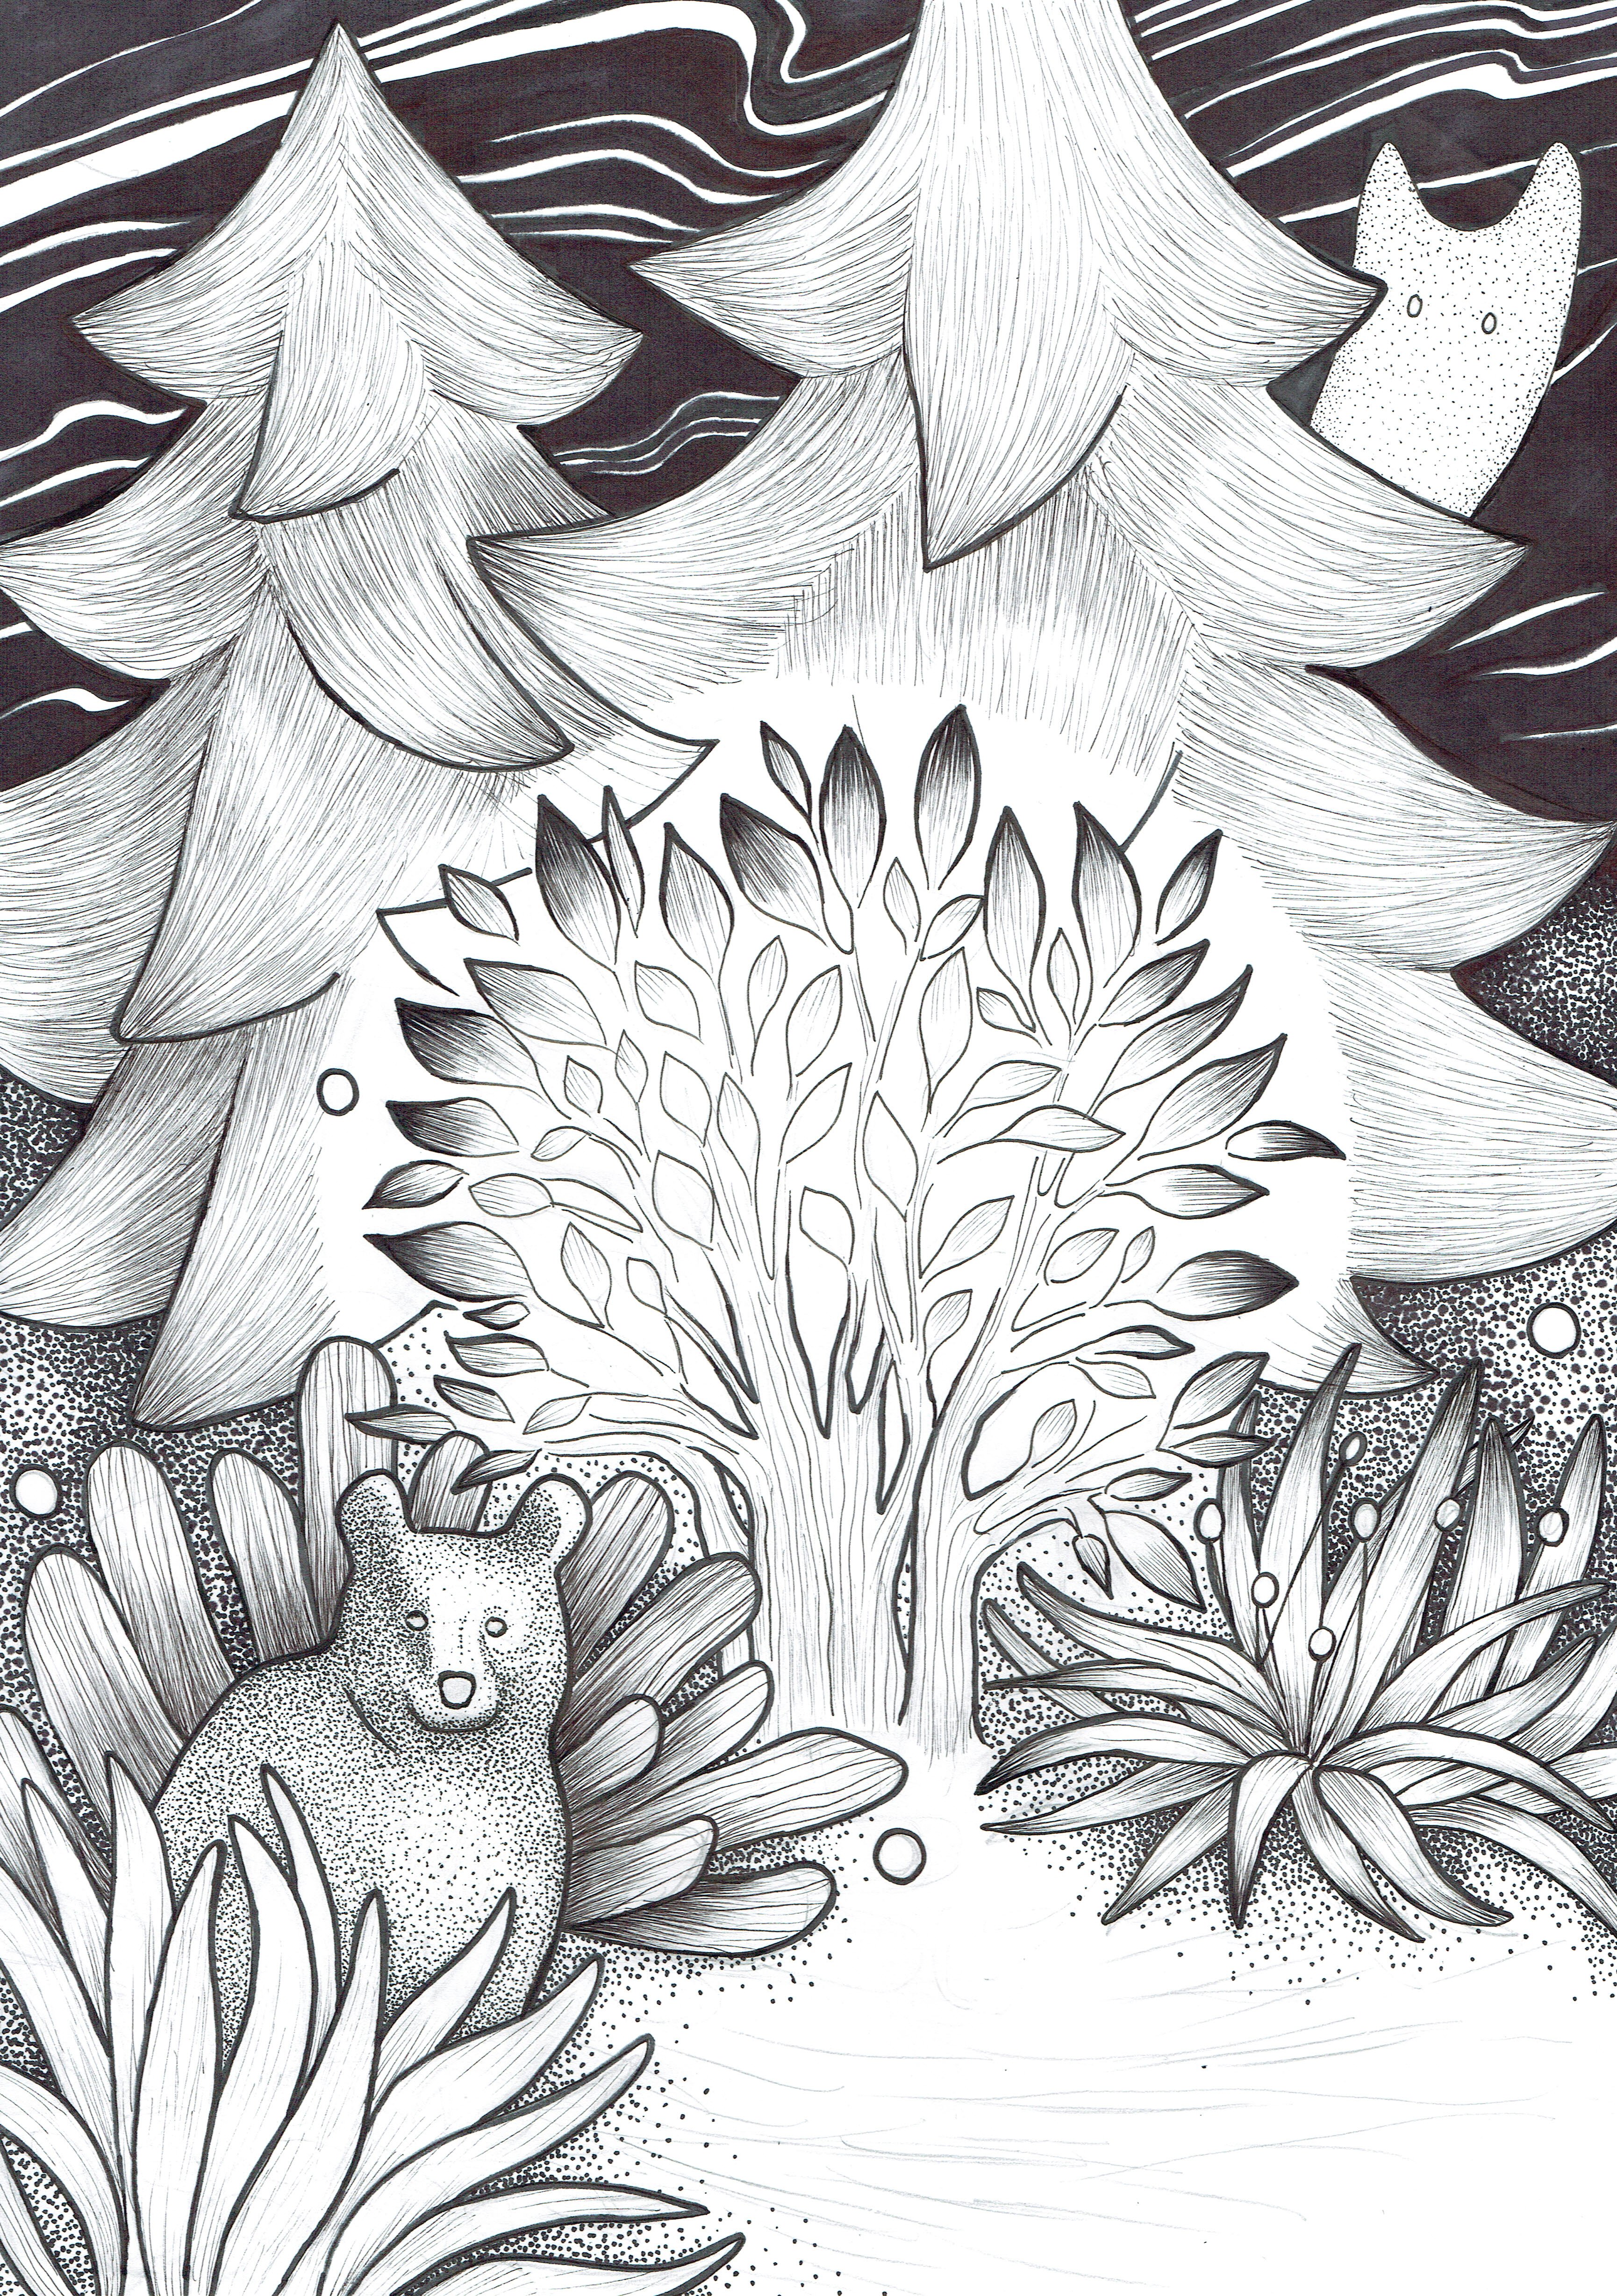
Here's a very special artwork to me. It is actually a portrait of someone I love. The bear is lost in the forest. Being lost is no fun, but the bear was able to find a powerful source in the darkness. The forest ghost witnesses this unexpected and miraculous discovery.
This artwork is also an entry for ART EXPLOSION WEEK 20: Theme POWER organised by @juliakponsford, I love this initiative and wanted to become a part of it! The light symbolizes power in my artworks, amongst many other things, so the theme of the contest was a very lucky coincidence for me!
Here's my finished piece:
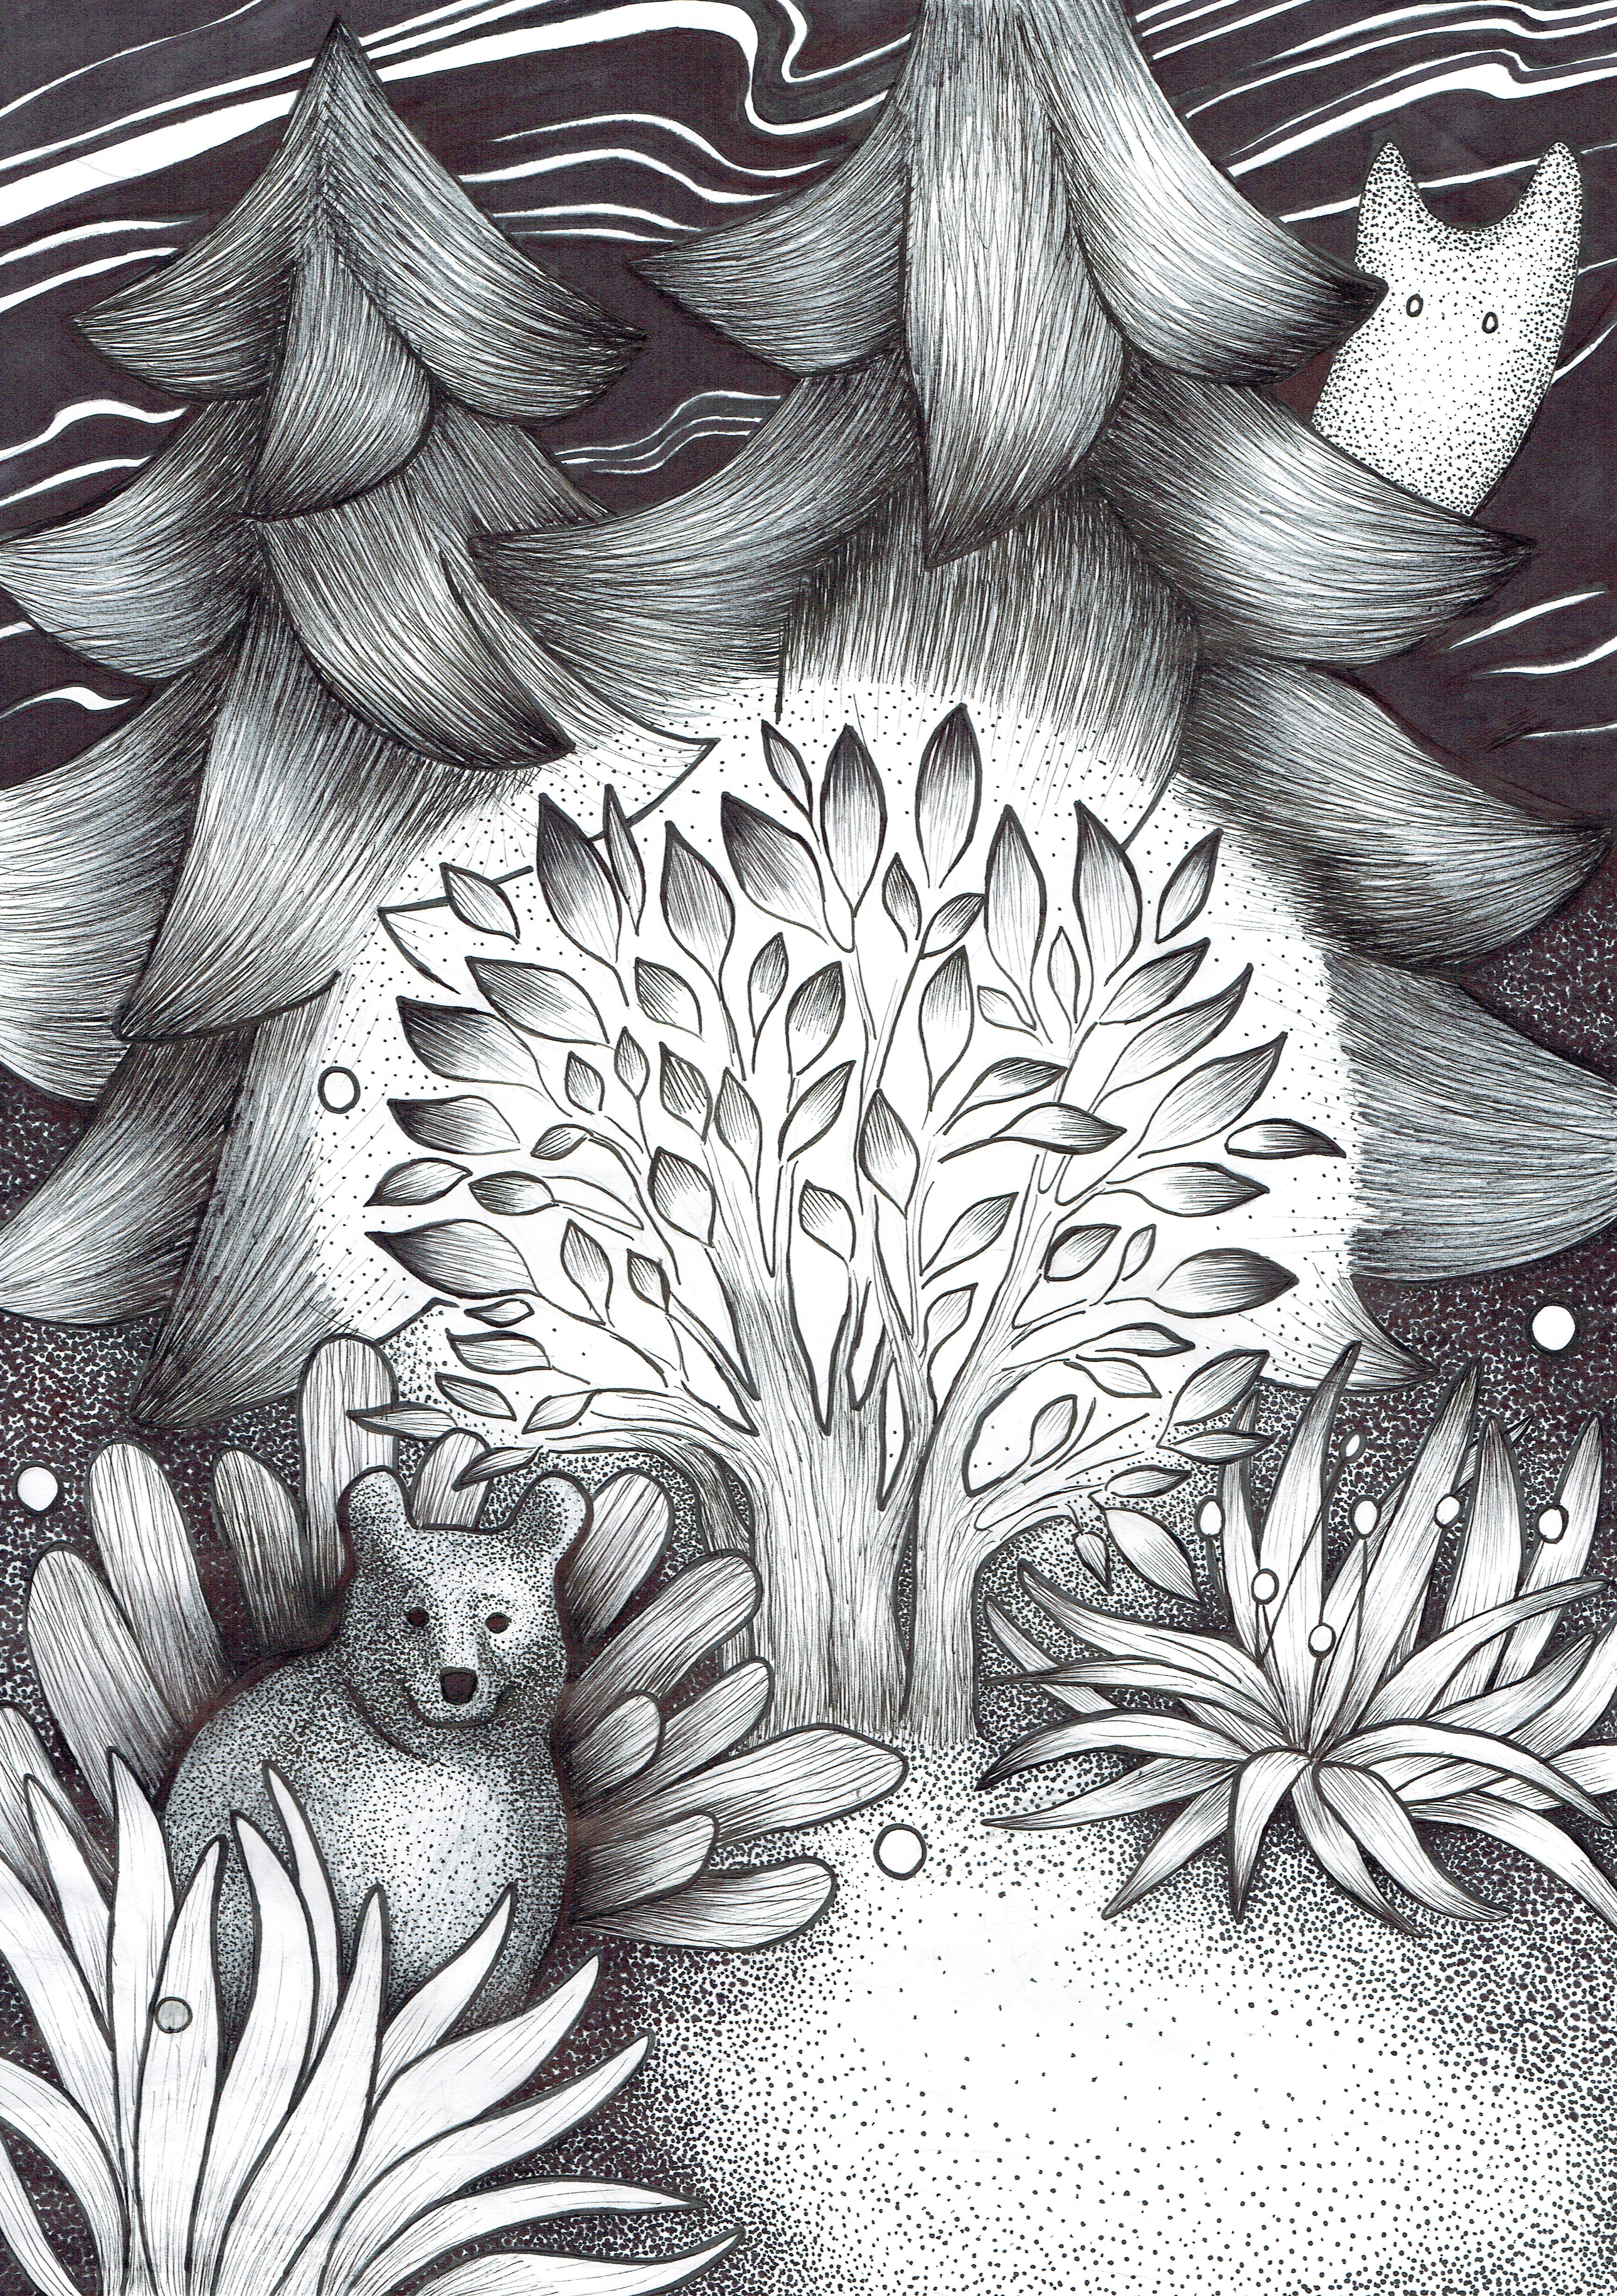
Pen and ink on paper, 29,7 x 42 cm
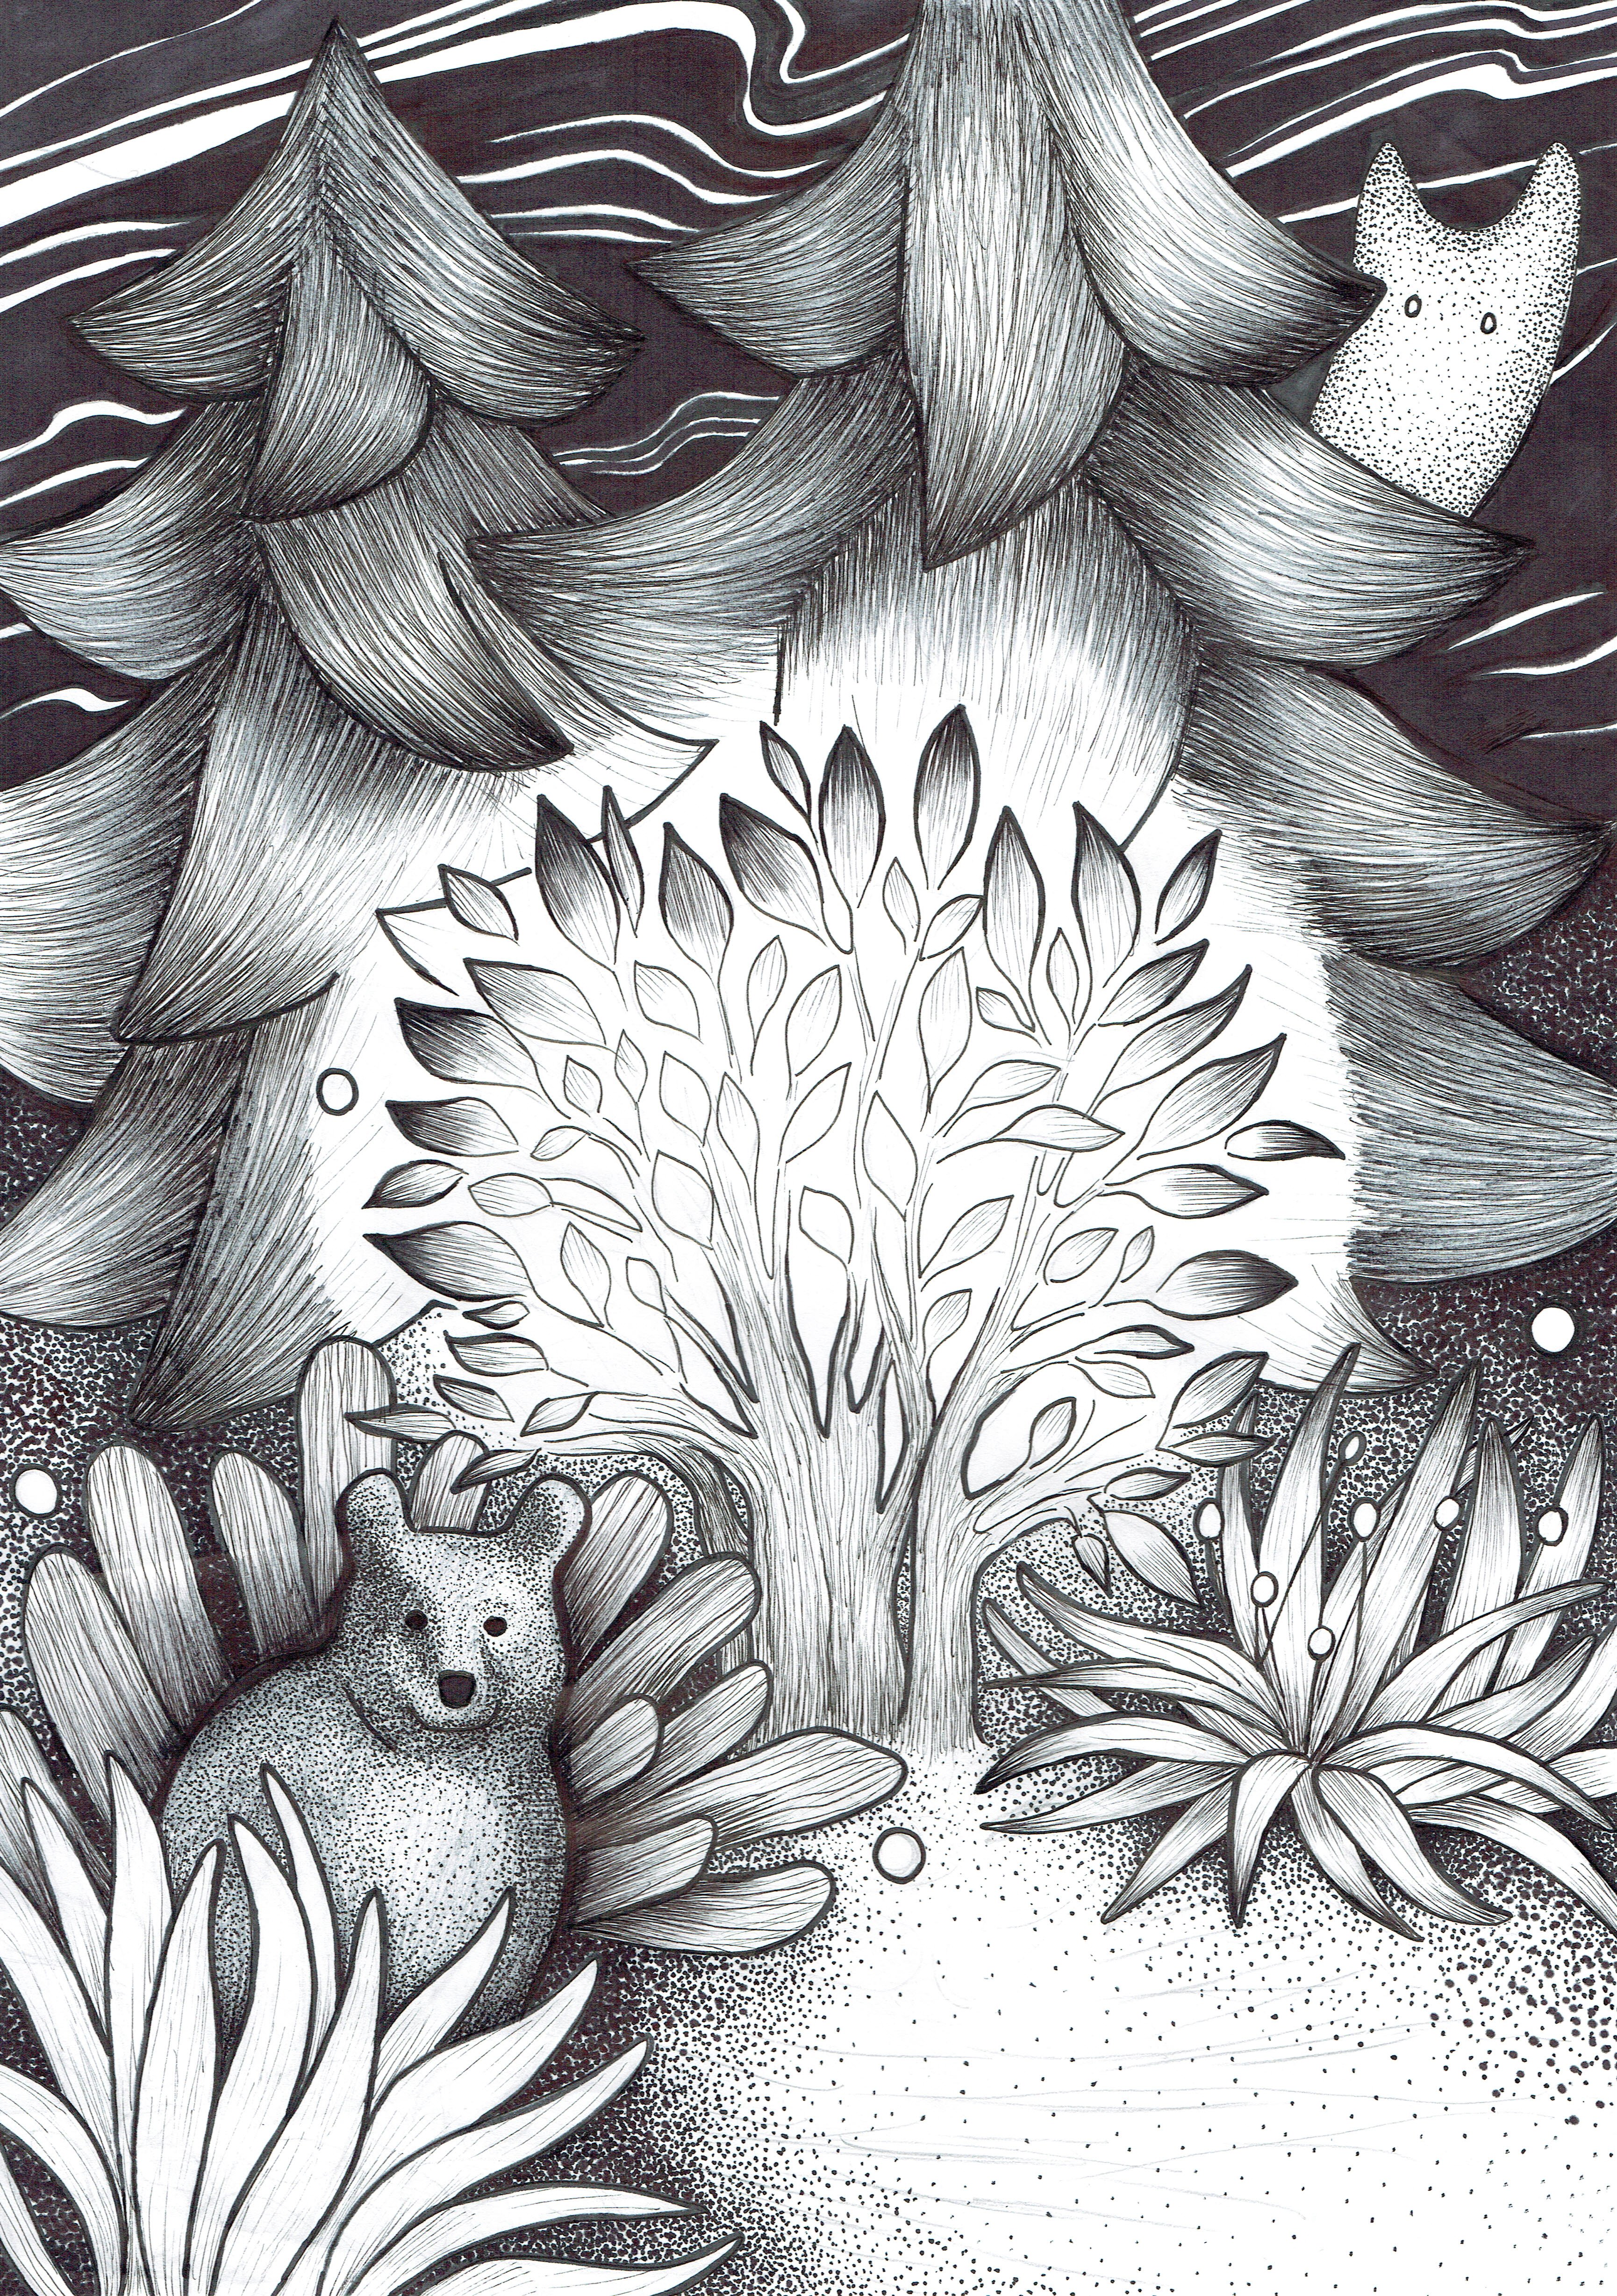
The progress step by step
Working on this piece took me a lot of time, I think I'm putting pressure on myself to create something spectacular for Steemit and it turns out to be completely counterproductive (e. g. I'm overdoing the piece).
Can you relate? Please tell me in the comments, I would love to know more about your experience! :)
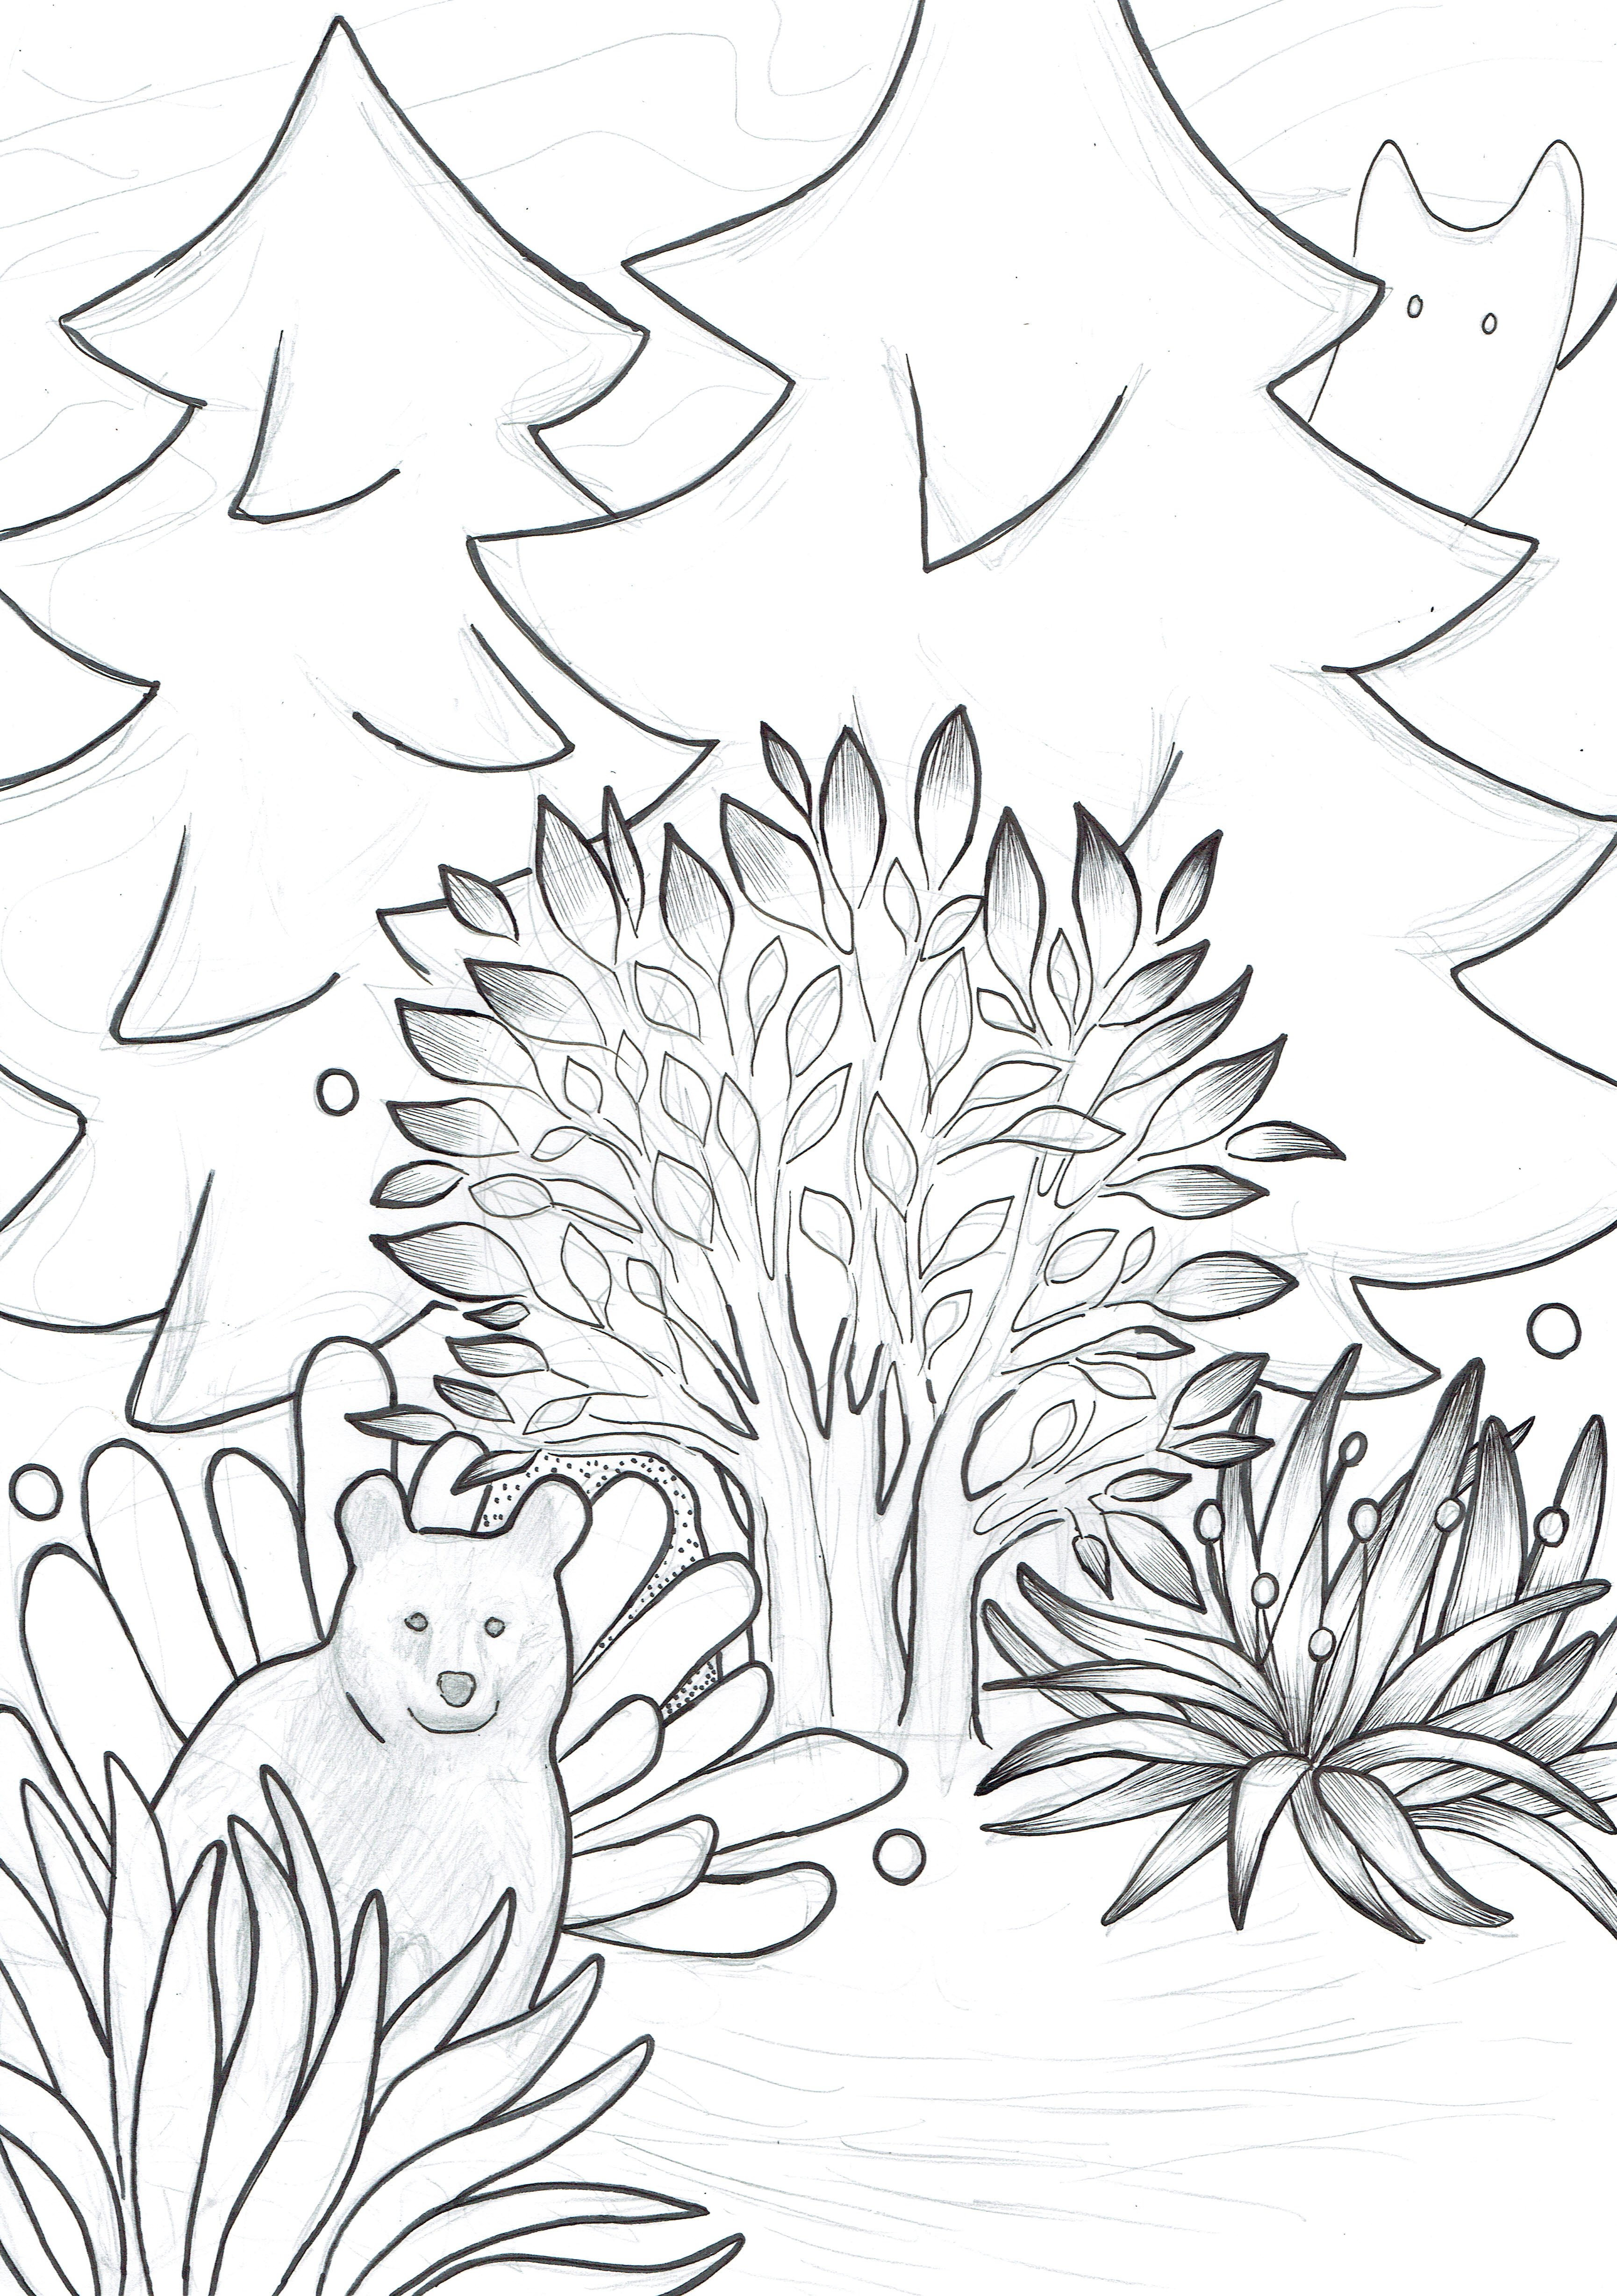
I started with a sketch to decide where to place different objects so that the composition would be nice. The toughest part was the bear, who was extremely difficult to draw only with outlines, that's why I added a bit of shading.
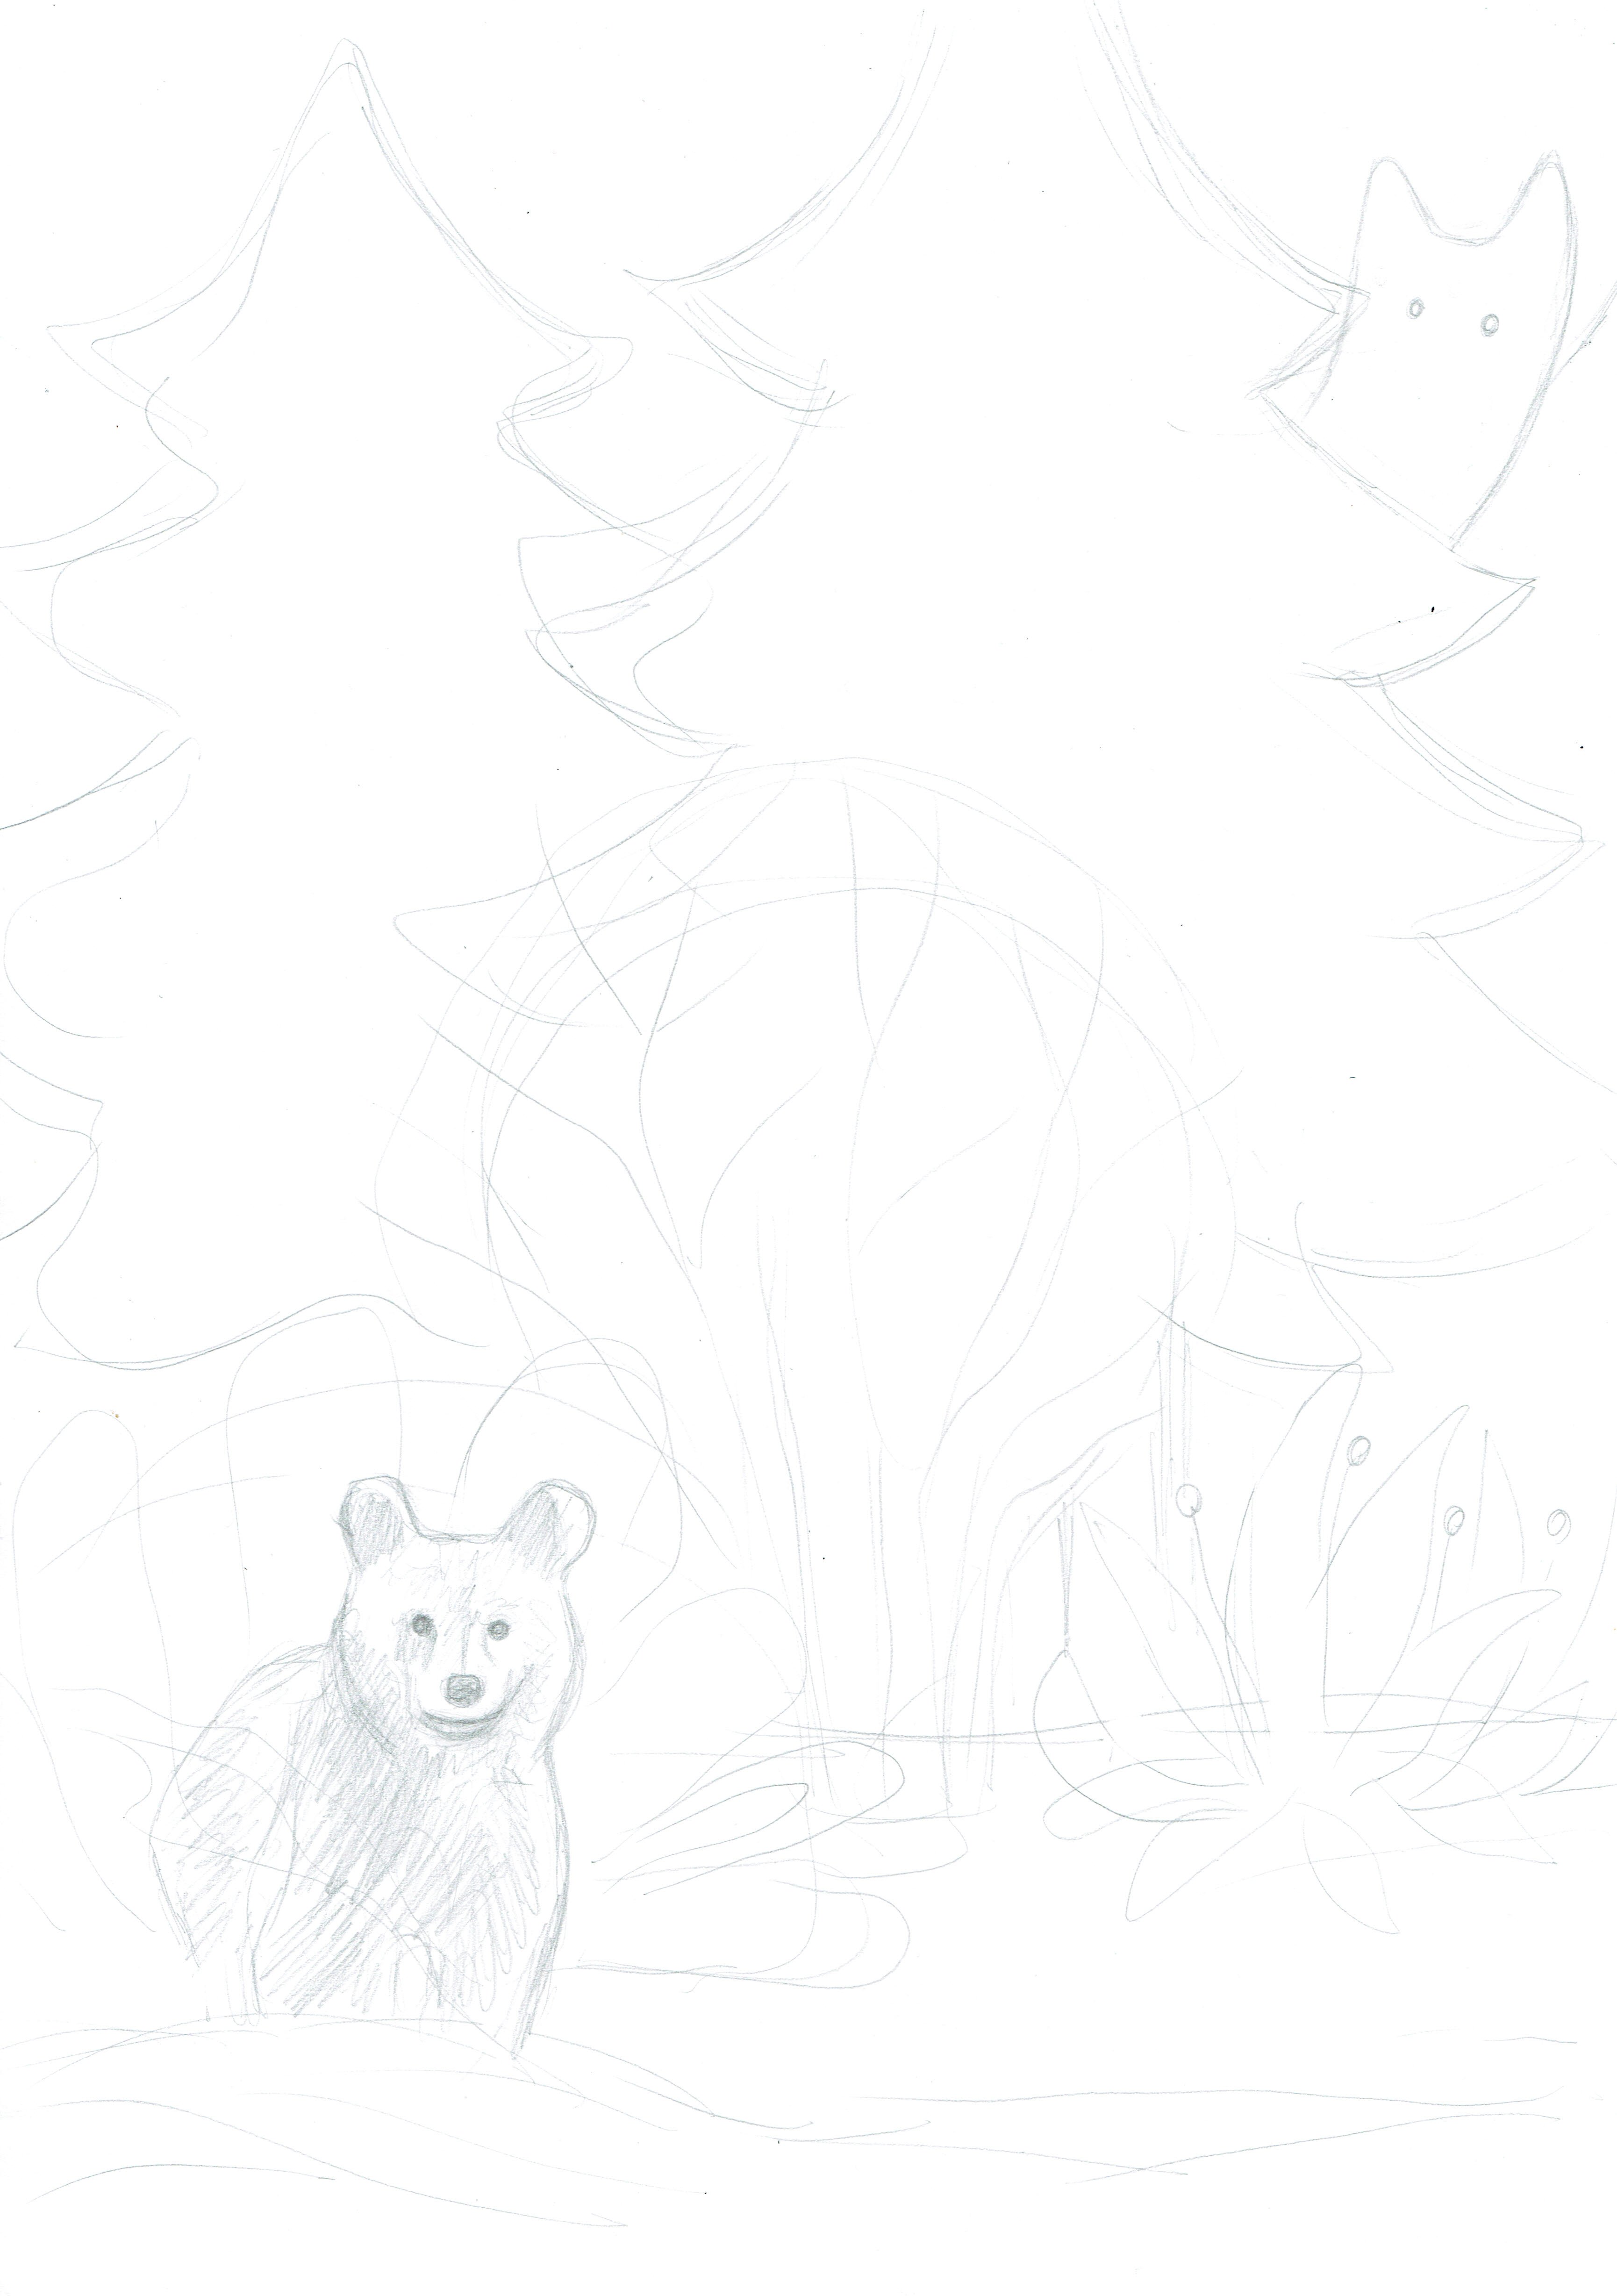
Here you can see the rough outlines changing into a complete sketch, all the leaves and other features are visible and in their final shape.
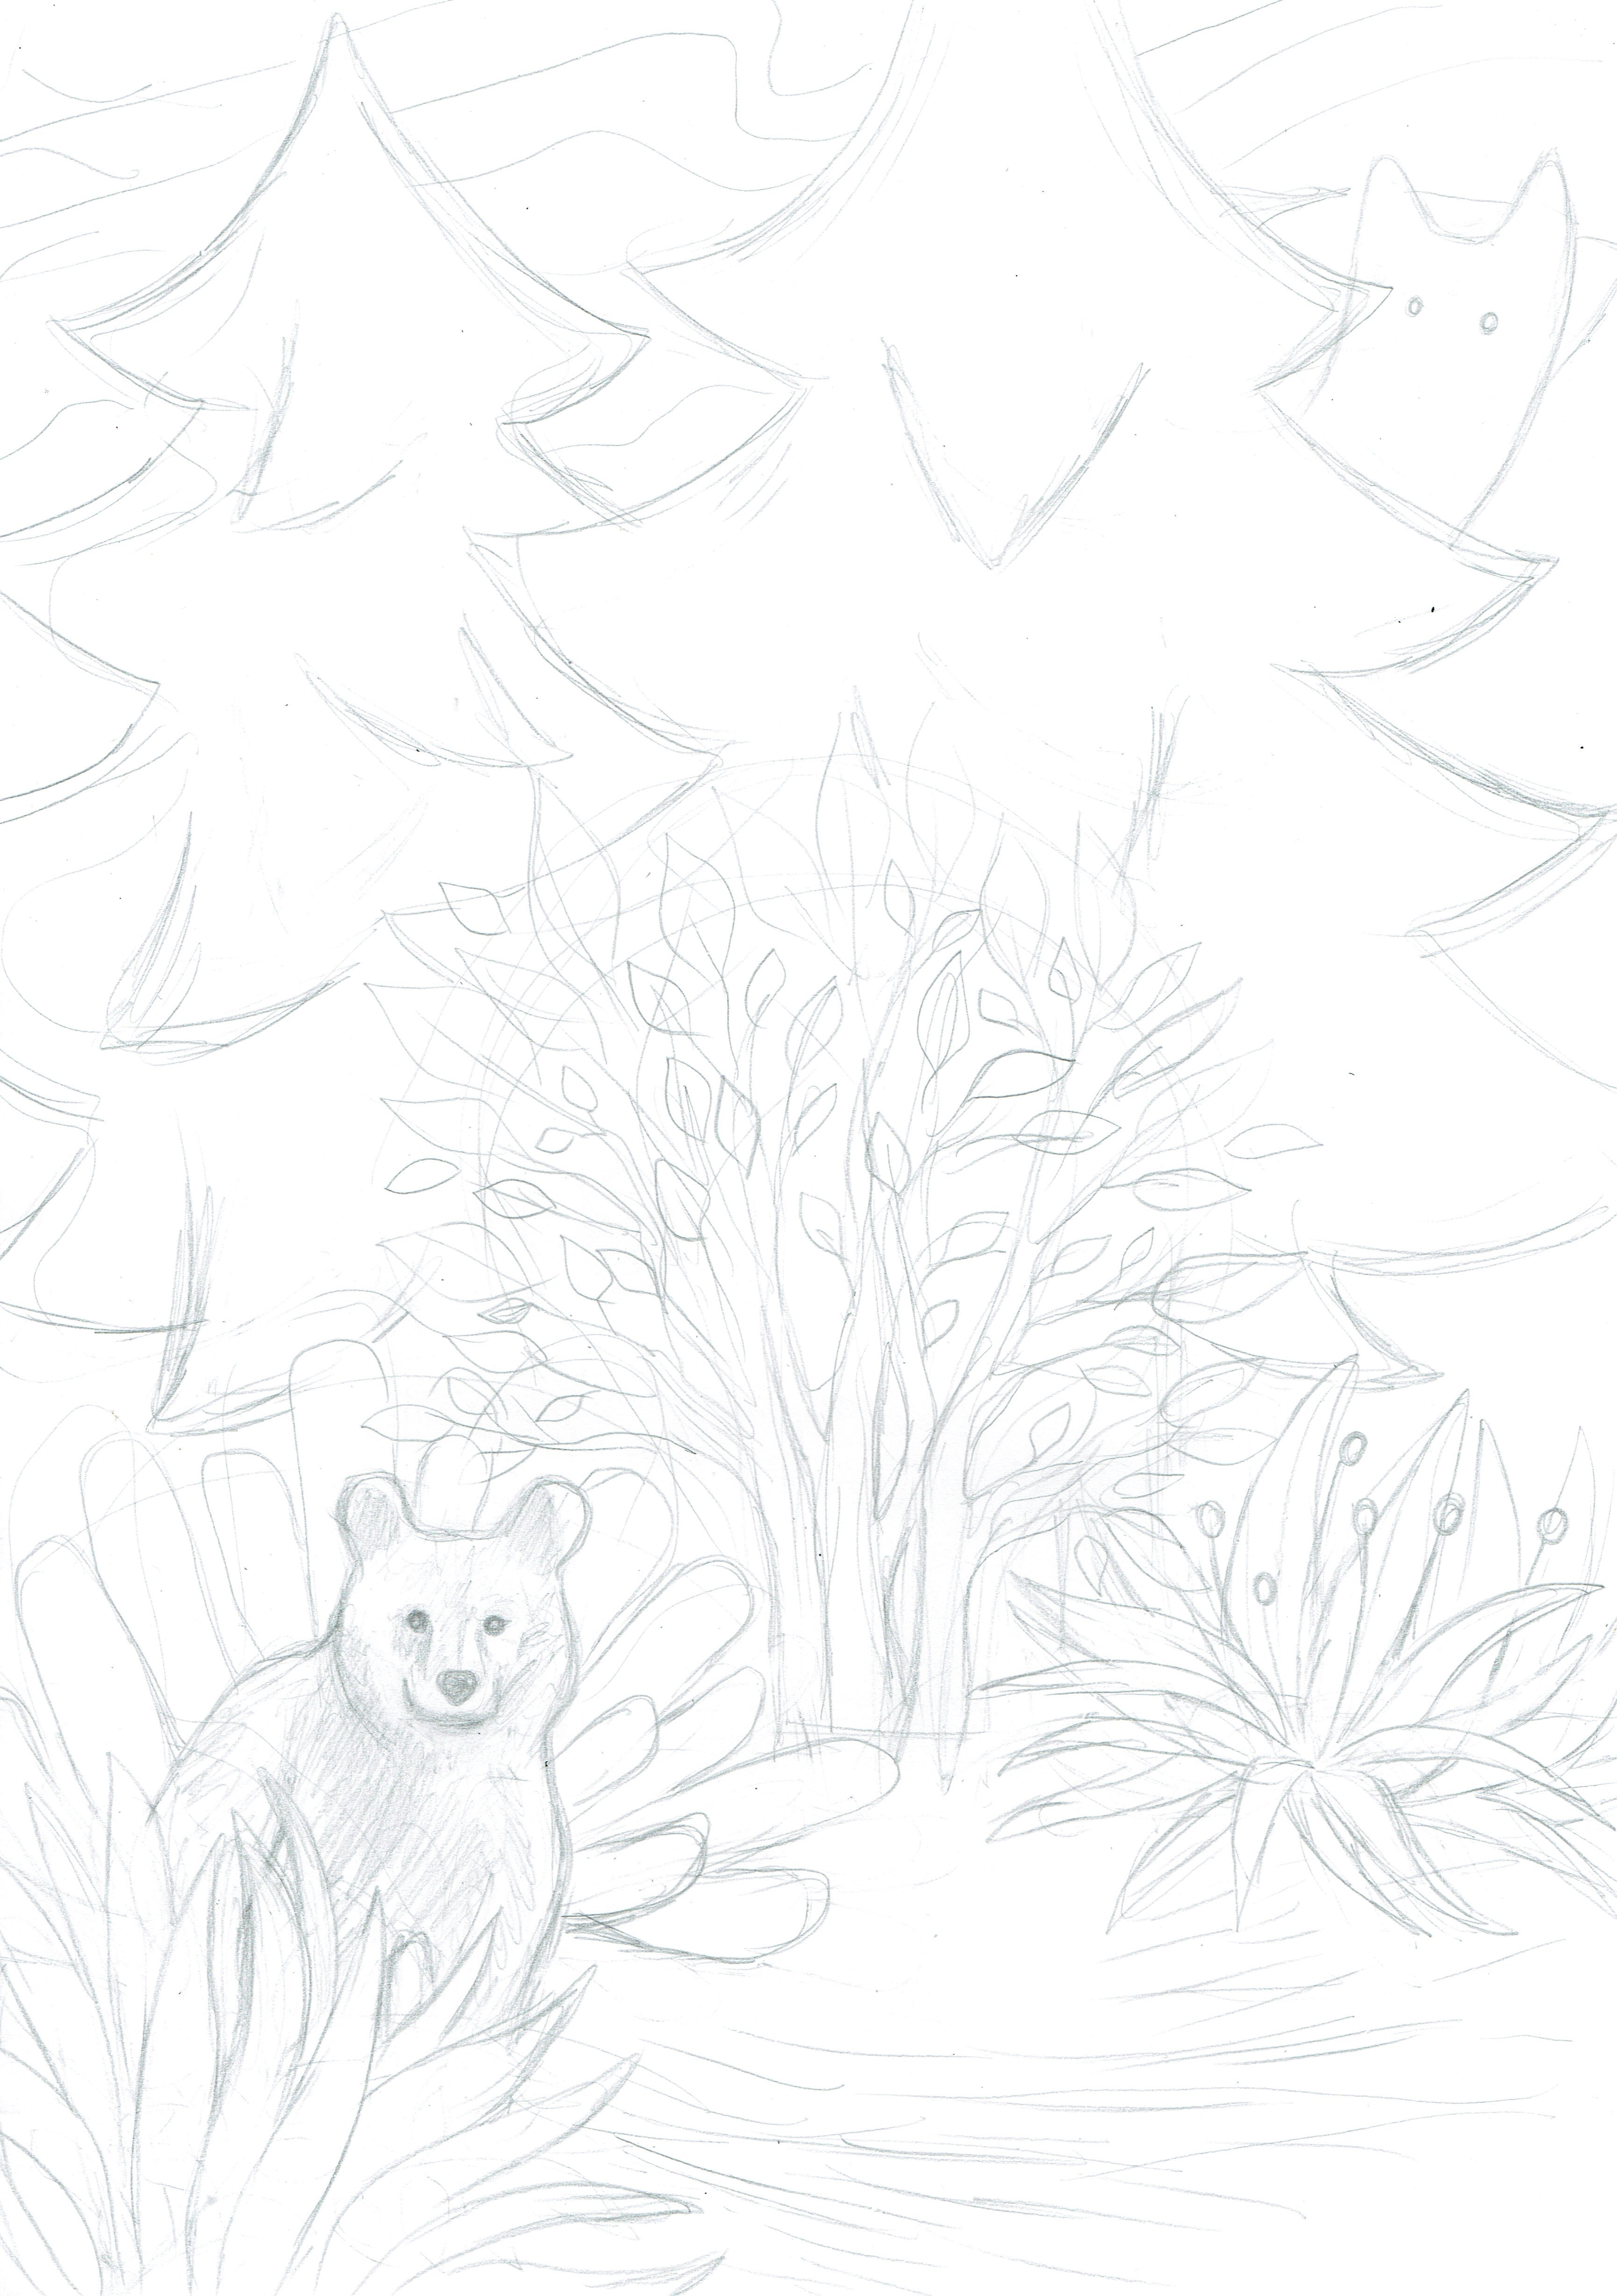
Next step was to redraw the outlines with pen. From now on I moved on to shading.
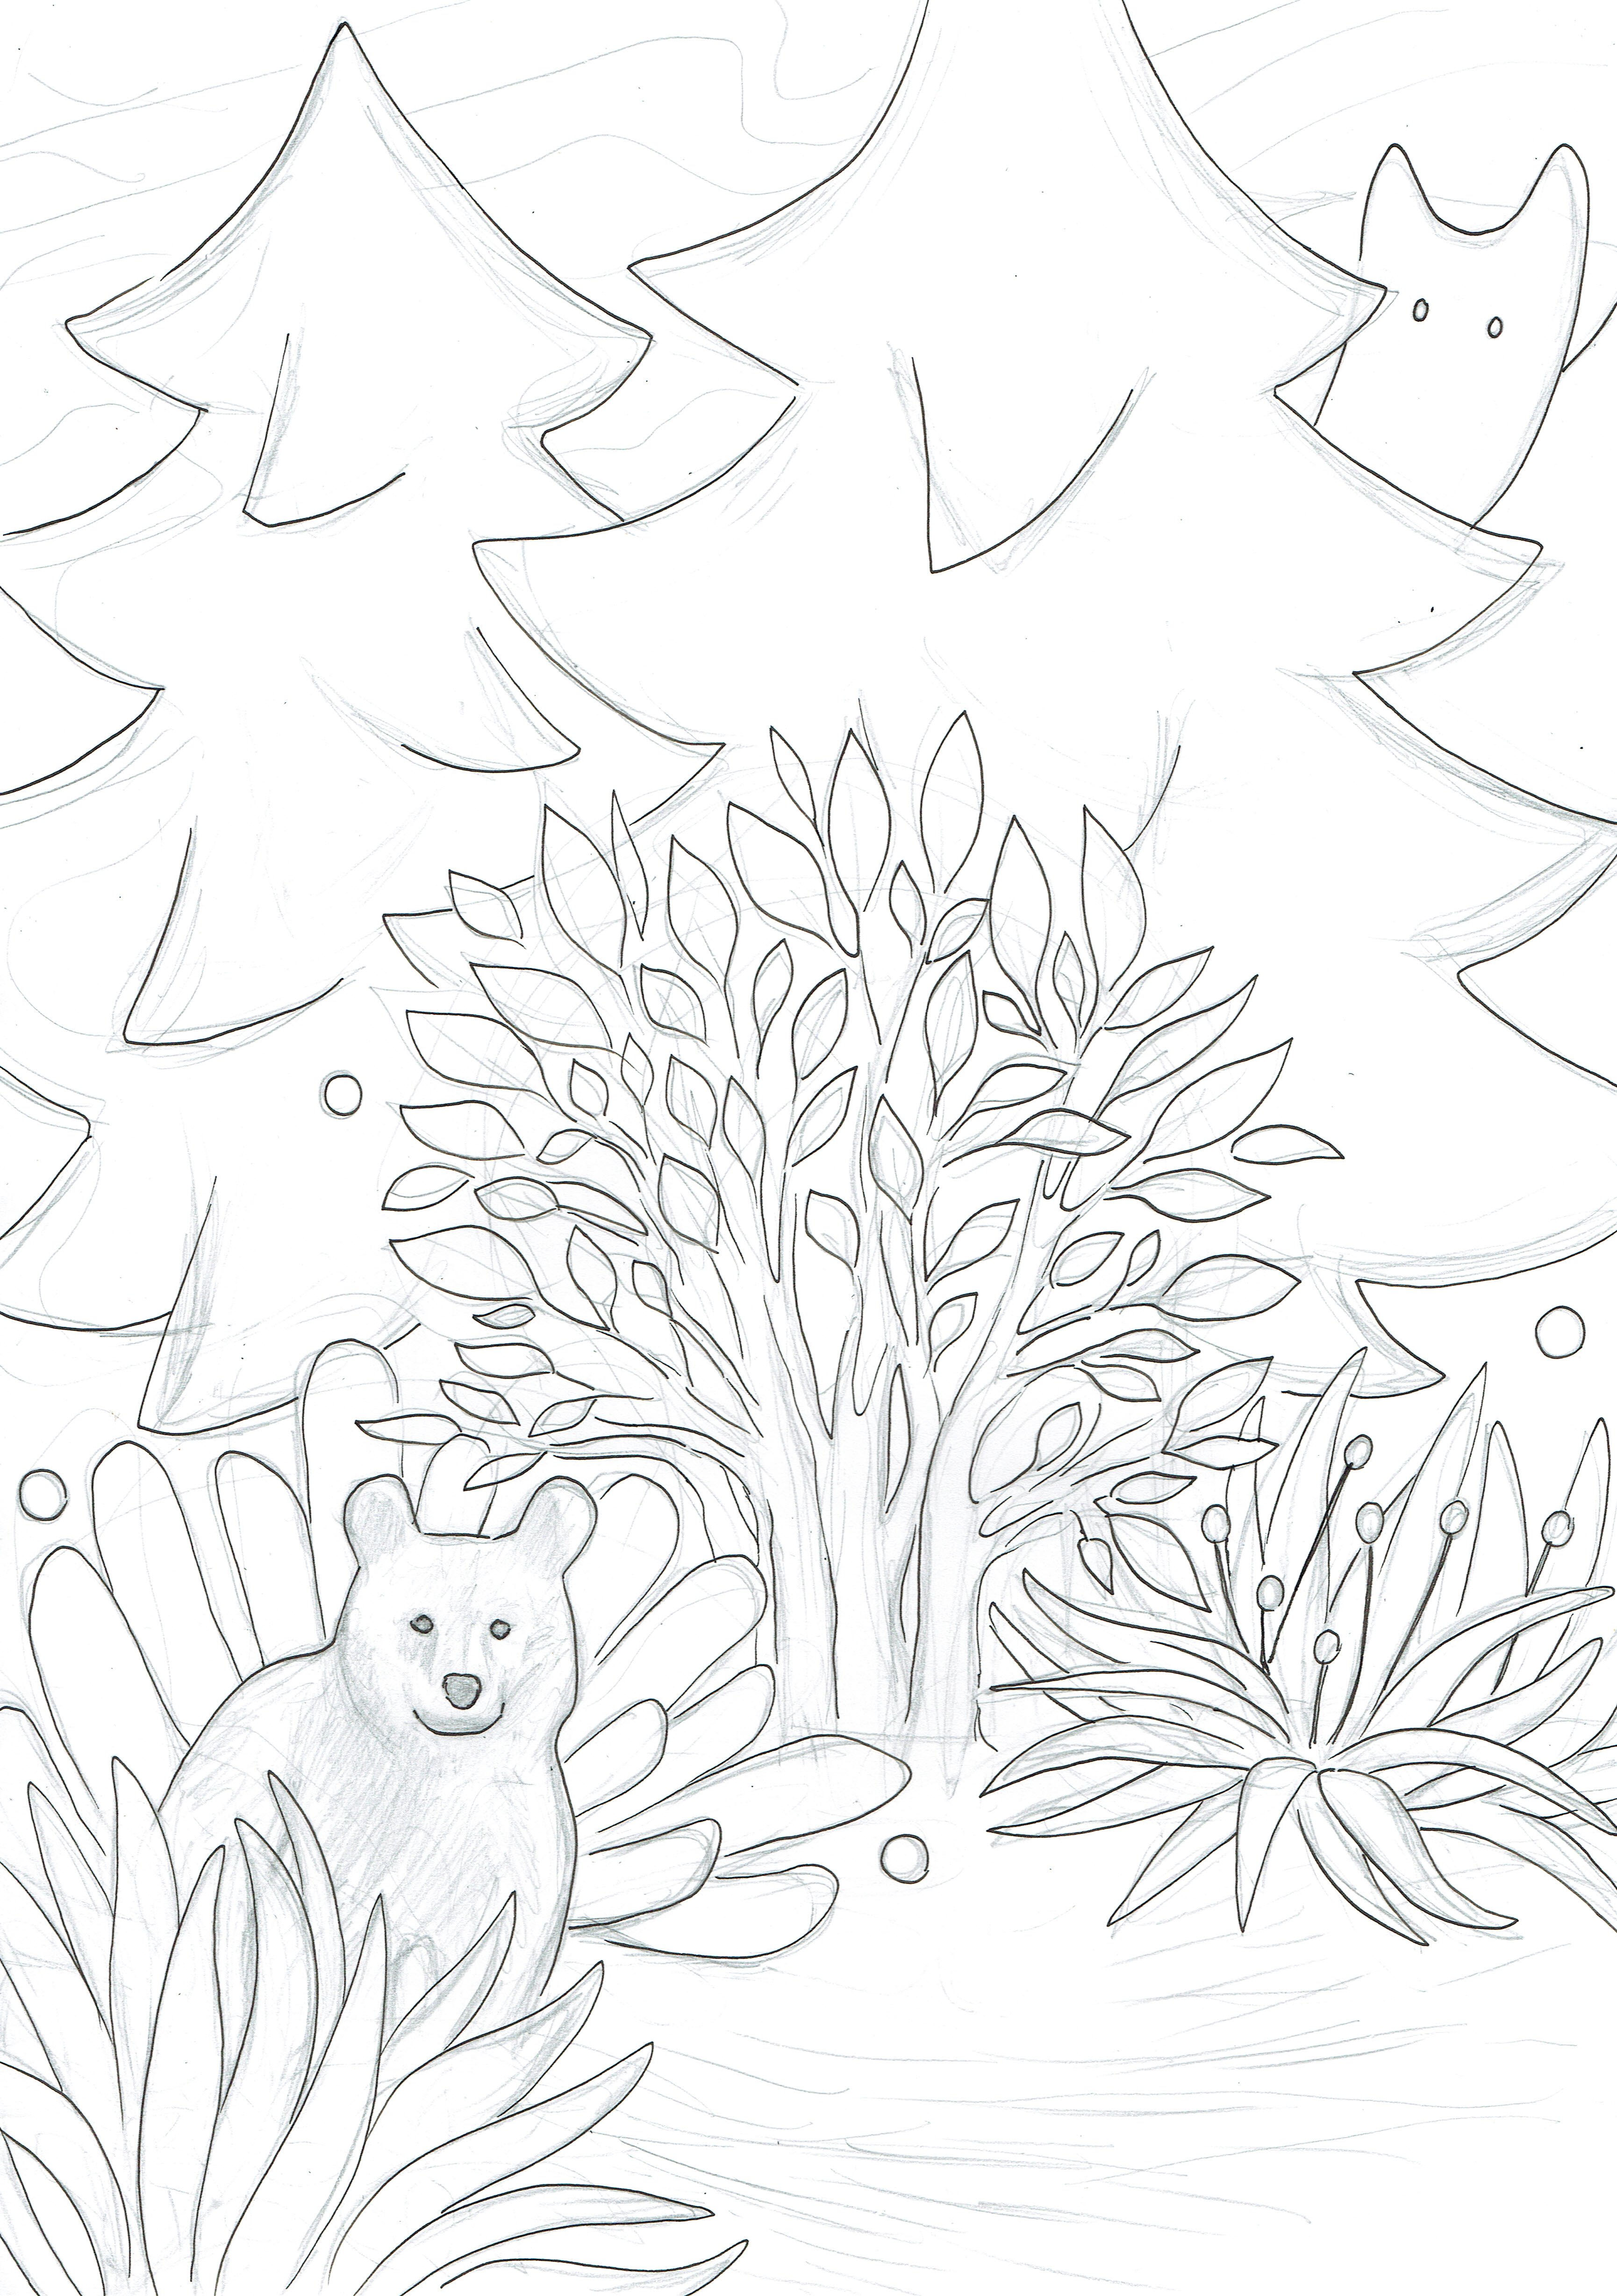
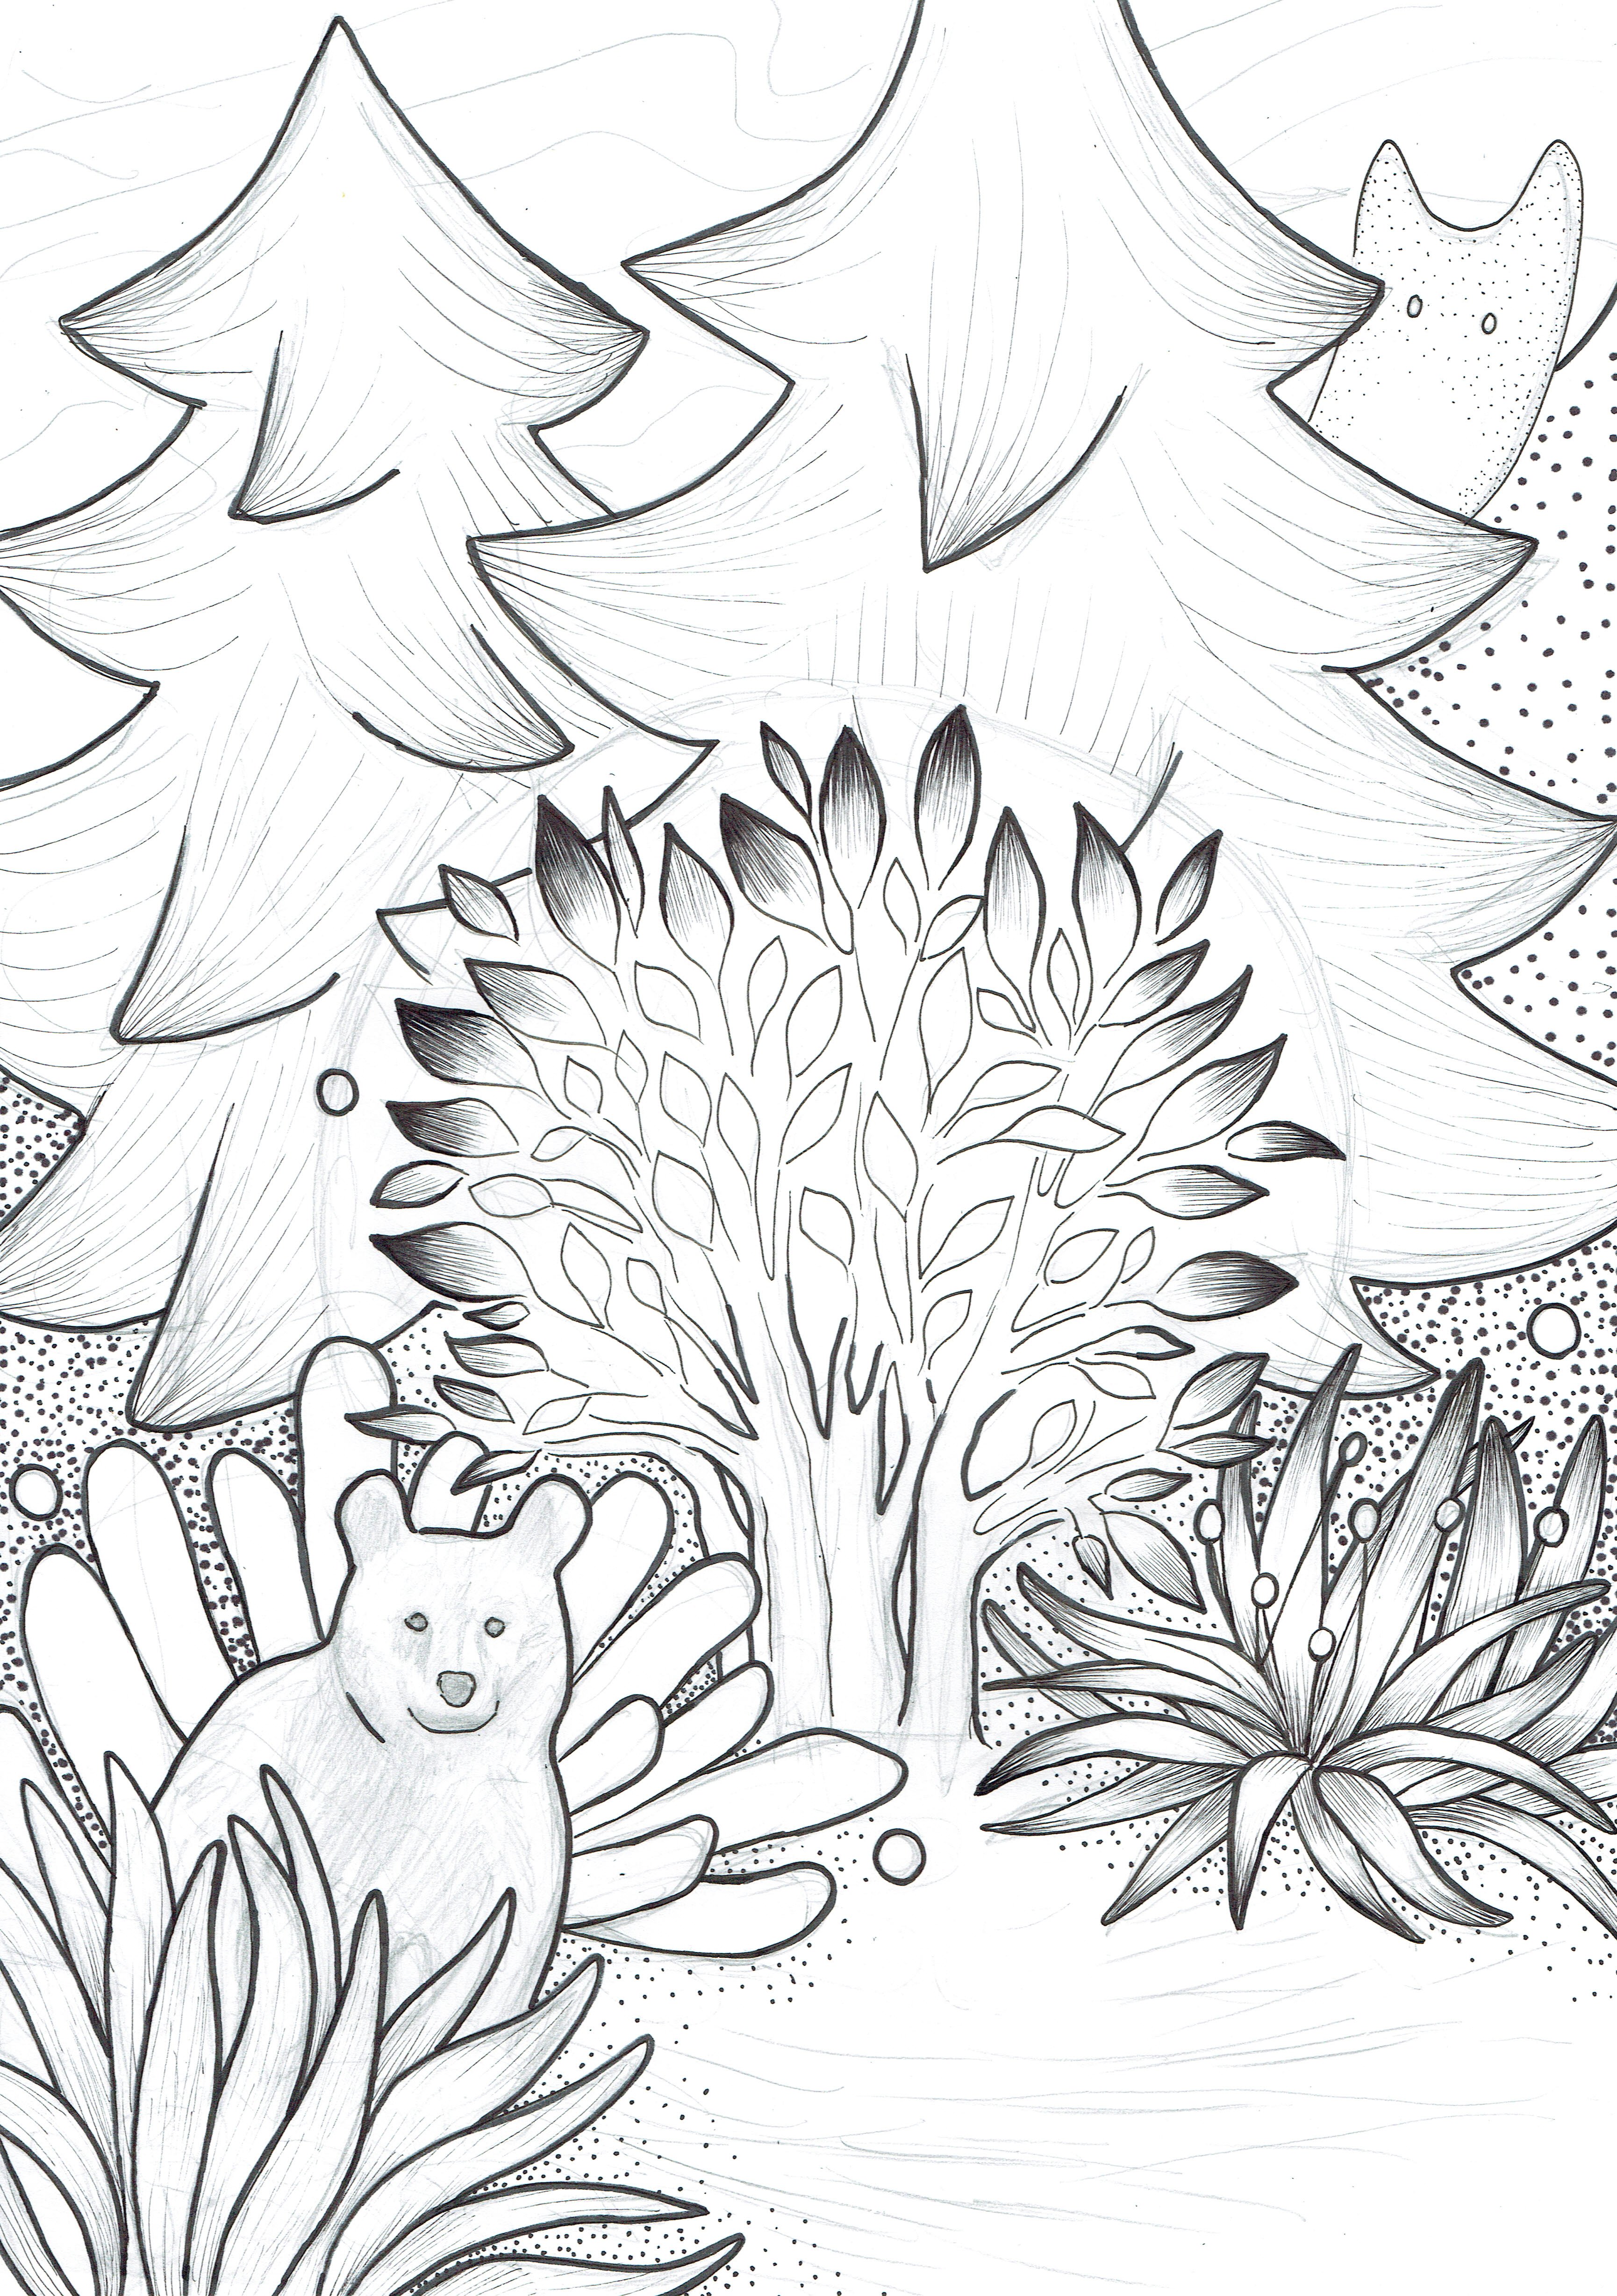
I thought that maybe I should add more substance to the outlines. The tree in the middle was so tempting that i had to start with it. Ishaded only the leaves that are on the outskirts of the tree. I wanted this to give an impression of an internal light coming out of the source-tree. I also shaded the plant on the right.
Then the dots started to appear in the background. I created fine lines on my pines to model them.
I wanted to make the sky dark, and only with the flashes of light.
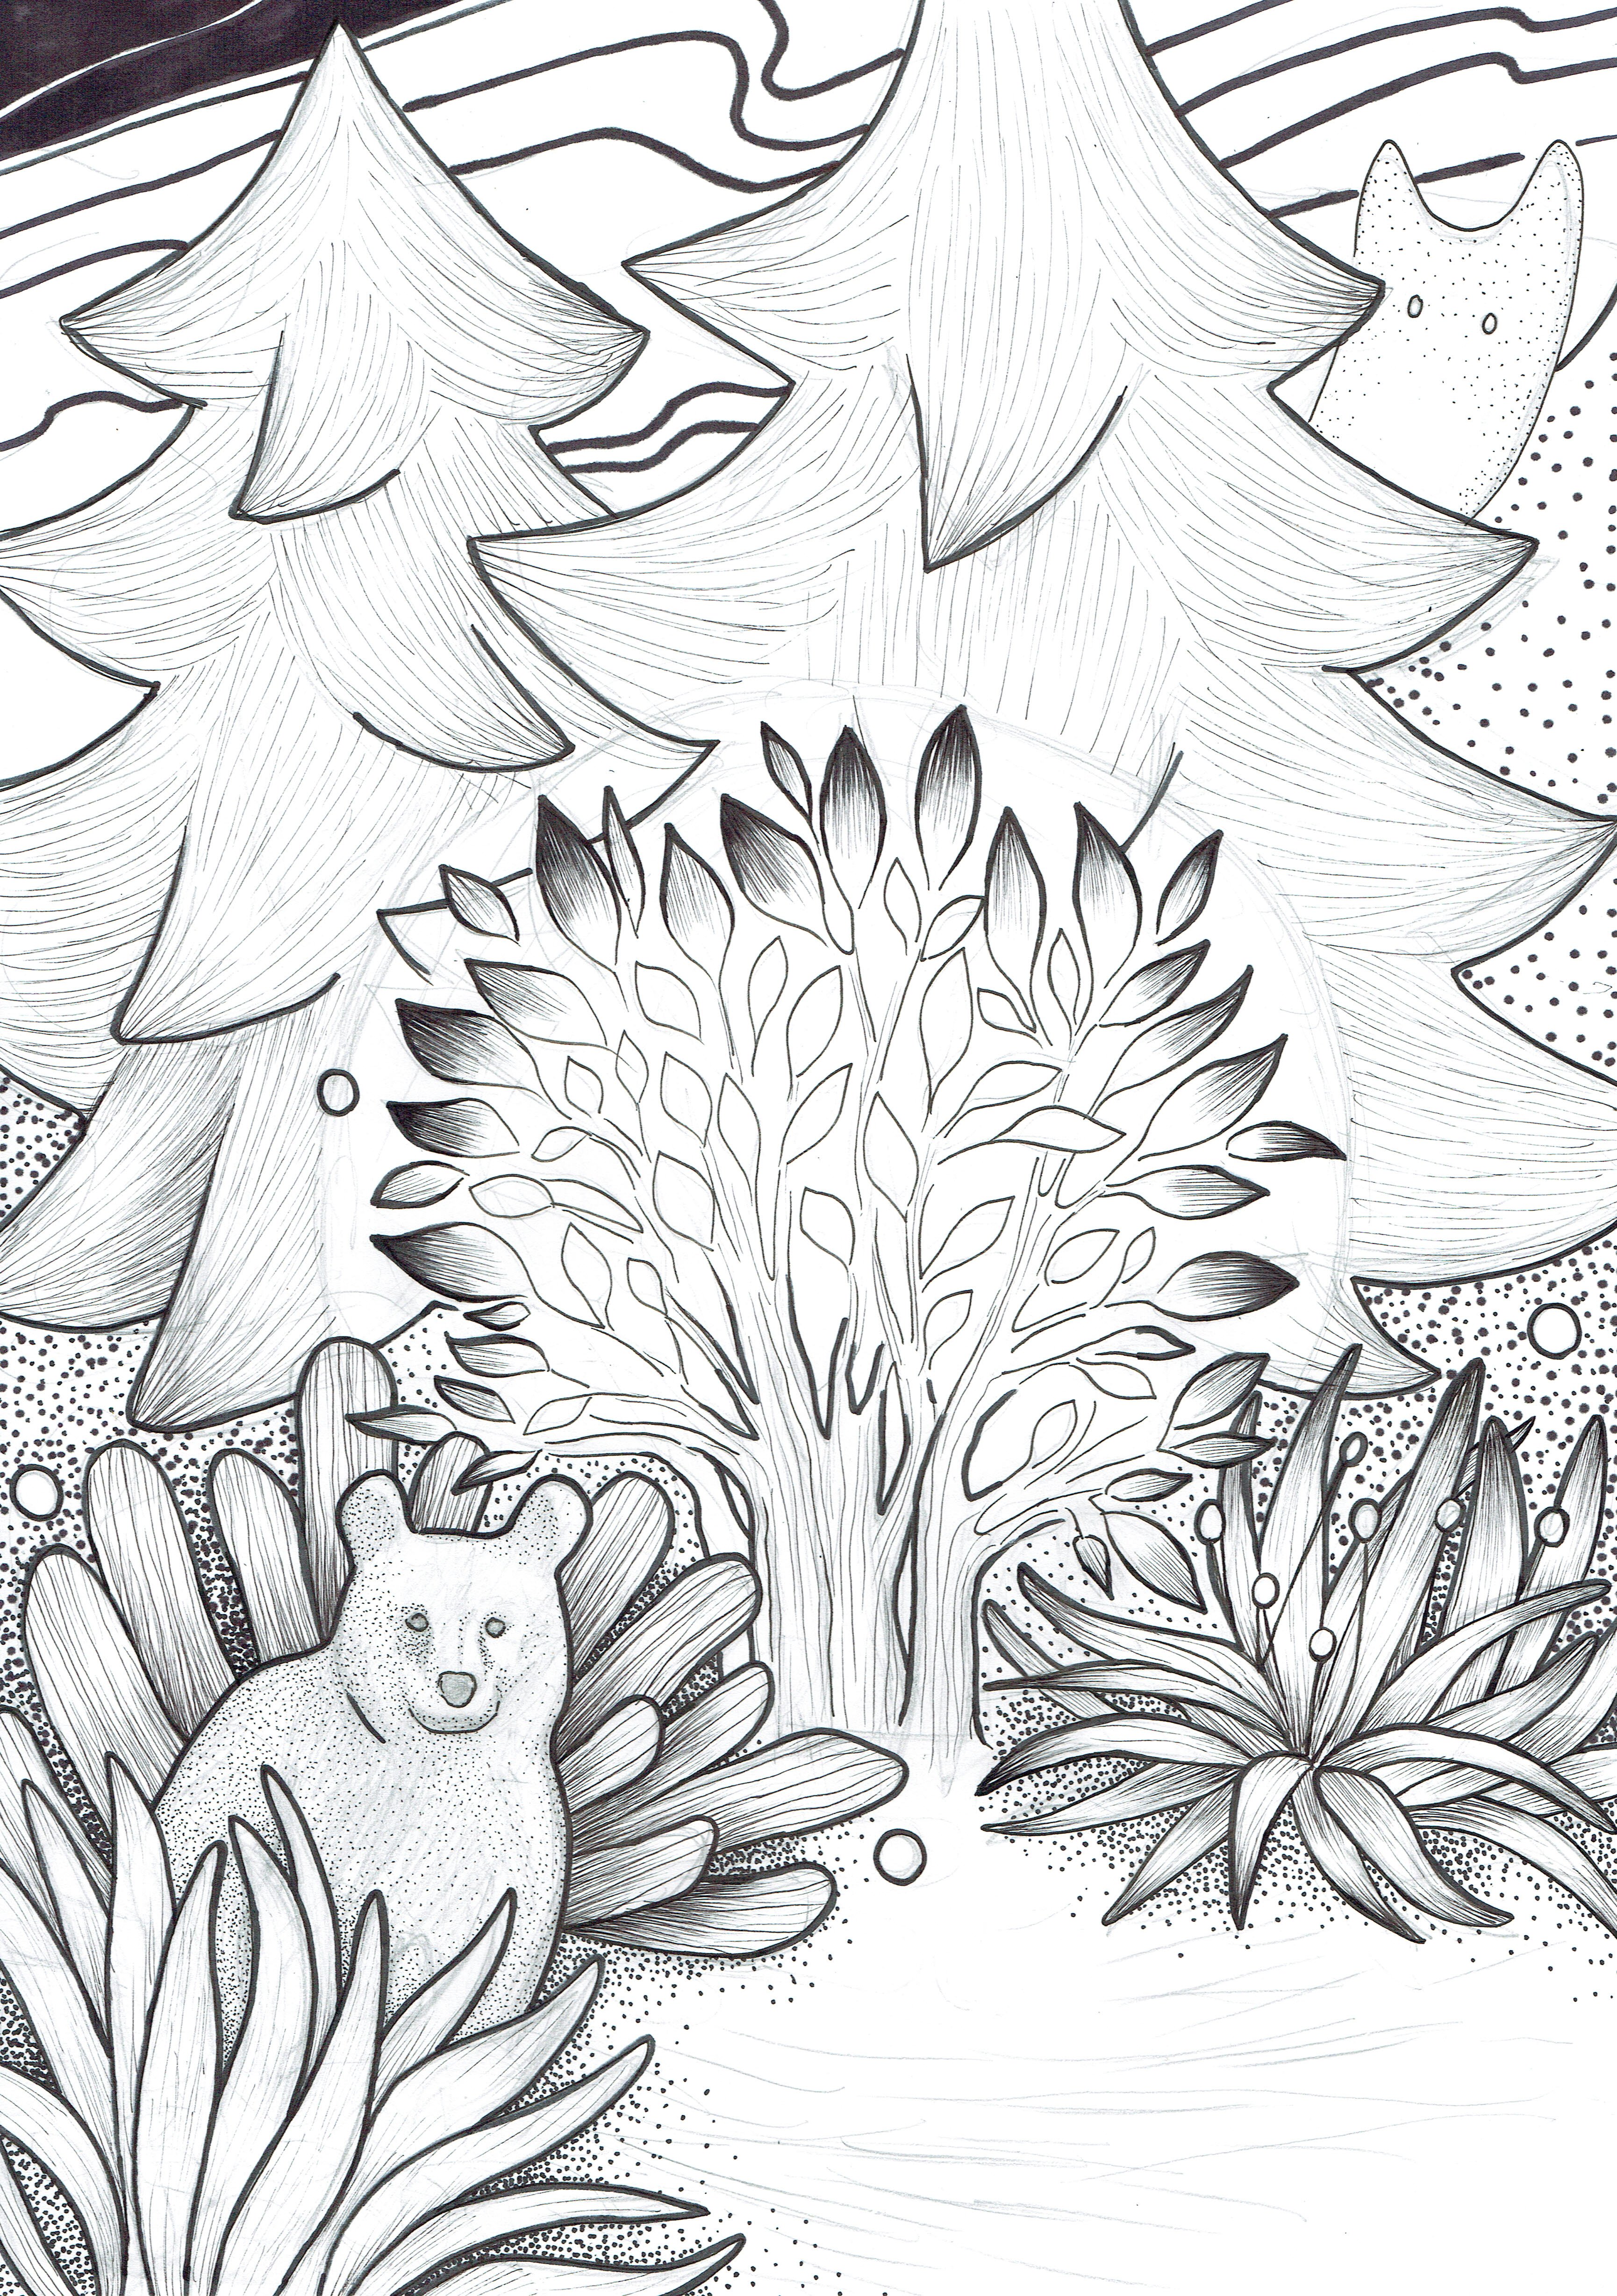
Underneath the trees I wanted the background to have more magical appearance, so I stuck to the stippling.
With every new dot and every new fine line the drawing started to look more and more ready.
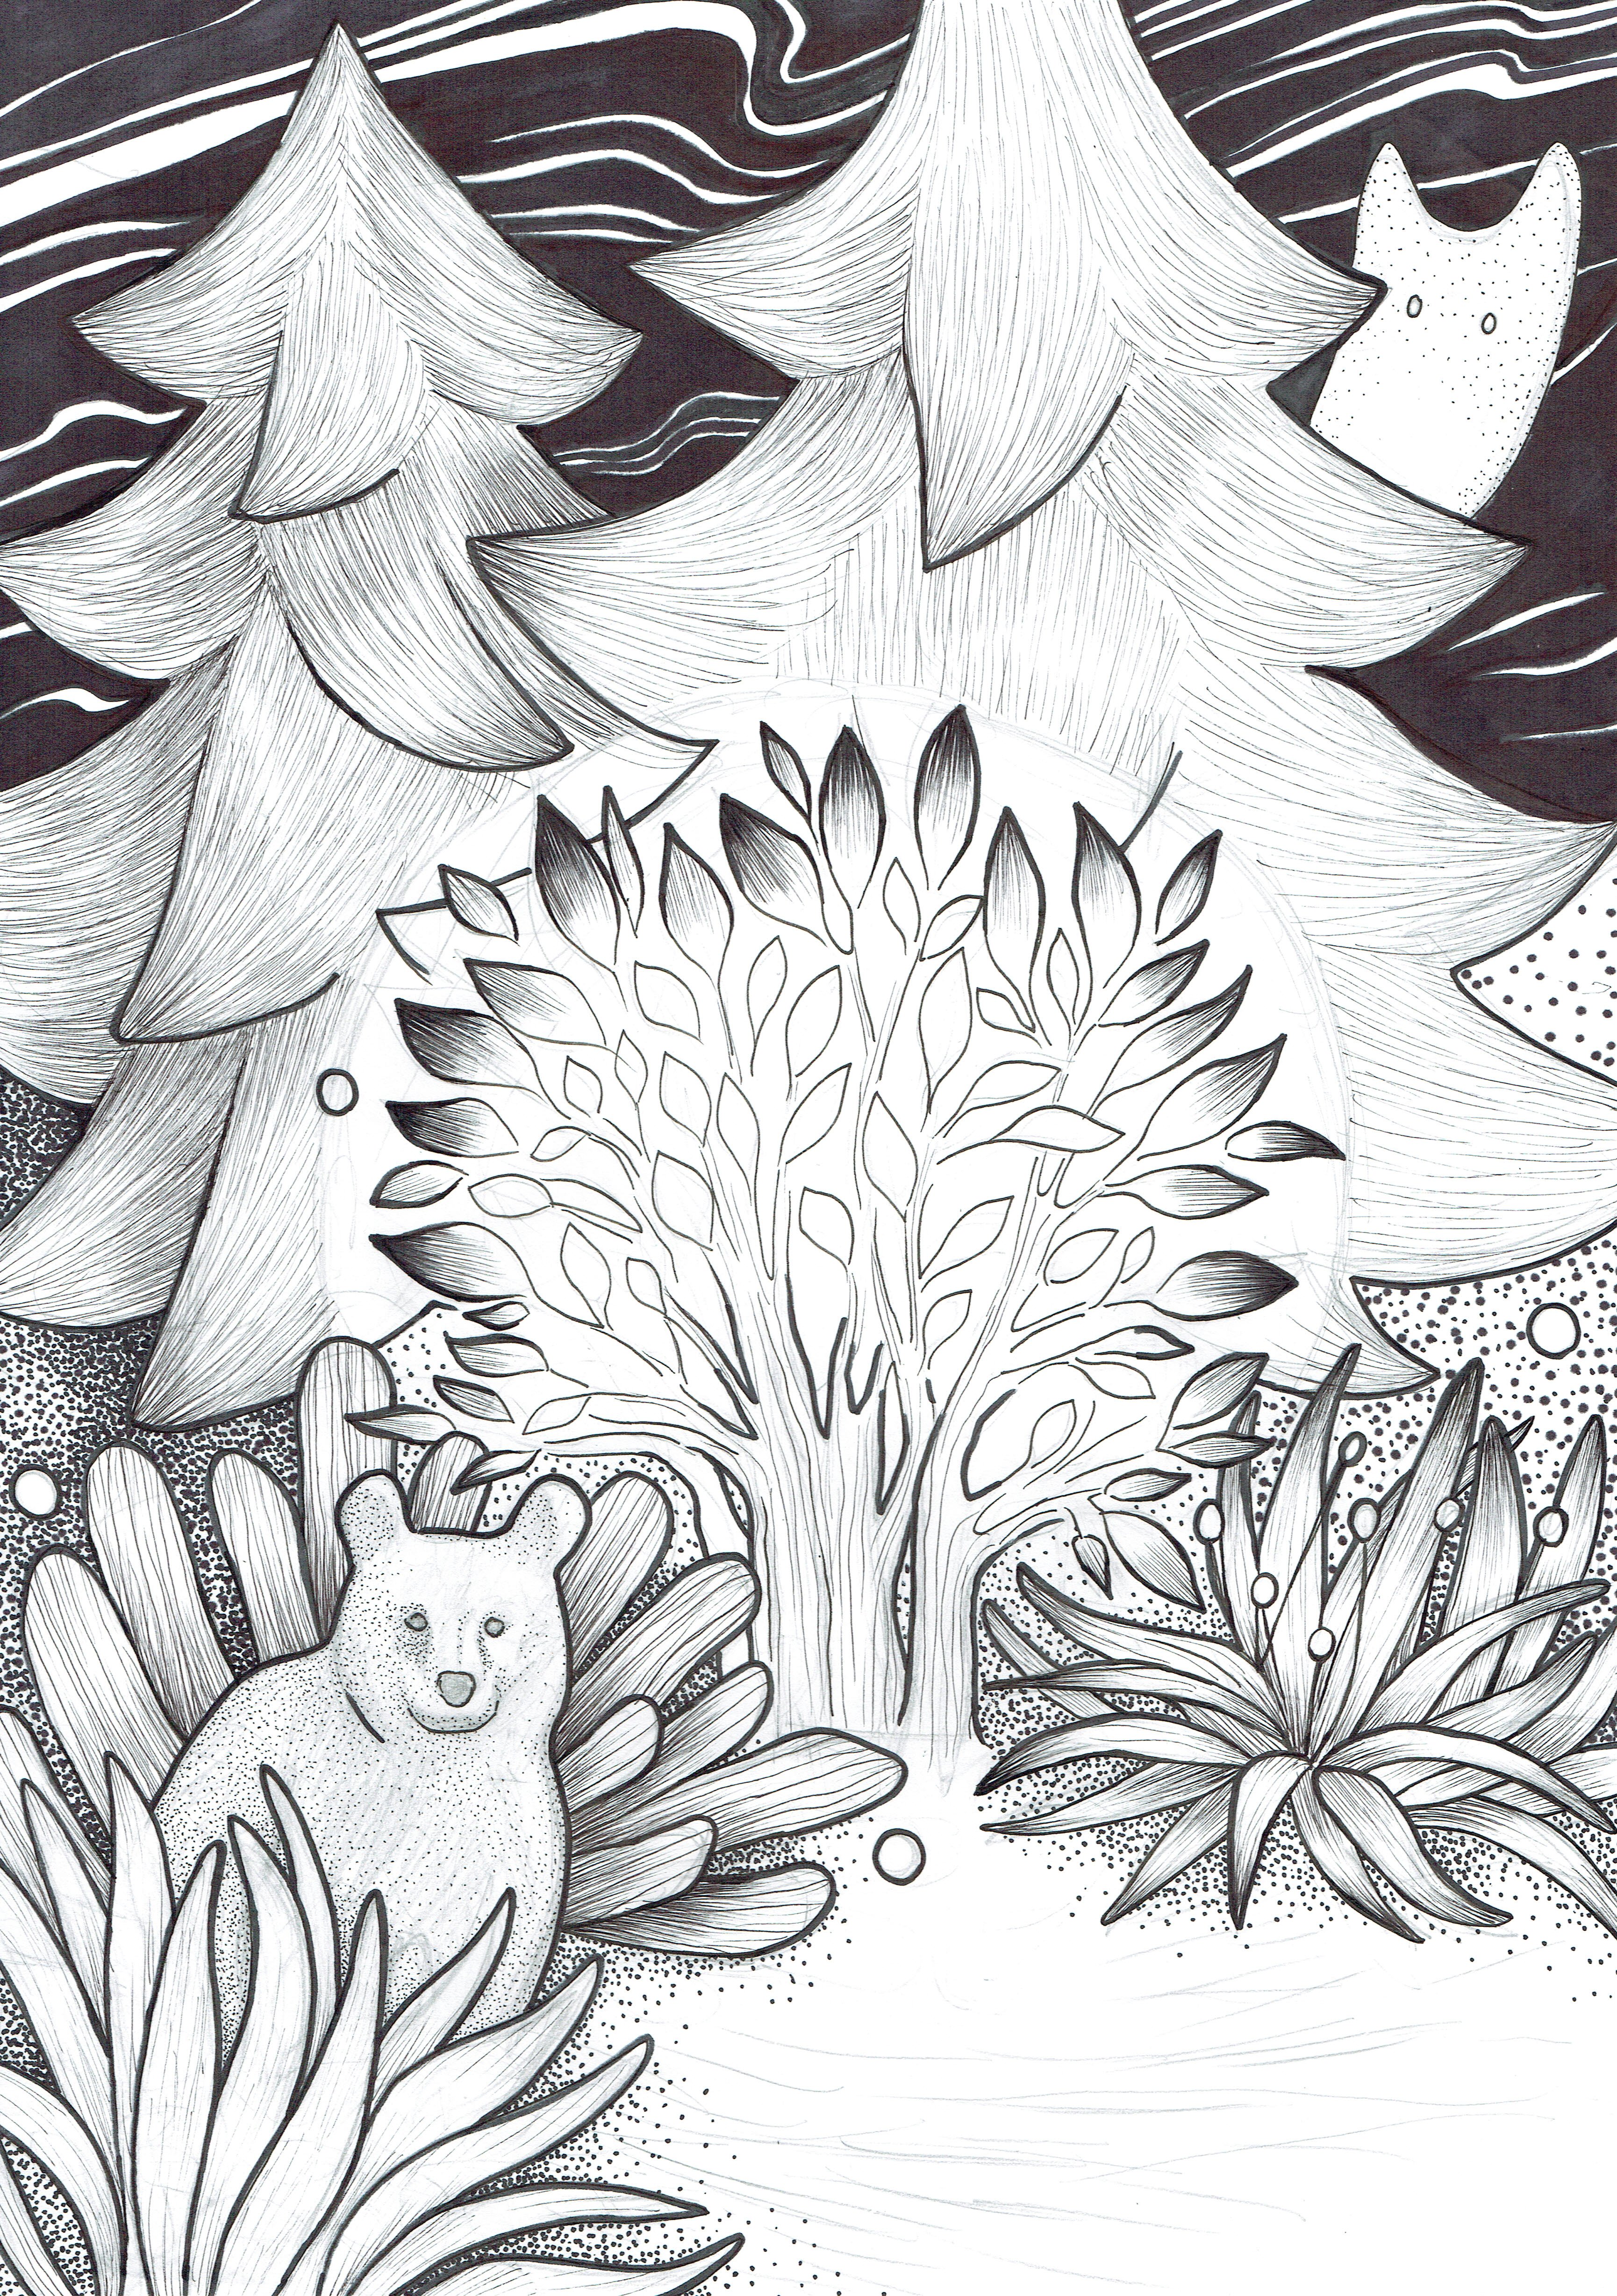
At this point I knew I wanted to change something in the tree and the lighy coming out of it.
I added small dots, made sure that the light around the tree has a round shape, and thickened the outlines of the leaves in the centre of the tree.
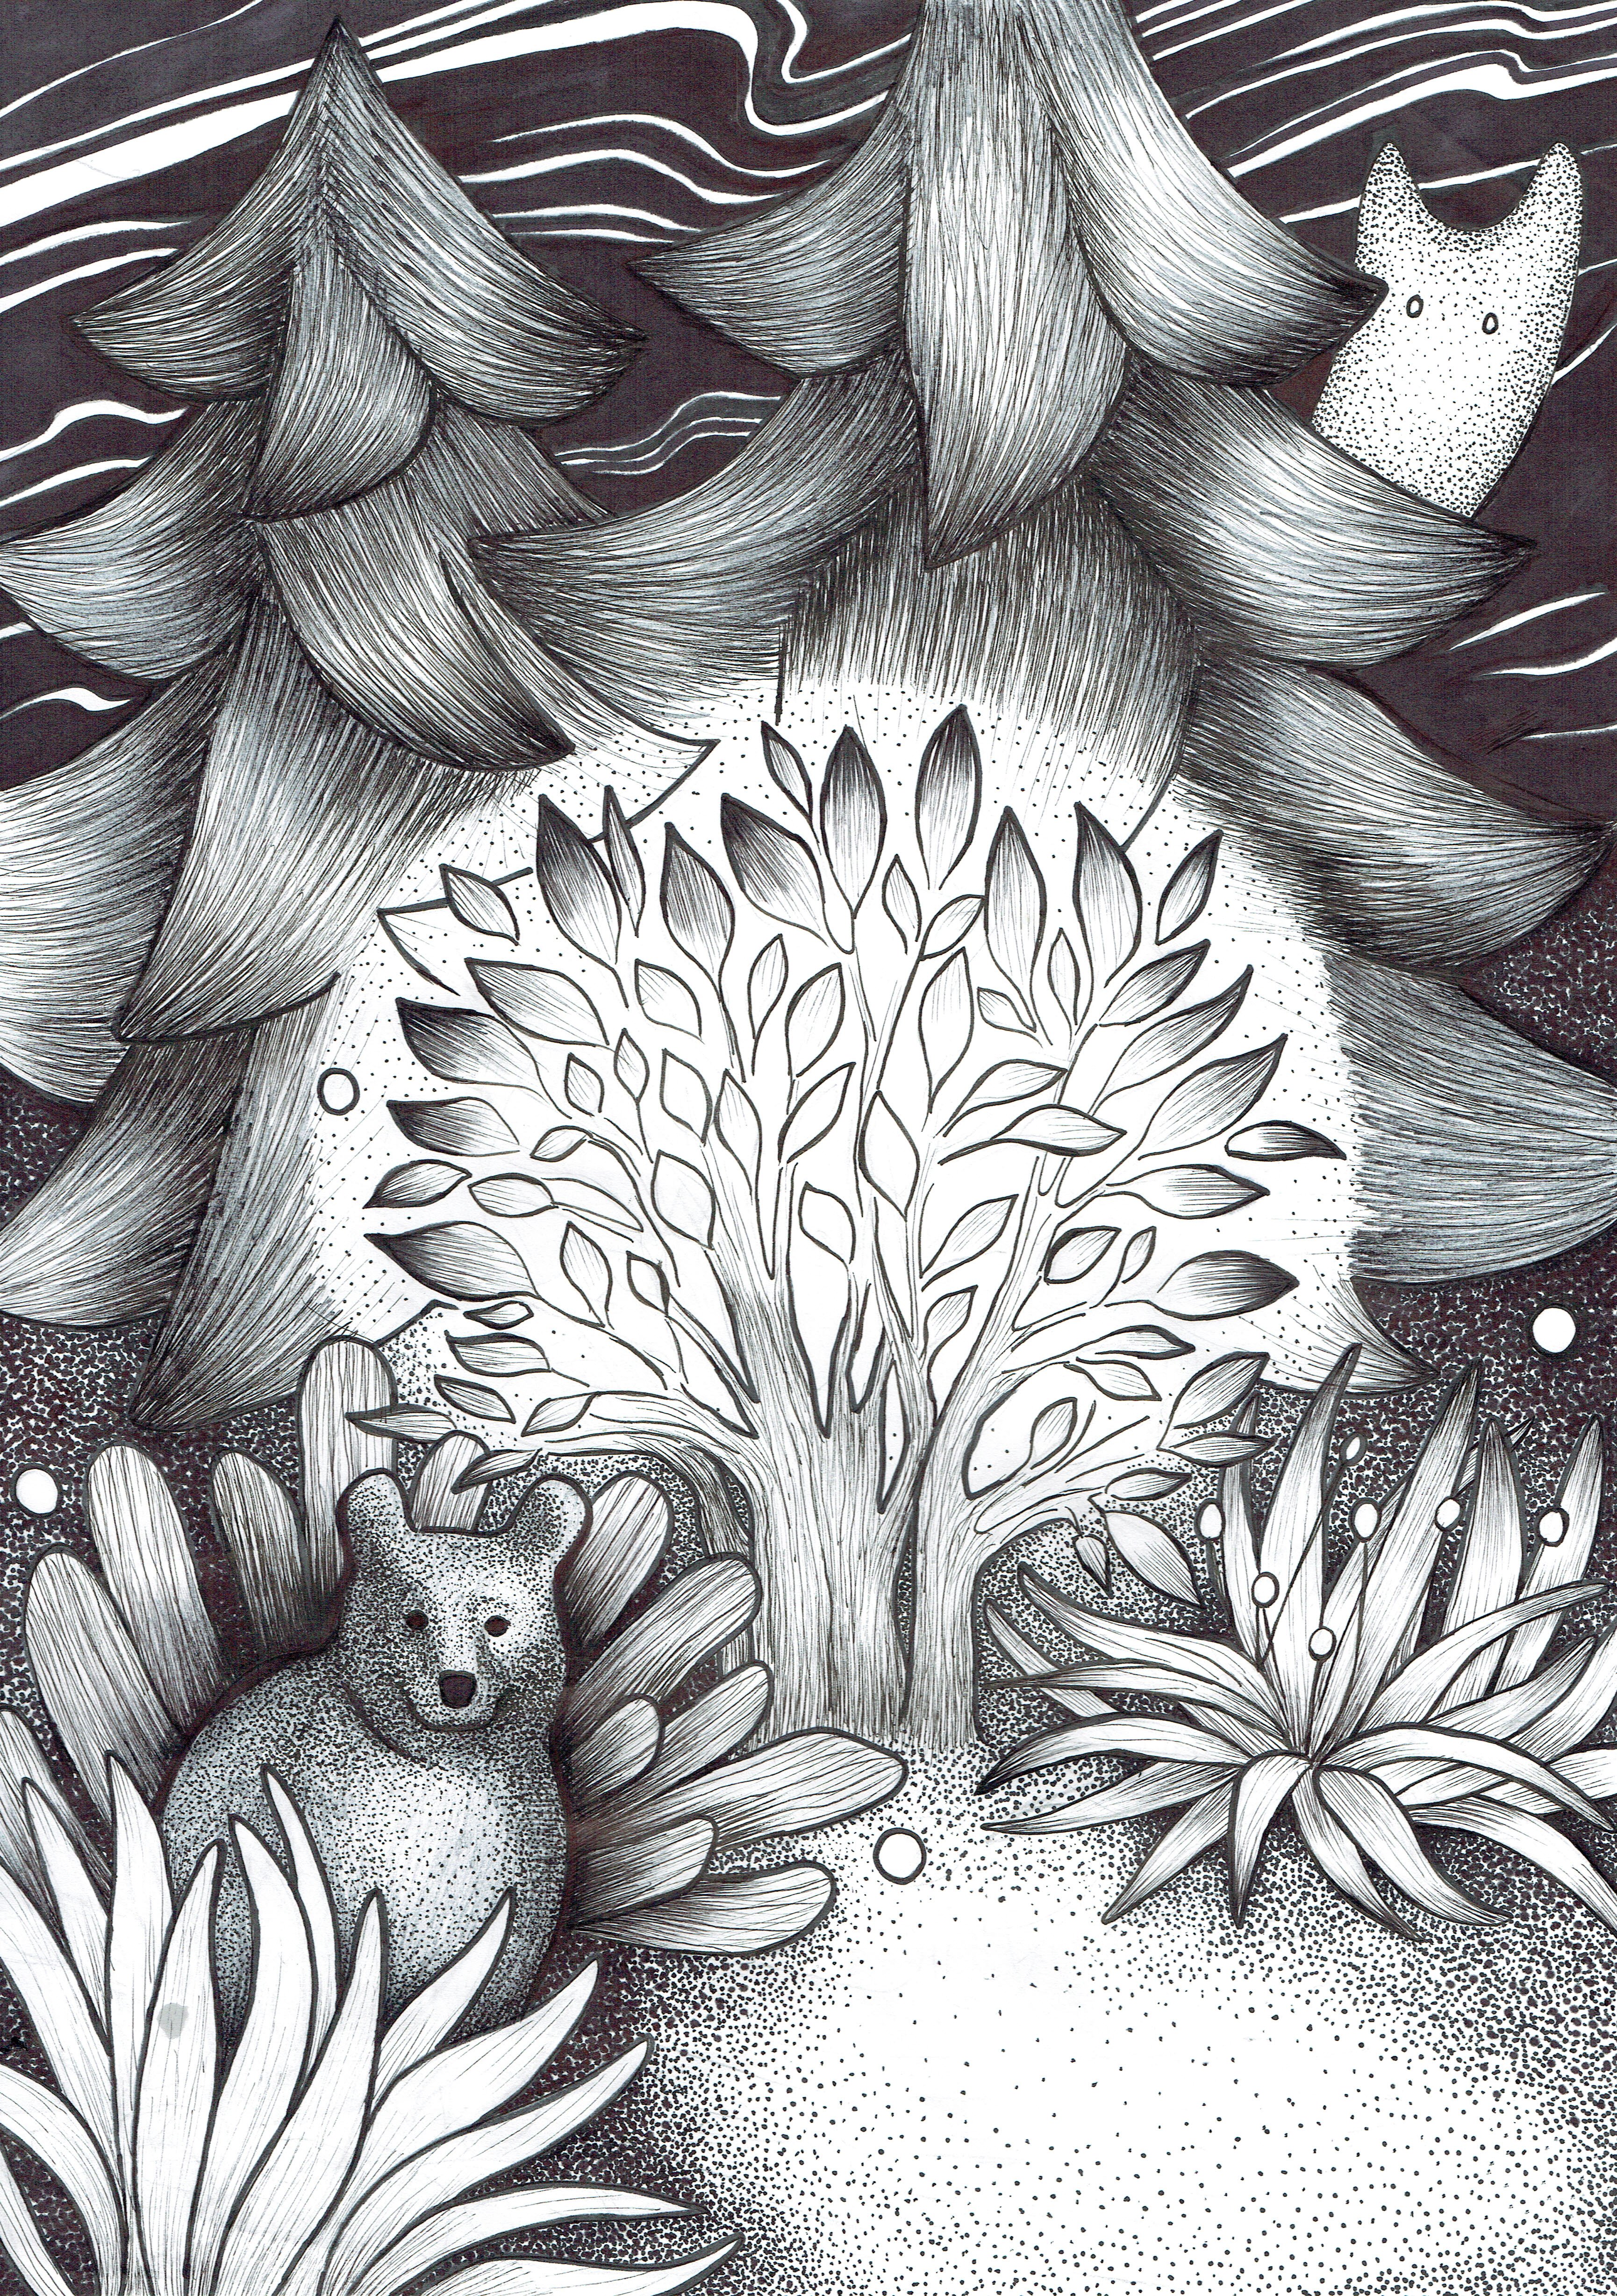
The last step was to add some linear shades to those leaves. And I was done!
Here's a GIF showing the progress of the work step by step:

I hope you enjoyed this post, thank you so much for checking it out! <3
If you liked my tutorial, please let me know in the comments! I will prepare more tutorials like that, and you can also check my previous work! I've done several similar tutorials already.
All the best,
Klaudia