So, Hello Steemians!!!
@steemph.cebu is having an art guide contest and I am participating it to showcase my talent of what I have and share the learnings. Hope you will read my blog and you will learn something from me. And by the way also, I am no good in english since I am a pure Cebuano(it's hard for me to do English language and literary). So just please, bear with me. Hope you will understand my blog. ☺
"Graphite Portrait using Charcoal and Graphite | SteemPh-Cebu Art Guide Contest"
How did I found art?
So let me narrate my story.
- When I was in grade school, I'd love to draw figures just like animes, faces and structures but not a quite good drawing. One day, when I was scrolling at a social media, I found a post with a realistic drawing of a face. So I was amazed of it and I tried to view the comments. There were a lot of good comments, praises and someone asked " How did you do that? Can you teach me?" So the author replied with a given link that directs to the group. So that group is existing until now and that group name was "Guhit Pinas" where all artist in Philippines unites in here to show some exceptional drawing talents, to give some motivational speeches about art, guides for beginners and other interesting threads about art. So in here, it started my journey in improving my drawing skills. Before I found Guhit Pinas, I think to myself that my work of art was good but in the eyes of people it was not (did you feel that?). I encountered some criticism which was good to open up my eye to enhance my talent. Some of my work of art didn't like by the viewers. They just call it as a "trash" and some people were made of fun of my portraits. Then after I found Guhit Pinas, I viewed and read some inspirational stories on how art changed their lives, some were tutorials on how to make a good drawing and other related arts. So I studied without mentors or tutors or should I say "I do self-study". At that time, I was taking a maritime scholarship exam (college level) but unfortunately I failed. I stopped one year of being in home and helping with my mother in a sari-sari store after I graduated high-school level (Now, I am 3rd year level Mechanical Engineering student). Each day or every 3rd day, I practiced a lot of times with guides in making portraits by the use of grids. Thanks to the "Guhit Pinas Community" for sharing those guides. I had posted many times but criticism was lesser compared a year ago but some gave their tips to correct my methods or ways of making portrait. I viewed my recent artworks of portrait compared to now and I see the big difference of my development in drawing. Practice really matters and that was why I found art.
Why charcoal or a graphite portrait?
- Because I am good at. I tried using colored pencil but it was a fail for me. I am afraid to do it again and I know how to use those medium that I am using but I really wanted to learn on how to use colored mediums in making a work of art.
Why did I choose this reference?
- The reason behind this that I want to show my gratitude @jaderpogi for inviting me here in the Steemit community. I like the platforms made by the steemit community and I heard some good feedbacks about this site. I could read some interesting stories and articles here. Additionally, I want to motivate my fellow artist in pursuing to love art. And also, I am making this blog to those who want to learn portrait in easiest way. Furthermore, I hope you'll read my blog till the end. Thanks.
Materials that I used:
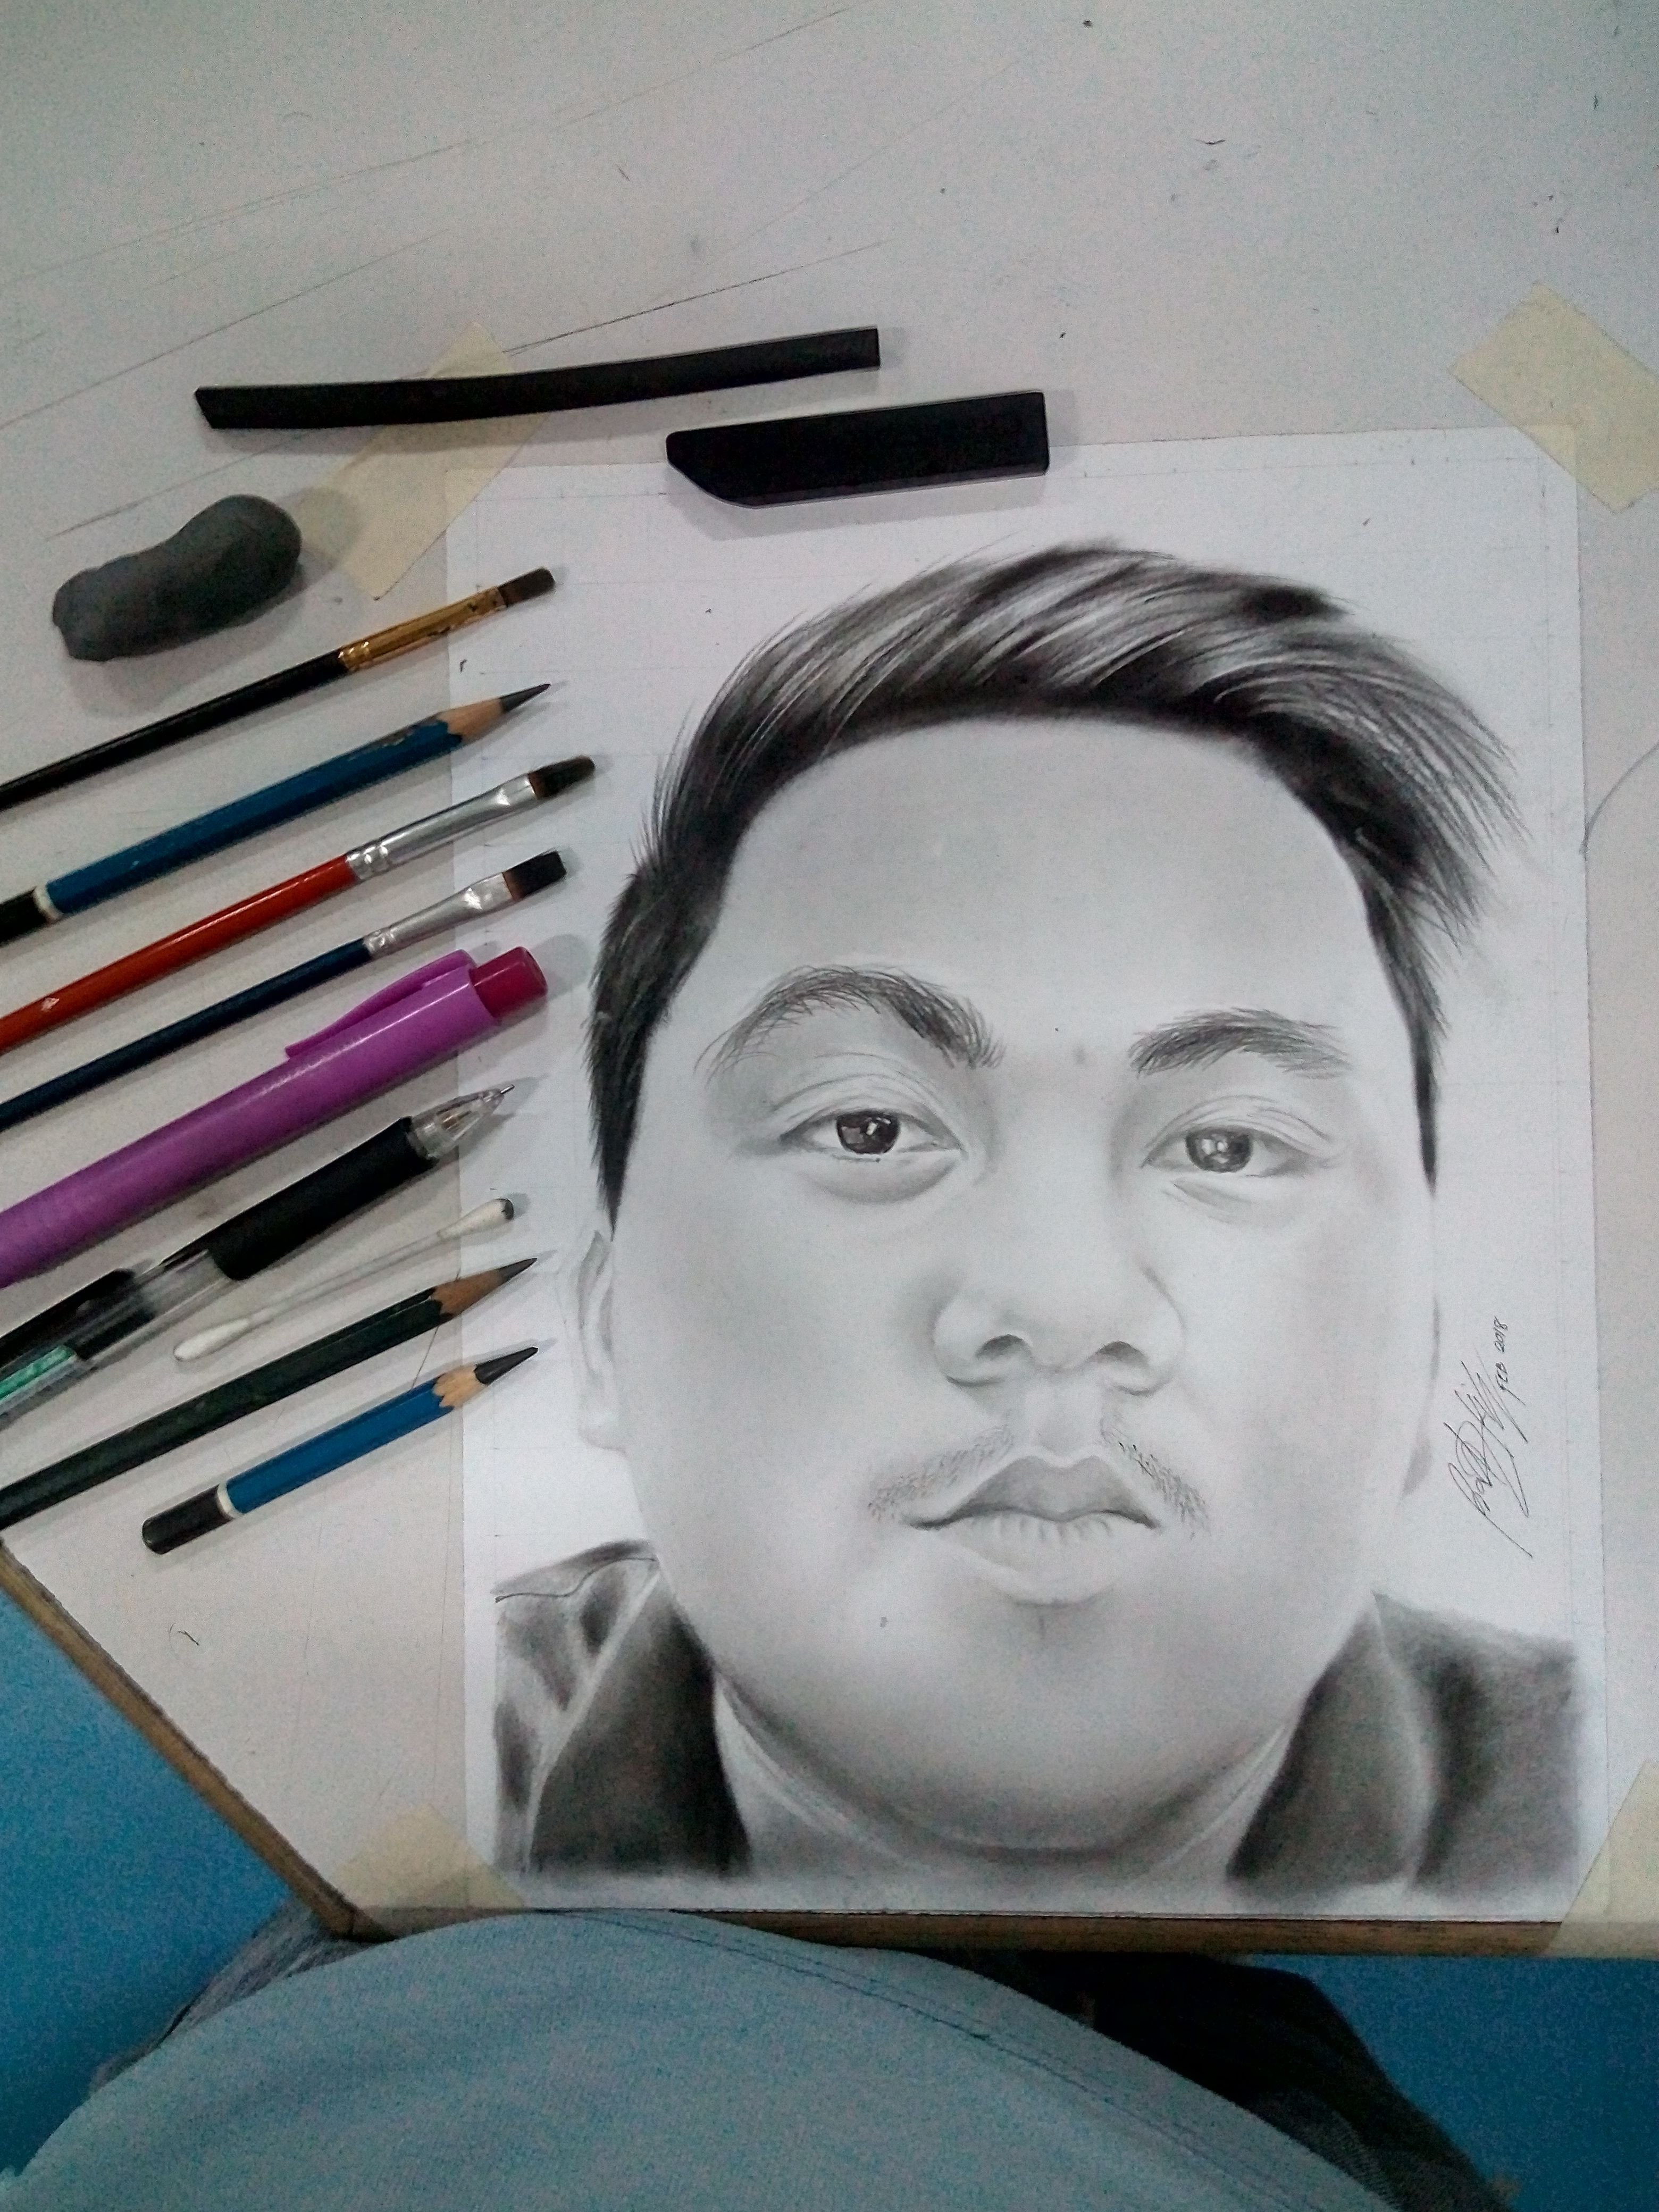
- soft charcoal
- compressed charcoal
- kneaded eraser
- flat brush soft bristle yellow tip
- 6b graphite pencil
- round brush soft bristle yellow tip
- flat brush hard bristle yellow tip
- mono eraser
- mechanical pencil 2b shade
- Cotton buds
- 2b graphite pencil
- 8b graphite pencil
- ruler
Mobile app that I used for making grids:
- Artist Grid (Playstore)
"The progress "
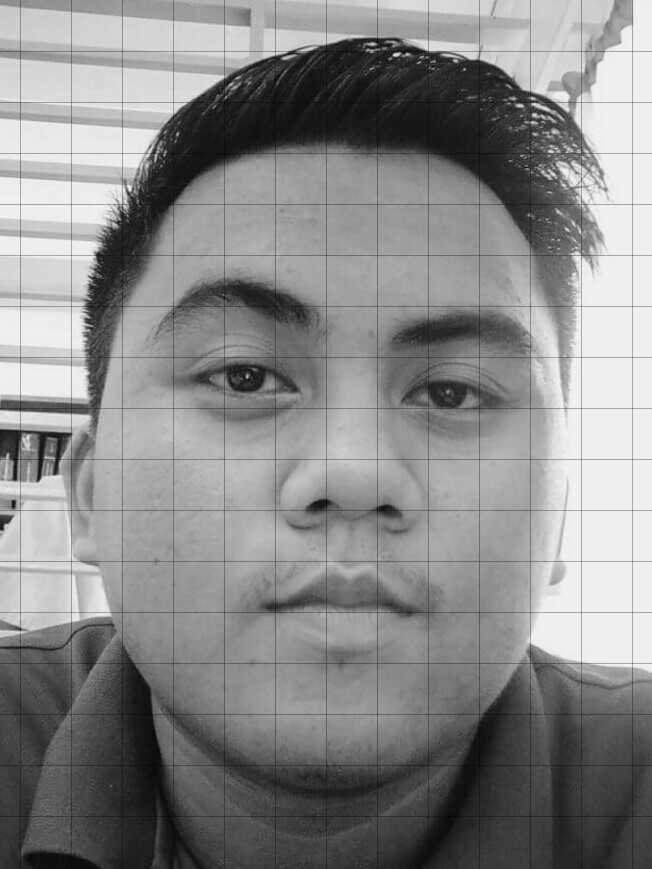
Step 1: I chose a refence from my gallery then send it to the "Artist Grid" app and setted my desired numbers of boxes . "The more boxes, the accurate you could draft your reference". It should be setted in square mode so that only the number of rows you can change.
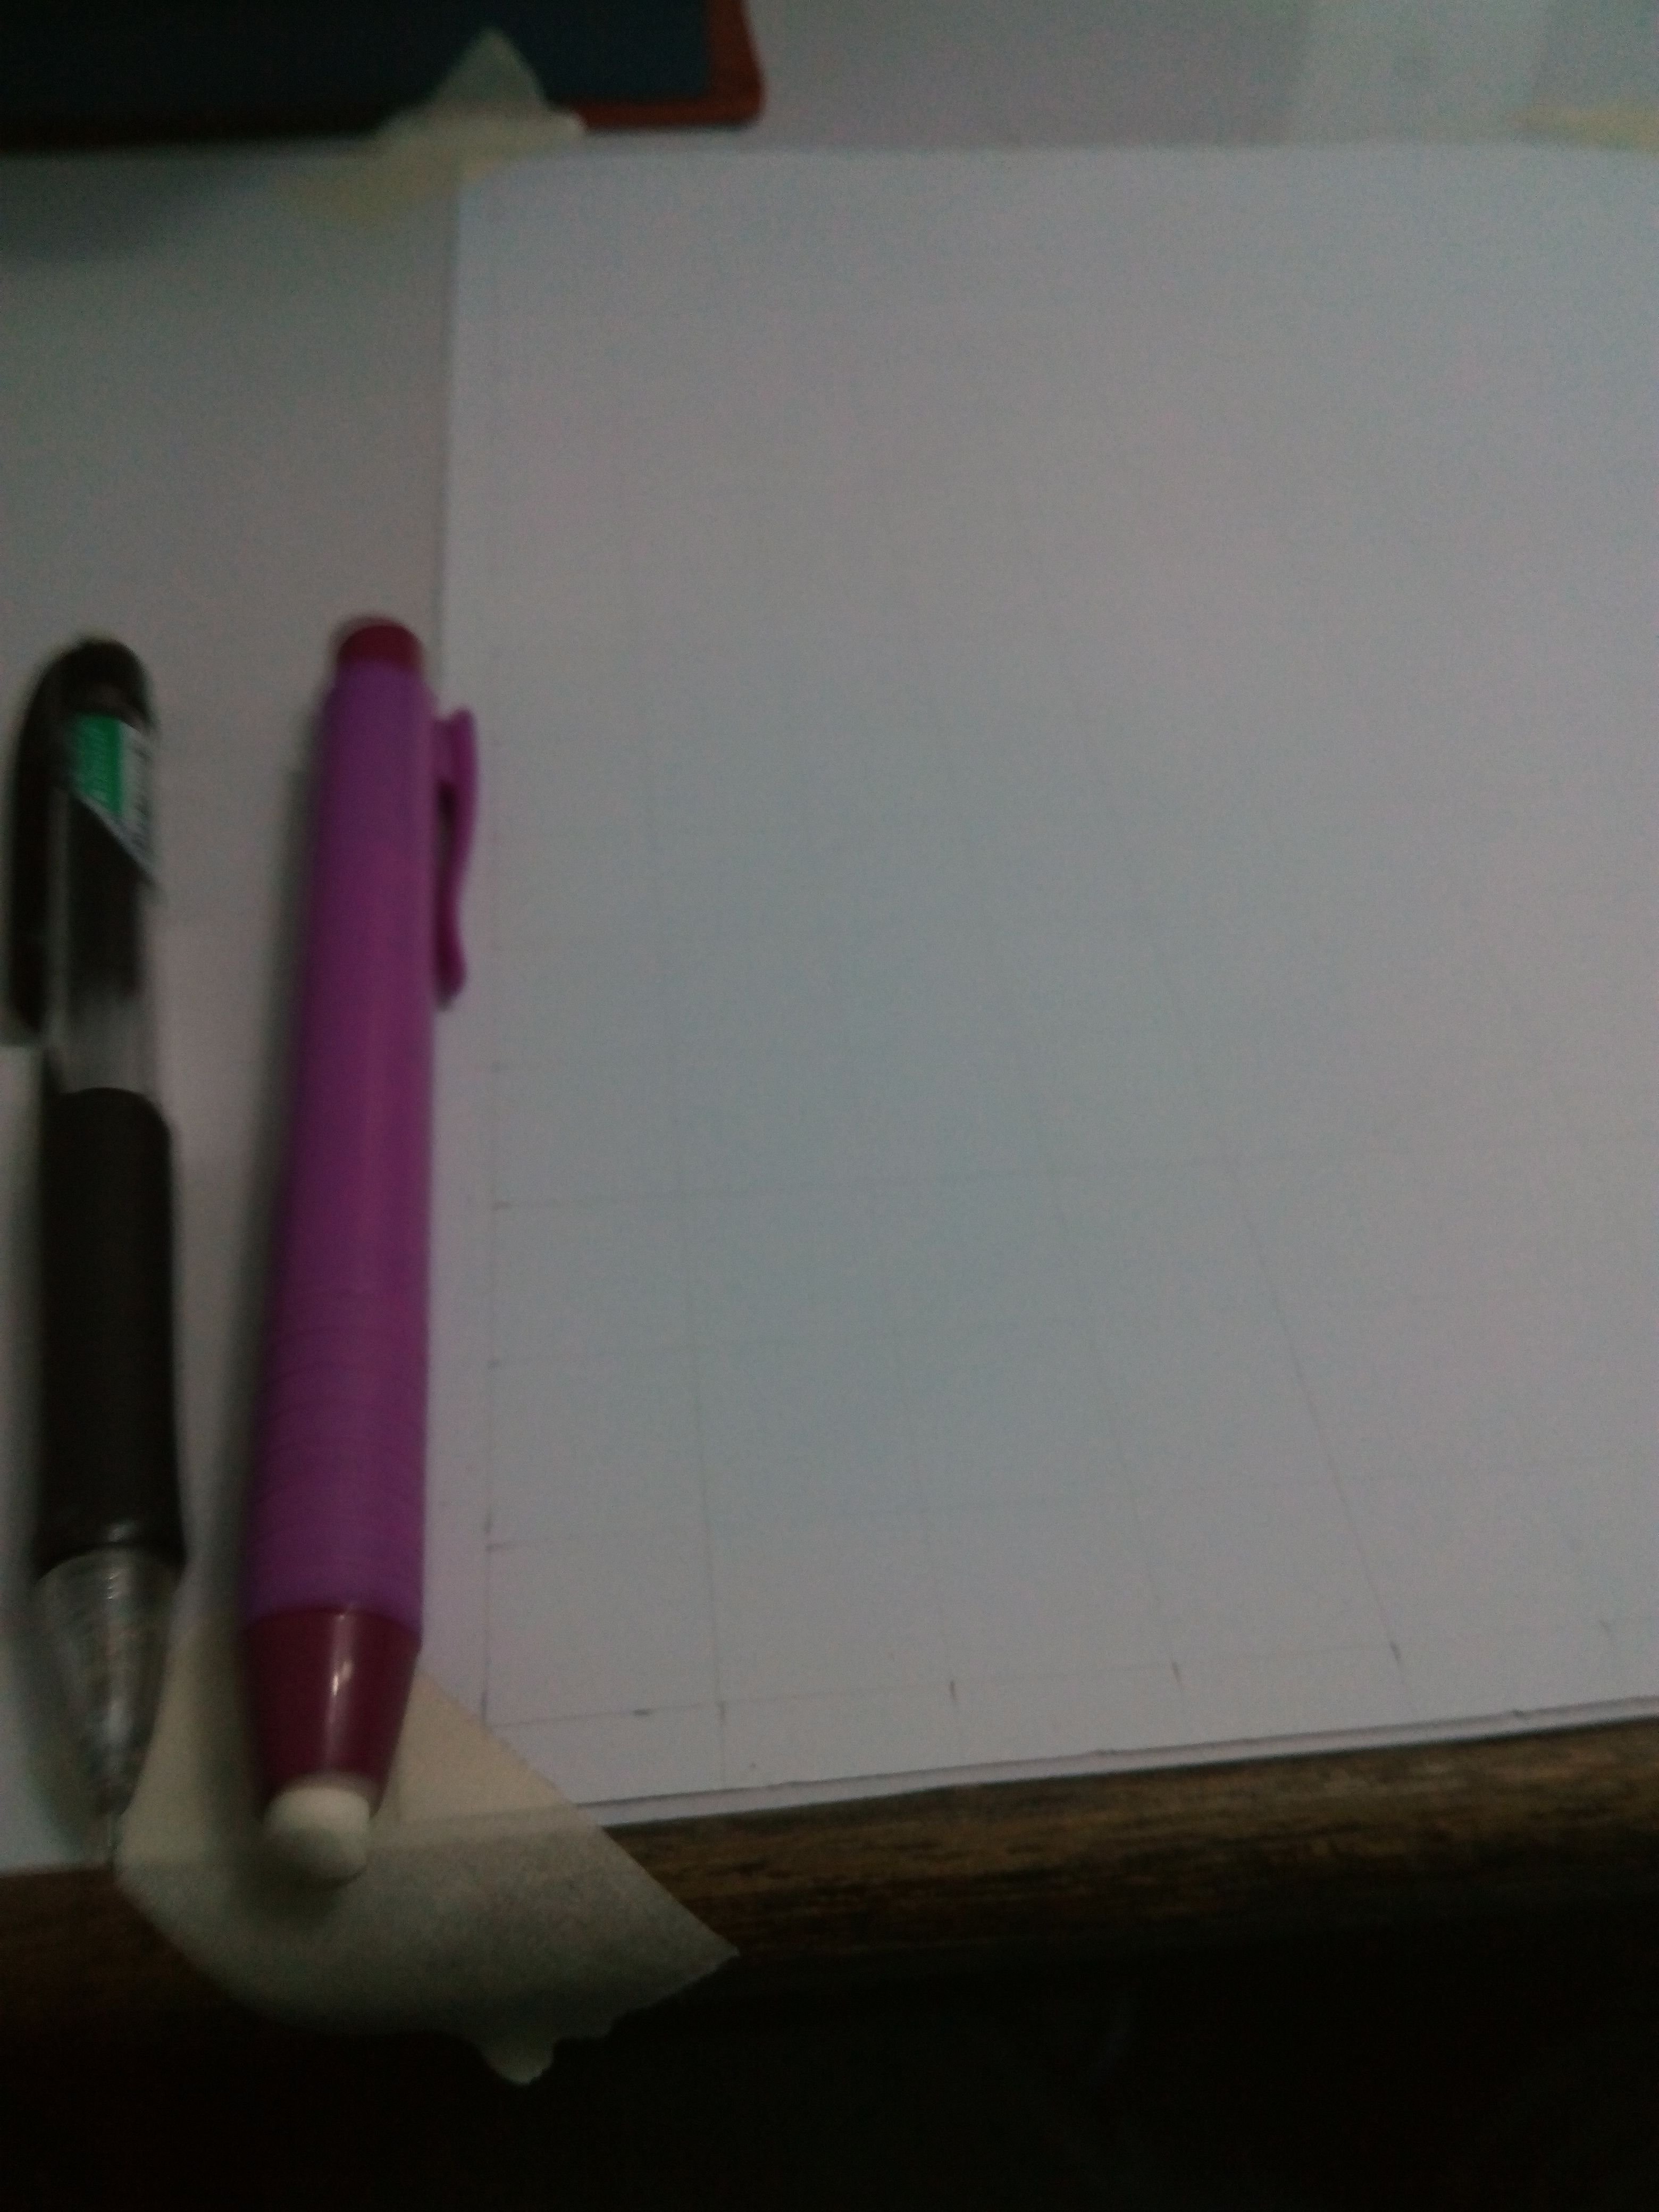
Step 2: I made a grid just like how many number of boxes were existed in my reference. You could lessen the uneccessary grids as long as it is fitted to your perspective. I used 2b mech pencil and ruler then I draw lines by not pushing an amount of pressure so that it can be easily erased. (Sorry I couldnt capture a focused picture in this photo)
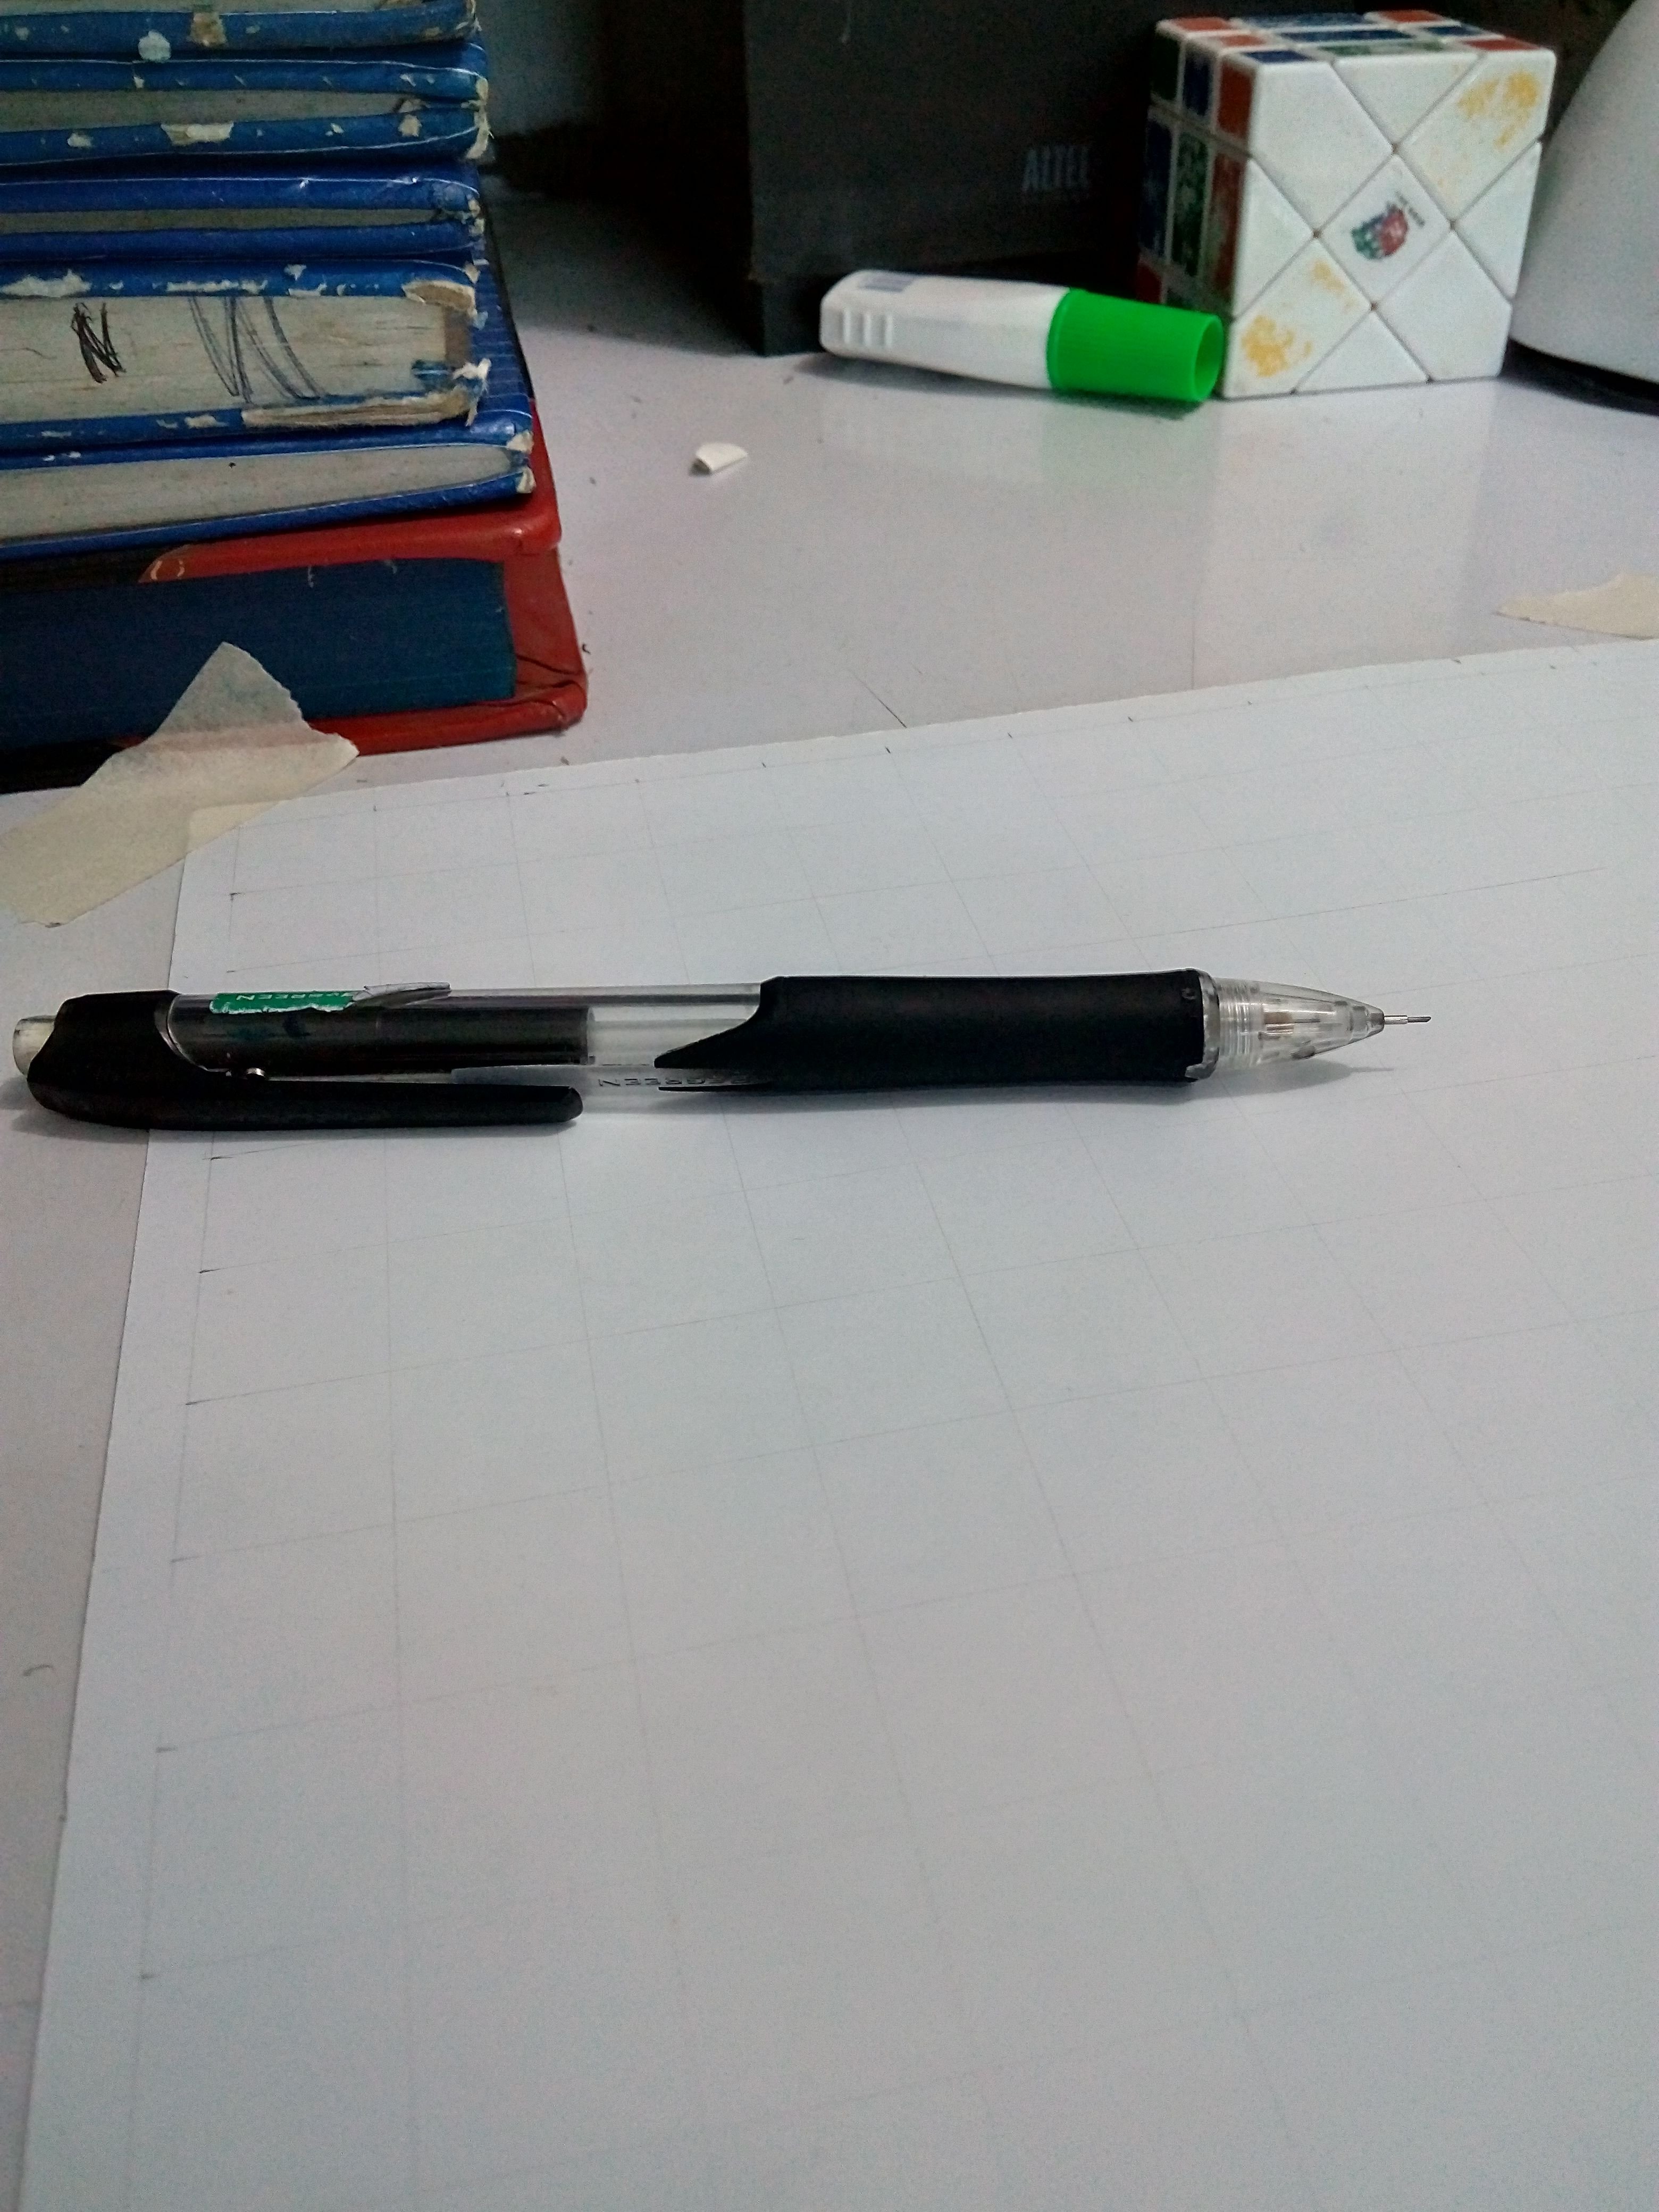
Step 3: I made a sketch just like the reference that I used. Using a mechanical pencil by not applying enough pressure on it.

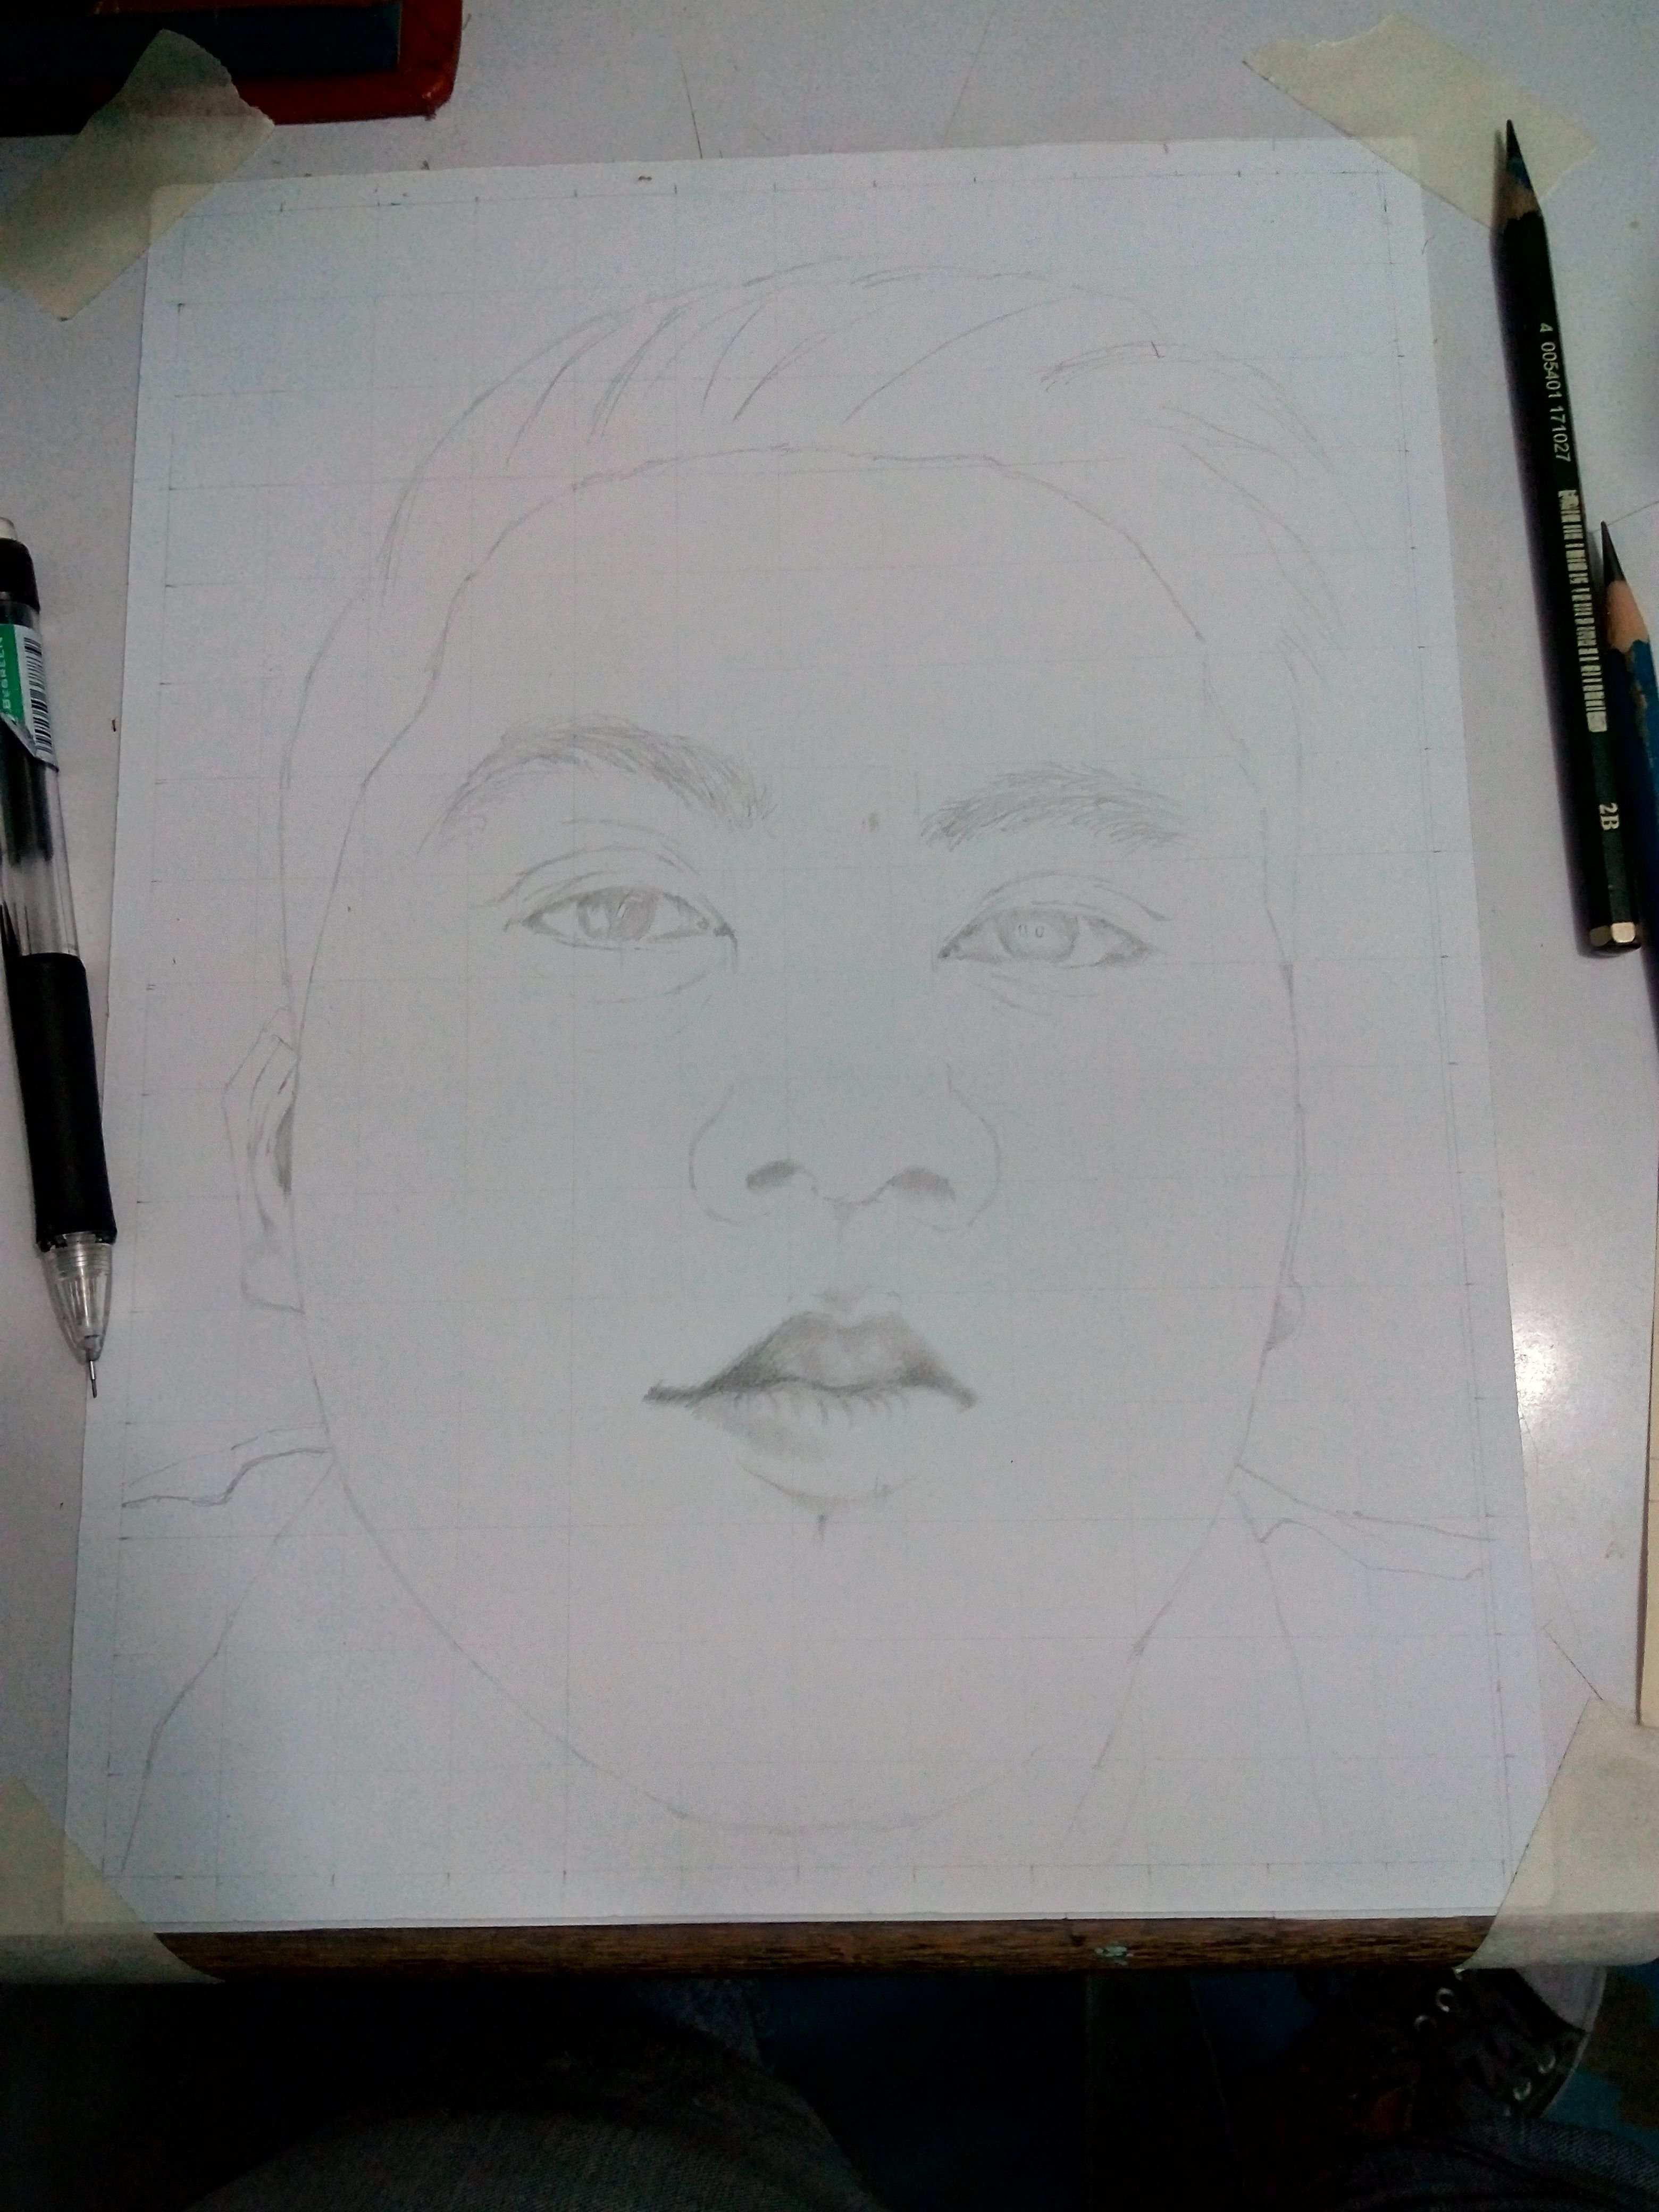
Step 4: I used 8b pencil on eyebrows, for the eyes and for the nose hole by applying enough pressure to darken that part.
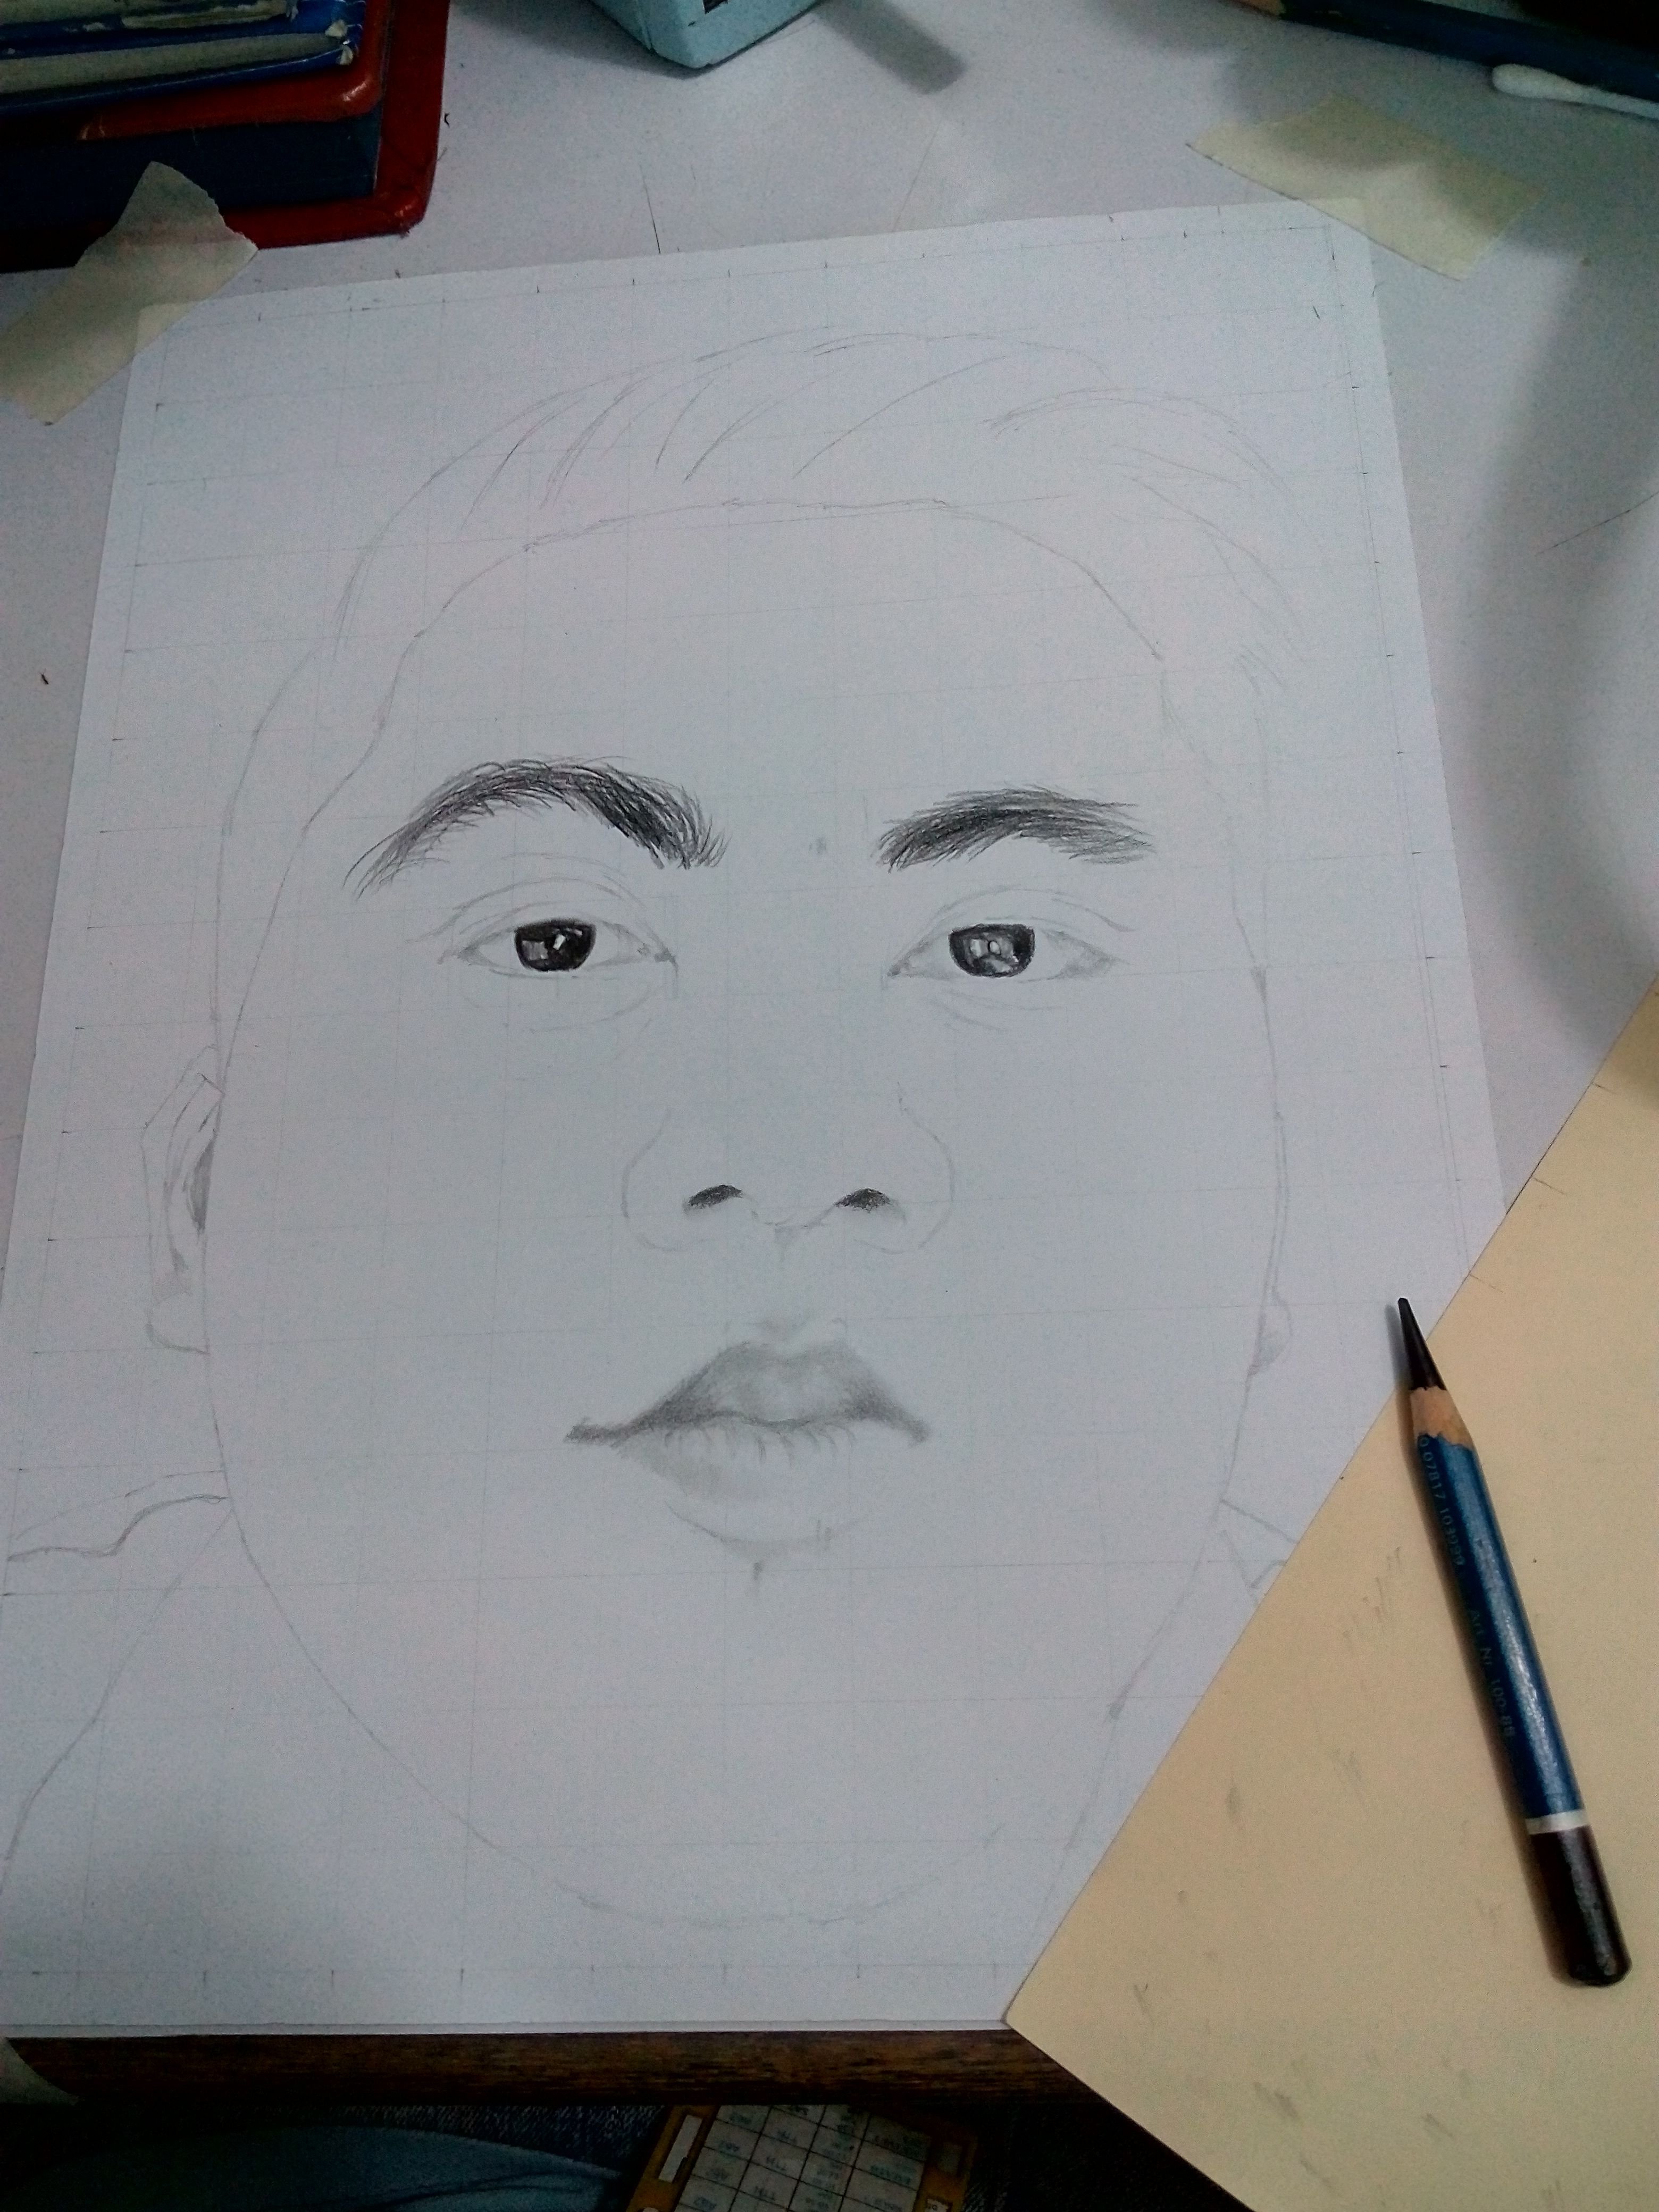
Step 5: I used 2b pencil on the light dark part portions on the face then simply smudging softly with a soft bristle brush in a circular movement. Make sure that your pencil in not quite enough sharp and prevent from over pressure in applying a shade.
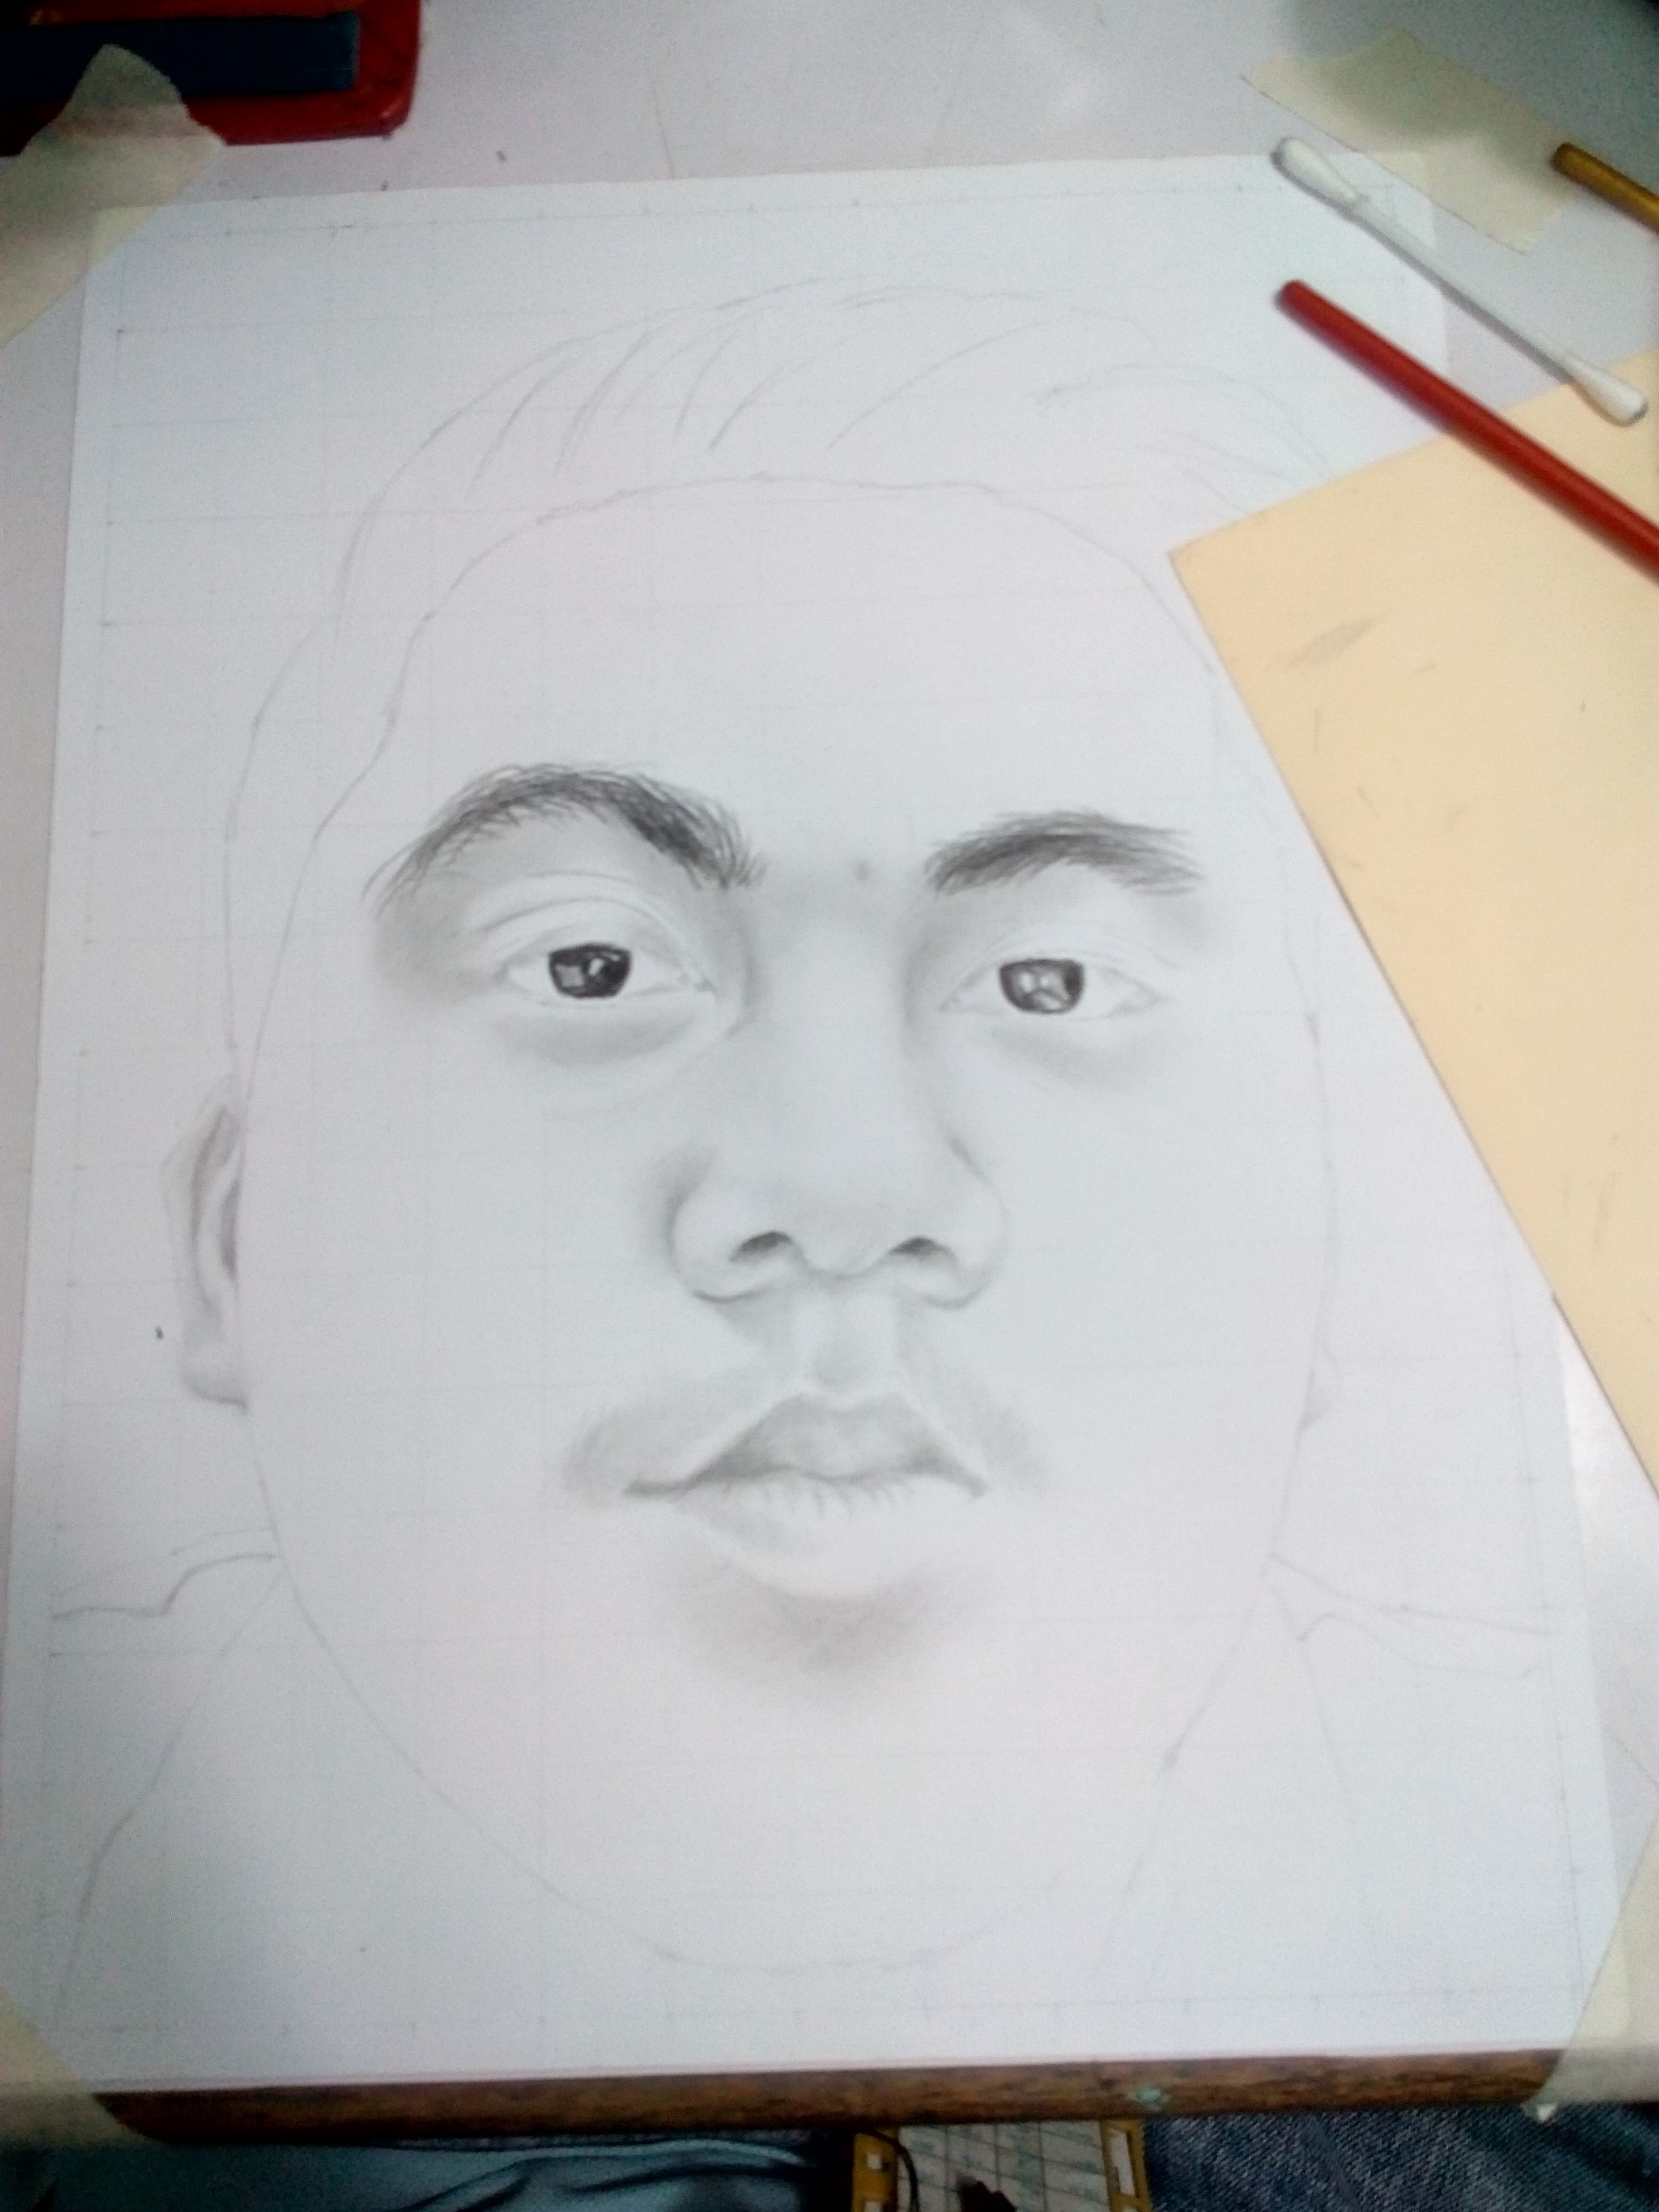
Step 6: I used 6b pencil to darken some portions of the face to emphasize the shades of the reference that I used and simply smudging to smoothen the shade down to the light dark shade with a use of soft bristle by moving in a circular movement.
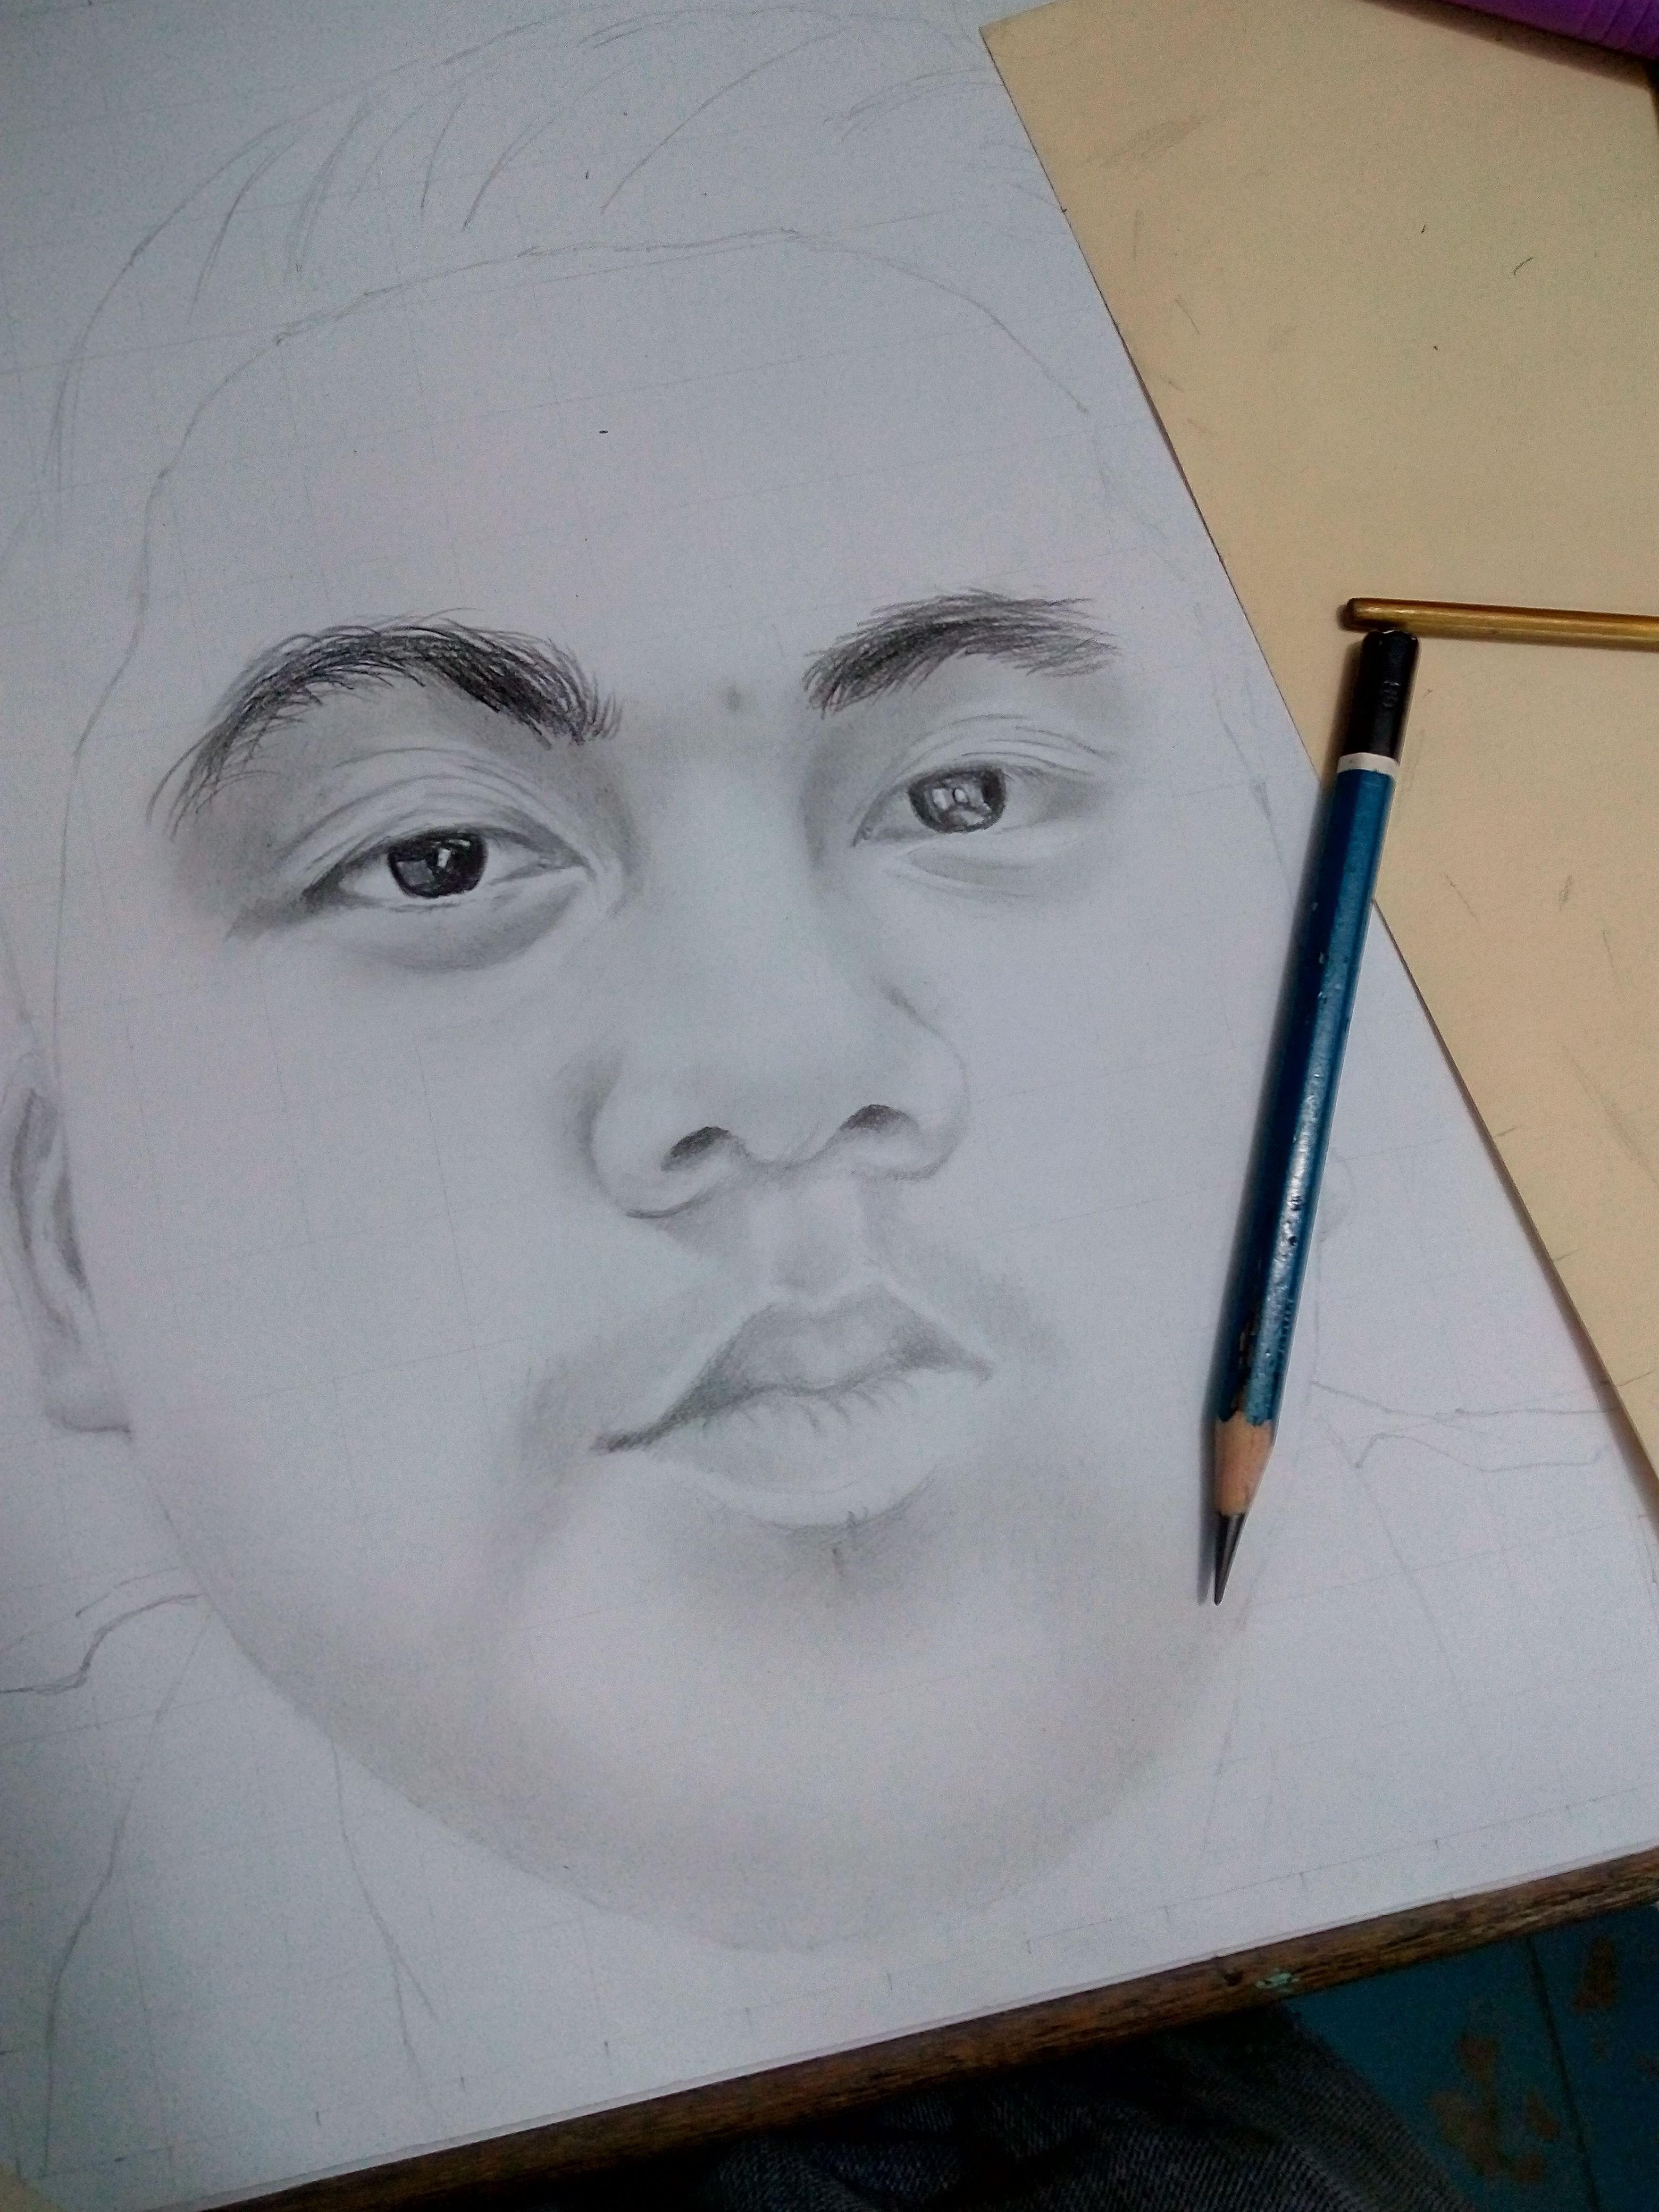
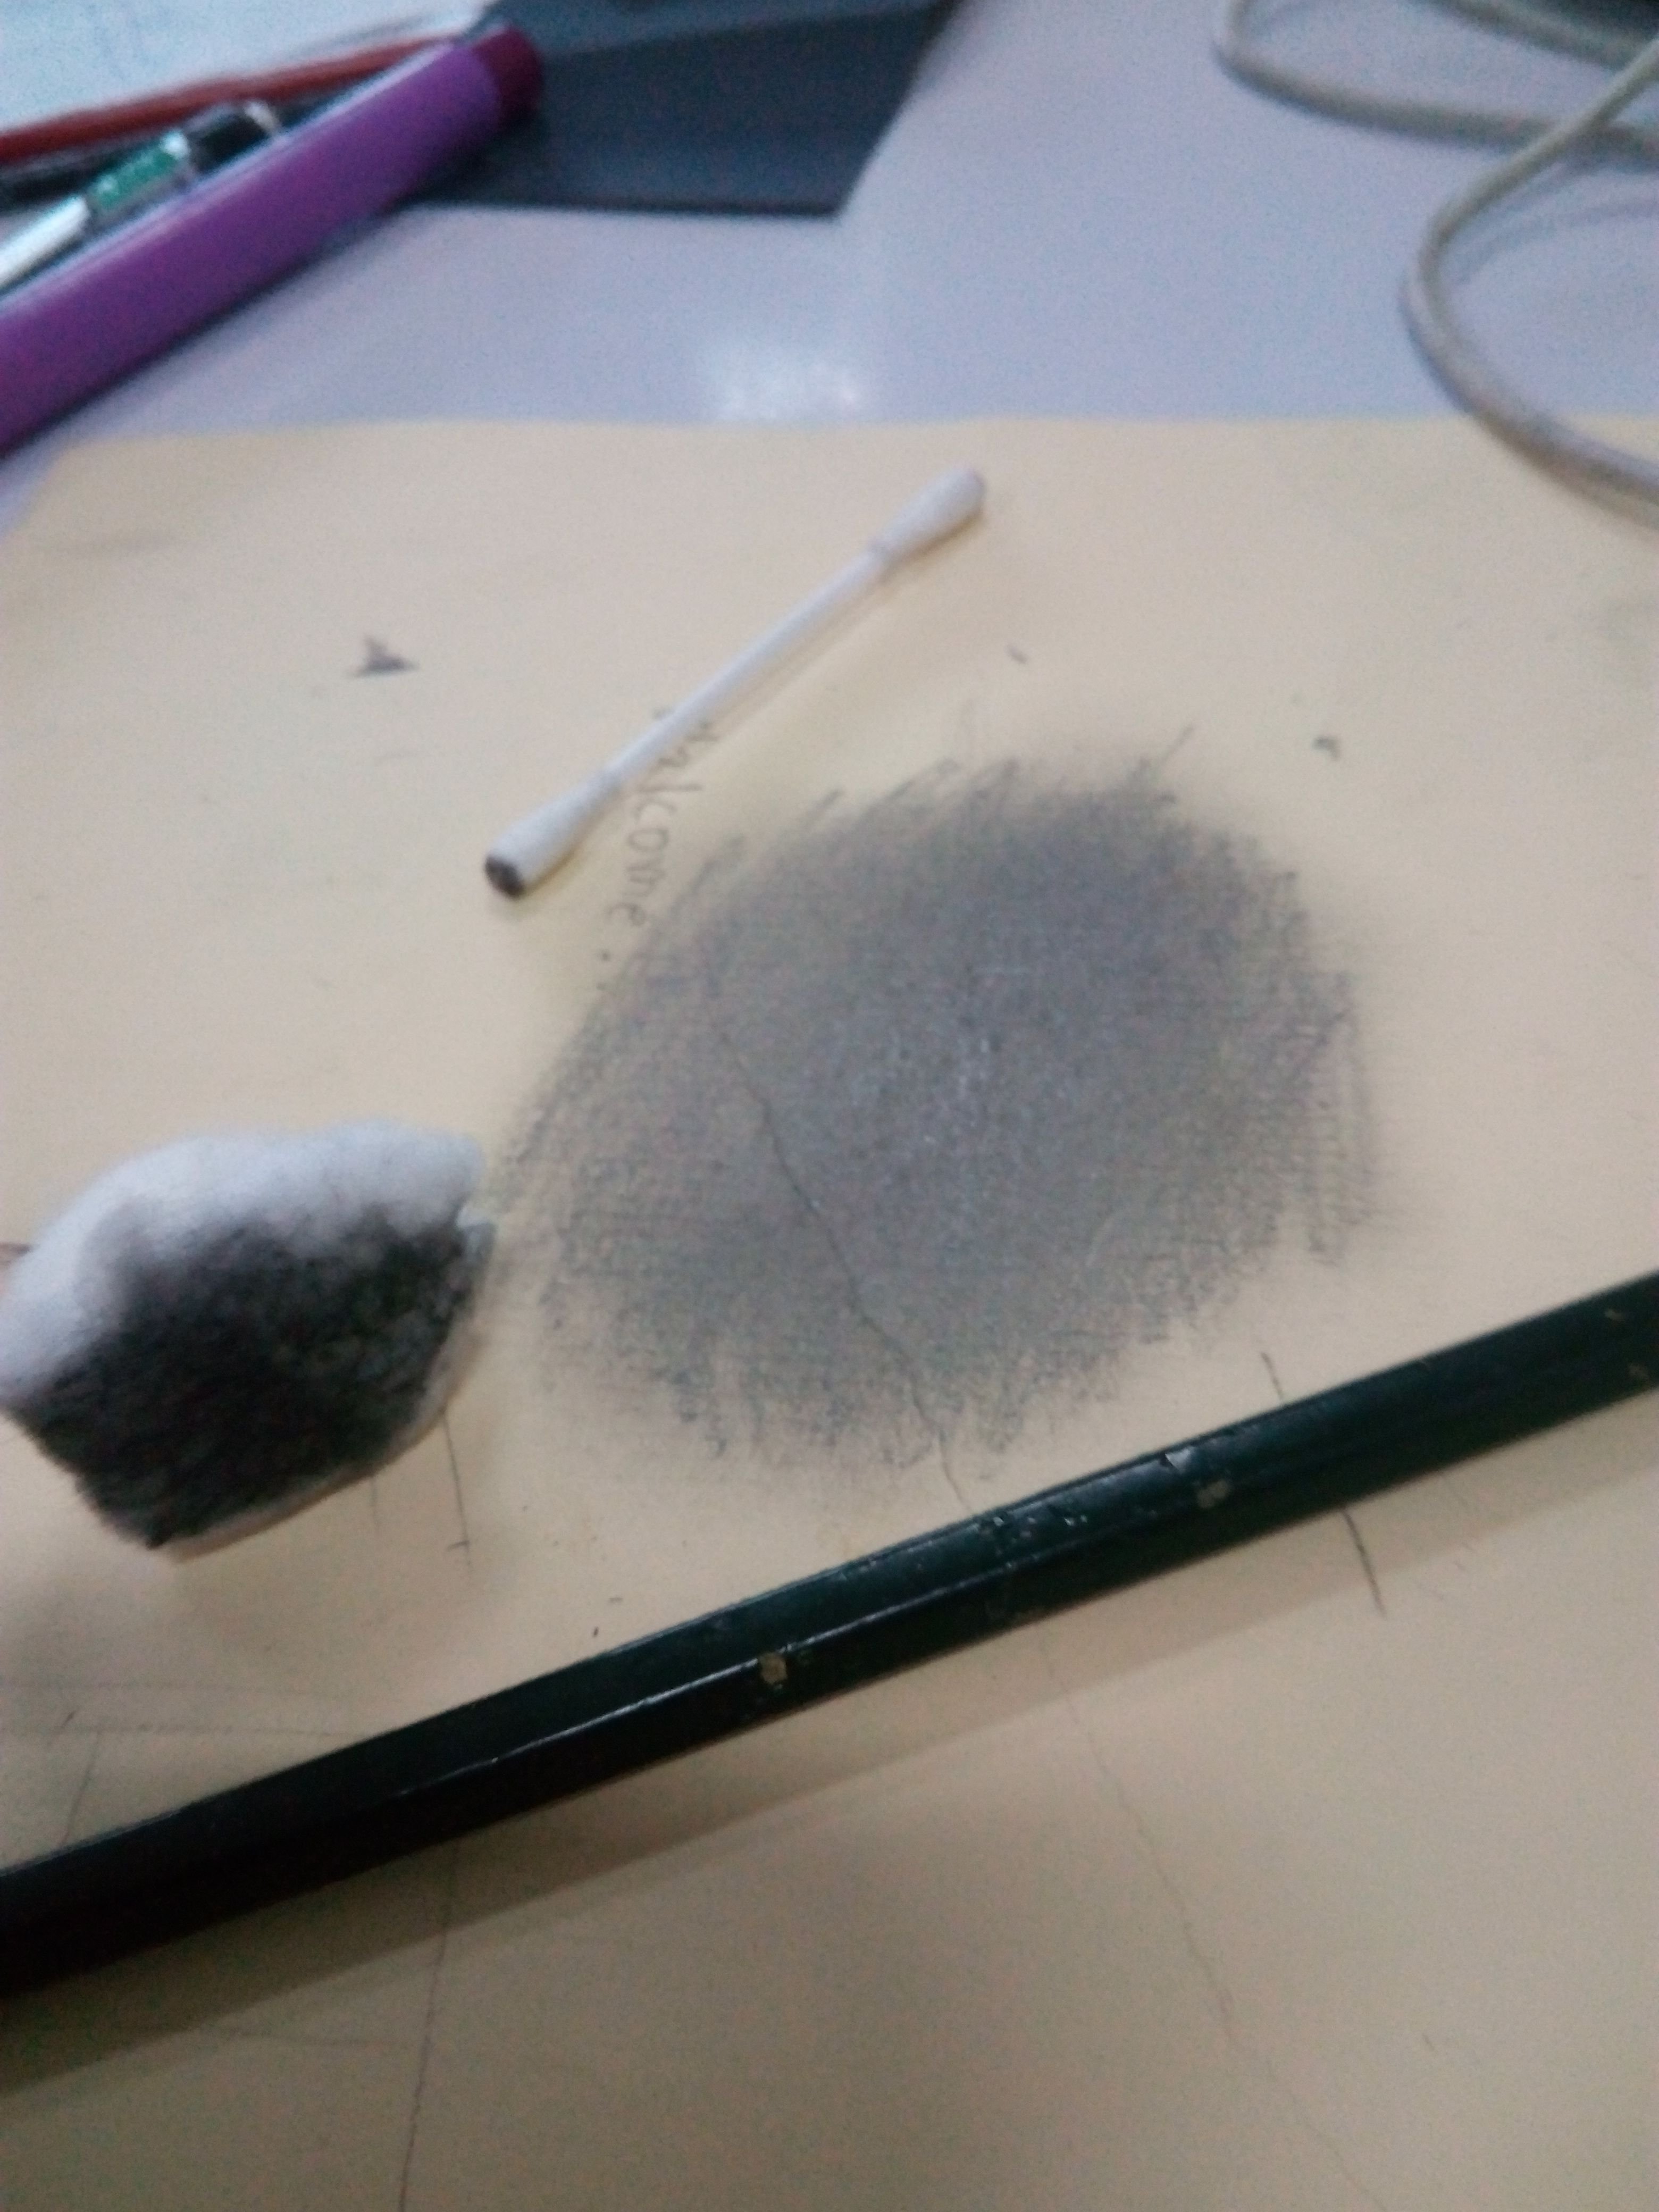
Step 7: I made a 2b shade on a scratch paper and I used a cotton balls to dip into the shade and made a circular movement so that the dust of 2b pencil will transfer to the cotton balls then dip it into a clean paper then do circular movement without pushing enough pressure into the paper to remove excess dust. Then I used the shaded cotton balls into my portrait to achieve my desired skintone. Remember not to apply enought pressure, just simply it looks like touching the paper.
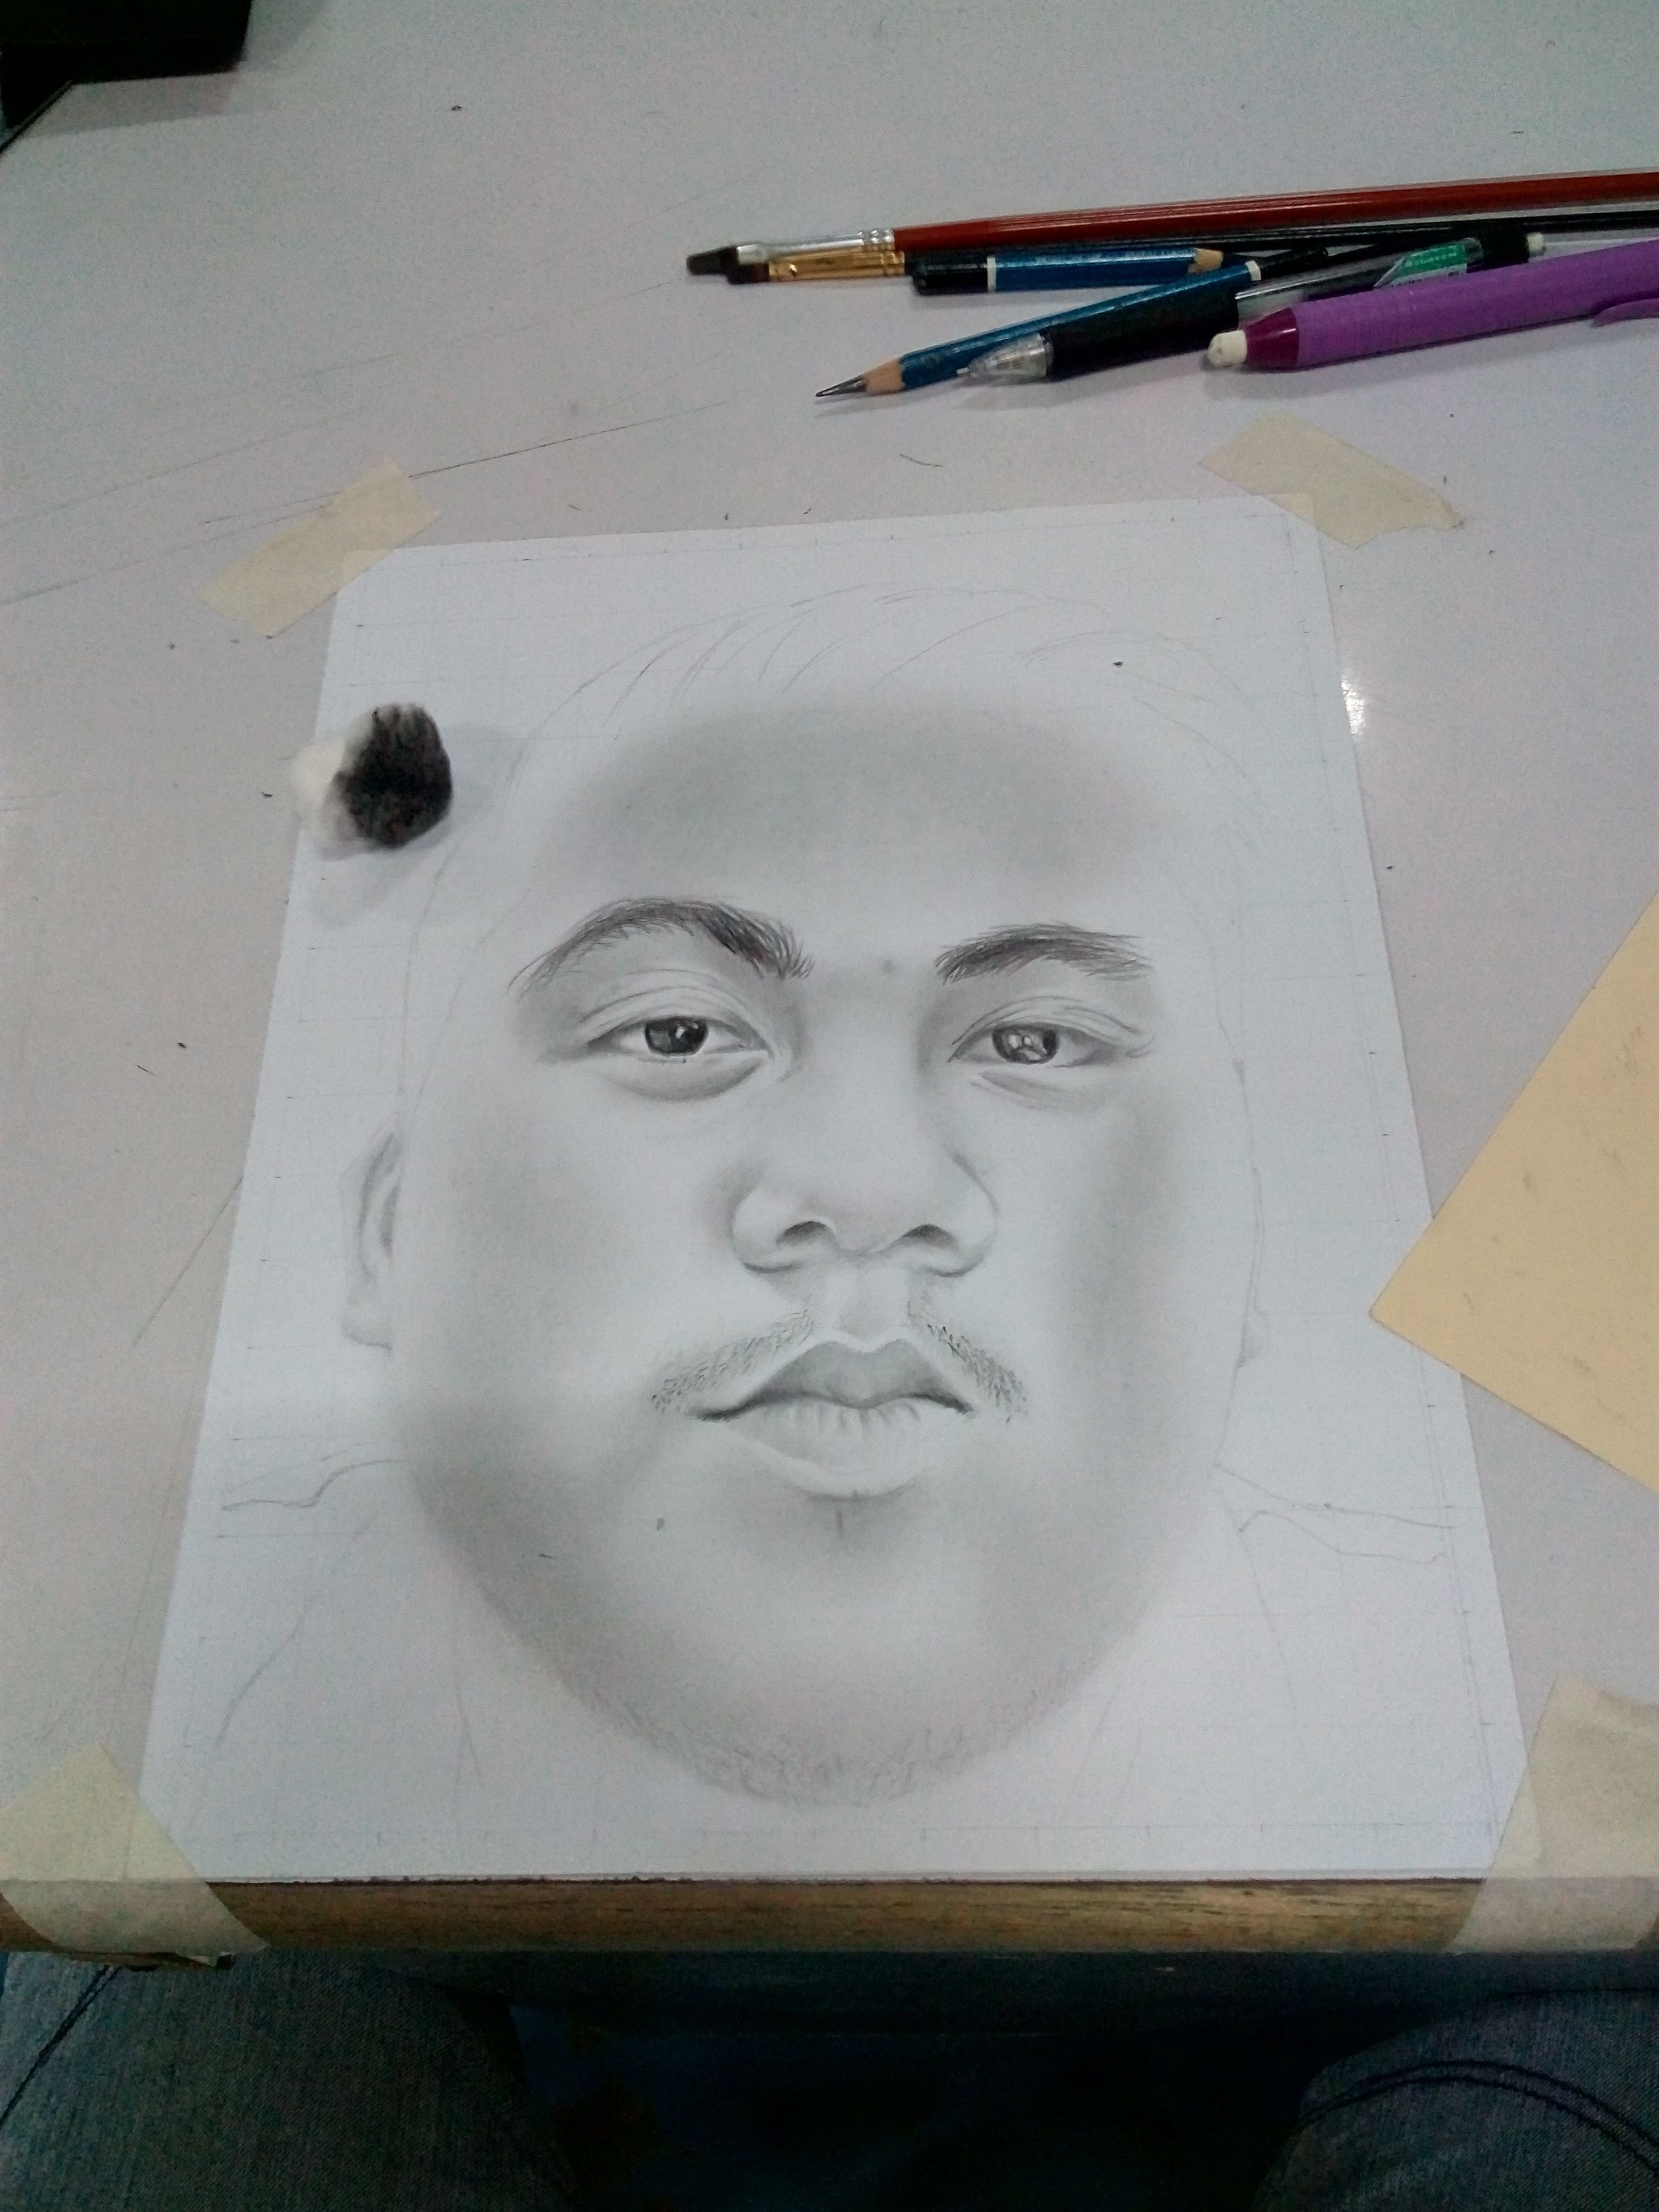
Step 8: I used mono eraser to erase some parts of the portrait to emphasize the highlights.
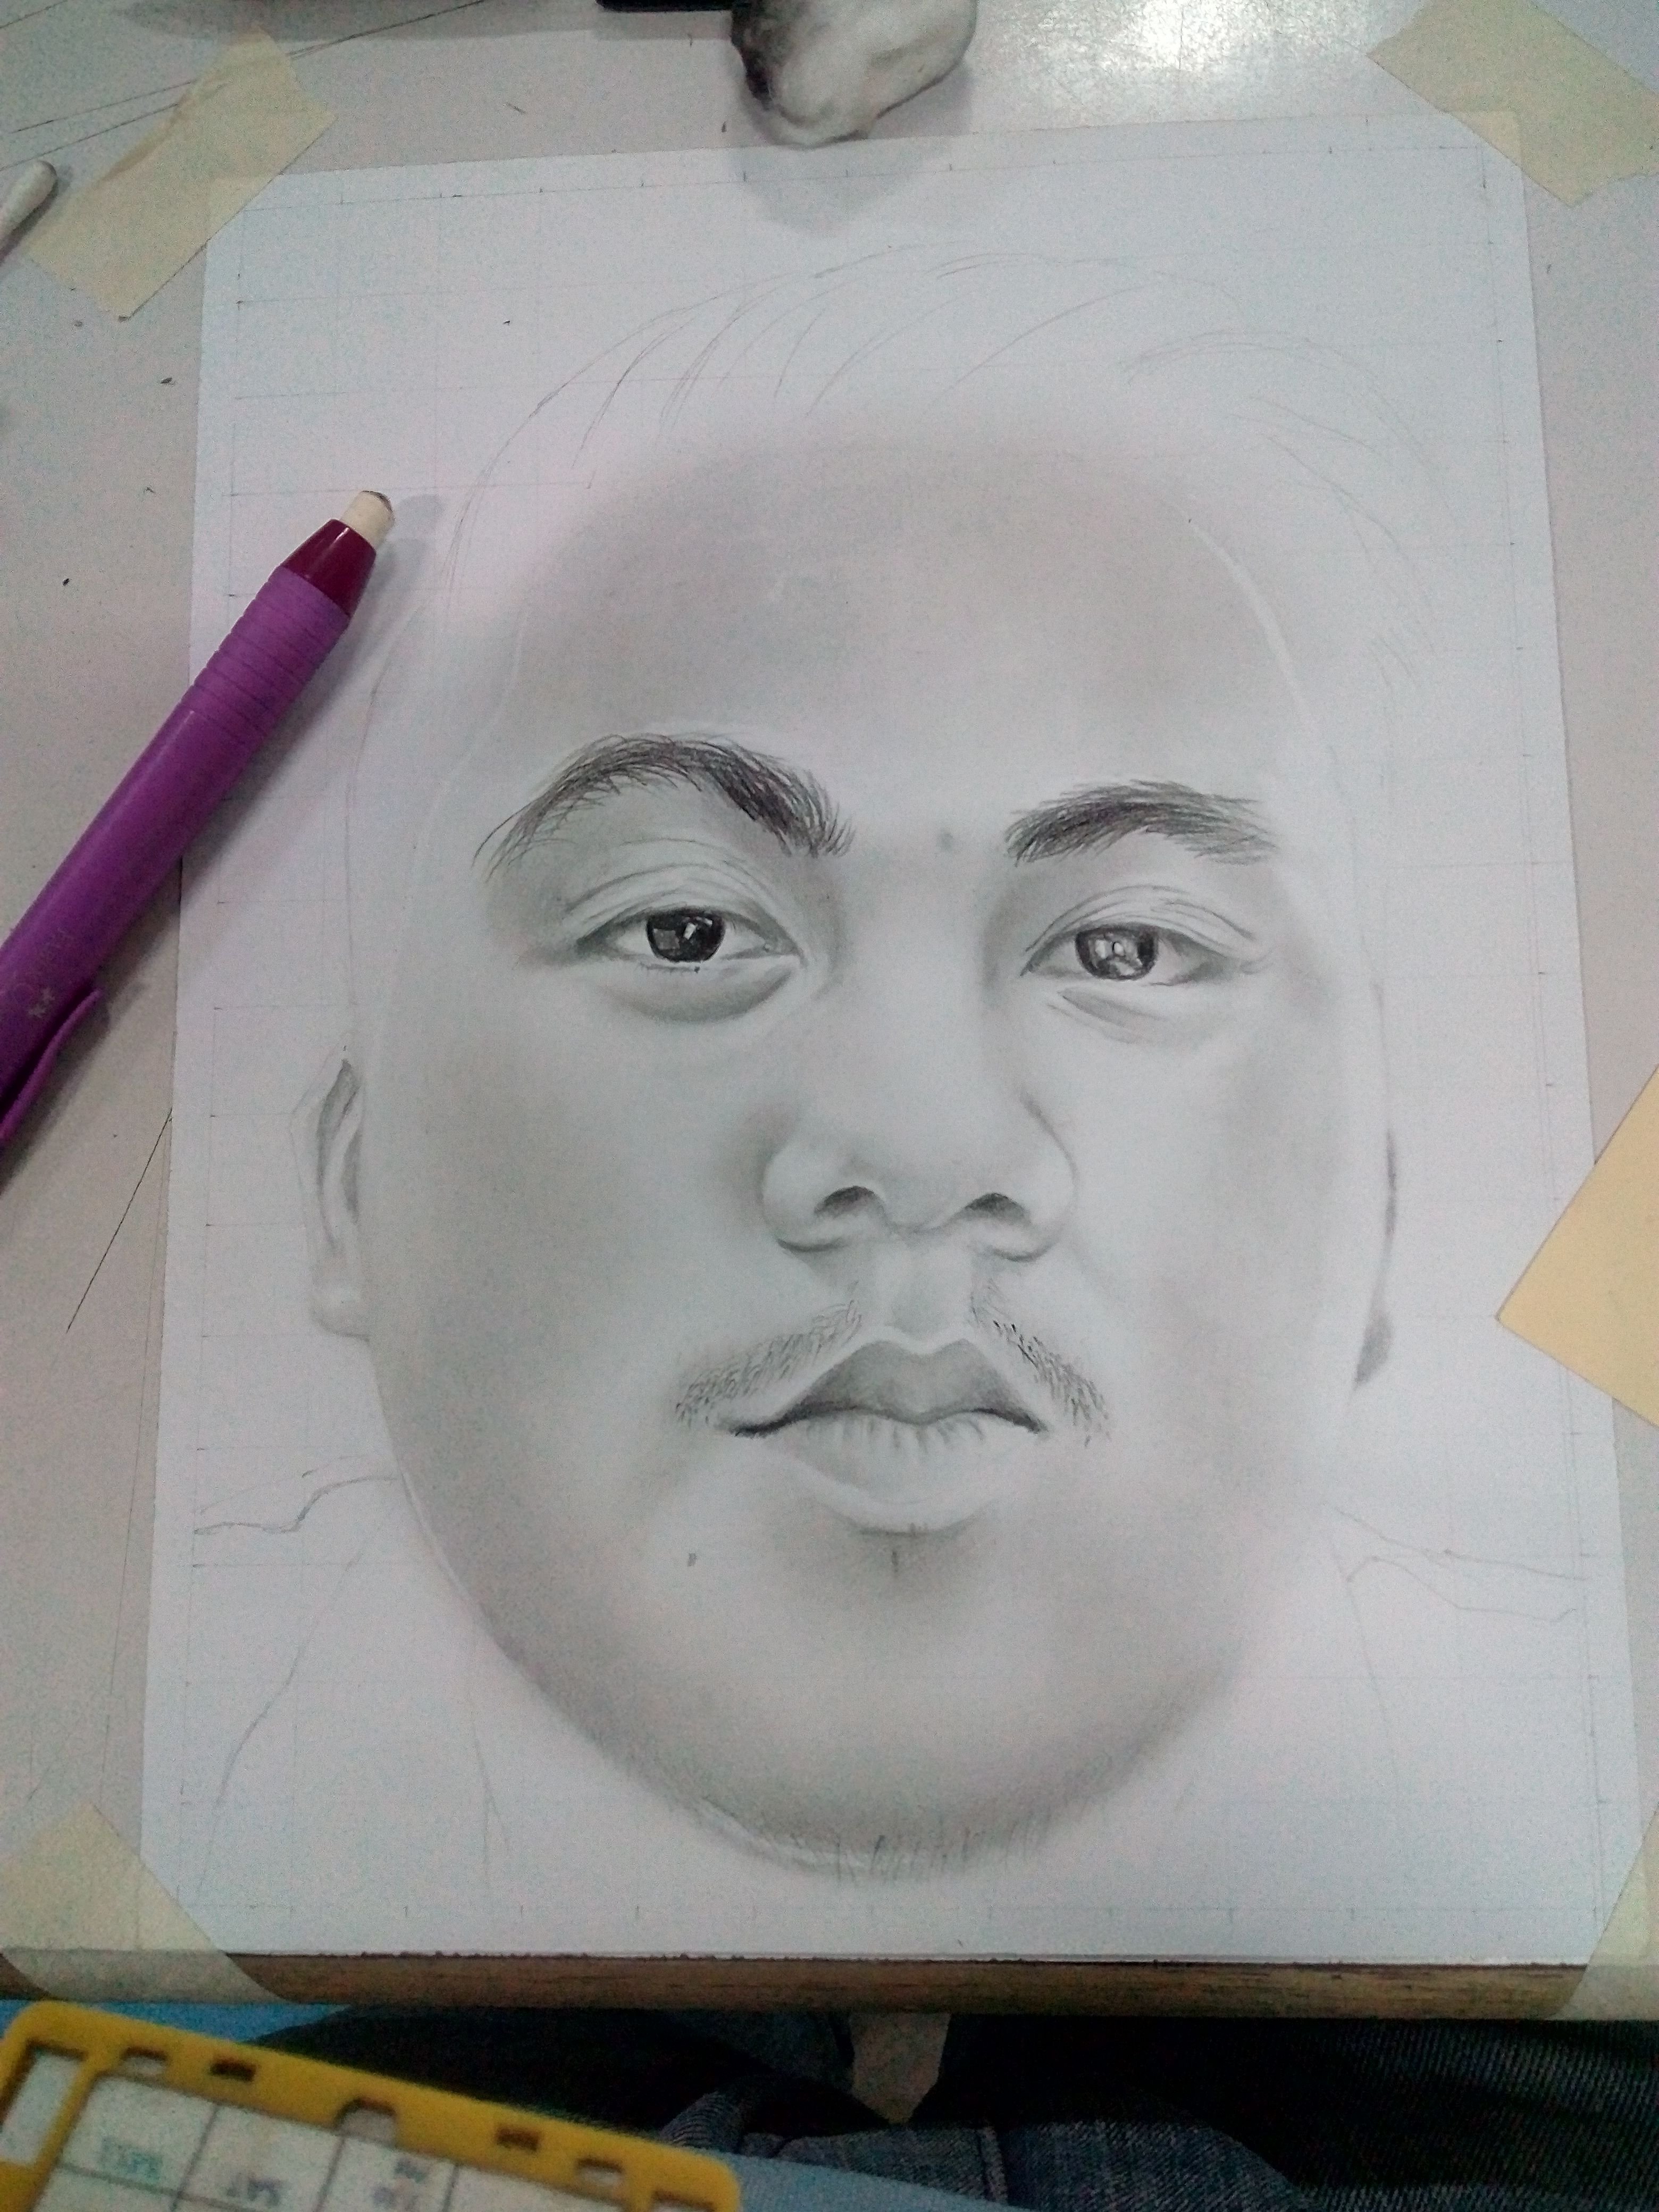
Step 9: I used a compressed charcoal then shaded it to a scratch of paper then I used a flat brush to dip into the shade and do some circular movement to grab some dust of the compressed charcoal then I applied to the hair portion by one stroke movement.
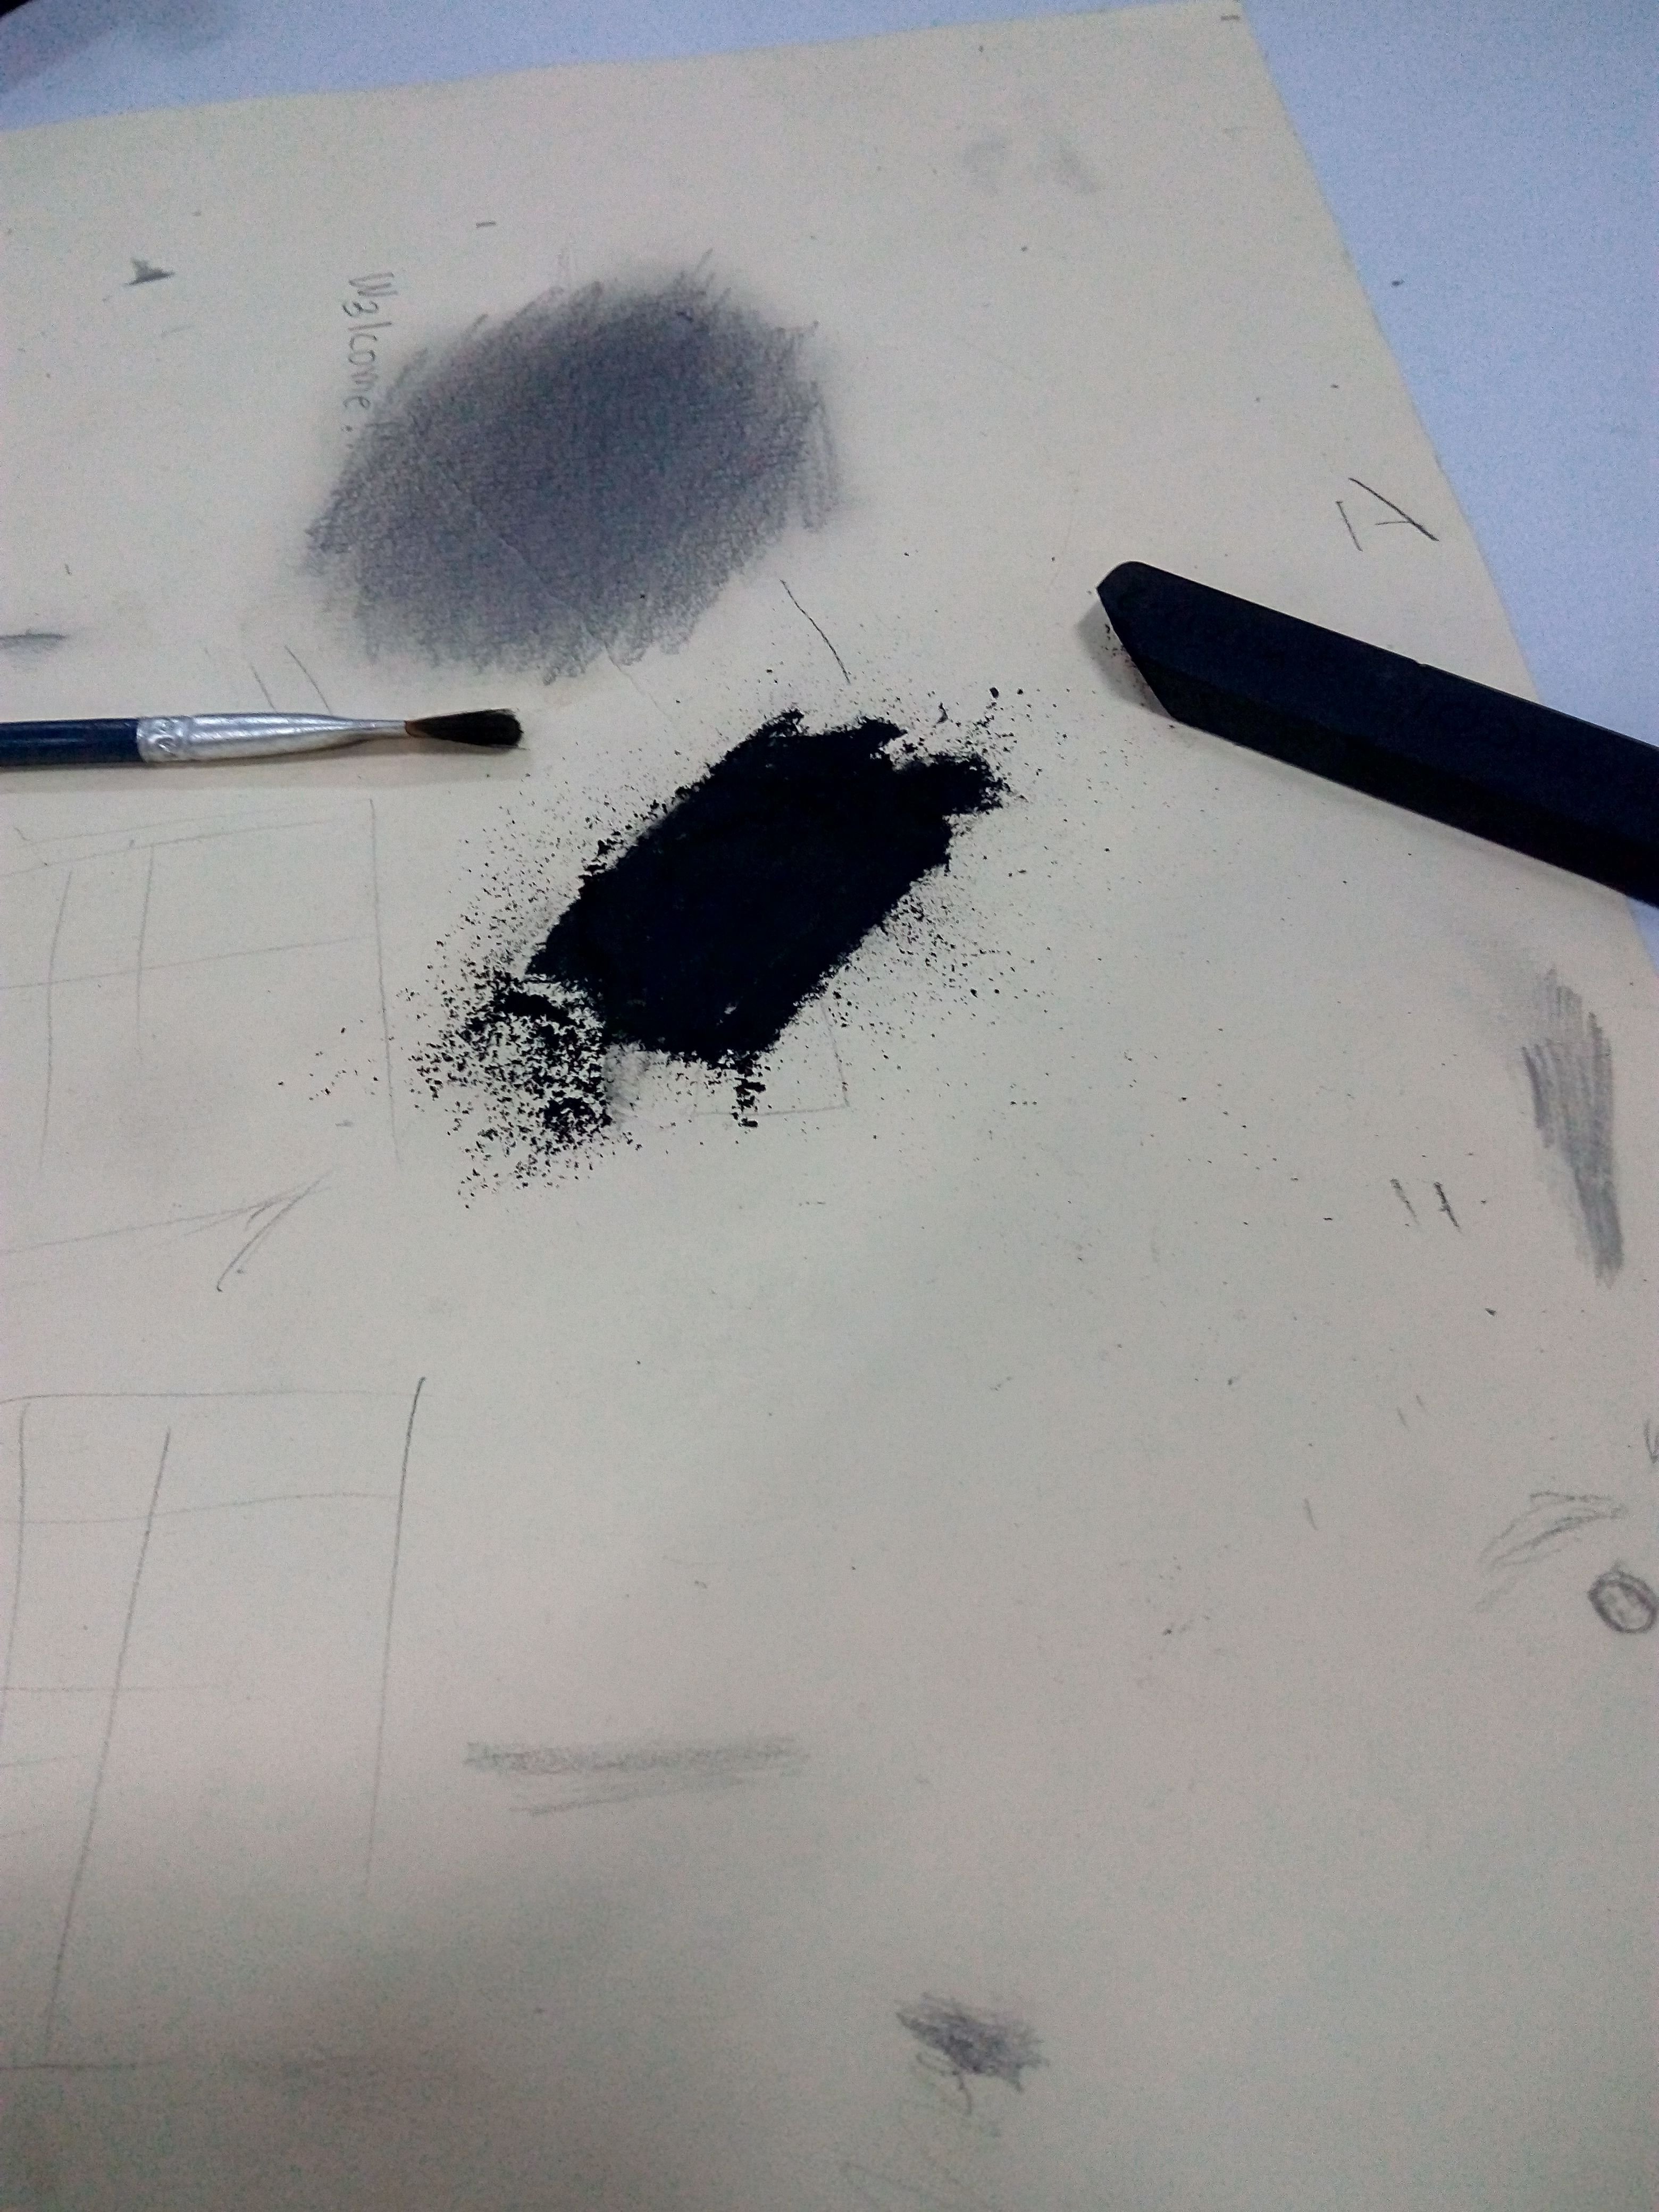
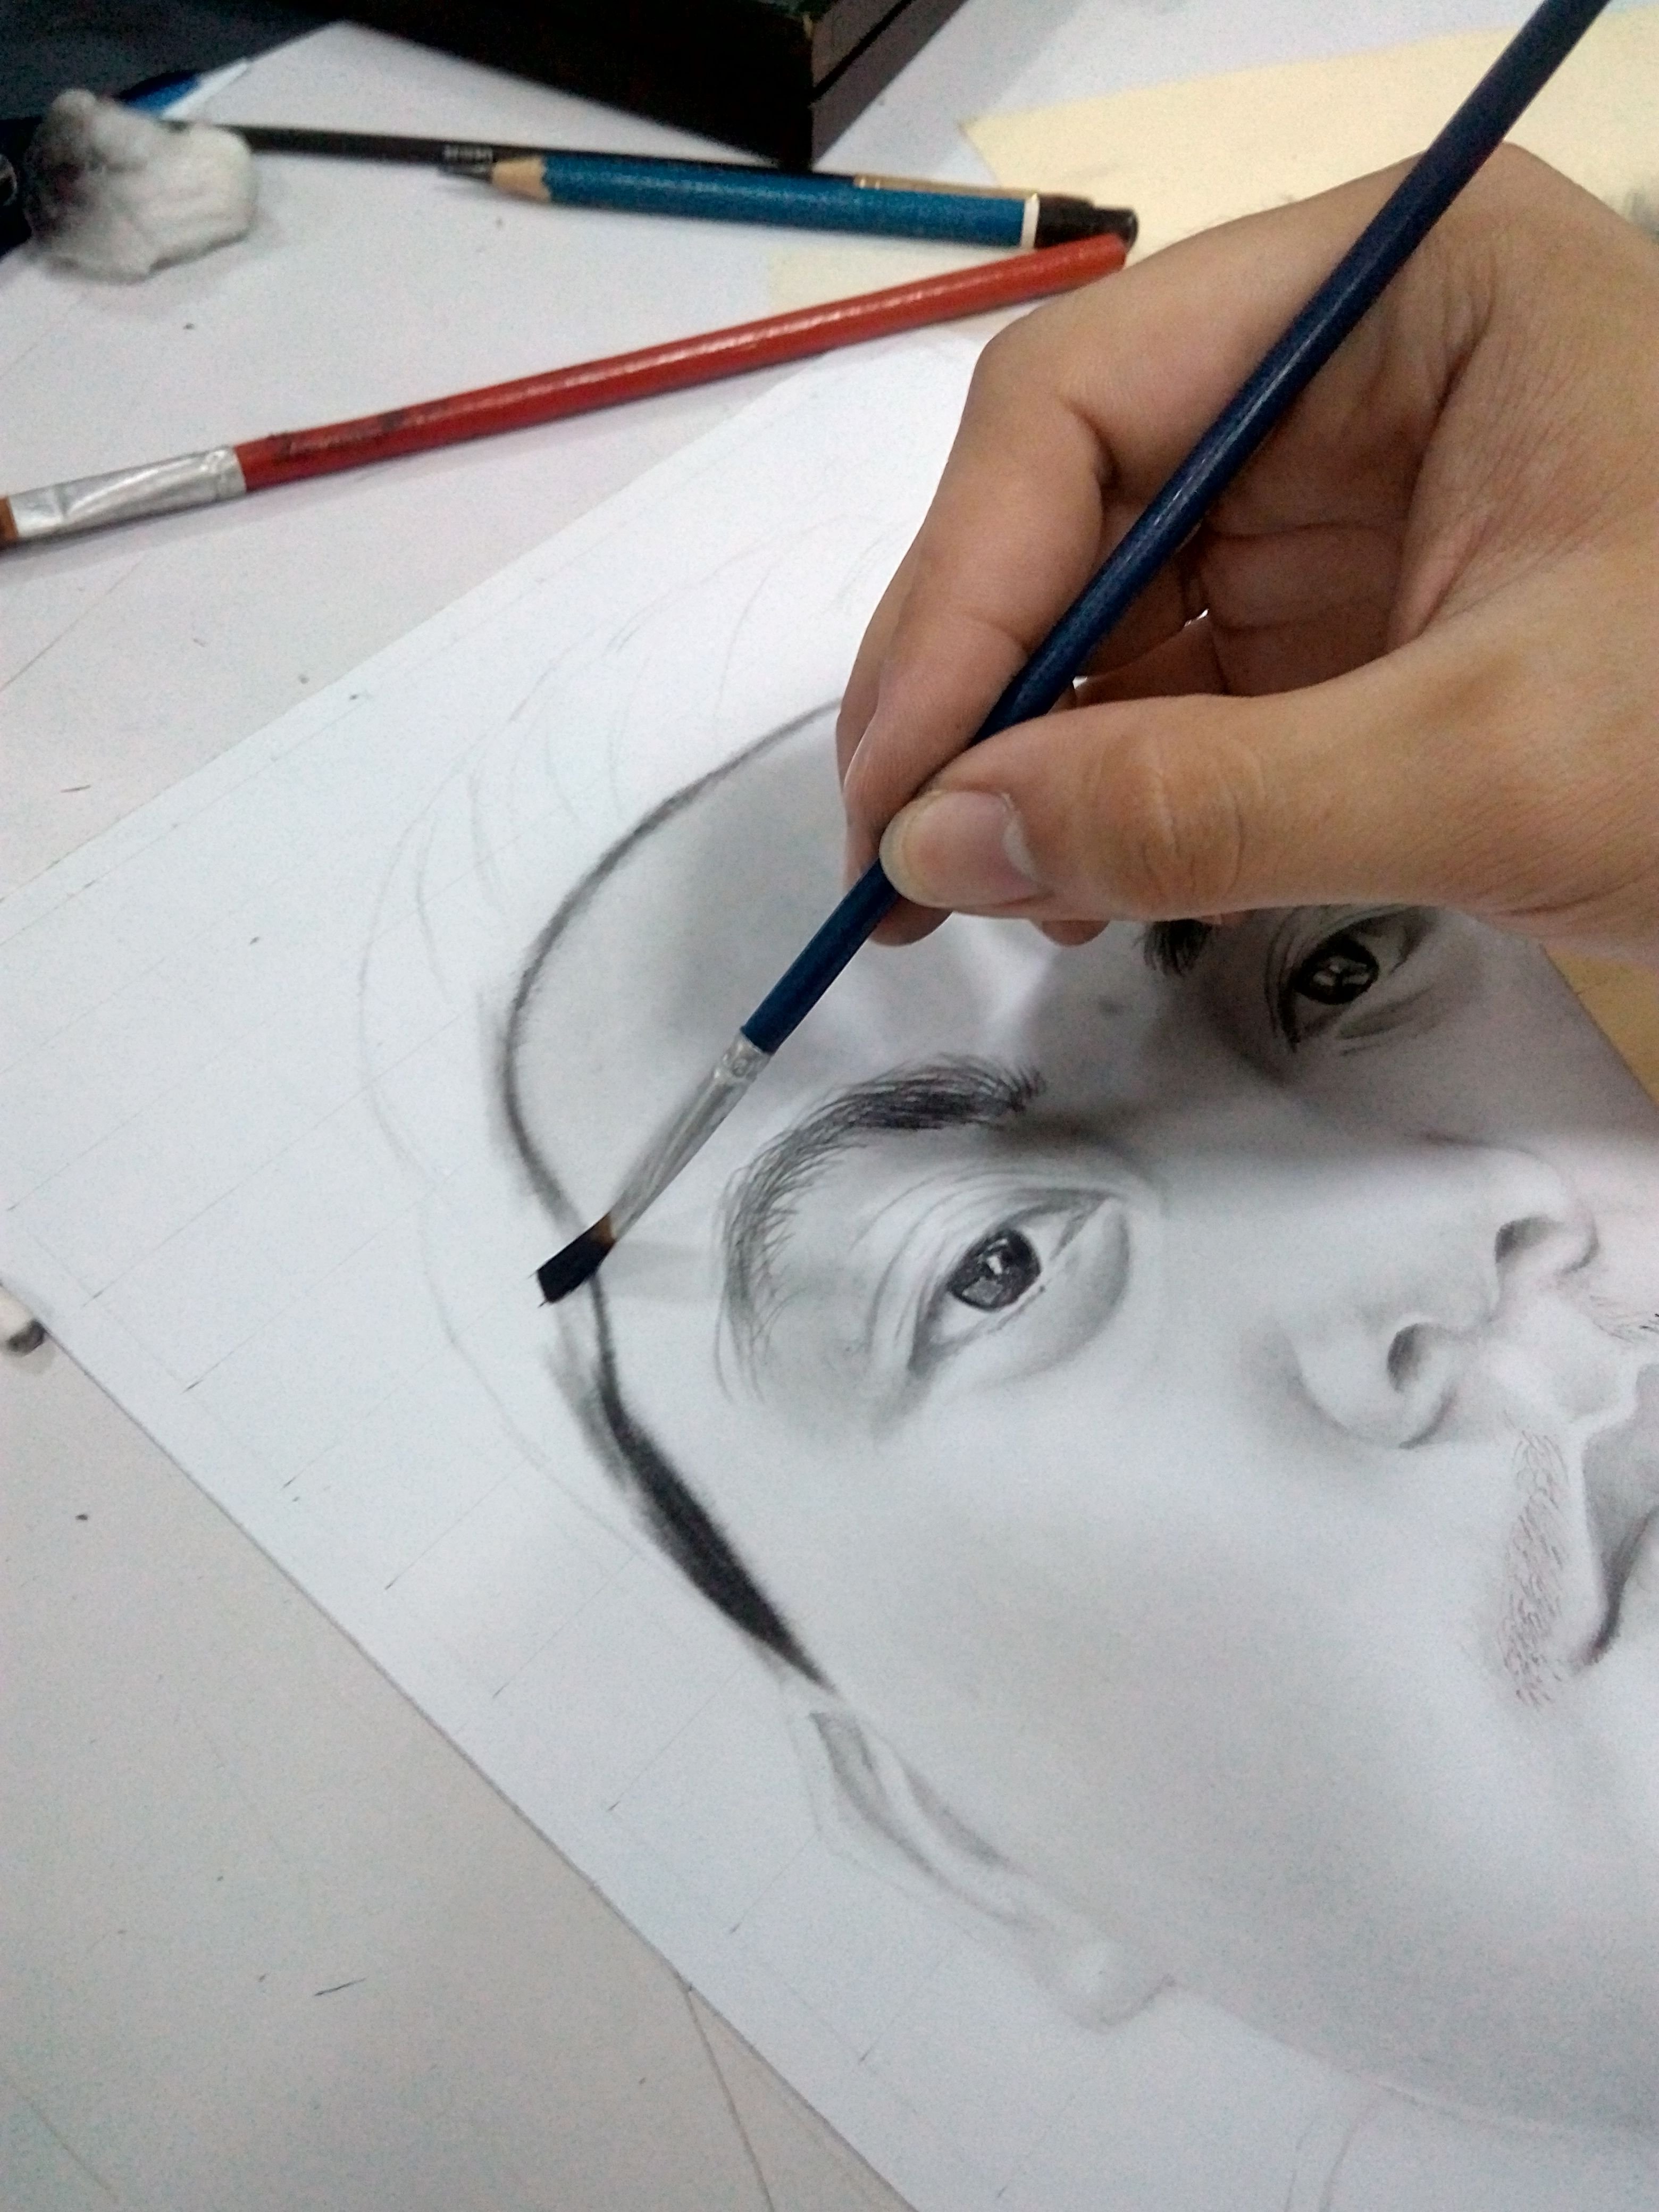
Step 10: I used 8b pencil for the strands of the hair then I used mono eraser for the highlights.
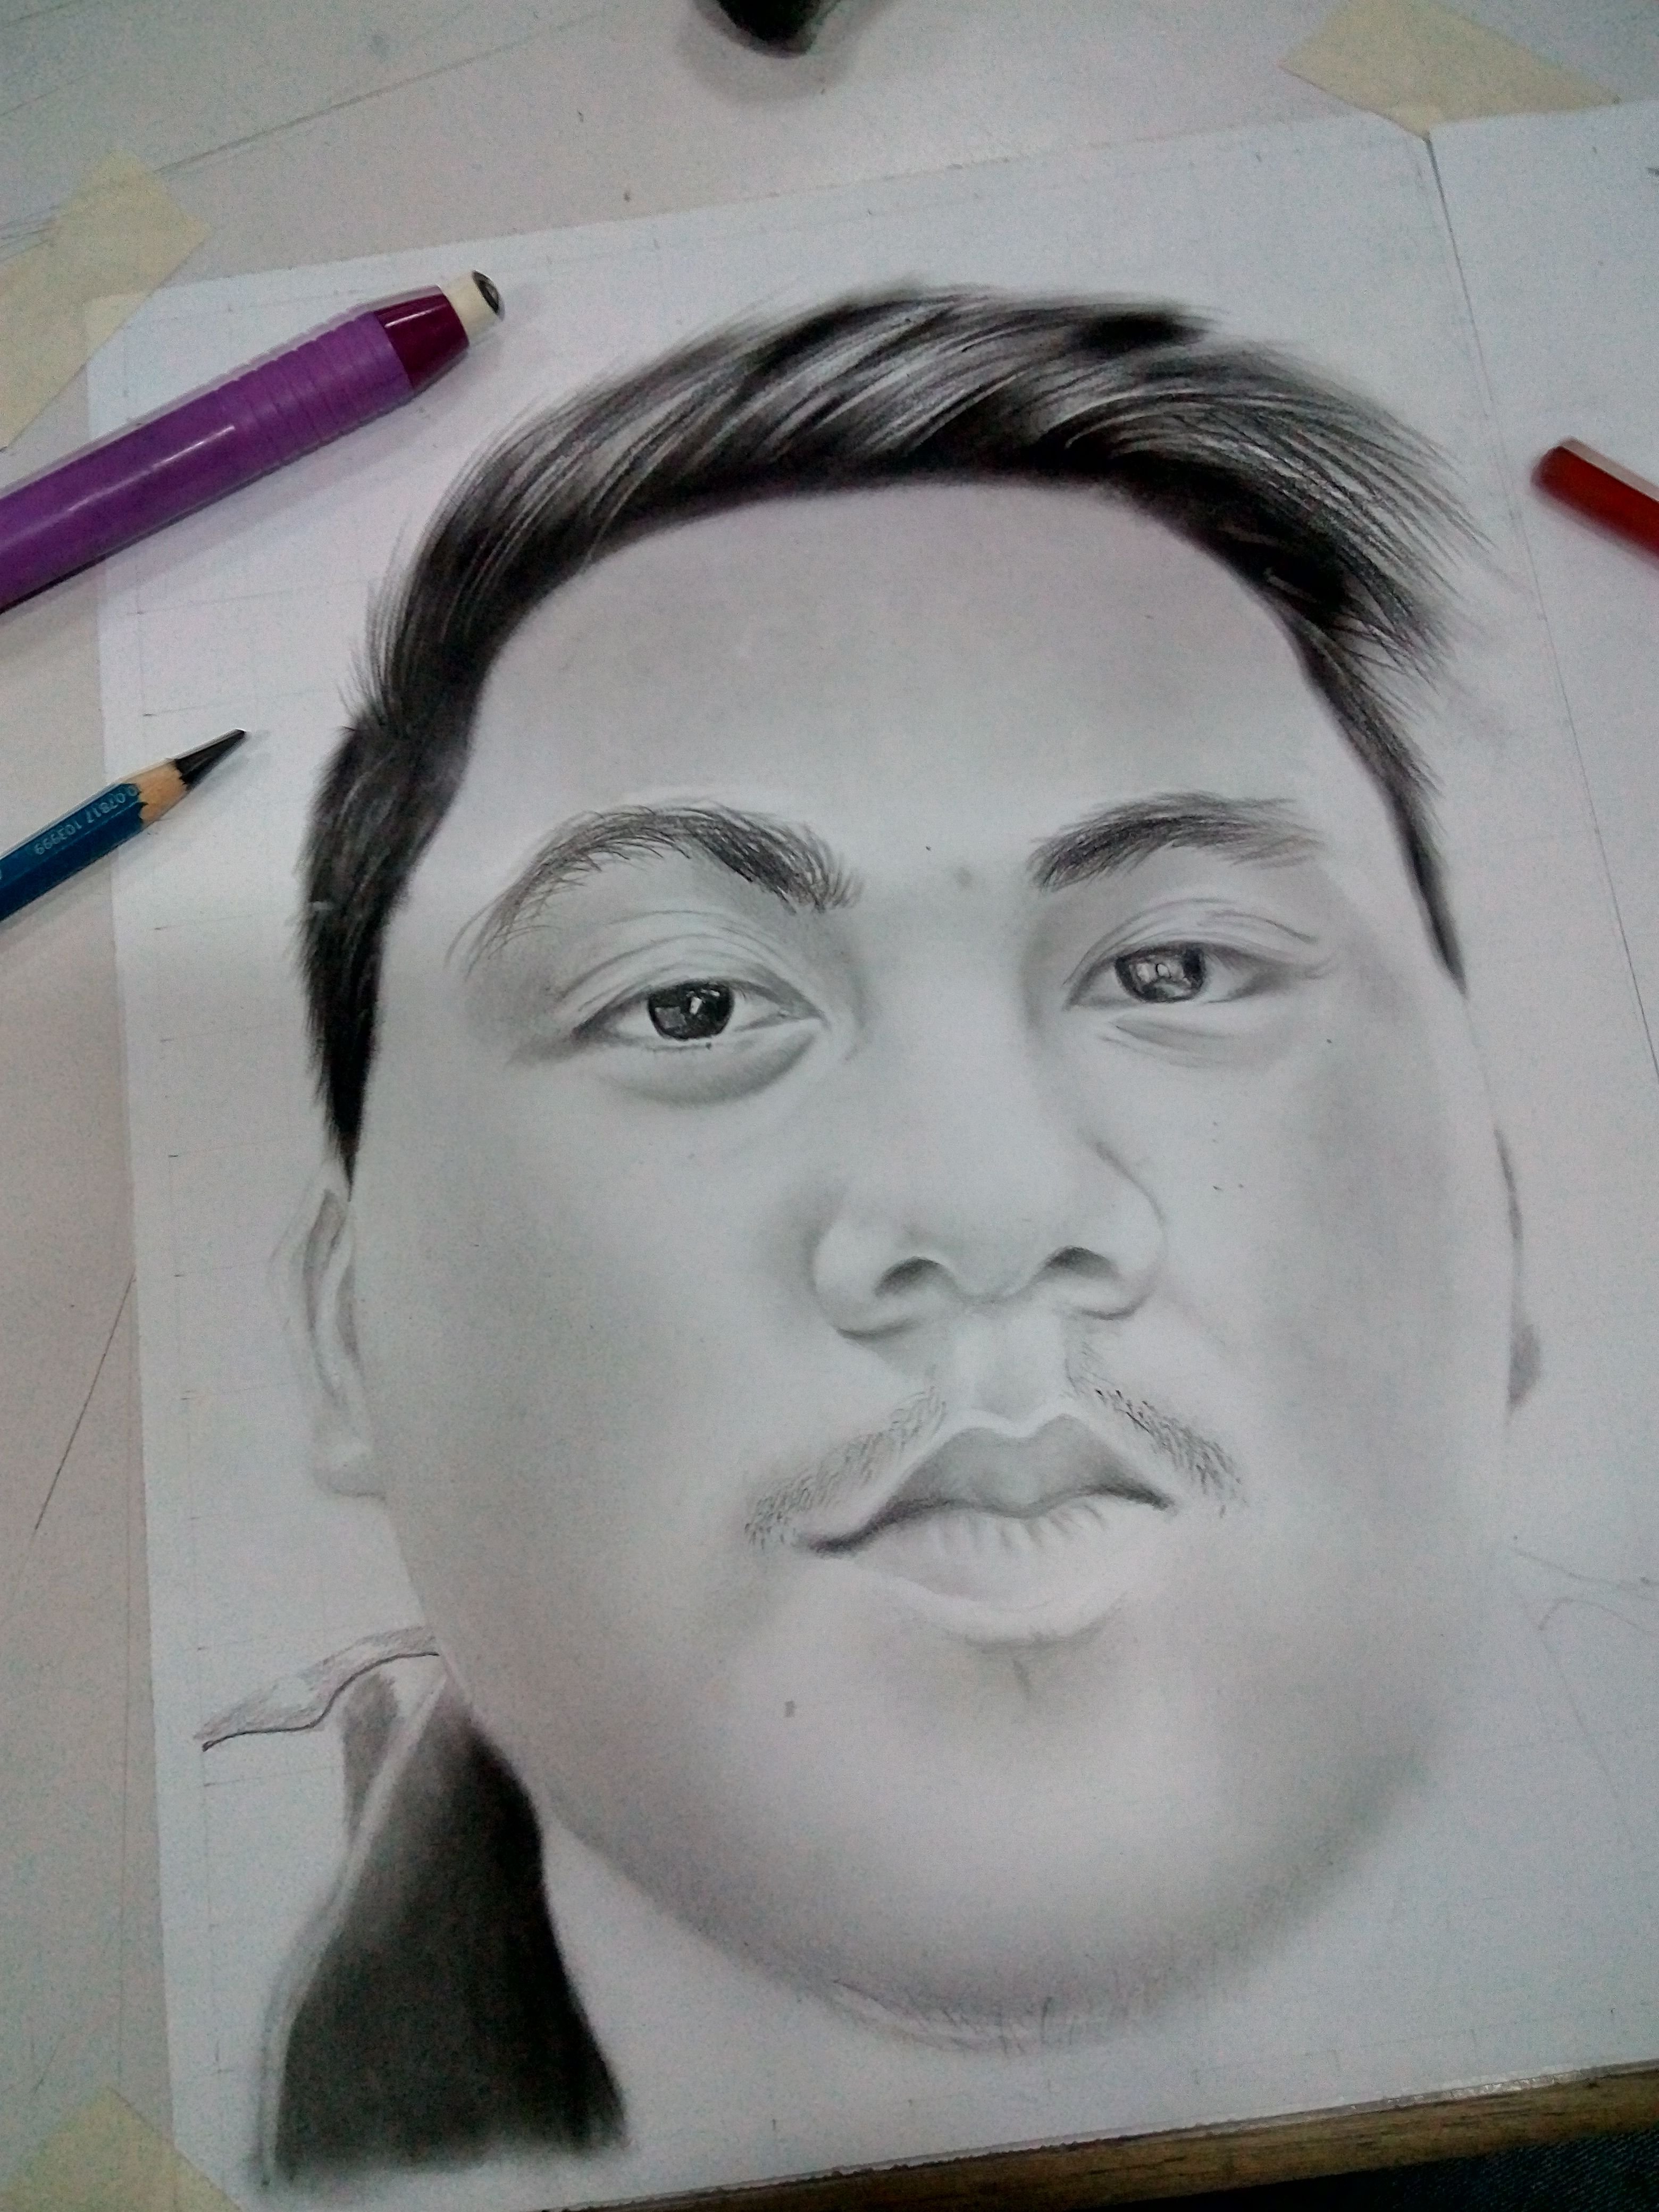
Step 11: I used soft charcoal by applying on clothe area and smudging it with a soft bristle brush as usual movement. I used also 6b and 2b pencils on the neck portion to develop the shade.
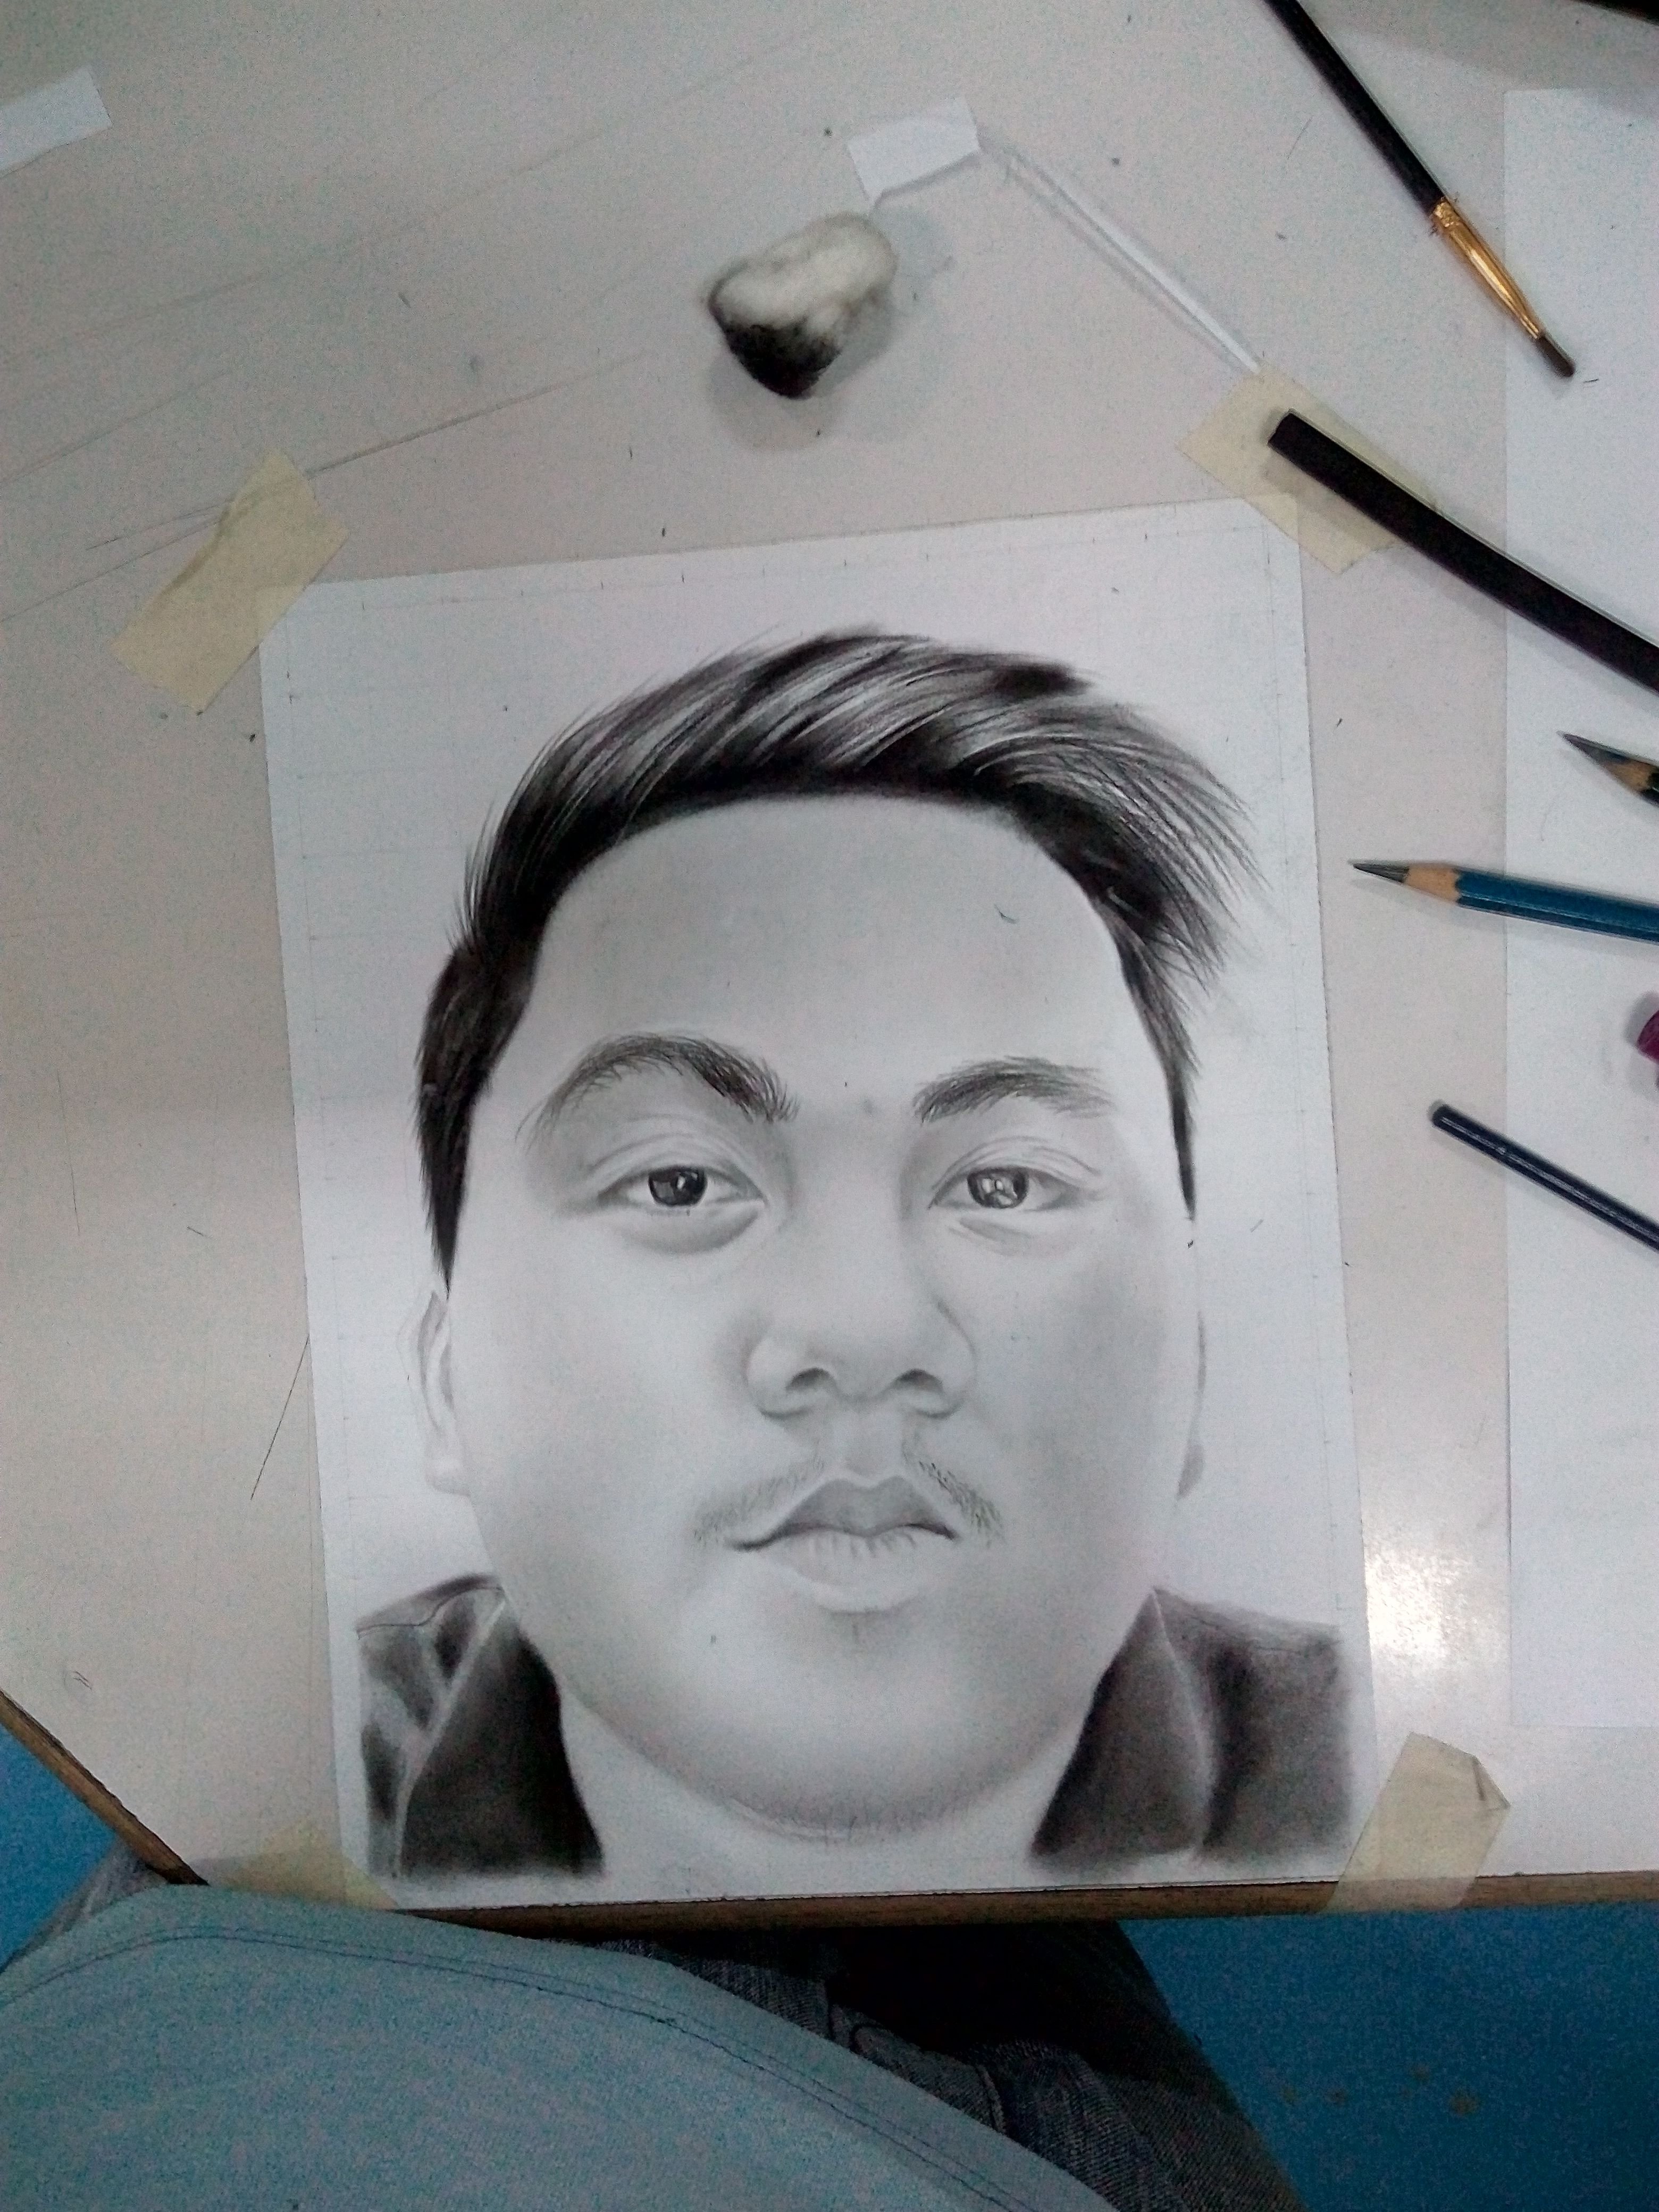
Step 12: I added some detail and DONE!!!

(Full sized)
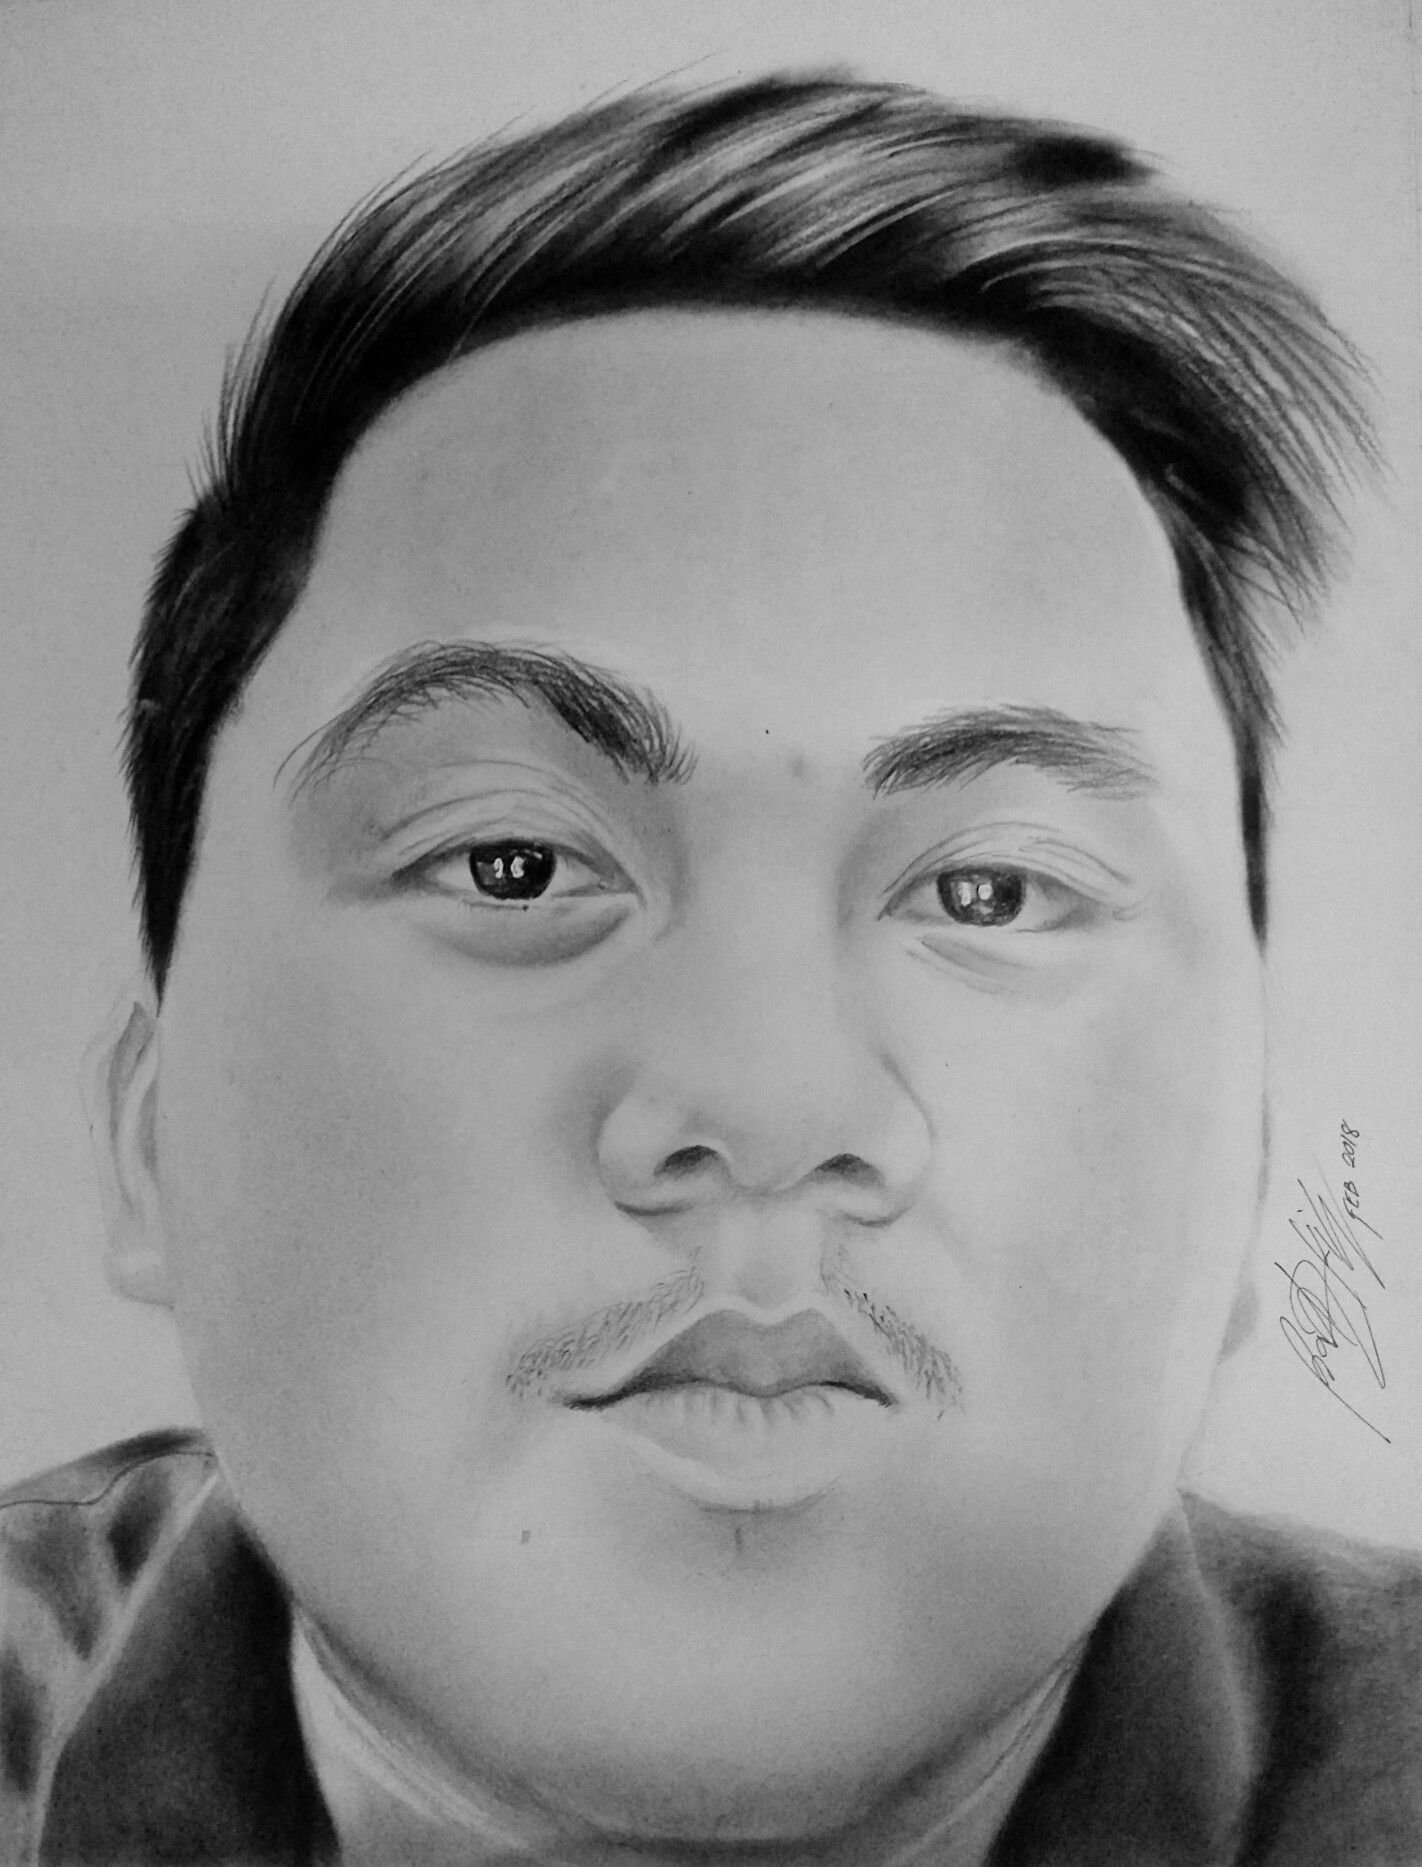
I want to share some of my works 2 years ago to inspire you:
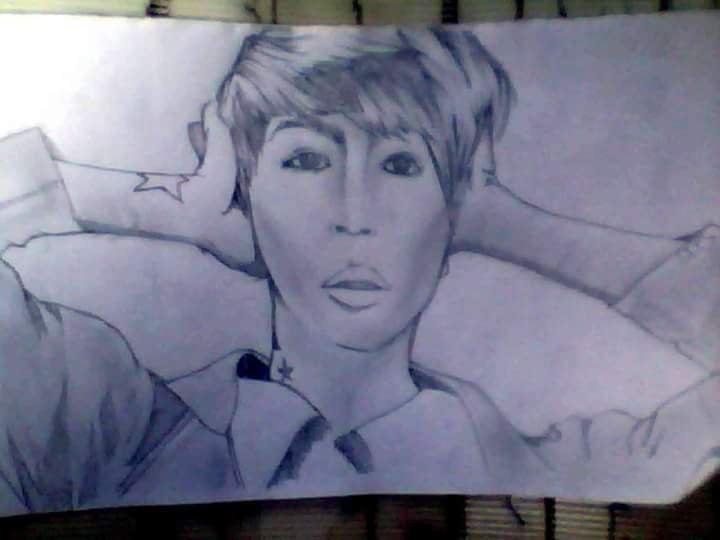
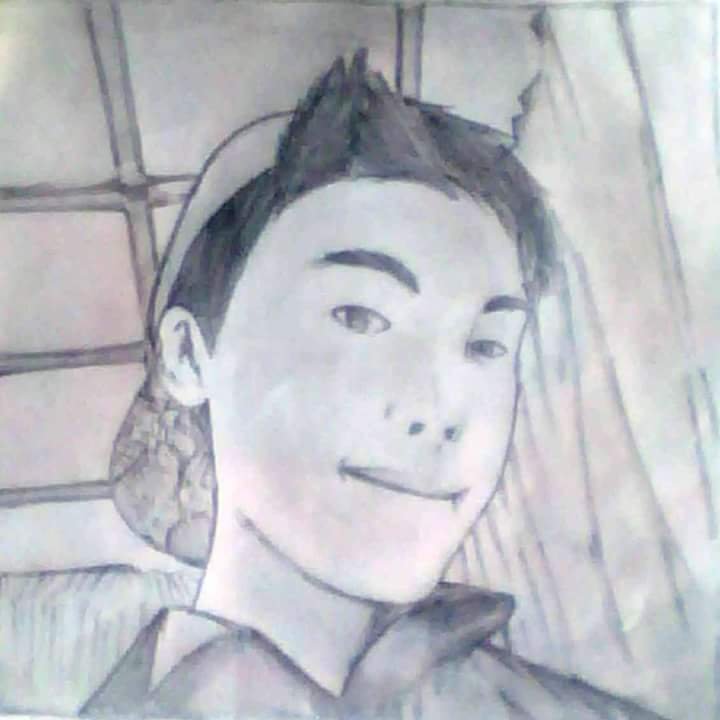
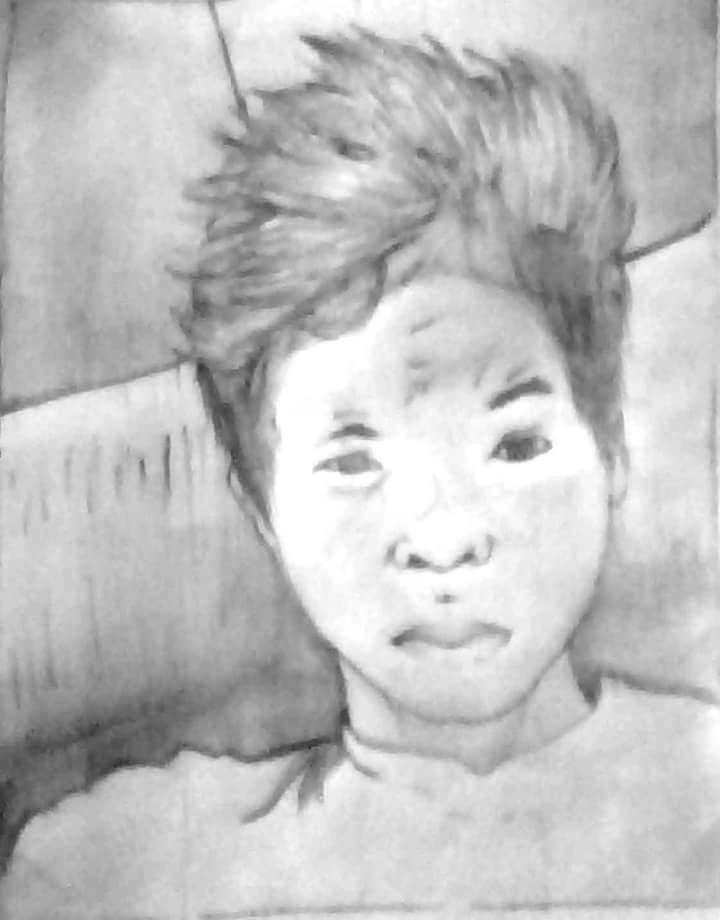
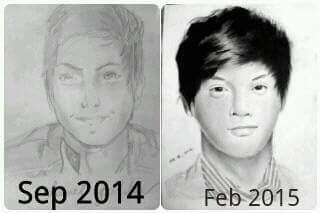
Here were some of my previous artwork:
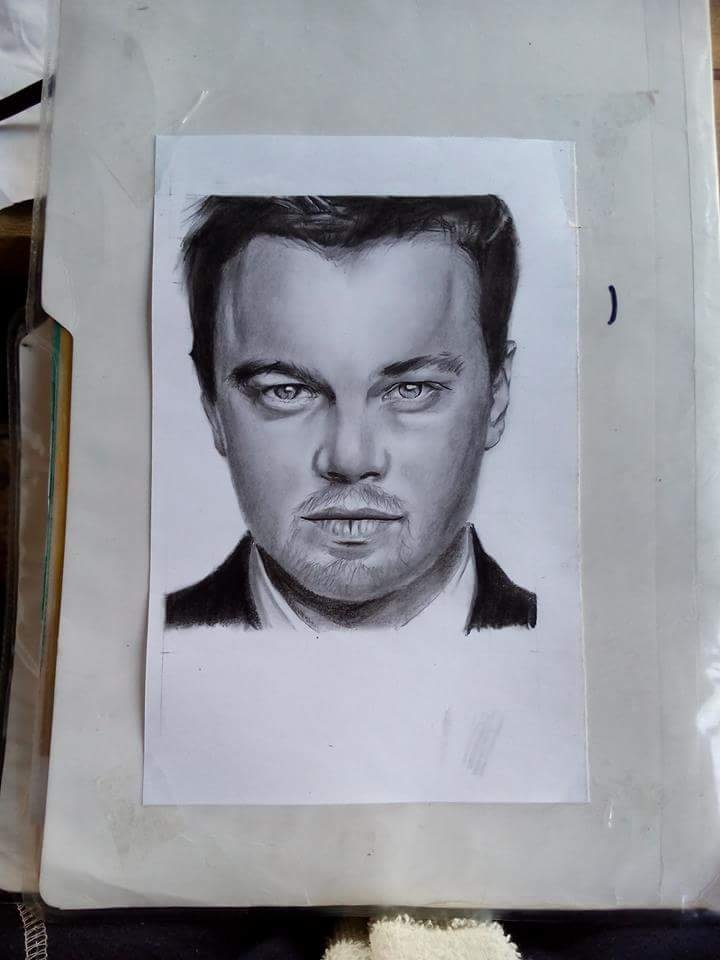
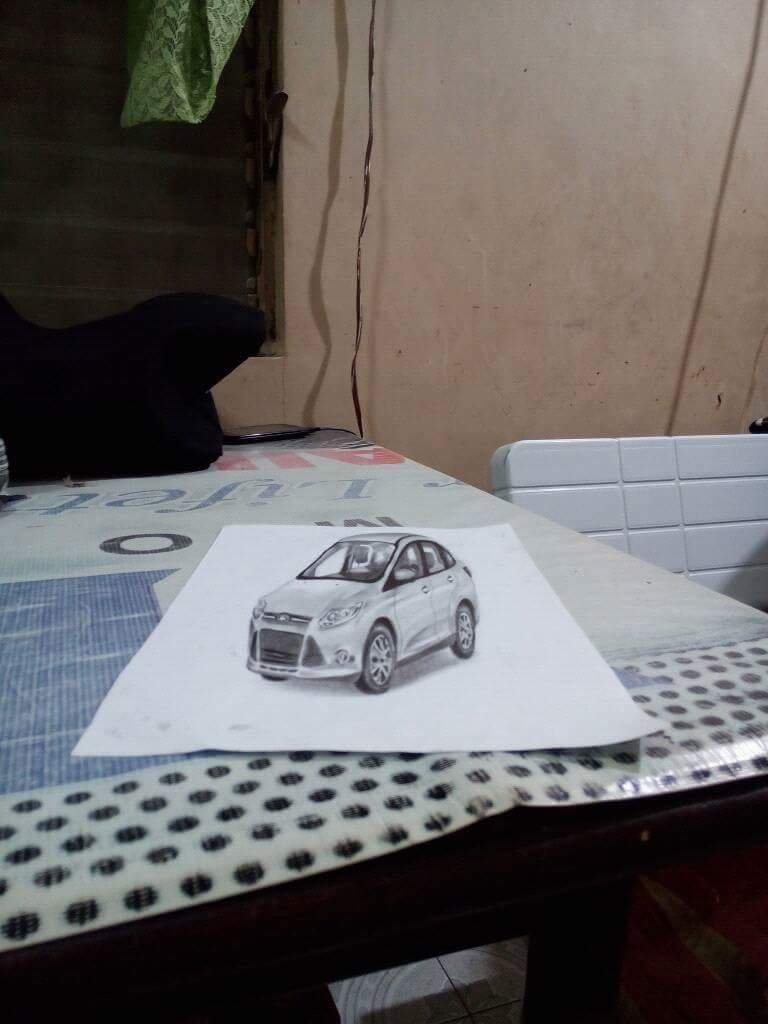
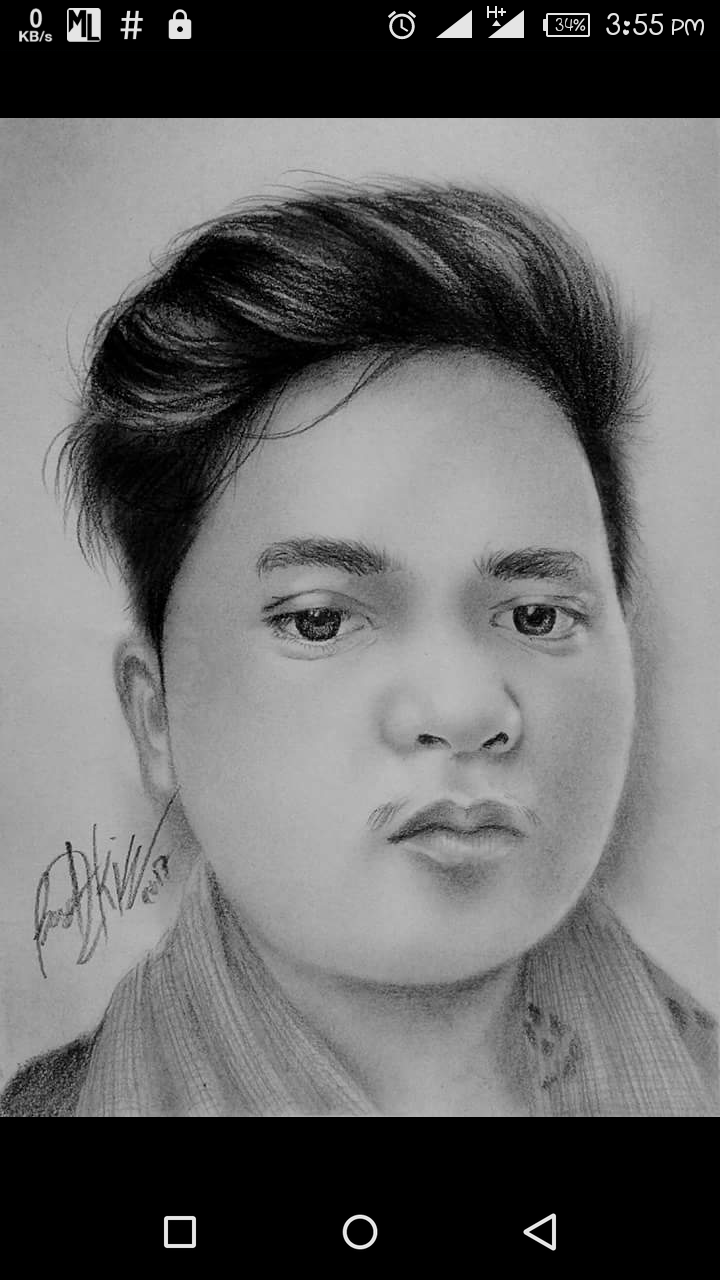
So, what Ive said earlier " Practice really matters ". Learn from mistakes and do it as a strength to pursue more.
I hope you enjoyed and thank you for your time reading my blog.

Best regards,
@badzkie123
