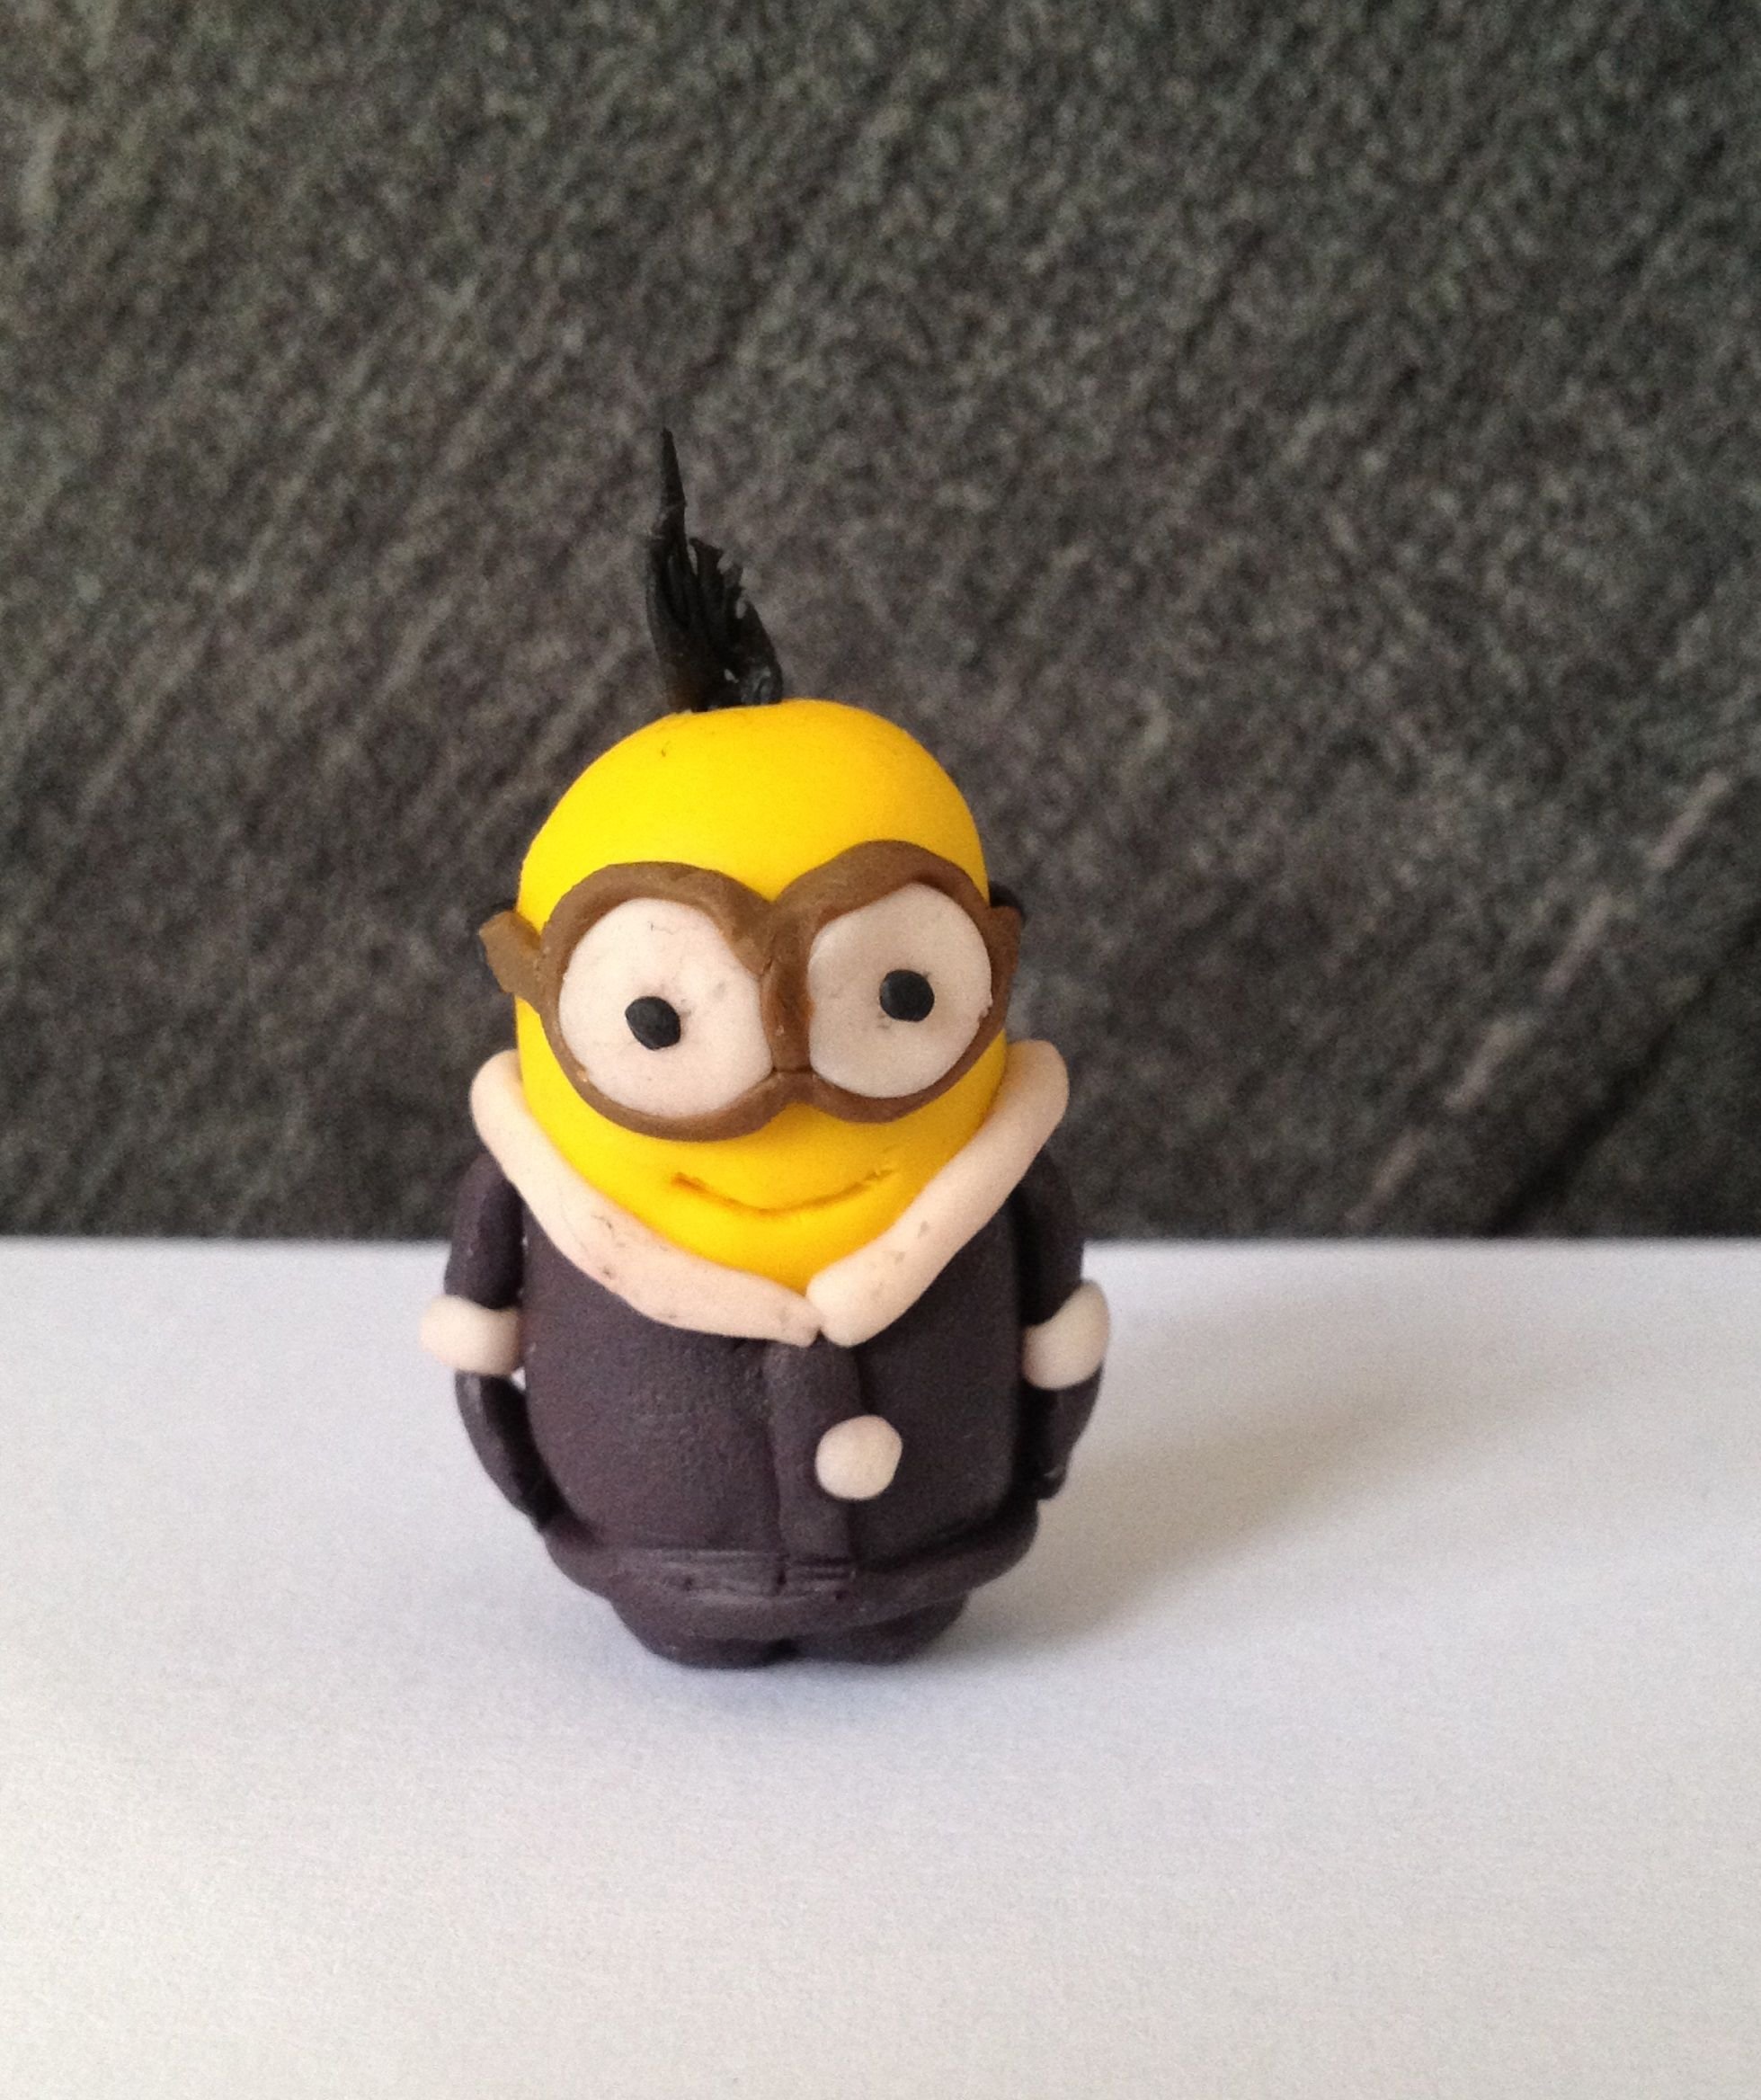
Good day steemians! Here's my entry for the weekly clay art contest # 4, hosted by @josejirafa. The theme for this week is "Your favorite cartoon character". If you are interested with this contest, please check the link HERE. Thank you @josejirafa for this contest.


I chose "Kevin" from "Minions" because he is clever, funny, leader, willing to help his fellow minions, and have a good heart even if he is searching for a villain boss. My husband likes kevin too! So I'm thinking this might be a funny and cute present! lol!
In this project, I used polymer clay, and today, I will show you some process on how I made it. So, let's get started!
Materials
cutting tool
baking paper
The process:

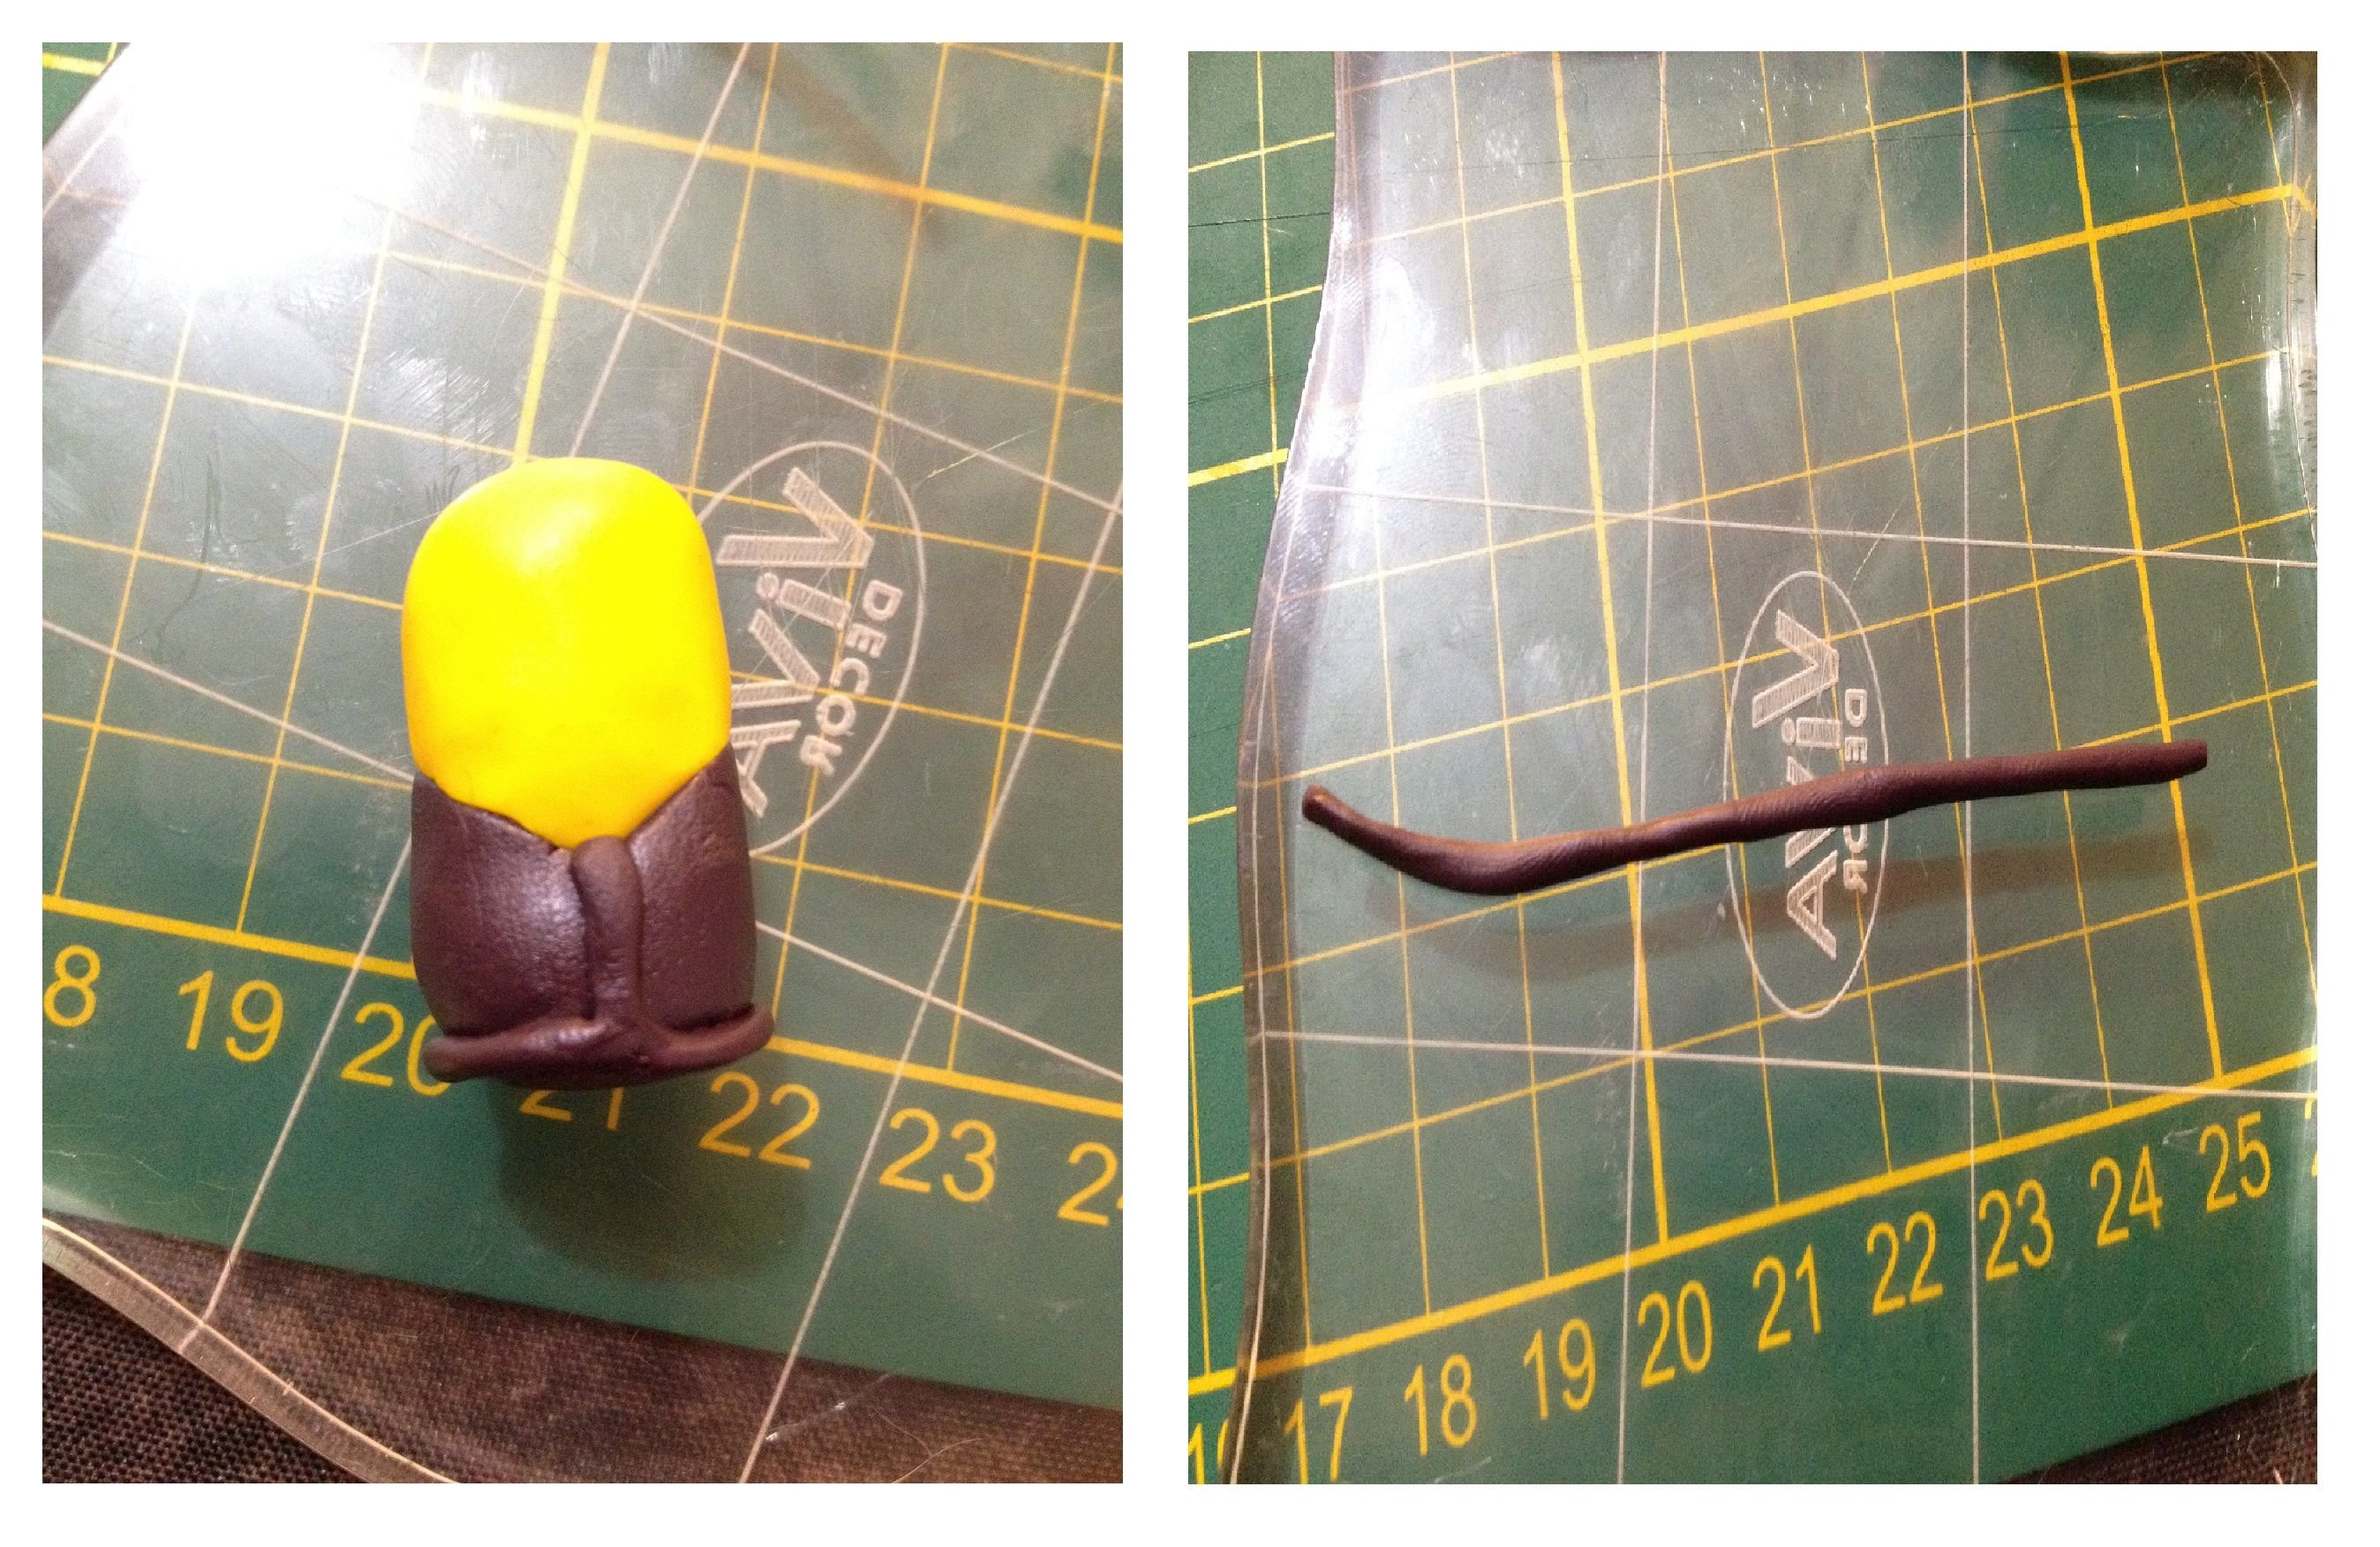
Step 1.) Cut a piece of yellow clay, form a cylinder, and cut a V shape in the other side. This may serve as the head and the upper body.

Step 2.) Cut a piece of dark brown clay, and do the same in the first procedure. Connect the yellow clay and the dark brown clay. Cut a piece of dark brown and make a long strip for the lining of the winter jacket.The head and body is already done. let's proceed for the arms and hands.

Step 3.) For the arms, hands and cuff, cut the following pieces;
- darkbrown clay, roll it over, and form a long strip. Cut 2 pieces of strip for the arms.
- darkbrown clay, 2 small pieces for the hands, form a round shape and flatten it. Cut a small part of the hands, for the gloves.
- flesh clay, form a long strip and cut 2 pieces of strip for the cuffs of the winter jacket.
- For the collar of the jacket, cut a piece of flesh clay, form it in a long strip and attach. After you're done with arms and hands, attach it to the body.
- Cut 2 pieces of small dark brown and make a round shape, this will be the feet of the character. Now the body is done.

Step 4.) For the eyes, cut 2 pieces of flesh clay and make a round shape and flatten. Cut 2 small pieces black clay for the iris. Cut a piece of light brown and form a strip, attach it in the eyes as the goggles of your character. Then cut another piece of black clay for the strap of goggles. And lastly, a piece of black clay and form a very thin strip for the hair. Cut 3 pieces, then attach in the head of the character. Then use cutting tool or toothpick for the mouth. Now the figurine is done and ready to bake!
Step 5.) Preheat the oven for 10 minutes, 110° and bake for 30 minutes. After the baking is done, let it cool down. You can apply clear nail varnish in the goggles for the brilliant effect but this is optional. The project is done!
I'm nominating @deevi, @whitehatartist, @ediah and @zoeroces to please join this contest....Thank you...
Thanks for dropping by! Catch you next time!


