前言 | Prelude
在我的文章“我的专属Steemit T-shirt设计”一文中,我给自己设计了一款专属Steemit T-shirt。
In my previous post “我的专属Steemit T-shirt设计”, I have showed how to design my own Steemit T-shirt. Today, I am gonna make one myself.
动机 | Motivation
如果直接购买,实在太贵了。据 @shenchensucc说,他花了40美元买了一件Steemit T-shirt。这个价格买件T-shirt,我实在接受不了。另外,加拿大不比国内,有淘宝这种神器。如果设计好了找人做,不是成批量,也非常贵。
If I purchase one directly, it'll be very costly. According to @shenchensucc, it cost him 40 American dollars for his Steemit T-shirt. I cannot accept such a high price. On the other hand, we don't have Taobao here in Canada. If I let somebody else makes it for me, it'll still cost me a bunch...
准备工作 | Preparation
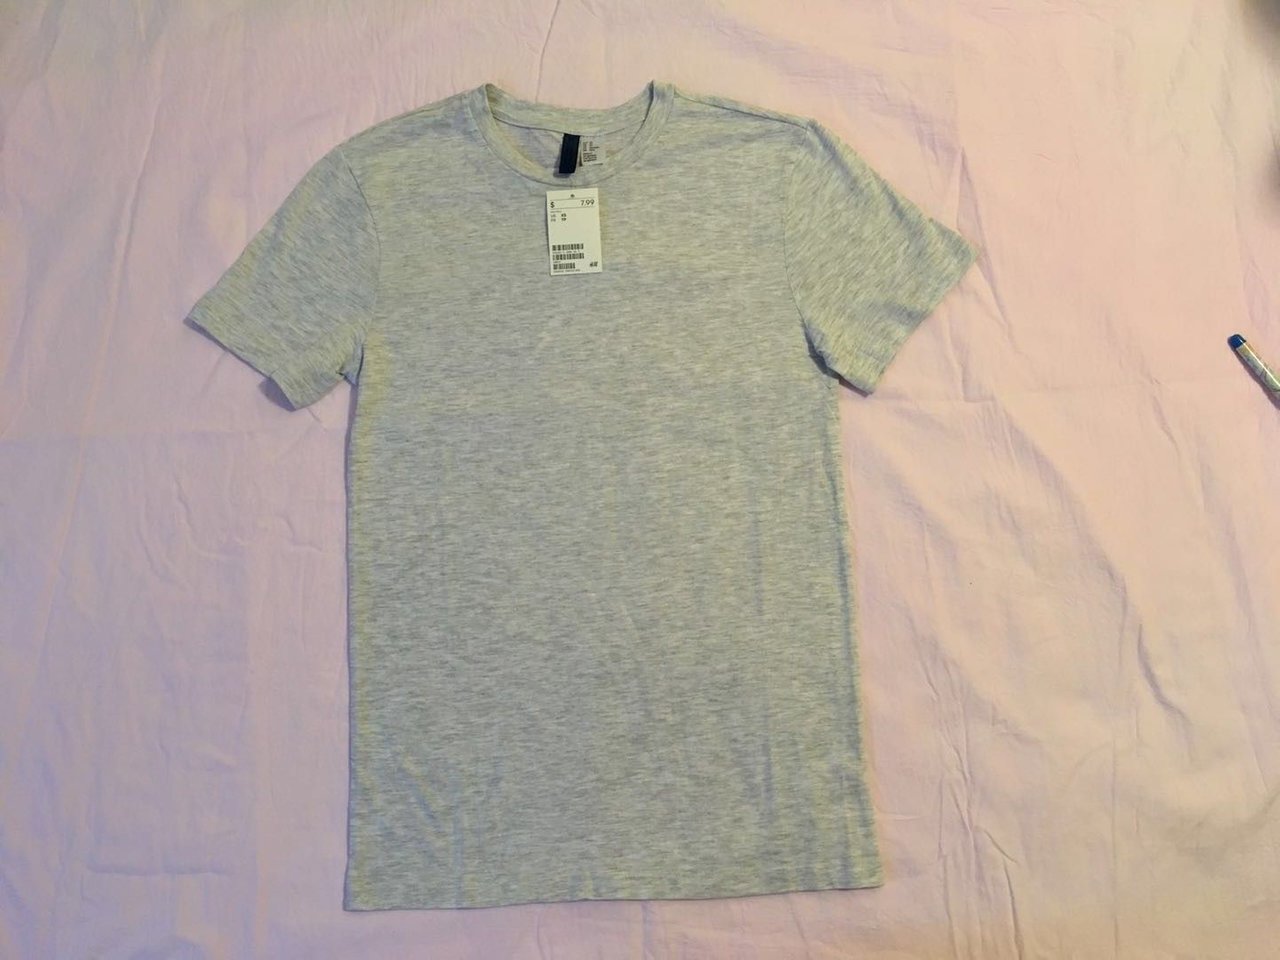
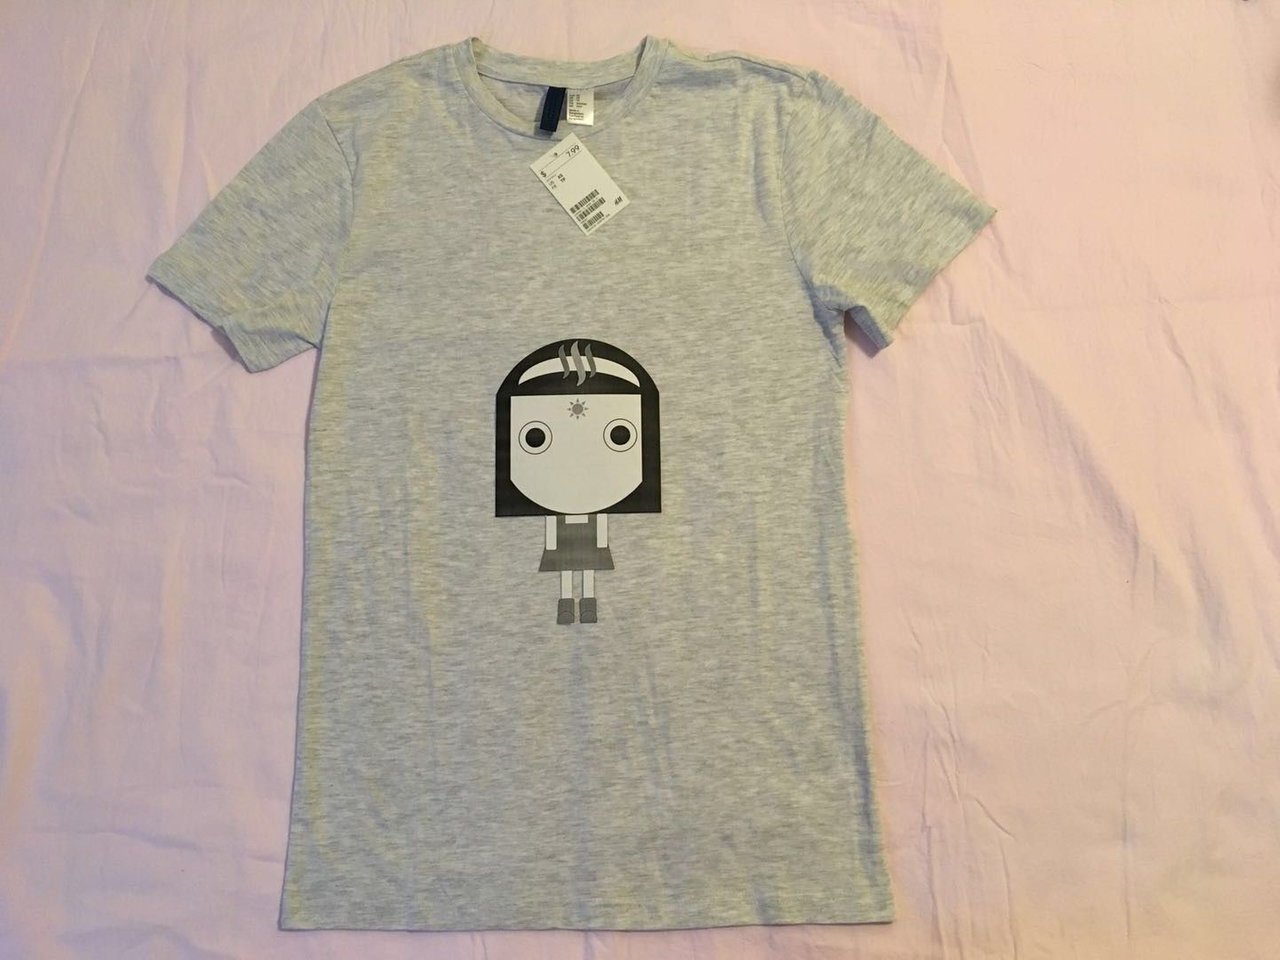
为了将设计变为实物,我从商场里买了一件素面的T-shirt。为节省成本,我买的是短袖。H&M的打底款,才花了7.99加元。短袖的另一个好处是,里面套上一件长袖打底,就可以变为另一件衣服了。
I bought a plain T-shirt from H&M, which cost me 7.99 Canadian dollars. It is a short sleeve one, and you can turn it into long sleeve simply by wearing a long sleeve inside.
然后,我从Amazon.ca上买了一套fabric markers(专门在衣物上画东西用的马克笔,花了20加元,有点小贵,不过没关系,可以留着以后用)。由于用的是Prime服务(Amazon的一种会员服务),今天就到货了。唯一遗憾的是,实物笔的颜色和图片上的颜色有些差别。我需要的两种蓝色比预想的要深一些。
Additionally, I bought a set of fabric markers from Amazon, which cost me 20 Canadian dollars. Since I used Prime service, the markers arrived today. The only thing that I am not happy with is that the colors are not exactly the same as they were on the pictures. The two blue colors are a little bit darker than I wanted.
制作过程 | Procedures
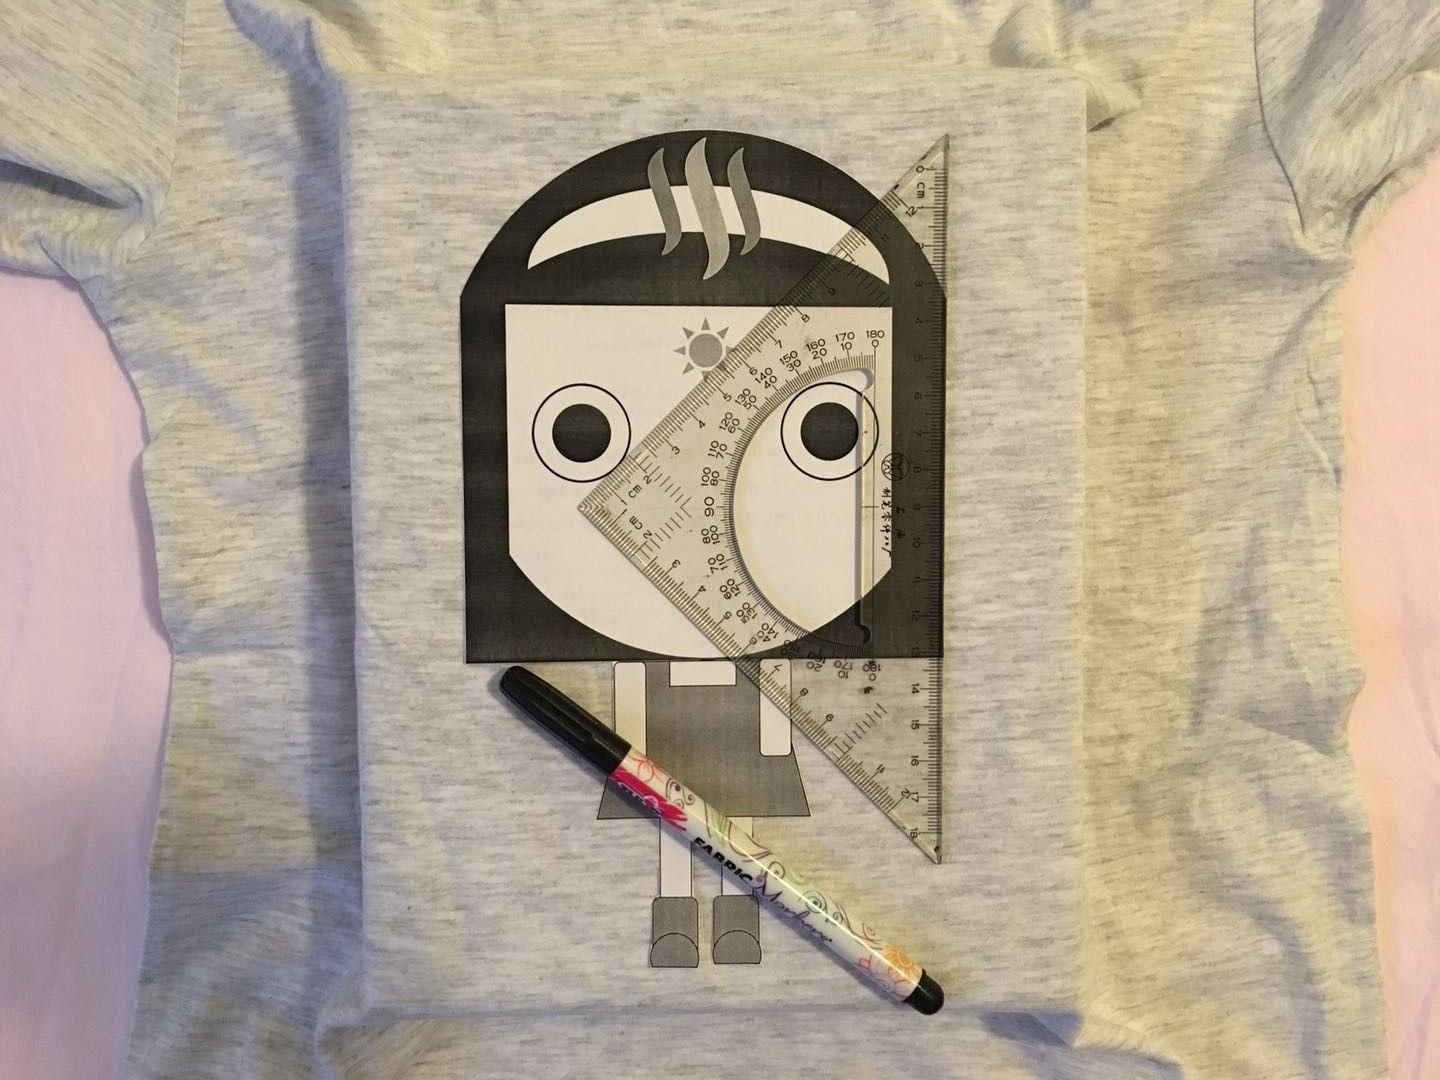
吃罢晚饭,我就马不停蹄地开始制作我的专属T-shirt啦。需要的素材如下图所示。由于我只能打印Letter纸大小,所以不能将卡通形象设计得很大。
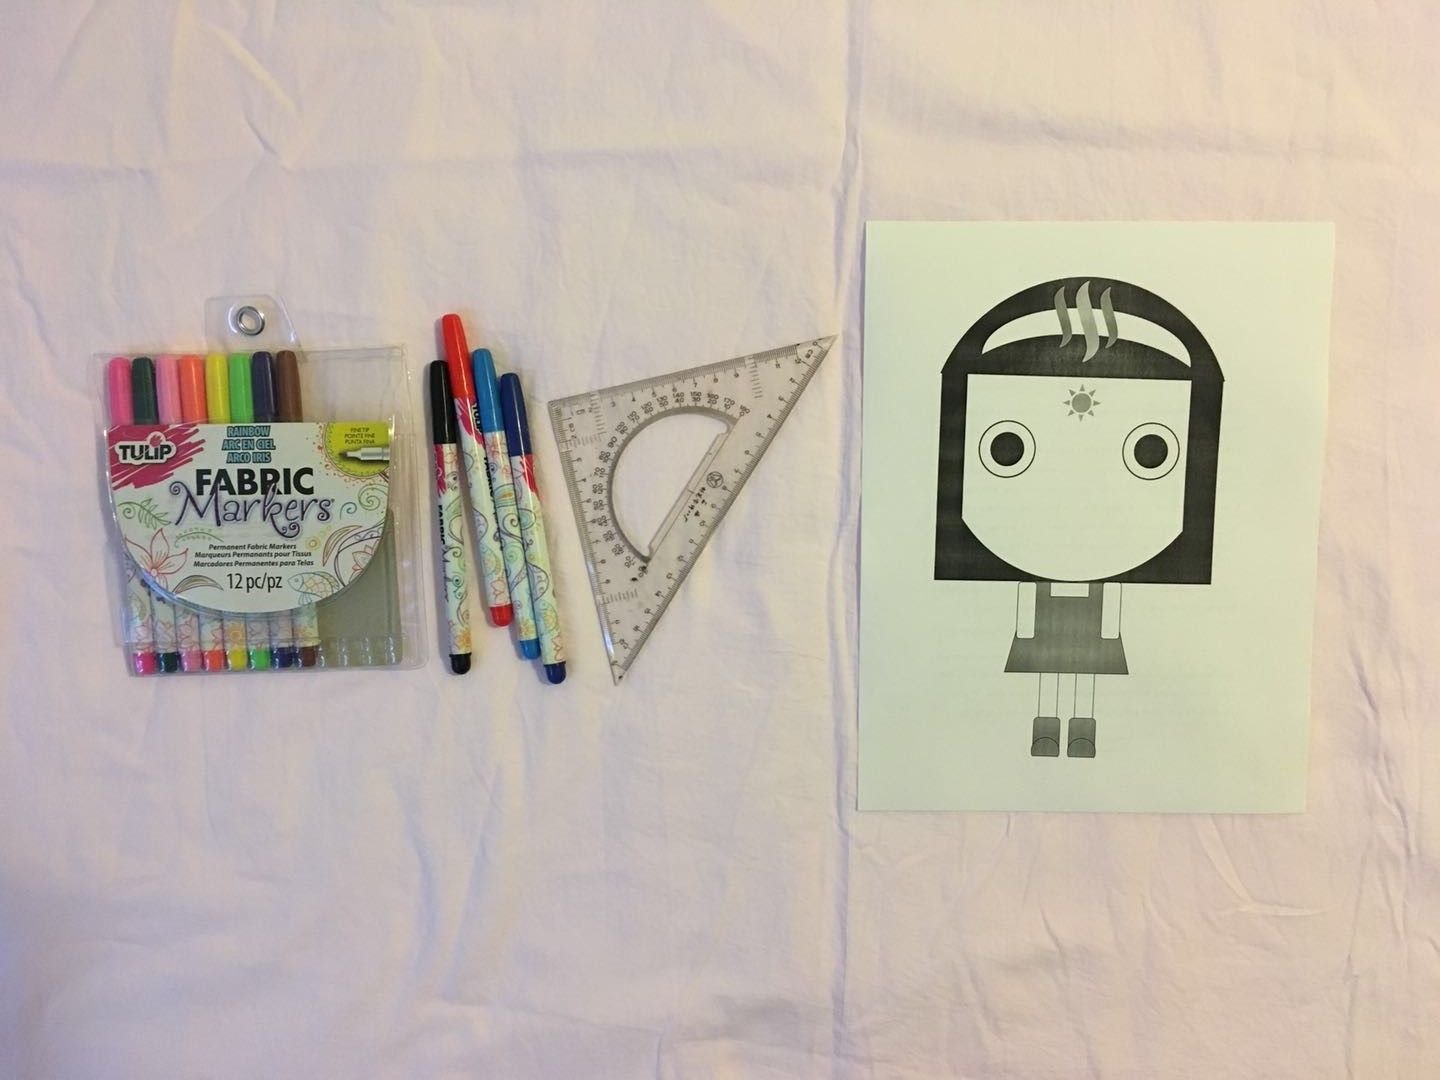
After lunch, I began to make my T-shirt. The materials are as shown in the picture below. Because I can only print letter size using my printer, I cannot make my cartoon character very big.
第一步:将卡通形象从打印纸上裁剪下来,放到T-shirt上,找到合适的位置。
Step 1: Cut the cartoon character out of the paper and put it on the T-shirt to locate a better position.
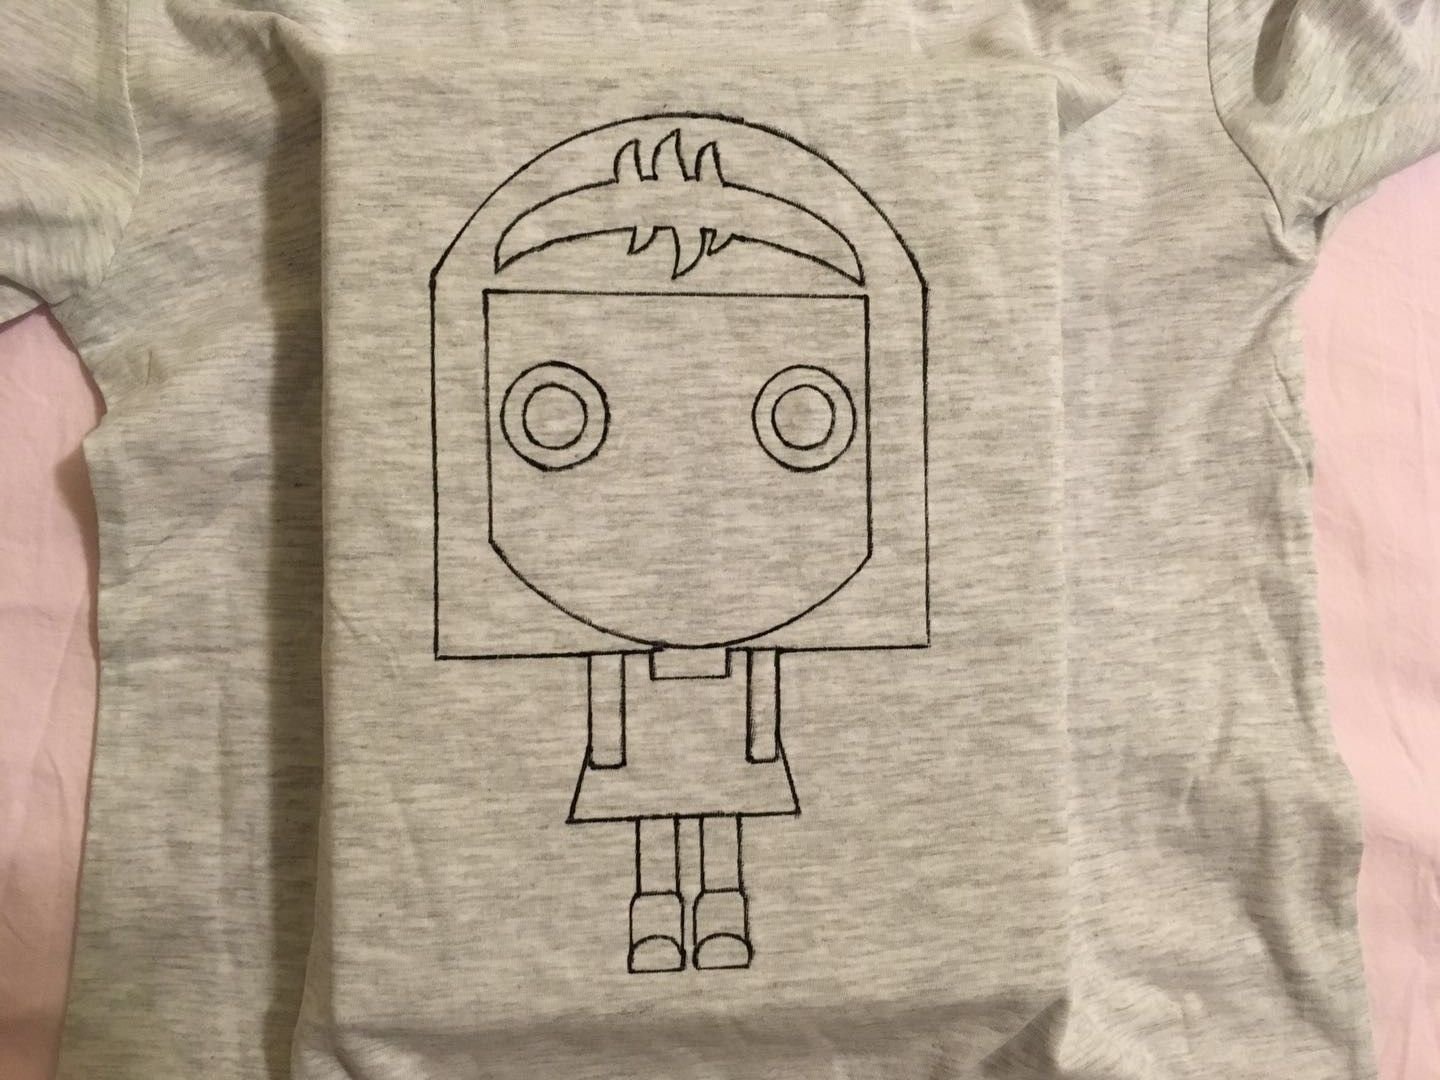
第二步:用黑色的笔描边,画出外轮廓线。需要注意的是,由于而太软,底下需要垫个平板。
Step 2: Draw the outer contour line with the black marker. Since the fabric is very soft, you may wanna put some hard bard below.

第三步:将打印纸上的脸的部分抠出来,用黑色笔描出脸的内轮廓线。
Step 3: Cut the face part off the paper and draw the inner contour line with the black marker.


第四步:补全其余部分。
Step 4: Finish the rest part.
第五步:上色。由于蓝色比预想得深,所以裙子部分我选用了粉色,以免整体看上去颜色太深。
Step 5: Coloring. Since the blue markers are darker than expected, I decide to color the dress part as pink instead of light blue, in case the cartoon character looks too dark as a whole.
第六步:画上Steemit logo及签上我的ID。
Step 6: Draw the Steemit logo and my ID.
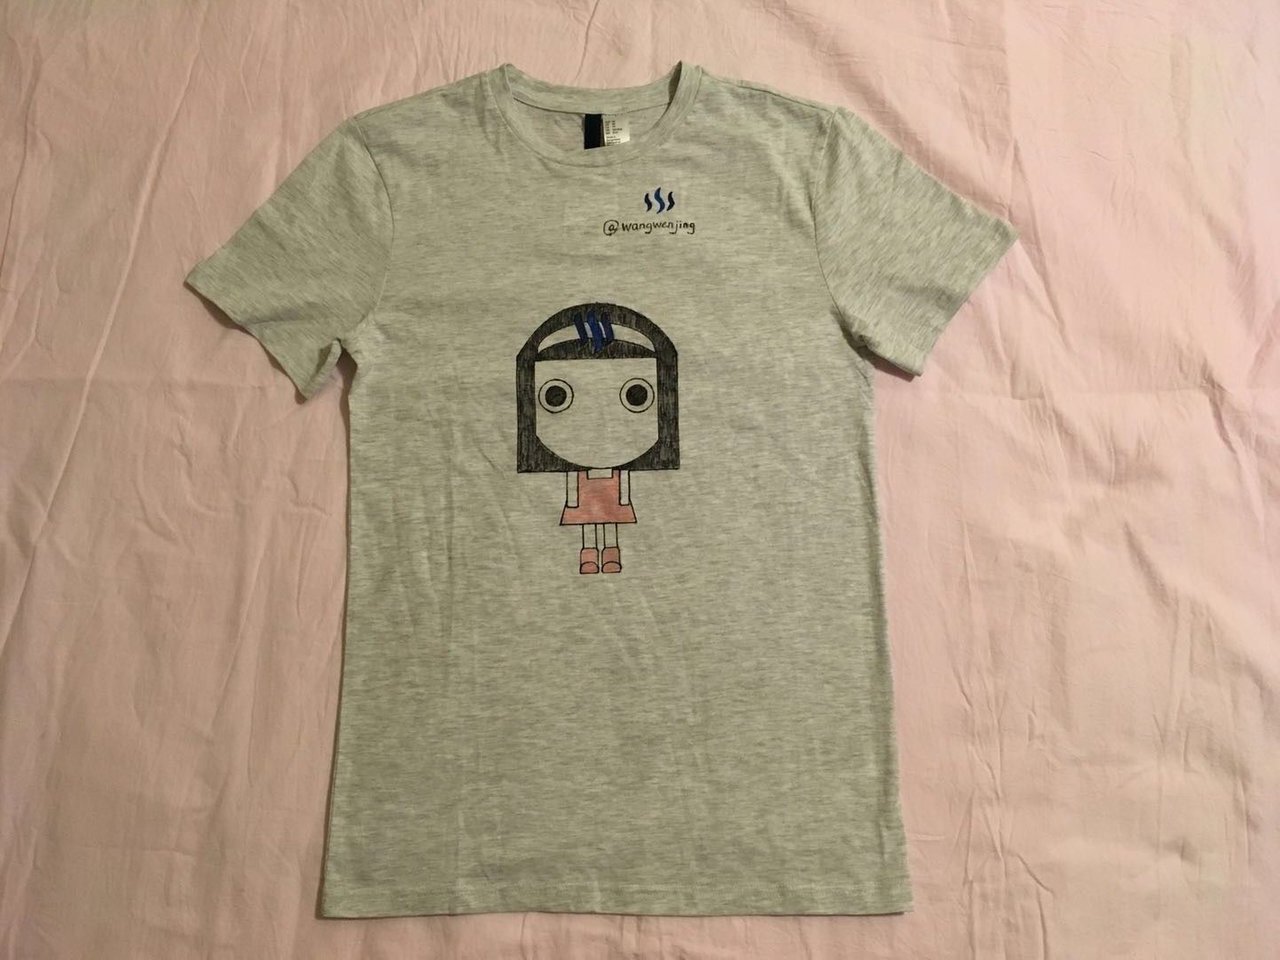
Ta-da,制作完成啦!
Ta-da, that’s it!
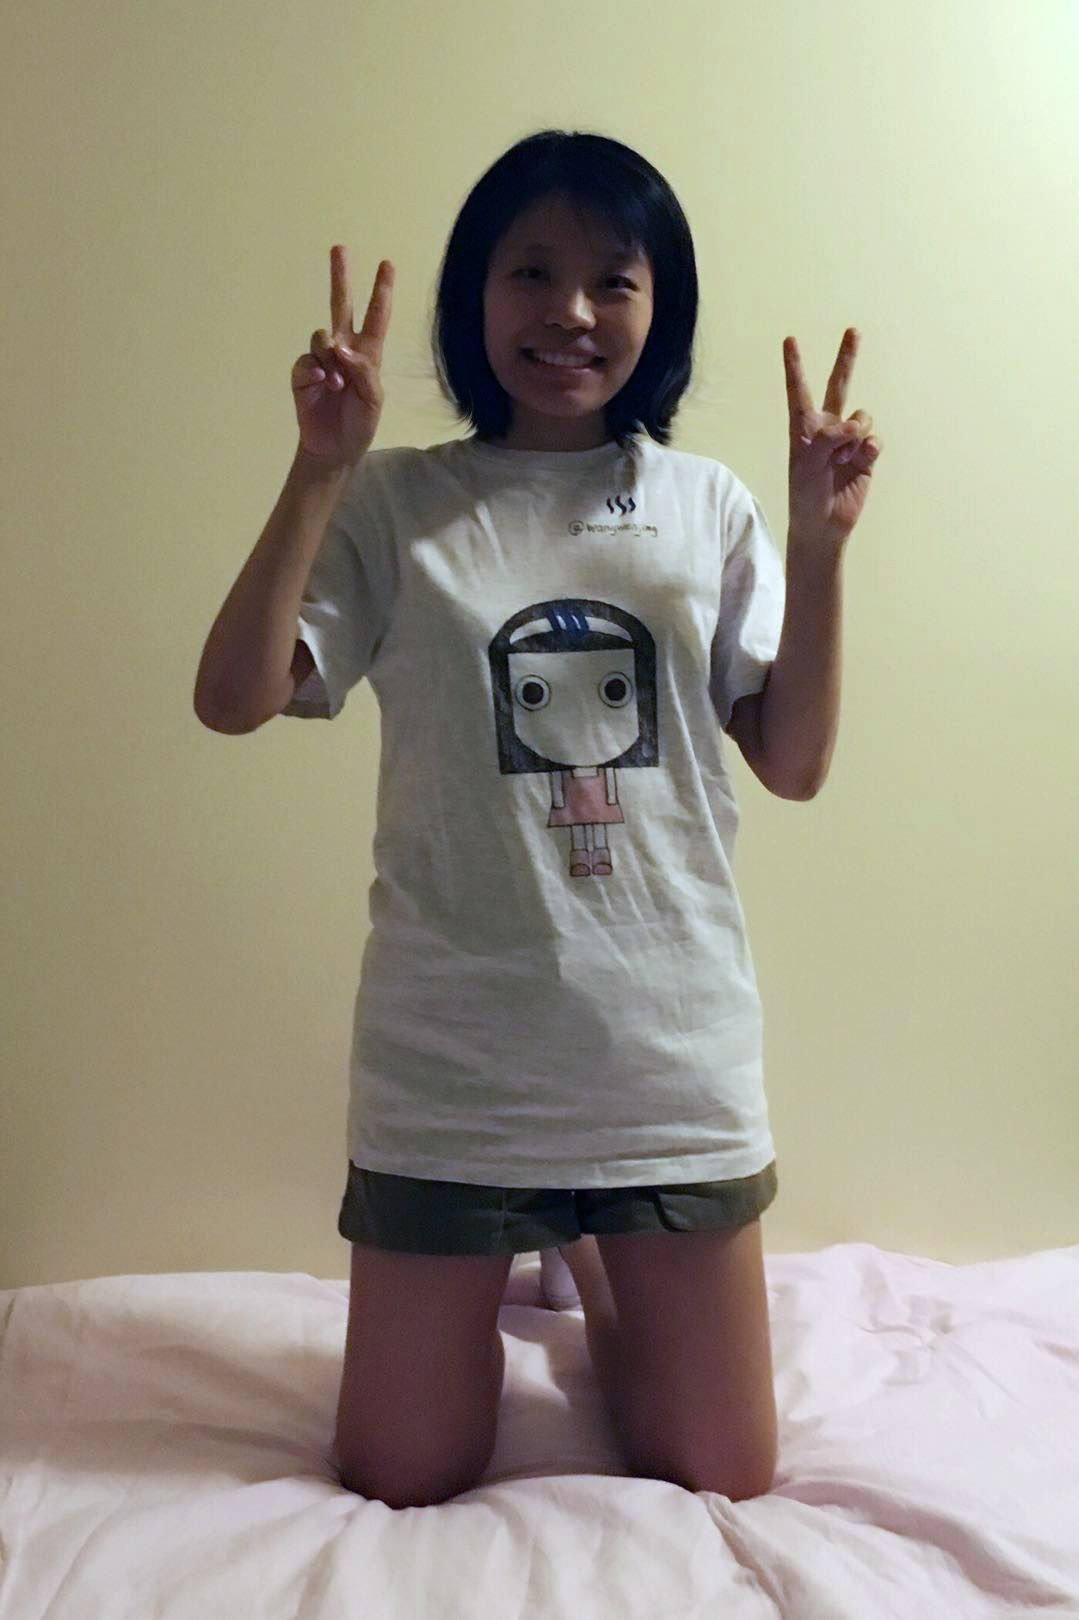
买衣服最重要的一步是什么?哈哈,当然是试穿啦!下面是上身效果。由于是晚上,屋里光线很暗,大家就凑合看吧。
What is the most excited part of buying clothes? LOL, try them on! Here is how it looks on me. It’s night and the light is very dim, but who cares? LOL.