Hello!
So I thought I would show you some of the creative steps to my comics pages. I personally enjoy seeing the stages of other artists work as it gives a glimpse into their process and the development of their style.
When I started Second Wind about two and a half years ago it was meant to be an exercise in drawing different environments and angles. It quickly turned into a full 104 page comic which I recently just completed.
As this comic is the longest I have worked on to date, there were many things that changed as I grew in figuring out my process. When I started the series I was using Canson Fanboy Comic Strip Boards, which were bristol board pages sized at 5"x17" (the standard size for a Sunday style comic, and a little under half of an 11x17 sheet).
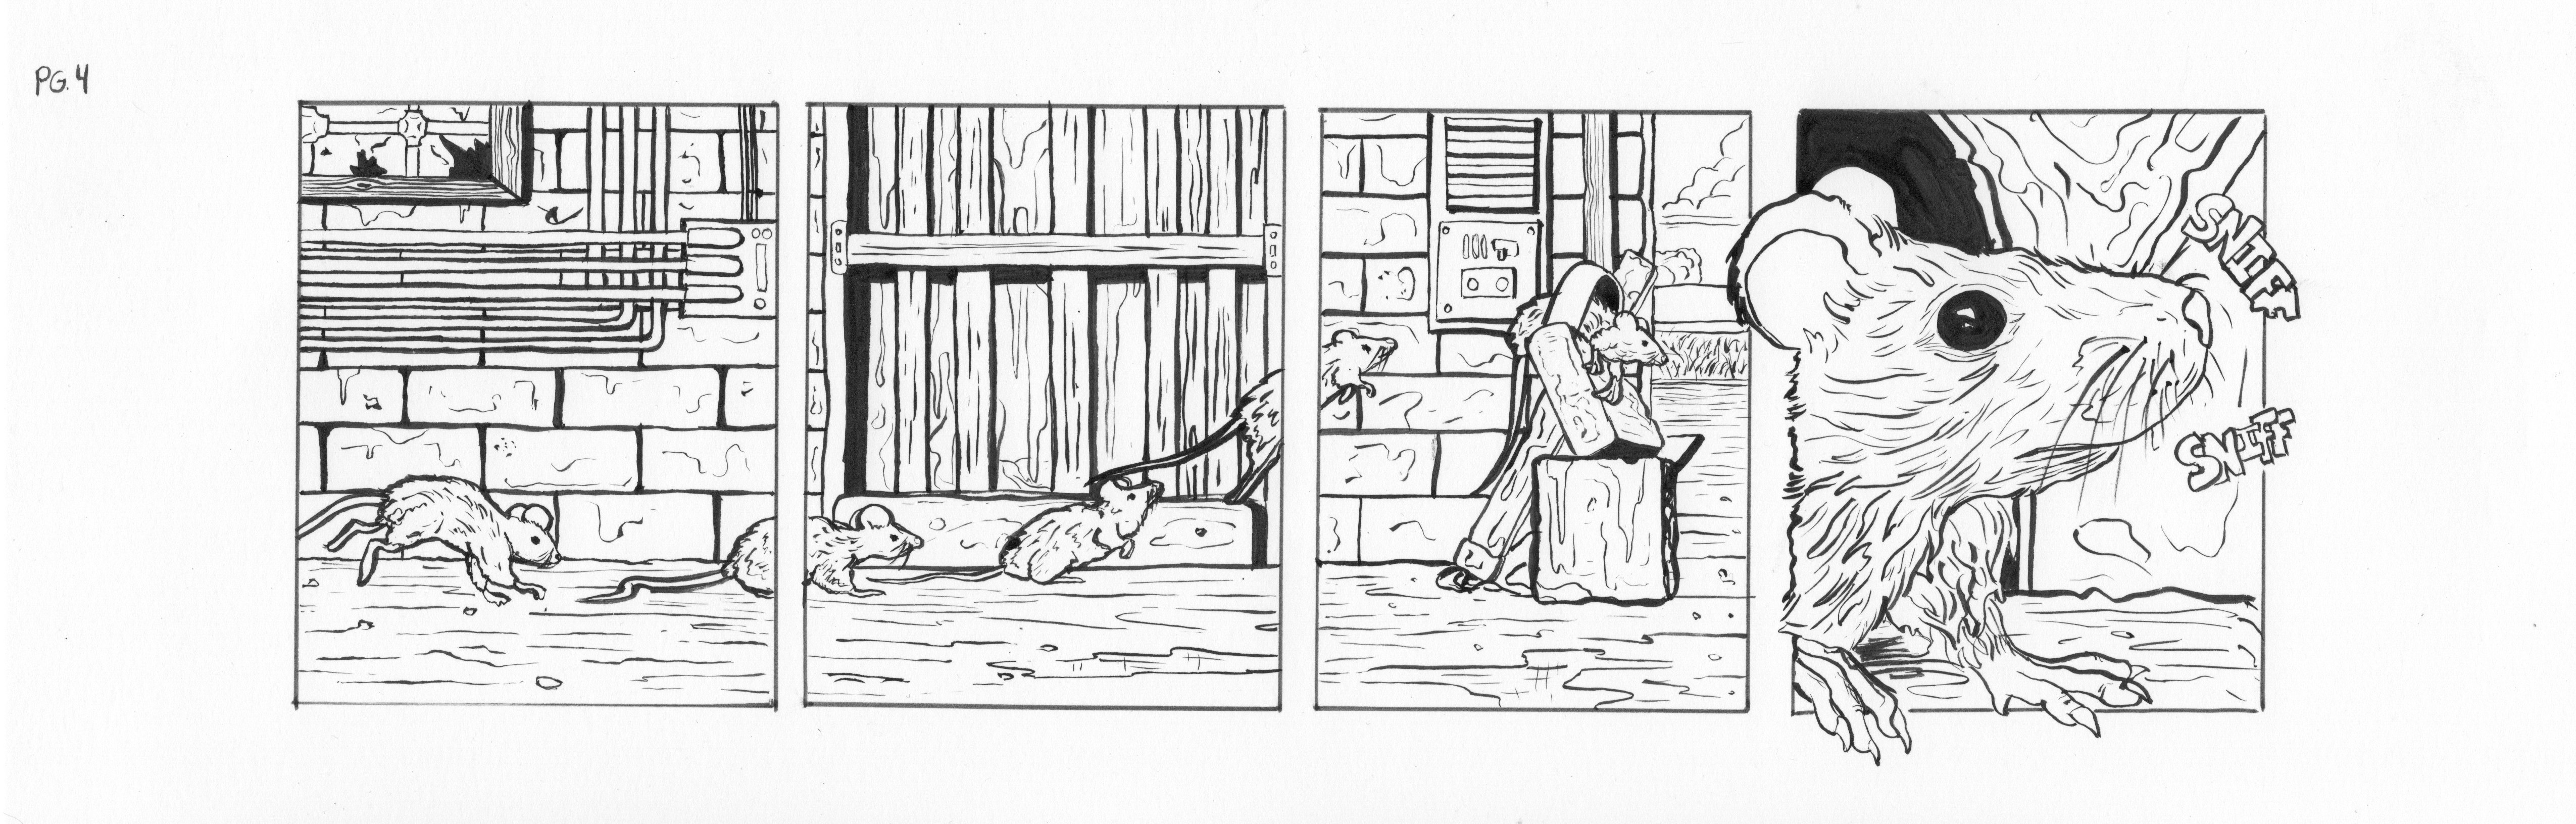
I was also creating my blue line drawing and then inking directly on top of it. Below are the raw scans of the blue line pencils and final inks of a page:
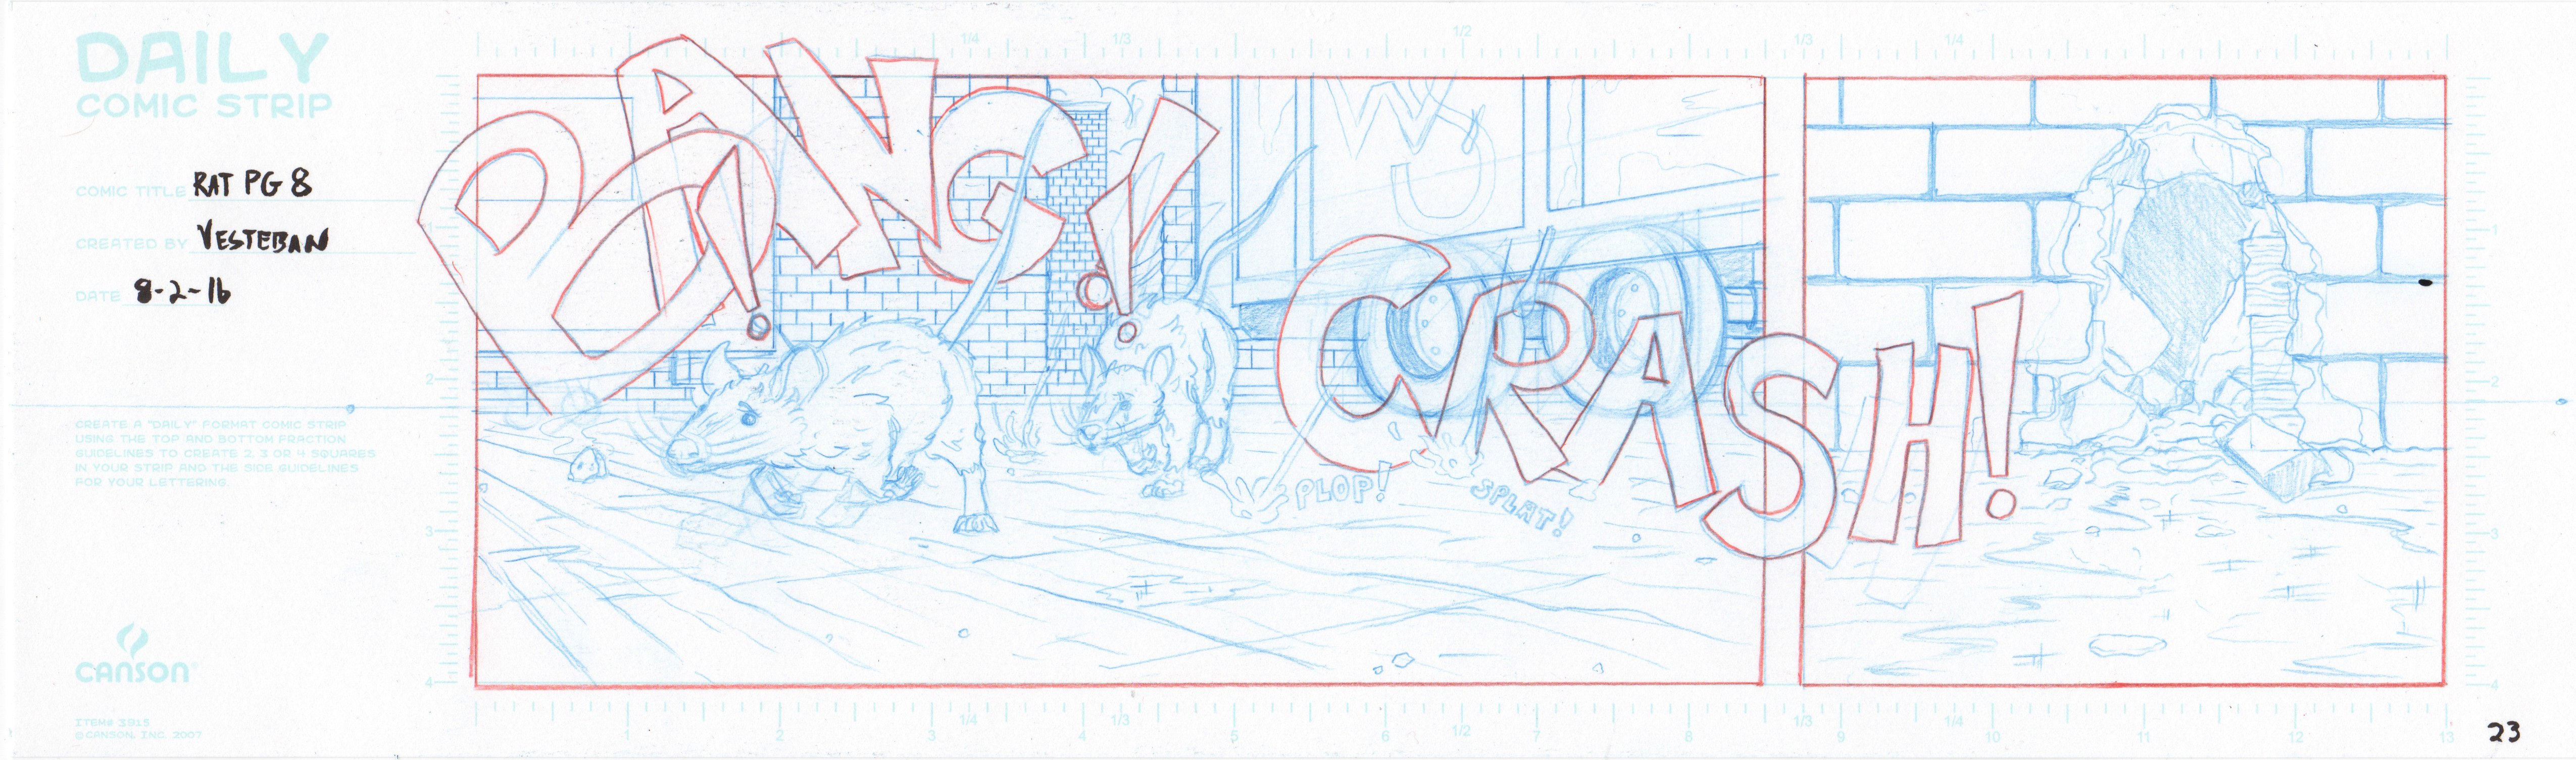
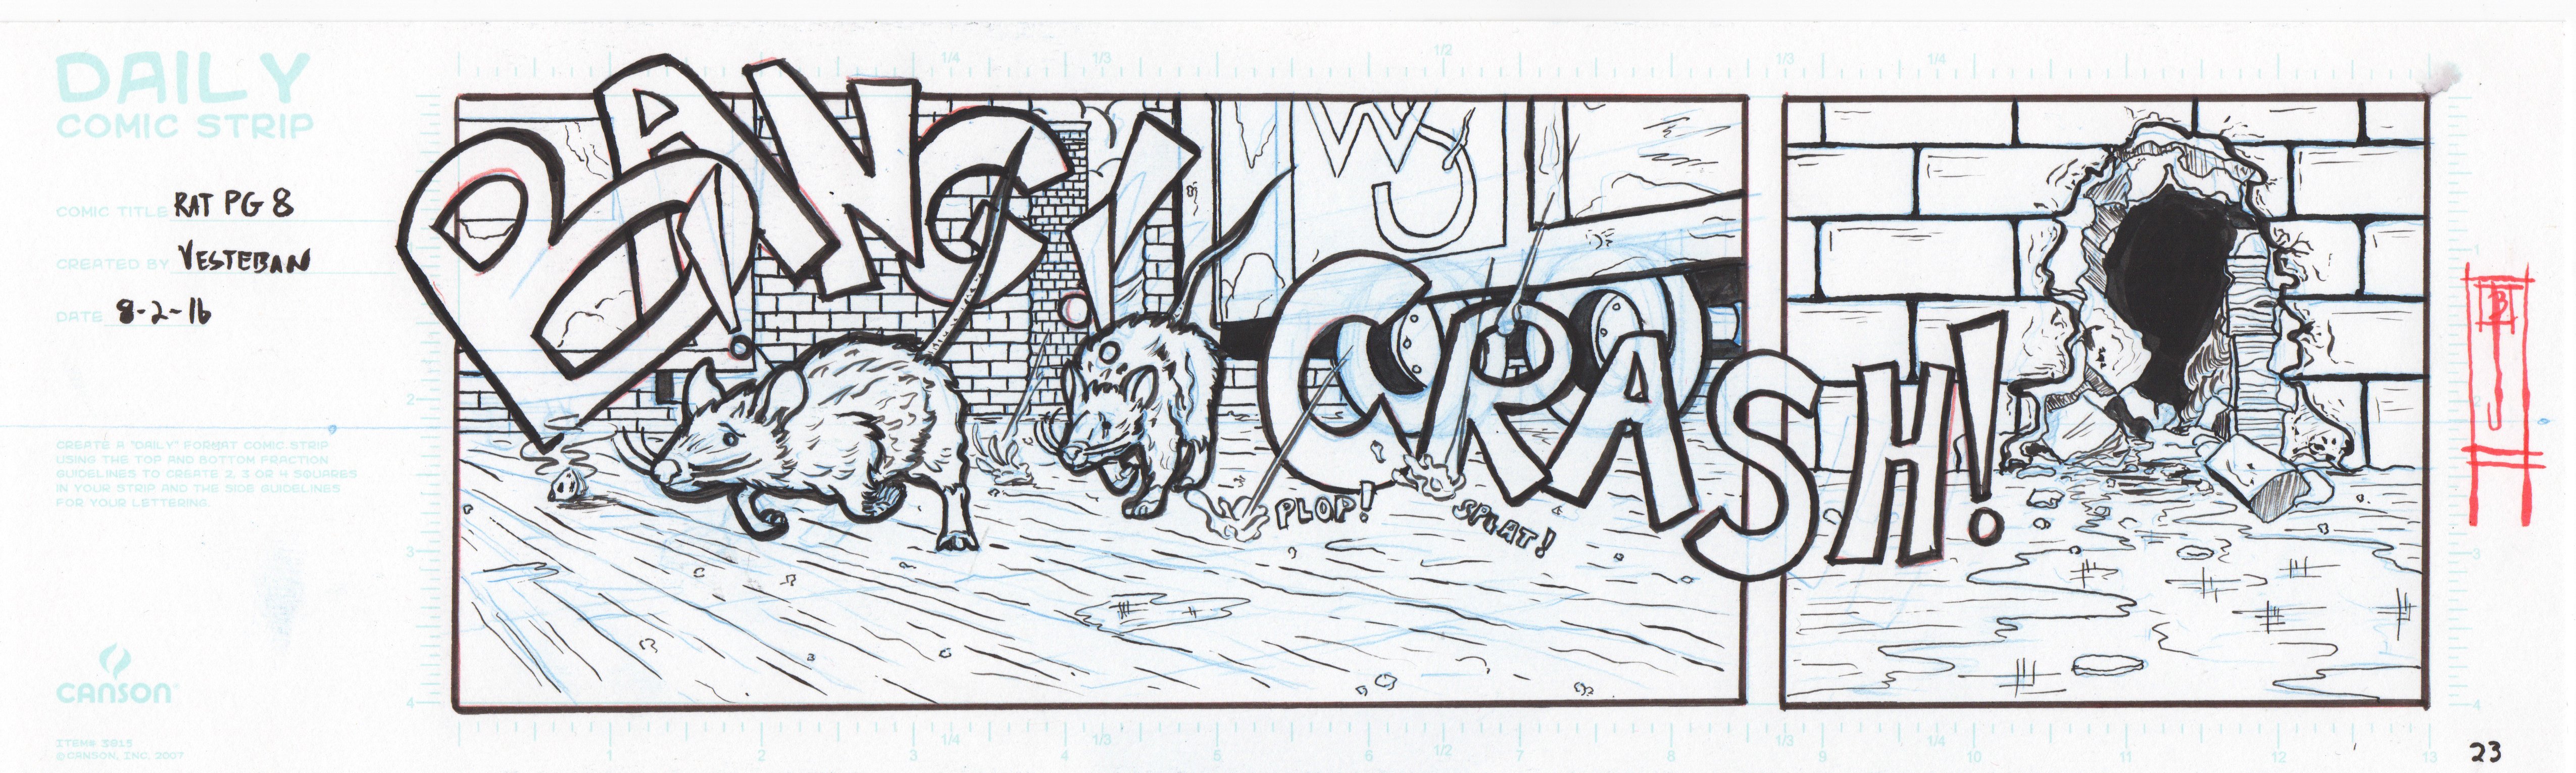
As you can see, these pages came pre marked with measurement lines and a place to put the page information.
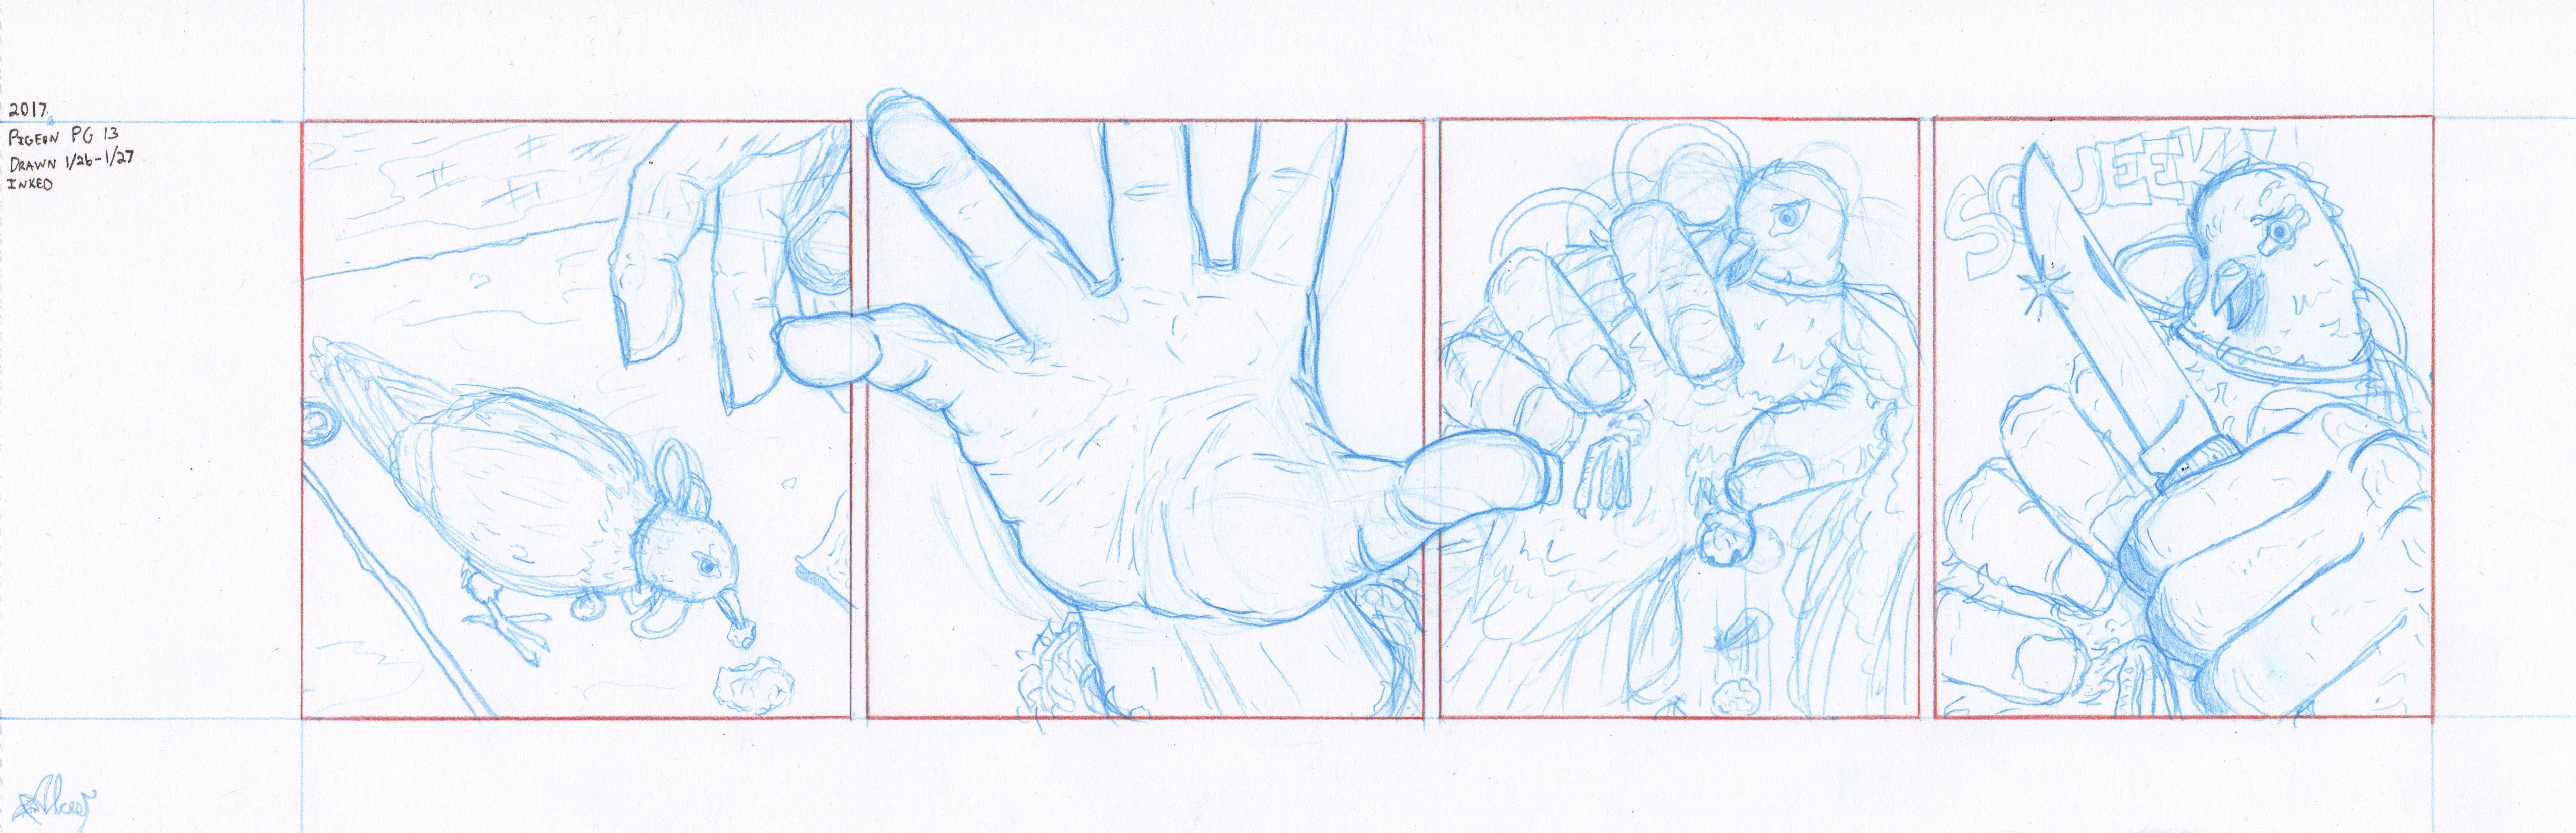
I used this for the first two 16 page issues of the Second Wind story. It worked fine, but I noticed I was spending a lot of unnecessary money on this specialty comic paper. I then realized that I could purchase the standard Strathmore 300 Sequential Series Bristol Board measuring at 11"x17" for less money overall, and just draw two pages on one sheet of bristol. I also opted to not buy the version with the pre printed blue lines as I could just use the same measurements from the Canson paper. The results were as shown below. The top image is the blue line pencil, and the bottom is the inked image over the original blue line.
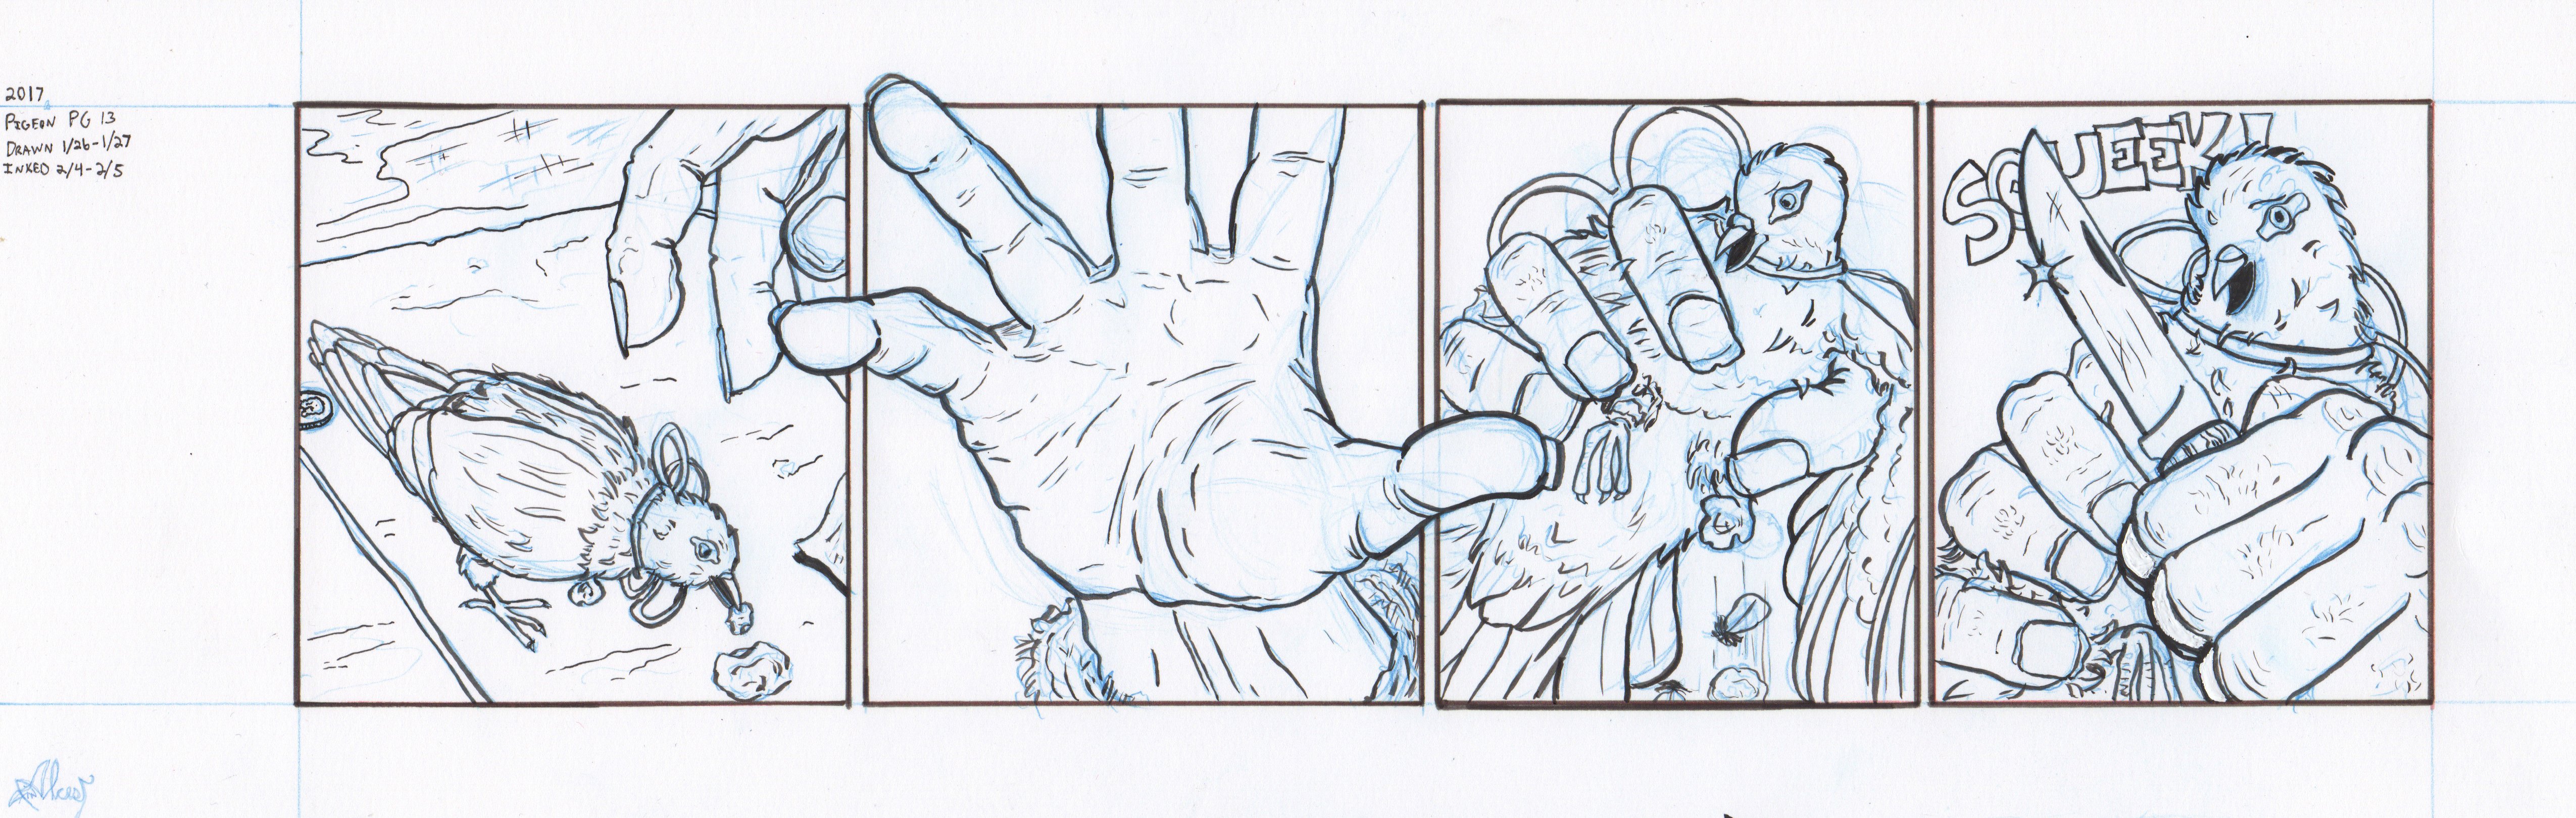
Though there is not much in the change of the look of the drawing, it saved me a lot of time and money to use this method. I was still trying to decide what information to write on each page, thus the writing on the left side. The one thing I was still having issue with was the blue line drawing underneath the ink. Though it's easy to ink directly on the blue line drawing, I was having issues with little grey bits ending up in the final black and white scan that I would have to edit out. The thing is, blue line drawings worked great back in the day when scanning technology was not as advanced as it is now. In this day in age my damn scanner is TOO good and picks up every single line, mark, and color on the page. I then finally decided to draw the initial blue line image and then ink the lines using a lightbox on a fresh piece of bristol board. It was at this time that I also bought a much lower quality bristol board to scribble out the drawing on, and then use the nicer Strathmore 300 bristol to do the final inking (still drawing two images on one 11"x17" piece of board). The results were as follows:

This left me with a very clean inked final page that required very little post drawing digital cleanup. This is the method I have stuck with every since. Though it is a little more difficult to ink the pages using a lightbox, it has made be think more about the blue line drawing so that I have to do less guesswork on the inked page.
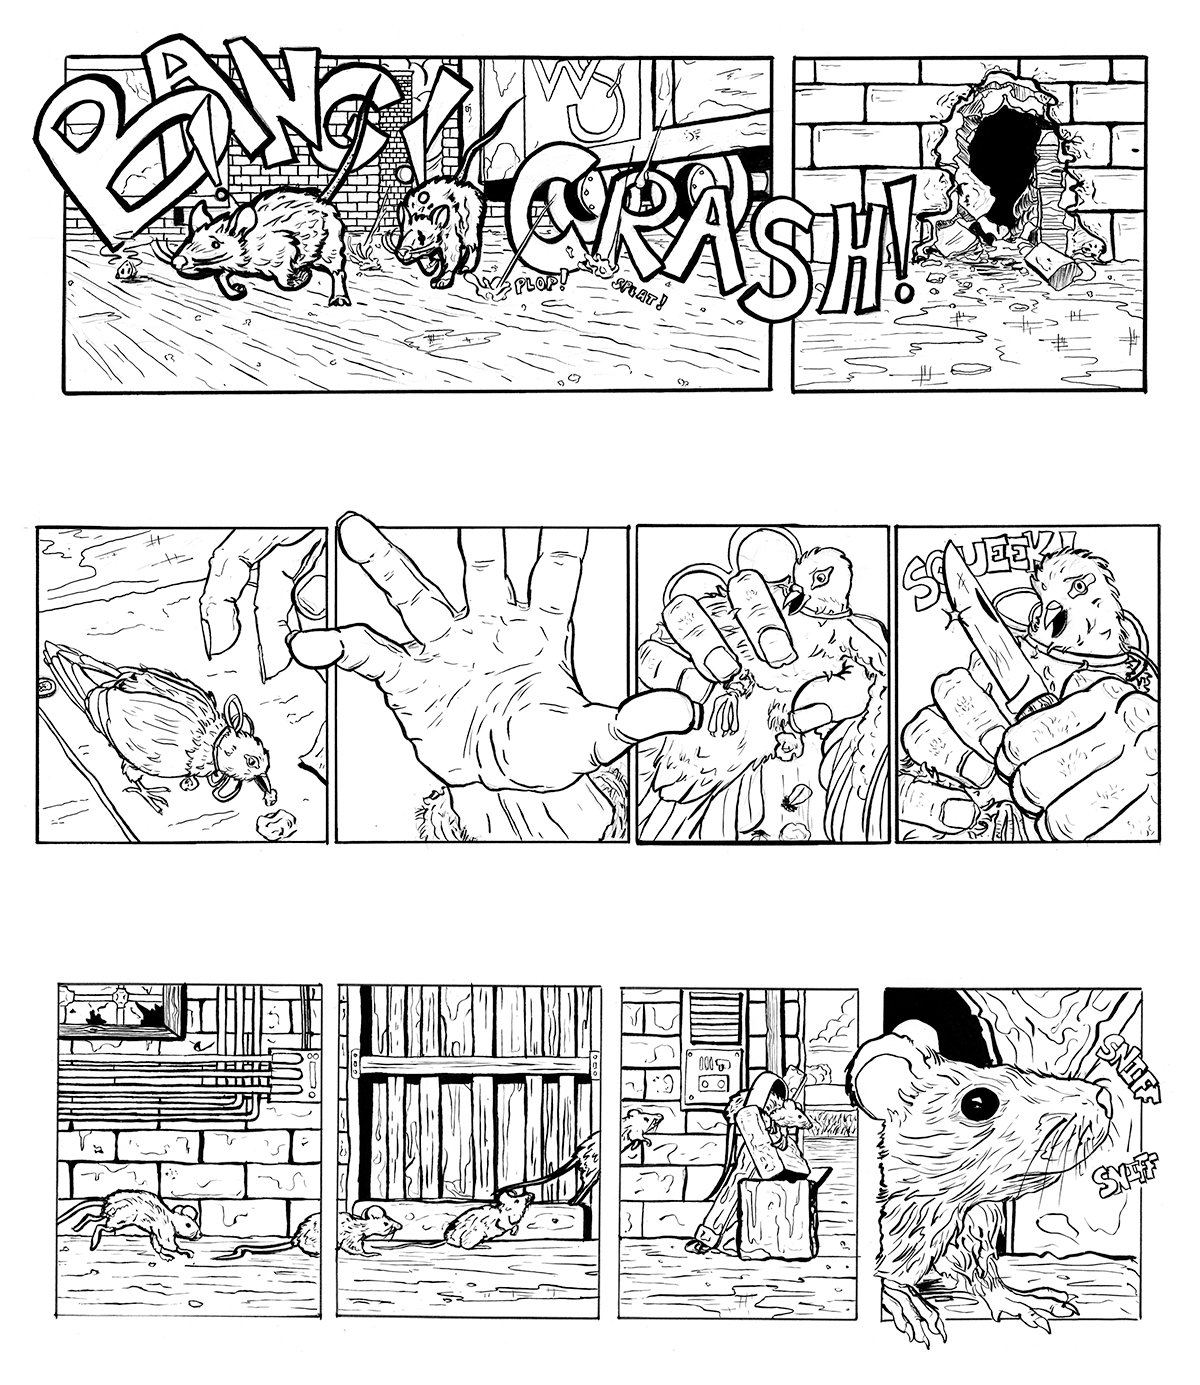
In the end the final image that is ready for print does not look much different between these pages, but there is a significant amout of saved time and money between them. Below are the final images that are ready to be sent to the printer:
I hope you have enjoyed seeing some of my work! I am currently working on getting everything ready for Second Wind to be sent to the printer, and I will be starting a kickstarter soon. I will be posting more work from this book on Steemit soon so keep an eye out!