If you are anything like me, nine times out of ten you try to cook beef/chicken/pork/shark fin (kidding!) and it does not turn out the way you had hoped. If it is not undercooked or evenly cooked, it is overcooked or burnt to a crisp. Don't get me wrong I'll eat it, but I'm not about to be hosting weekly dinner parties to showcase my culinary skills.
A few years ago, my husband convinced me that we had to get this contraption called a sous vide because it was supposedly the best for cooking meat, blah, blah, blah, and it was on sale for $99. I did not give it much thought—figured it was just some as-seen-on-tv appliance that would inevitably suck and wind up collecting dusk in a closet, eventually making its way to the trash.
But I was wrong. So, so, so unbelievably wrong. SOUS VIDE COOKING IS AMAZING.
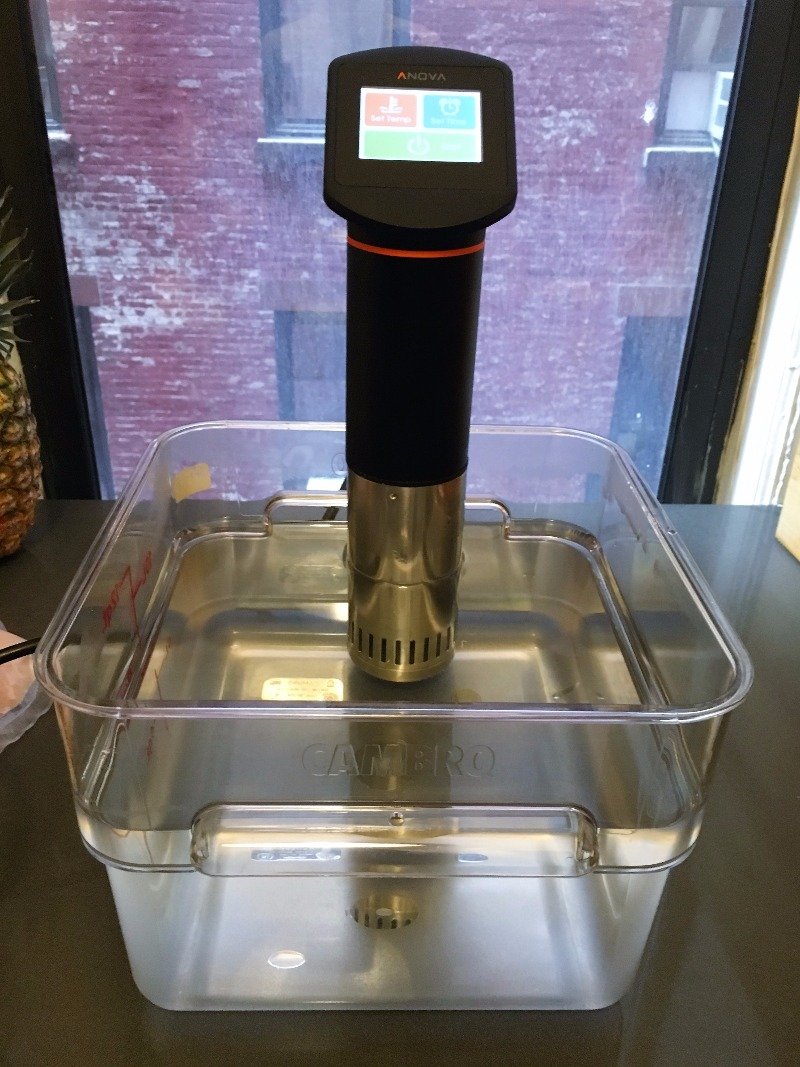
What is sous vide cooking?
Sous vide (pronounced sue veed) is a method of cooking that uses a temperature-controlled water bath. With traditional cooking techniques like the stove top or conventional oven, results are often imprecise and inconsistent due to inefficiencies and temperature variations. Water bath cooking, however, eliminates any uneven heat or hotspots and the risk of over or undercooking food. The temperature remains exactly the same on all sides the entire time. Basically, it makes cooking even the trickiest of proteins completely foolproof.
For years the technique was generally limited to professional chefs in high-end restaurants, but the recent development of immersion circulator cookers designed for home-use has made it more accessible. All you need is an immersion cooker, a receptacle big enough to fit whatever it is you are cooking, and plastic bags. If you have those things, you can make perfectly cooked steak, scallops, pork chops, you name it. But what makes sous vide cooking indispensable, at least to me, is the ability to prepare simple proteins in bulk for future use—a total timesaver.
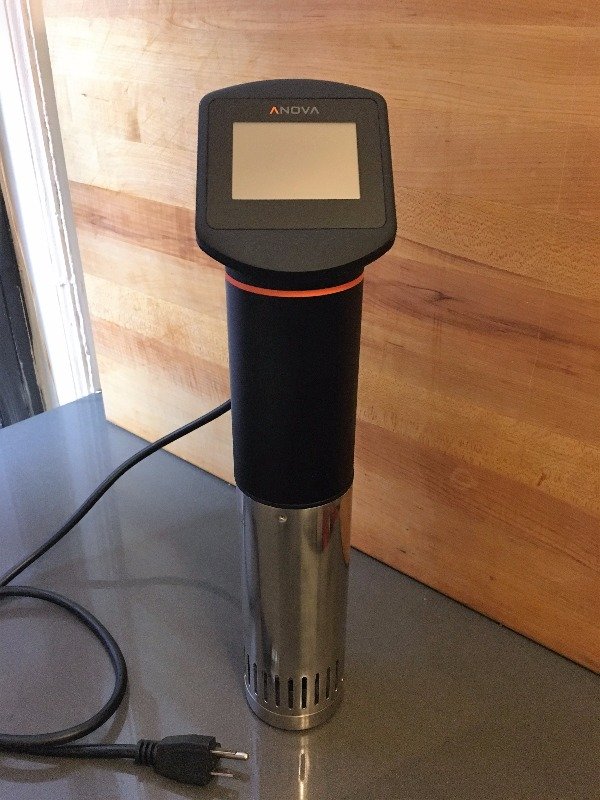
Let me show you what I mean
Both my husband and I's work schedules can be unpredictable, so the last thing we want to do is spend a ton of time cooking dinner. That's where a sous vide cooker comes in handy. On the weekends, we will cook a bunch of protein and freeze it for use in the upcoming week. Before leaving for work, one of us will pull out what we want to eat so it can defrost, and when we get home all we have to do is pan sear it for a few seconds and it's ready to go. Amazing, right?
Here is a step-by-step guide to preparing chicken breast sous vide.
Step One: Put the chicken in bags
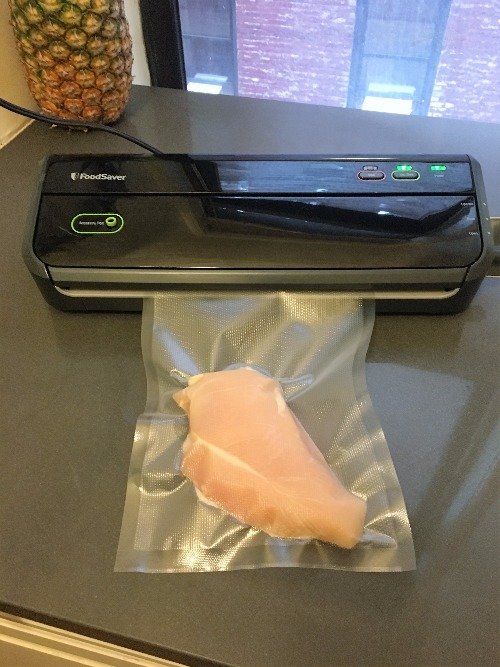
A lot of people who cook sous vide recommend vacuum-sealing, but it is not required unless you are doing a long, 72-hour cook with short ribs, for example. I do it because we have them. Plus, it's fun.
Step Two: Fill a tub with water and select the desired temperature
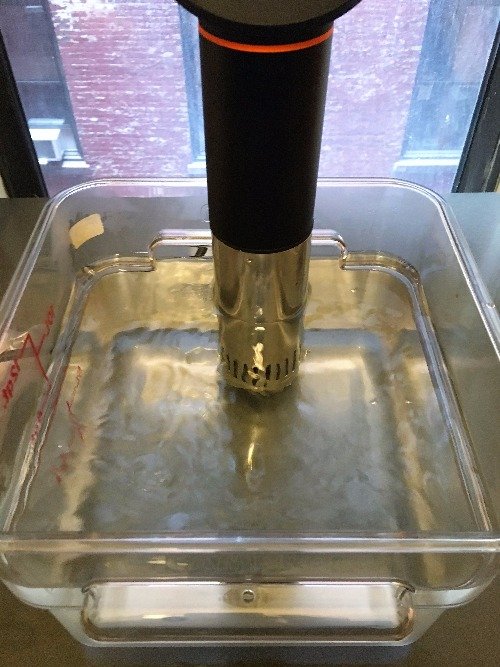
The temperature required depends on the type of meat and the texture/level of doneness you are looking for. I included a link to an awesome temperature guide below. Personally, I am a fan of the "super-supple" chicken, which calls for 2 hours at 140 degrees Fahrenheit.
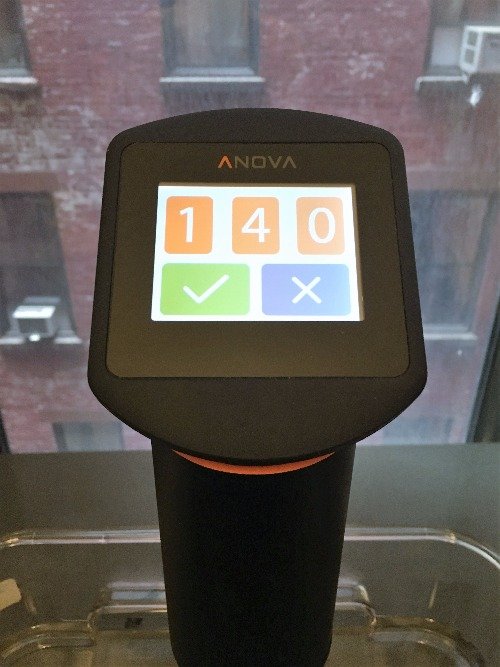
Step Three: Once the desired temperature is reached, put the bags in the water
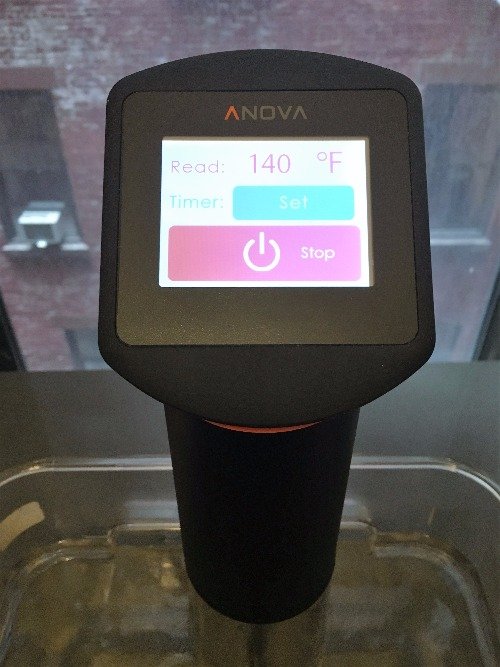
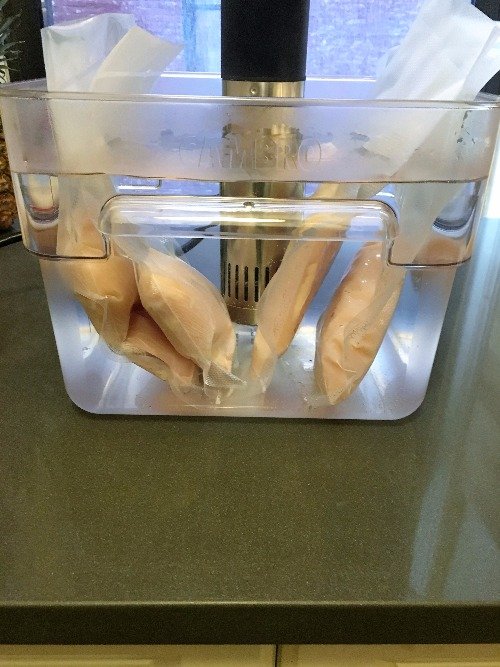
Pretty self-explanatory. It does not matter if the bags are touching, or if they migrate towards the wand: the temperature will be the same no matter what. Just make sure the water-level is high enough to cover the chicken.
Step Four: Set the time for the desired cooking time, or don't, it doesn't really matter
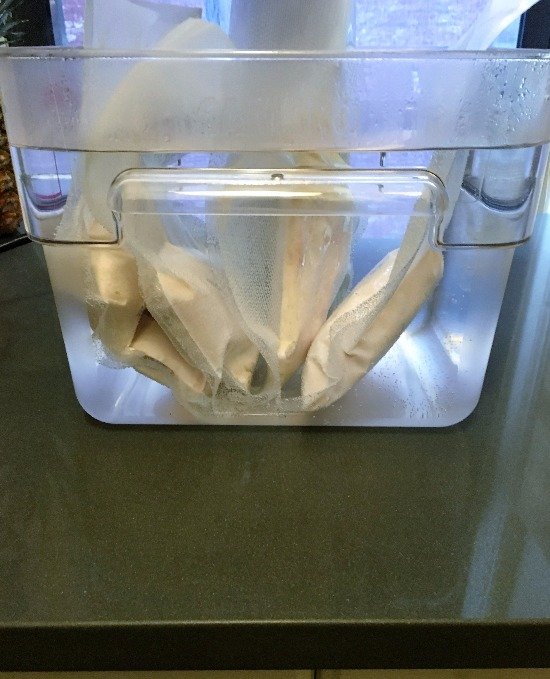
That is the beauty of sous vide. As long as the chicken is in for the minimum—here, 1 to 3 hours depending on the volume—you really can't screw it up. Obviously, you can't leave it in there forever, but since the temperature never changes it won't overcook if you fail to pull the bags out at the two-hour mark.
Step Five: After two hours, take the bags out of the water
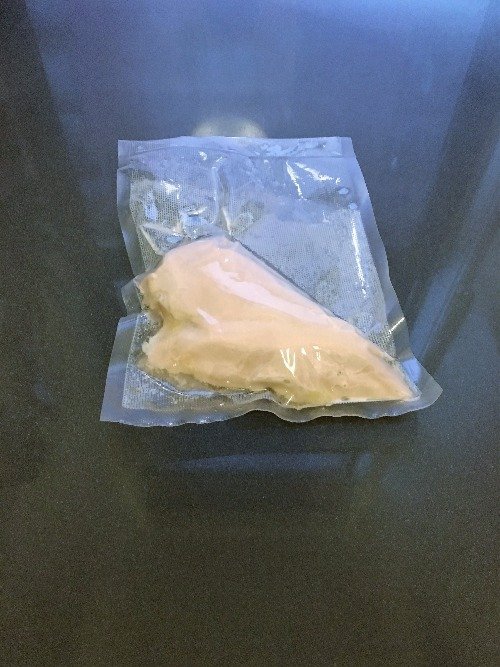
Every piece of chicken will be identically cooked and ready to rock. If I am cooking large quantities to freeze, I dump out the hot water, replace it with cold and add ice to cool them down. Once they are cool enough, toss the bags in the freezer.
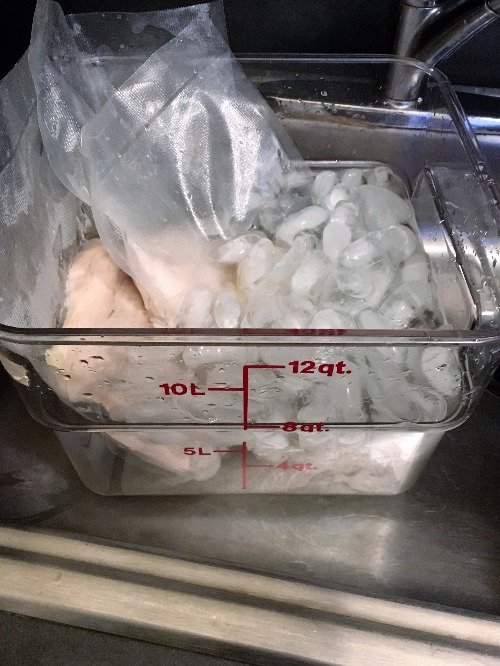
The Finishing Touches
I kept one out so I could demonstrate what one might do to "perfect" sous vide chicken breast. If you plan to serve it alone, the easiest/quickest option is to pan sear both sides, but really you can use the cooked chicken any way you would like.
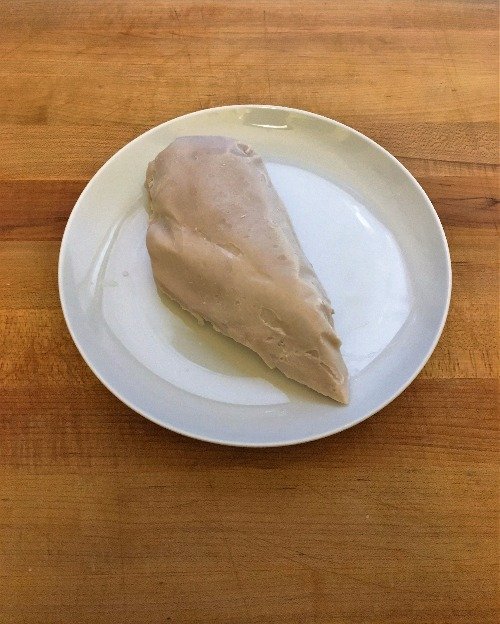
As you can see, the cooked chicken isn't the handsomest looking thing so I have decided to sear it with some browned butter. Normally I would add a sprig of rosemary or sage to the butter, but I am all out.
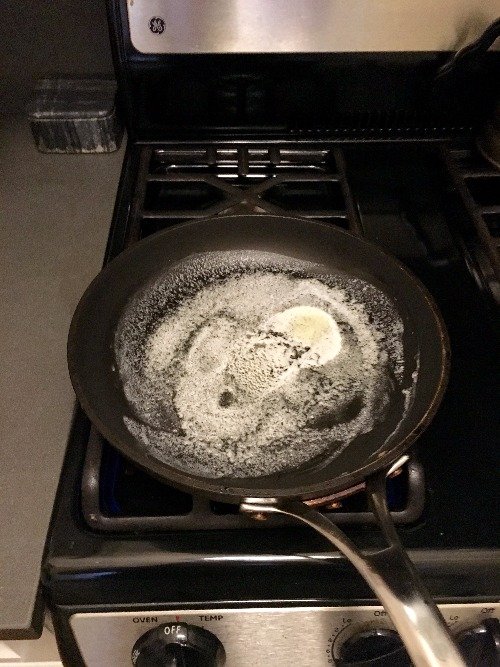
Once the butter is hot enough, sear the chicken for 30-40 seconds on each side and you're done.
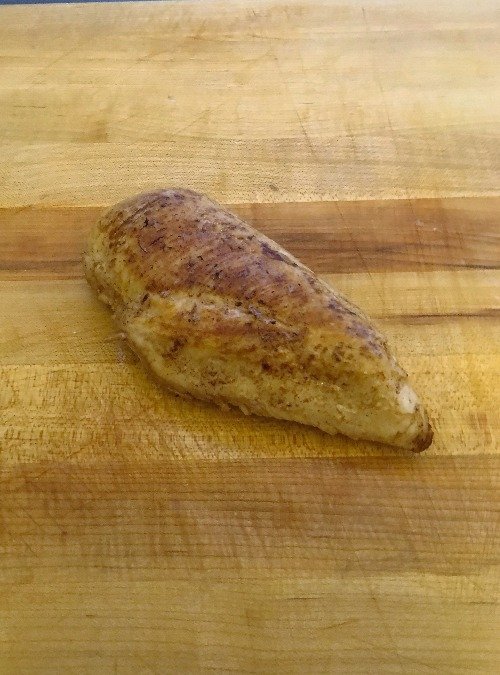
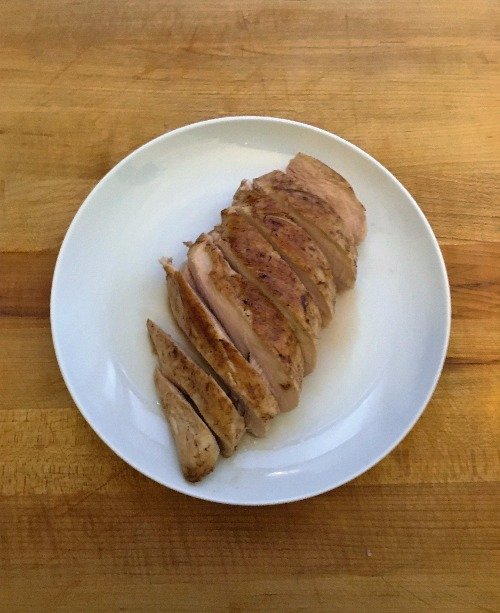
A perfect, evenly cooked chicken breast. Everytime.
If you want to learn more about sous vide, check out these great blogs:
How to Get Started With Sous Vide Cooking
Modernist Cooking Made Easy
Time and Temperature Guide
