I’ve always loved yogurt. When I lost the ability to digest dairy in 1994, I stopped eating it until 2008. When I started eating dairy again, making kefir or kefir cheese was so much easier and had so many more probiotics, I didn’t waste my energy making yogurt.
Due to the disability I started getting home help in 2010 and sometime after that I had them make yogurt. It’s still far more labor intensive than kefir but I have it made just as often now.
For starter I use Sidehill whole milk plain yogurt. It makes the most beautiful thick yogurt without straining. The downside is that it doesn’t allow you to use what you’ve made as a starter. Apparently there are strains of culture that don’t replicate well past the first or second time.
While it would be nice to not be dependent on bought yogurt, I haven’t taken the time and effort to find good strains and buy them. For those of you seeking independence, they are out there. If you know of any that make thick yogurt reliably time after time, I’d love to hear about them!
Some important things to note for quality yogurt:
- Make sure you reach but don’t exceed each temperature.
- Stir very thoroughly to avoid hot spots. Hot spots can kill the starter.
- Make sure all your equipment is very clean when working with raw milk.
So this is my method of making 2 quarts of yogurt.
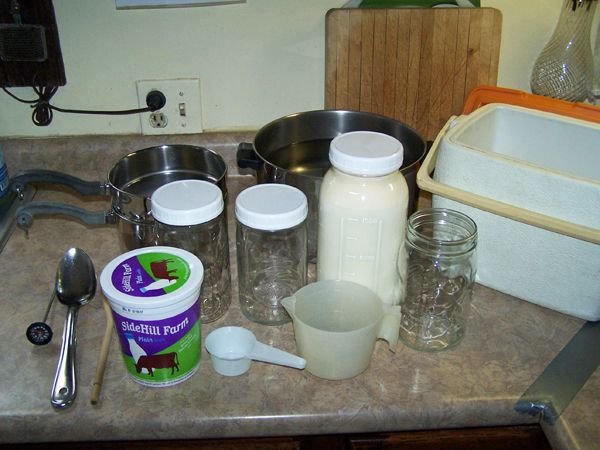
The equipment needed:
Reliable thermometer
Large spoon
Smaller spoon (I dedicate this wooden spoon to dairy use only)
Quart size double boiler
8 quart stockpot with cover
3 large mouth quart canning jars (2 with plastic or non-reactive covers)
¹⁄³ cup measure
2 cup measure
Cooler big enough for 2 jars
Yogurt starter
Whole raw milk (check out the cream line)
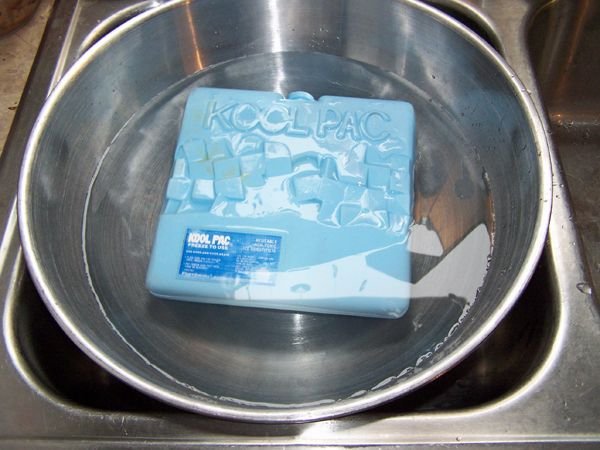
The last of the equipment need: a large bowl or a sink that holds water, and ice or a cold pack.
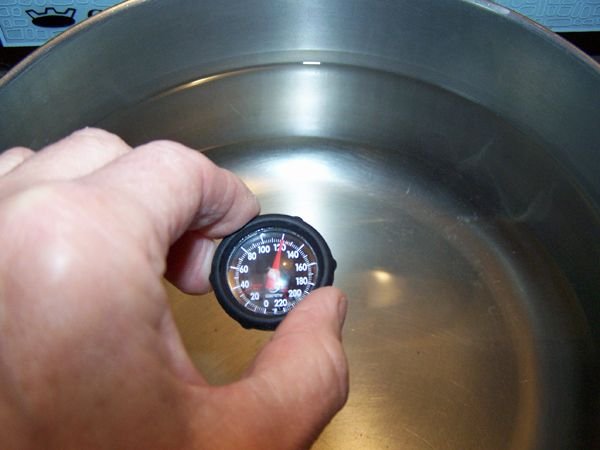
Fill your stockpot with hot water and heat it to 120F then turn the heat off. Cover and leave it. When heating it, use the large spoon to continuously swirl the water to avoid hot spots.
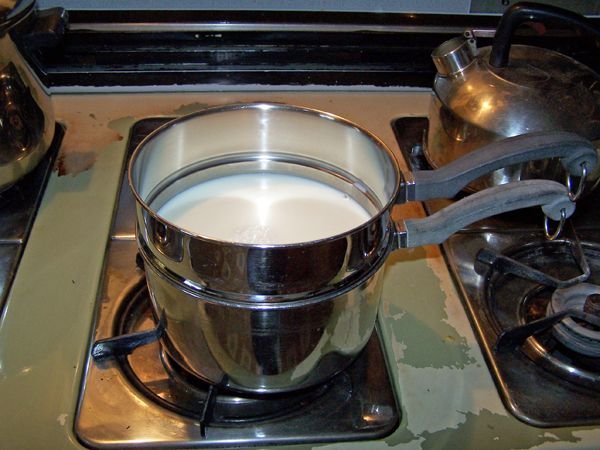
First, ALWAYS put water in a double boiler bottom as soon as you take it from a cabinet. That way you won't burn out the bottom. Fill the jar without a cover to just above the shoulder, to allow room for starter addition. While you are tending the heating water, the cold milk can be heating in the double boiler.
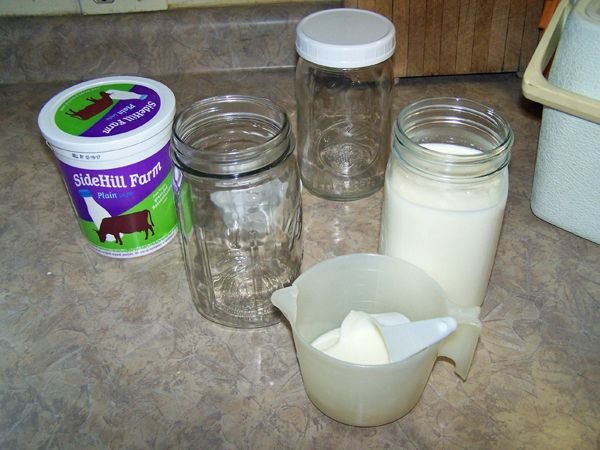
Once the water is 120F, set up for your first quart while the milk heats. Fill the jar without a cover to just above the shoulder, to allow room for starter addition, for the next batch. Take the cover off a clean jar, measure out a full ¹⁄³ cup of starter from the Sidehill whole milk yogurt and put it in the 2 cup measure.
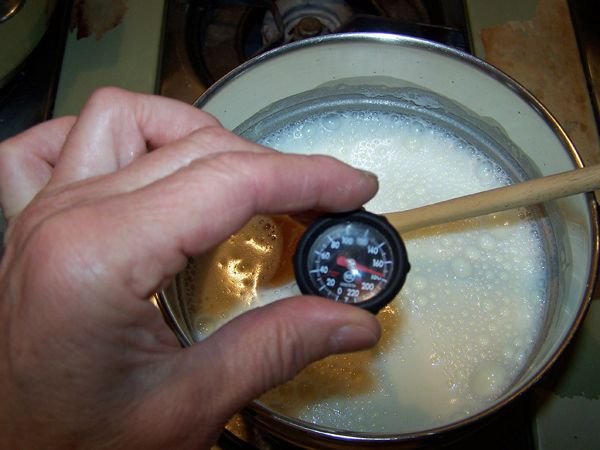
Once the milk starts heating, keep it stirred to avoid hot spots. When testing the temperature, do not touch the bottom or sides of the pan with the thermometer as it will give a false reading. As soon as it hits 180F, pull it off and put it into the ice bath.
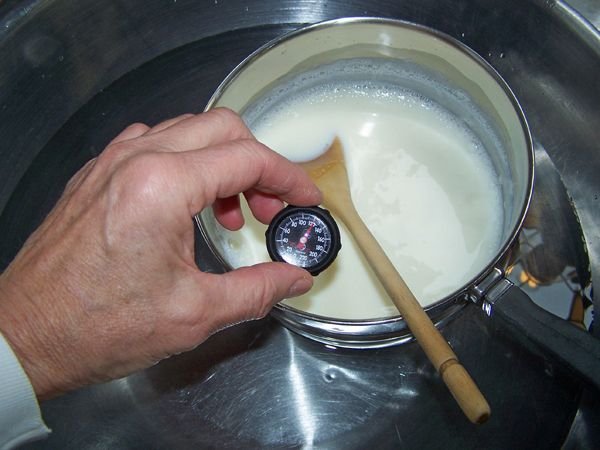
Stir it continuously in the ice bath to avoid hot spots, moving the pan around in the cold water. Using a bowl with a lip and a pan with a hook in the handle makes this easy. Again when testing temperature, do not touch the pan bottom or sides. As soon as it hits 120F, take it out and pour some into the open clean jar.
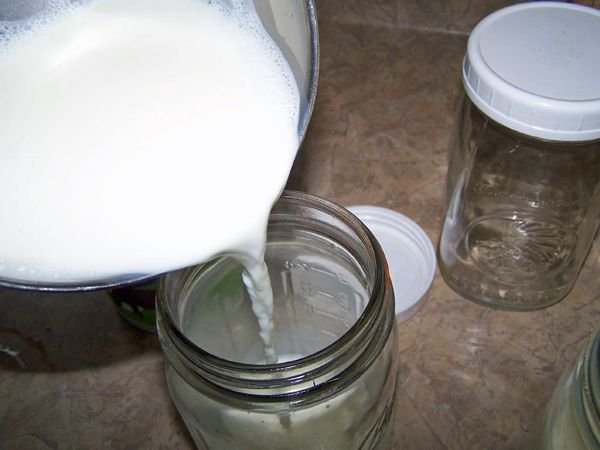
Fill the 2 cup measure ½ full of the 120F milk and pour the rest into the jar.
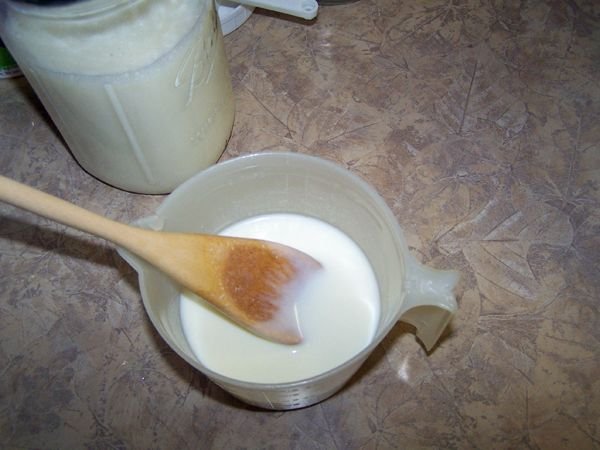
Using the small spoon, mix the starter thoroughly with the milk, until it is very smooth. Add it to the jar of warm milk and mix very thoroughly. For a thick even consistency, this is important. Put the cover on tightly and put the jar in the cooler.
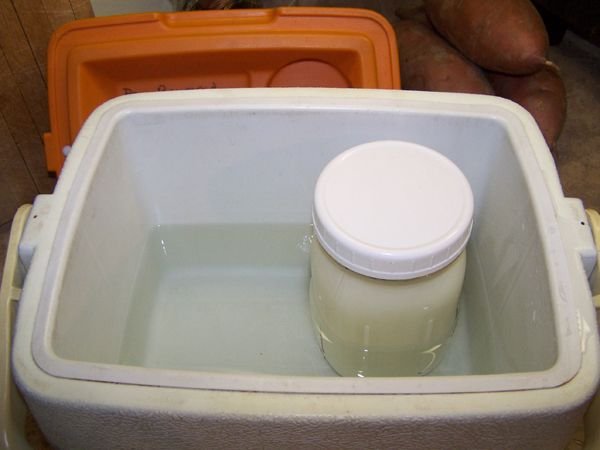
Fill the cooler with the 120F water, halfway up the jar and put the cover on.
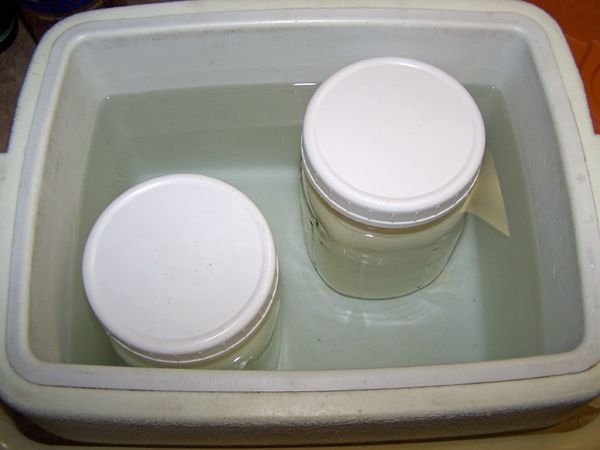
Once the double boiler is empty, put the second jar of cold milk into it and set it to heat while you deal with the first jar. Repeat the above and put the jar into the cooler. Use the 120F water to fill to just under the edge of the lids. Put the cover on and set it in a warm place. I use my oven with pilot light.
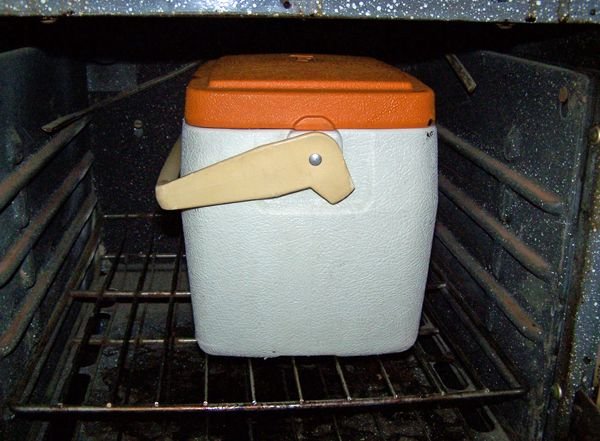
This old oven will not light, so it is safe to put the plastic cooler in there. It will be done after 3 hours, but can stay in there longer if needed.
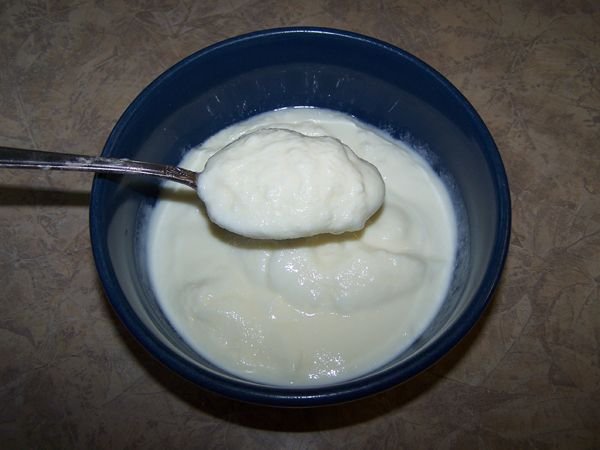
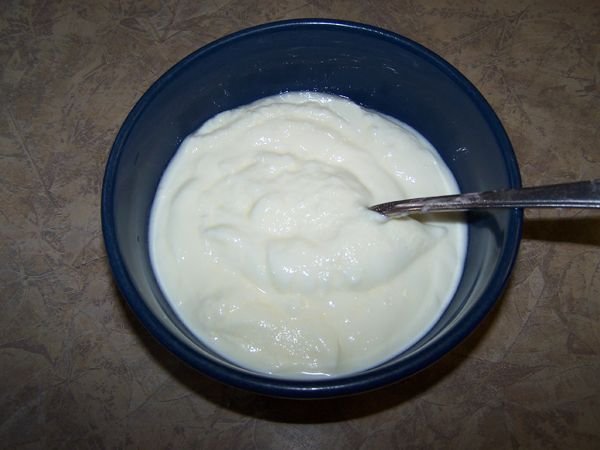
This is the thick yogurt I've come to expect each time. This is from the bottom of my last jar, as I said, about 2 weeks old.
My fridge is set at 39F due to using so much raw milk. It keeps foods very well at that temperature.

Community Forums
