[English]
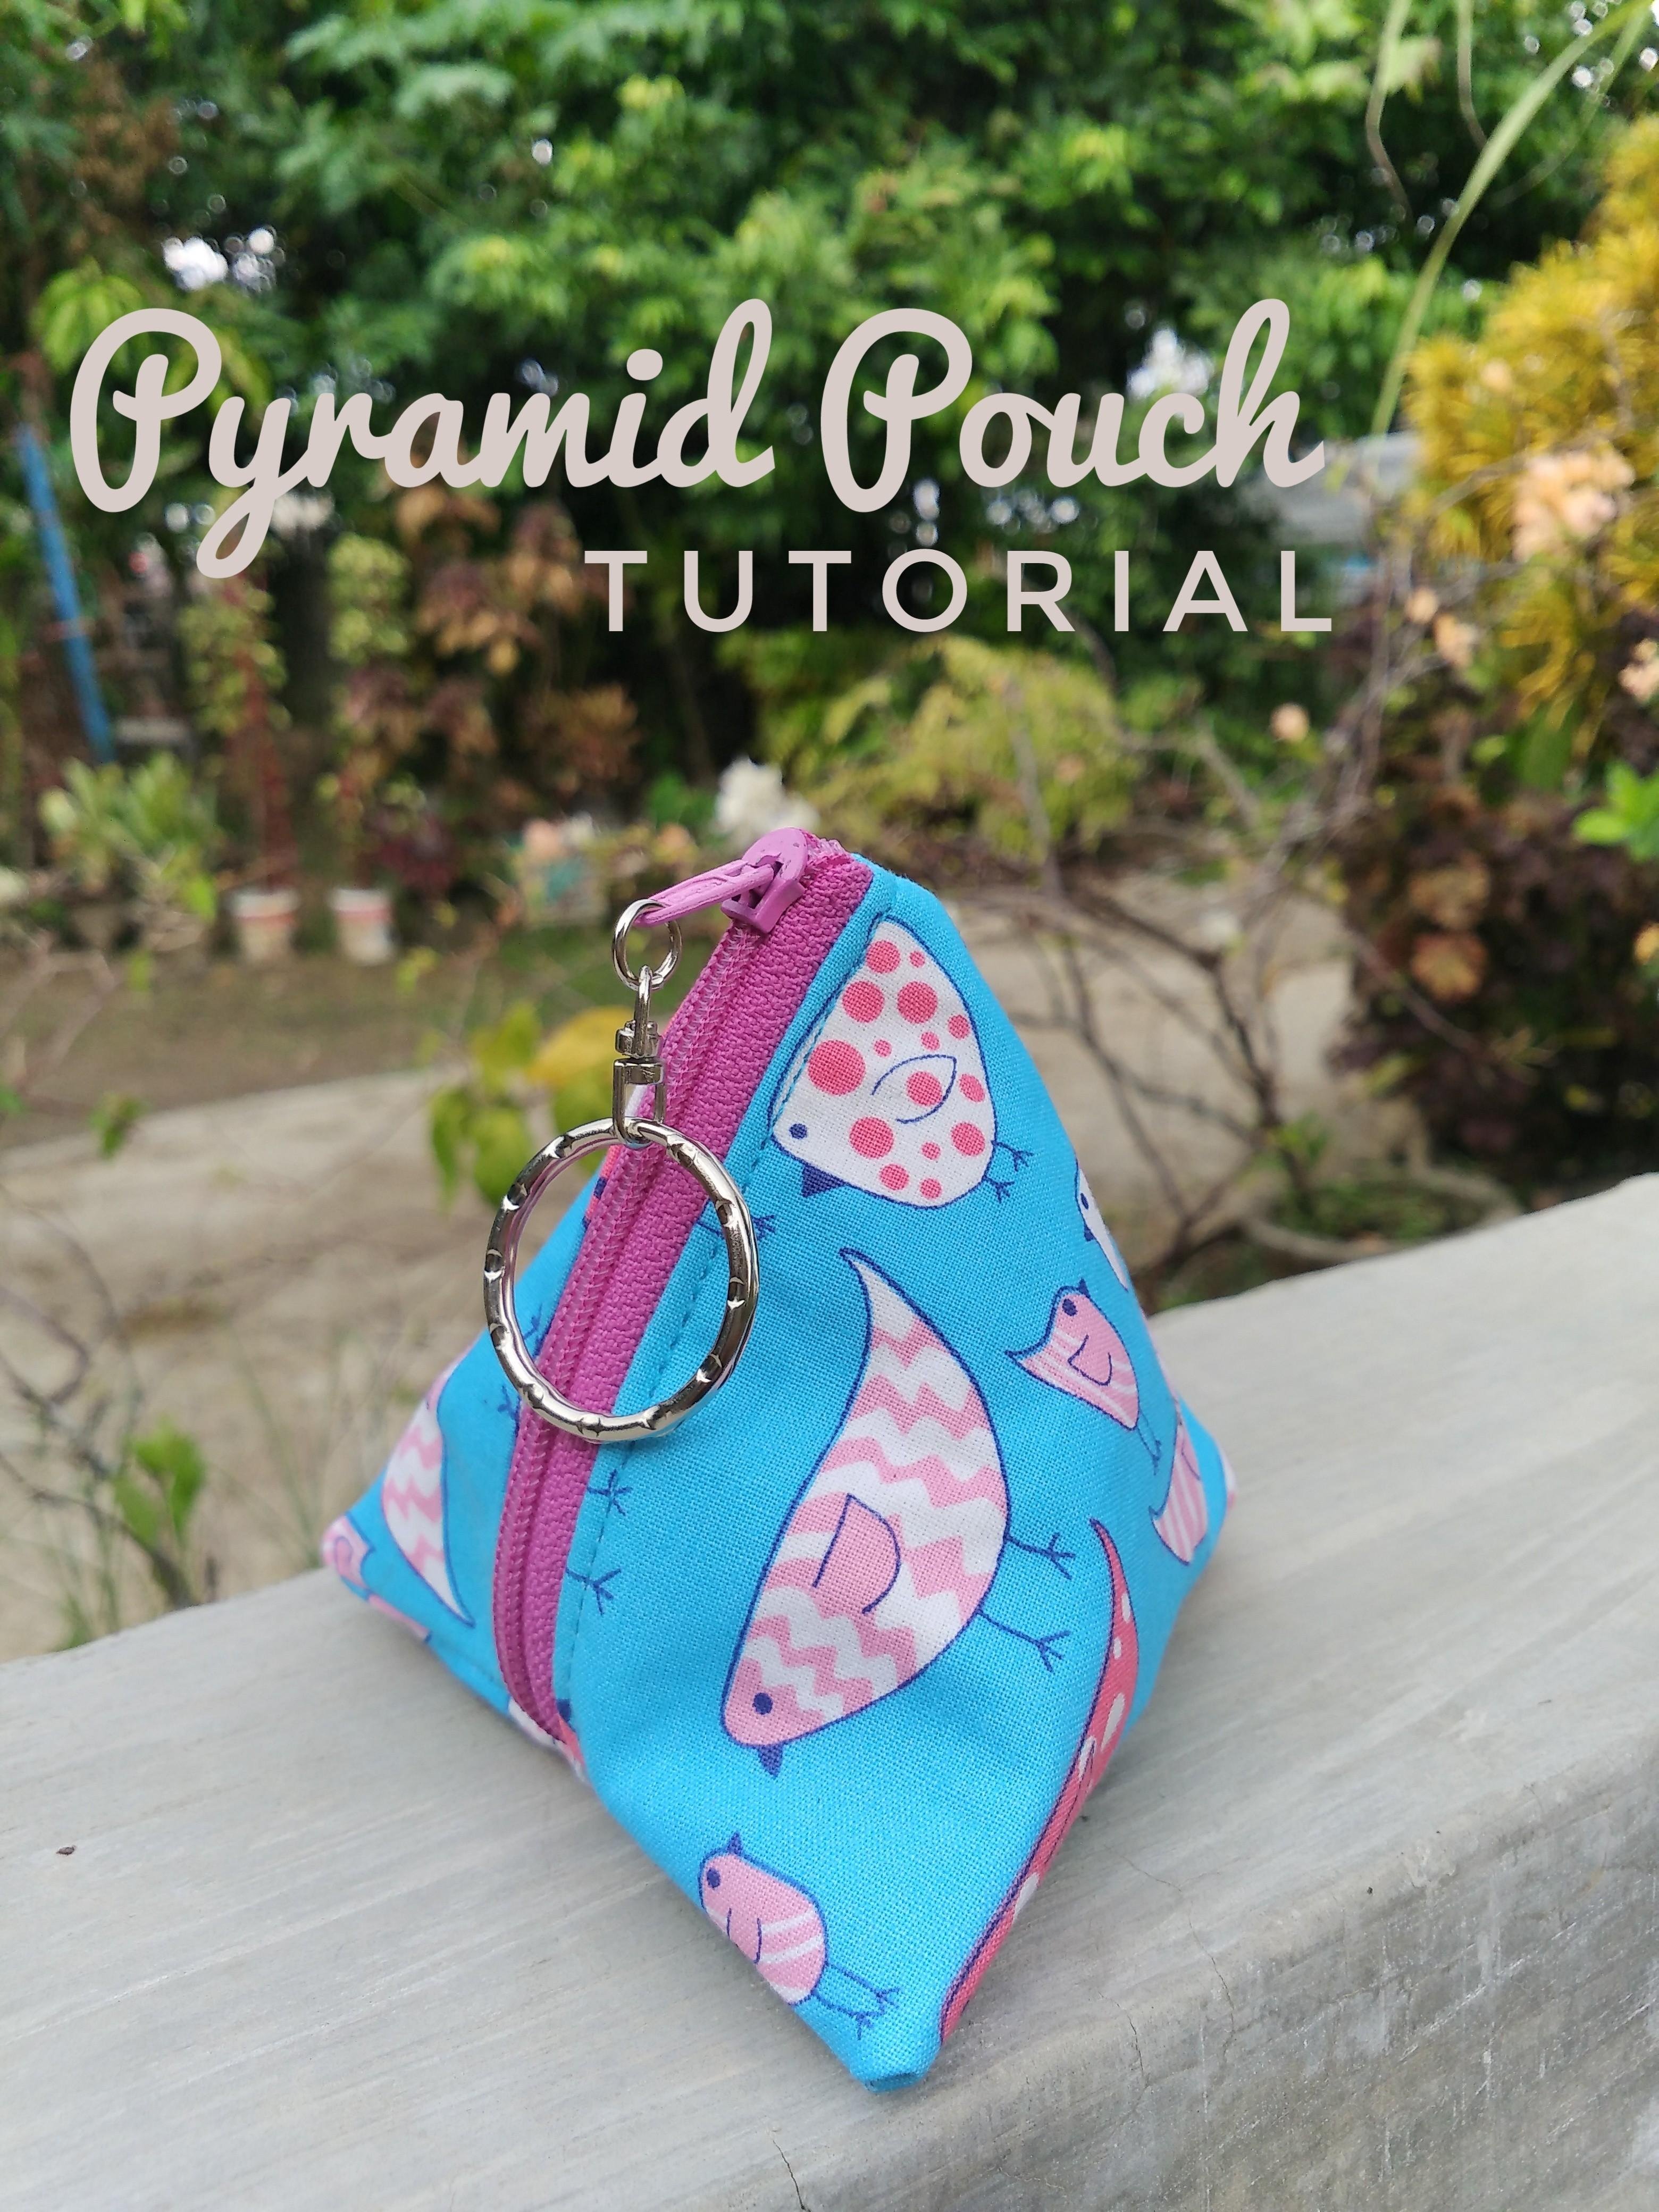
Yeaay....I am so excited to show you a tutorial of a very simple sewing project, a pyramid pouch. You can use this pouch to keep your coins, small make up essensials,or a few sewing supplies. This project is very easy and fun to make. So, let’s start.
Materials:
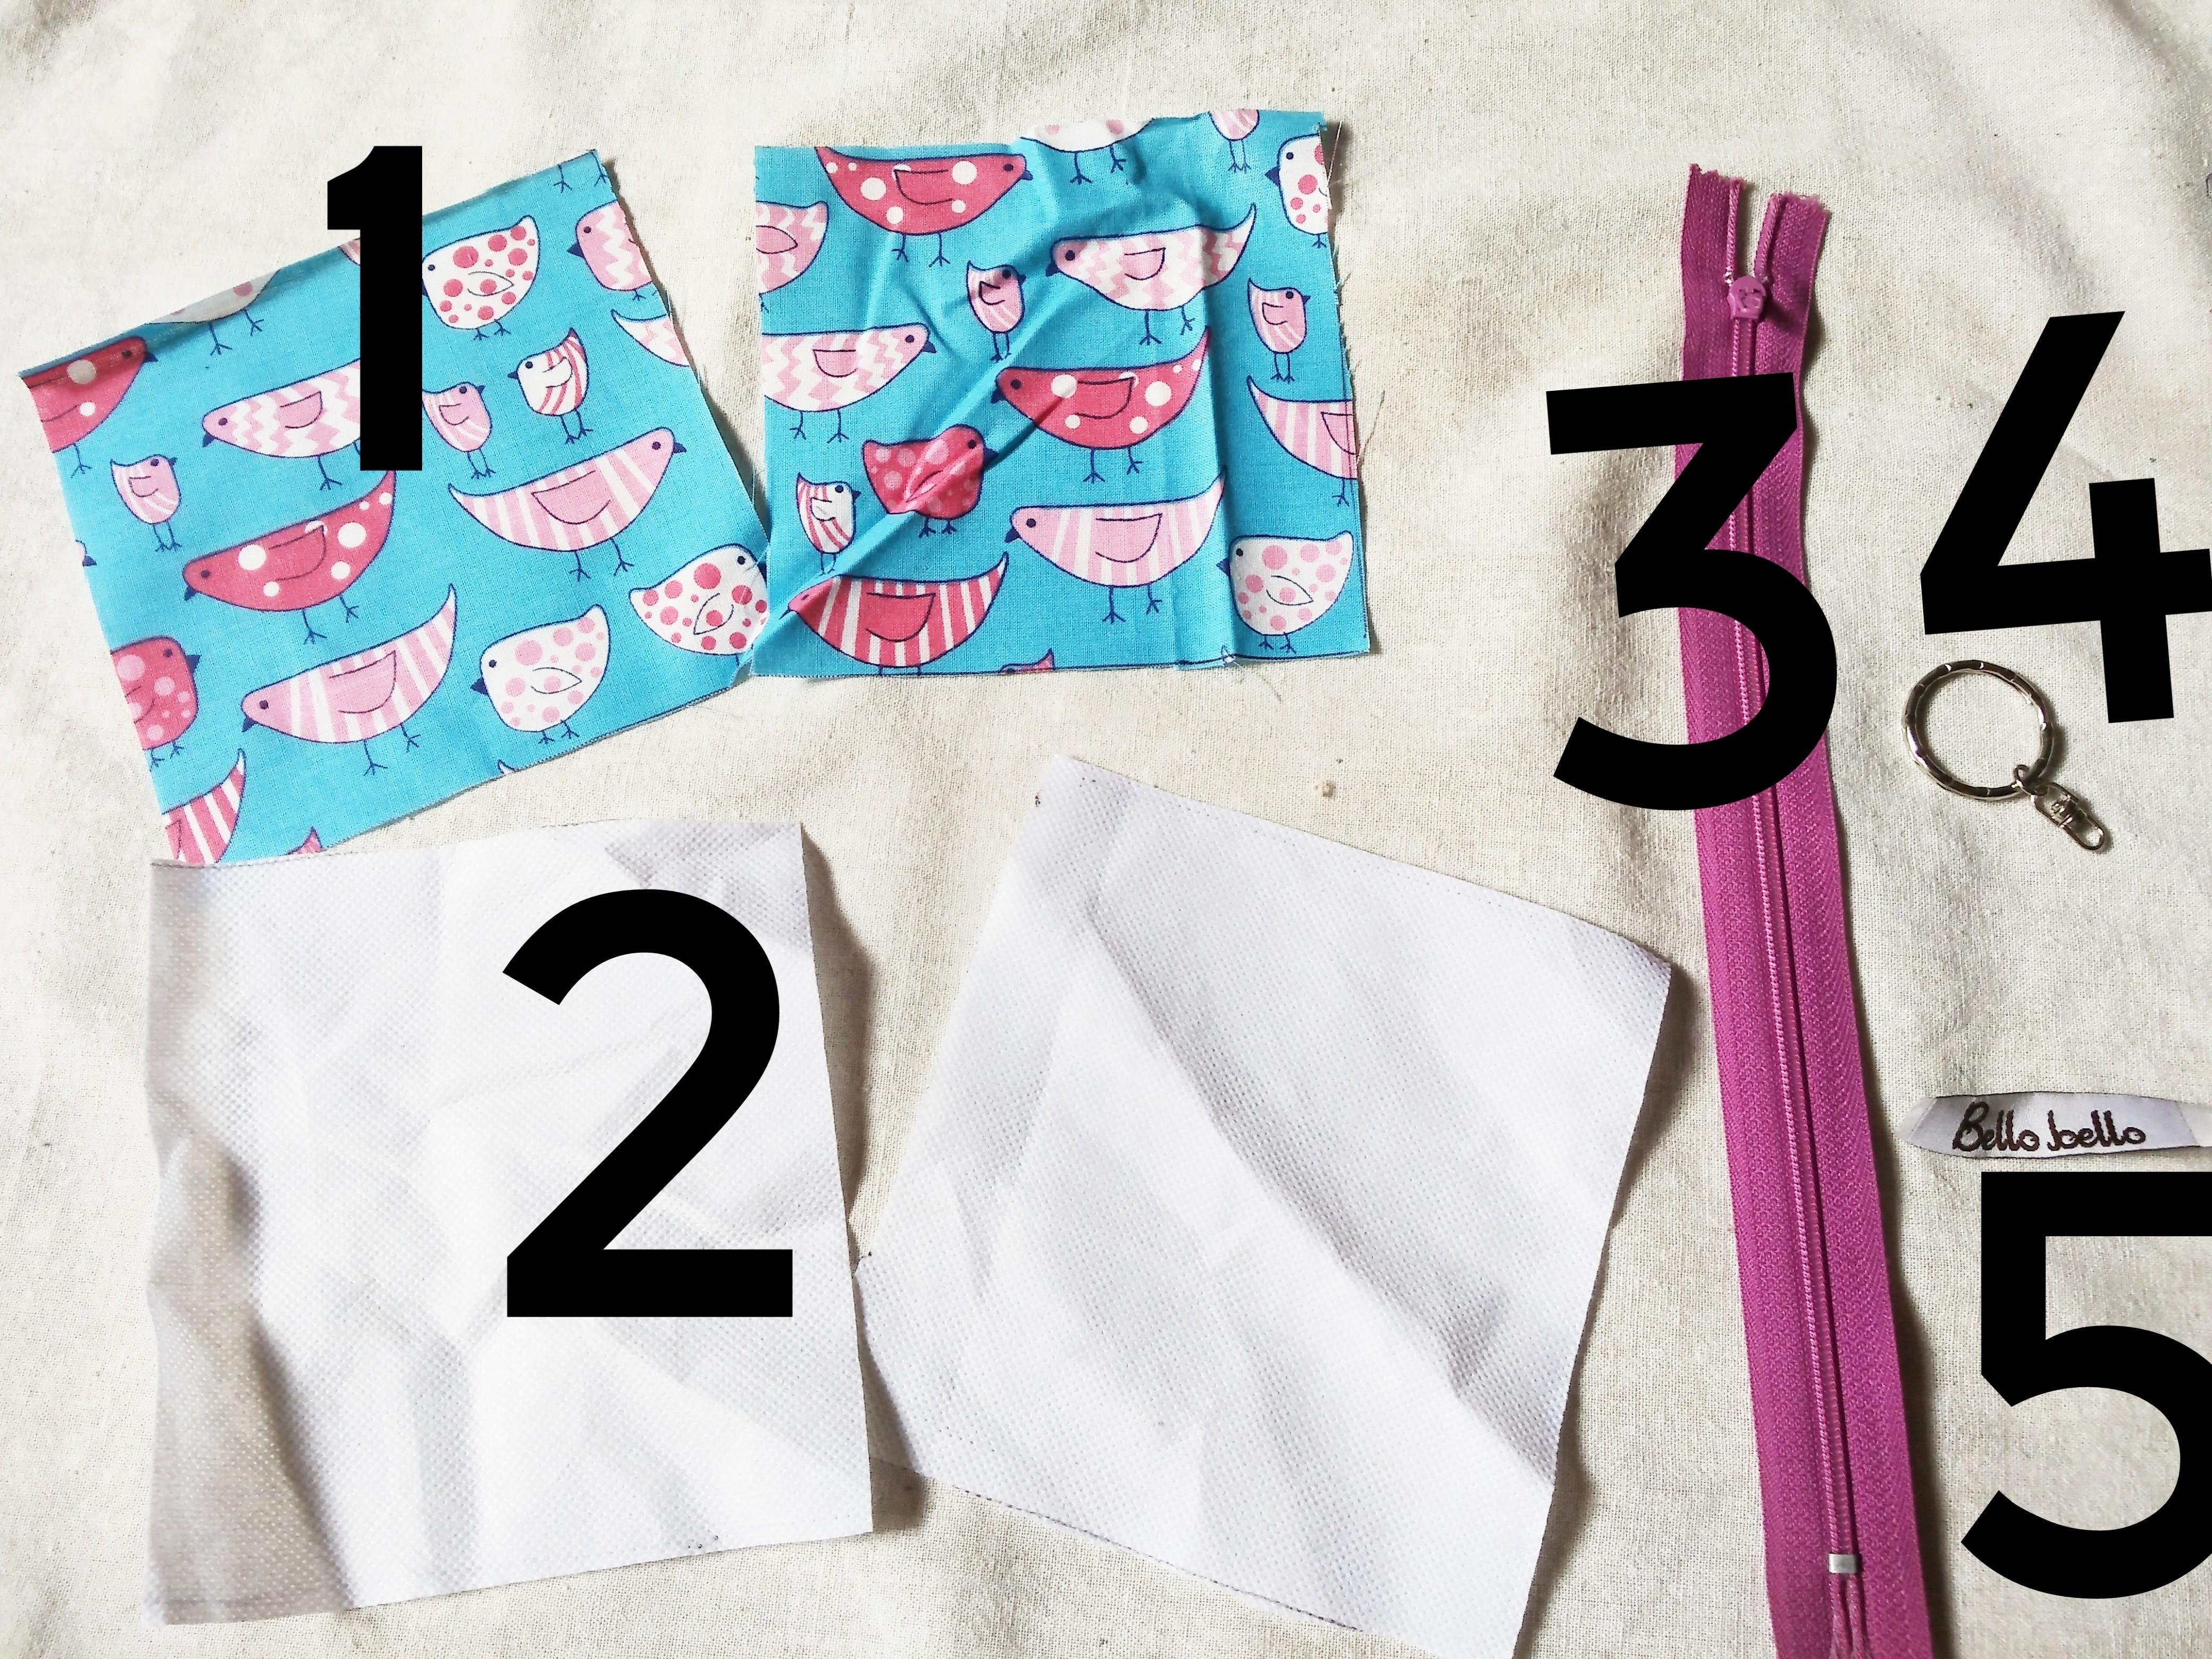
- 2 pieces of outer fabric, 12x12cm
- 2 pieces of fusible interfacing, 12x12cm
- 1 zipper
- 1 keyholder (if any)
- 1 label (if any)
Instructions:
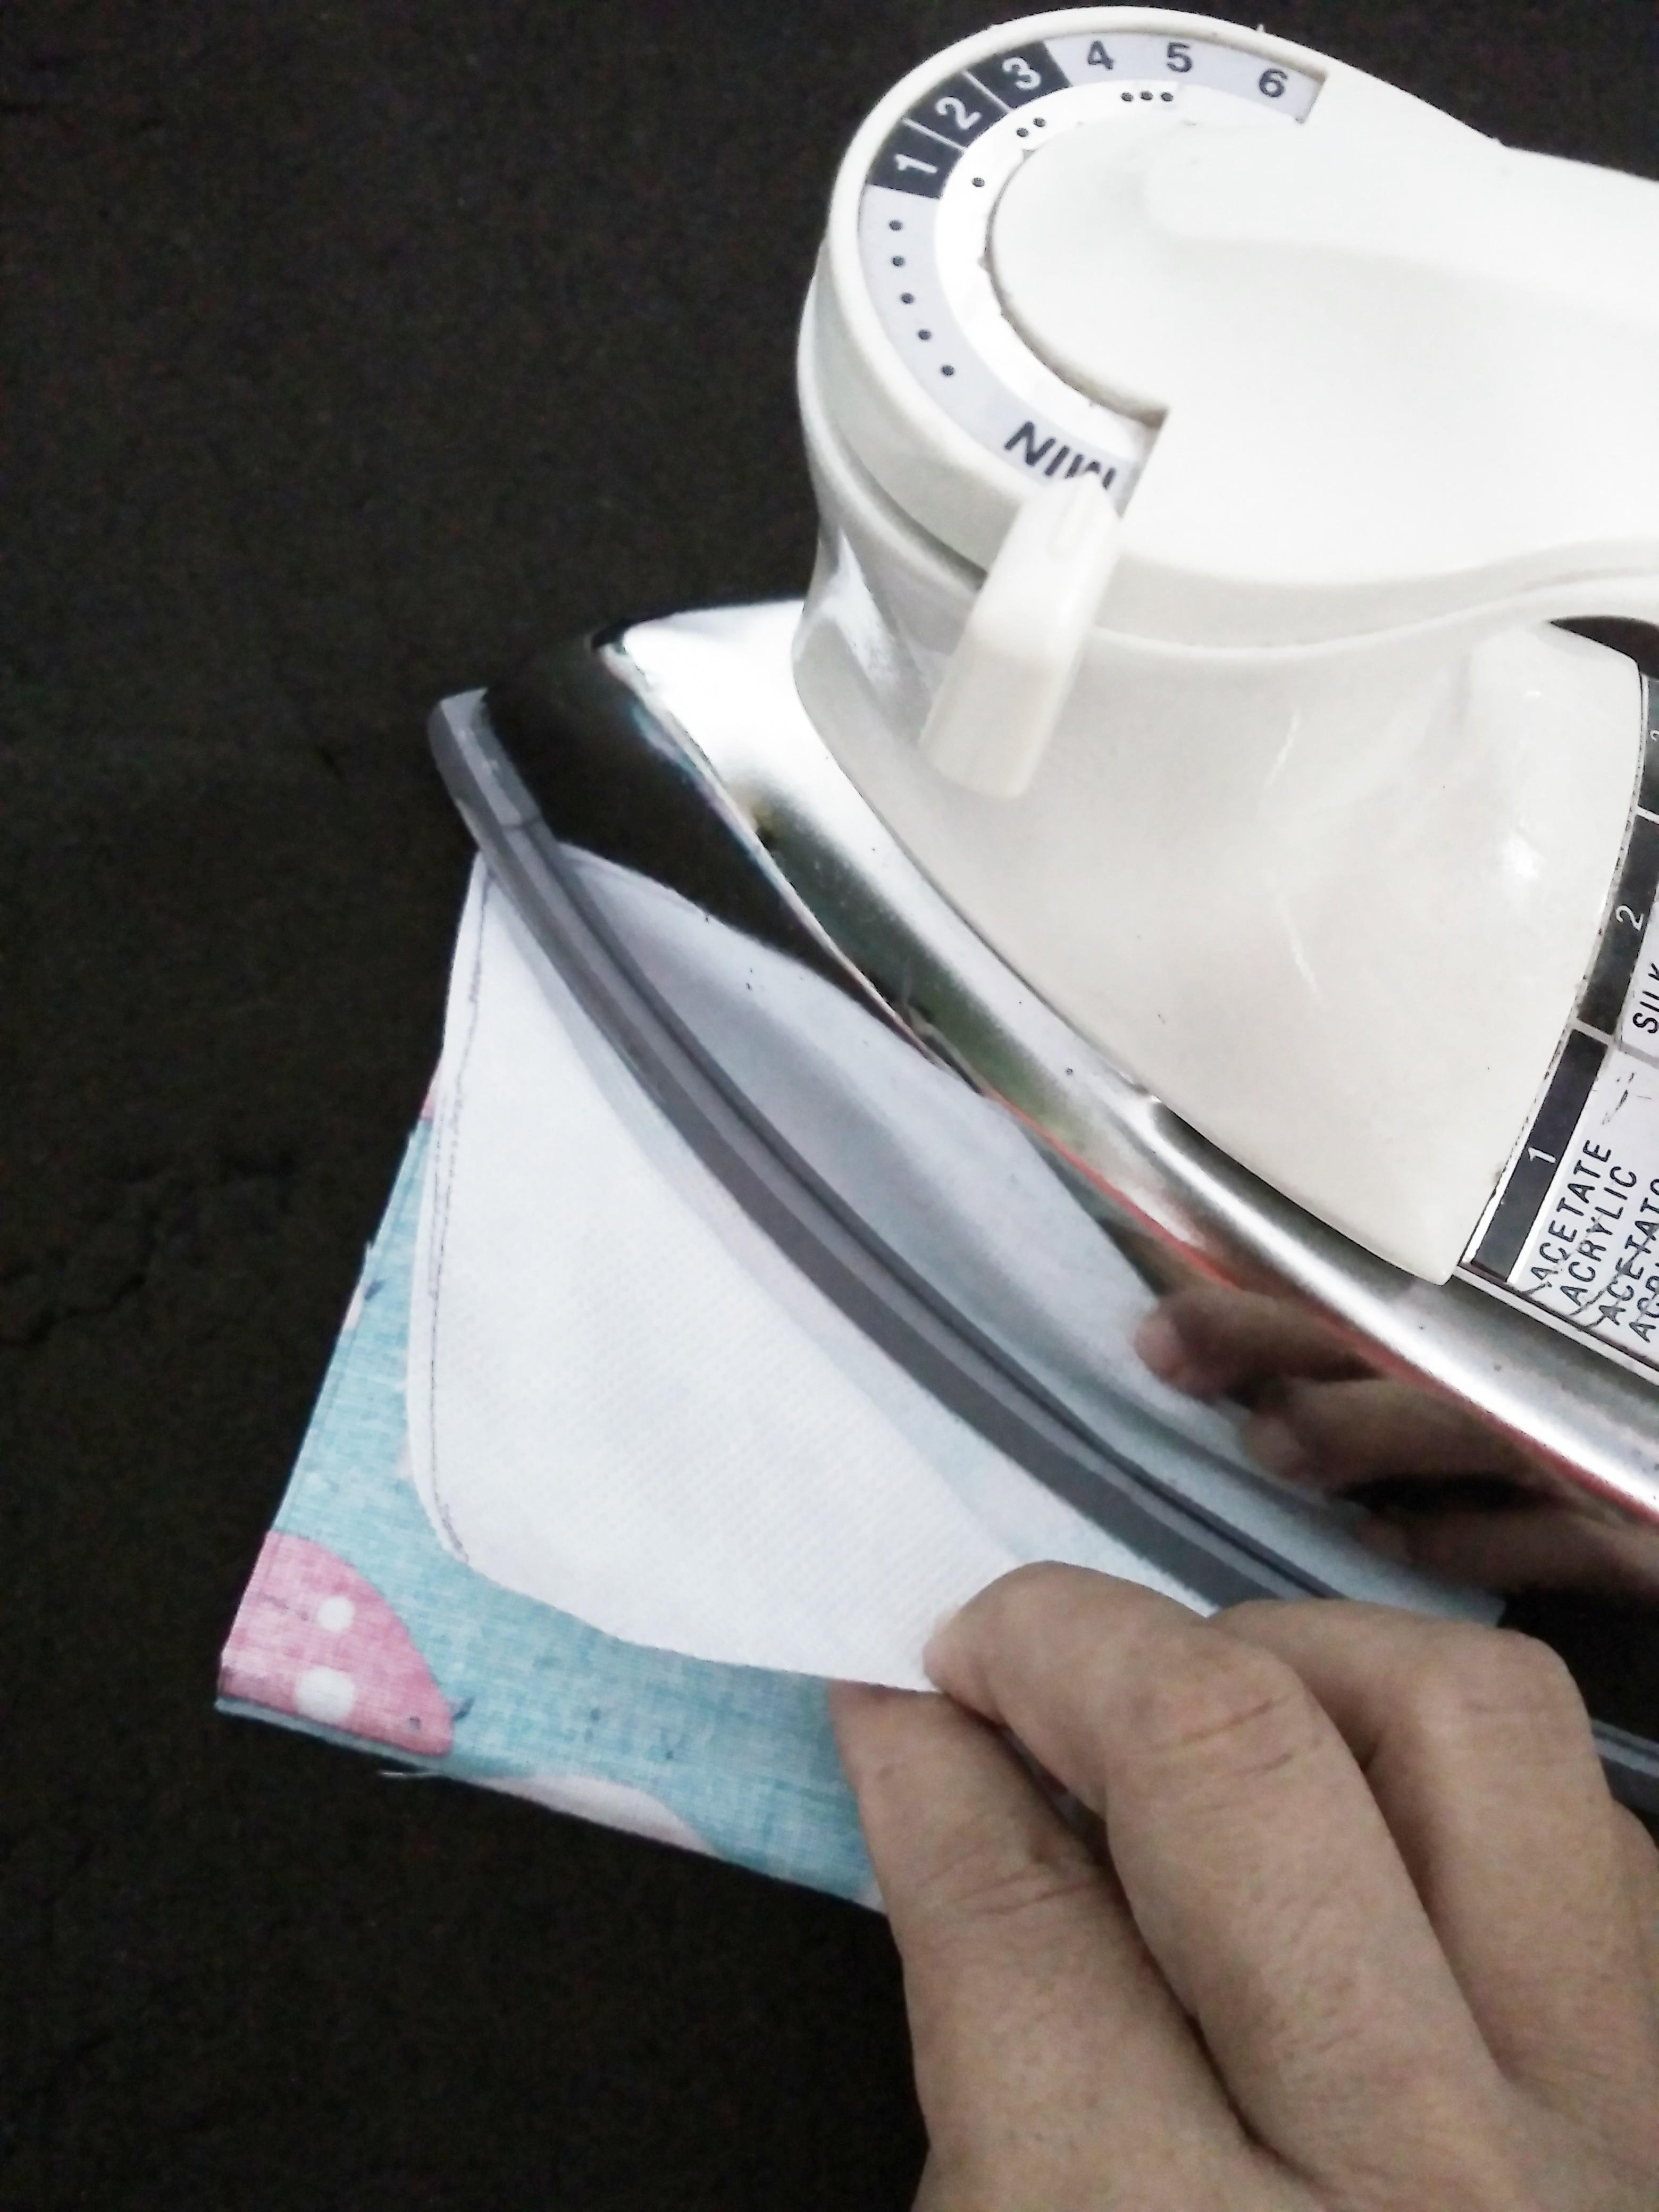
- Fuse the interfacing to the wrong sides of the fabric.
- Place the fabric, right side facing down on the zipper, pin if necessary. Sew a seam along the edge.
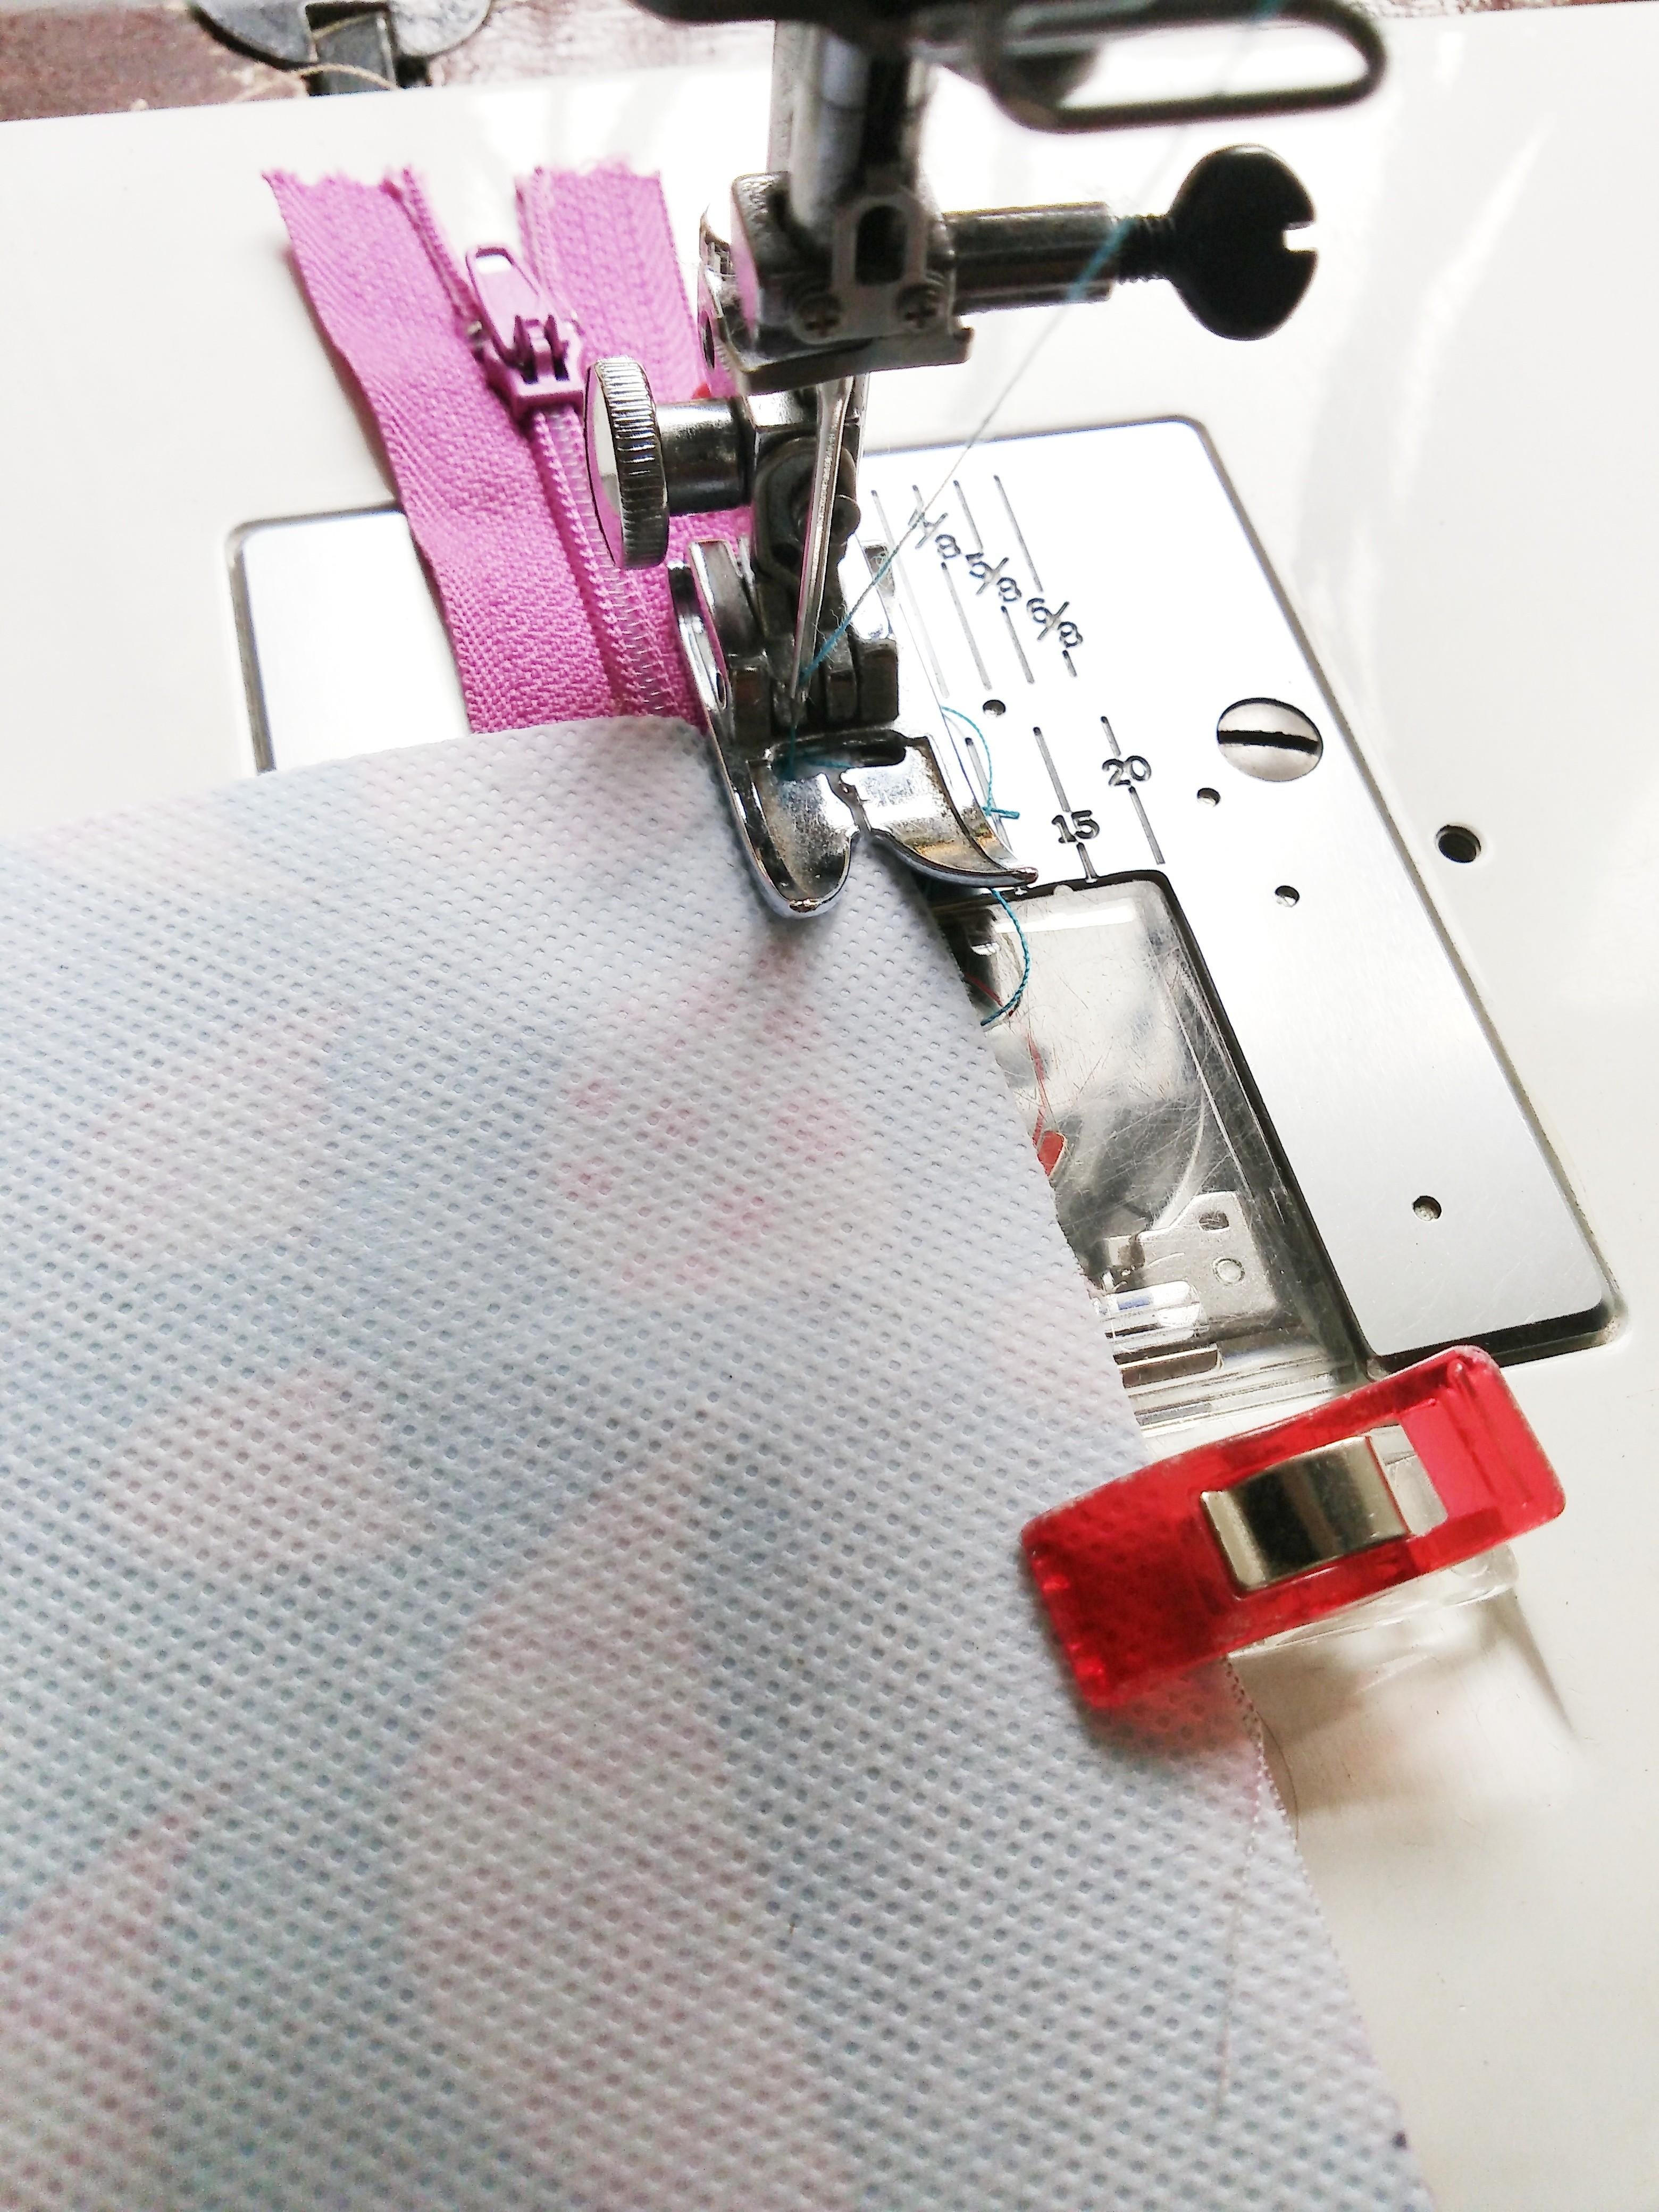
- Repeat this for the other side.
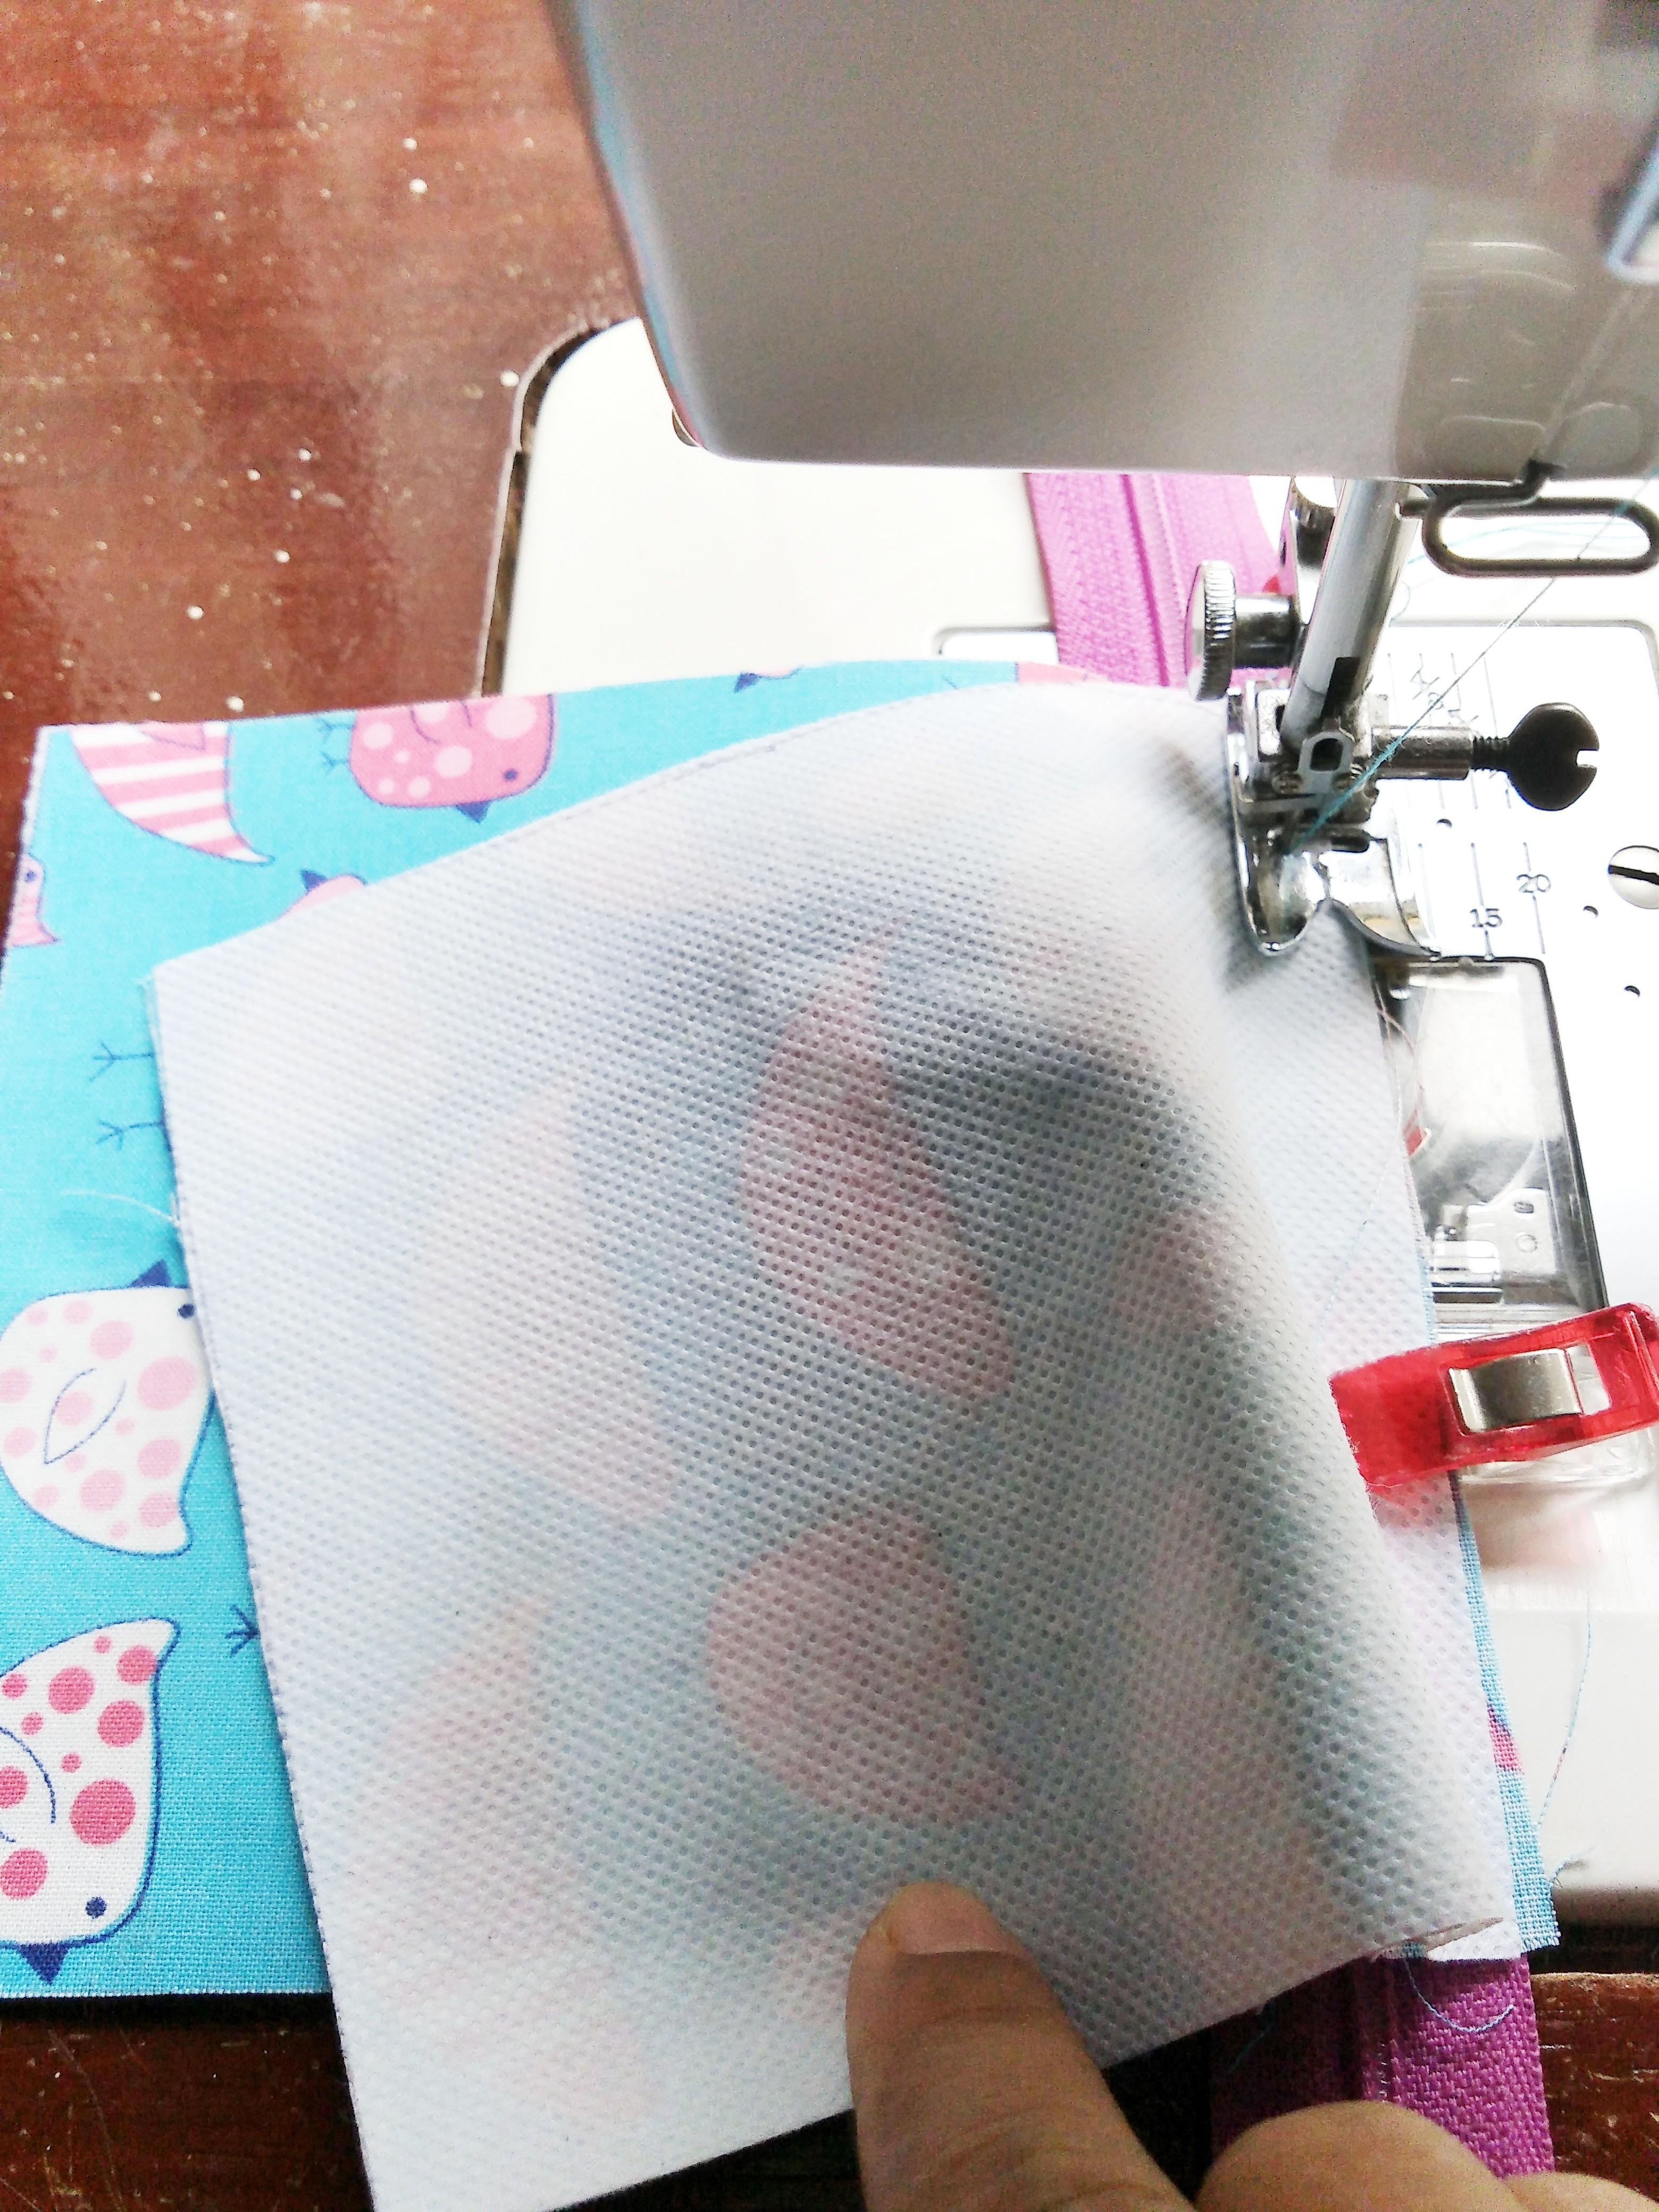
- Pull the fabric away from the zipper at the seam and topstitch each side of the zipper.
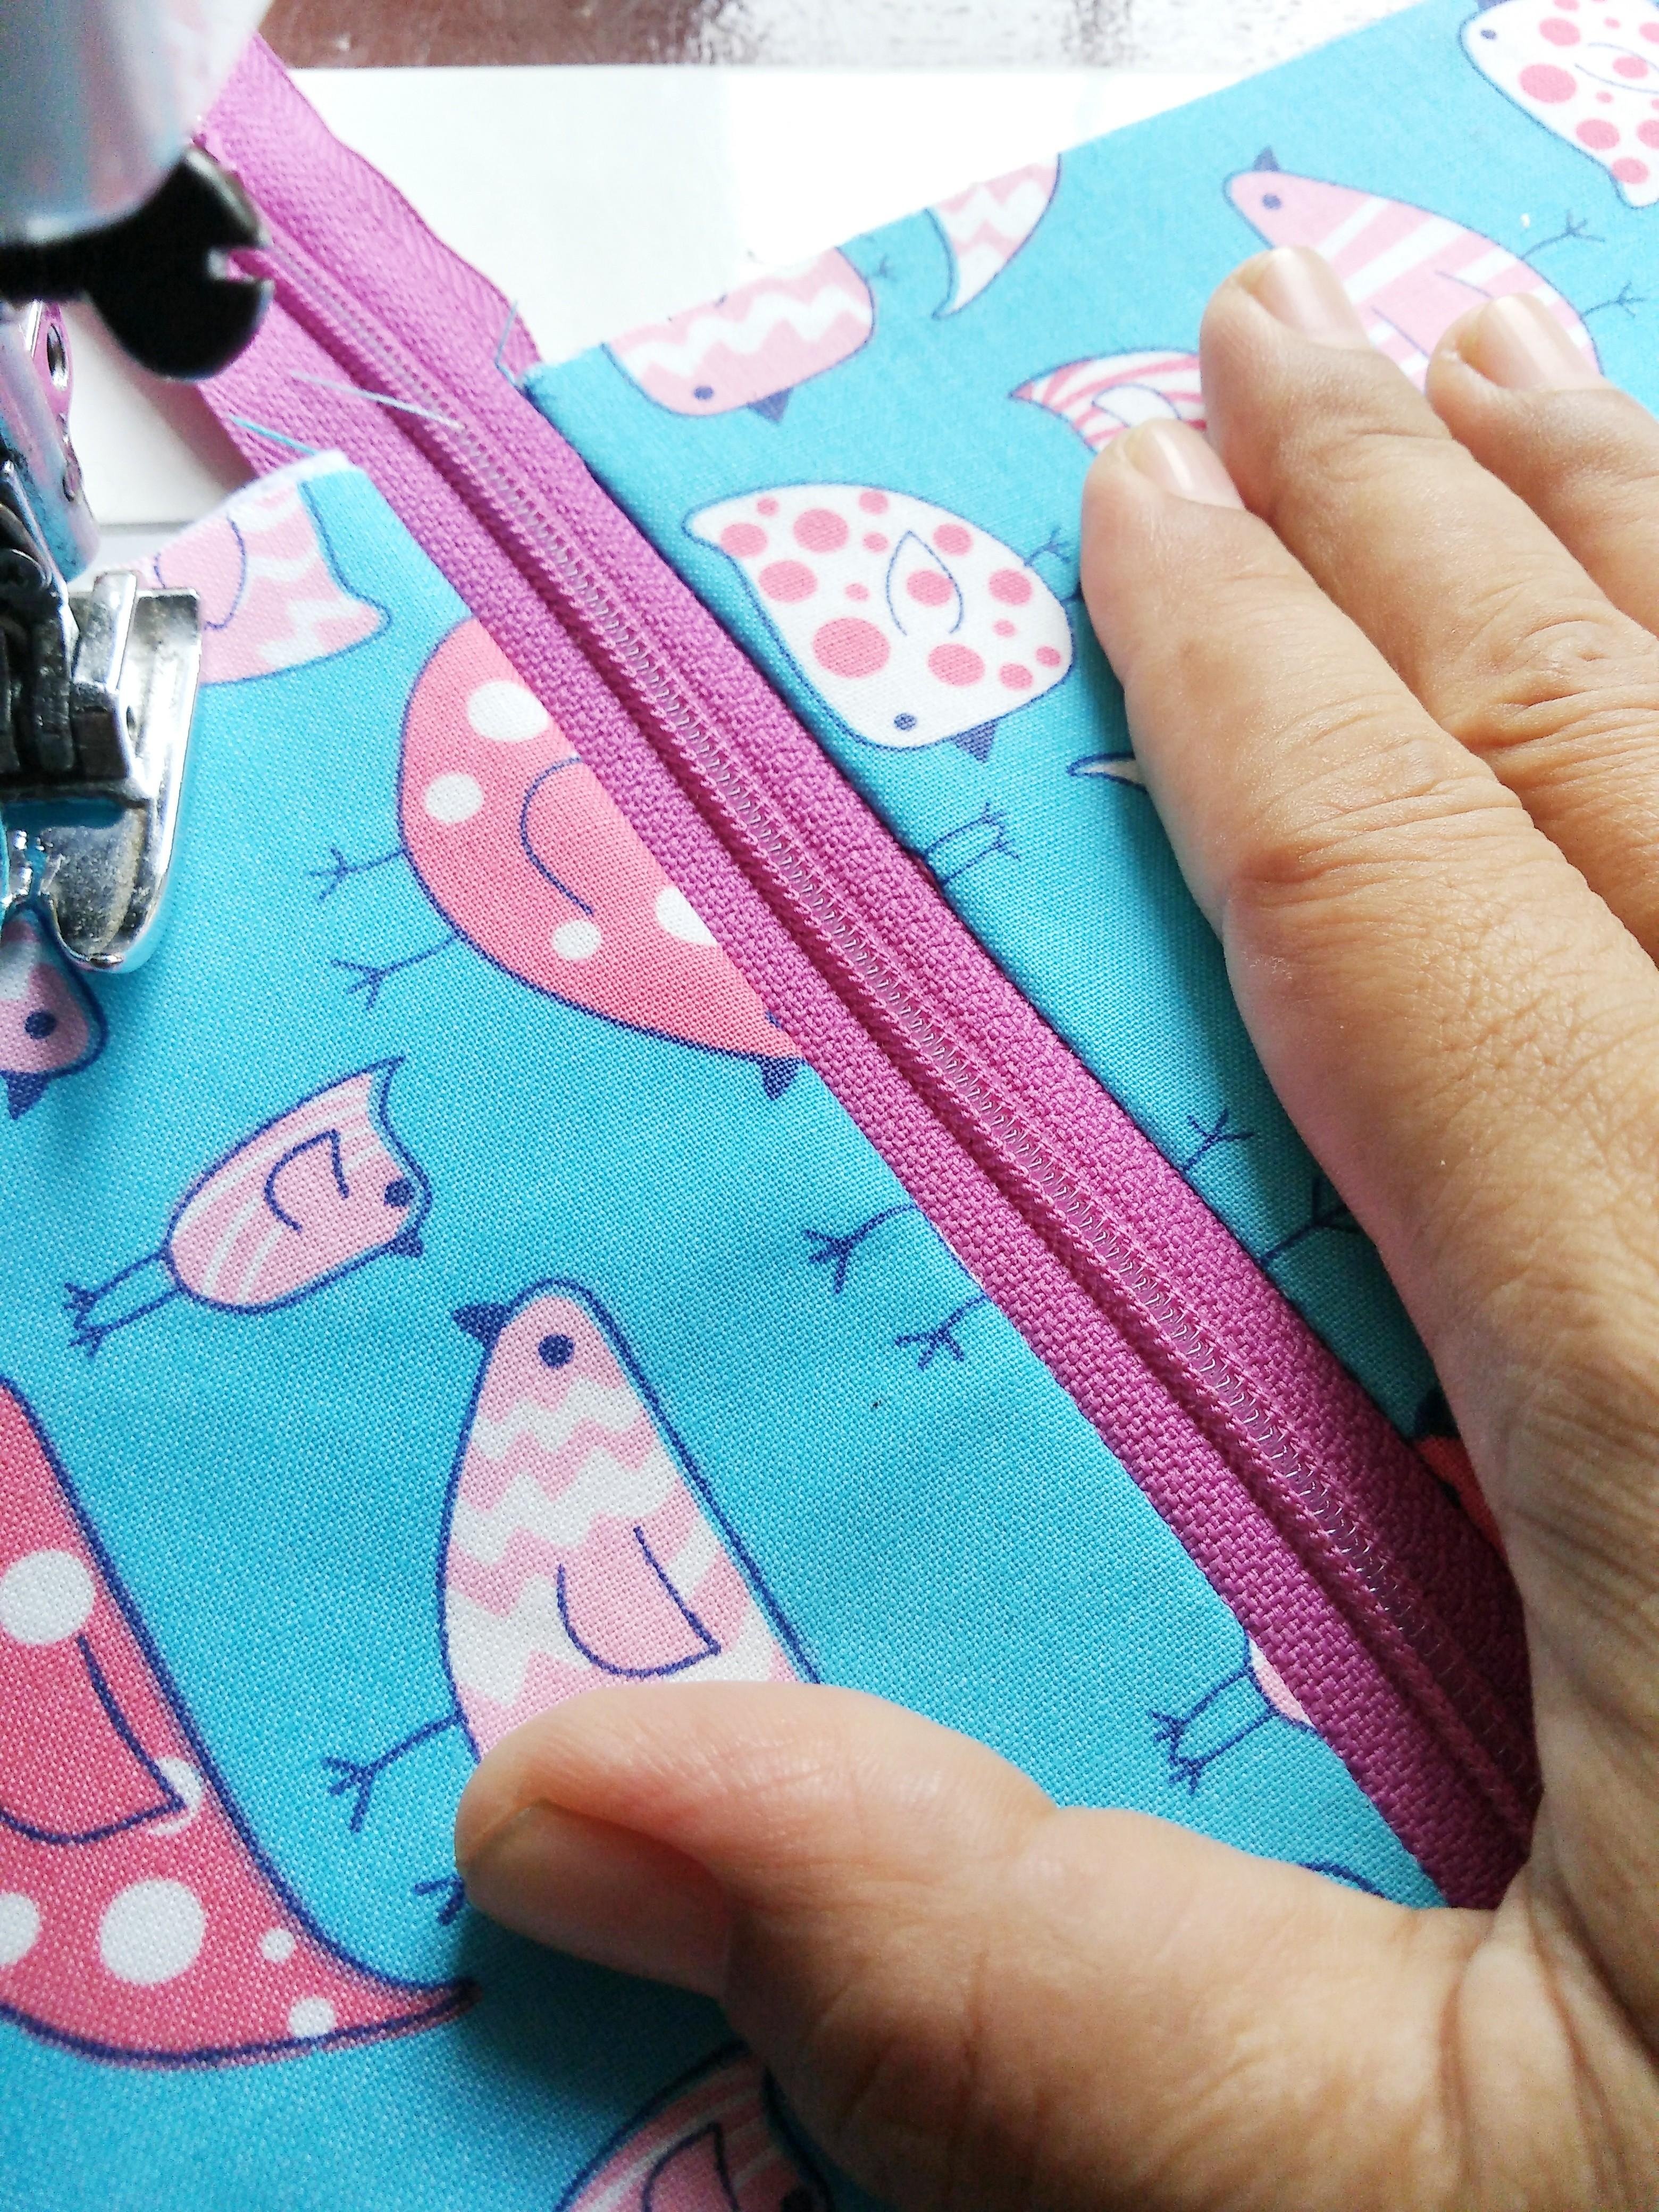
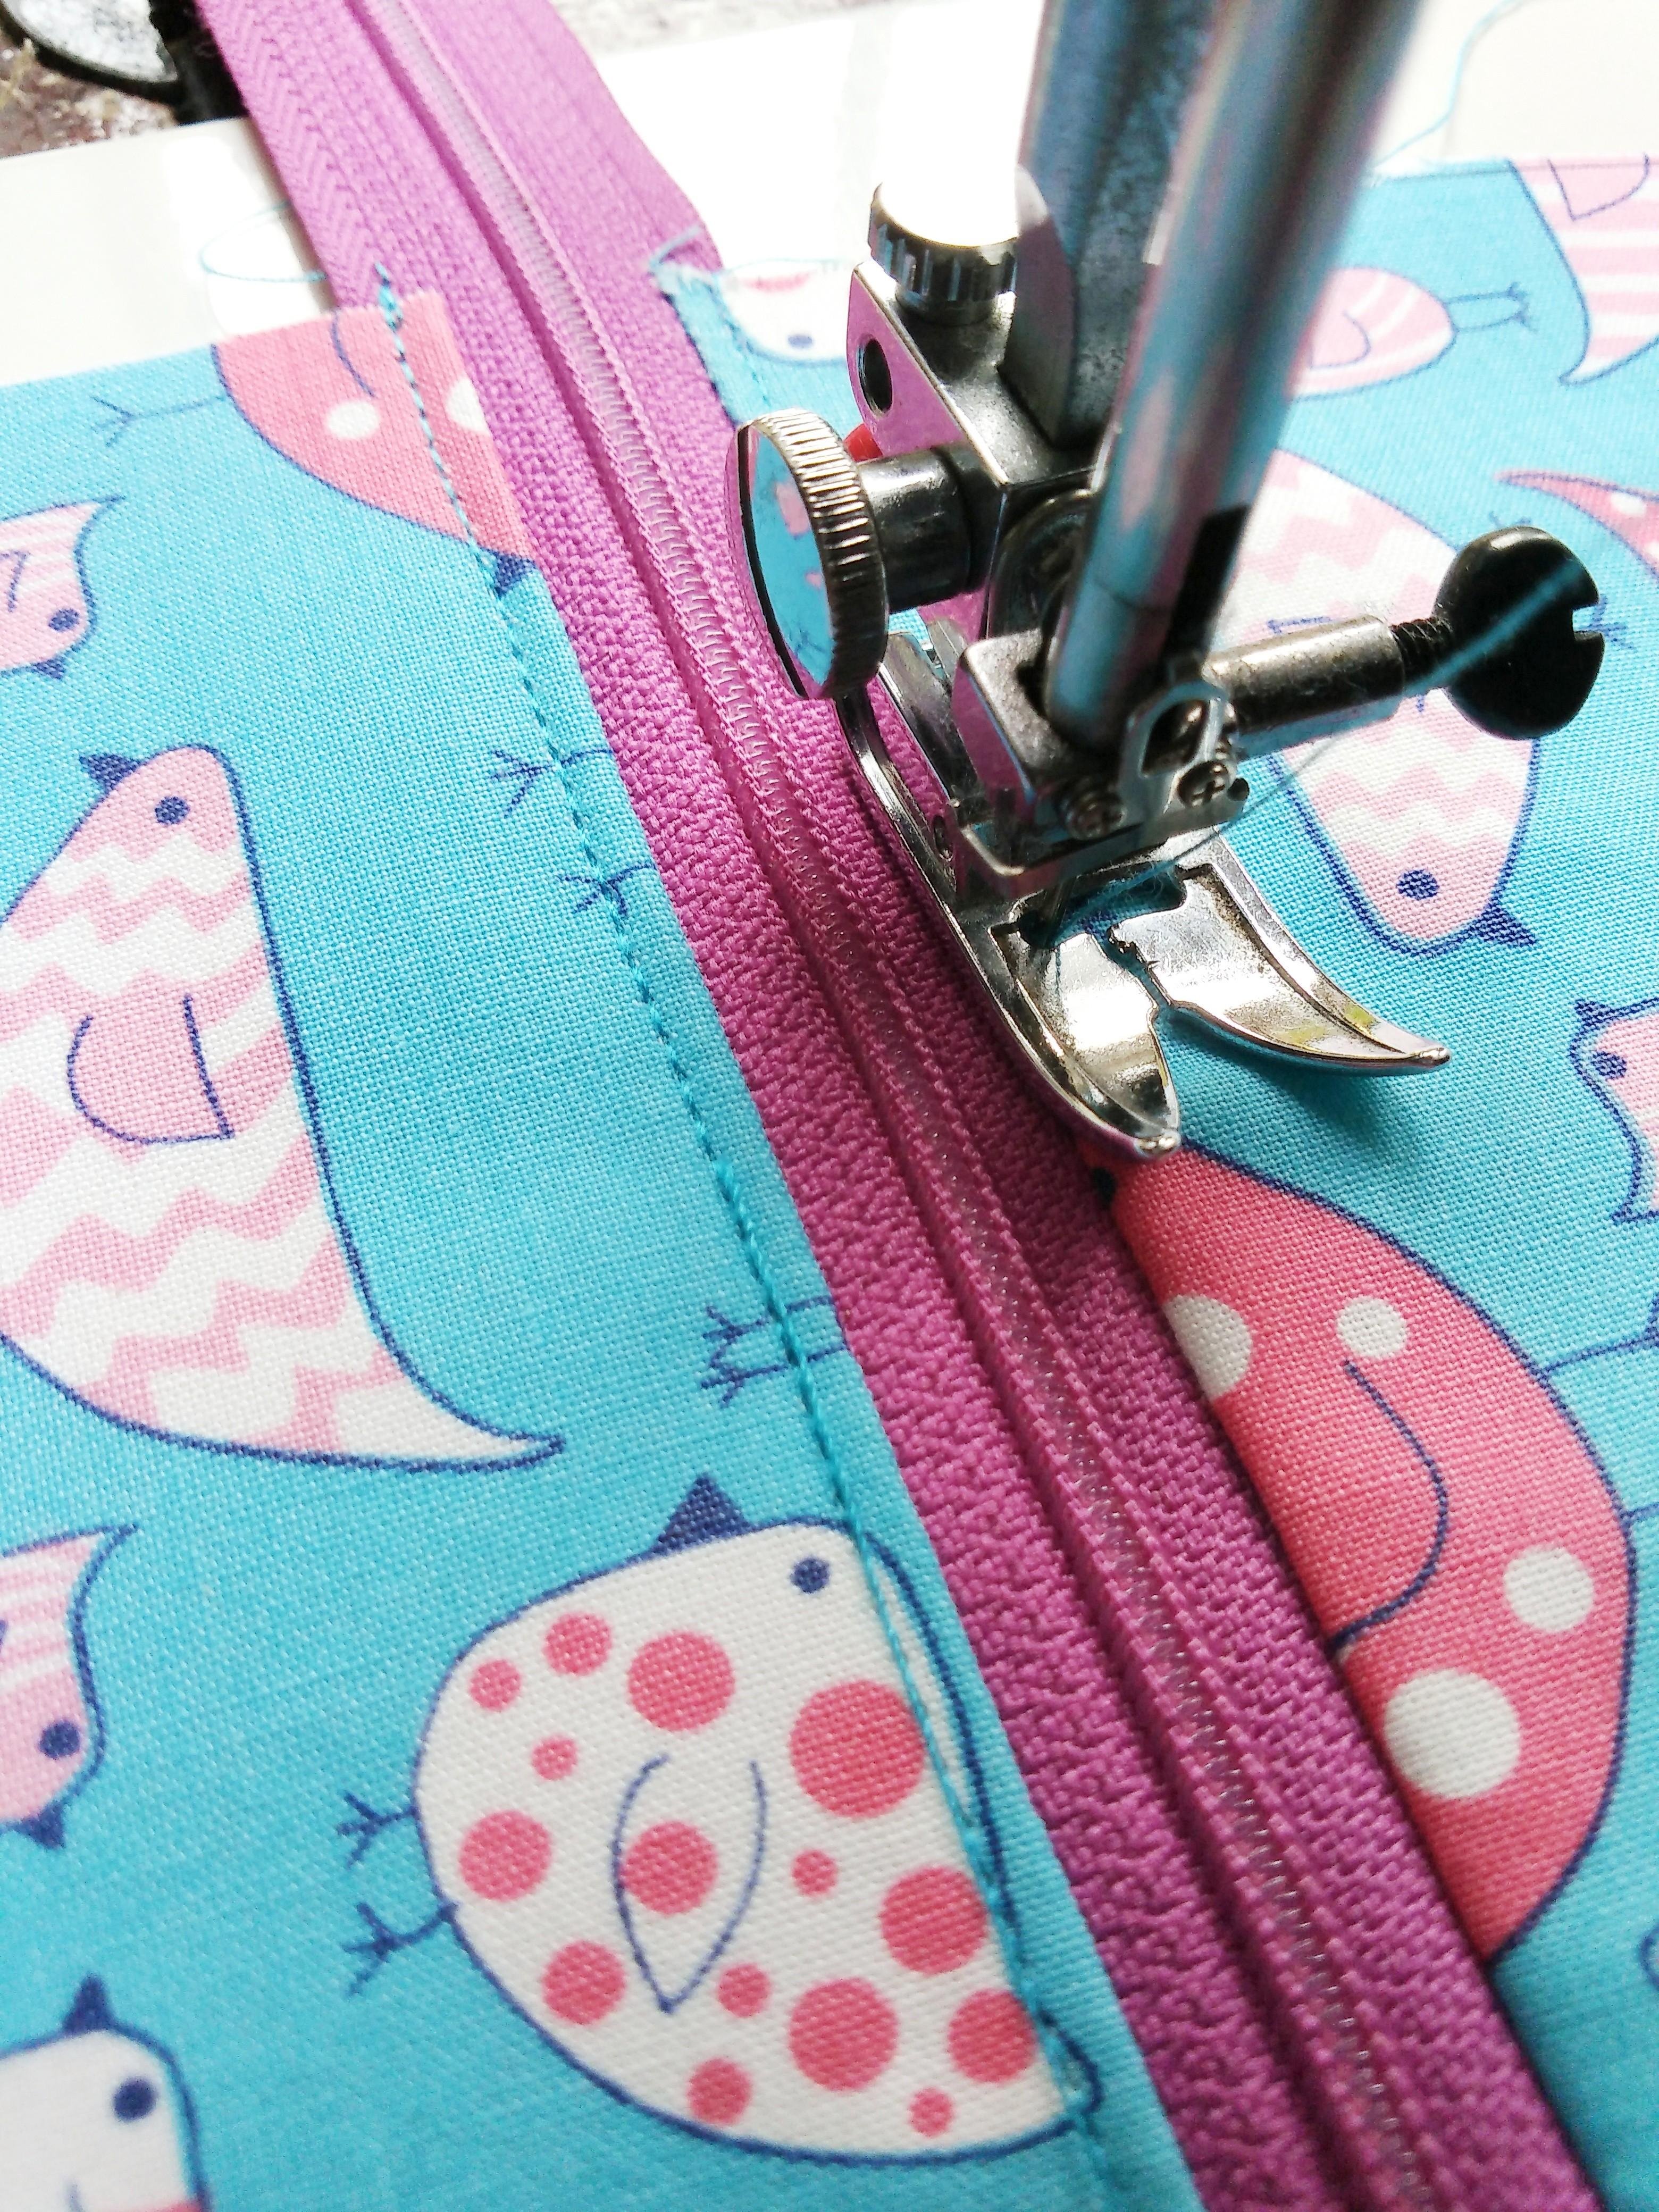
- Open the zip partially.
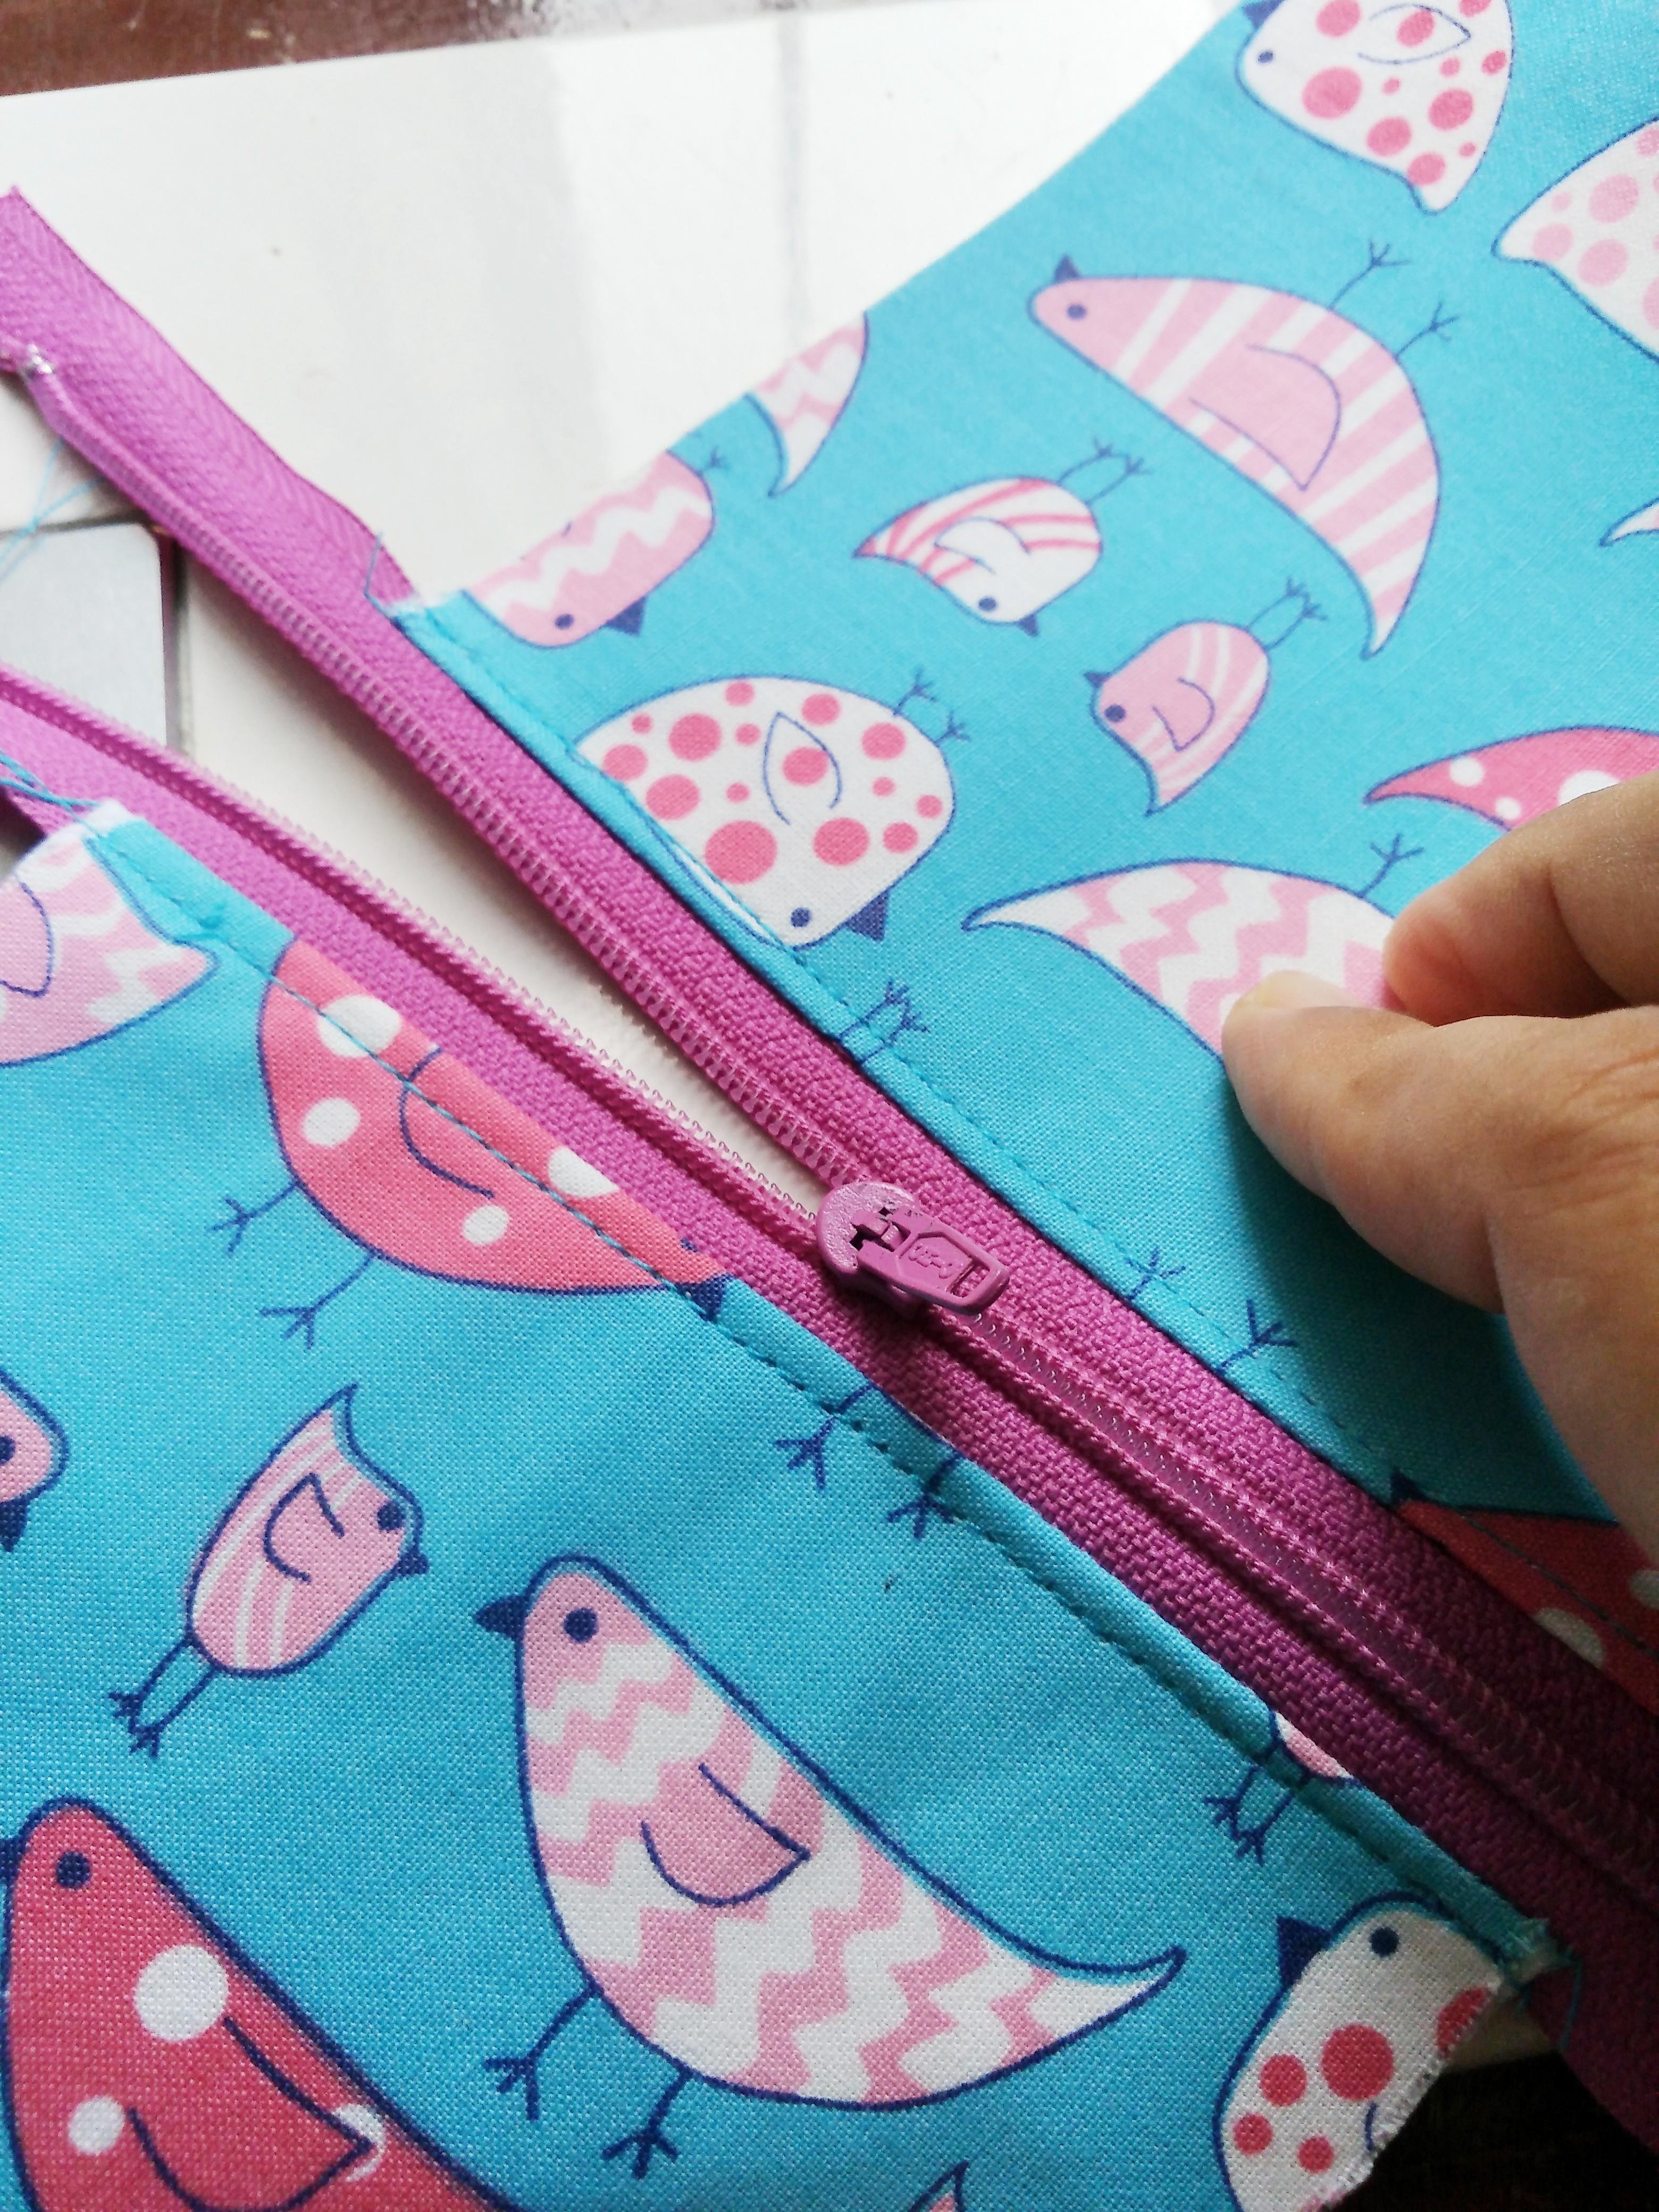
- Bring the right sides of the fabric facing each other.
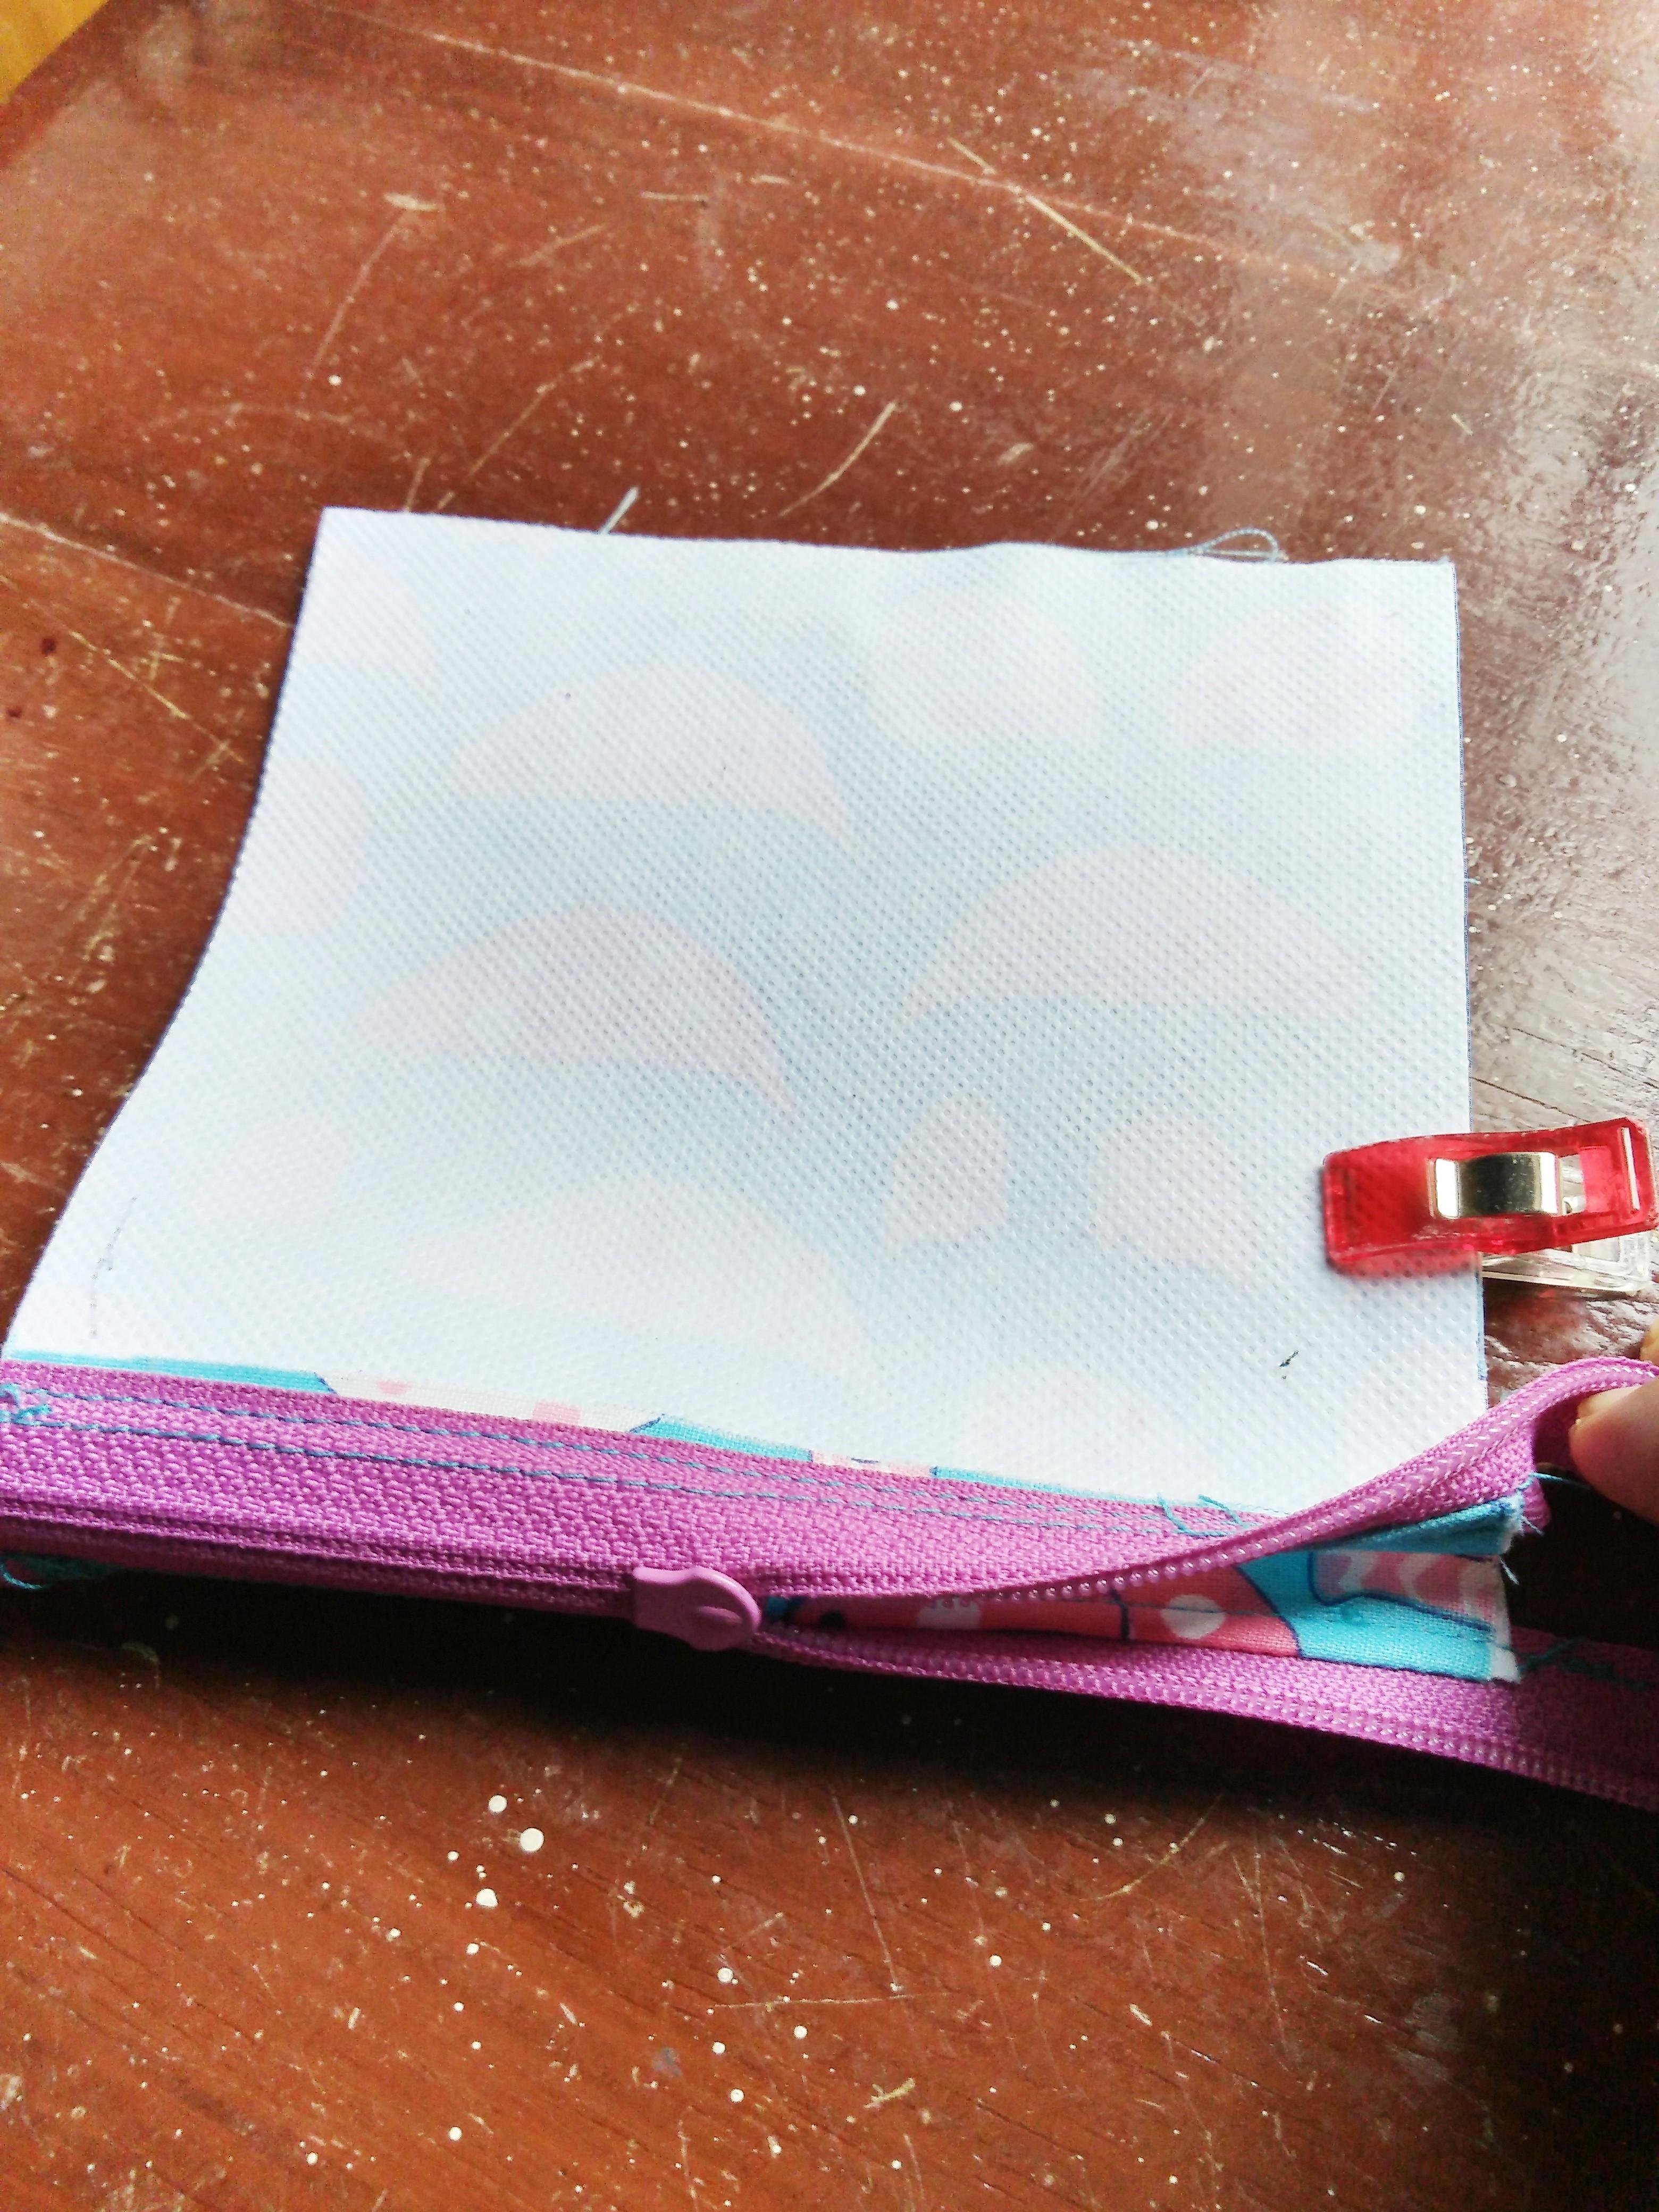
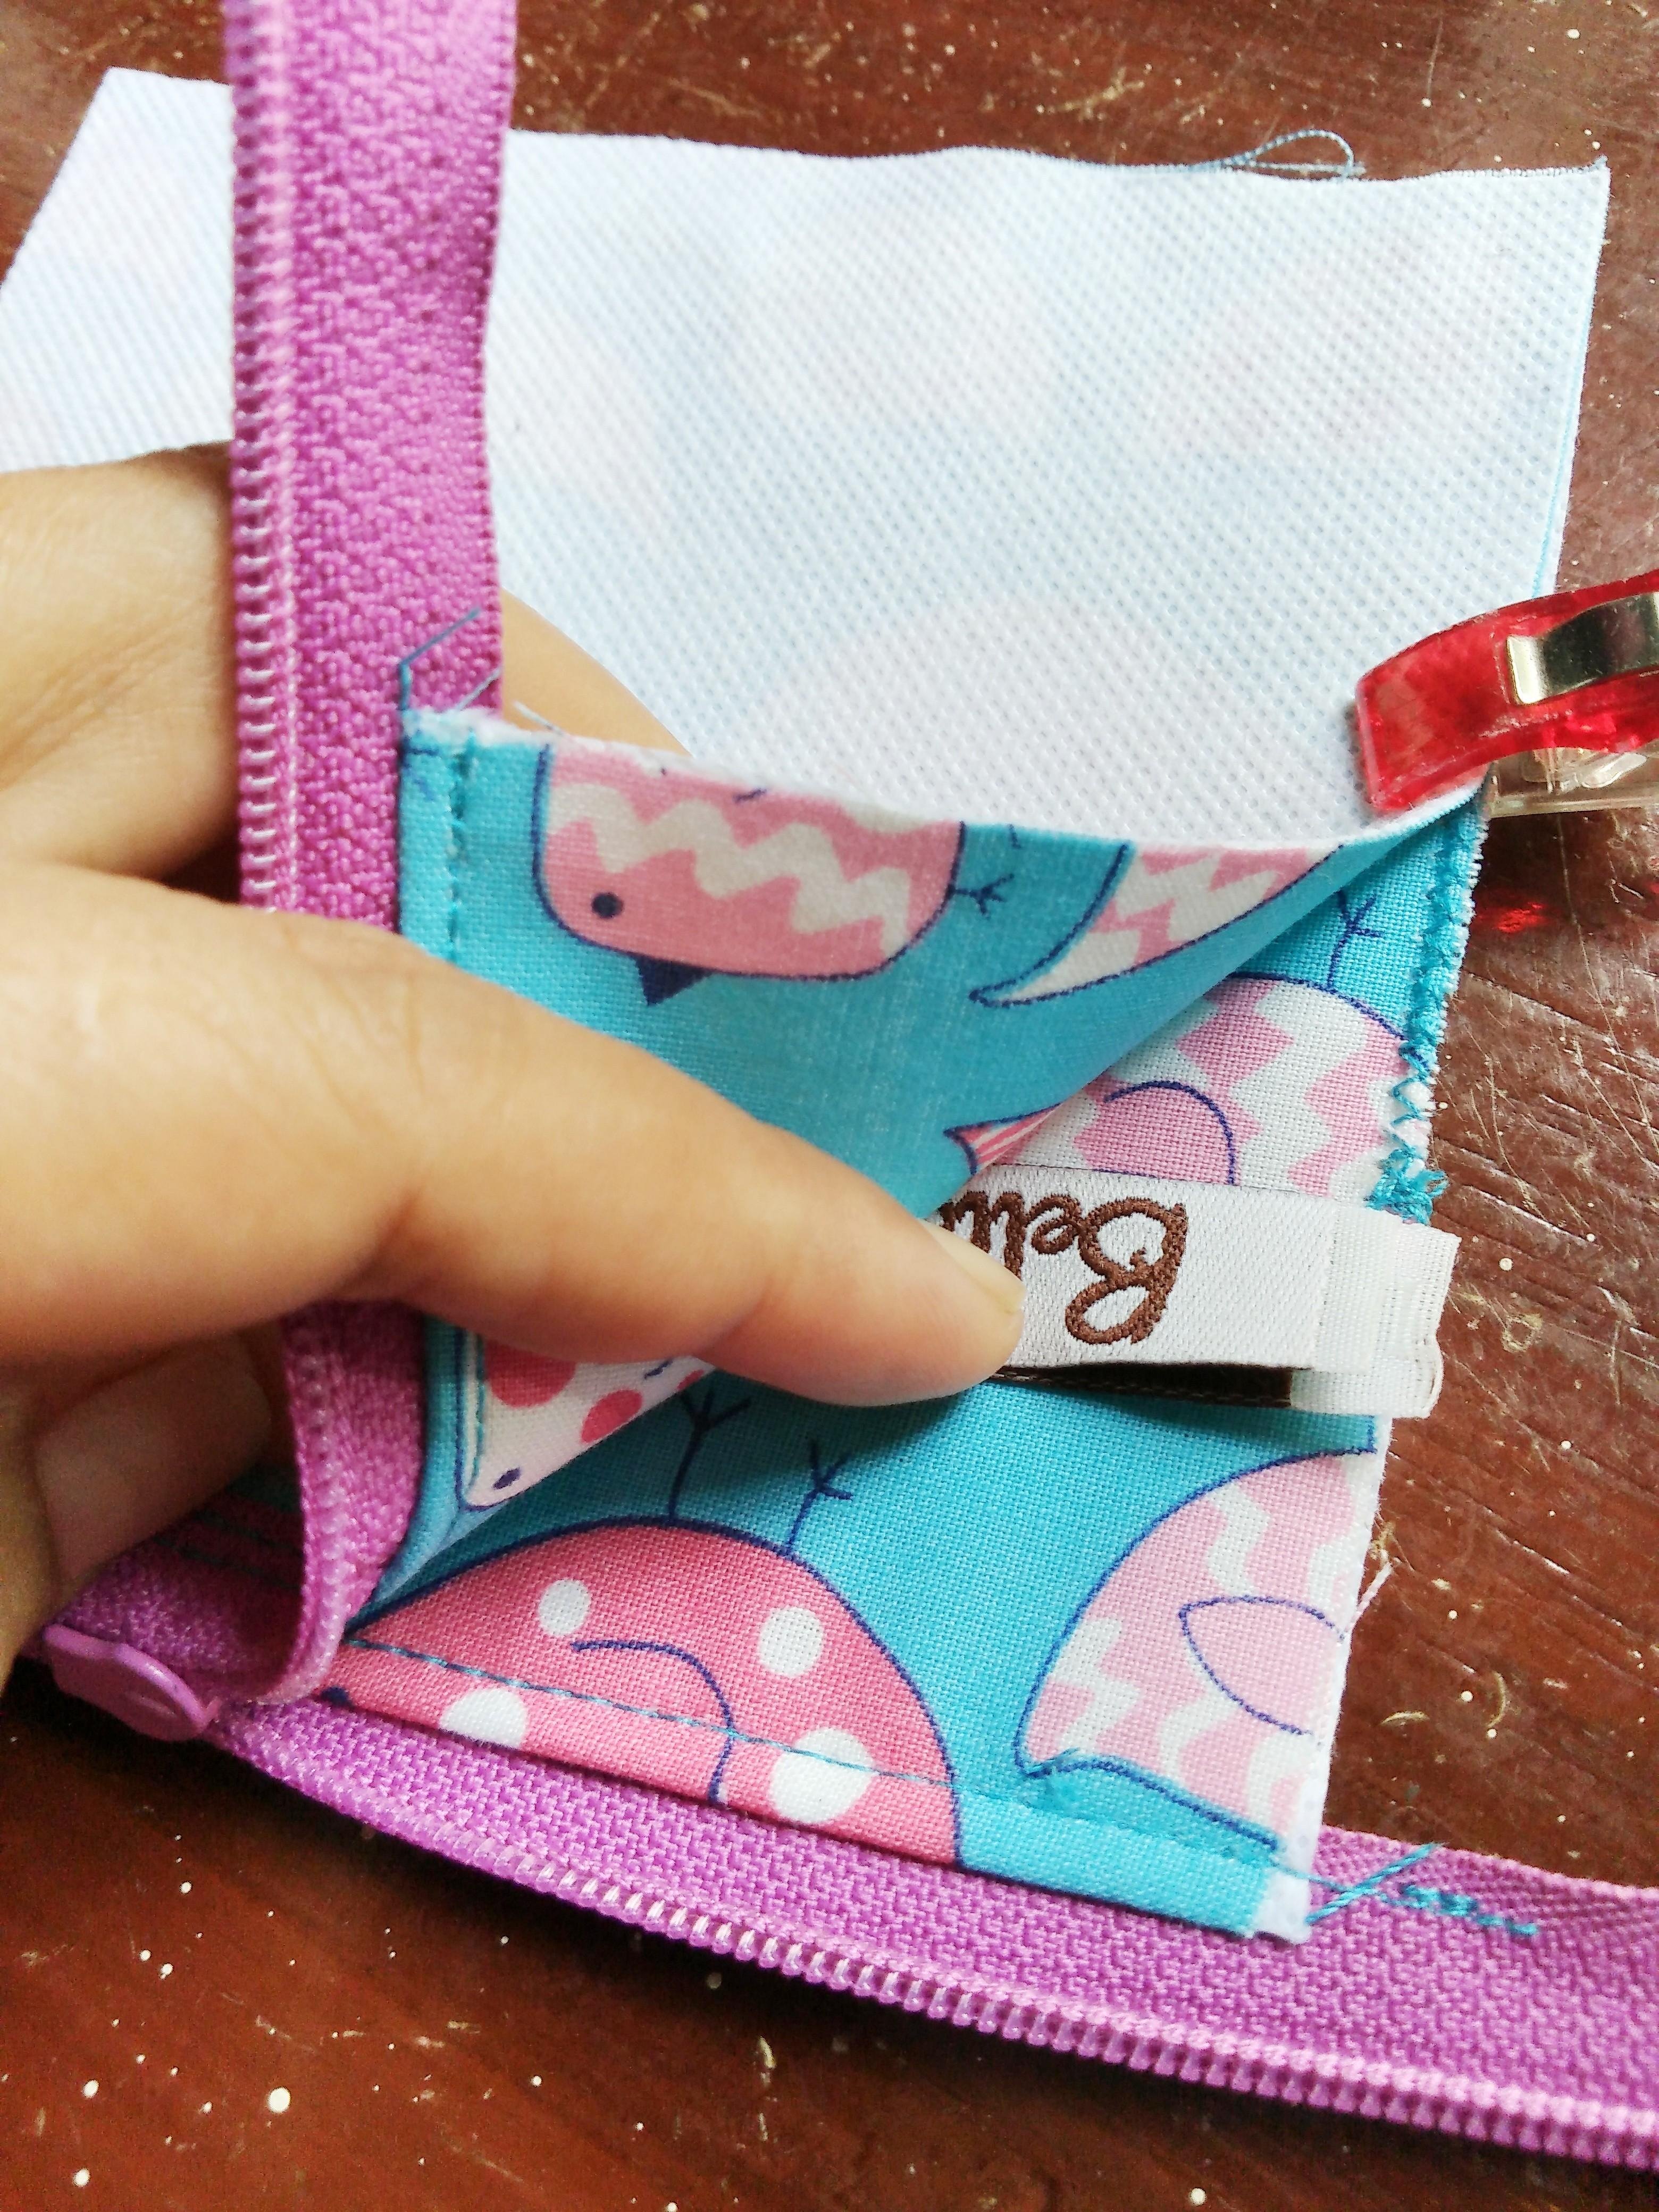
- Insert a label here if any.
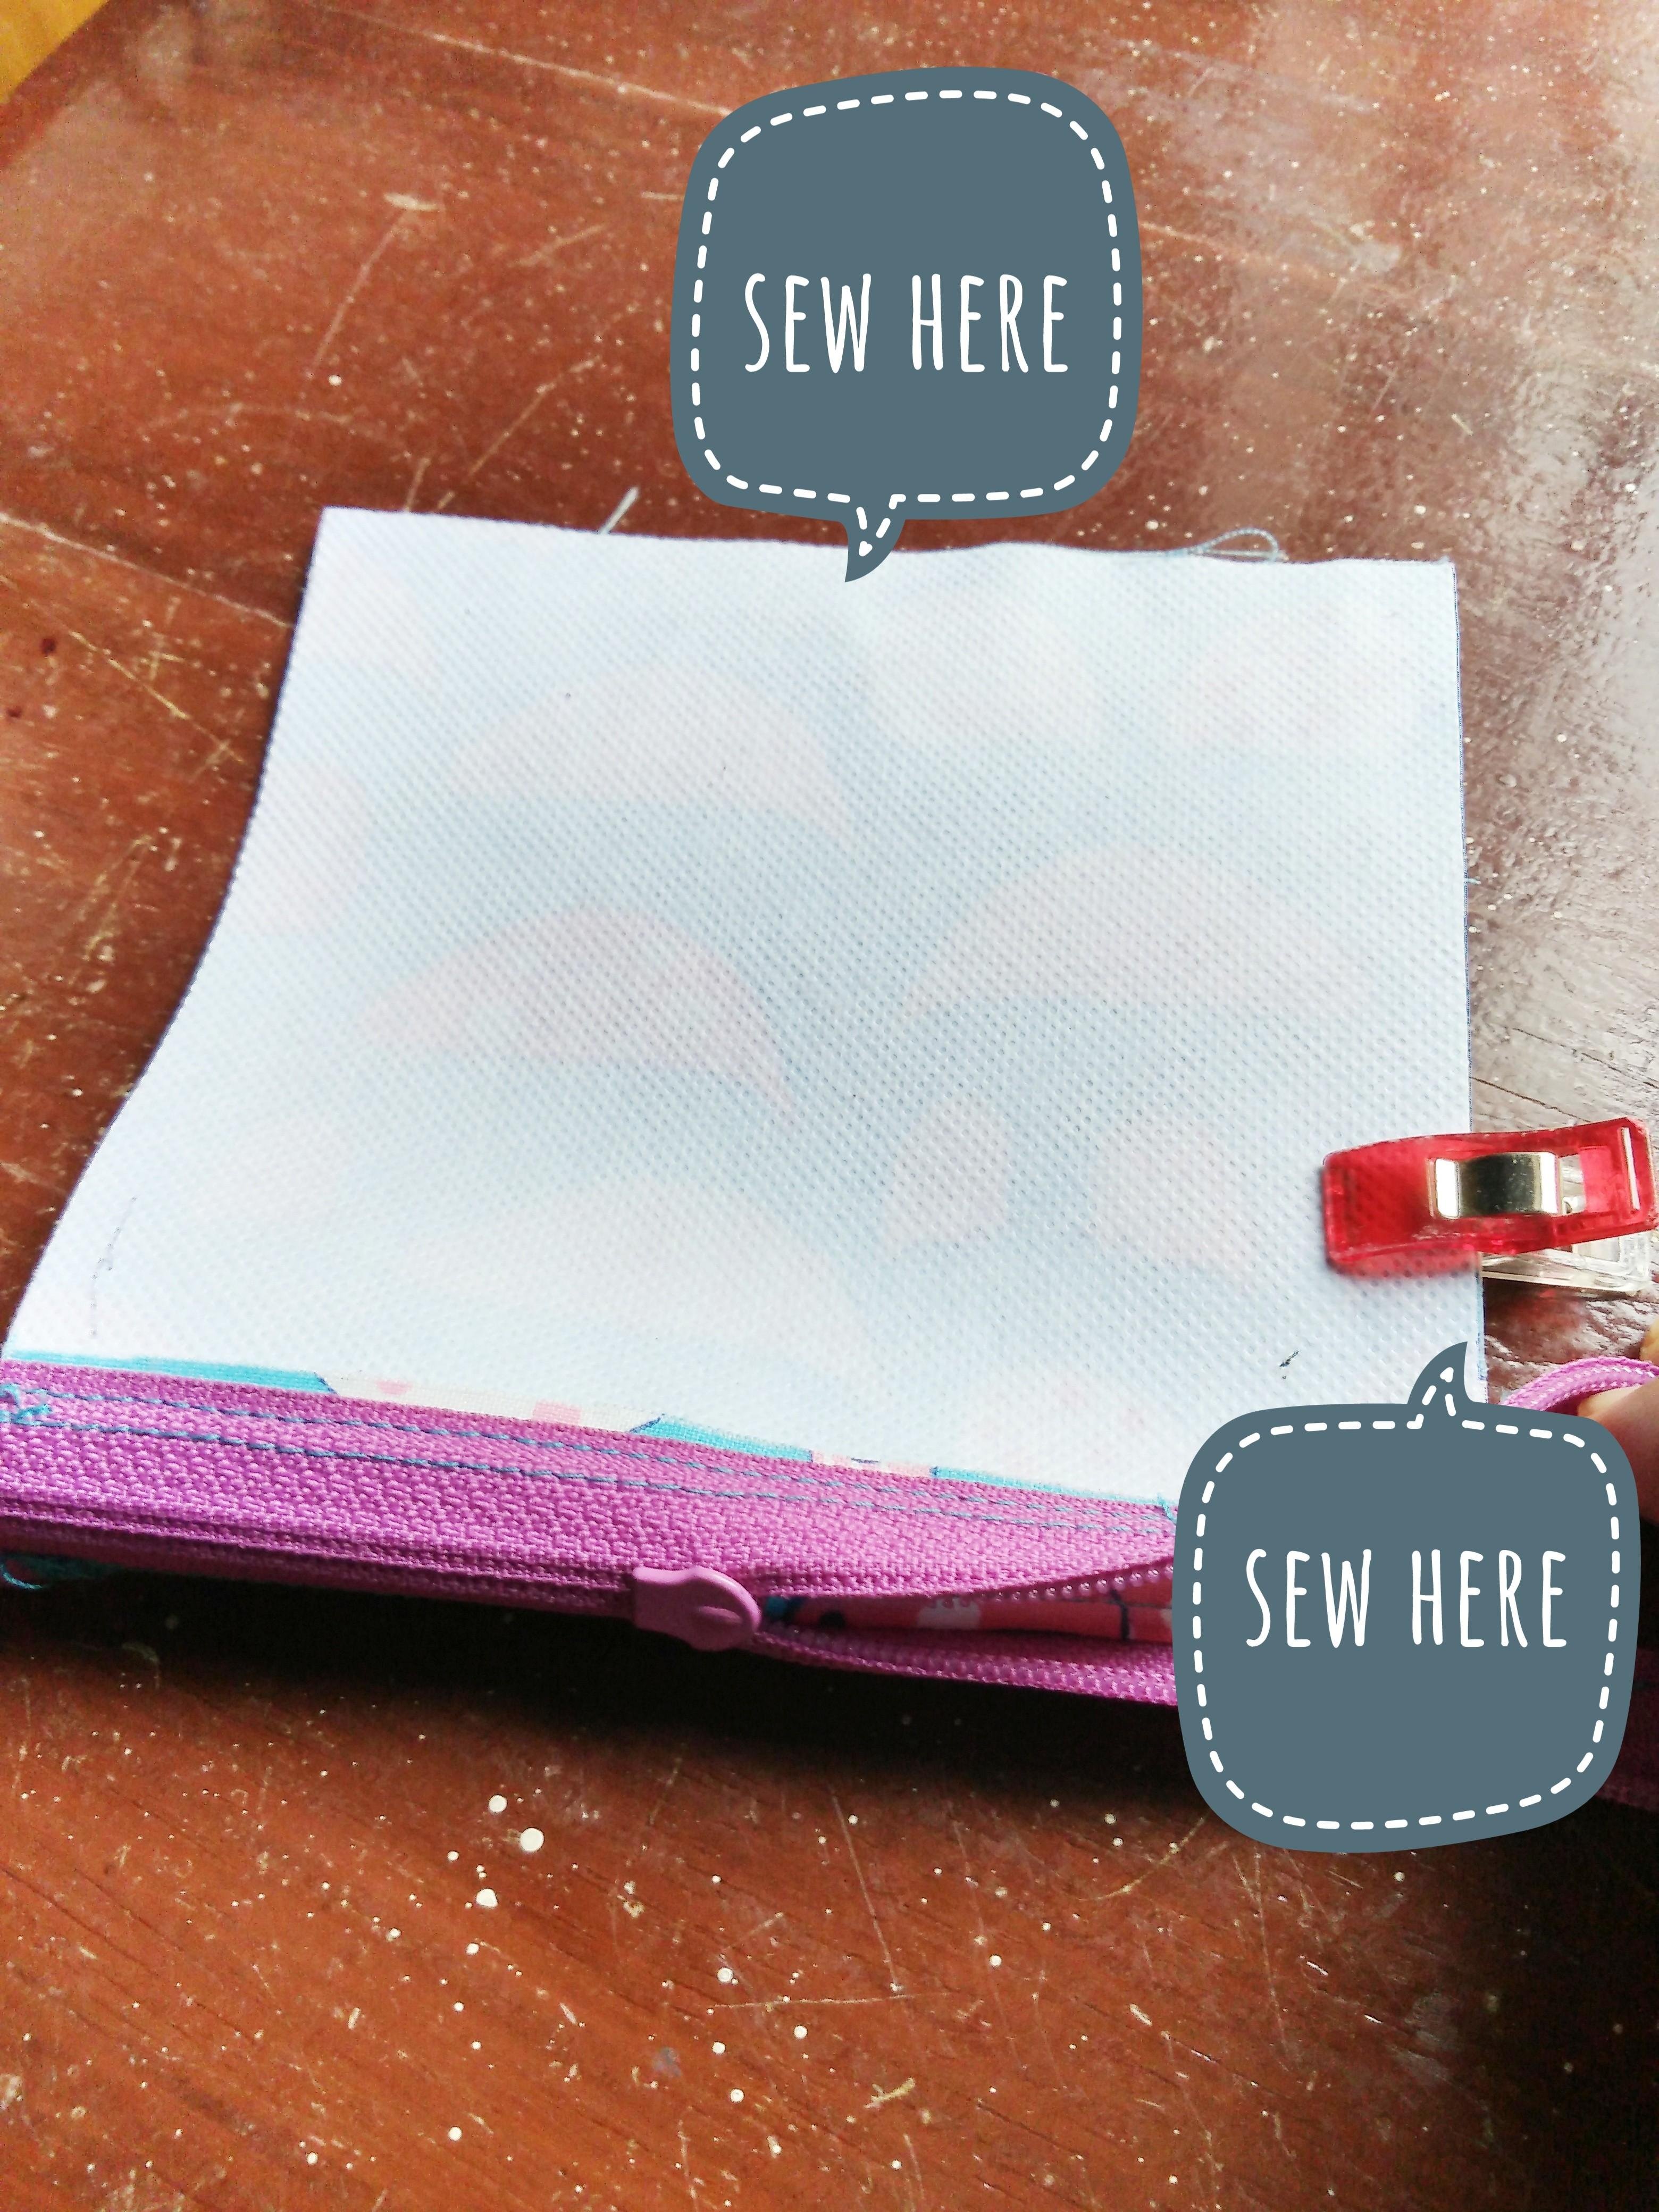
- Sew a straight stitch seam on these two sides.
- You will have this.
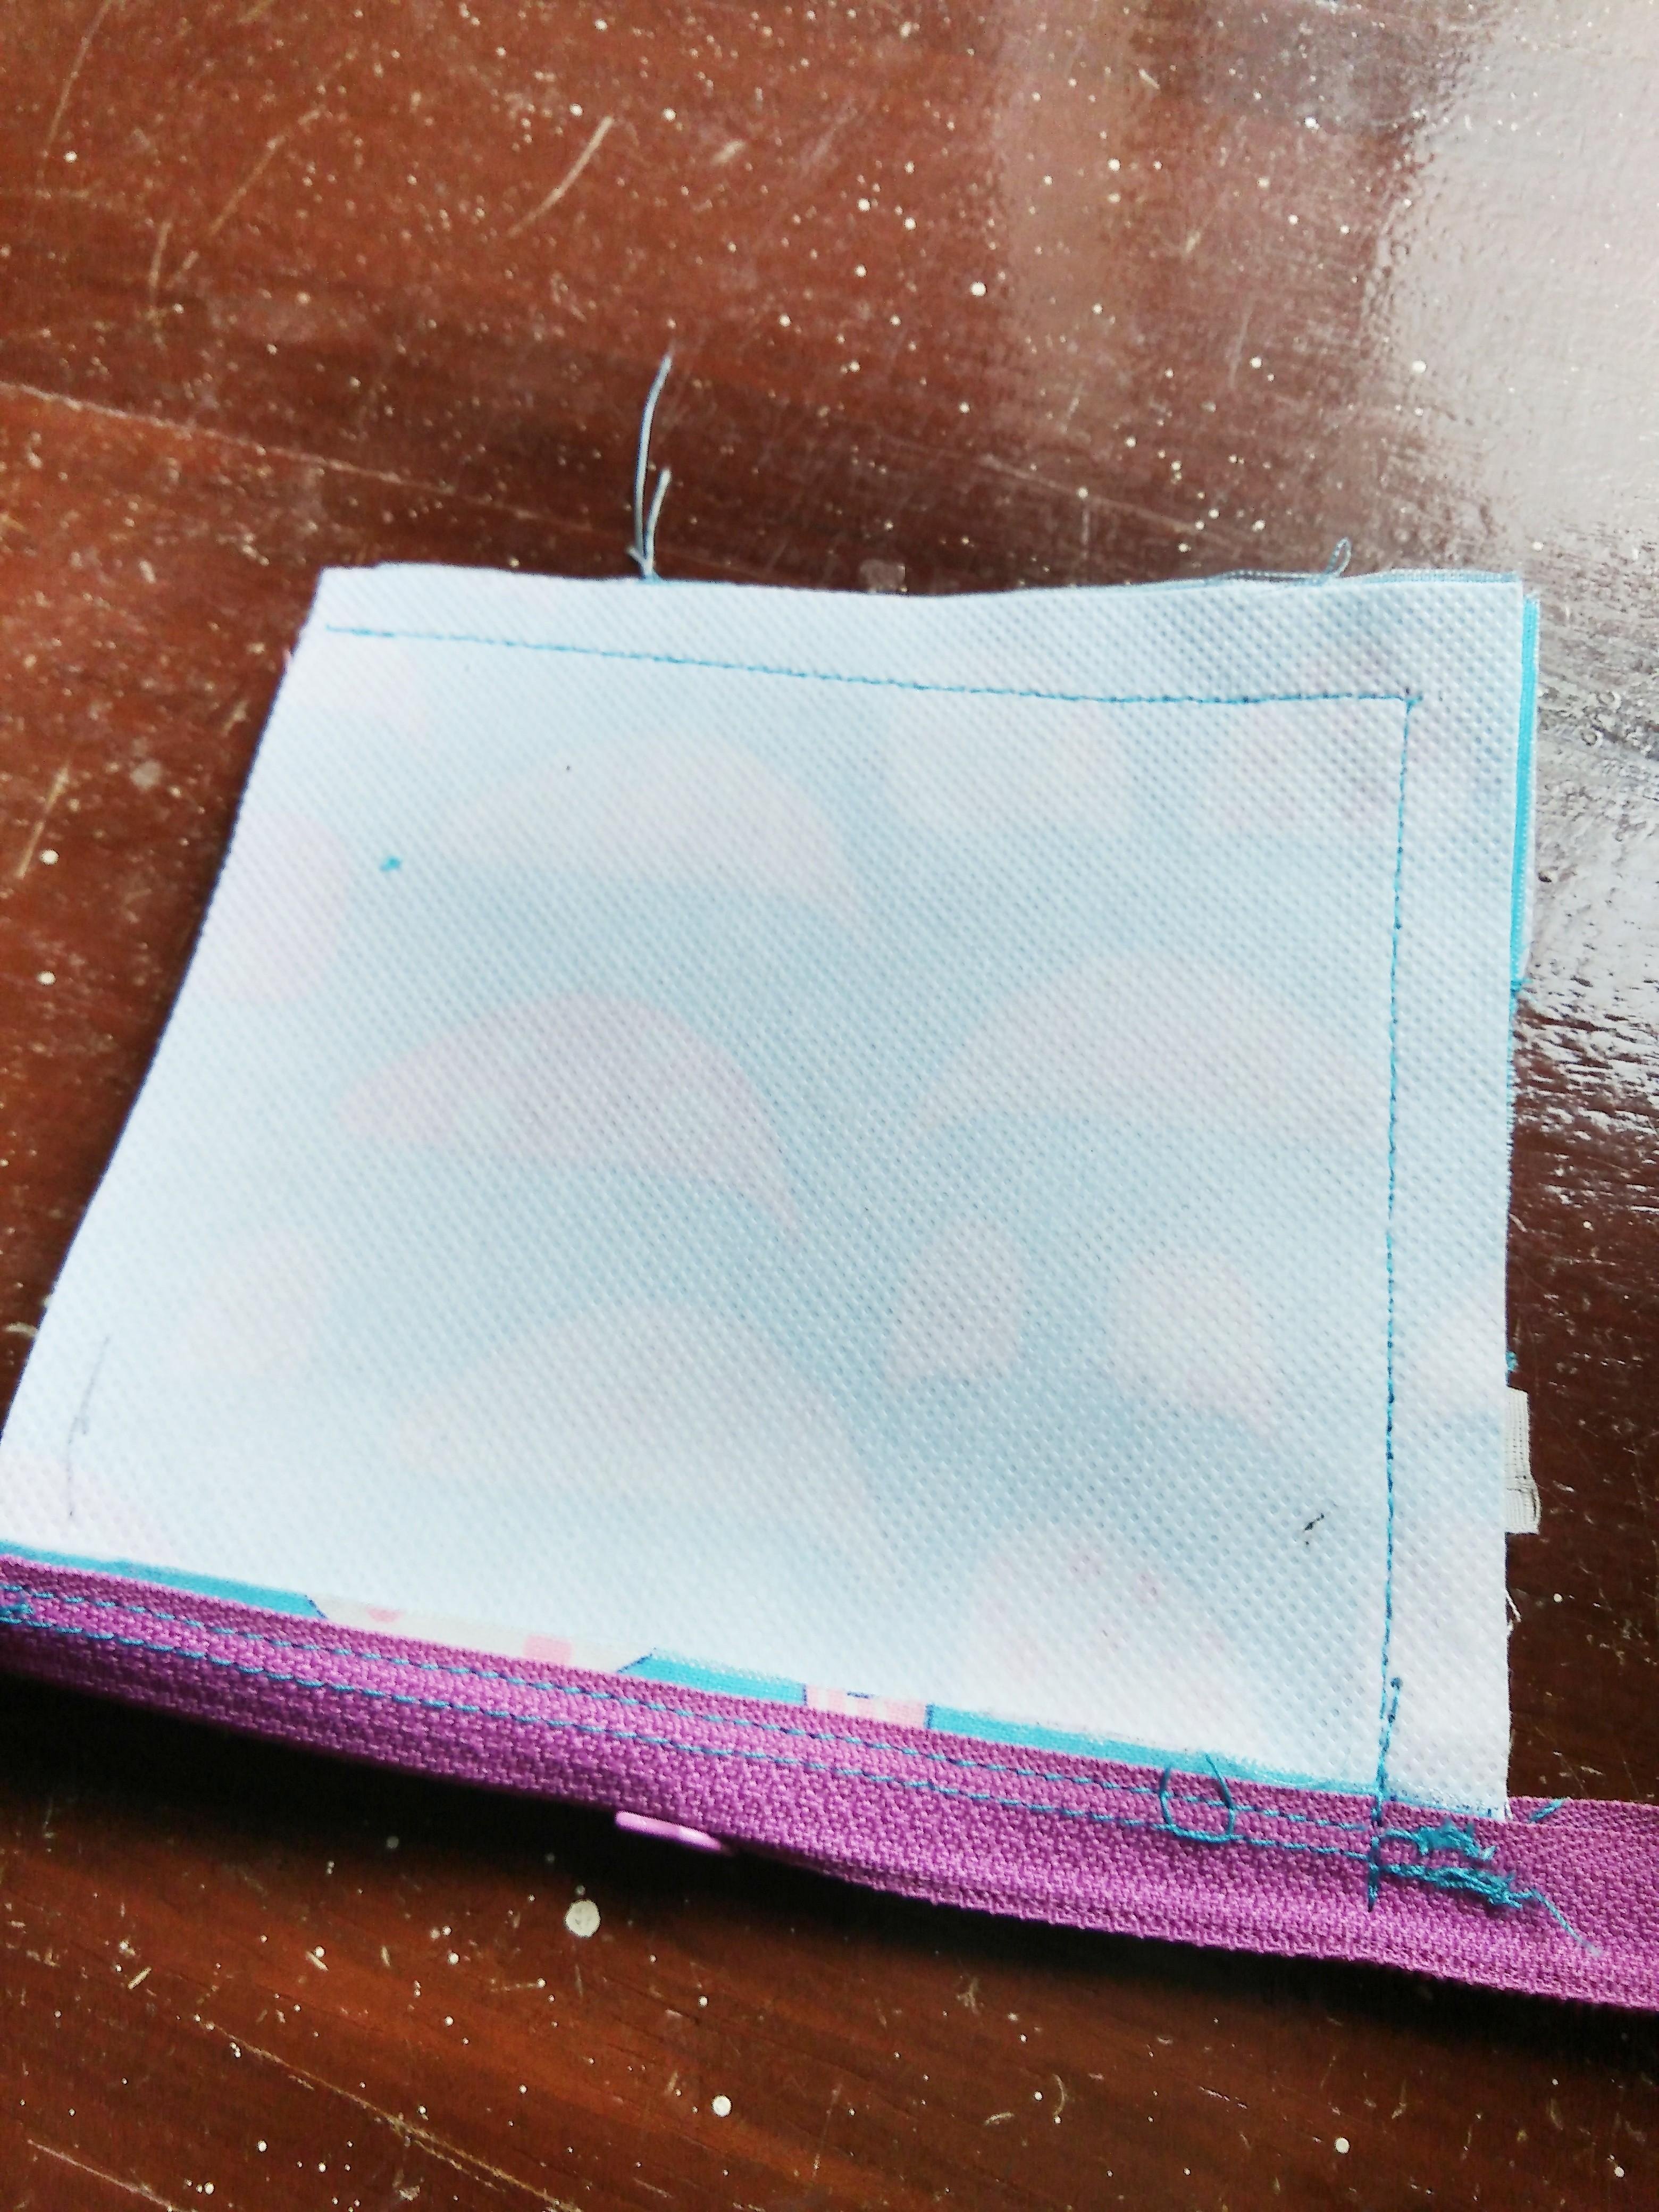
- Center the side seam with the zipper. Pin if needed.
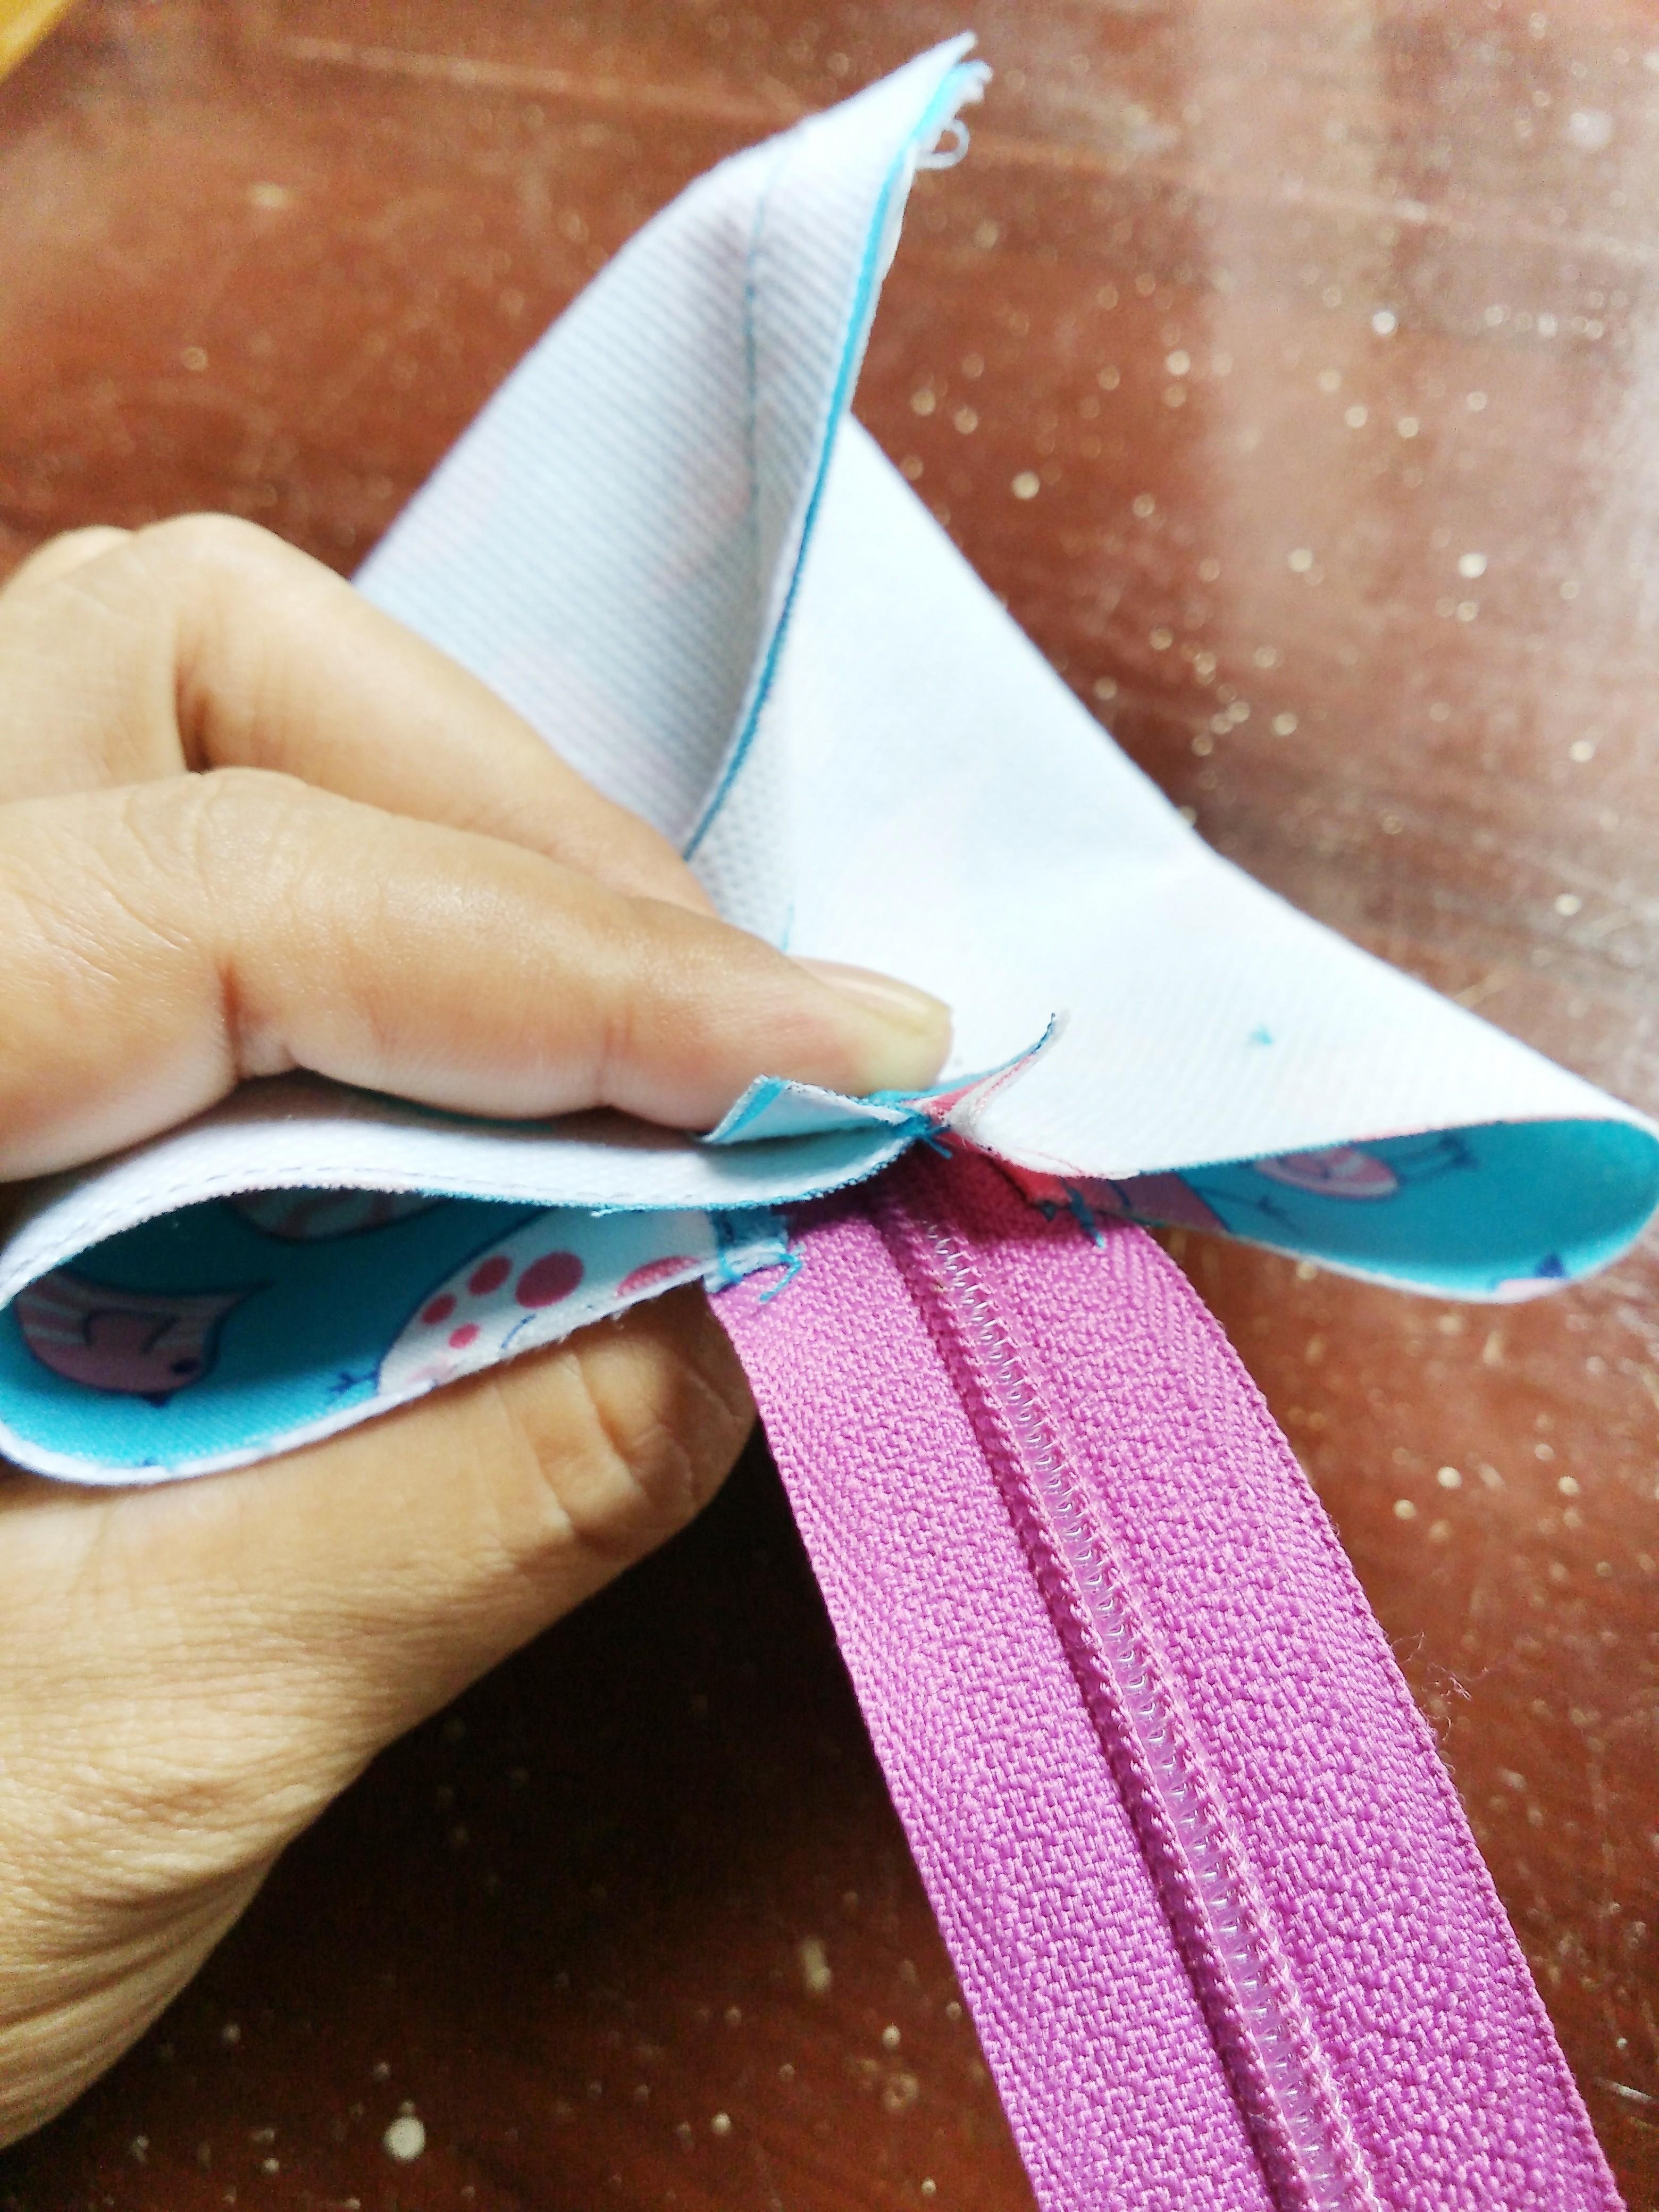
- Sew along the edge.
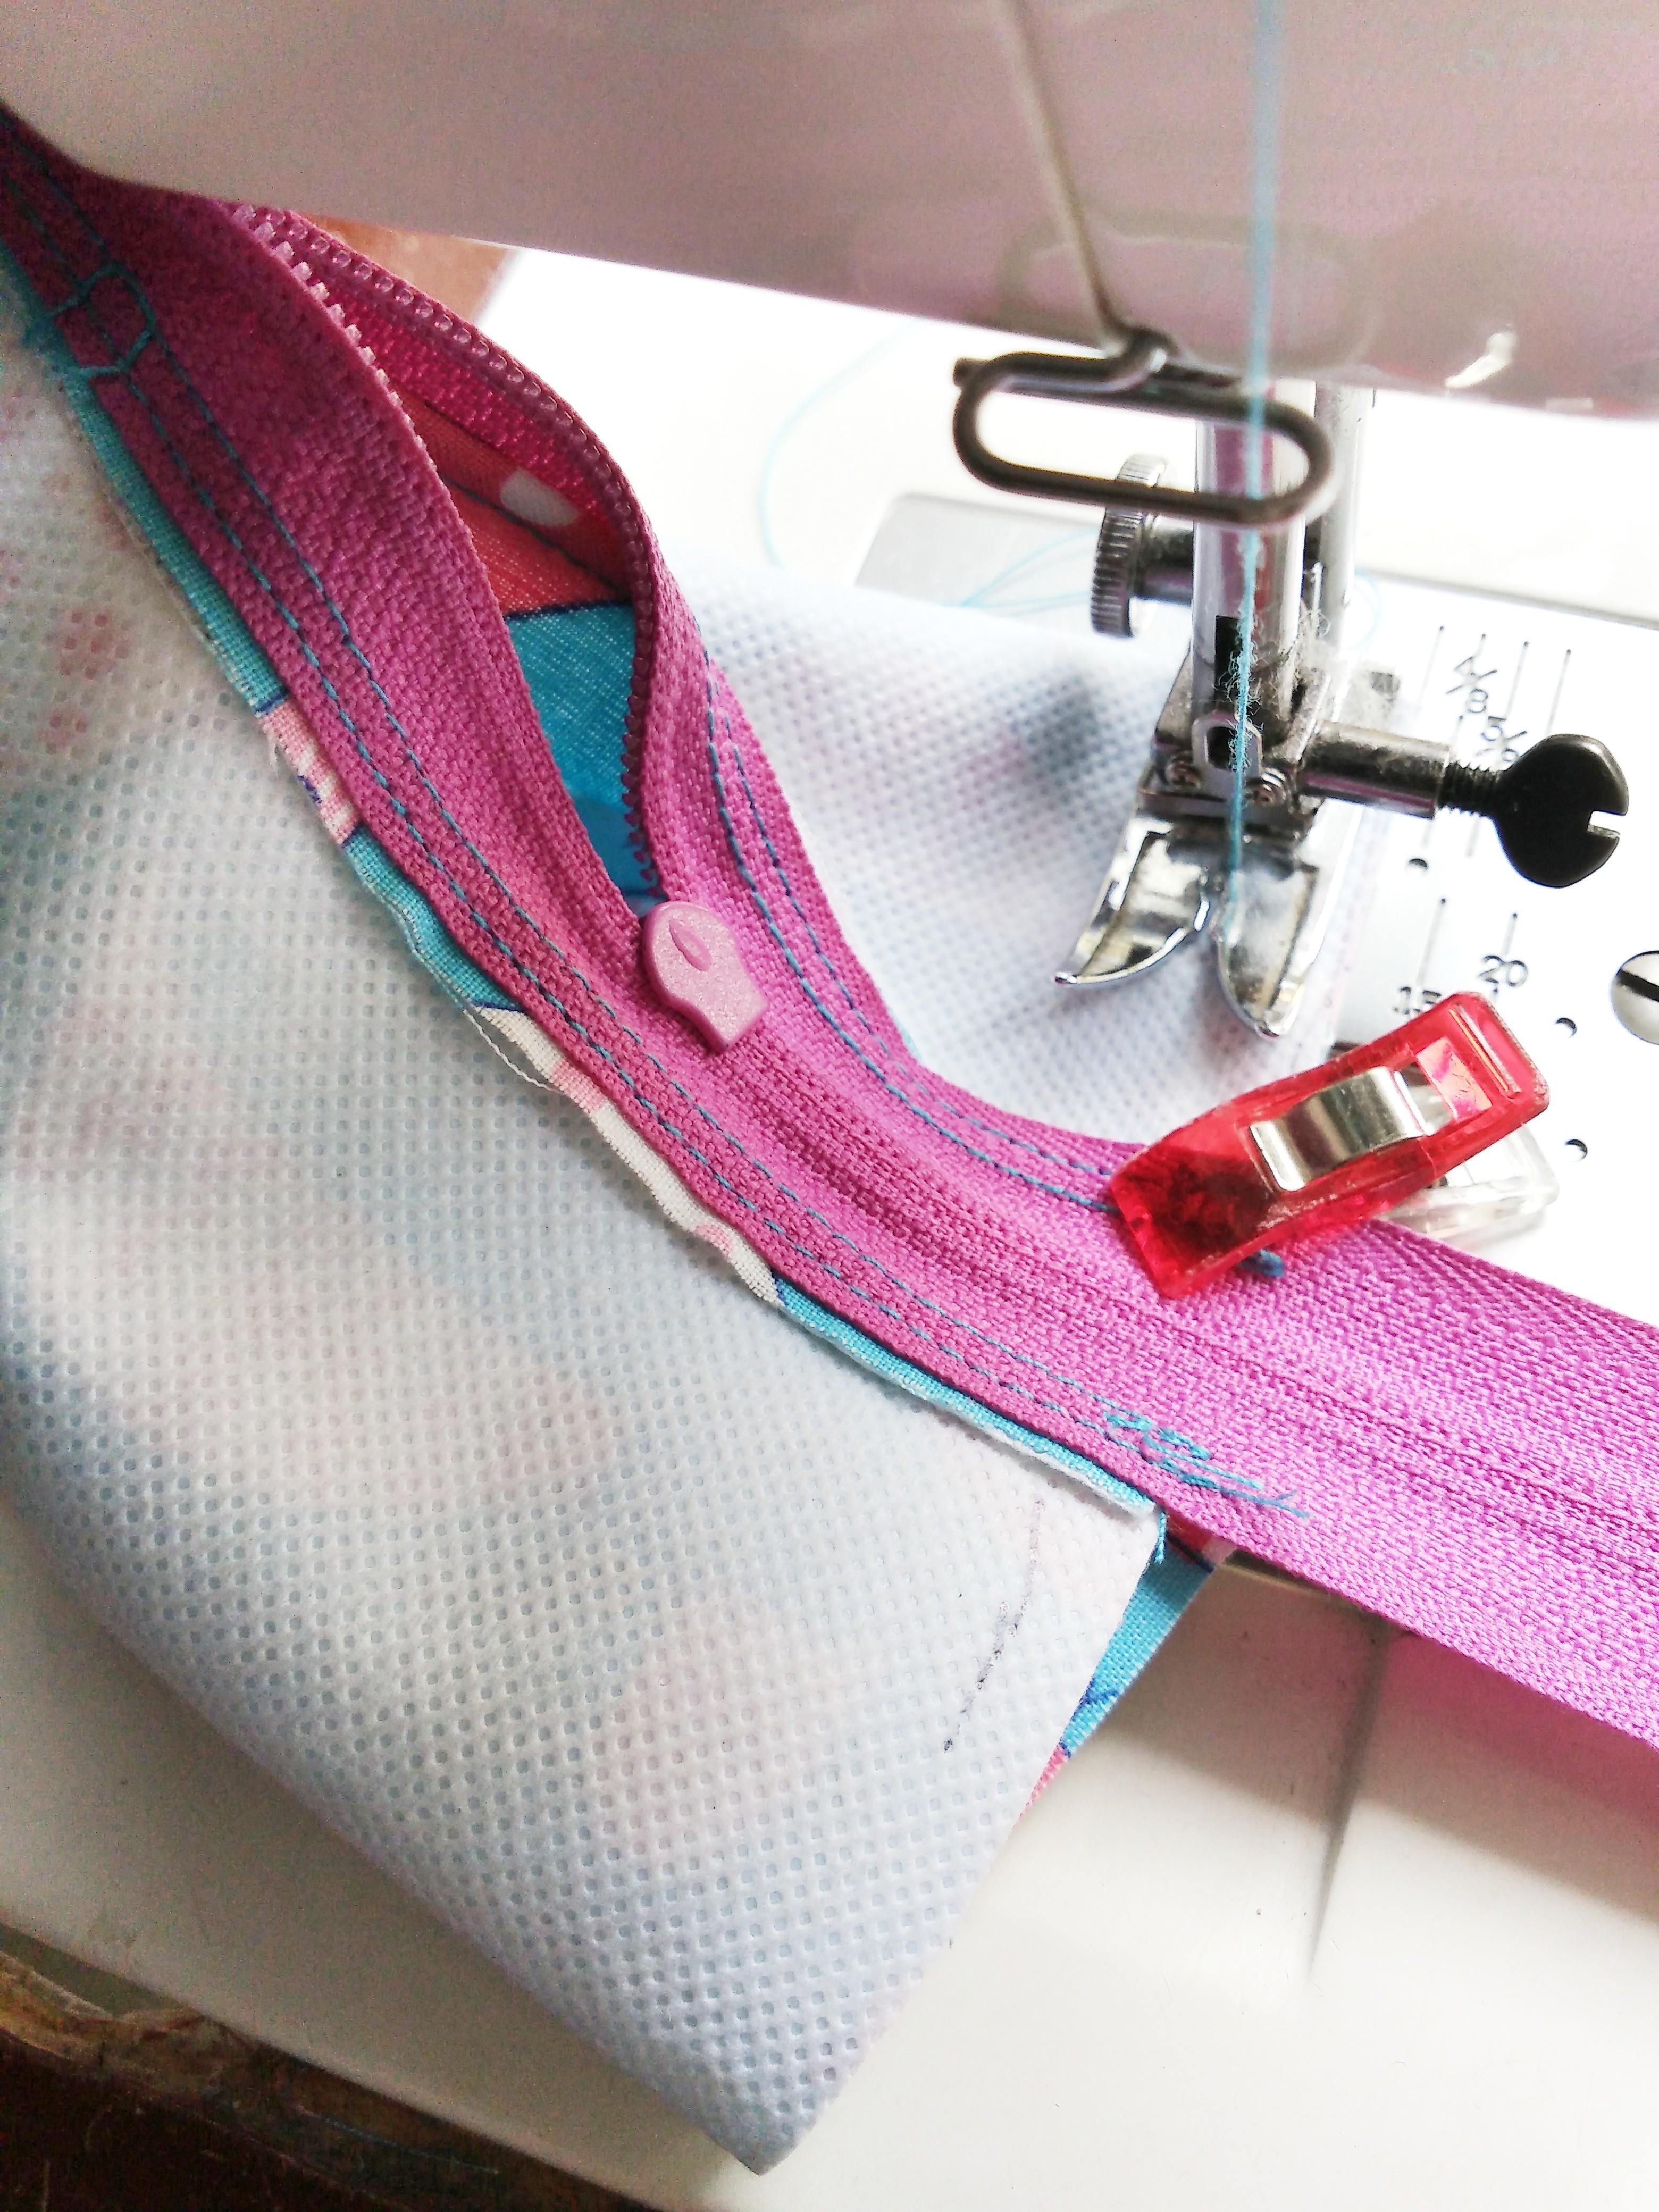
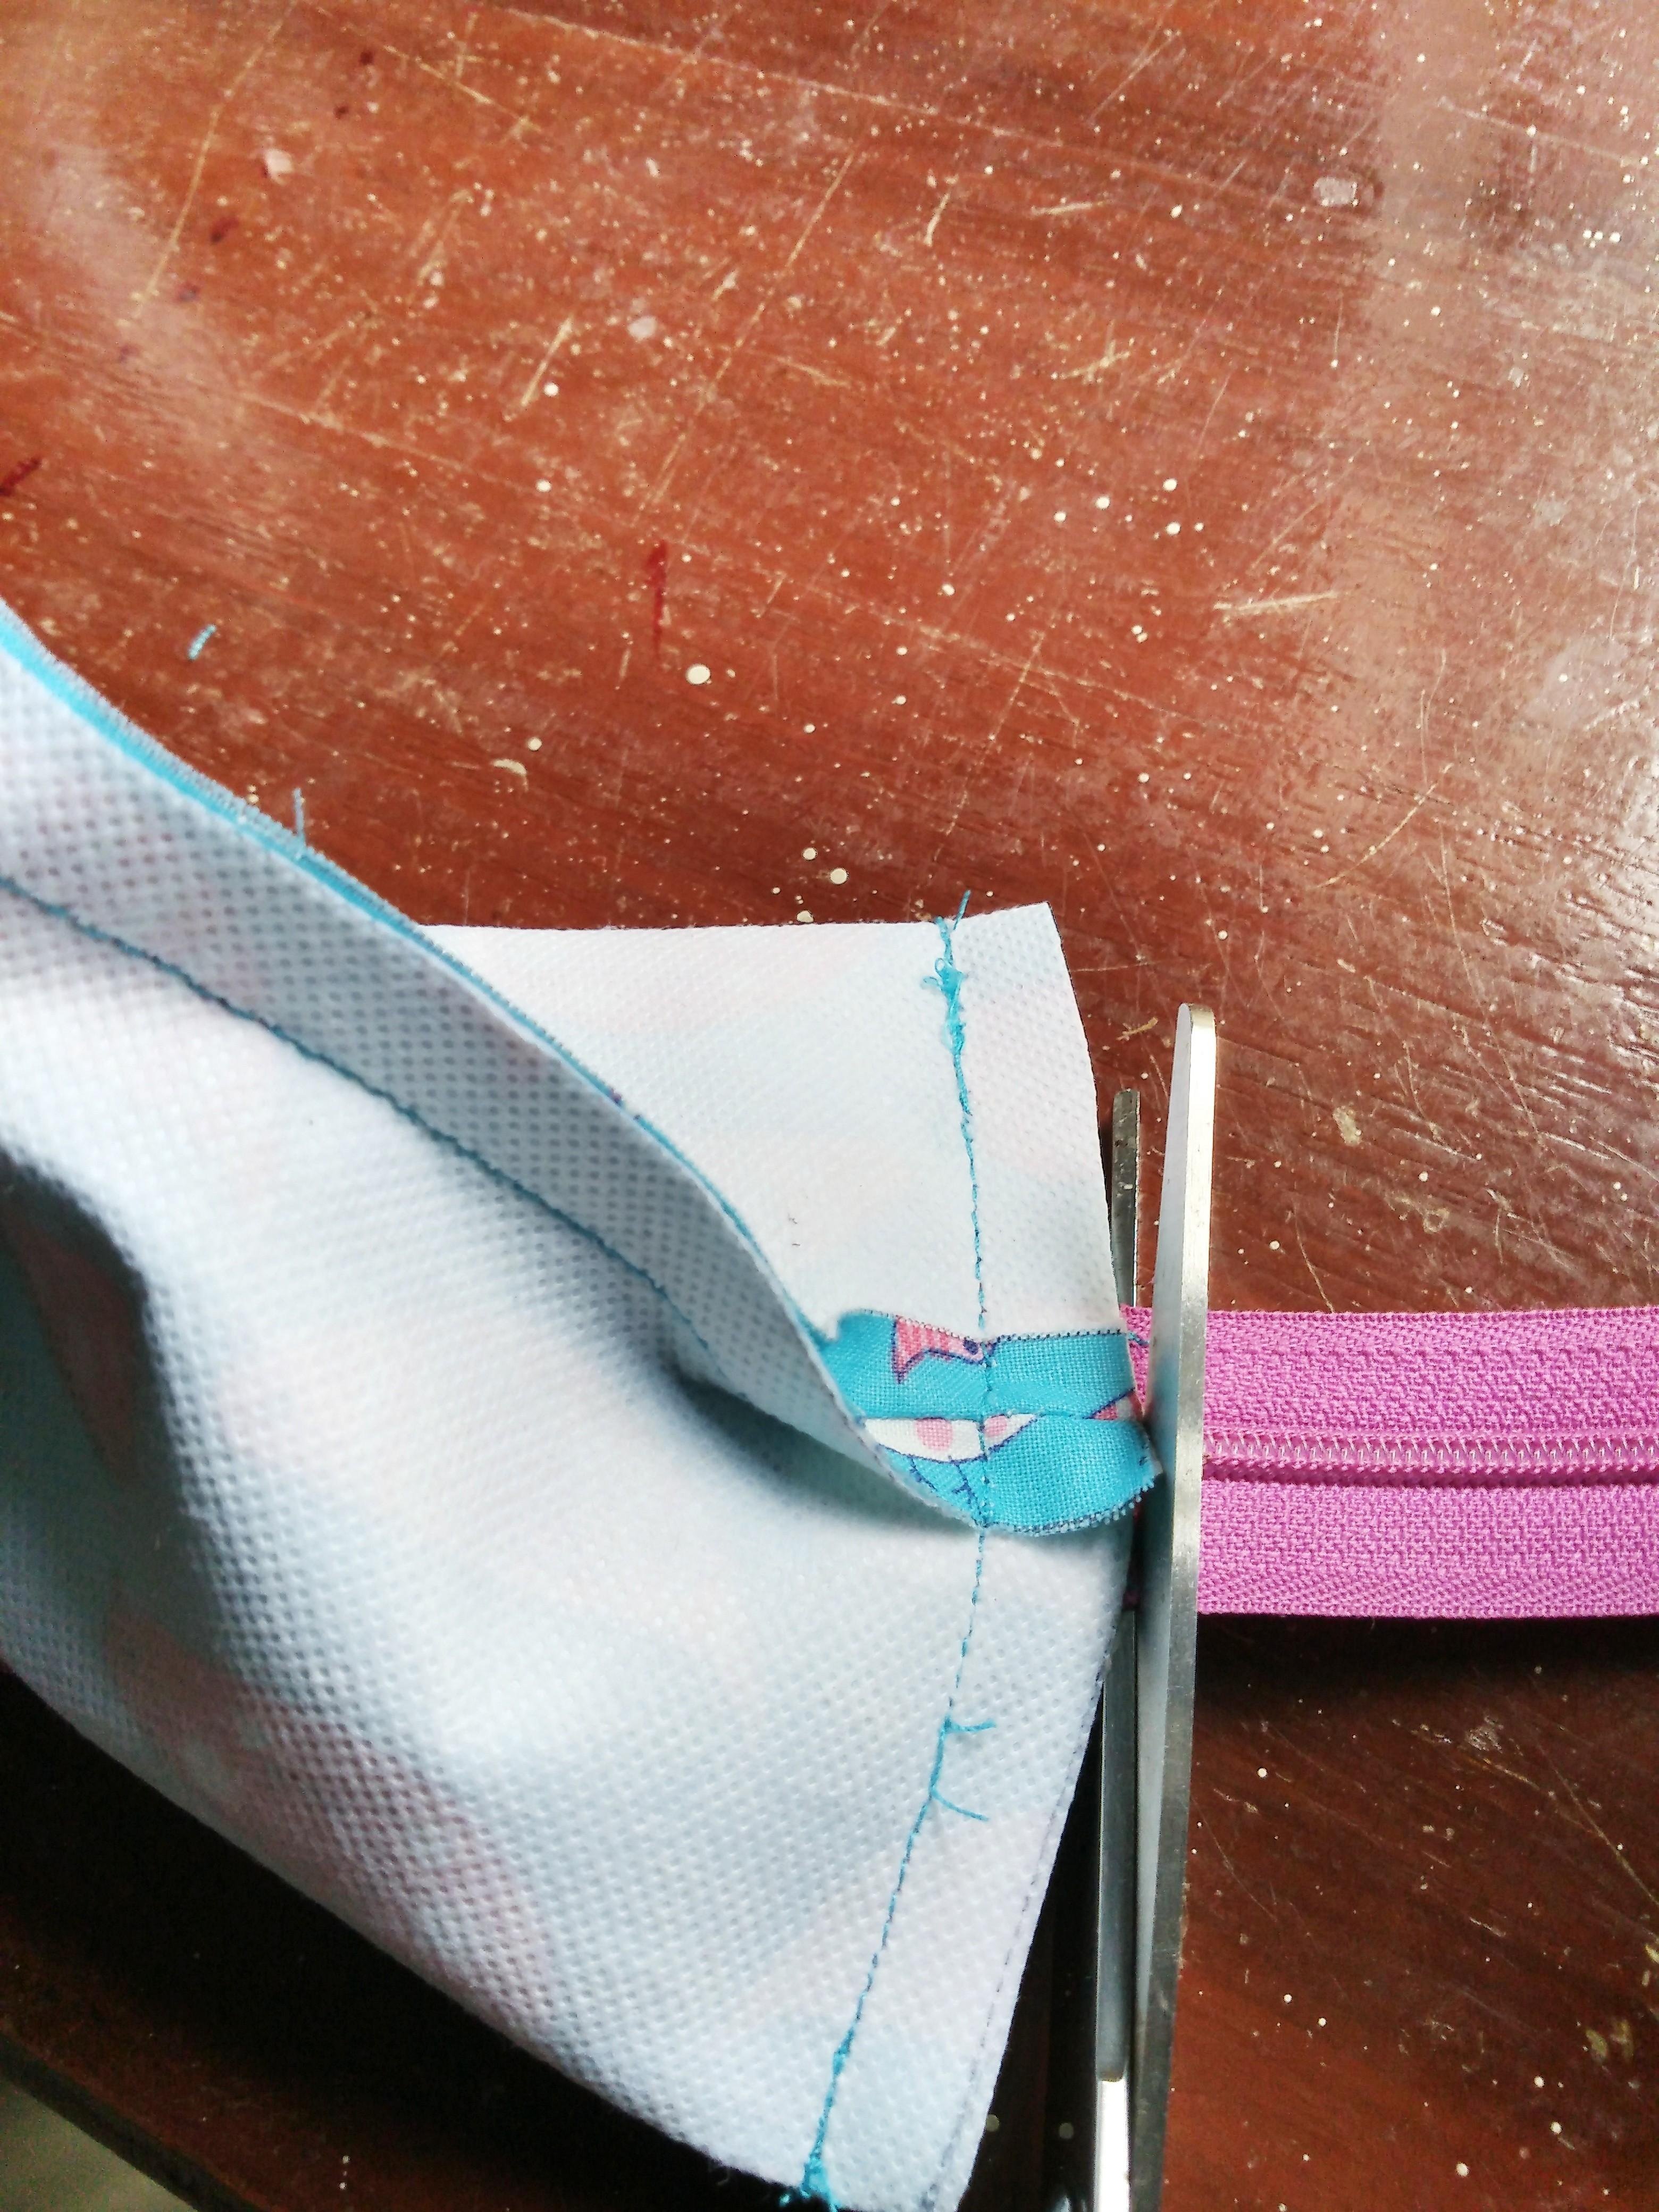
- Cut the excessive zipper
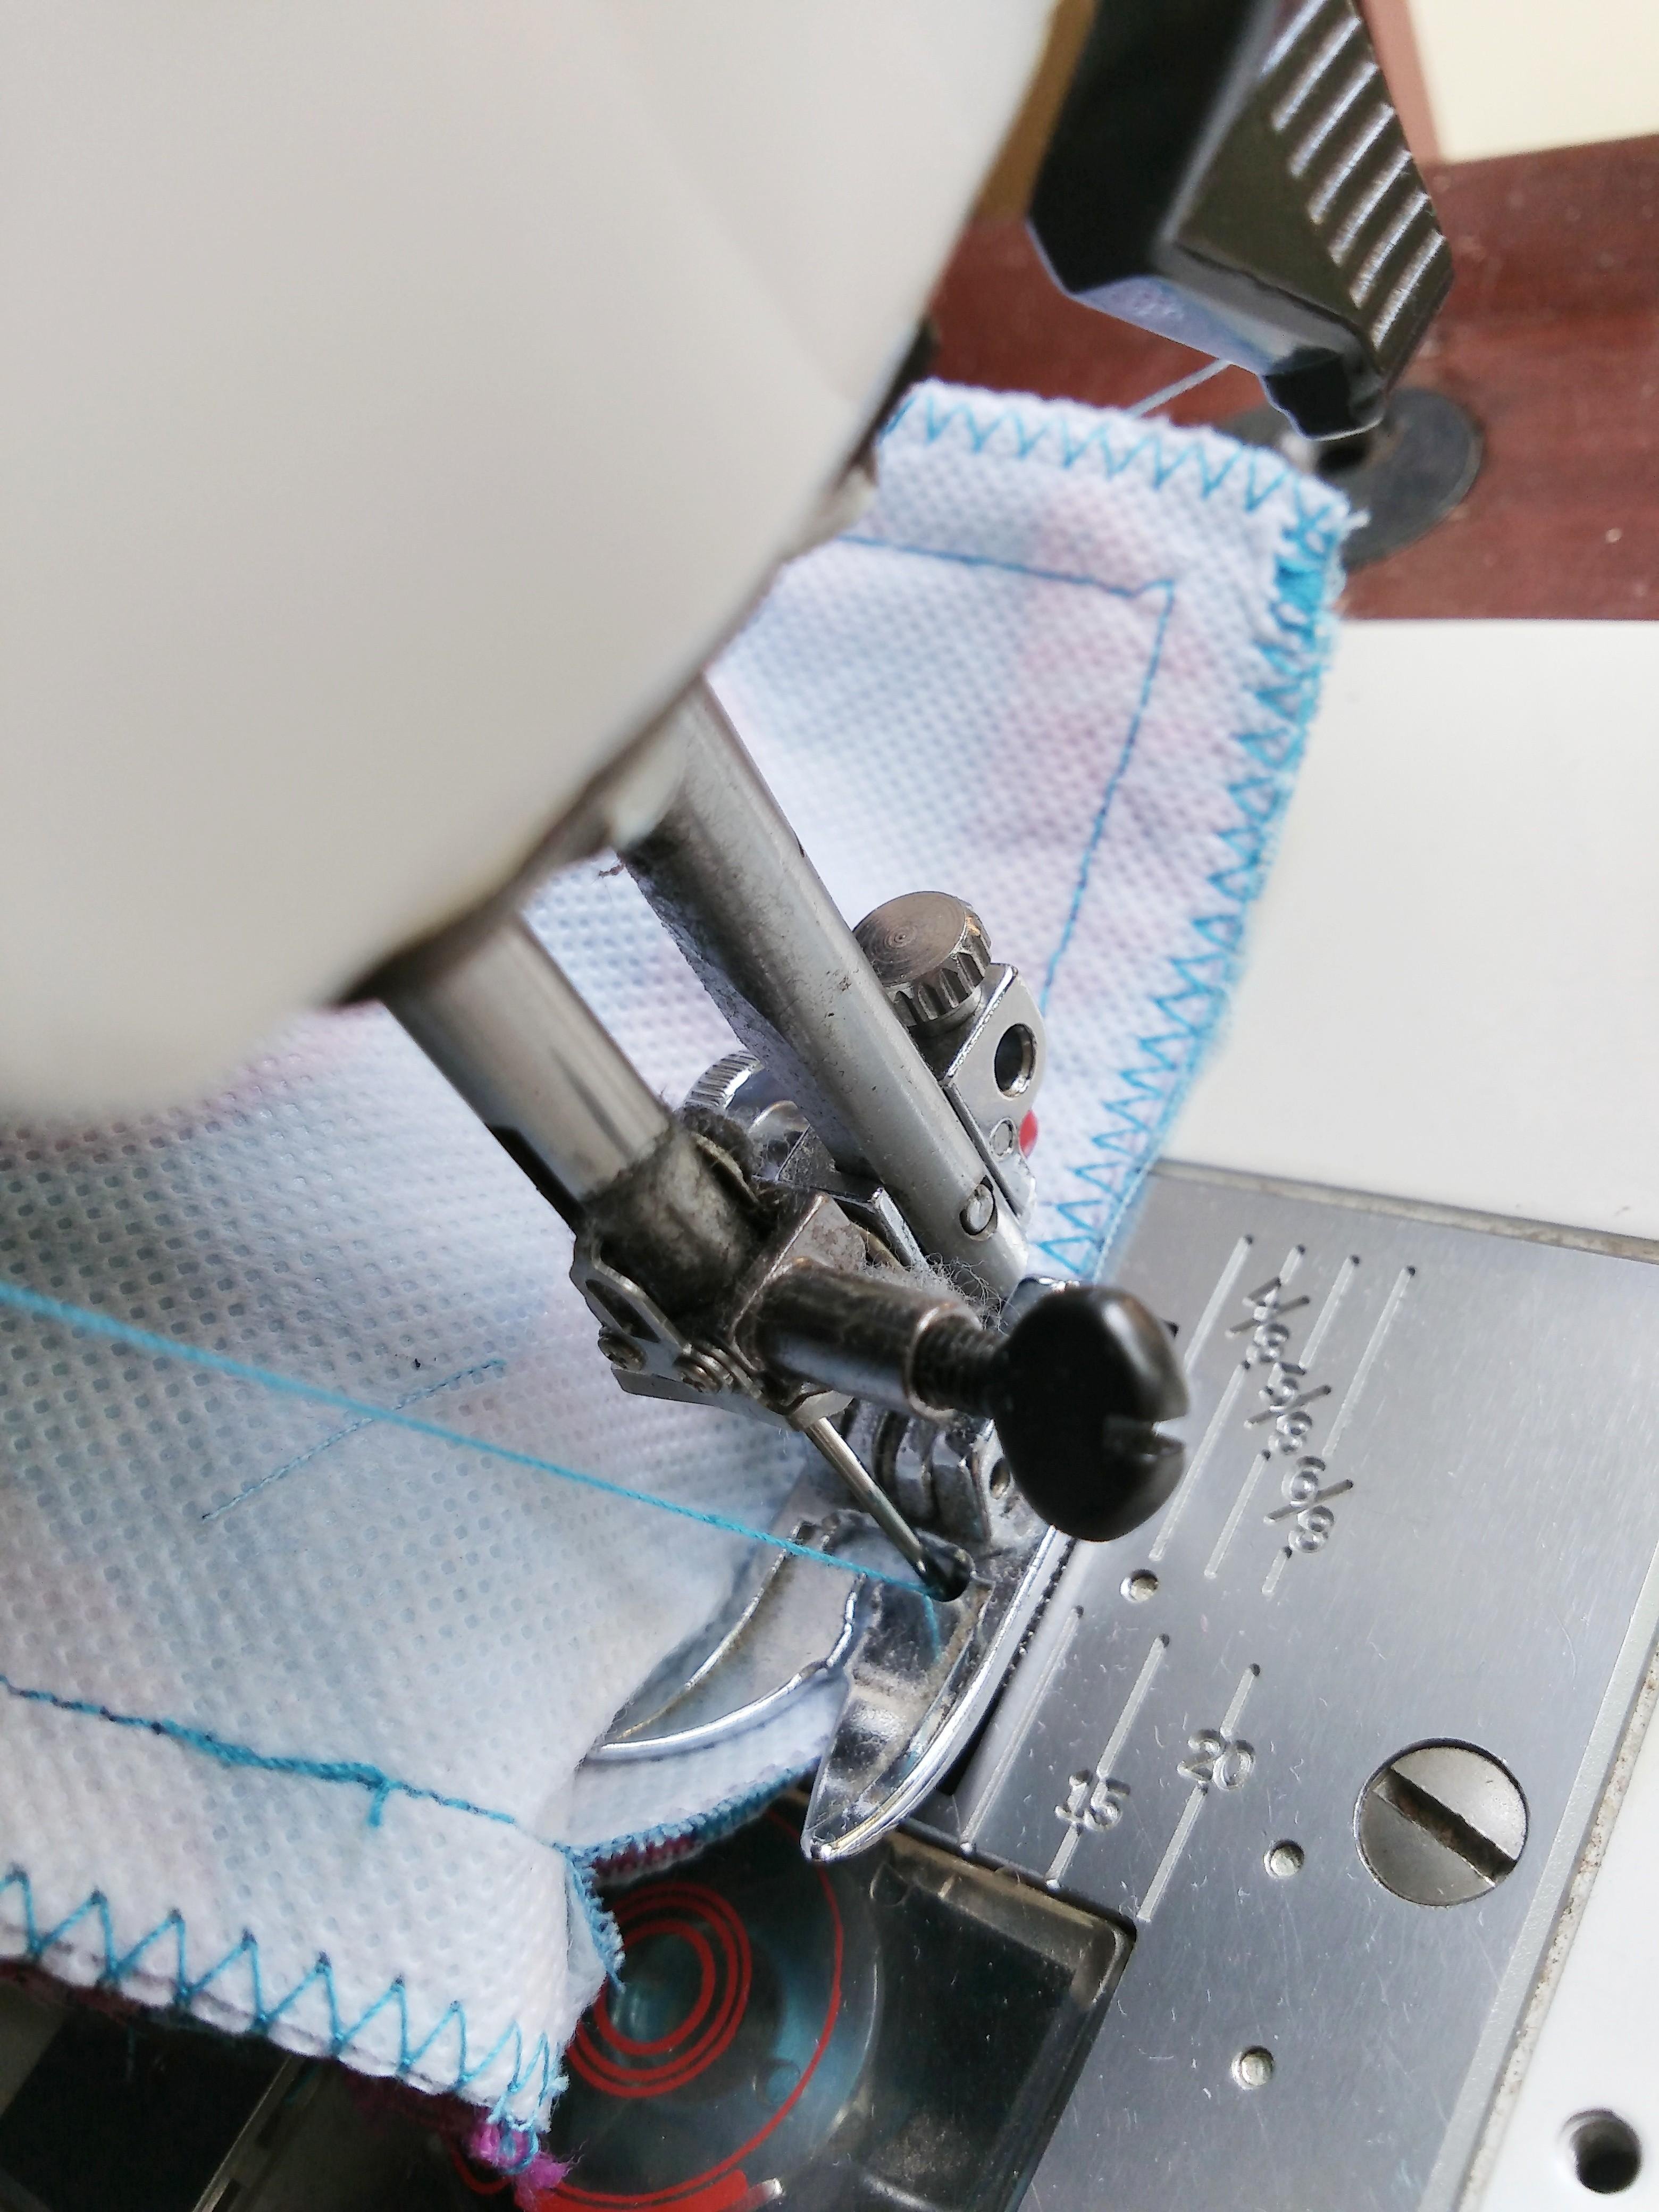
- Zig zag stitch all edges to prevent the fabric from fraying.
- Turn right side out.
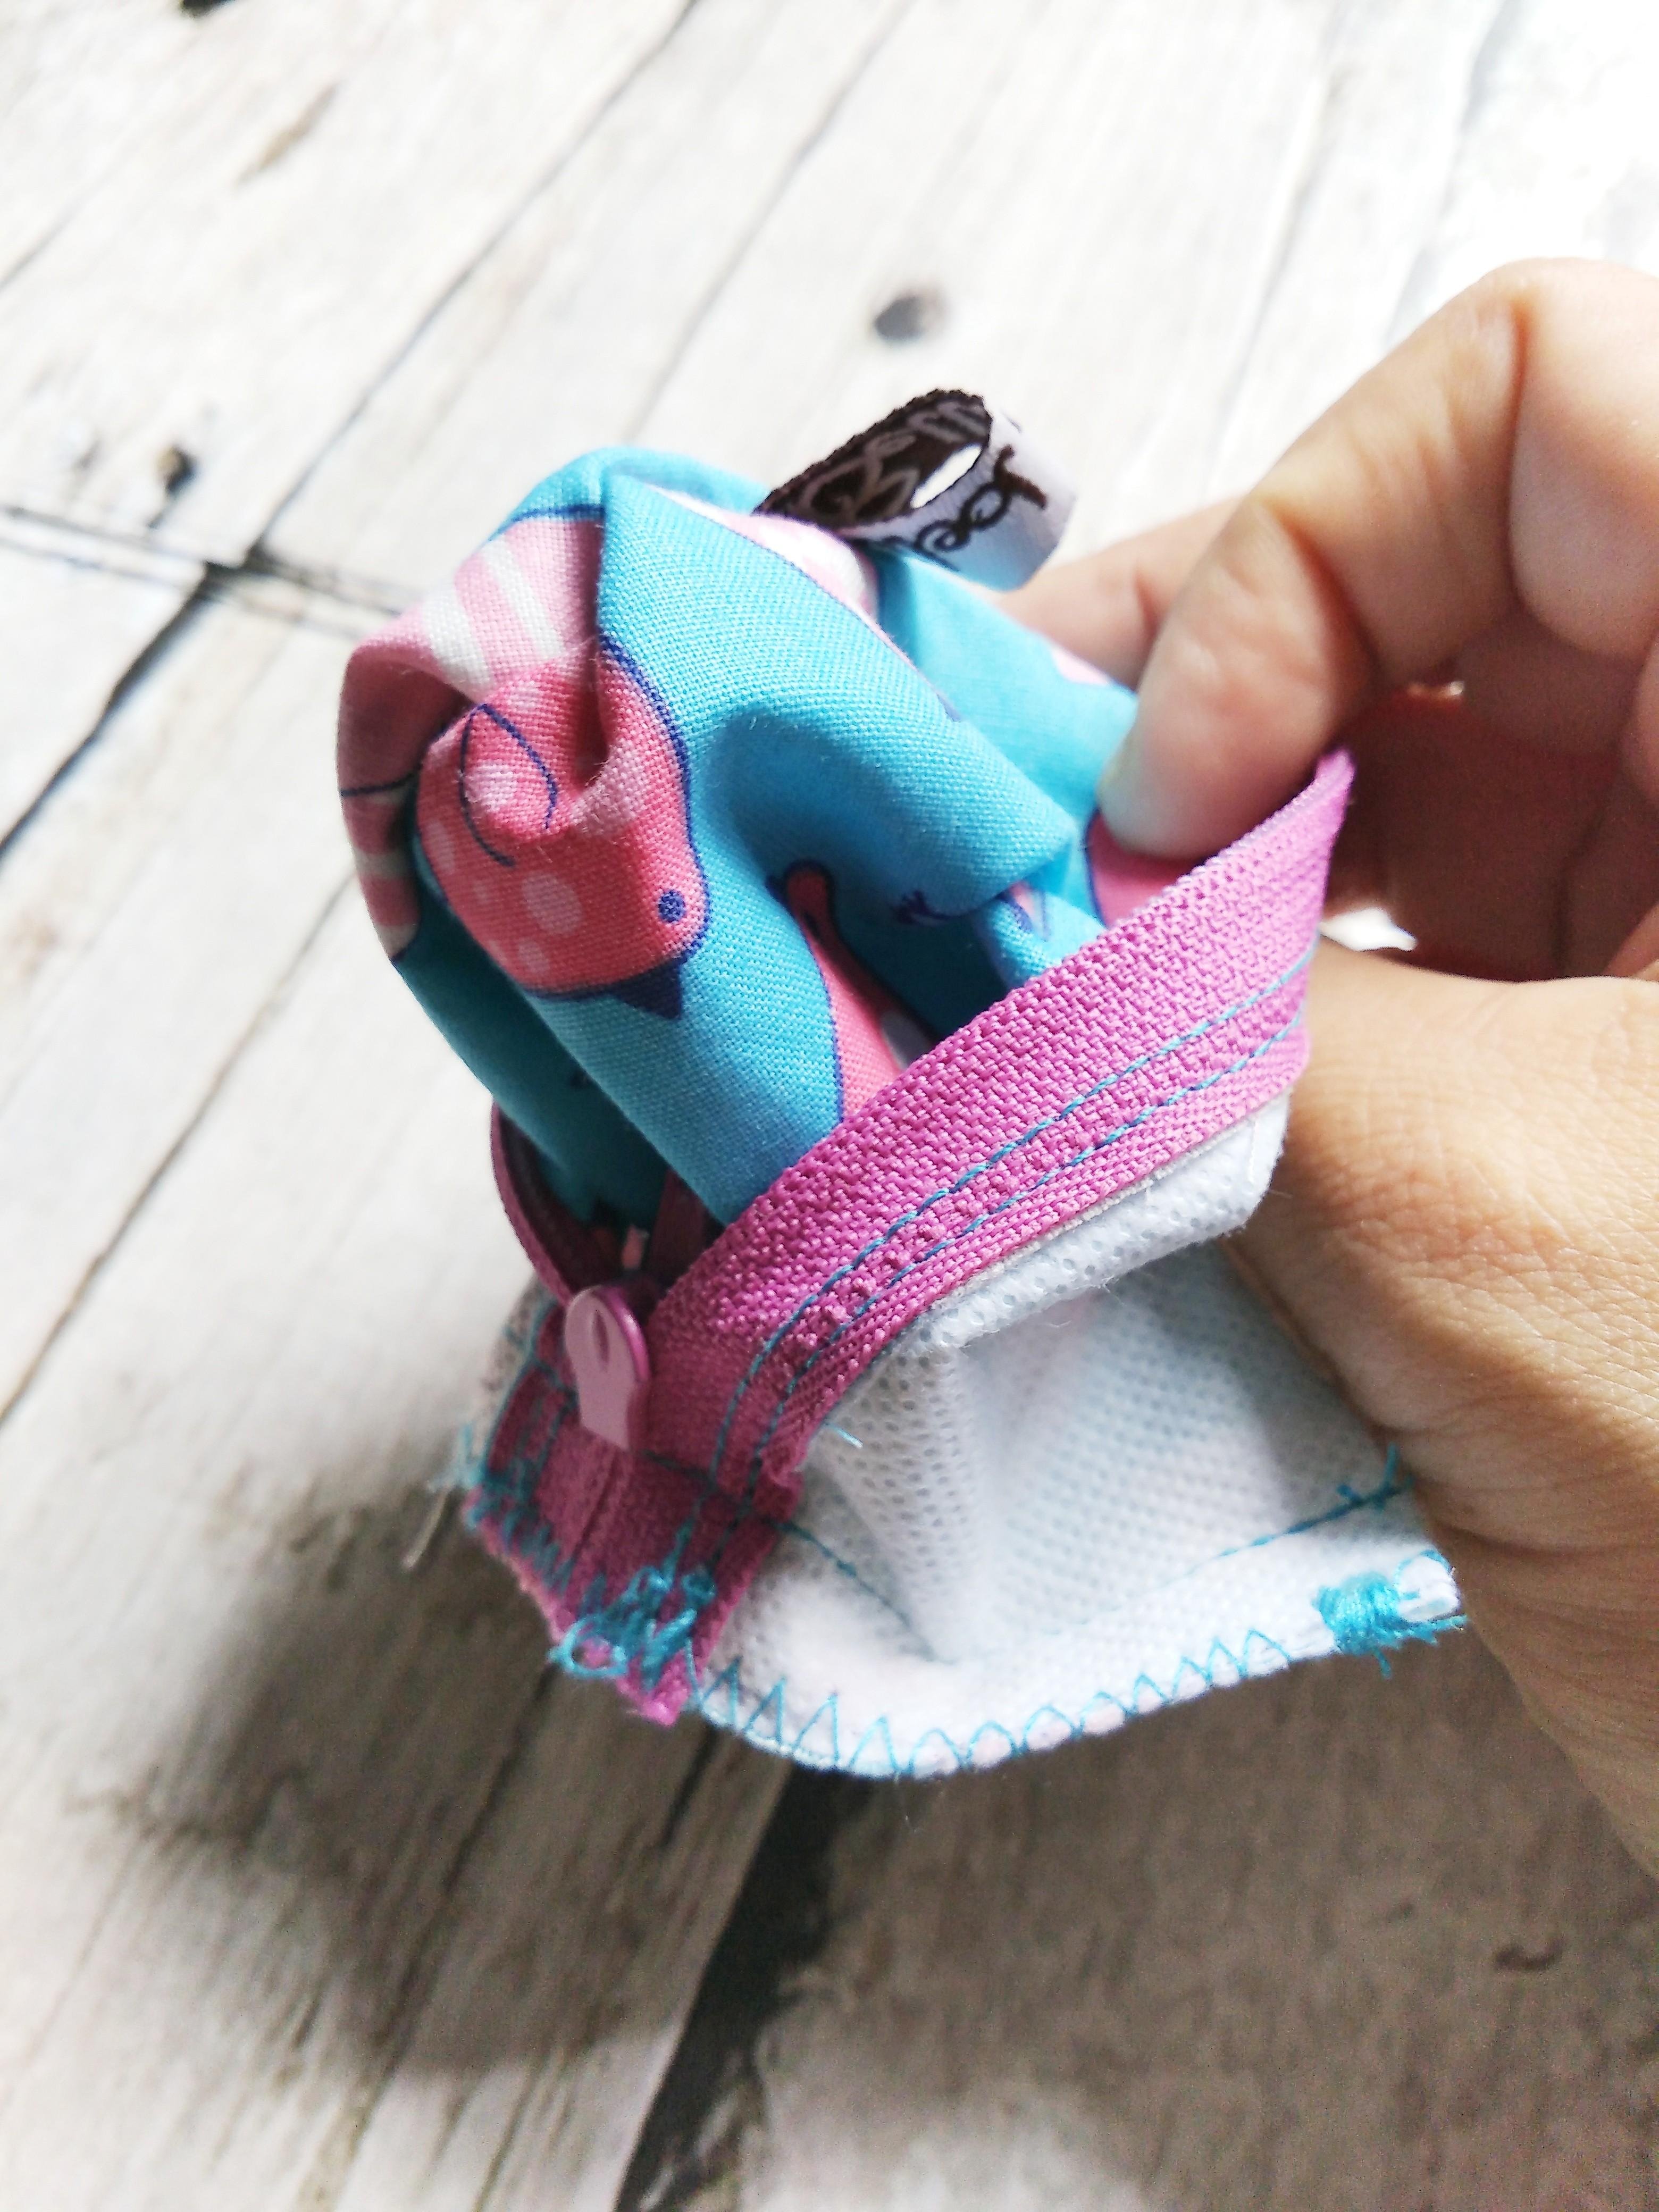
- Poke the corners using a pencil or a chopstick.
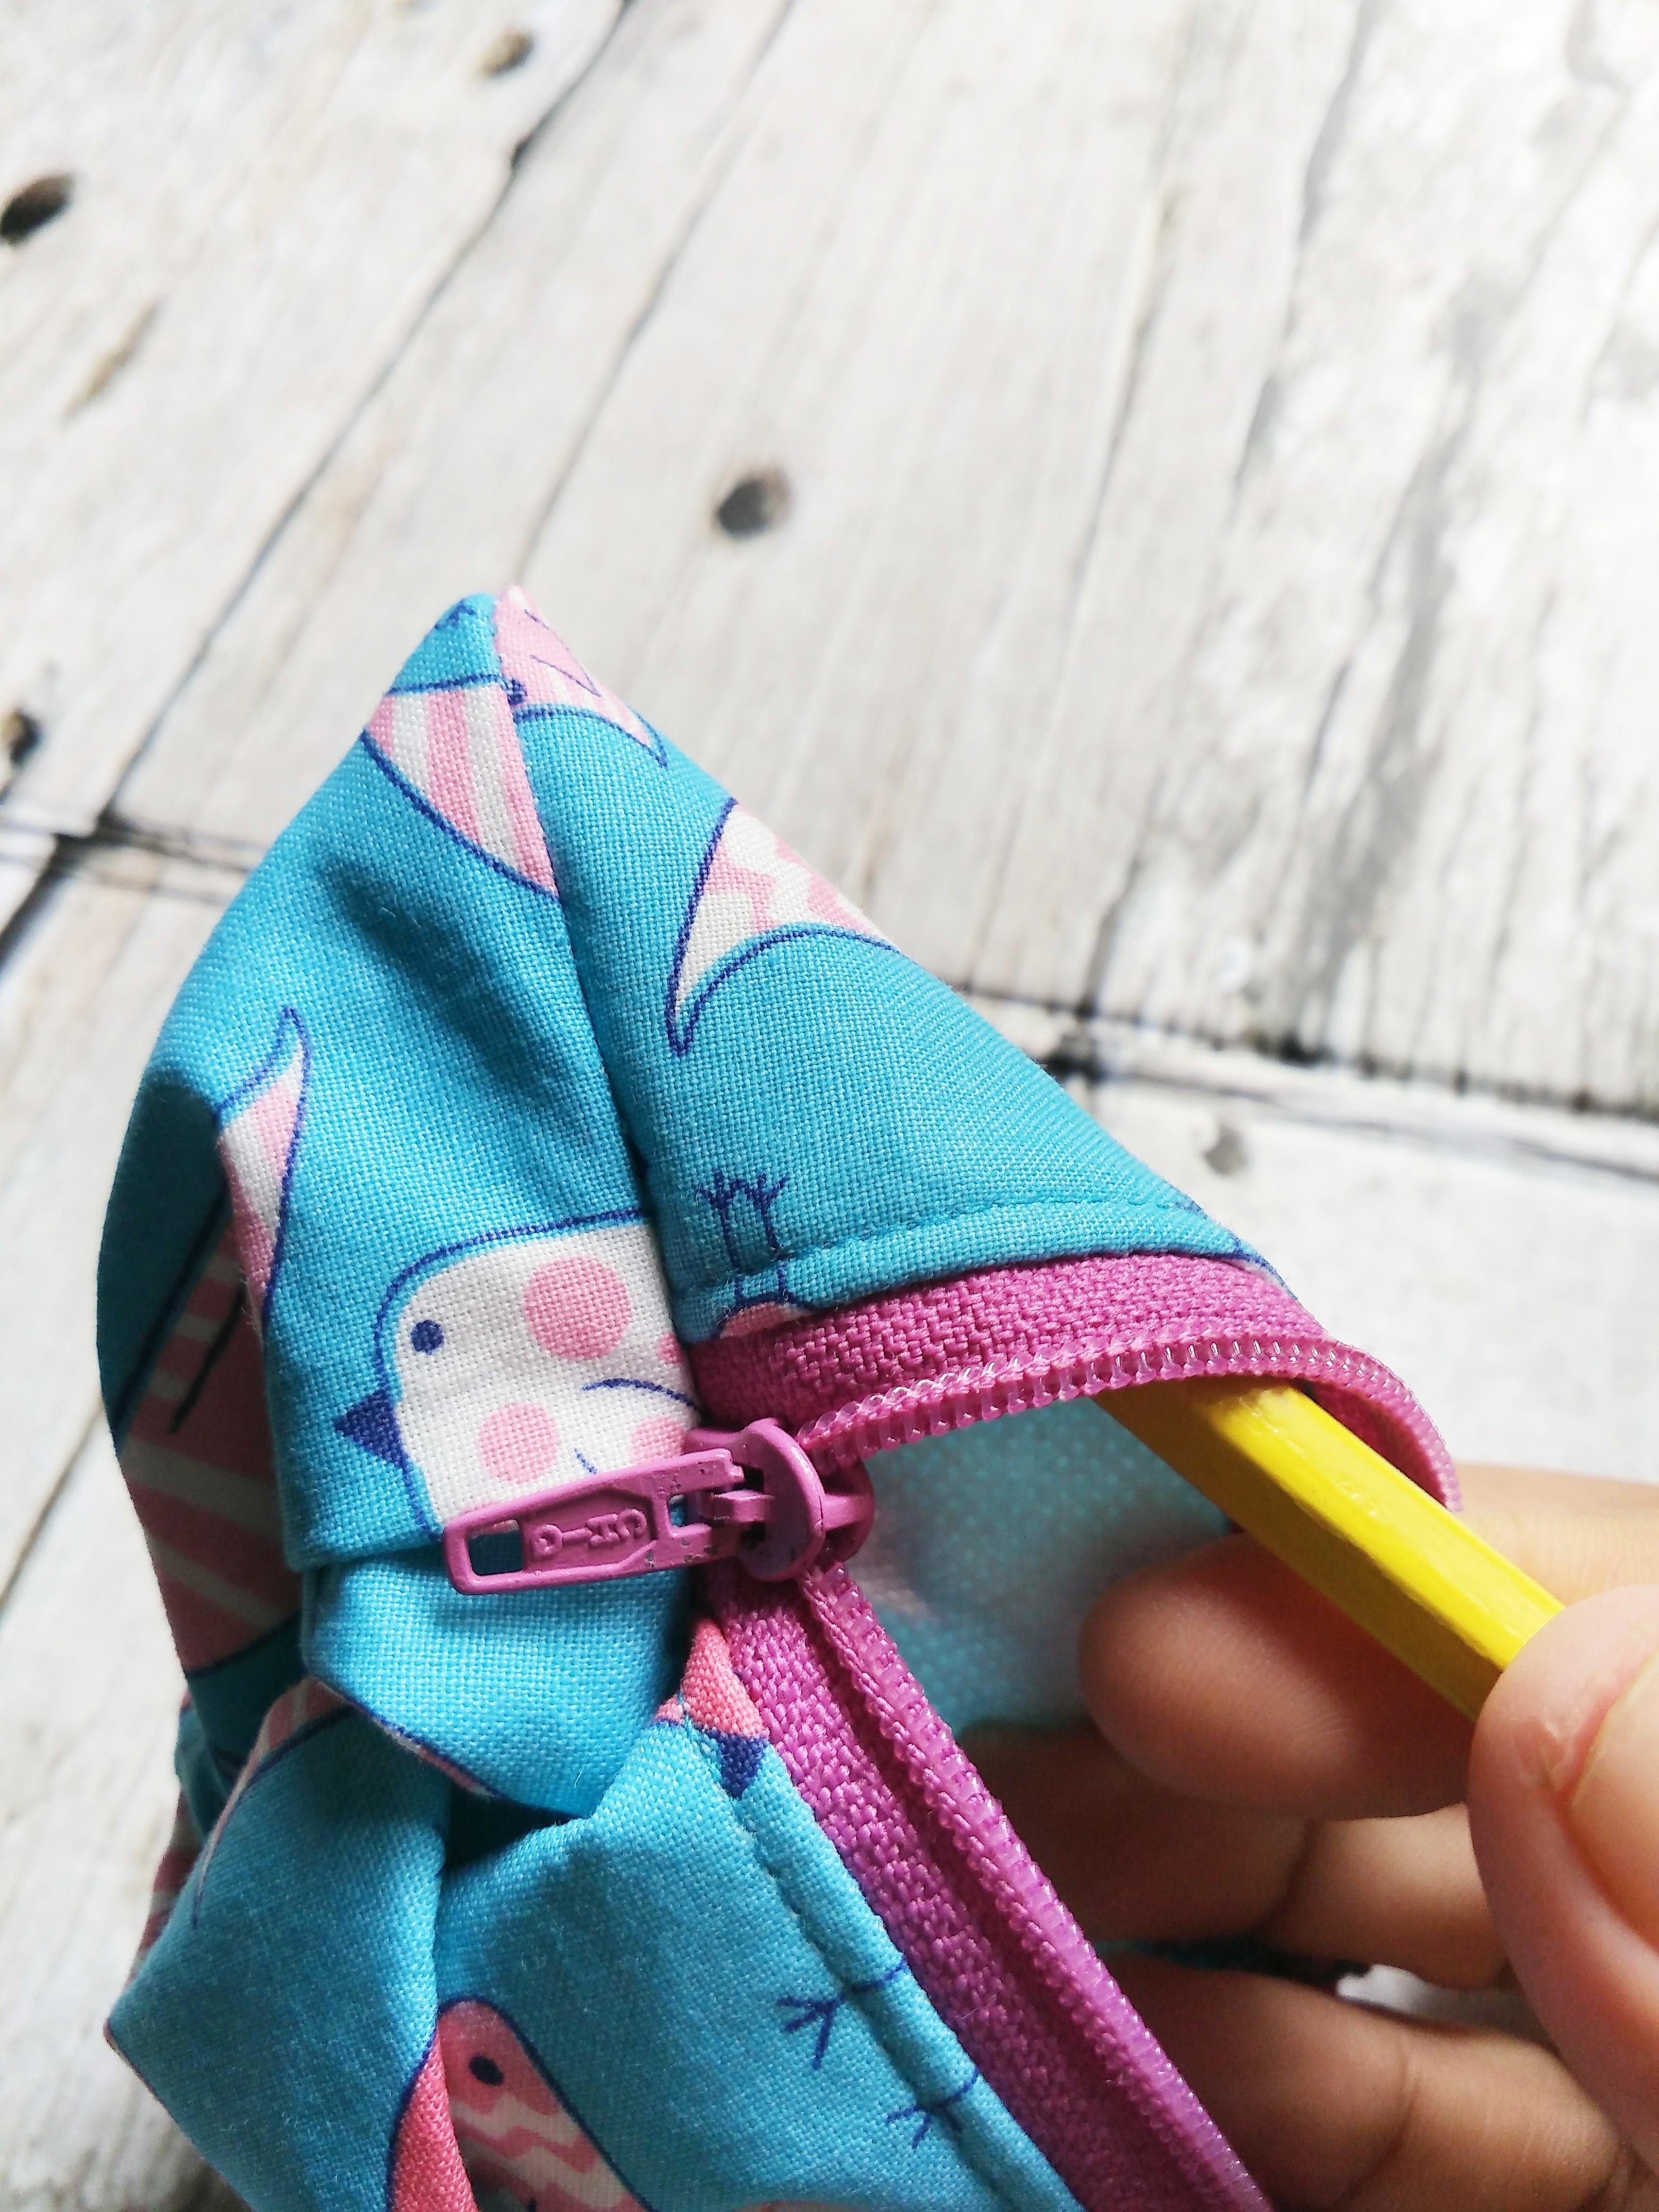
- Attach a key holder if any.
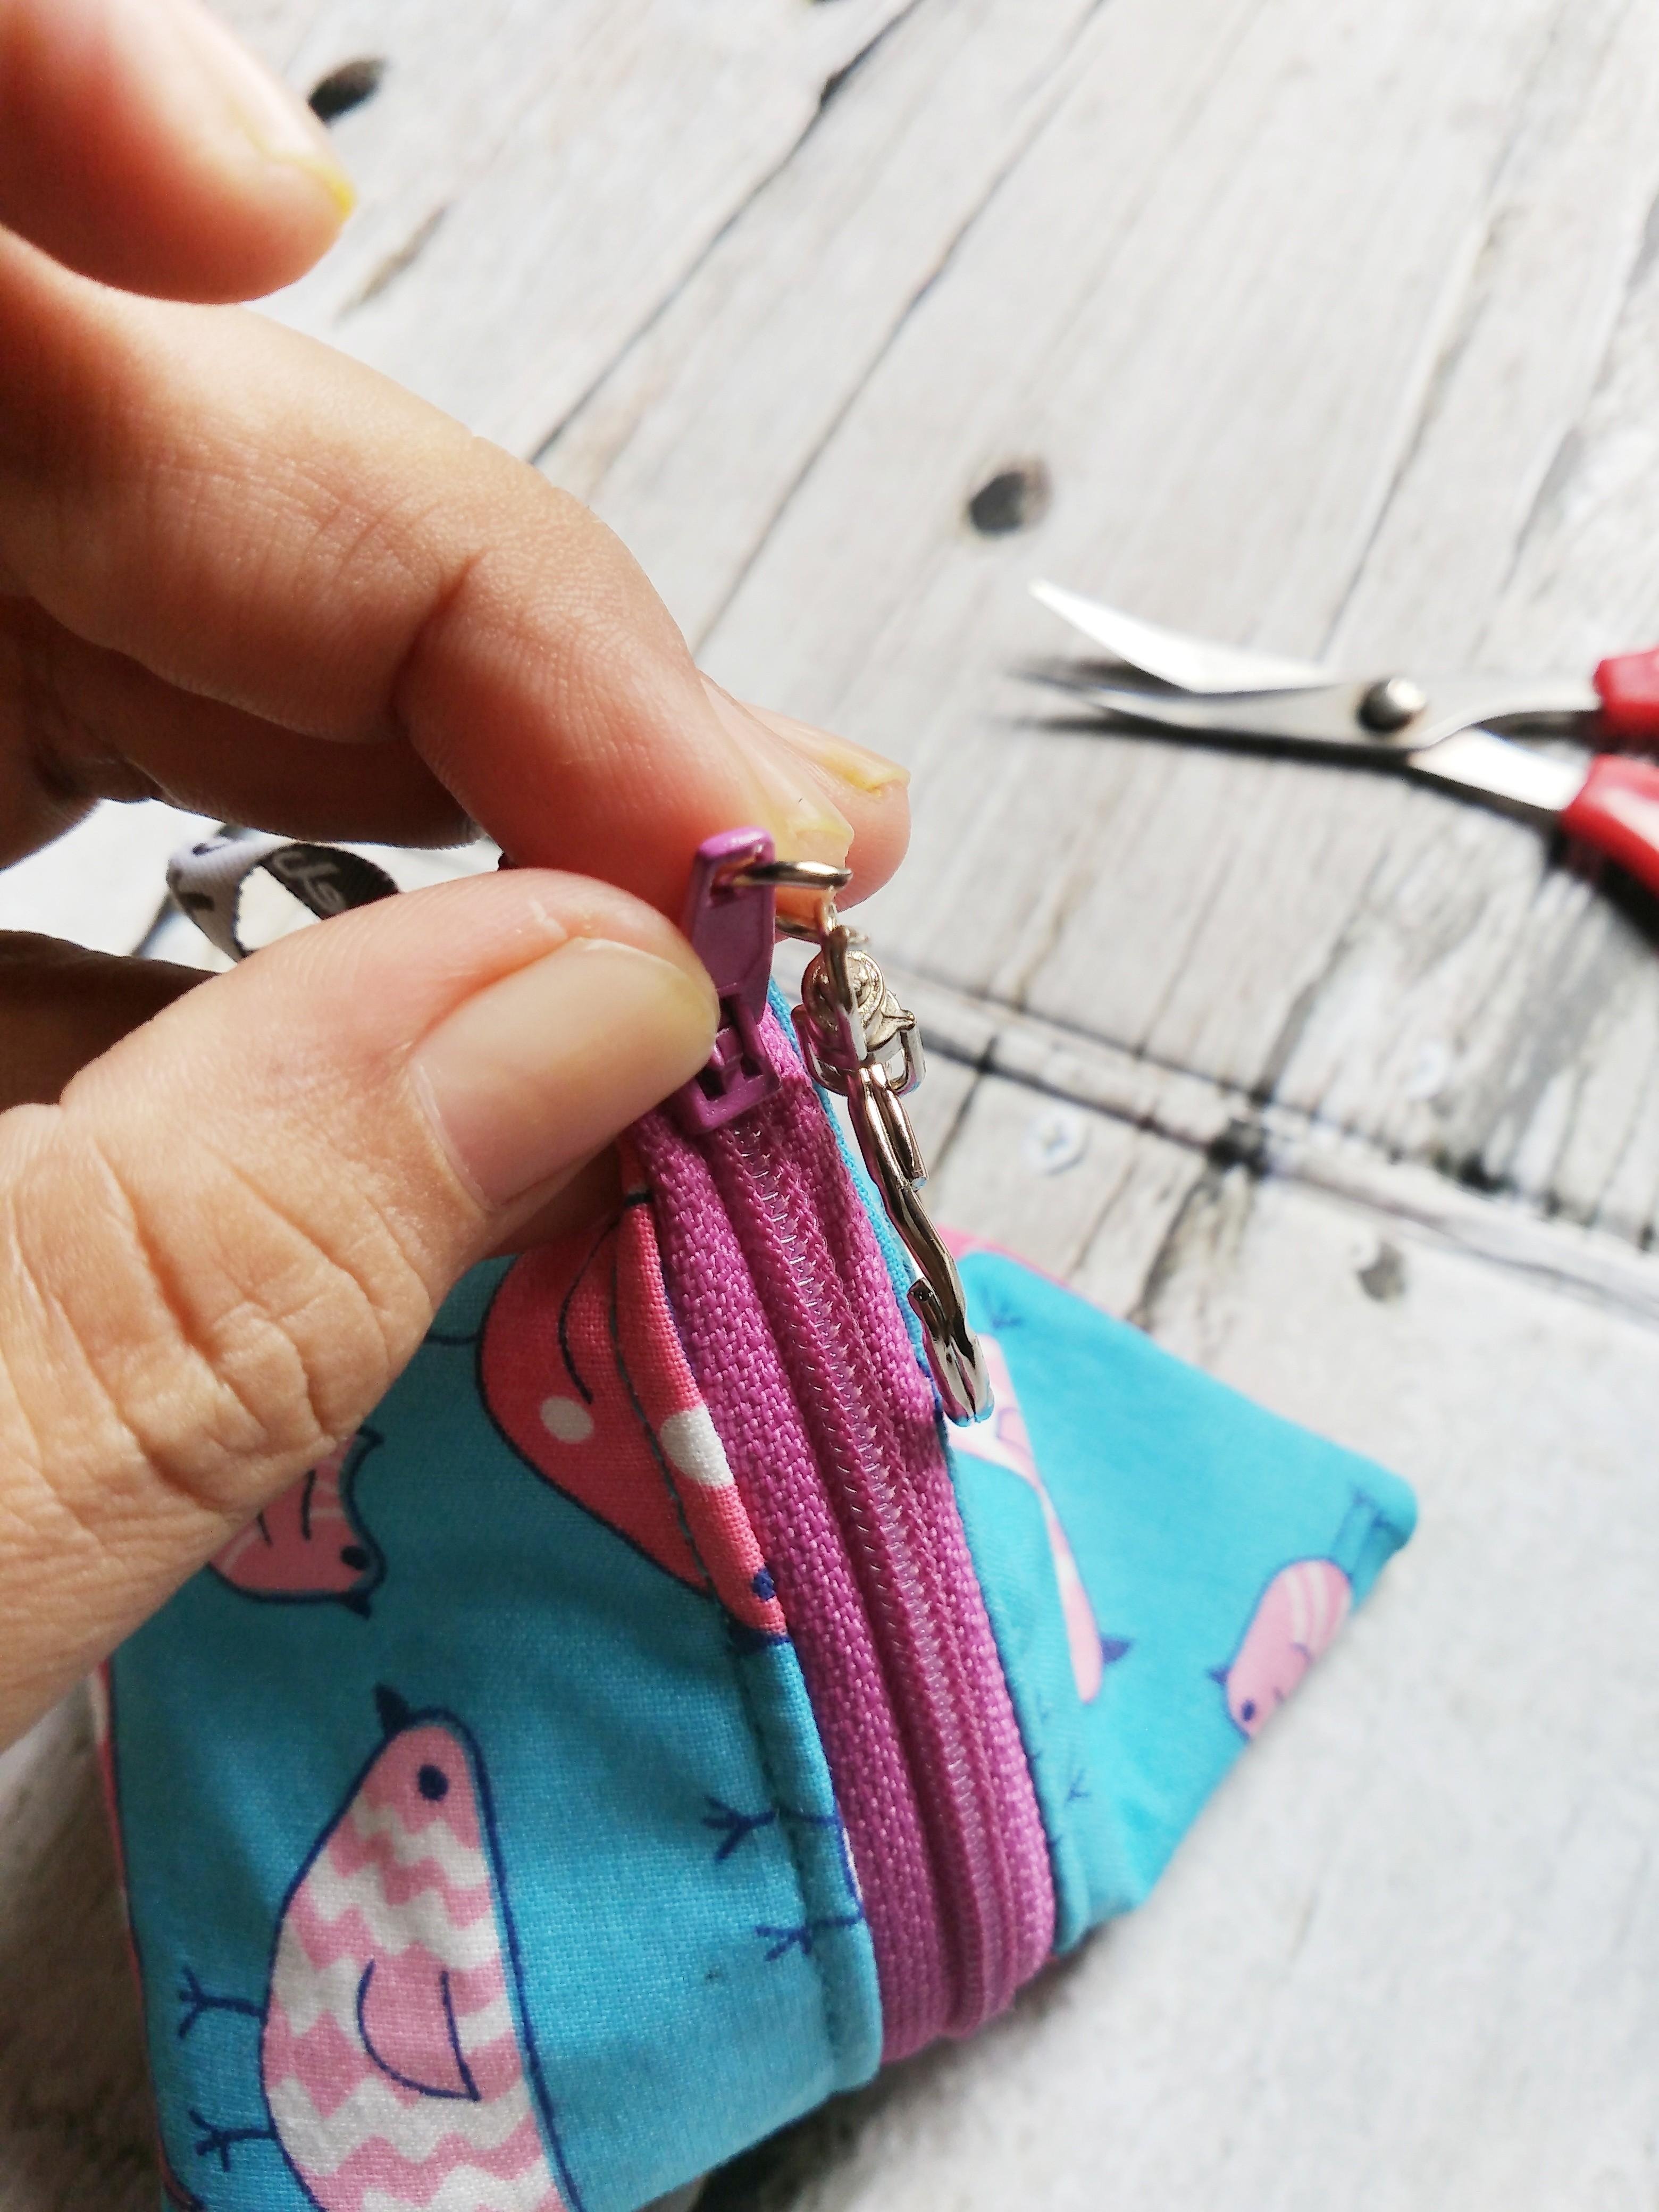
Voila! your cute pouch is now done. This project is perfect for gifts.
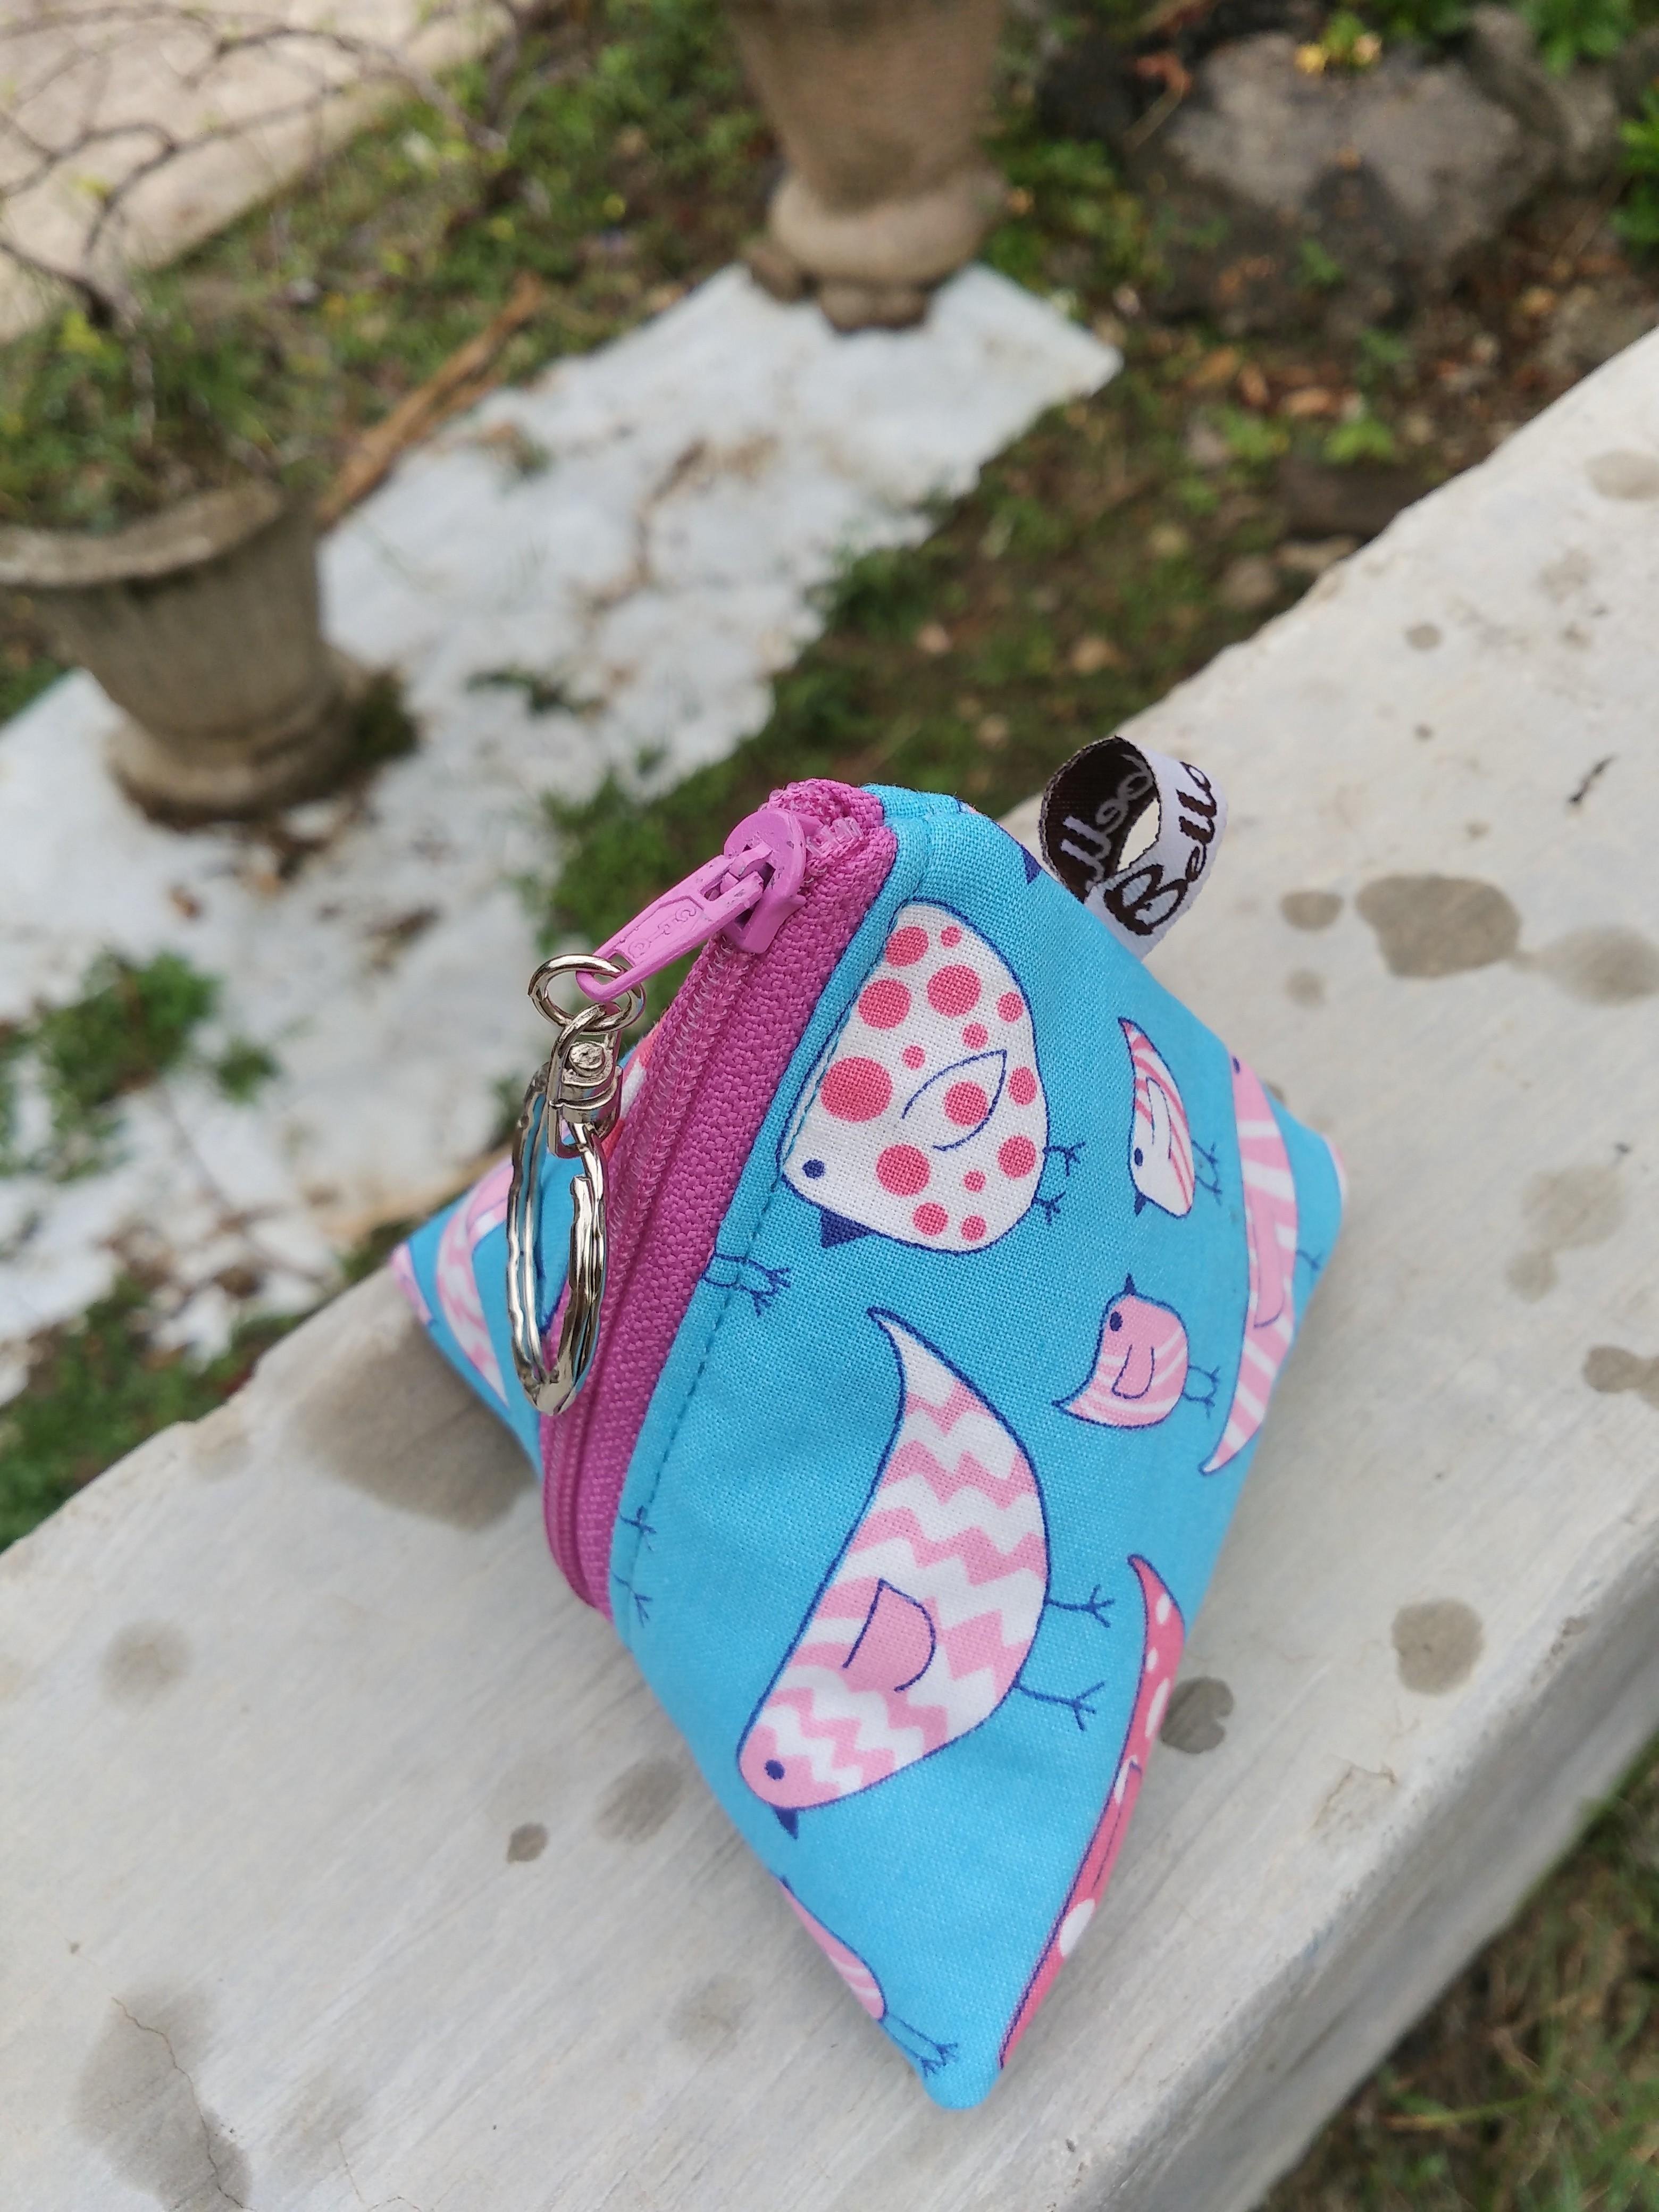
Last year I made like 30 pouches of this kind to give to my daughter’s friends as a gift for kindergaten farewell.
[Indonesian]
Horee... hari ini saya seneng banget karena bisa berbagi tutorial sederhana membuat dompet bentuk piramid. Dompet ini bisa dipakai untuk menyimpan uang koin, alat make up, atau beberapa alat jahit yang kecil. Cara membuatnya gampang banget. Yuk, kita mulai.
Bahan:
- 2 lembar kain ukuran 12x12cm
- 2 lembar pelapis (kain keras) ukuran 12x12cm
- 1 rits
- 1 gantungan kunci (kalau ada)
- 1 label (kalau ada)
Cara membuat:
- Setrika pelapis pada bagian jelek kain.
- Letakkan bagian kain yang jelek berhadapan dengan rits. Jepit jika perlu. Jahit lurus.
- Ulangi untuk sisi satunya.
- Tarik kain menjauhi rits lalu jahit tindas kedua sisi.
- Buka rits setengah.
- Satukan bagian bagus kain.
- Selipkan label di sini jika ada.
- Jahit lurus di kedua sisi ini
- Hasilnya seperti ini
- Letakkan salah satu sisi pouch pada sisi yang ada ritsnya
- Jahit lurus.
- Potong sisa rits.
- Jahit zig zag semua sisi agar kain ngga terburai
- Balik
- Rapikan sudut –sudutnya memakai pensil atau sumpit
- Sematkan gantungan kunci kalau ada.
Dompetnya sudah jadi....Cocok banget untuk hadiah.
Tahun lalu saya bikin sekitar 30 buah untuk dikasihkan ke teman-teman anak saya sebagai bingkisan perpisahan TK.
