Hello Steemians, winter si coming, Chrismas is behind the door and some of us have not even noticed it because of the missing snow, lots of work and duties. We should slow down now and start to prepare for this magical atmosphere. We can start for efample with creating Chrismas cards.
I prepared for you easy tutorial suitable for beginners for making two kinds of cards. One by using paper punches and another by using watercolors.
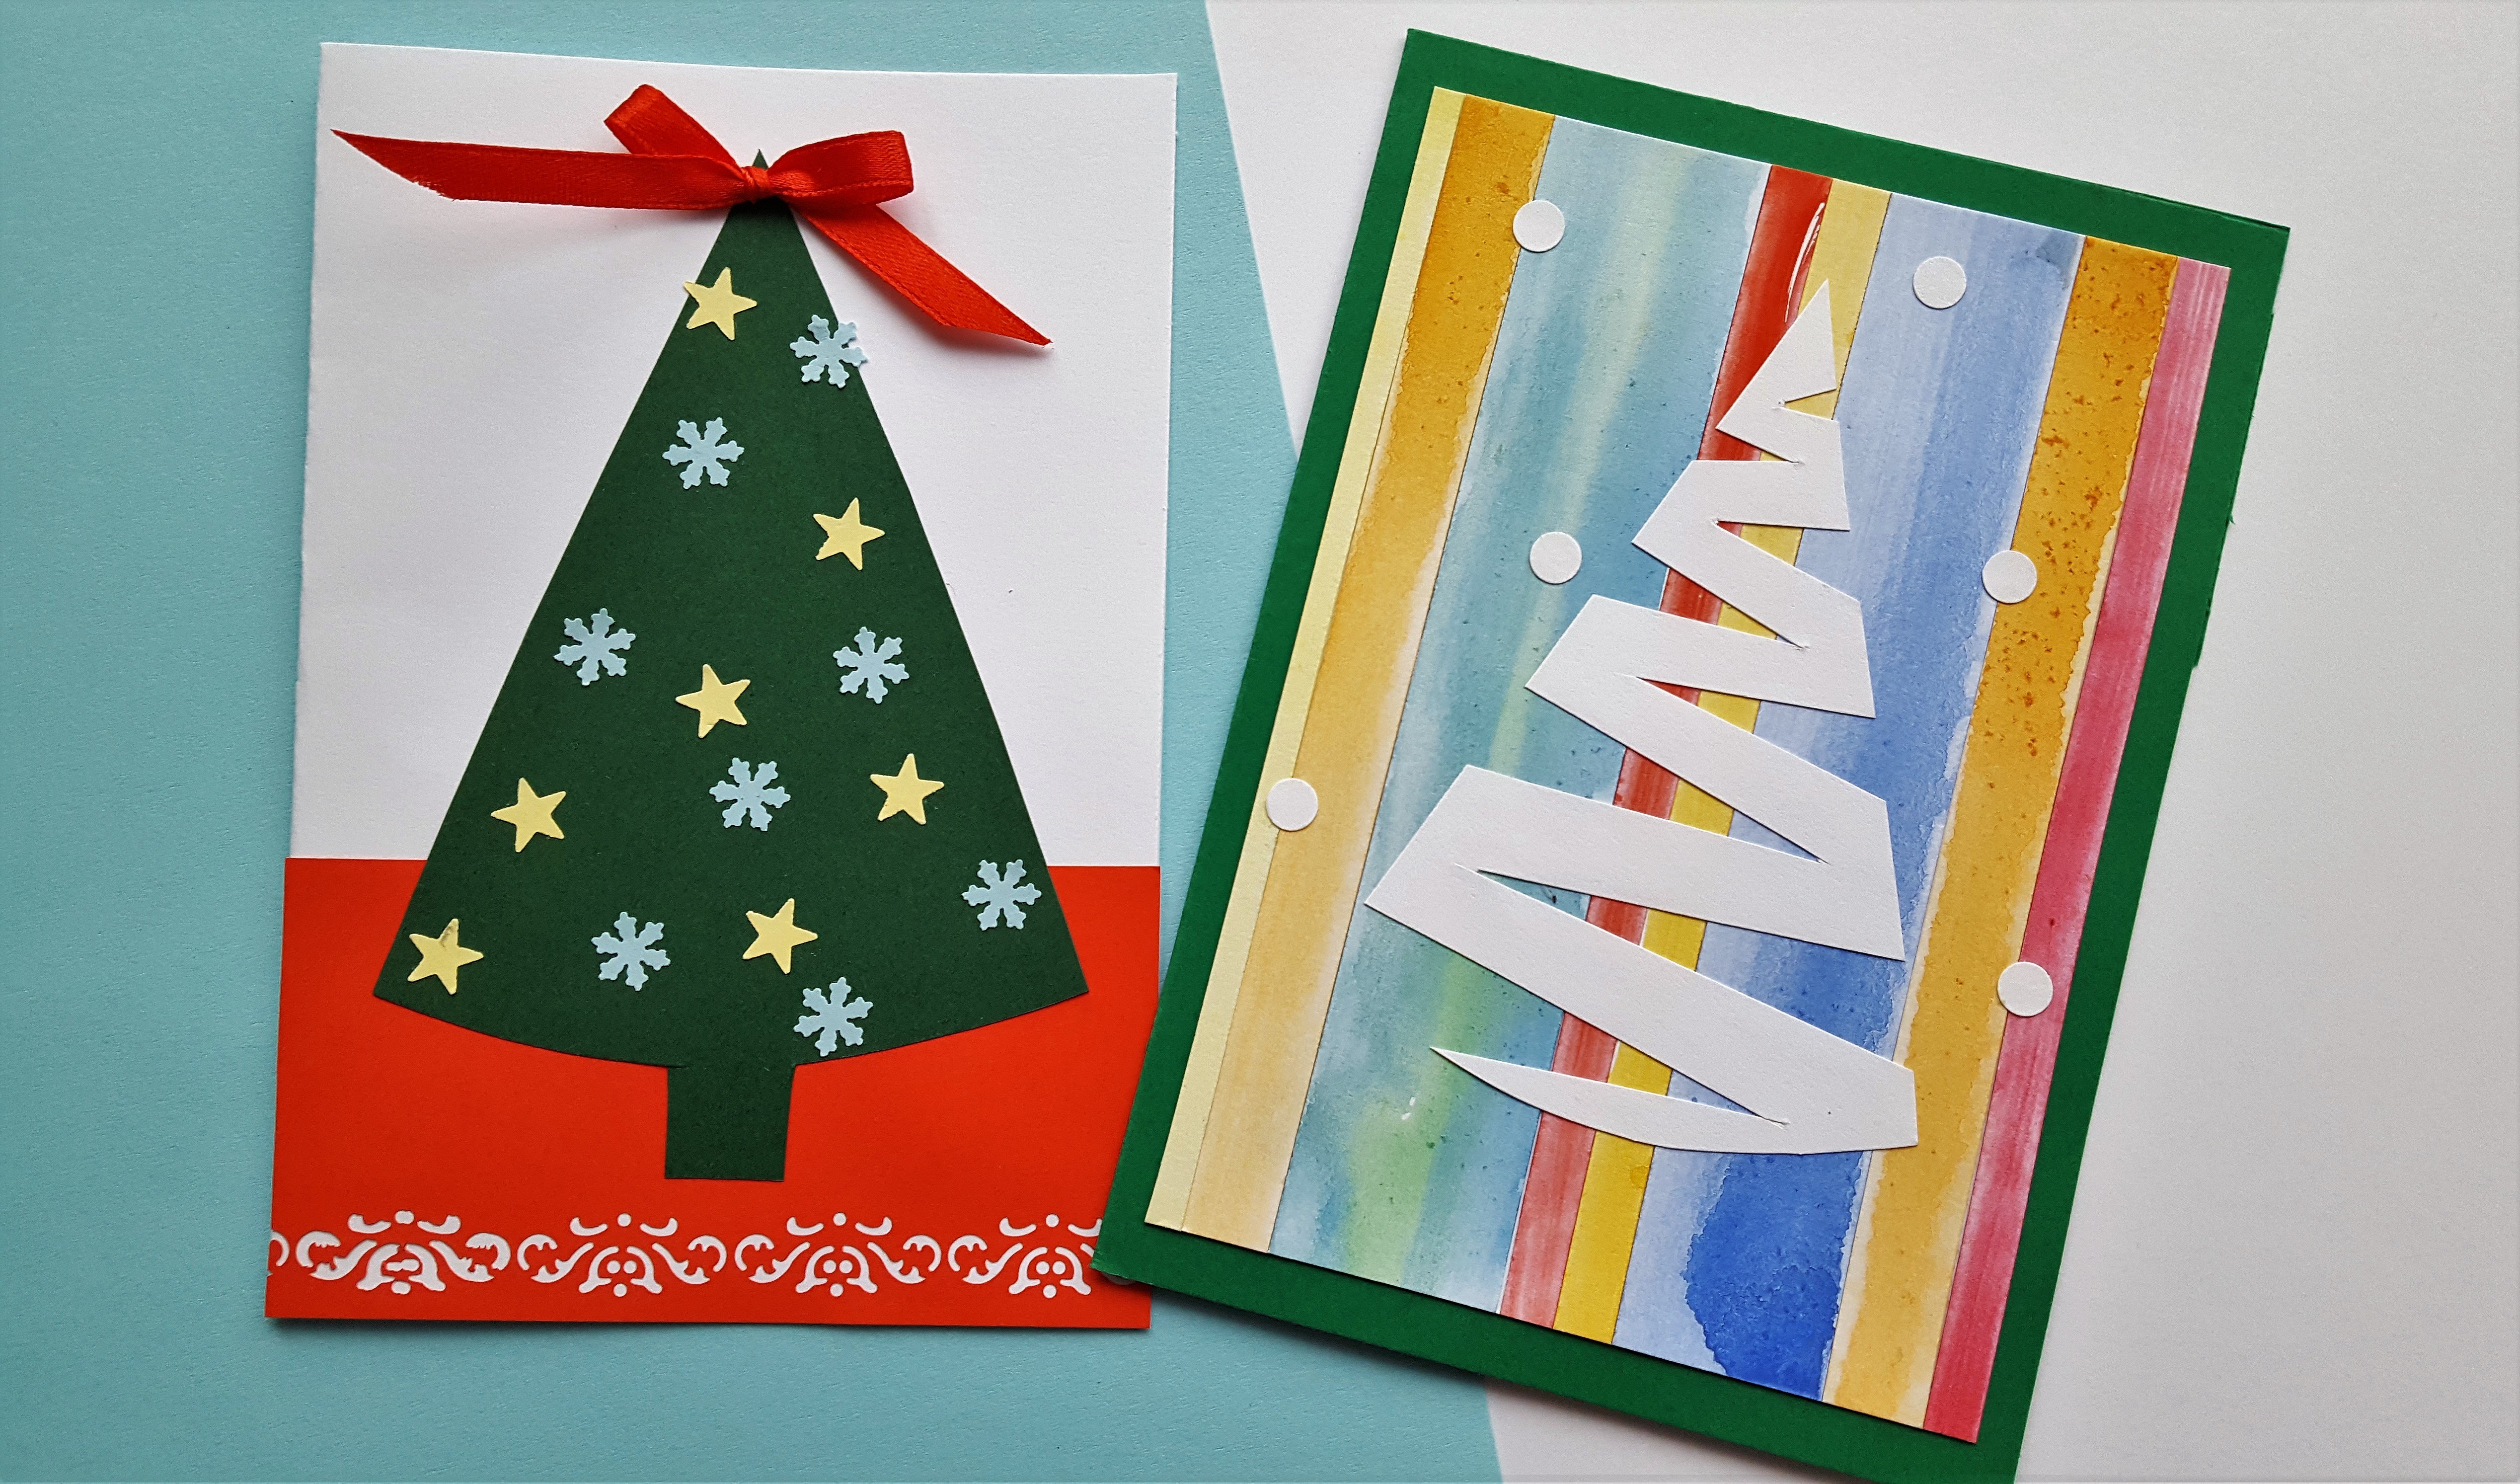
Card #1
For this card we will need:
- A5 white and green/red hard paper
- colored papers
- punches - star / snowflake / heart / round
- scissors
- narrow red satin ribbon
- pencil
- glue
The process
🔹 First we need to fold the A5 paper. We can use white, green or red. If you want you can use also another color. This is the base for the card. Now we need to make the tree. The best way is to fold a peace of A6 paper and draw a half of the tree, then cut it out.

🔹 Now we can use our pattern on green paper, retrace it and cut it out. The tree should be decorated, so we can use our punches now. If you have heards, dots, snowlakes or other shapes suitable for Chrismas tree you can use them. I used only two shapes and two colors for it.

🔹 It would by quite empty to let only the white paper under the tree, so we can add some colored strip and cut out some pattern here too.

🔹 Now we can stick the strip and the tree on the card. Be sure the card is opening the right way, because it is easy to forgot about it and make a mistake. Stick also those cutted decorations. I use liquid glue for paper and wood and a brush.

🔹Finaly we should add something on the top. Make a small bow and use the same paper glue.

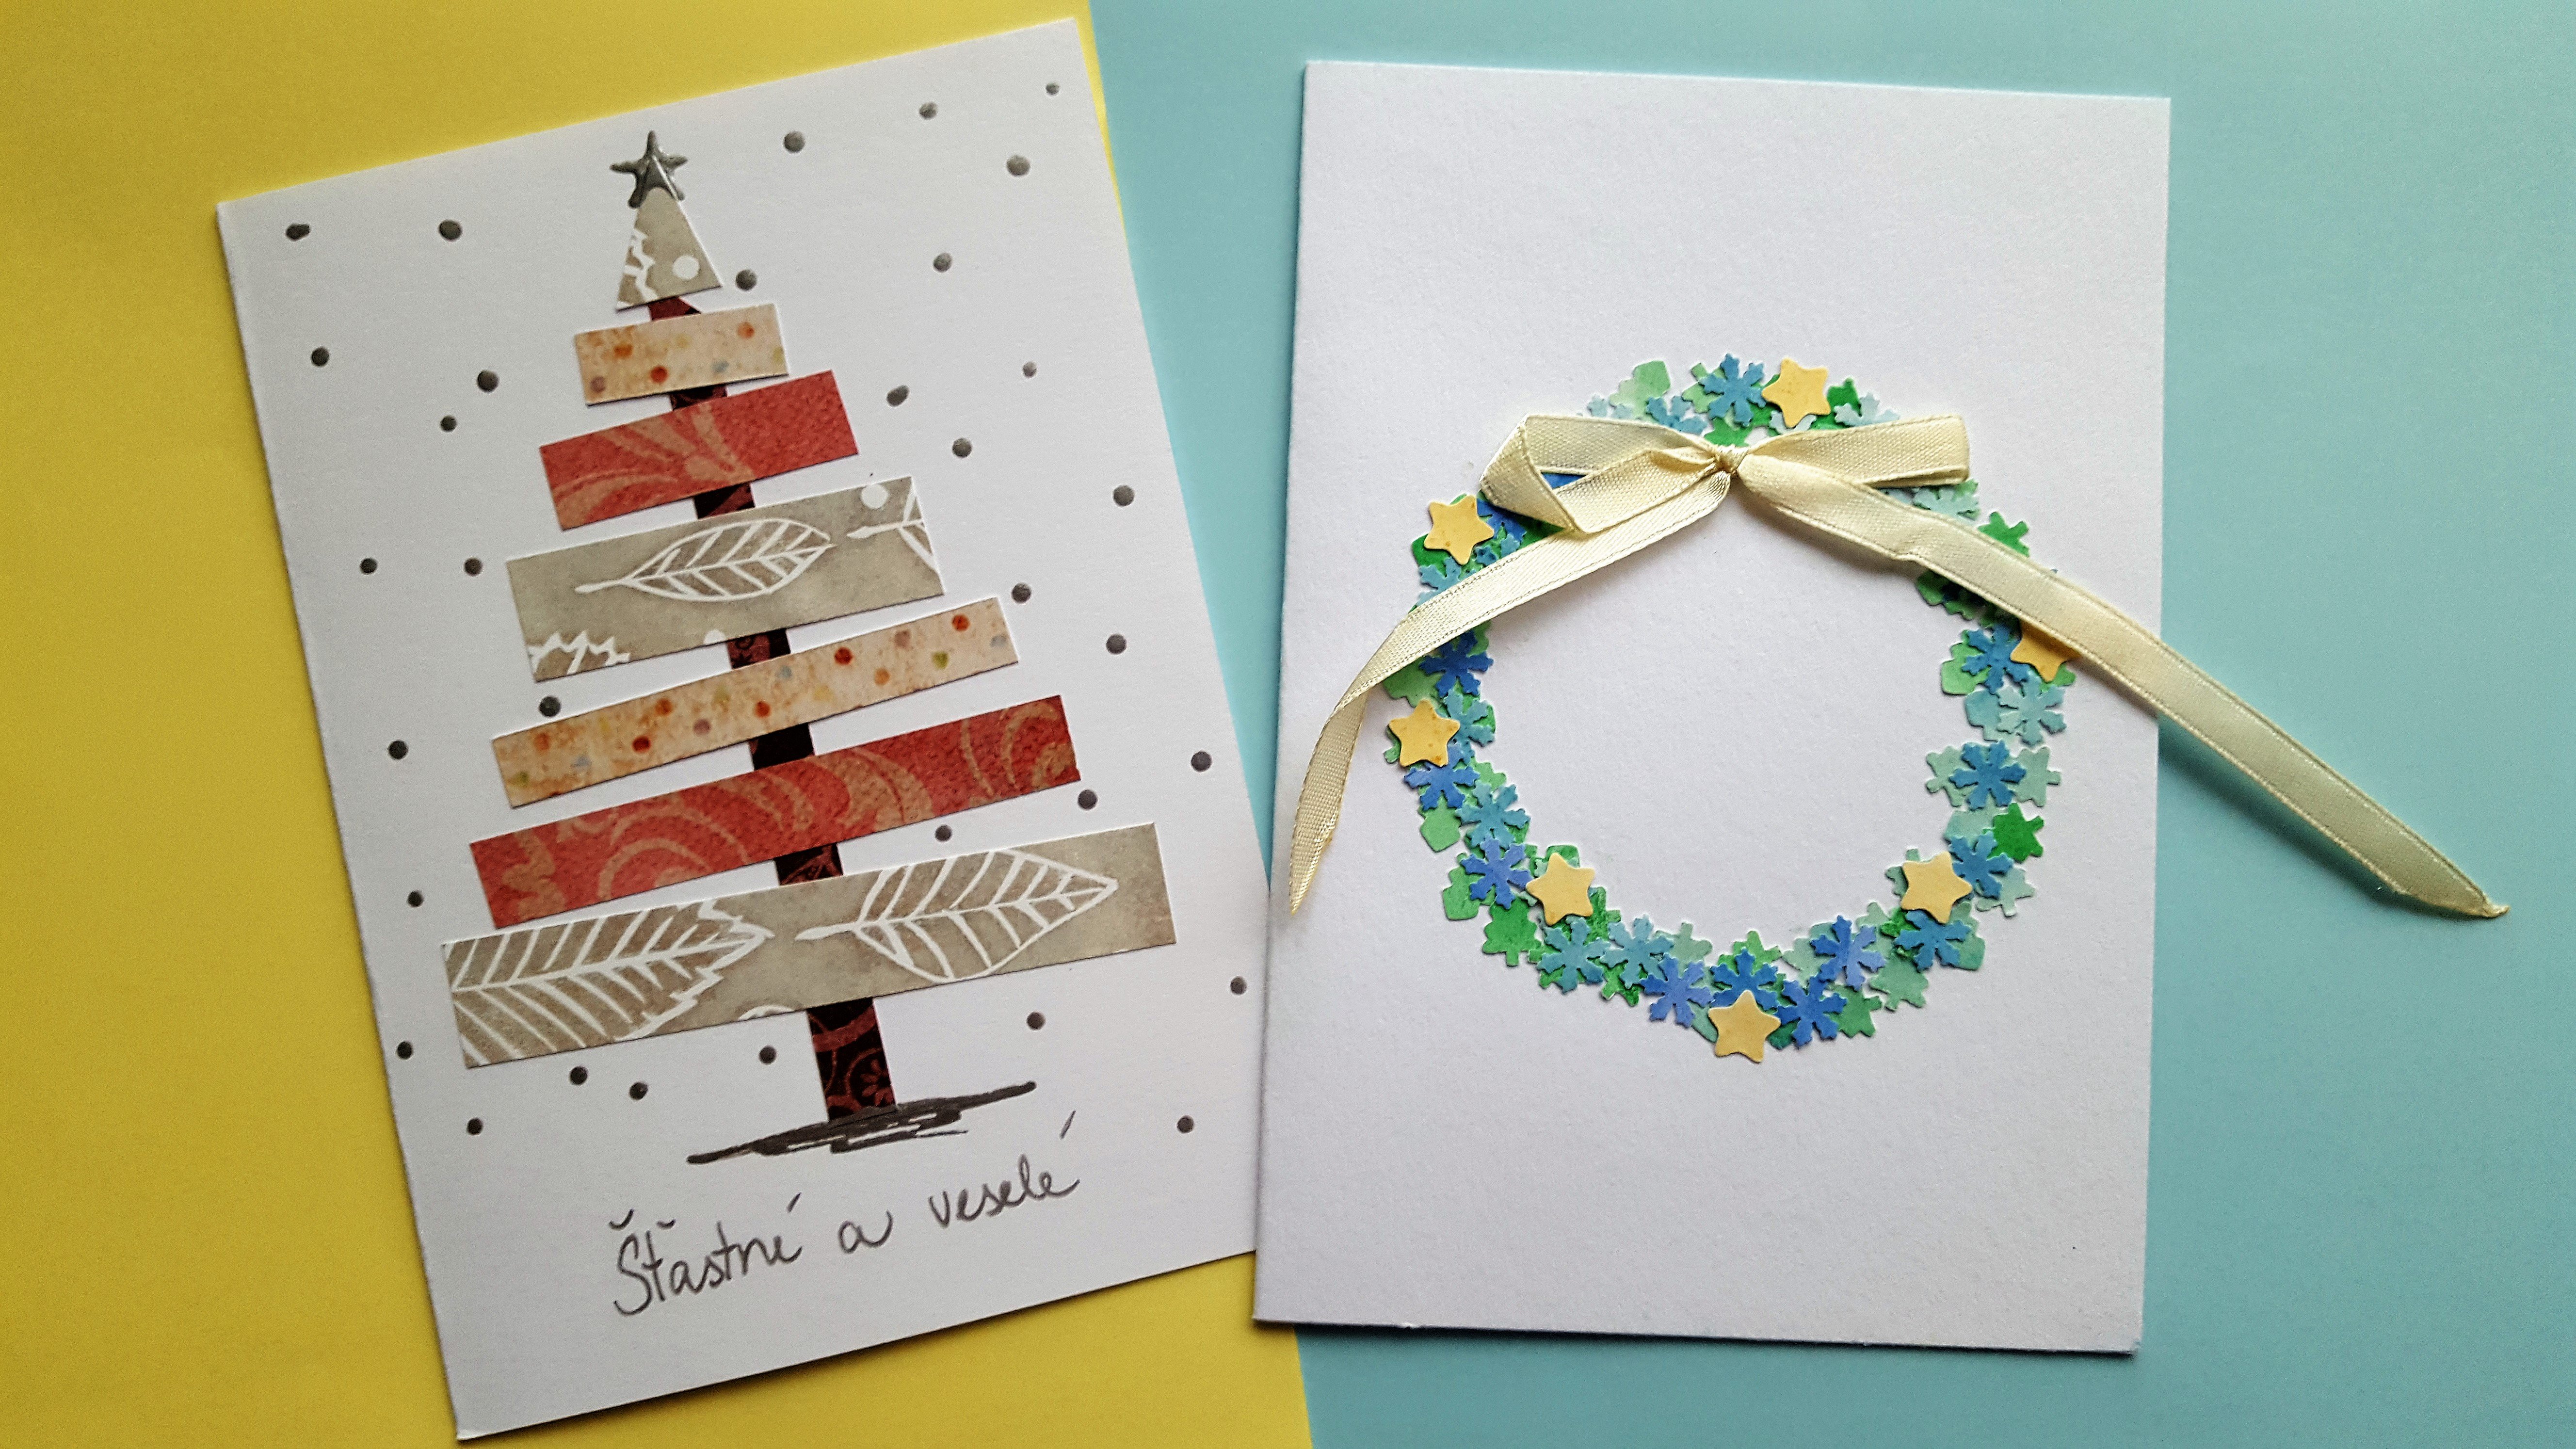
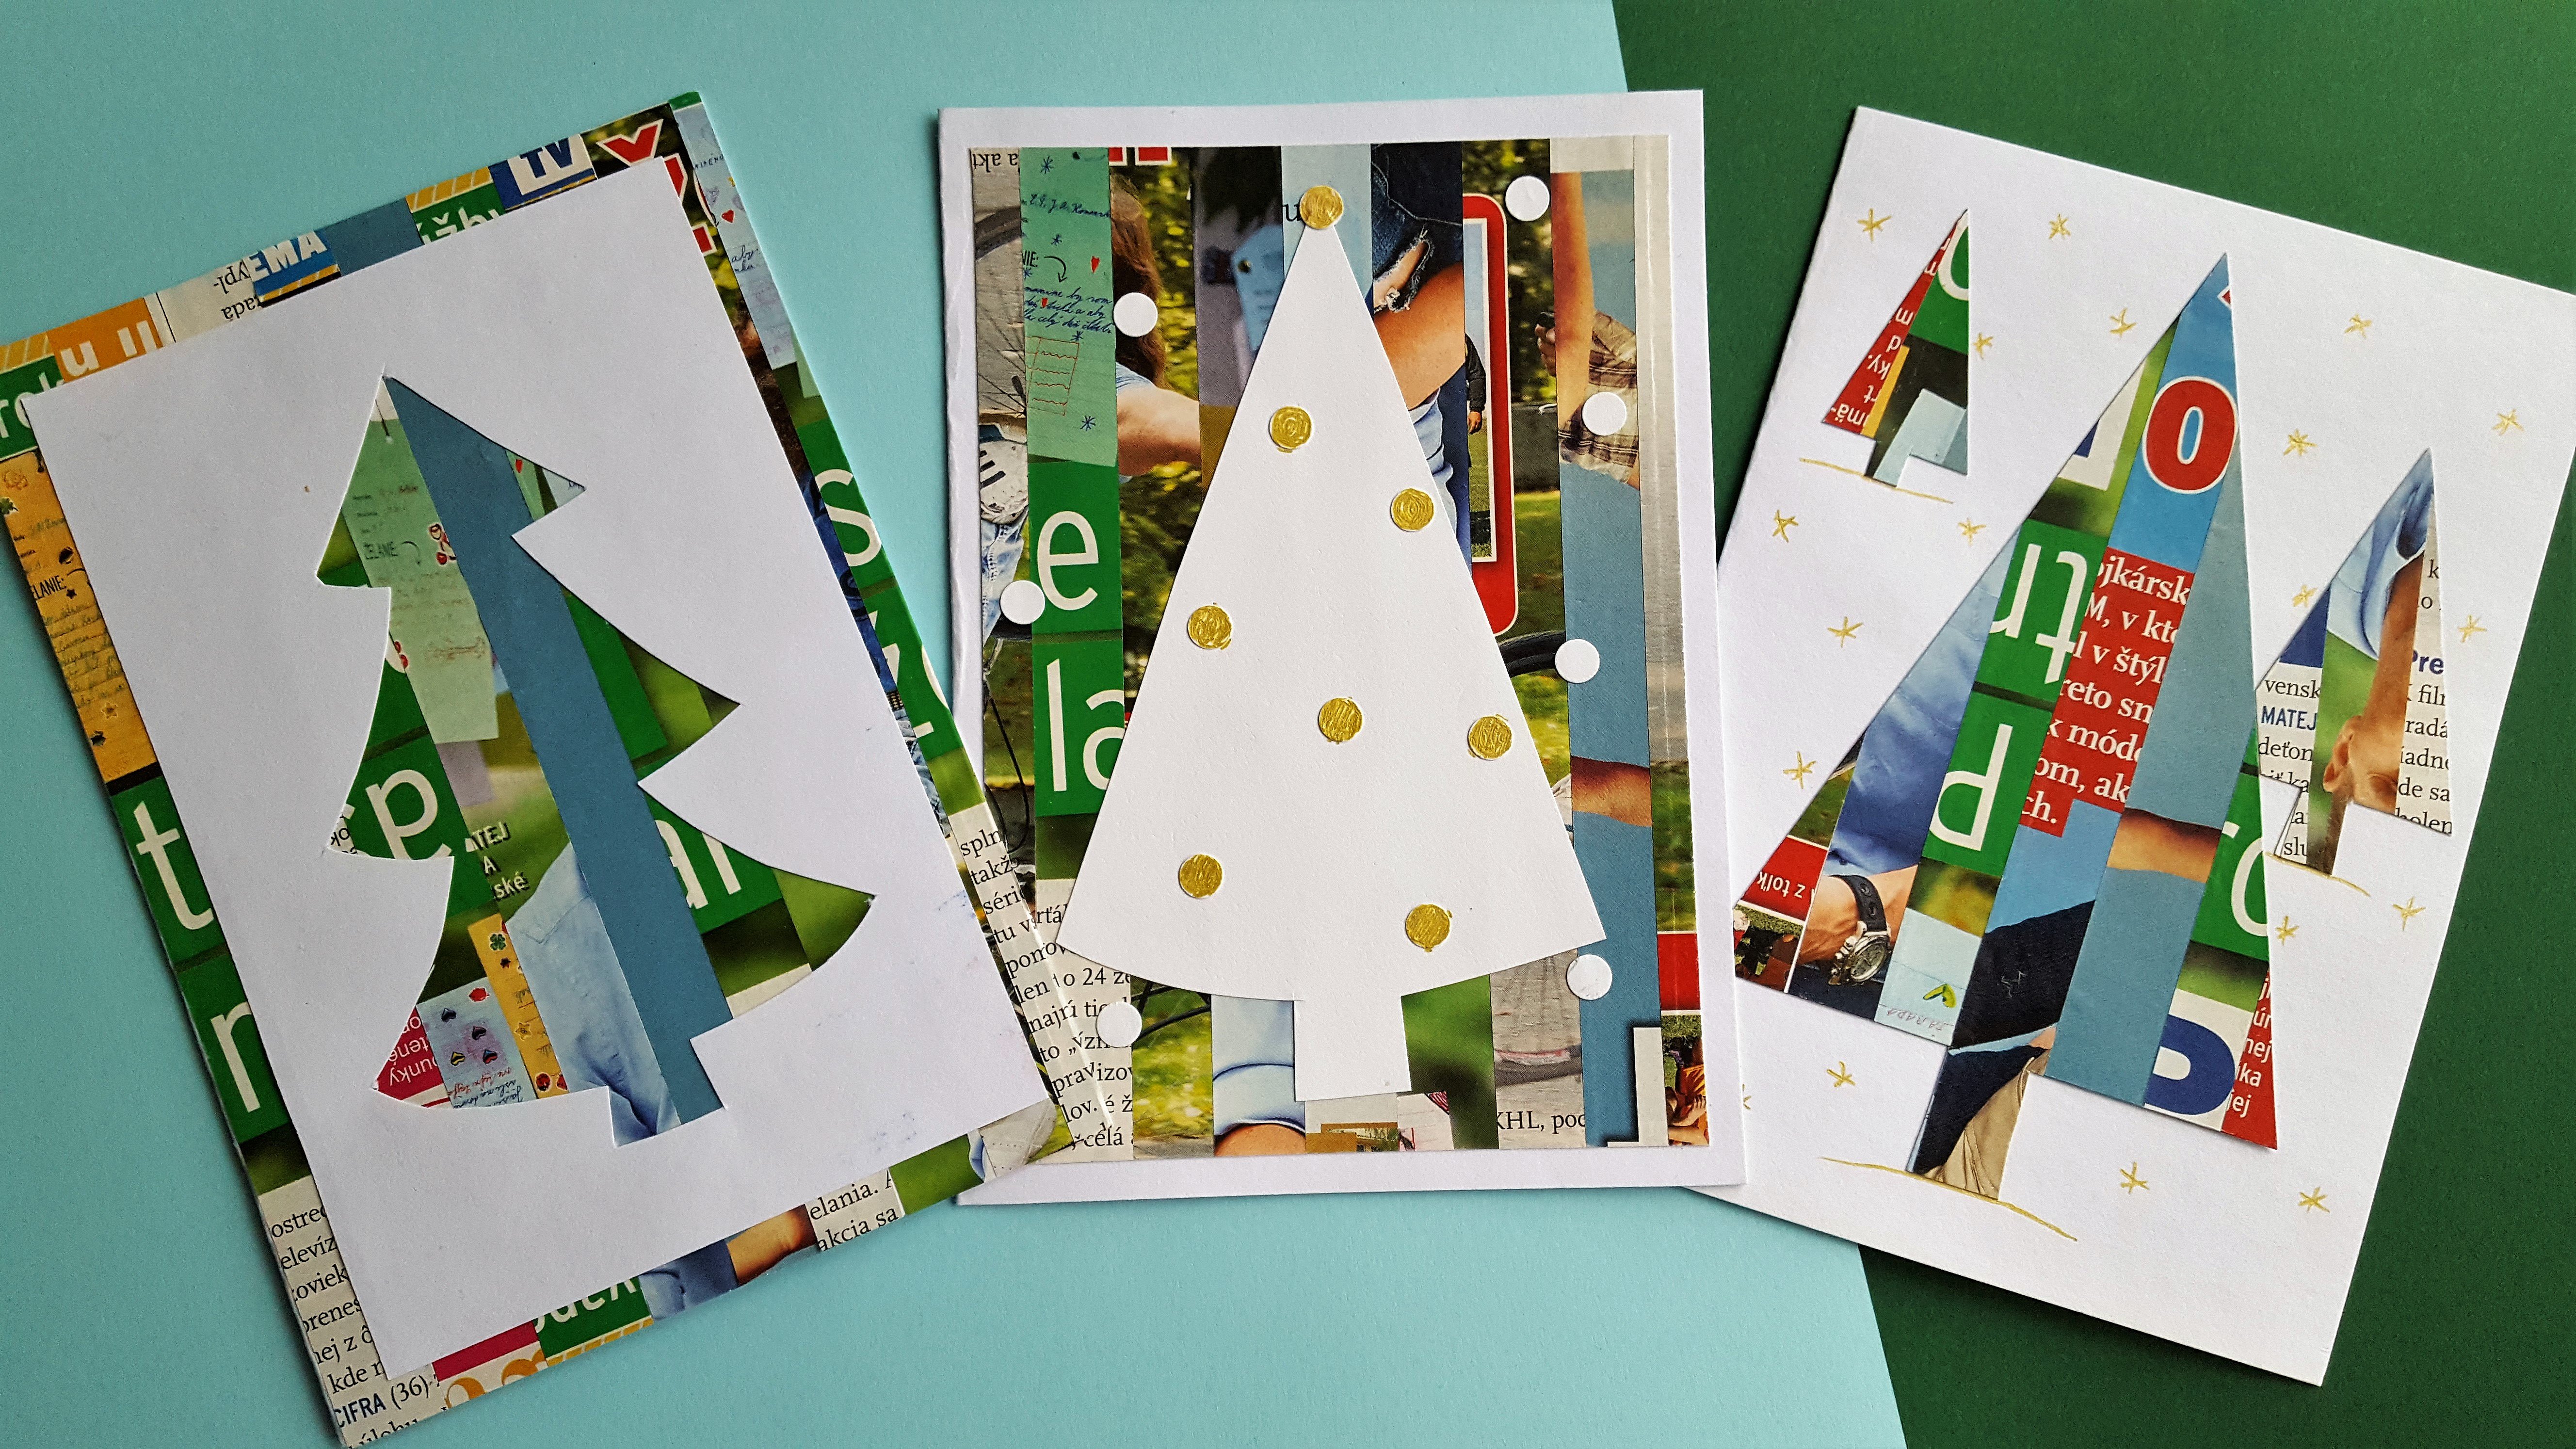
There are lots of possibilities for creating cards with punches, colored paper and ribbons. i have some other ideas for you.
This 3 cards were made by using old magazines.
Card #2
For this card we will need:
- A5 white and green / red hard paper
- watercolors
- winder flat brush
- scissors
- glue
- ruler
- pencil
The process
🔹 The base can be made of fhite or colored hard paper. It is folded A5. Now we should cut a rectangle smaller than A6. We can cut 1cm from both sides so it will be in the middle 5 mm from the base edges.
Then We can cut stipes in a lenght of A6 paper and wide from 0,5 to 2cm. You do not have to measure it. You will then paint this stripes one by one with watercolors. Use 4 max 5 colors. And make only one stroke along the stripe. You can soak each side of the brush in different color. Be sure the brush is wet enough.
🔹 You can prepare more stripes so you can choose the most beautiful ones.

🔹 Now start to stick them one next to another on the cutted A6 paper.

🔹At the end cut off the parts of the stripes over edge.

🔹 Now we need the tree. Use white hard paper A6 and fold it. Draw a triangle with rounded bottom. You can also use the pattern from the first card if you made it.

🔹 Now cut it out and cut also the rest according to the picture. It is quite easy. Start from the top. Cut out bigger and bigger parts. The main rule is to make parallel cuts. You can draw it first if you are not sure.

🔹 Now just stick the watercolored part on the base. Be sure to place it in the middle. Than the tree and you can also cut out snowflakes using round punch. I am sure all of use has it at home. And it is done.

I hope you enjoyed this tutorial and maybe you got some inspiration :)
Thanks for watching!
Follow me on Steemit