Being from a country deeply rooted in traditional beliefs and forms, the source of inspiration for our art mostly comes from our traditional history and origin.
The traditional forms are then linked into our contemporary artwork in such a way that it would add aesthetic value.
Weaving being an integral part of my society is under textiles. Though traditionally done by women, weaving is now done by mostly both male and female.
In this post, I am going to give a step by step post on how to weave a design using paper strips. The two basic elements in paper weaving is weft and warp.
WEFT: These are the horizontal strips.
WARP: These are the vertical strips.
STEP 1
Like every other artwork, having a design is key as it makes your work faster and easier. In creating a design, I was basically thinking of geometry as a concept.
PS. You have to dim your eyes a little bit to see the design.

STEP 2
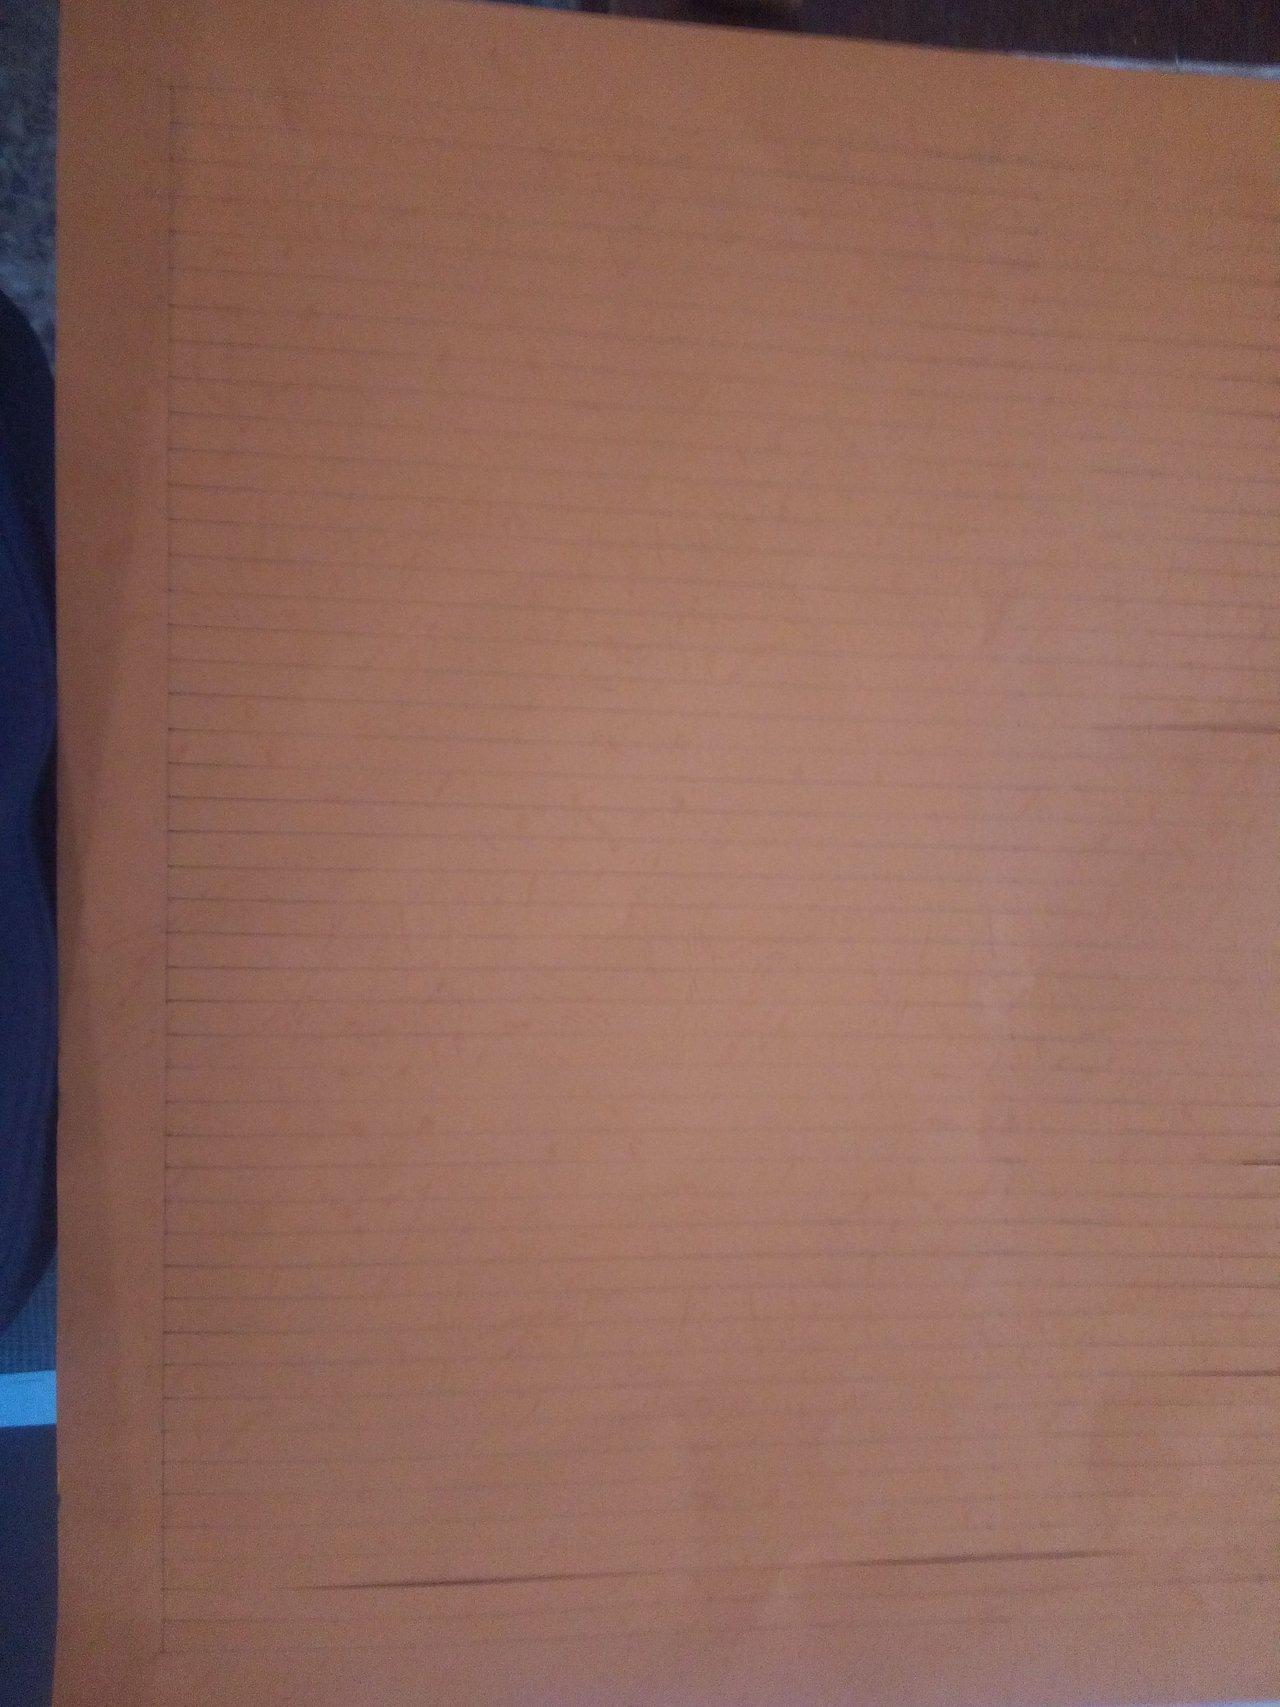
After having a design, the next step is to get two or full coloured cardboards of your choice(depending on your design) and cut them into strips. The size of the strips should be 1cm.. The smaller the strips, the better.
When cutting the warps, a borderline of like 5cm should be left to surround the work. It would also serve as a guideline to mounting.

STEP 3
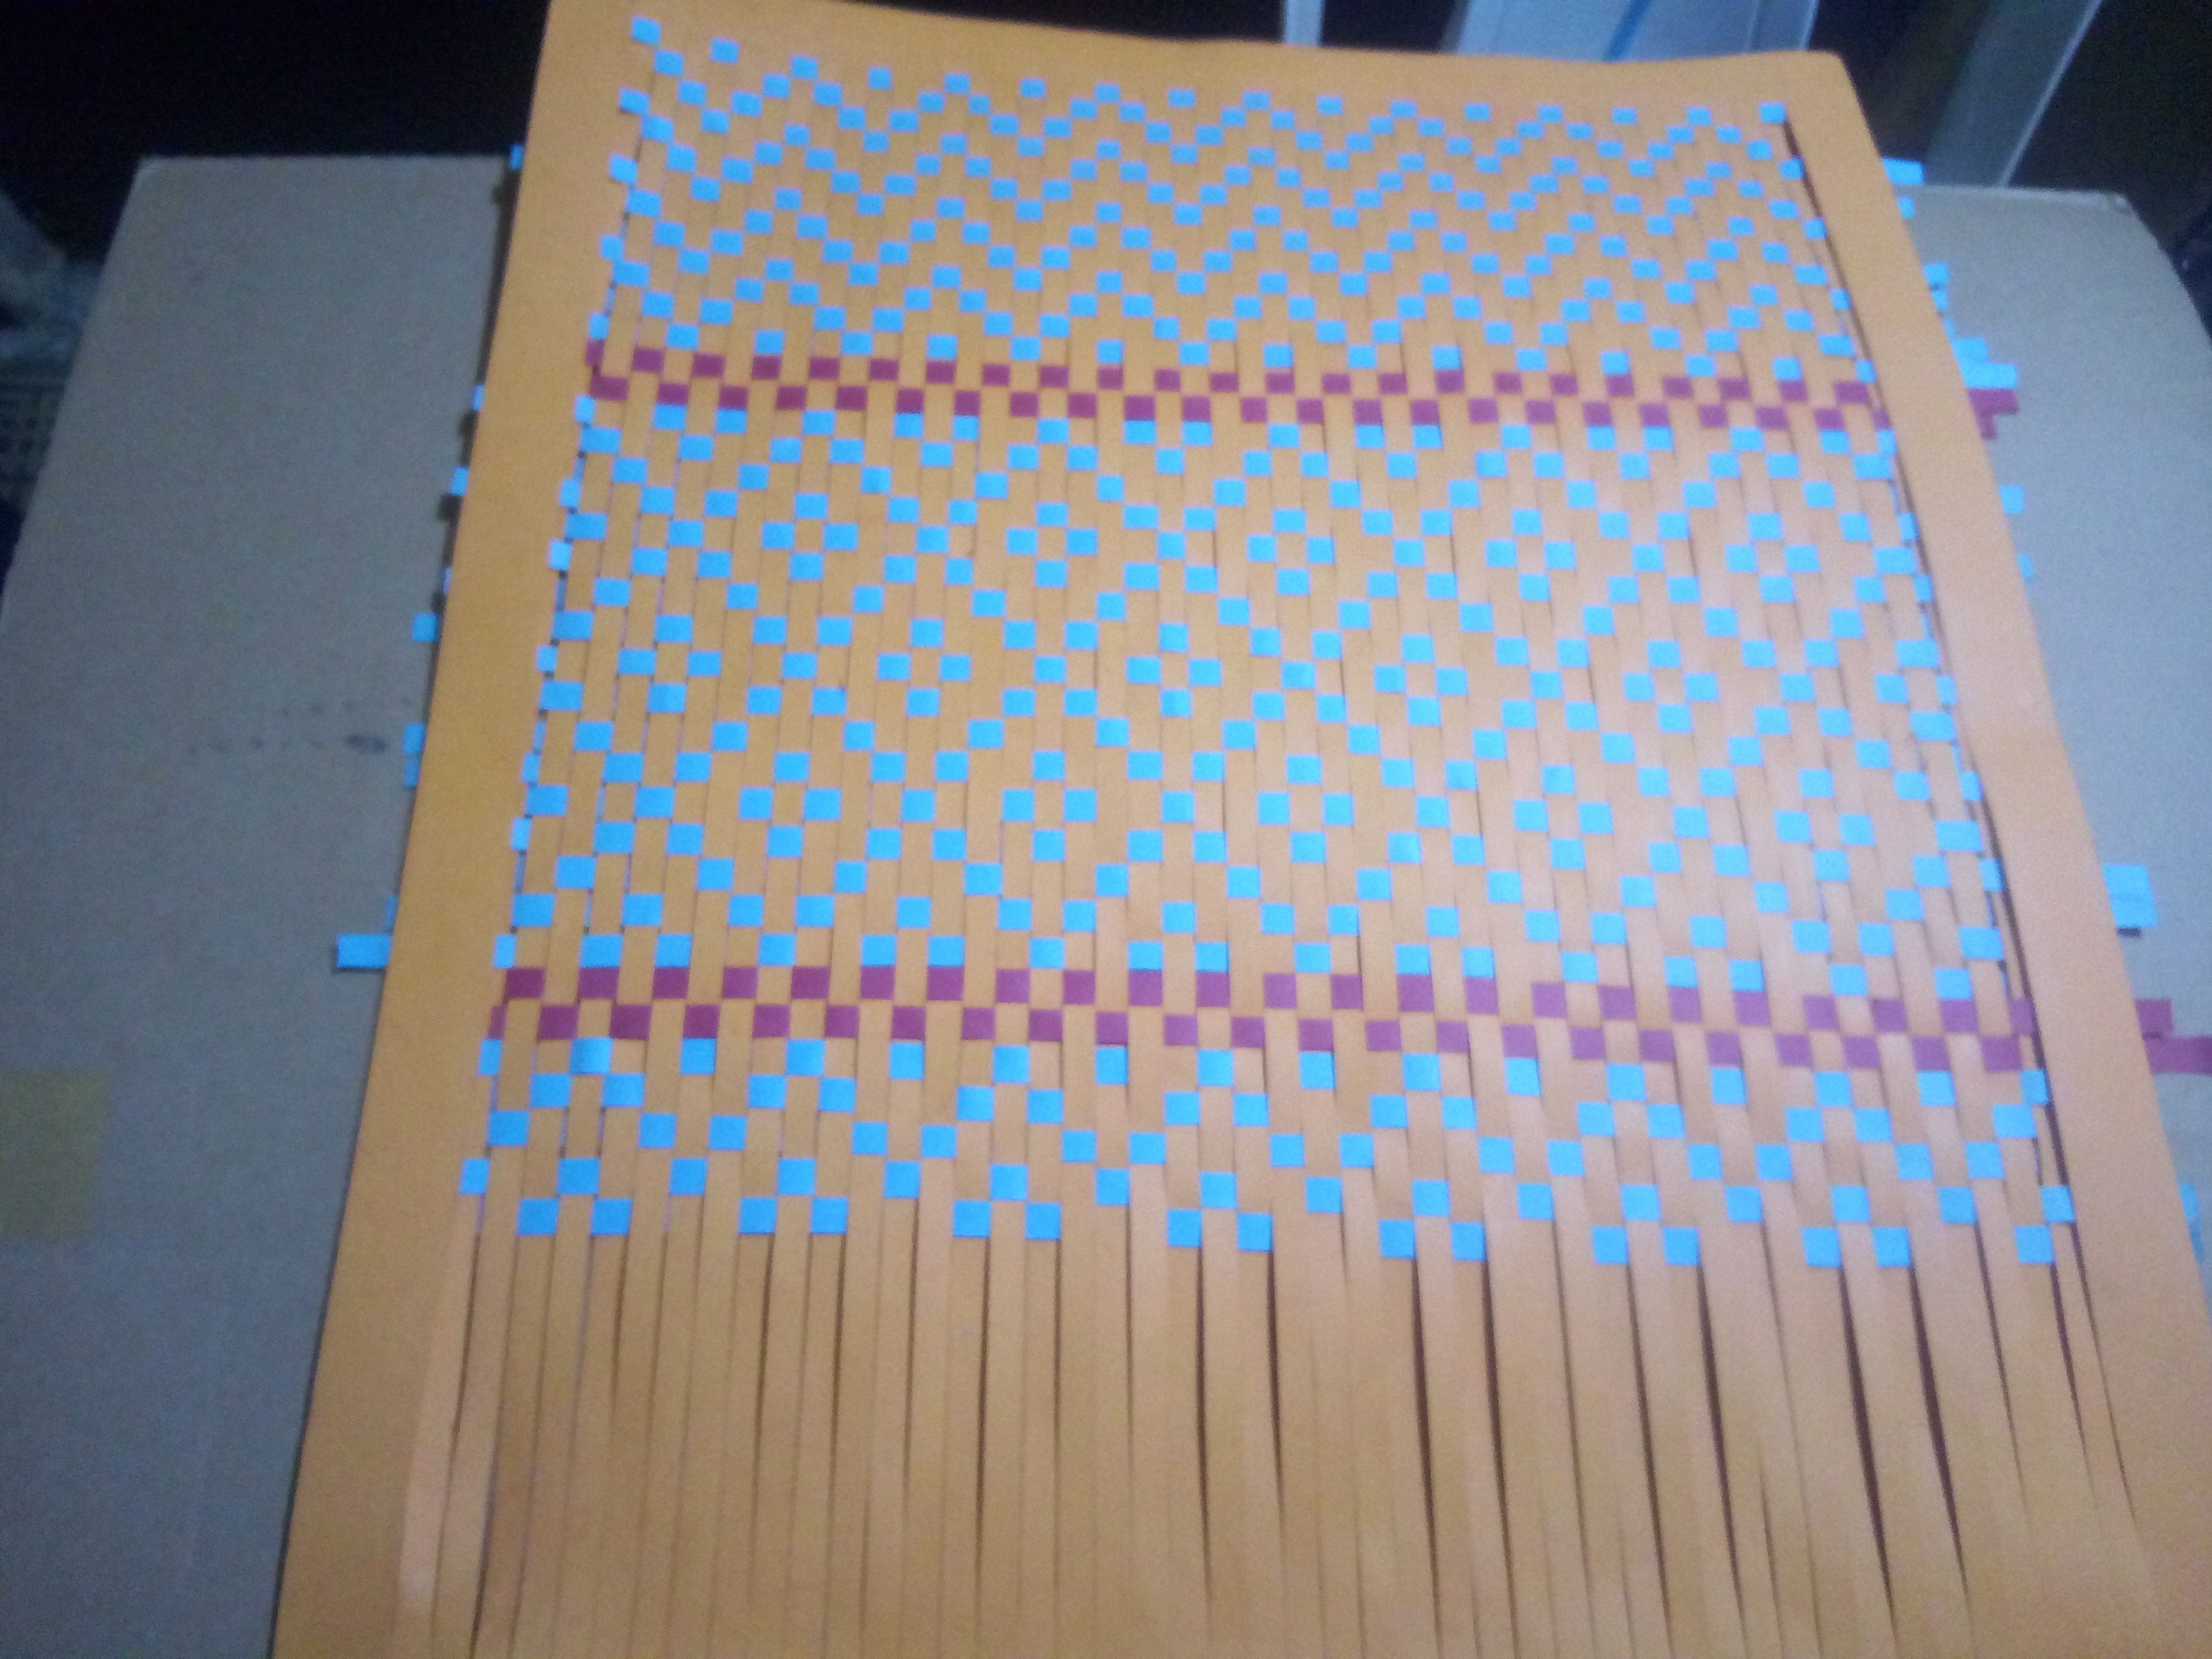
After doing this this, the next step is to start concocting your warp and warp to create the original design you have done on paper.
In doing these, you must be careful so as to not tear of the warp strips.
STEP 4
The process would be continued until the whole cardboard is filled up with your design.

STEP 5
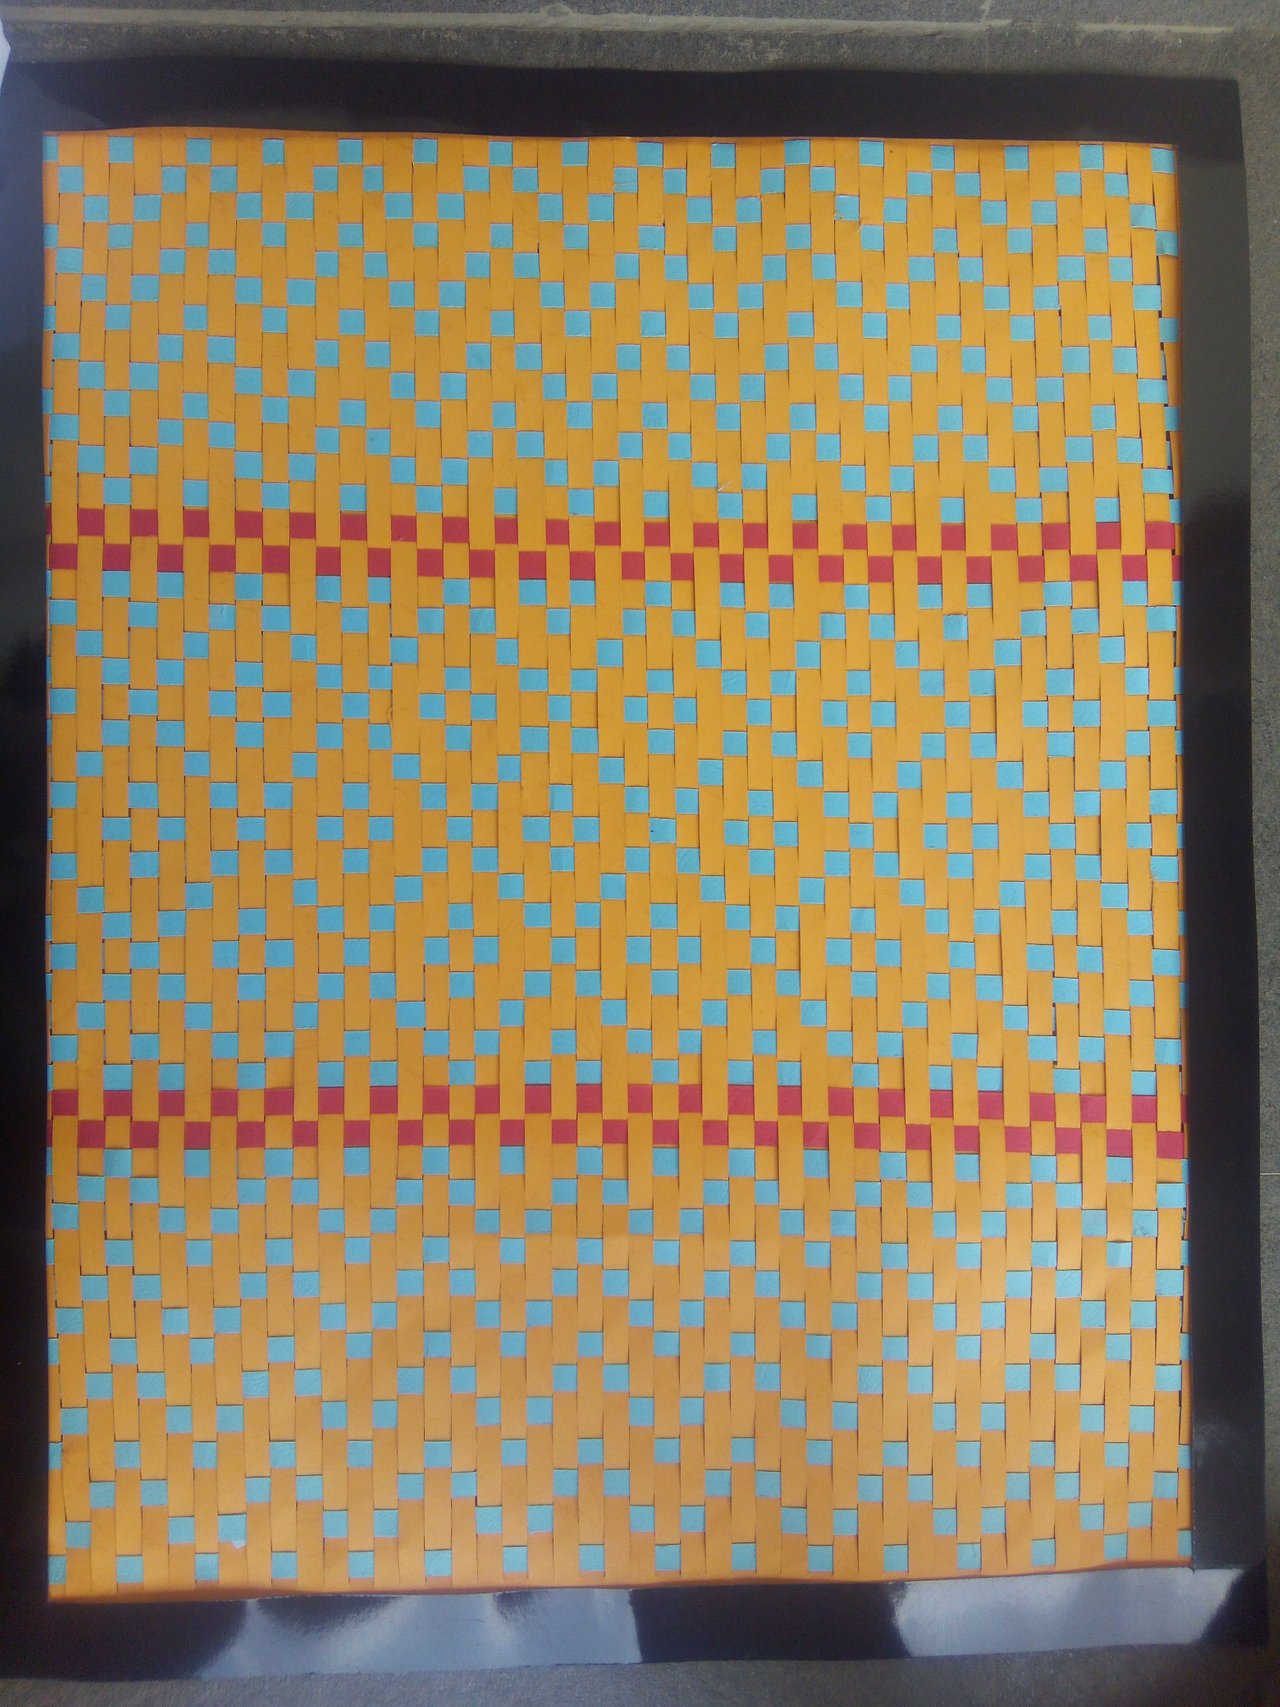
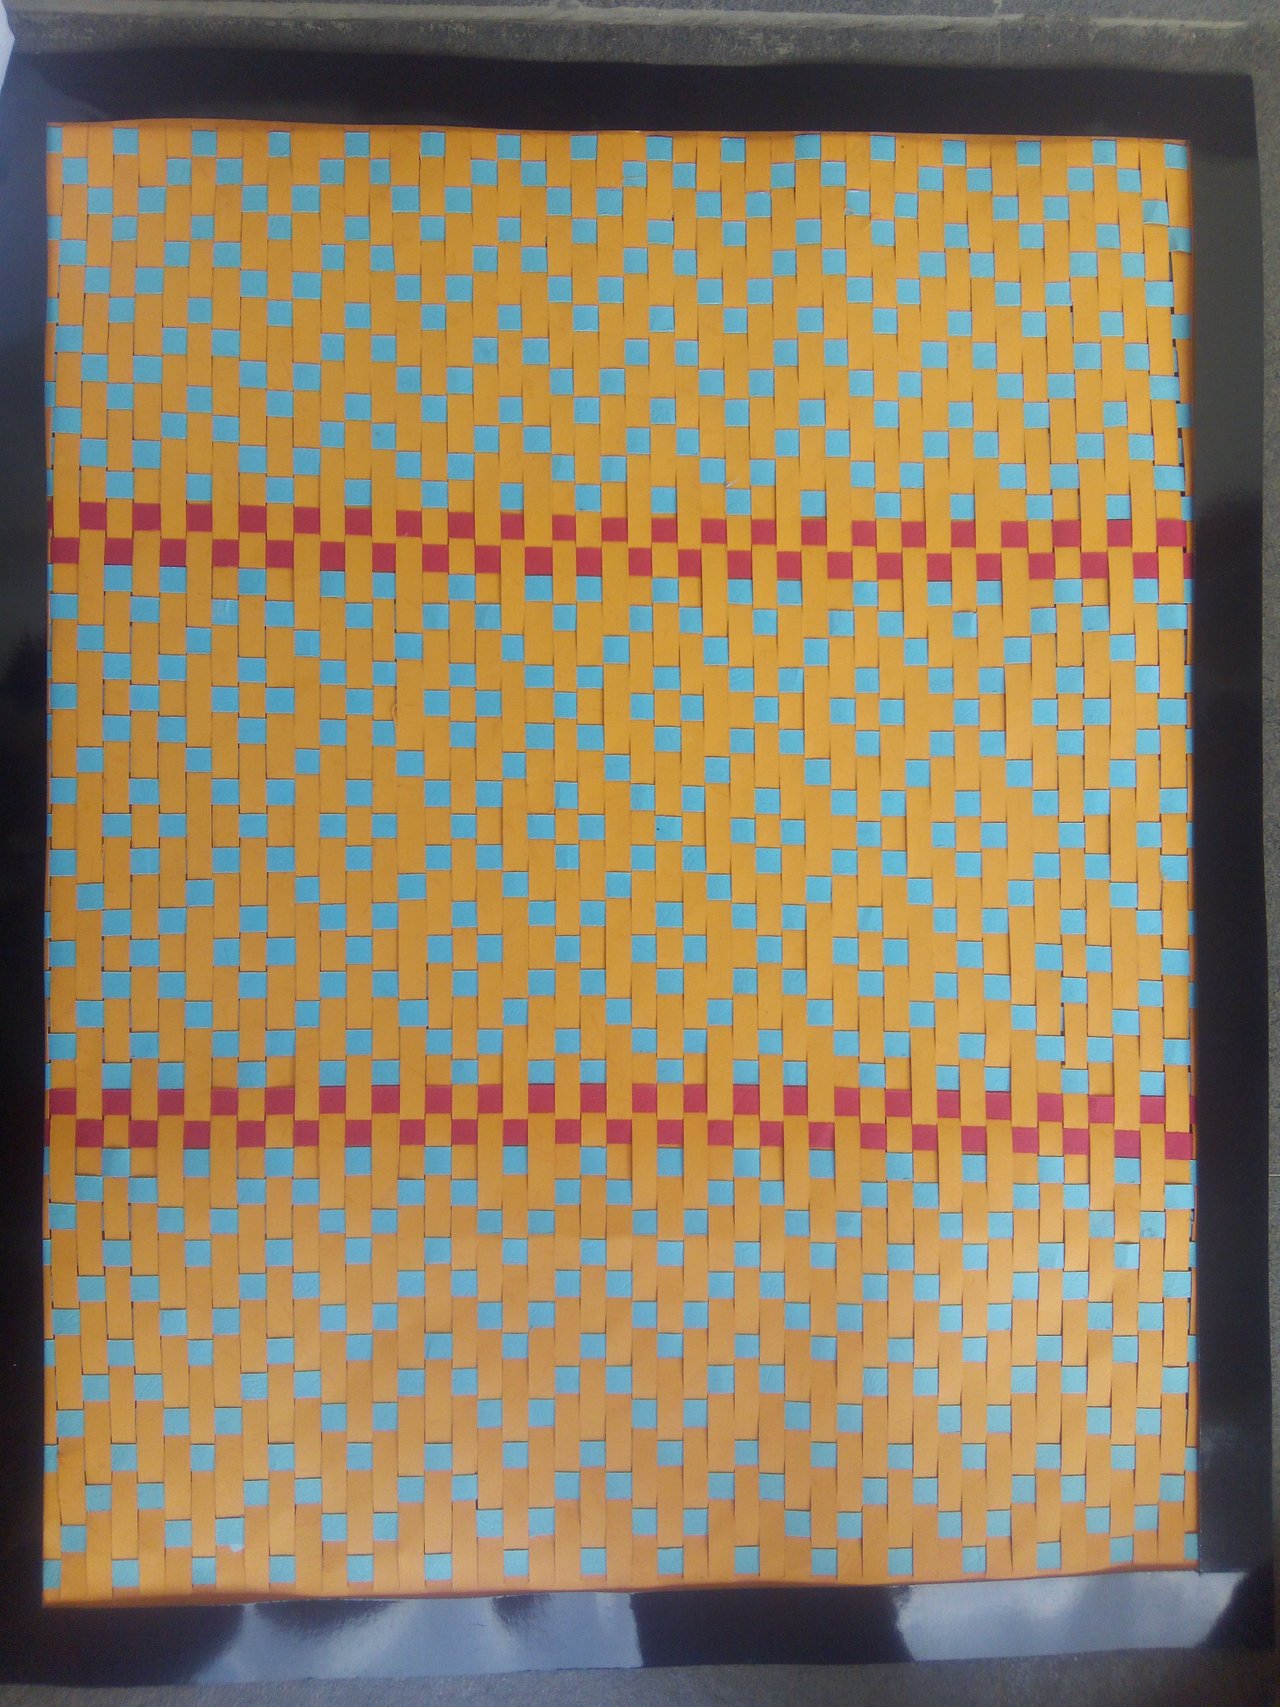
This involves mounting(mounting is basically putting a border) the work with black paper. Also make sure the strips are very close to each other...

This post would serve as my fourth entry into the @merej99 ten-day post competition... Look out more for art projects and works. All are images are original.
.............................................................
Currently a student at the University studying art as one of my specialization. Art. Poems. Books. Life
