Welcome, Steemians.
What's up, guys? For those that haven't seen any of my previous posts, my name is Phillip. I have been repairing smartphones, tablets, and computers for the better part of 9 years. I have been doing this since I was 13 as a hobby and do not consider myself a professional by any means. I decided to start doing tutorials on some of the repairs I do on a daily basis to try and help out those people that like to repair their own shit. I apologize in advance for any potato quality photos, as it is incredibly hard to get my phone's camera to focus on some of these tiny parts. Anyway, let's fix this shit.
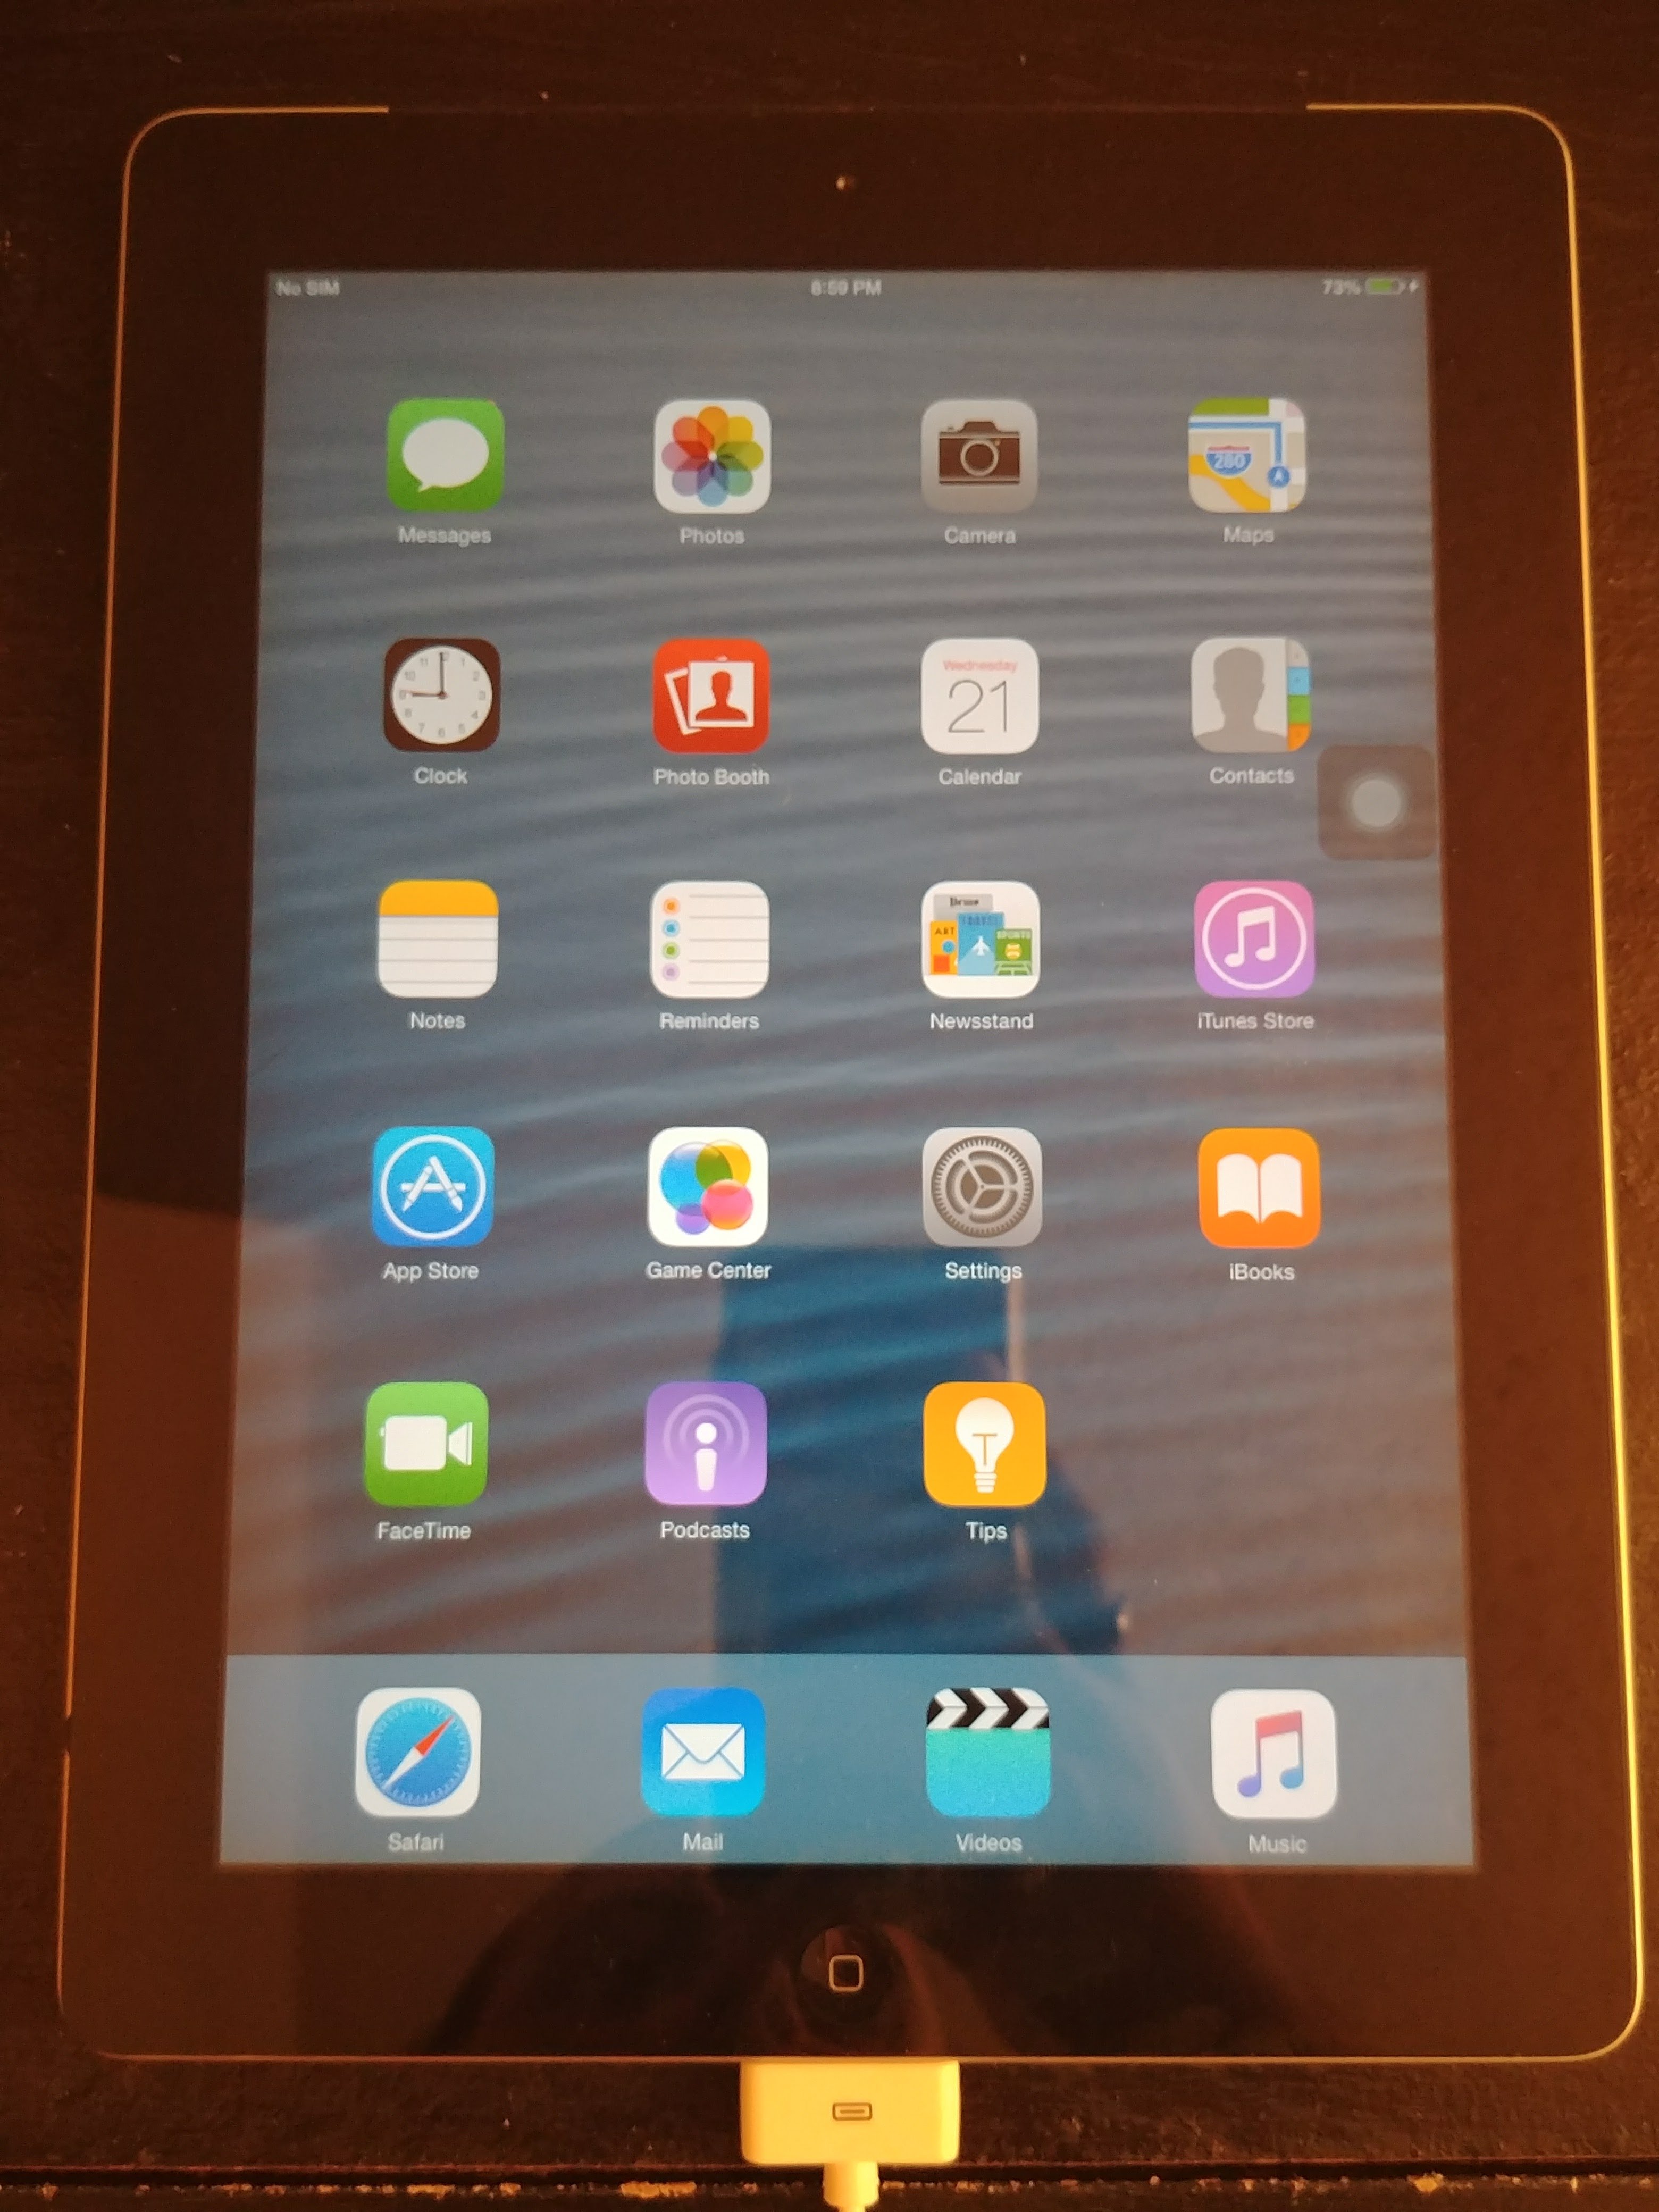
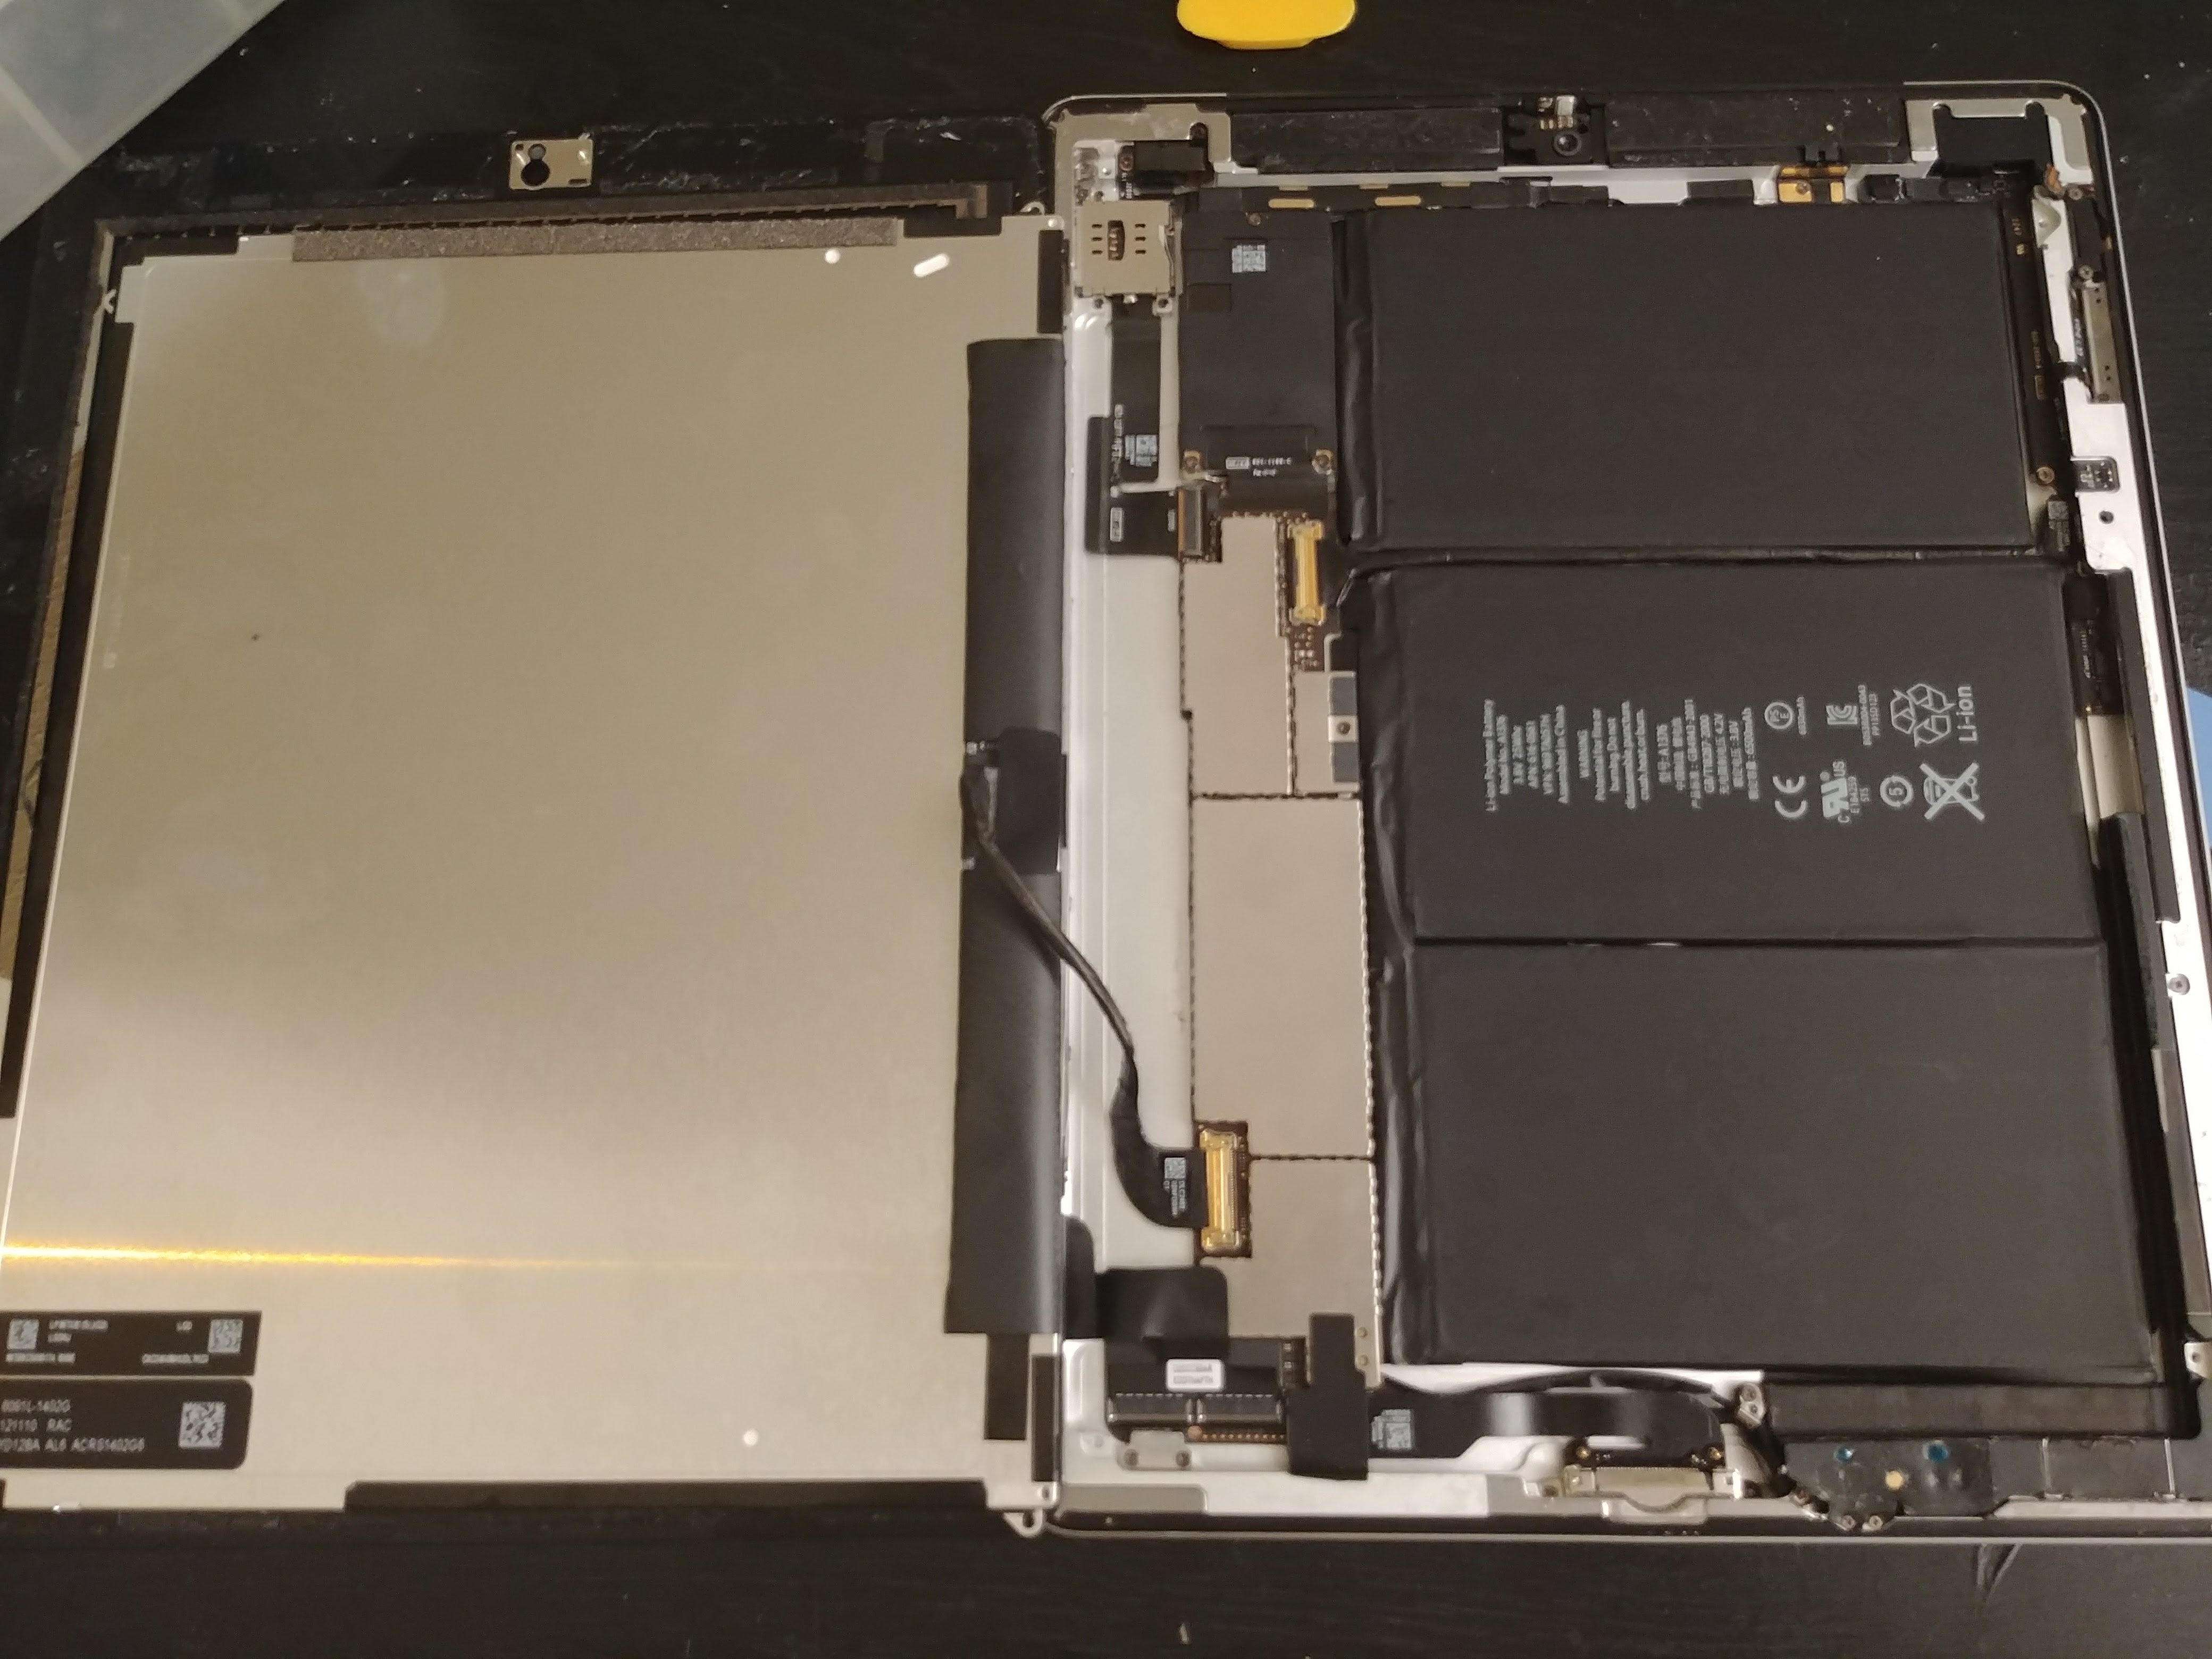
This is the iPad 2 we will be working on, along with the tools

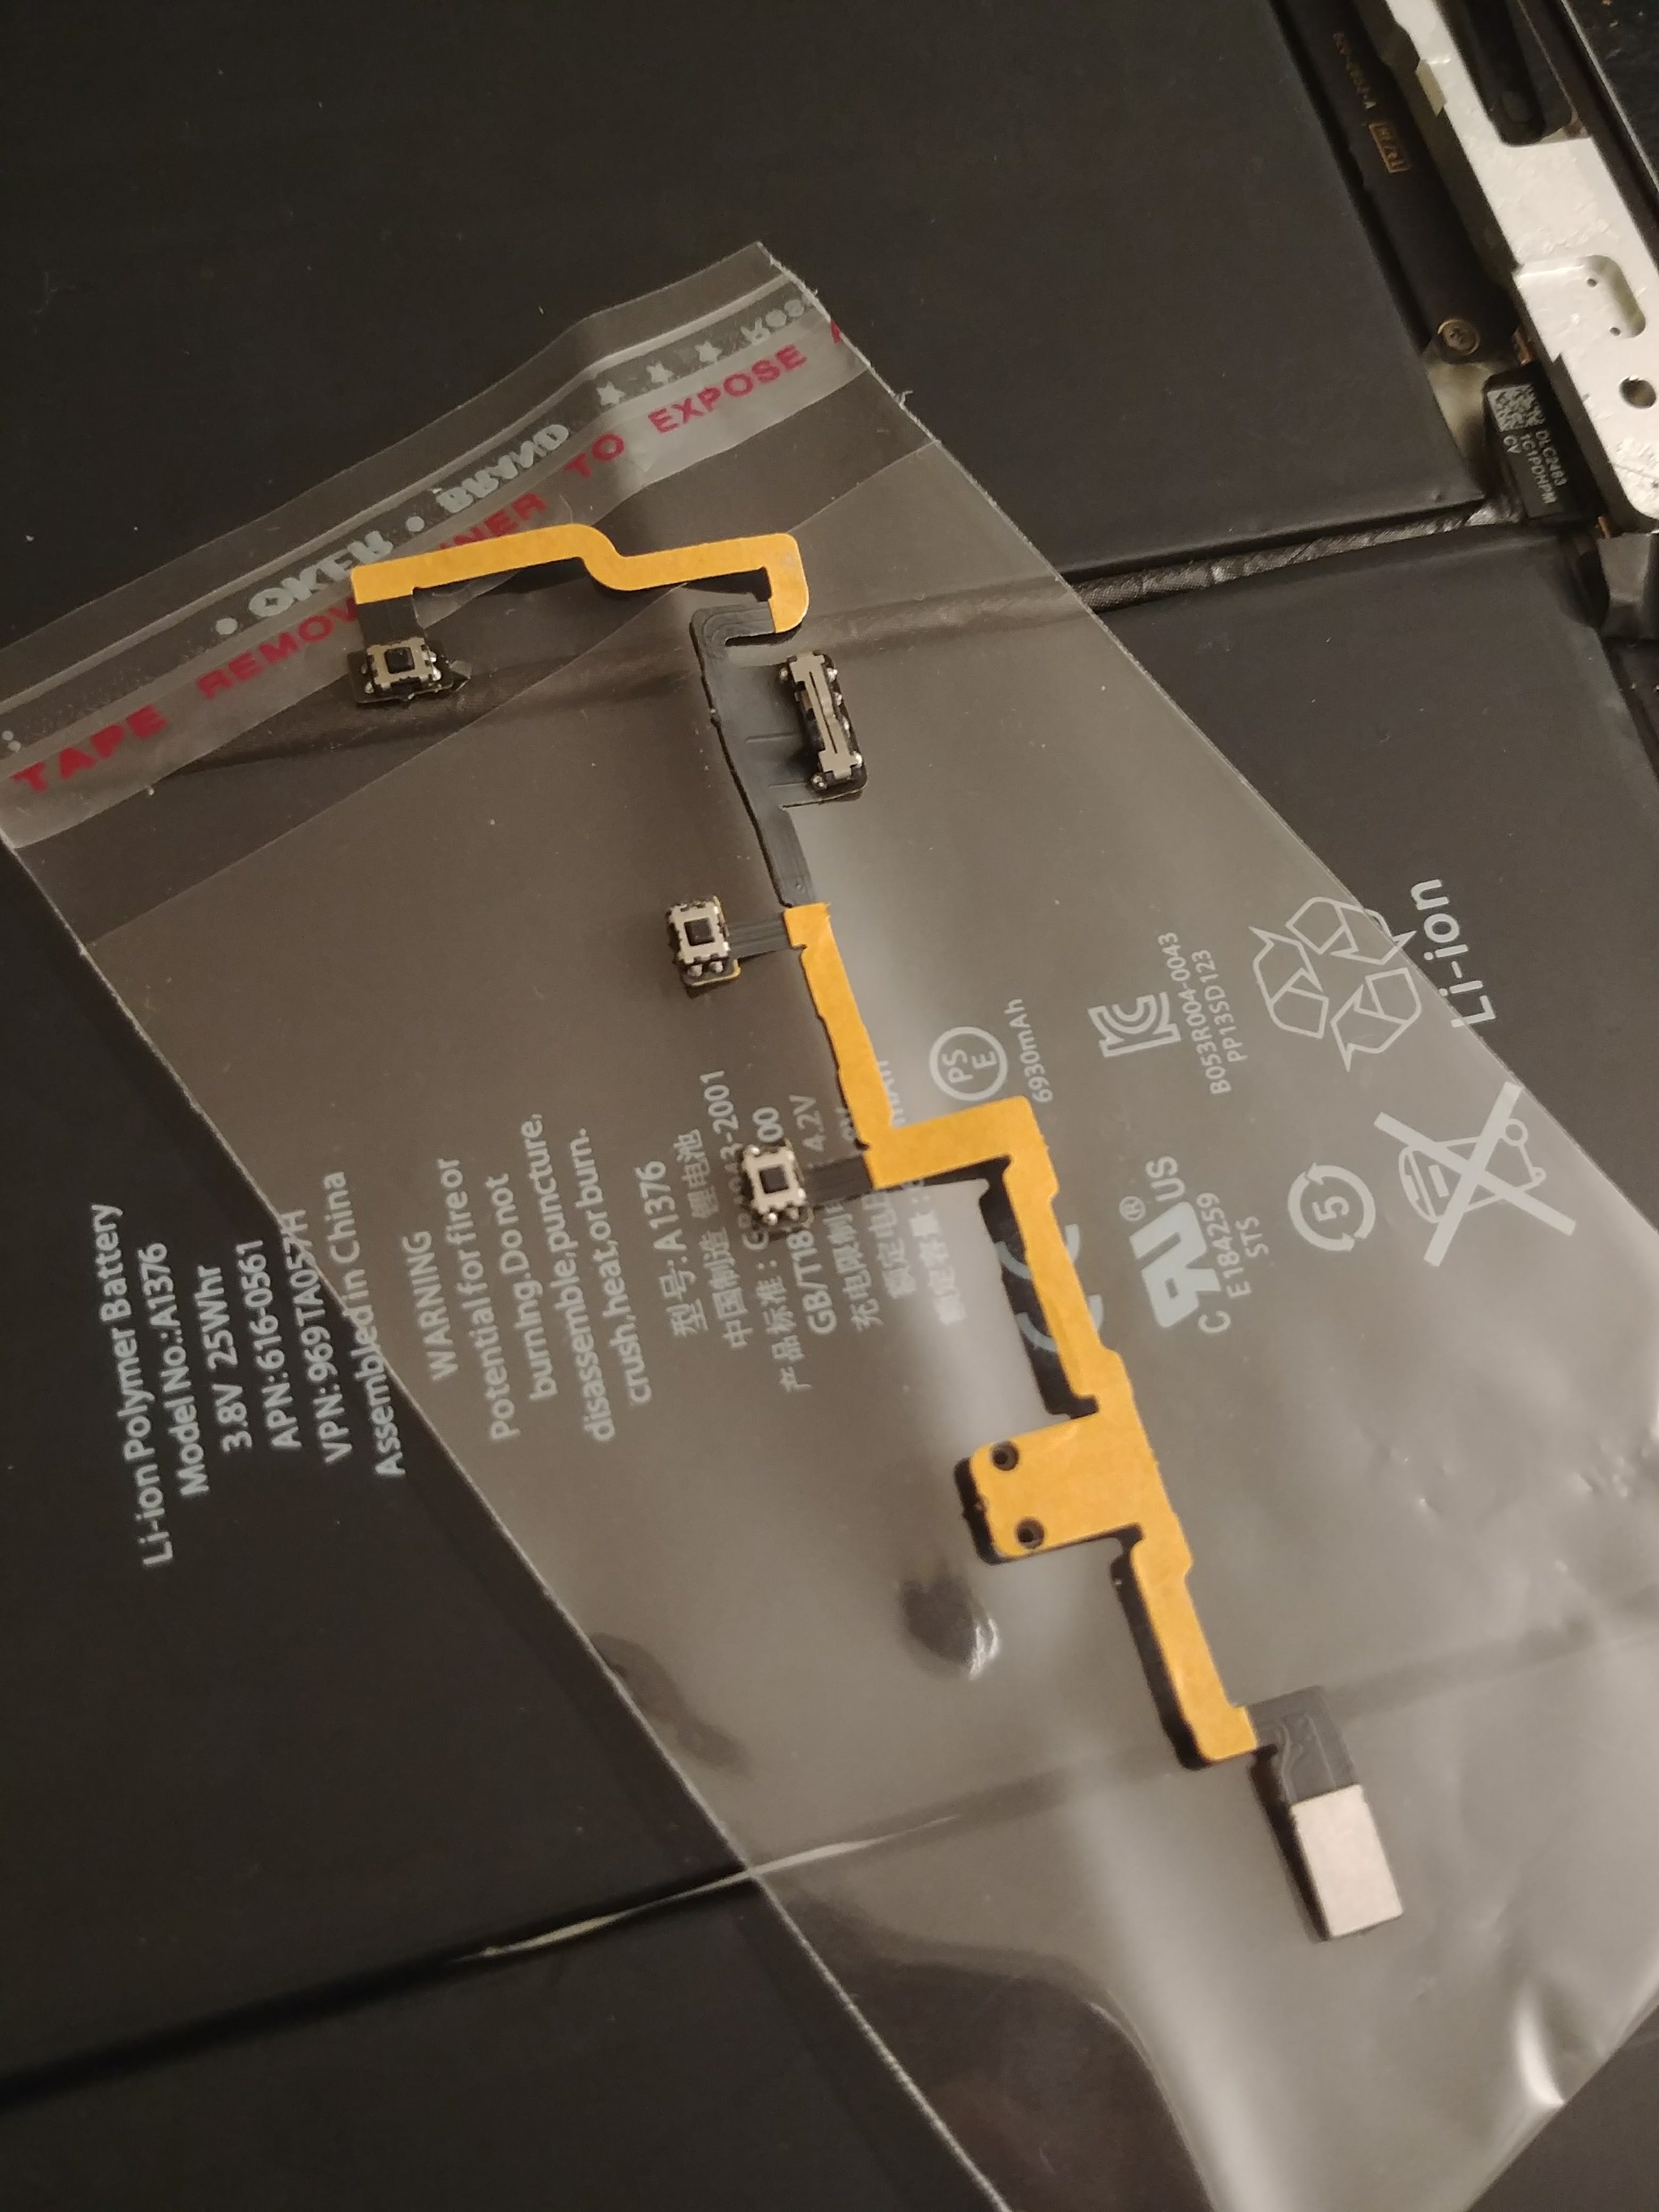
As you can see, the only tools required will be a small Philip's head screwdriver, a heat gun(or hair dryer), and a few pry tools. You'll also need the replacement part, which is the power/volume flex cable in this case.
First, we need to use our heat gun to melt the adhesive around the display
Once this is done, find an entry point with your pry tool. I started at the top in this case and slowly worked my way around. Be mindful of flex cables at the bottom left corner and top right corner.
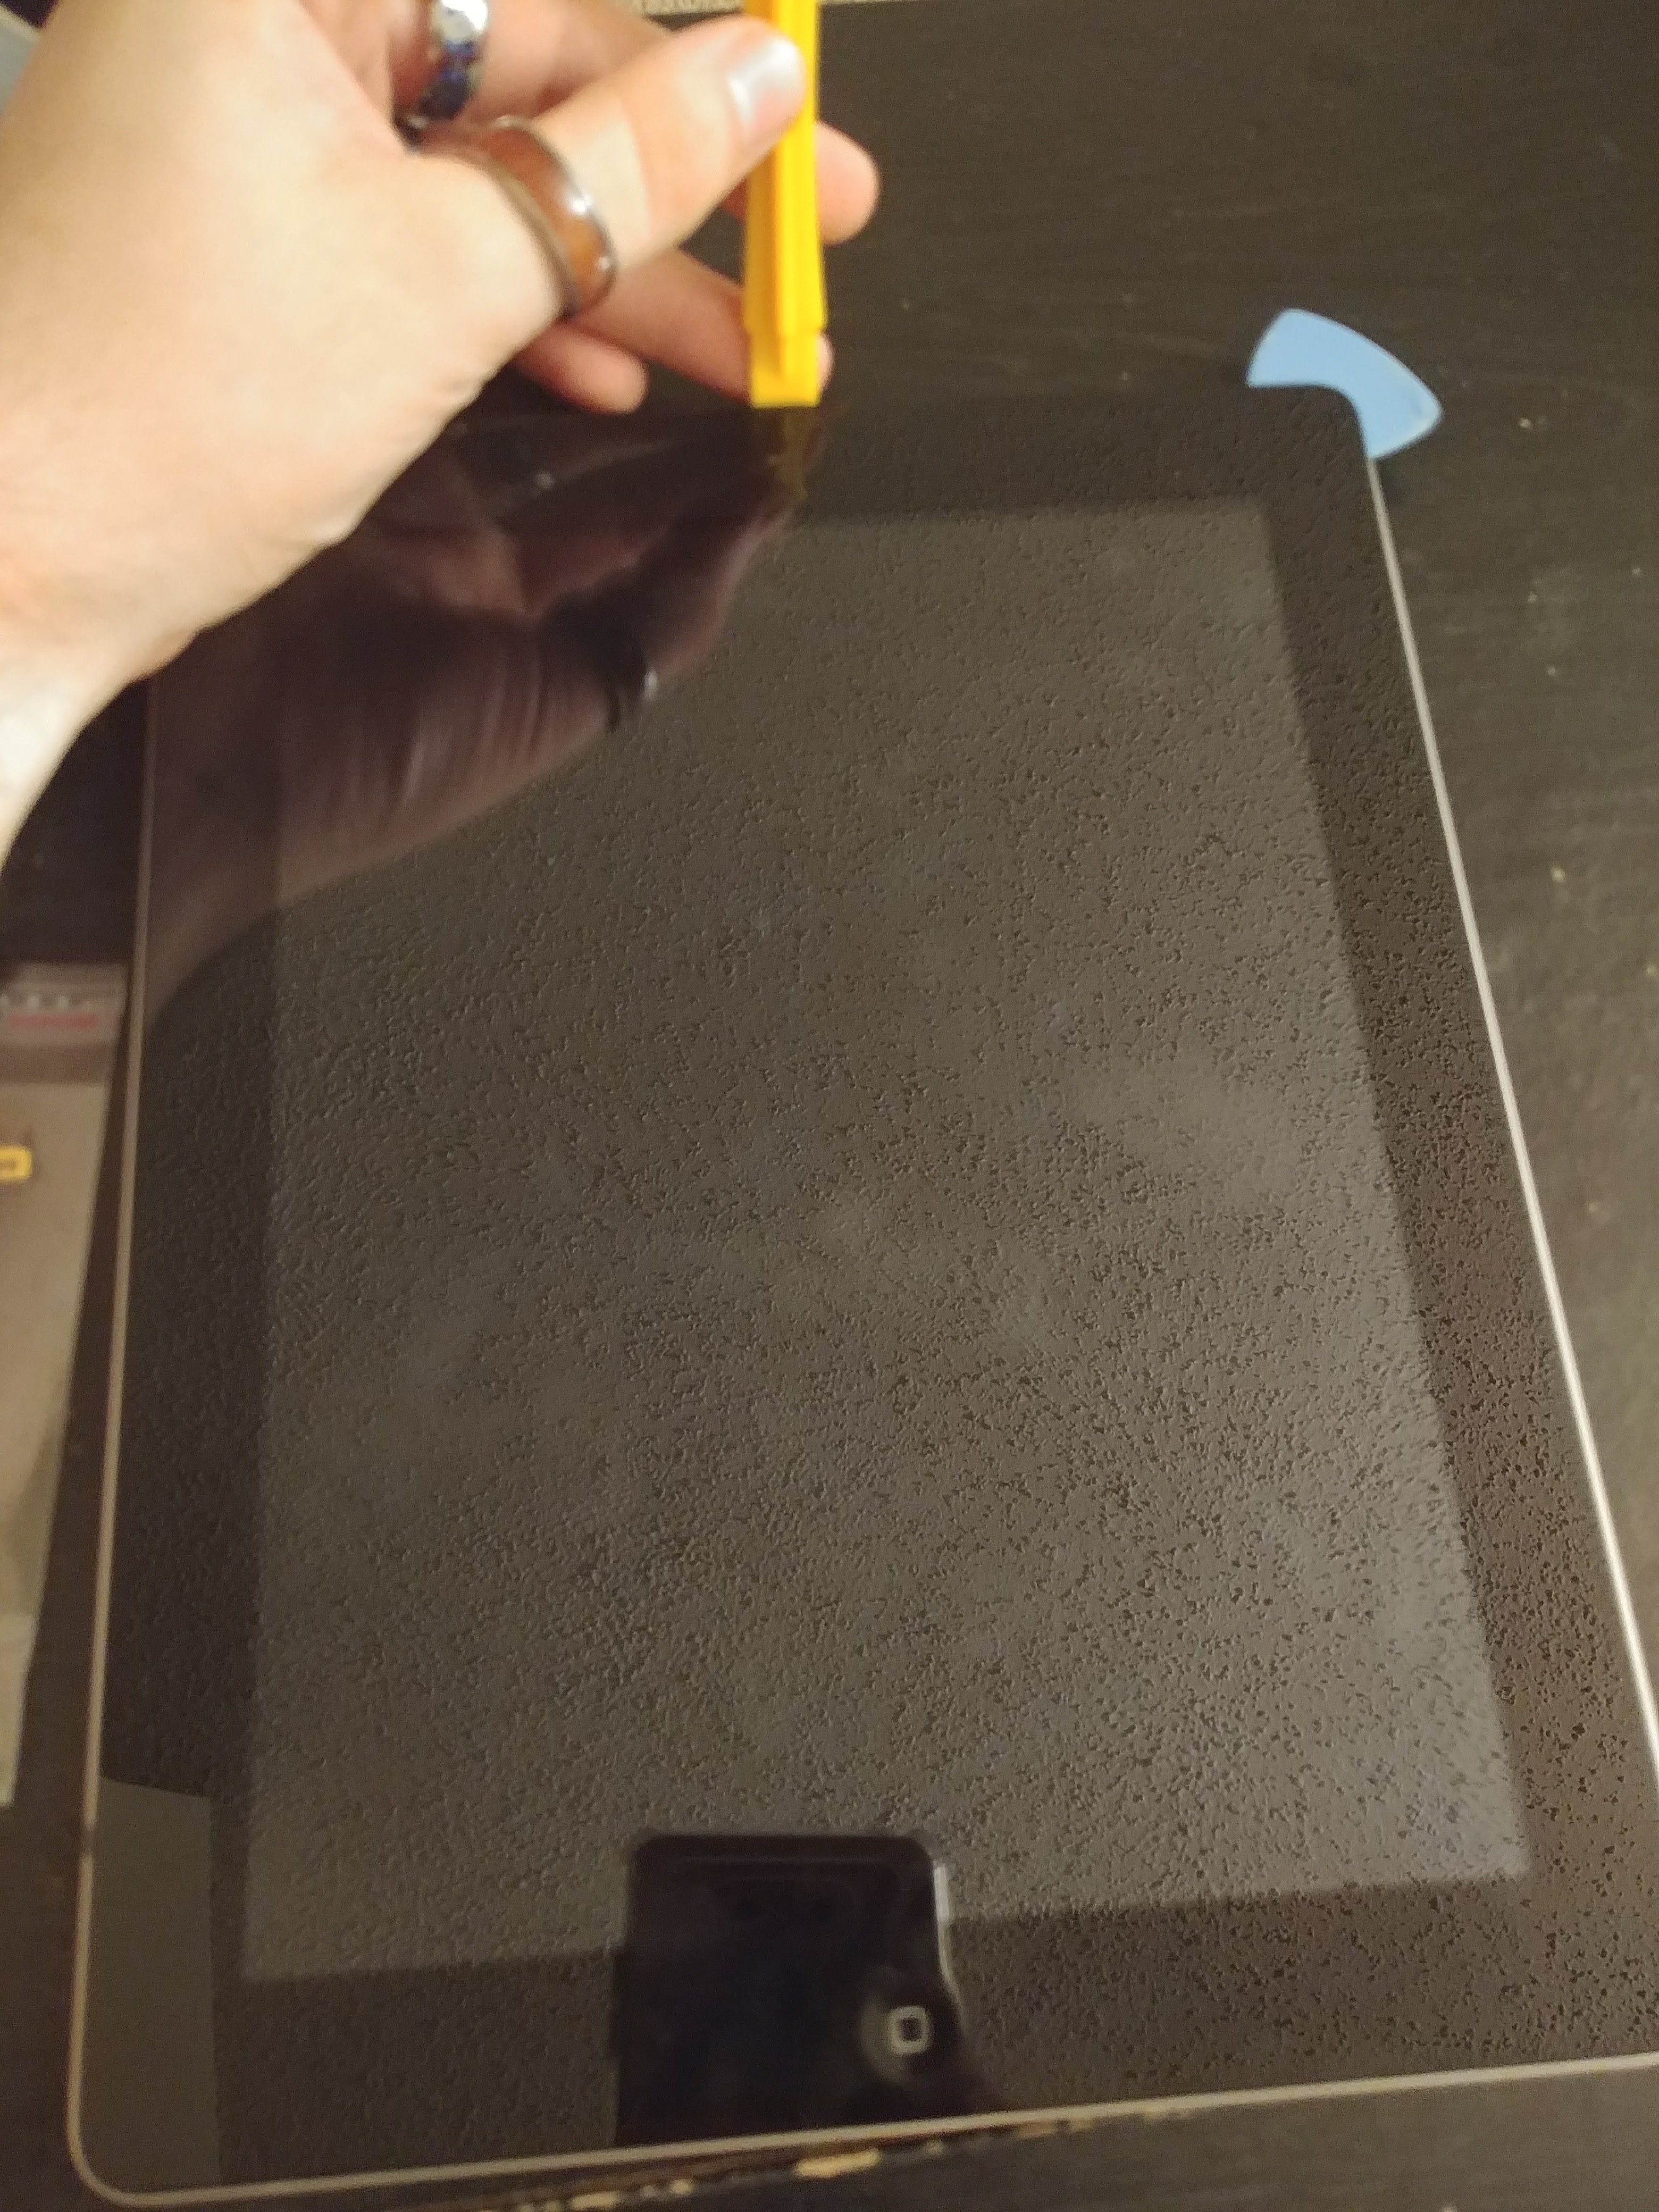
After you have enough room under the glass, begin inserting wedges, or guitar picks to keep the digitizer(glass) from sticking back to the frame of the device. Looks like we have a visitor here, my dog Blaise.
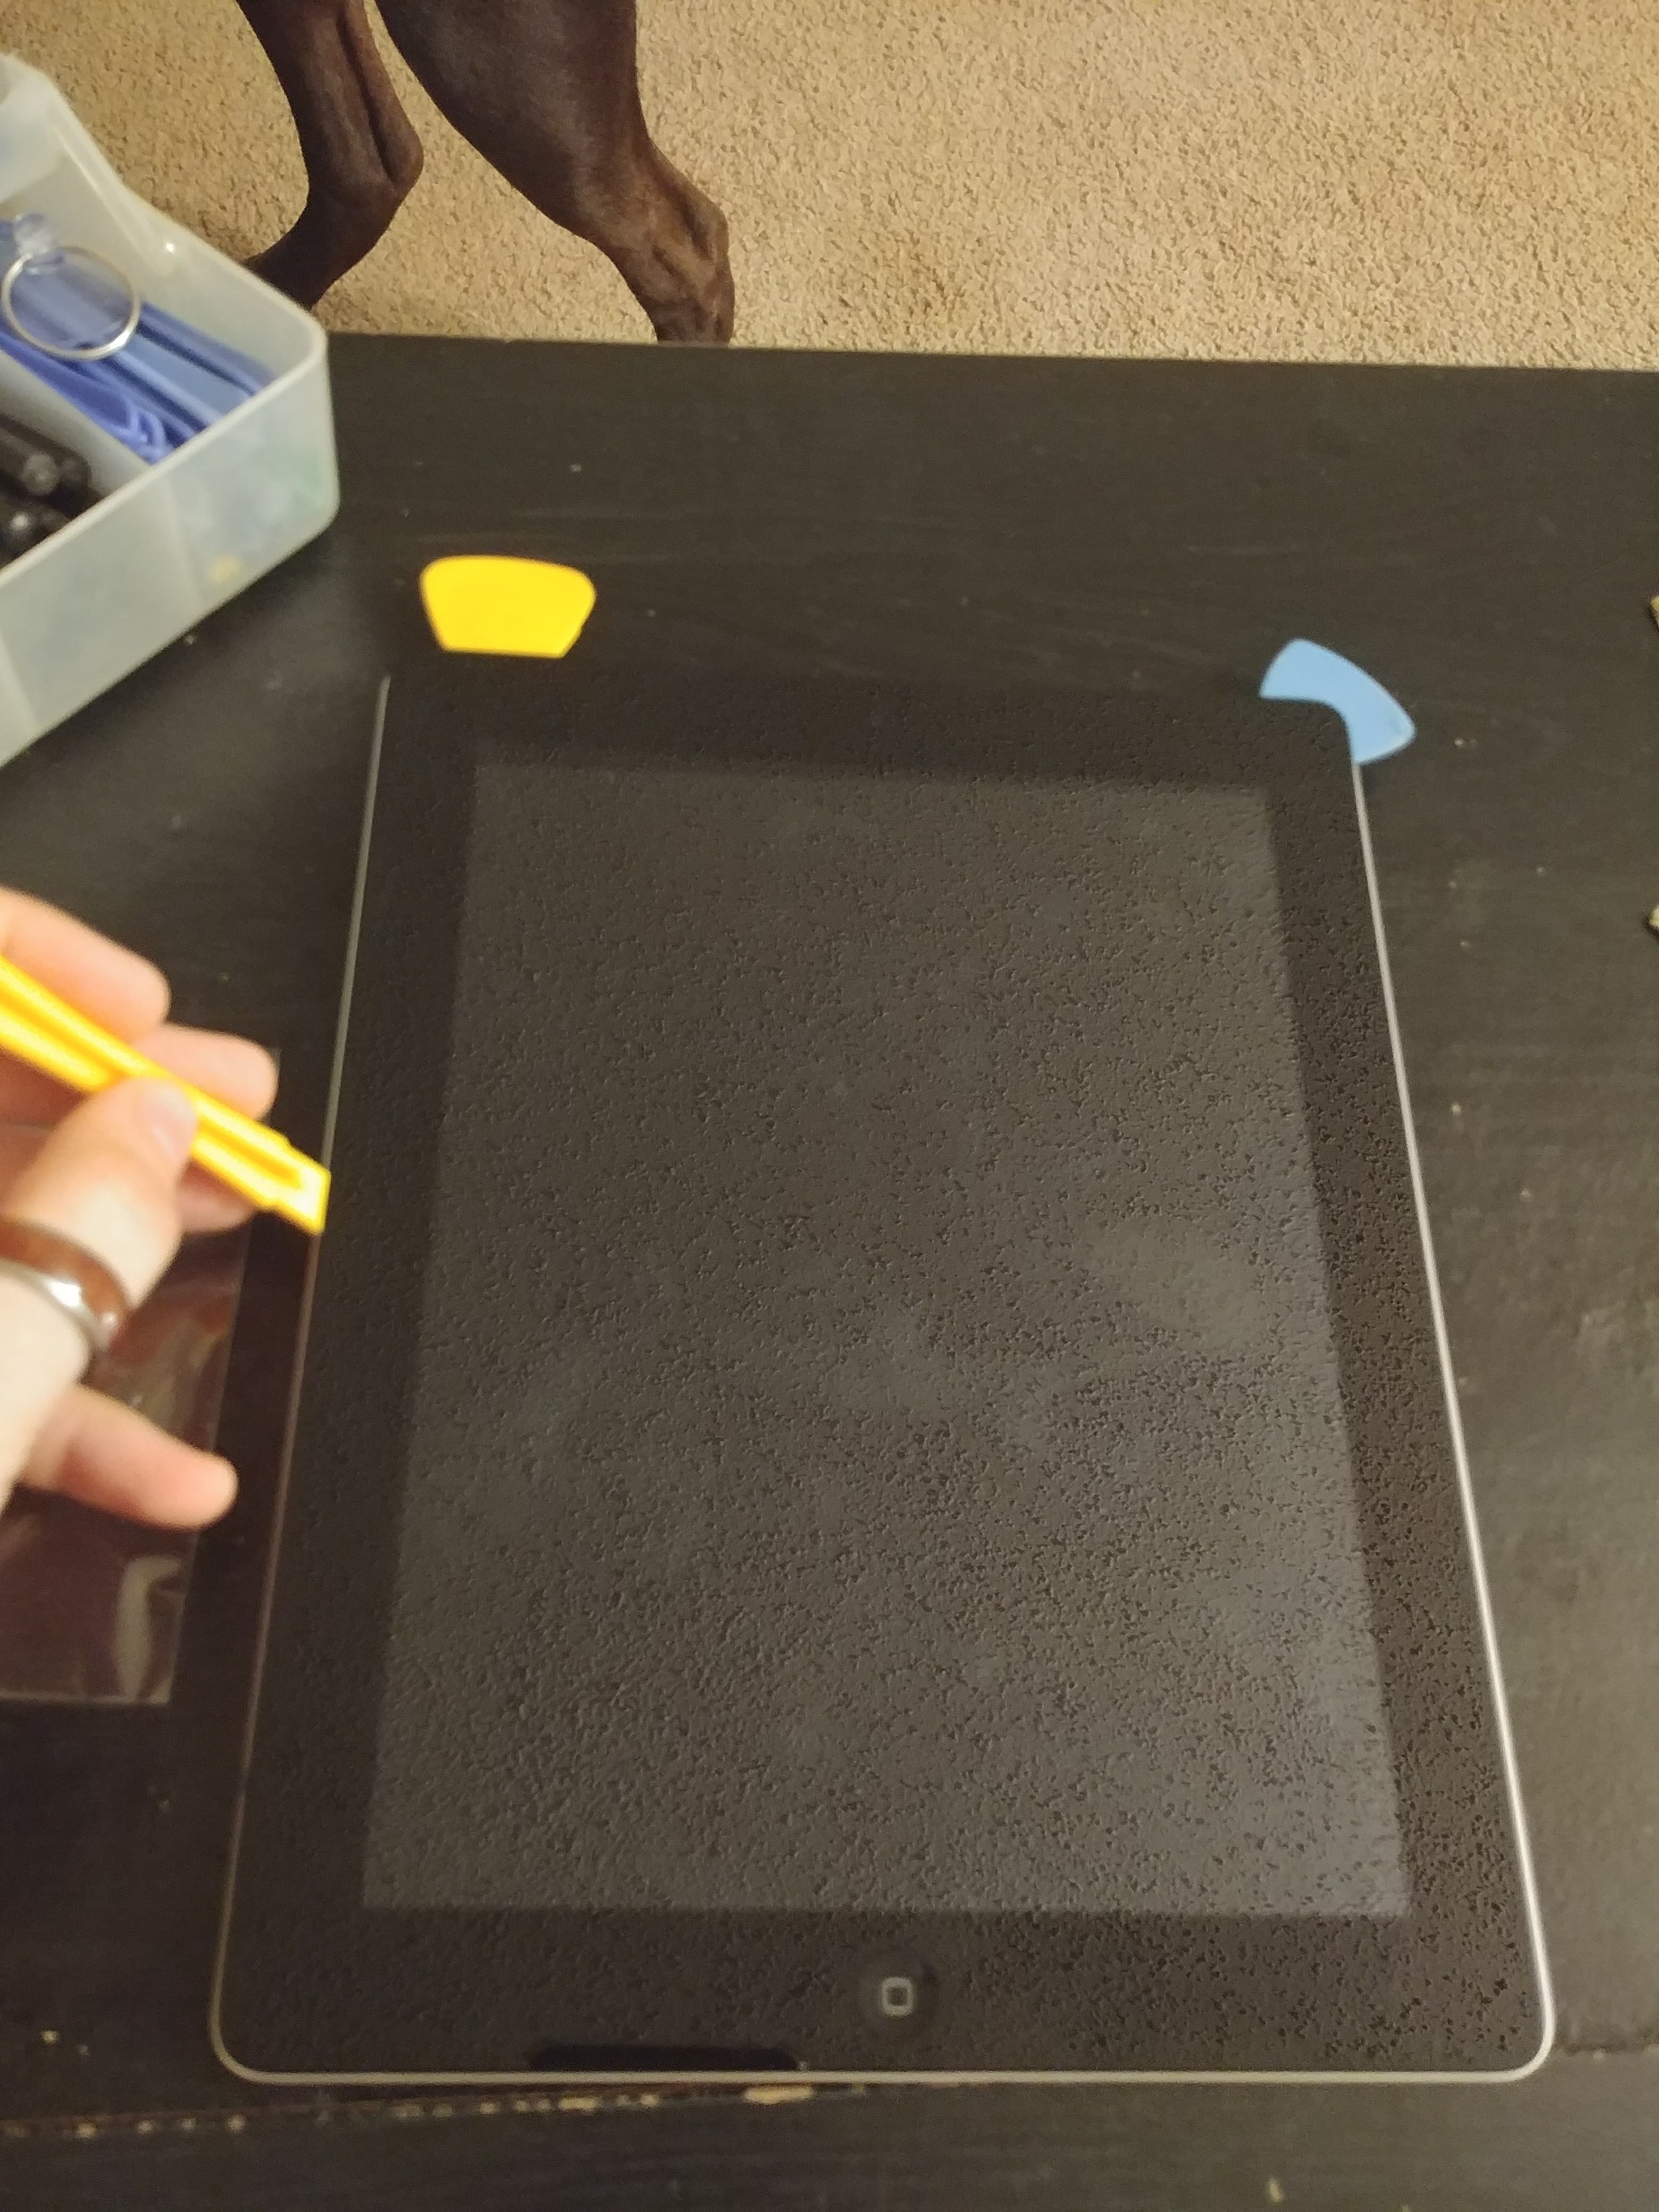
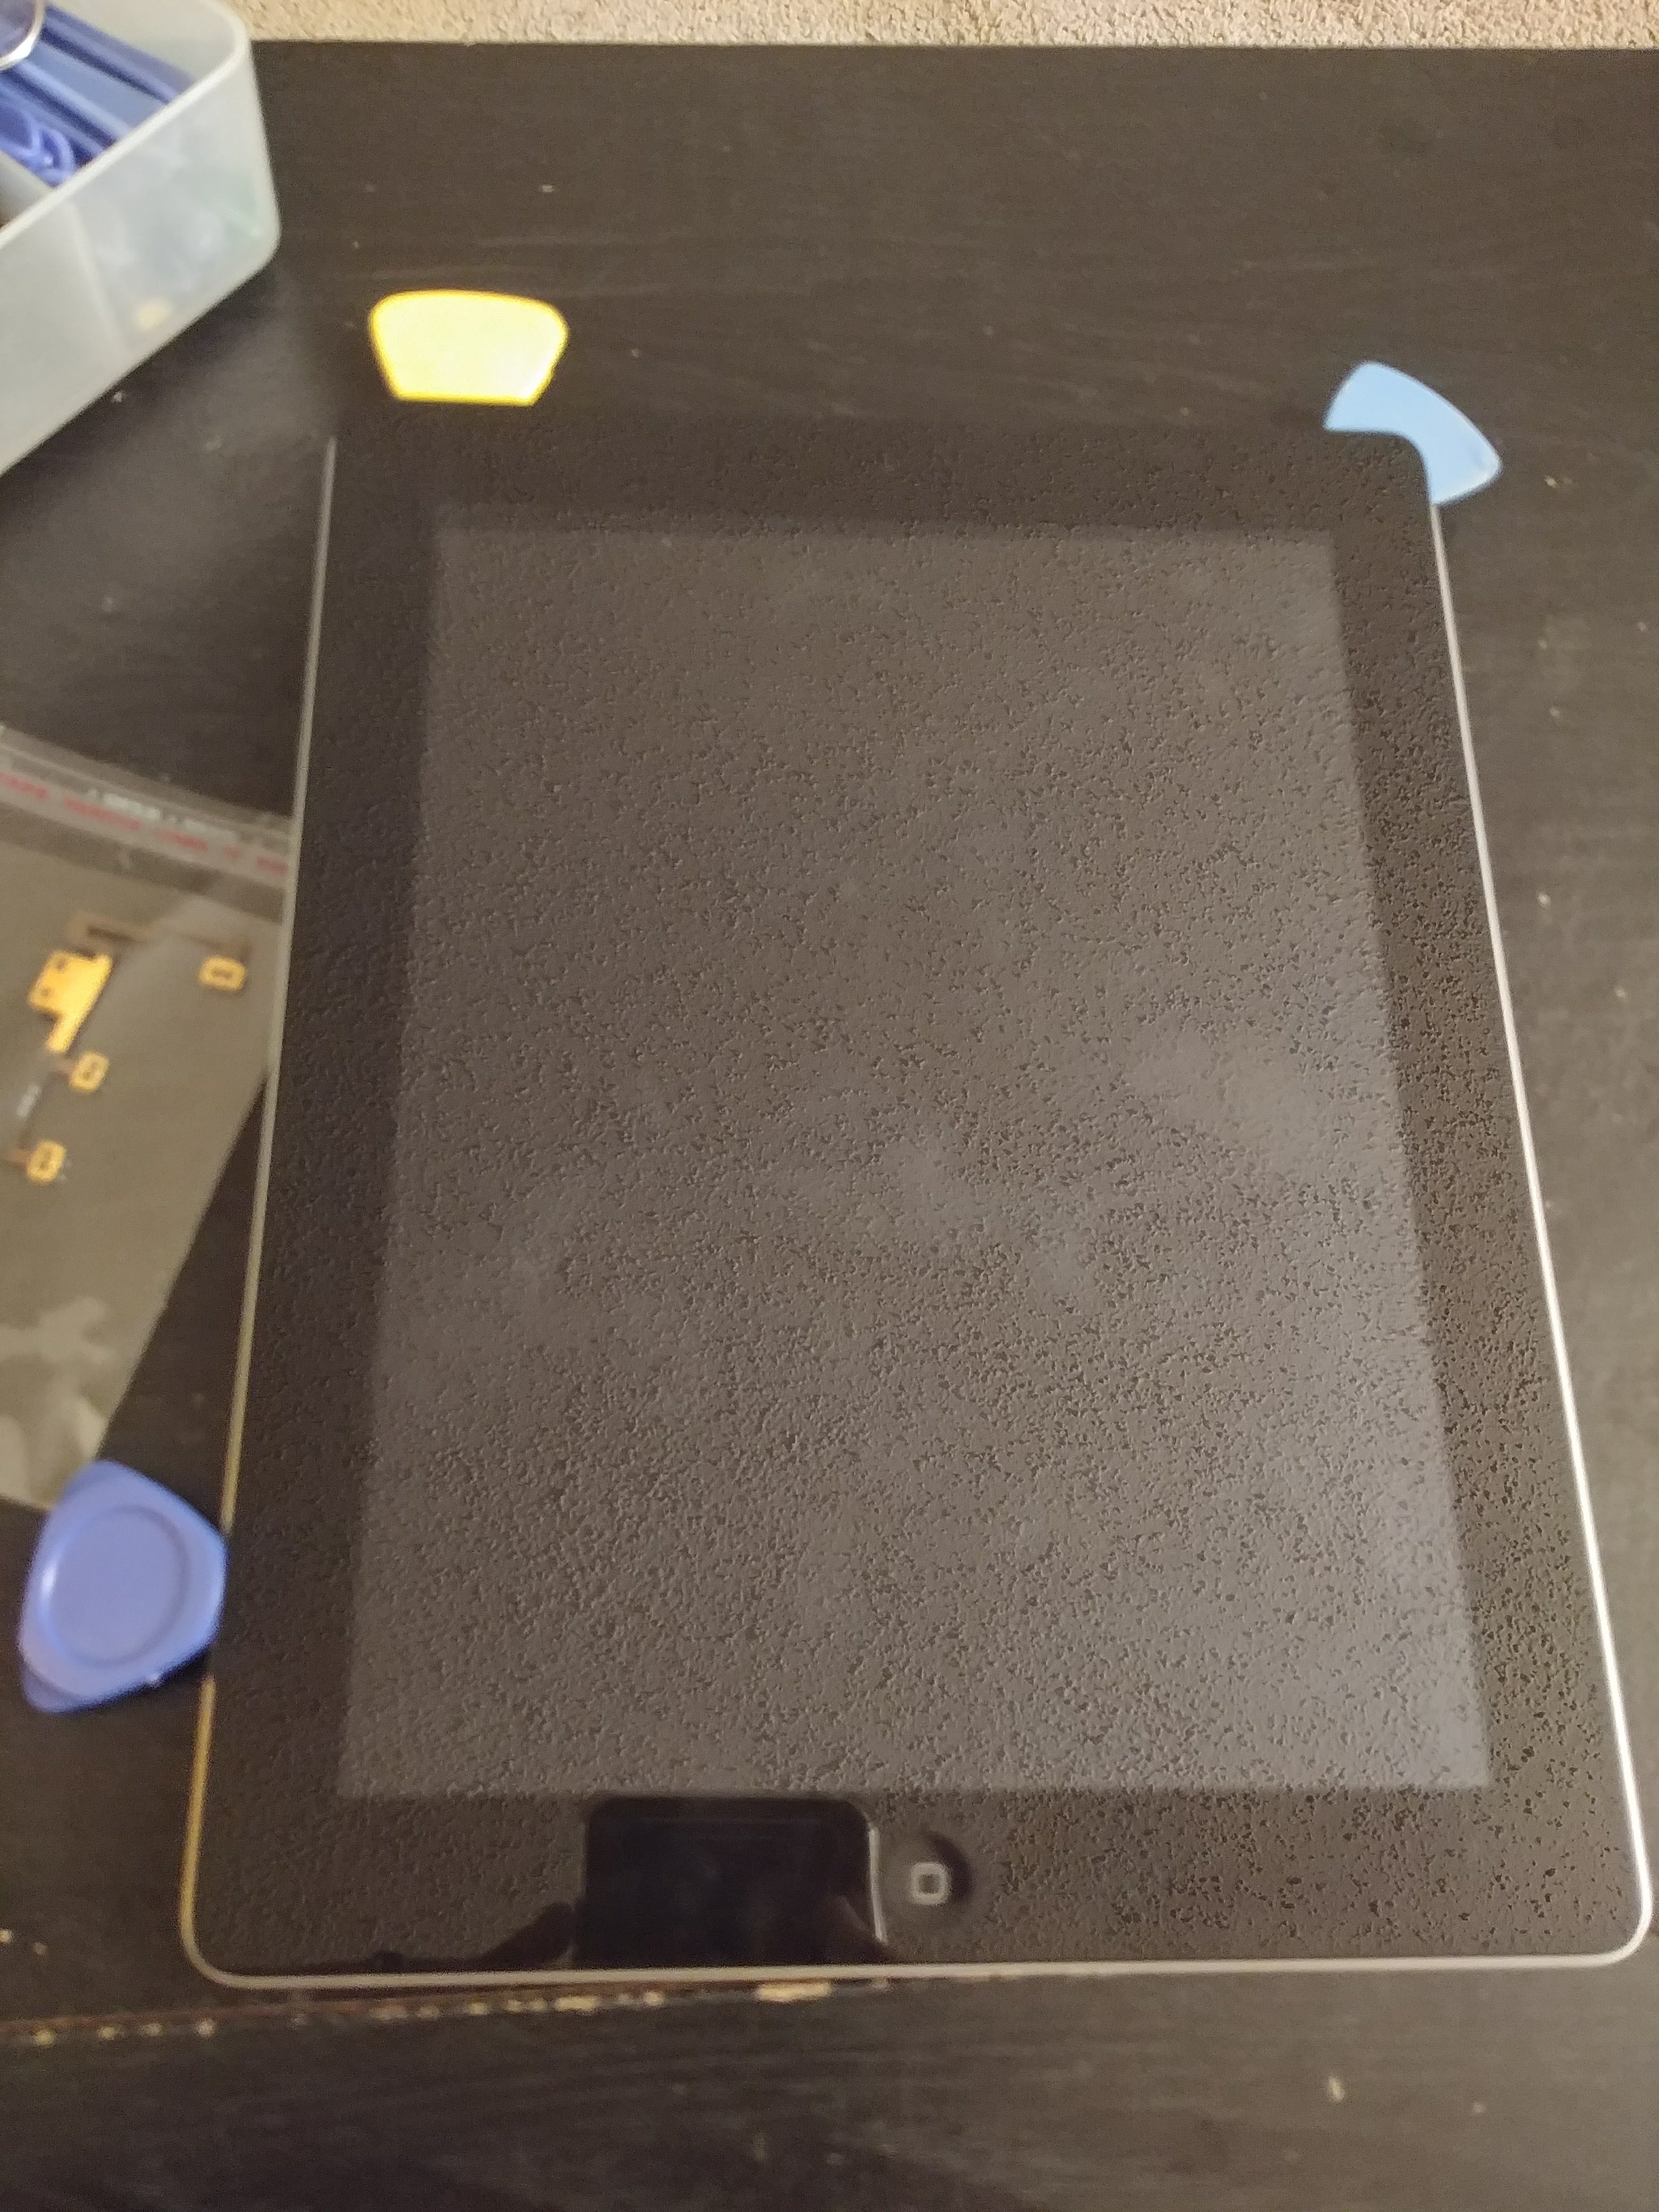
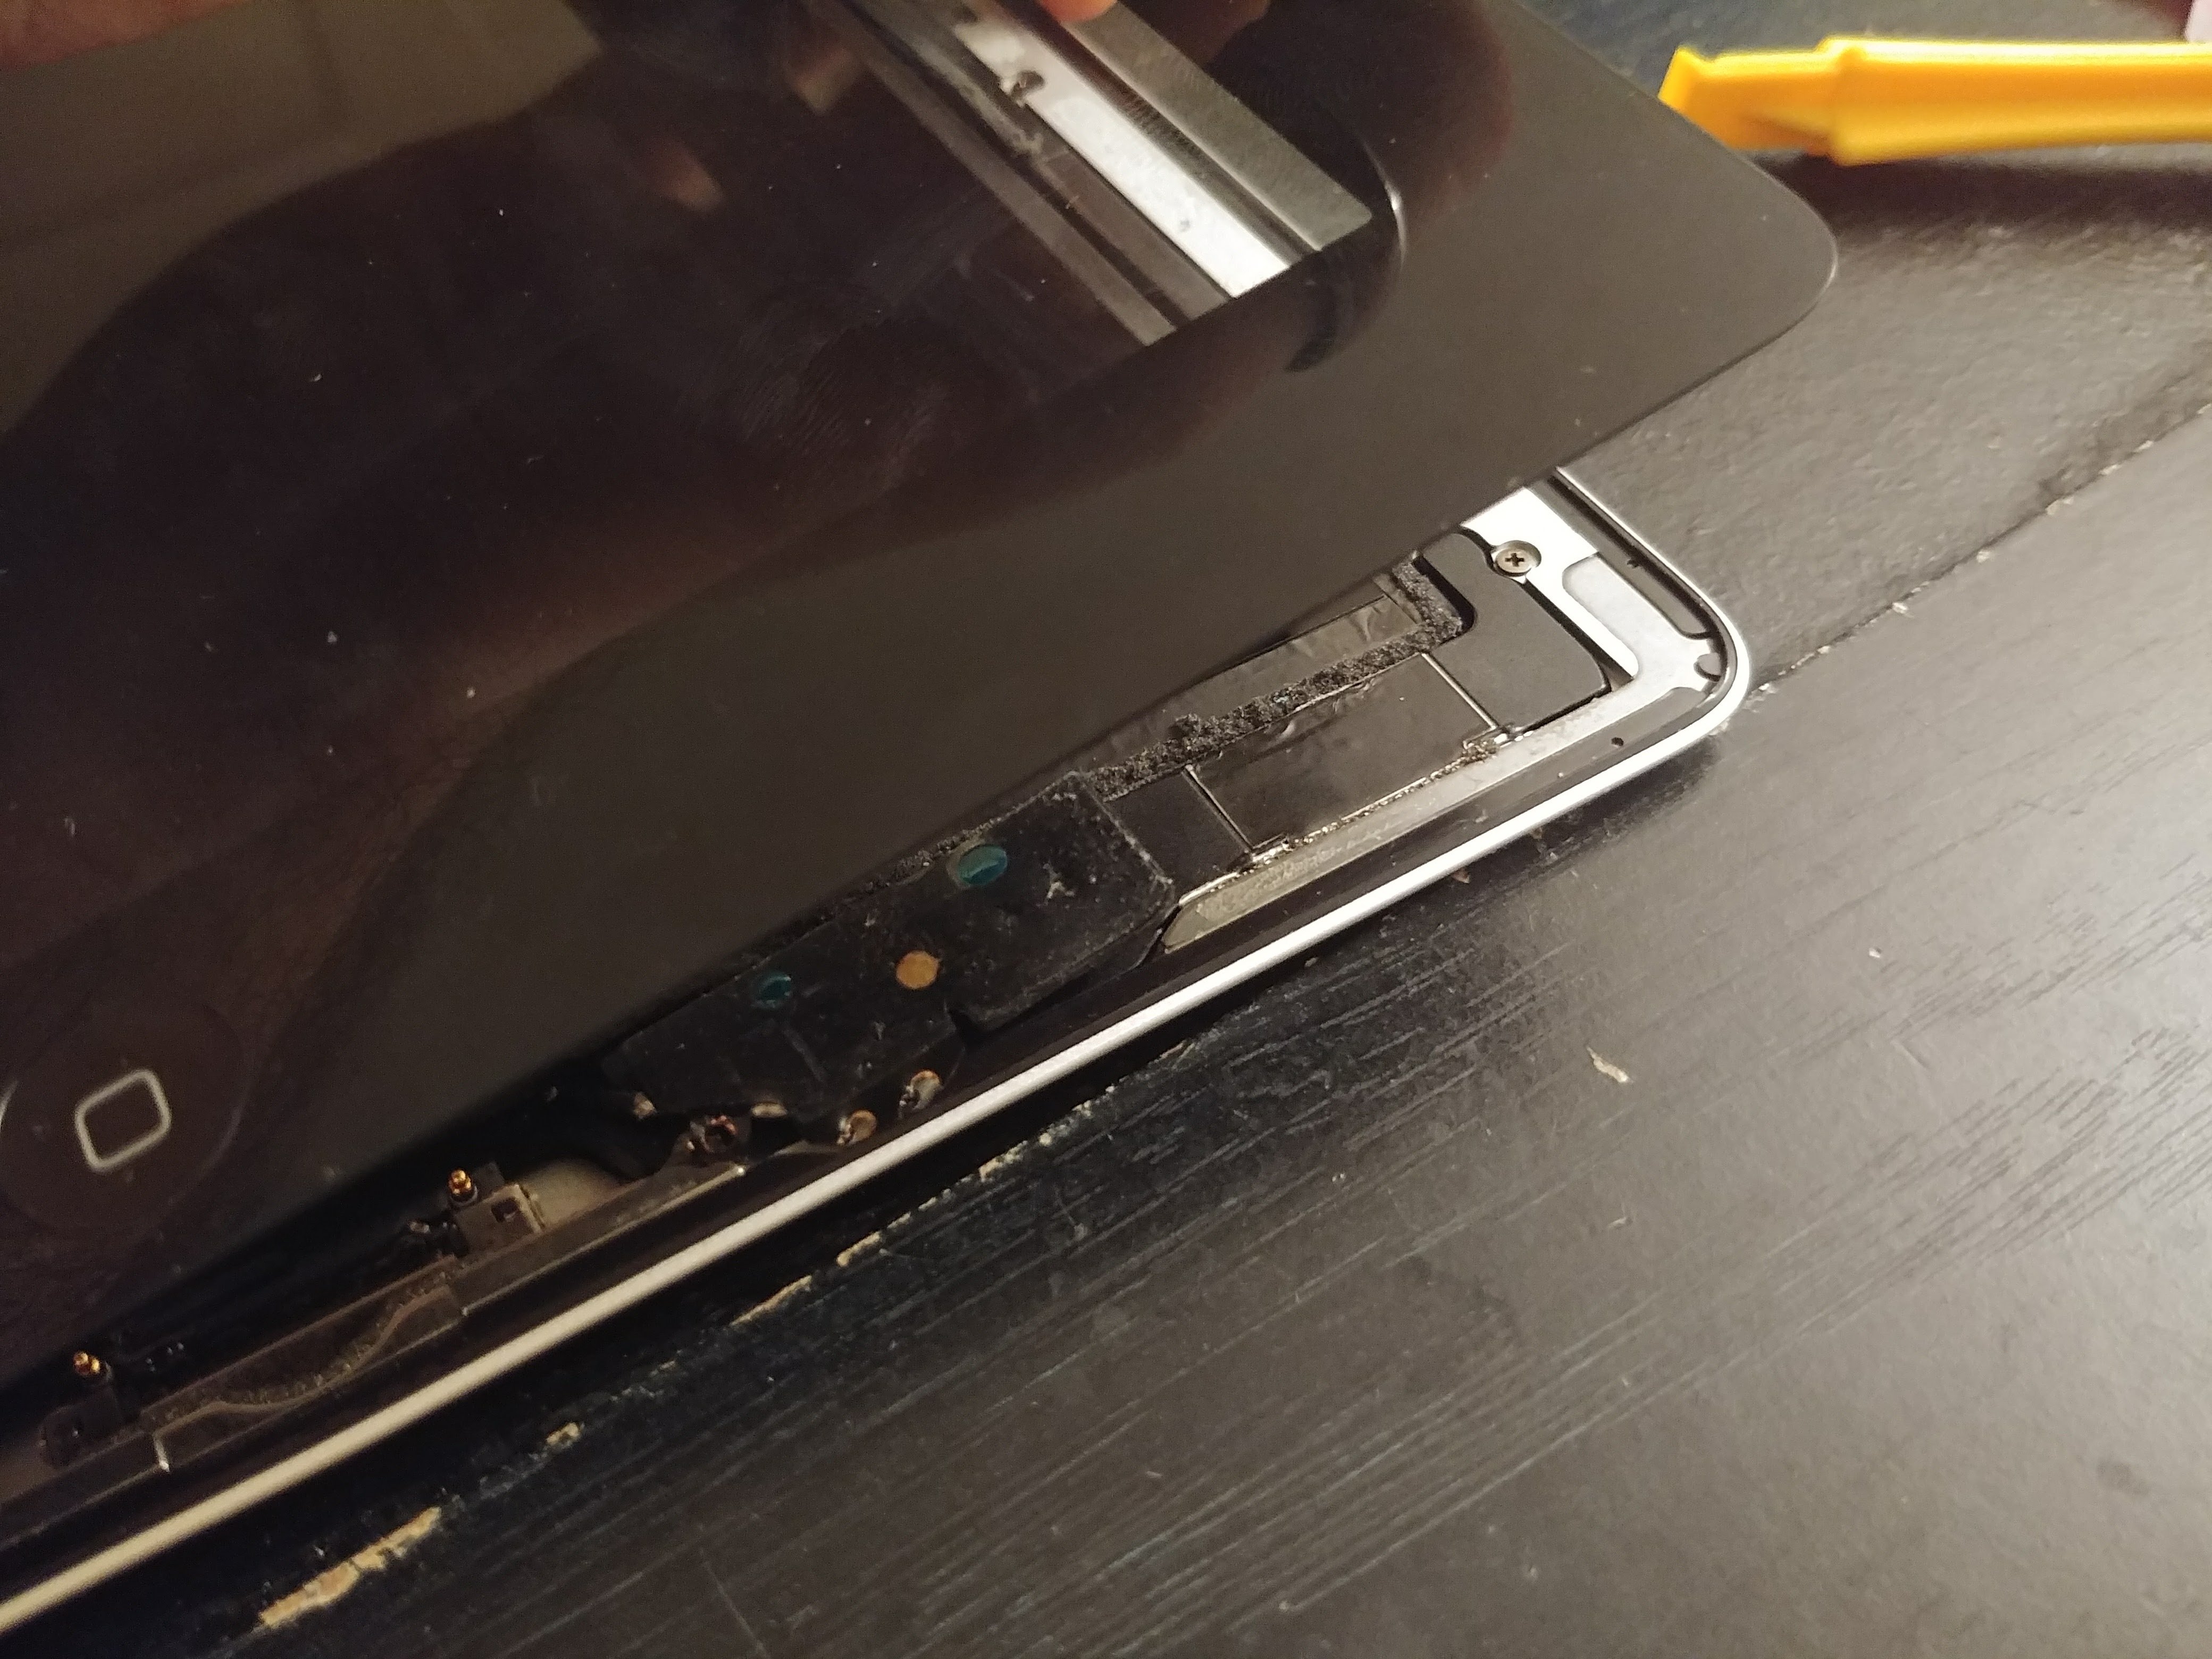
Once you have the glass detached, insert the pry tool on the right hand side of the display and begin folding the digitizer to the left like you're opening a book. Again, be very careful as to not damage the flex cables to the LCD or digitizer. These are located at the bottom left of the device about an inch from the bottom.

Now, we have removed the digitizer and need to remove the 4 screw that hold the LCD in place. These screws are located at each corner of the LCD.
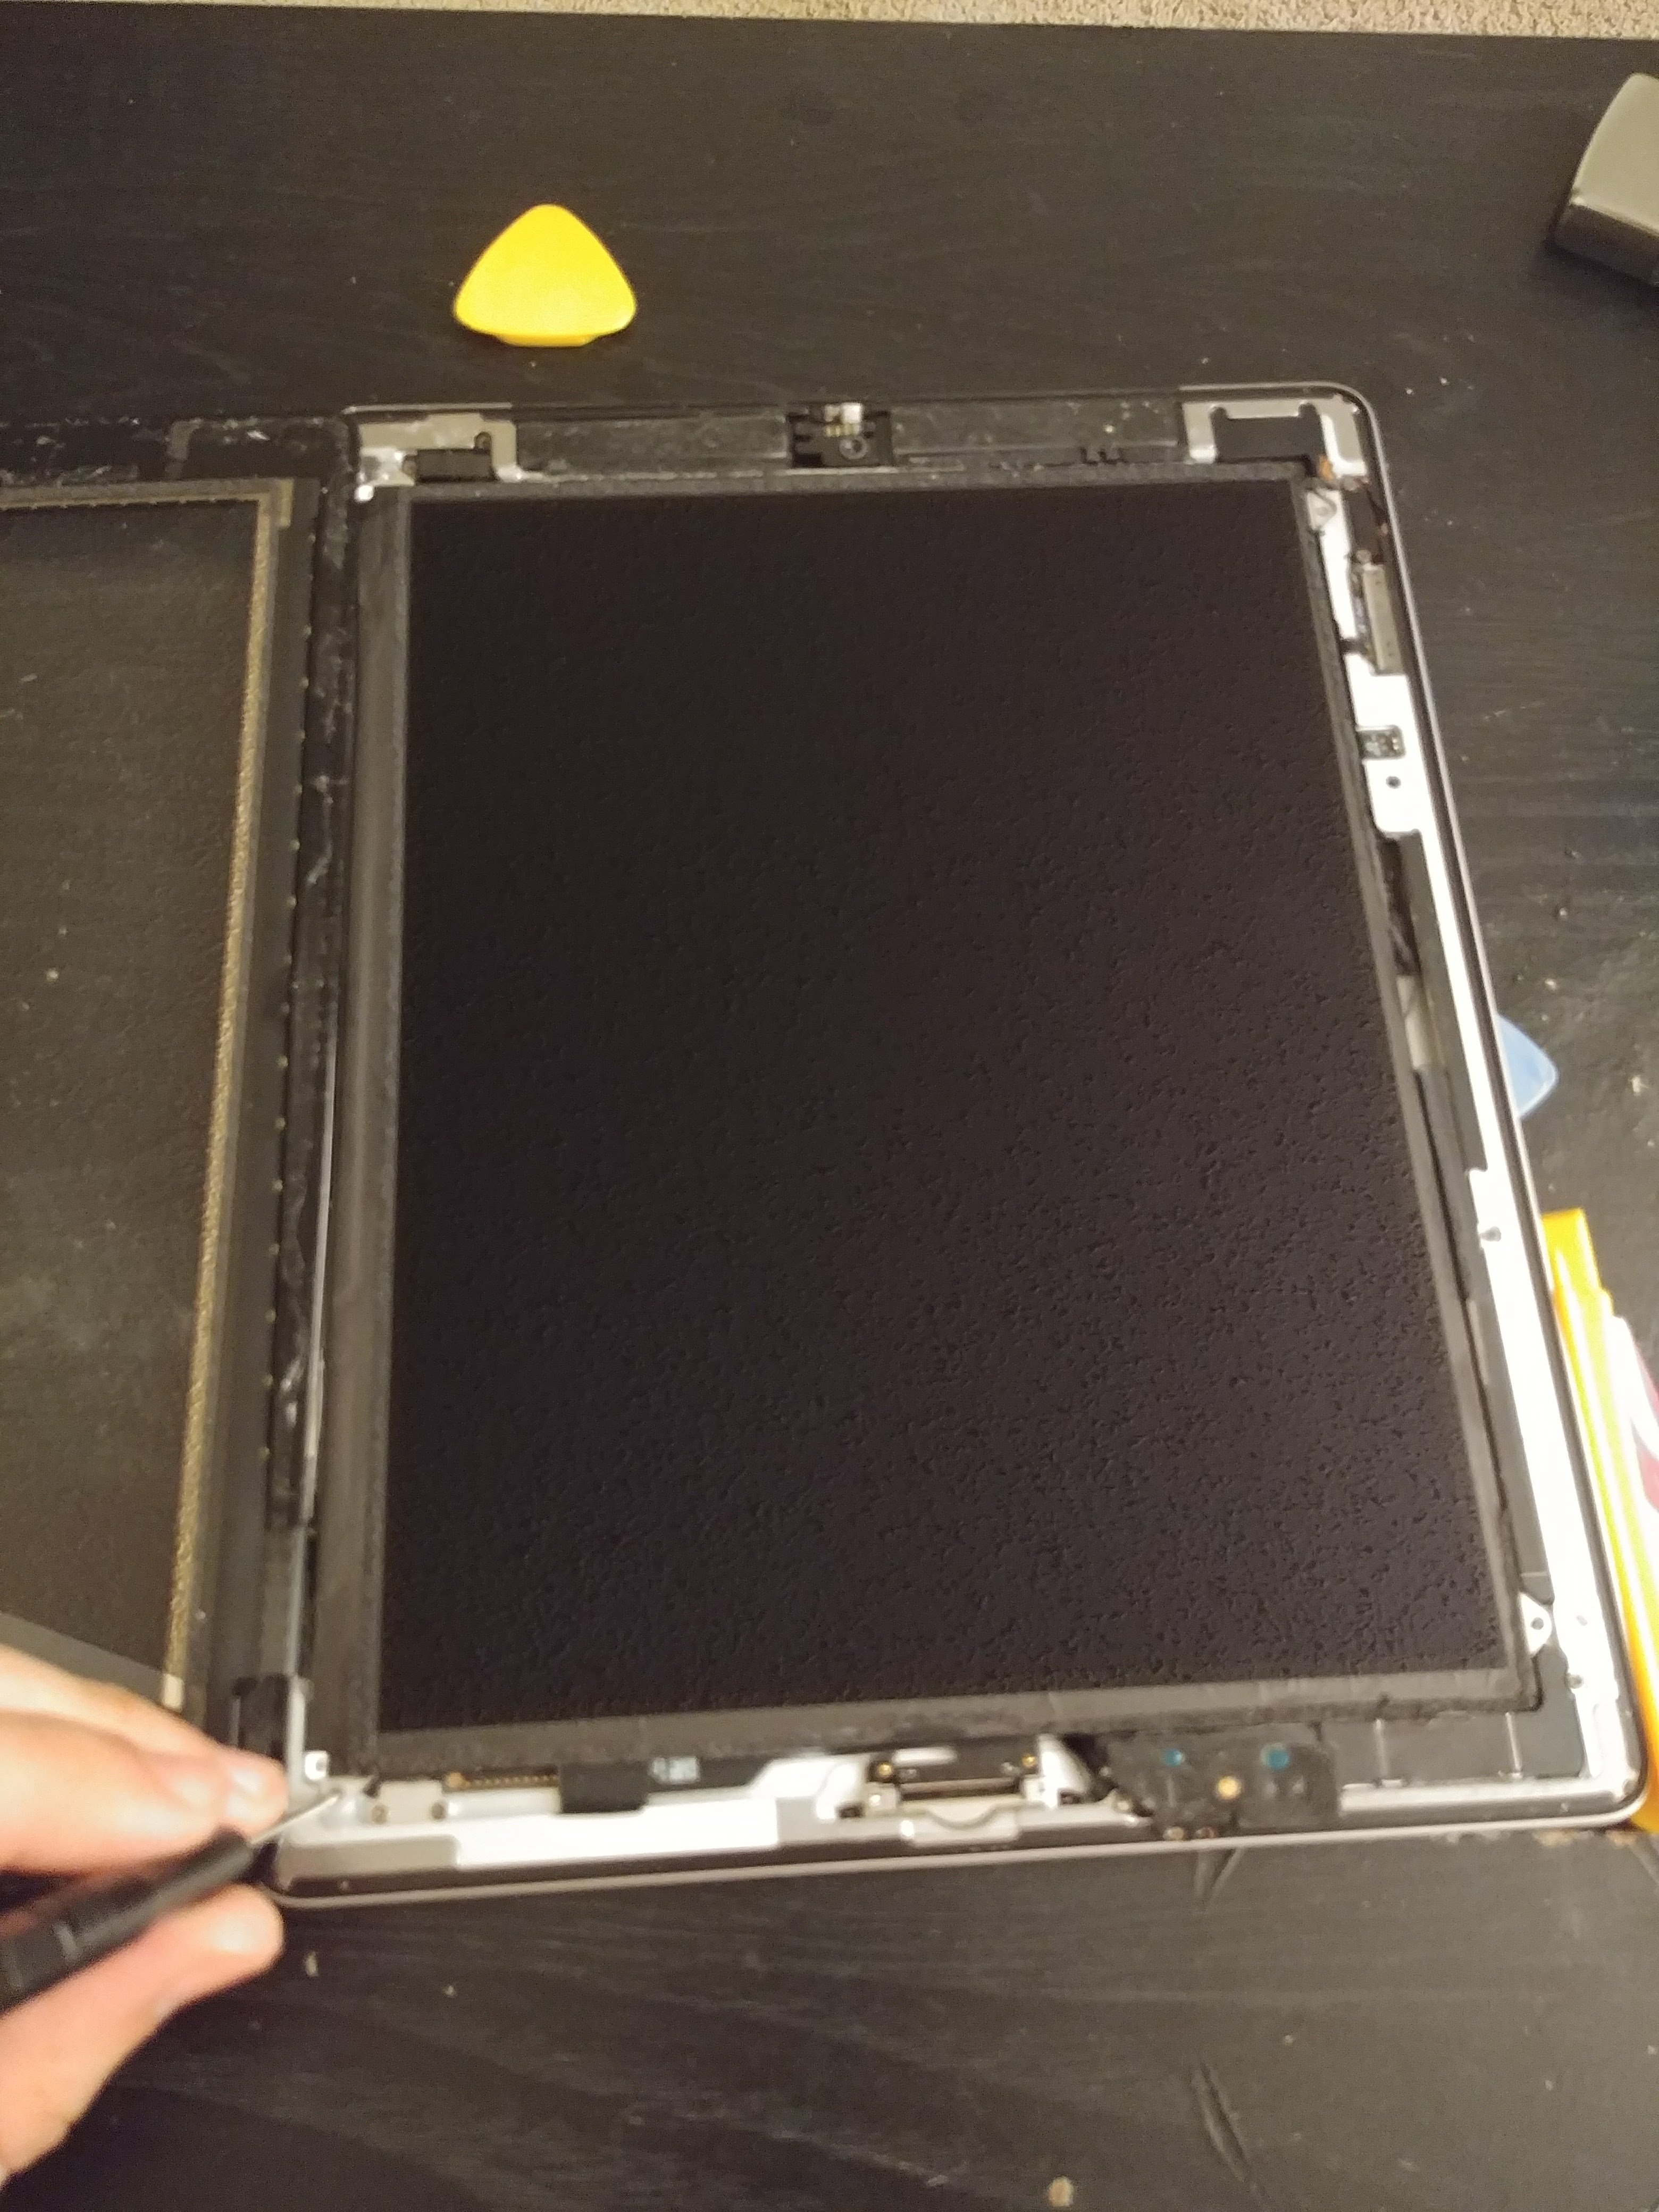
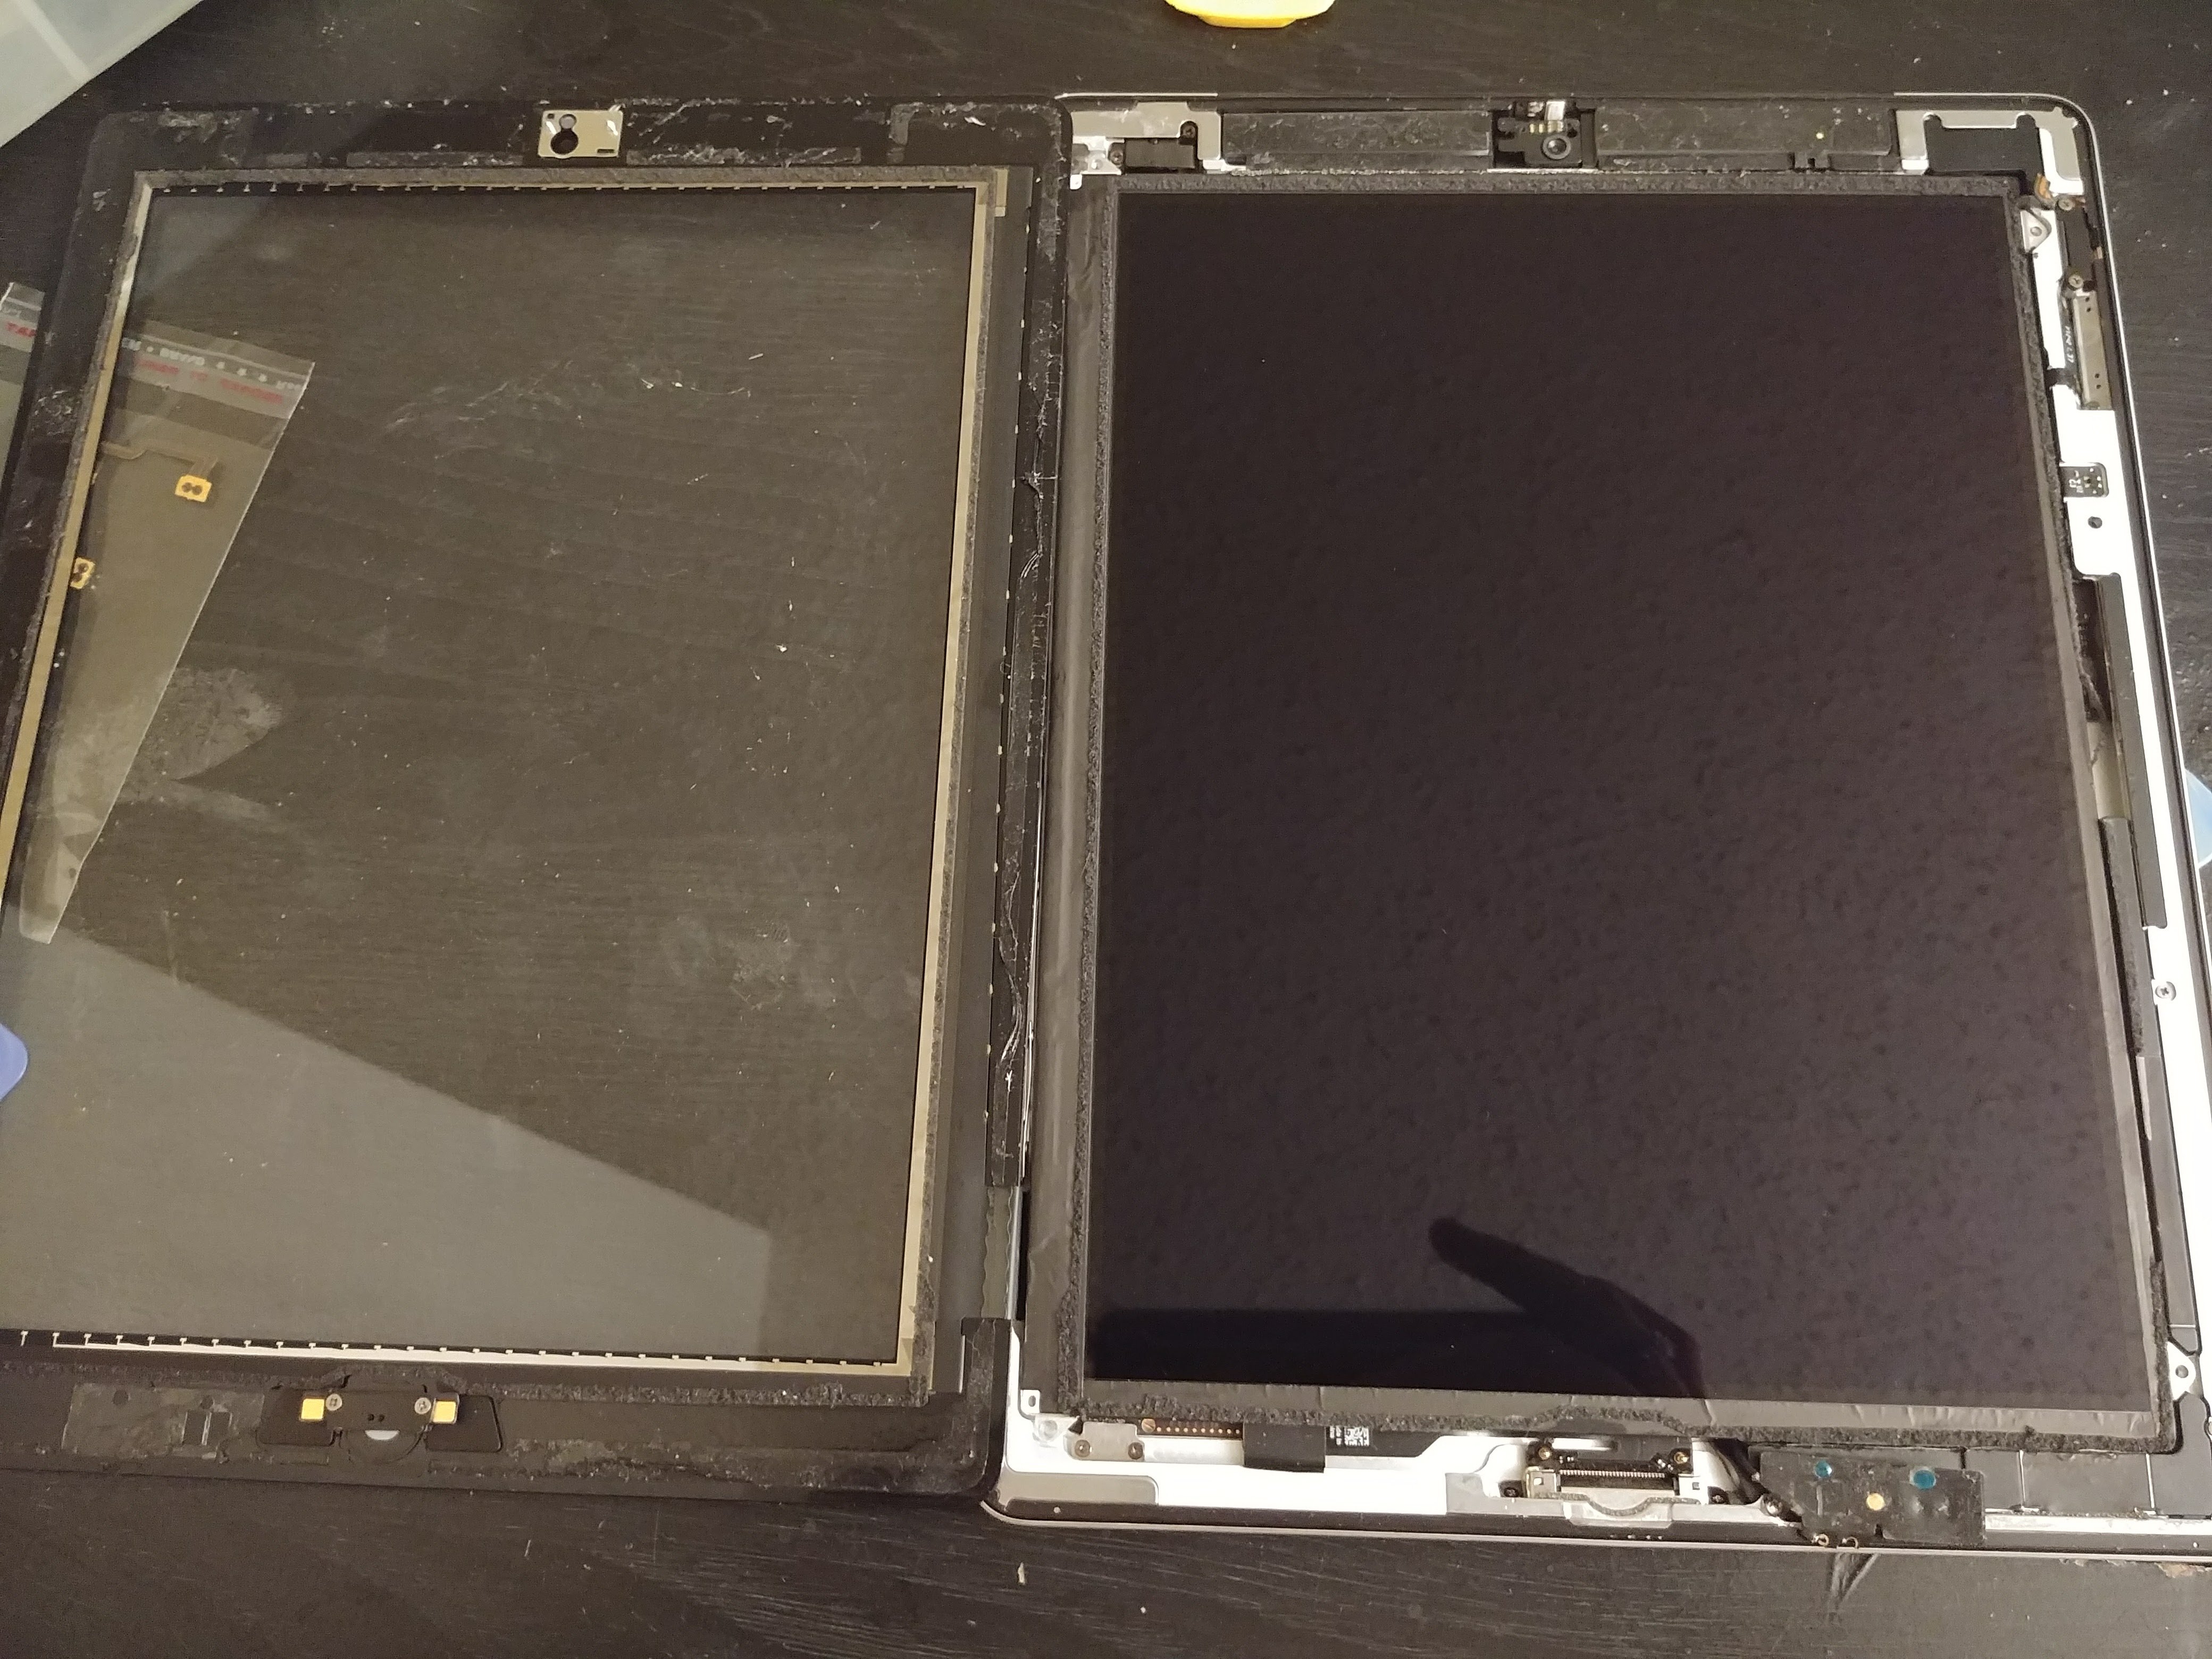
Once the 4 screws have been removed, we need to insert a pry tool under the right side of the LCD and fold it over to the left just like we did the digitizer.
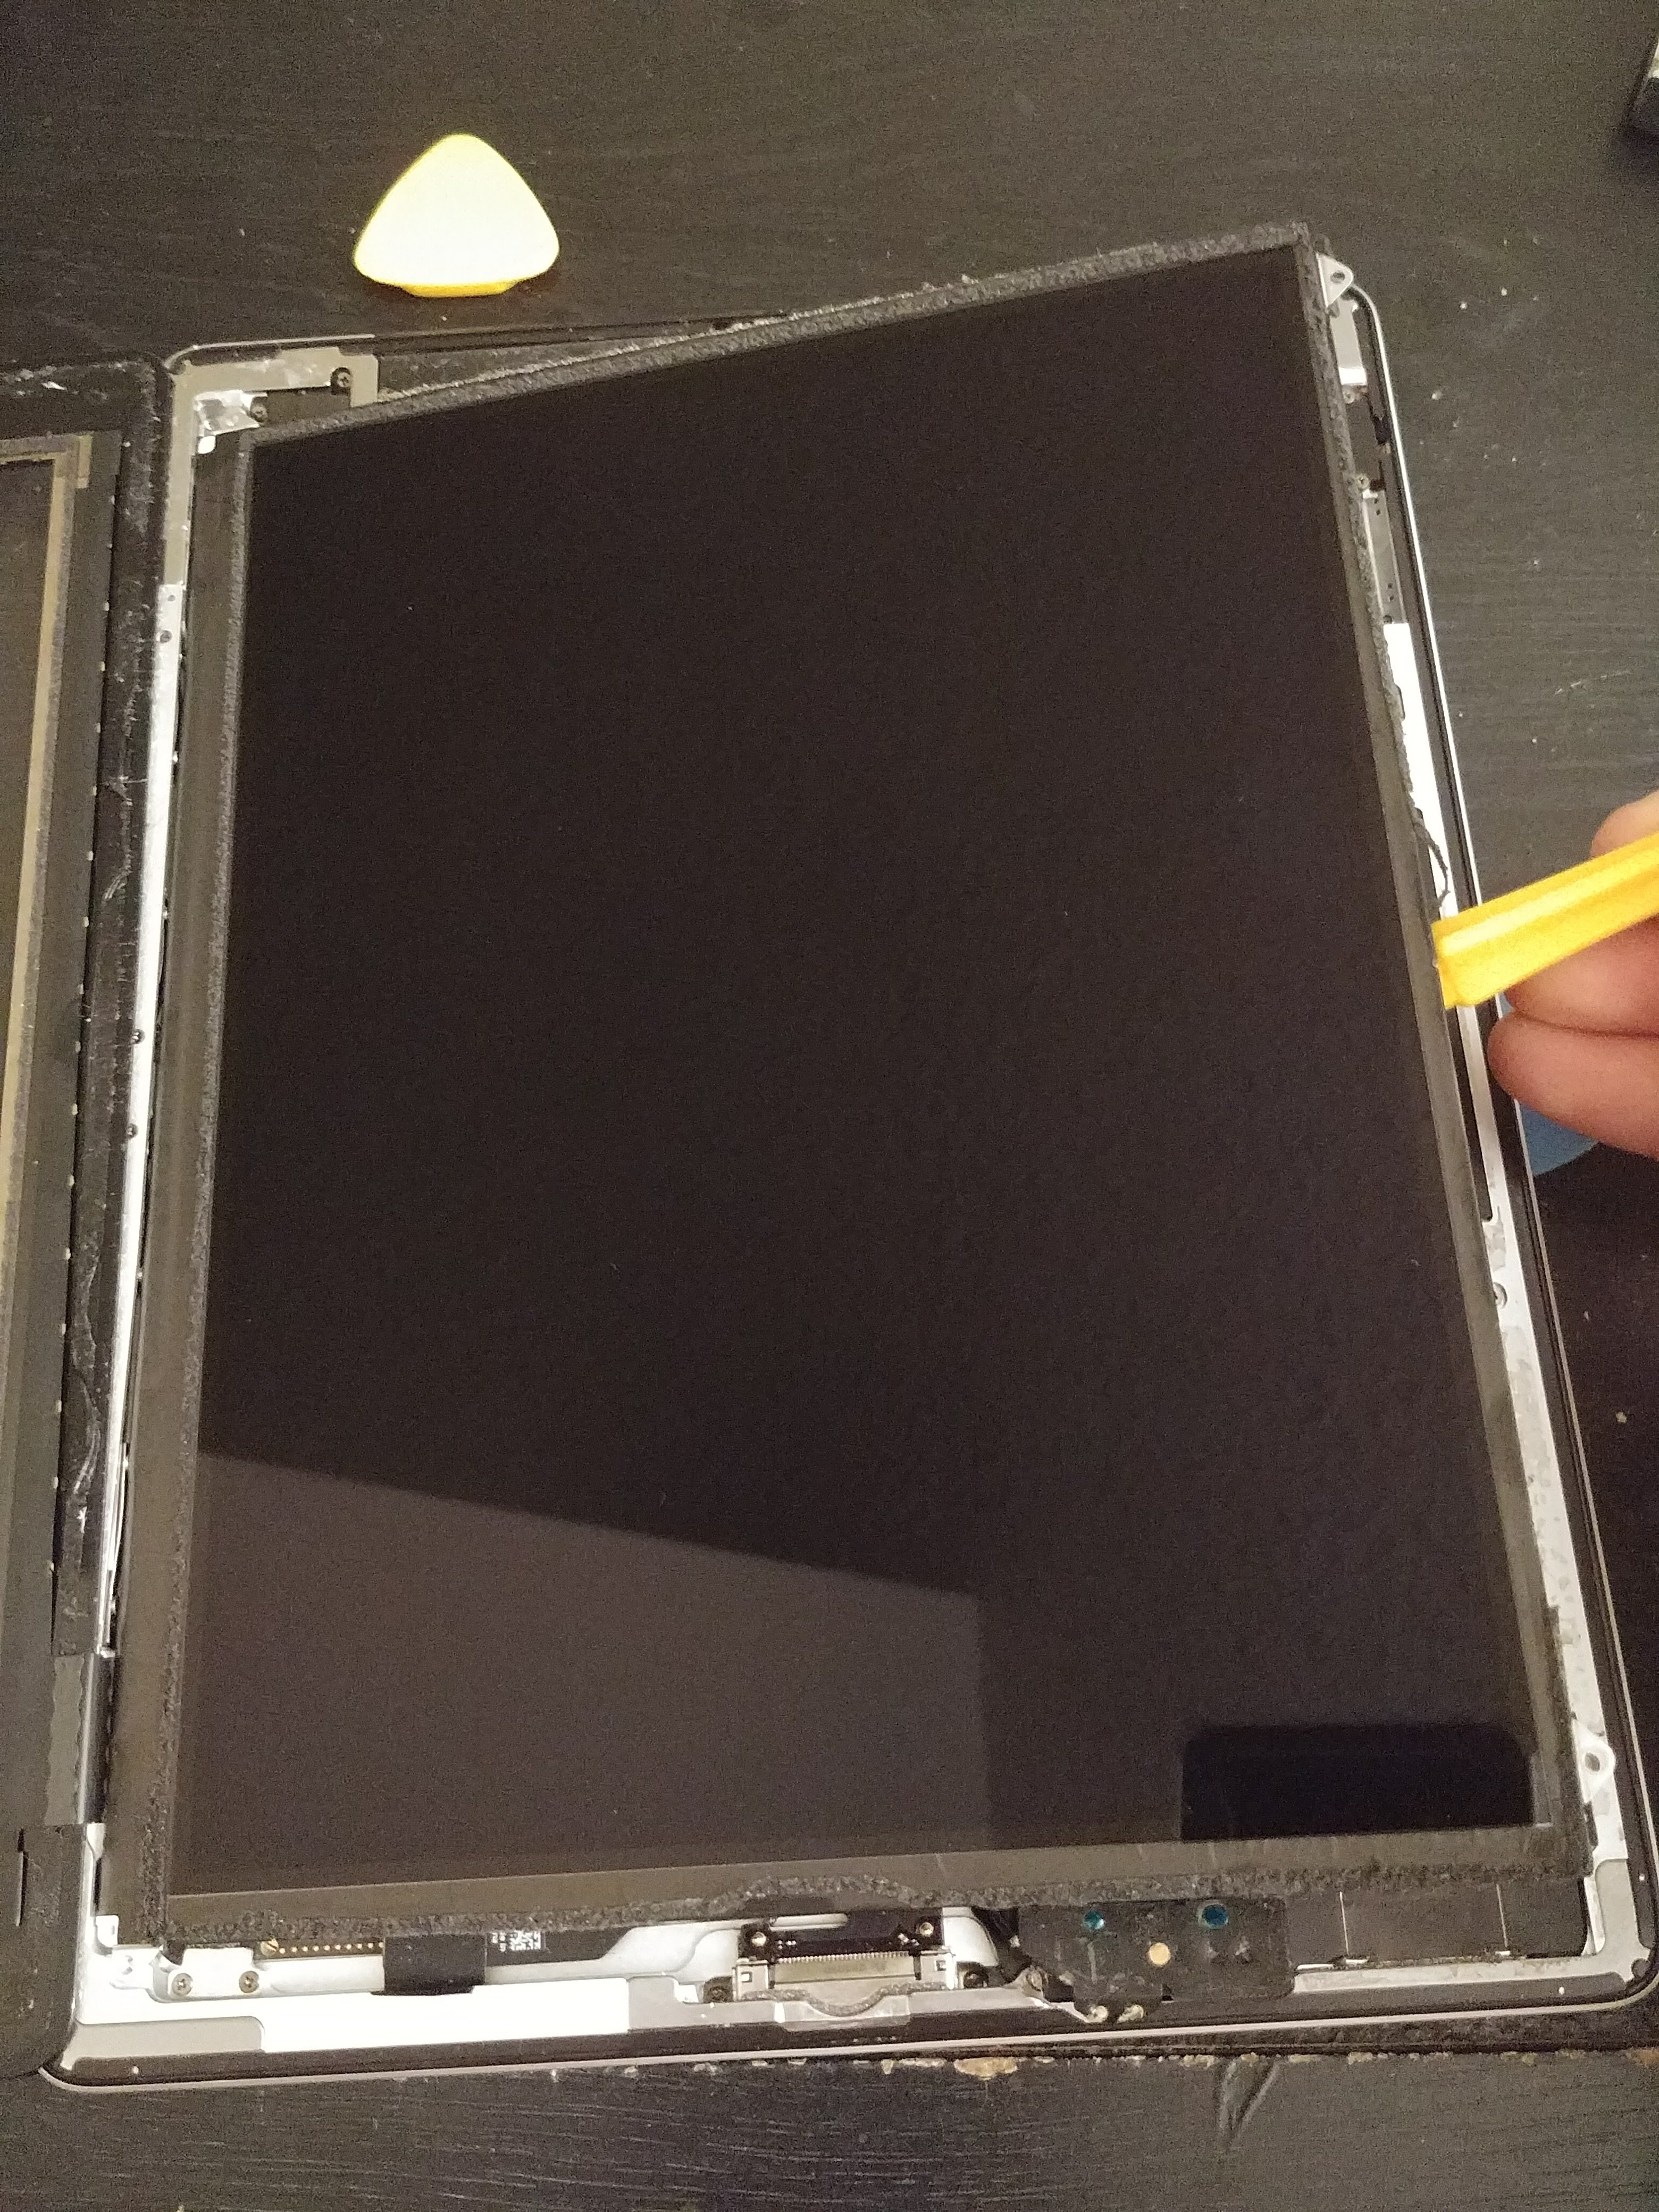
Now the fun begins. Get ready to deal with some rather small parts.
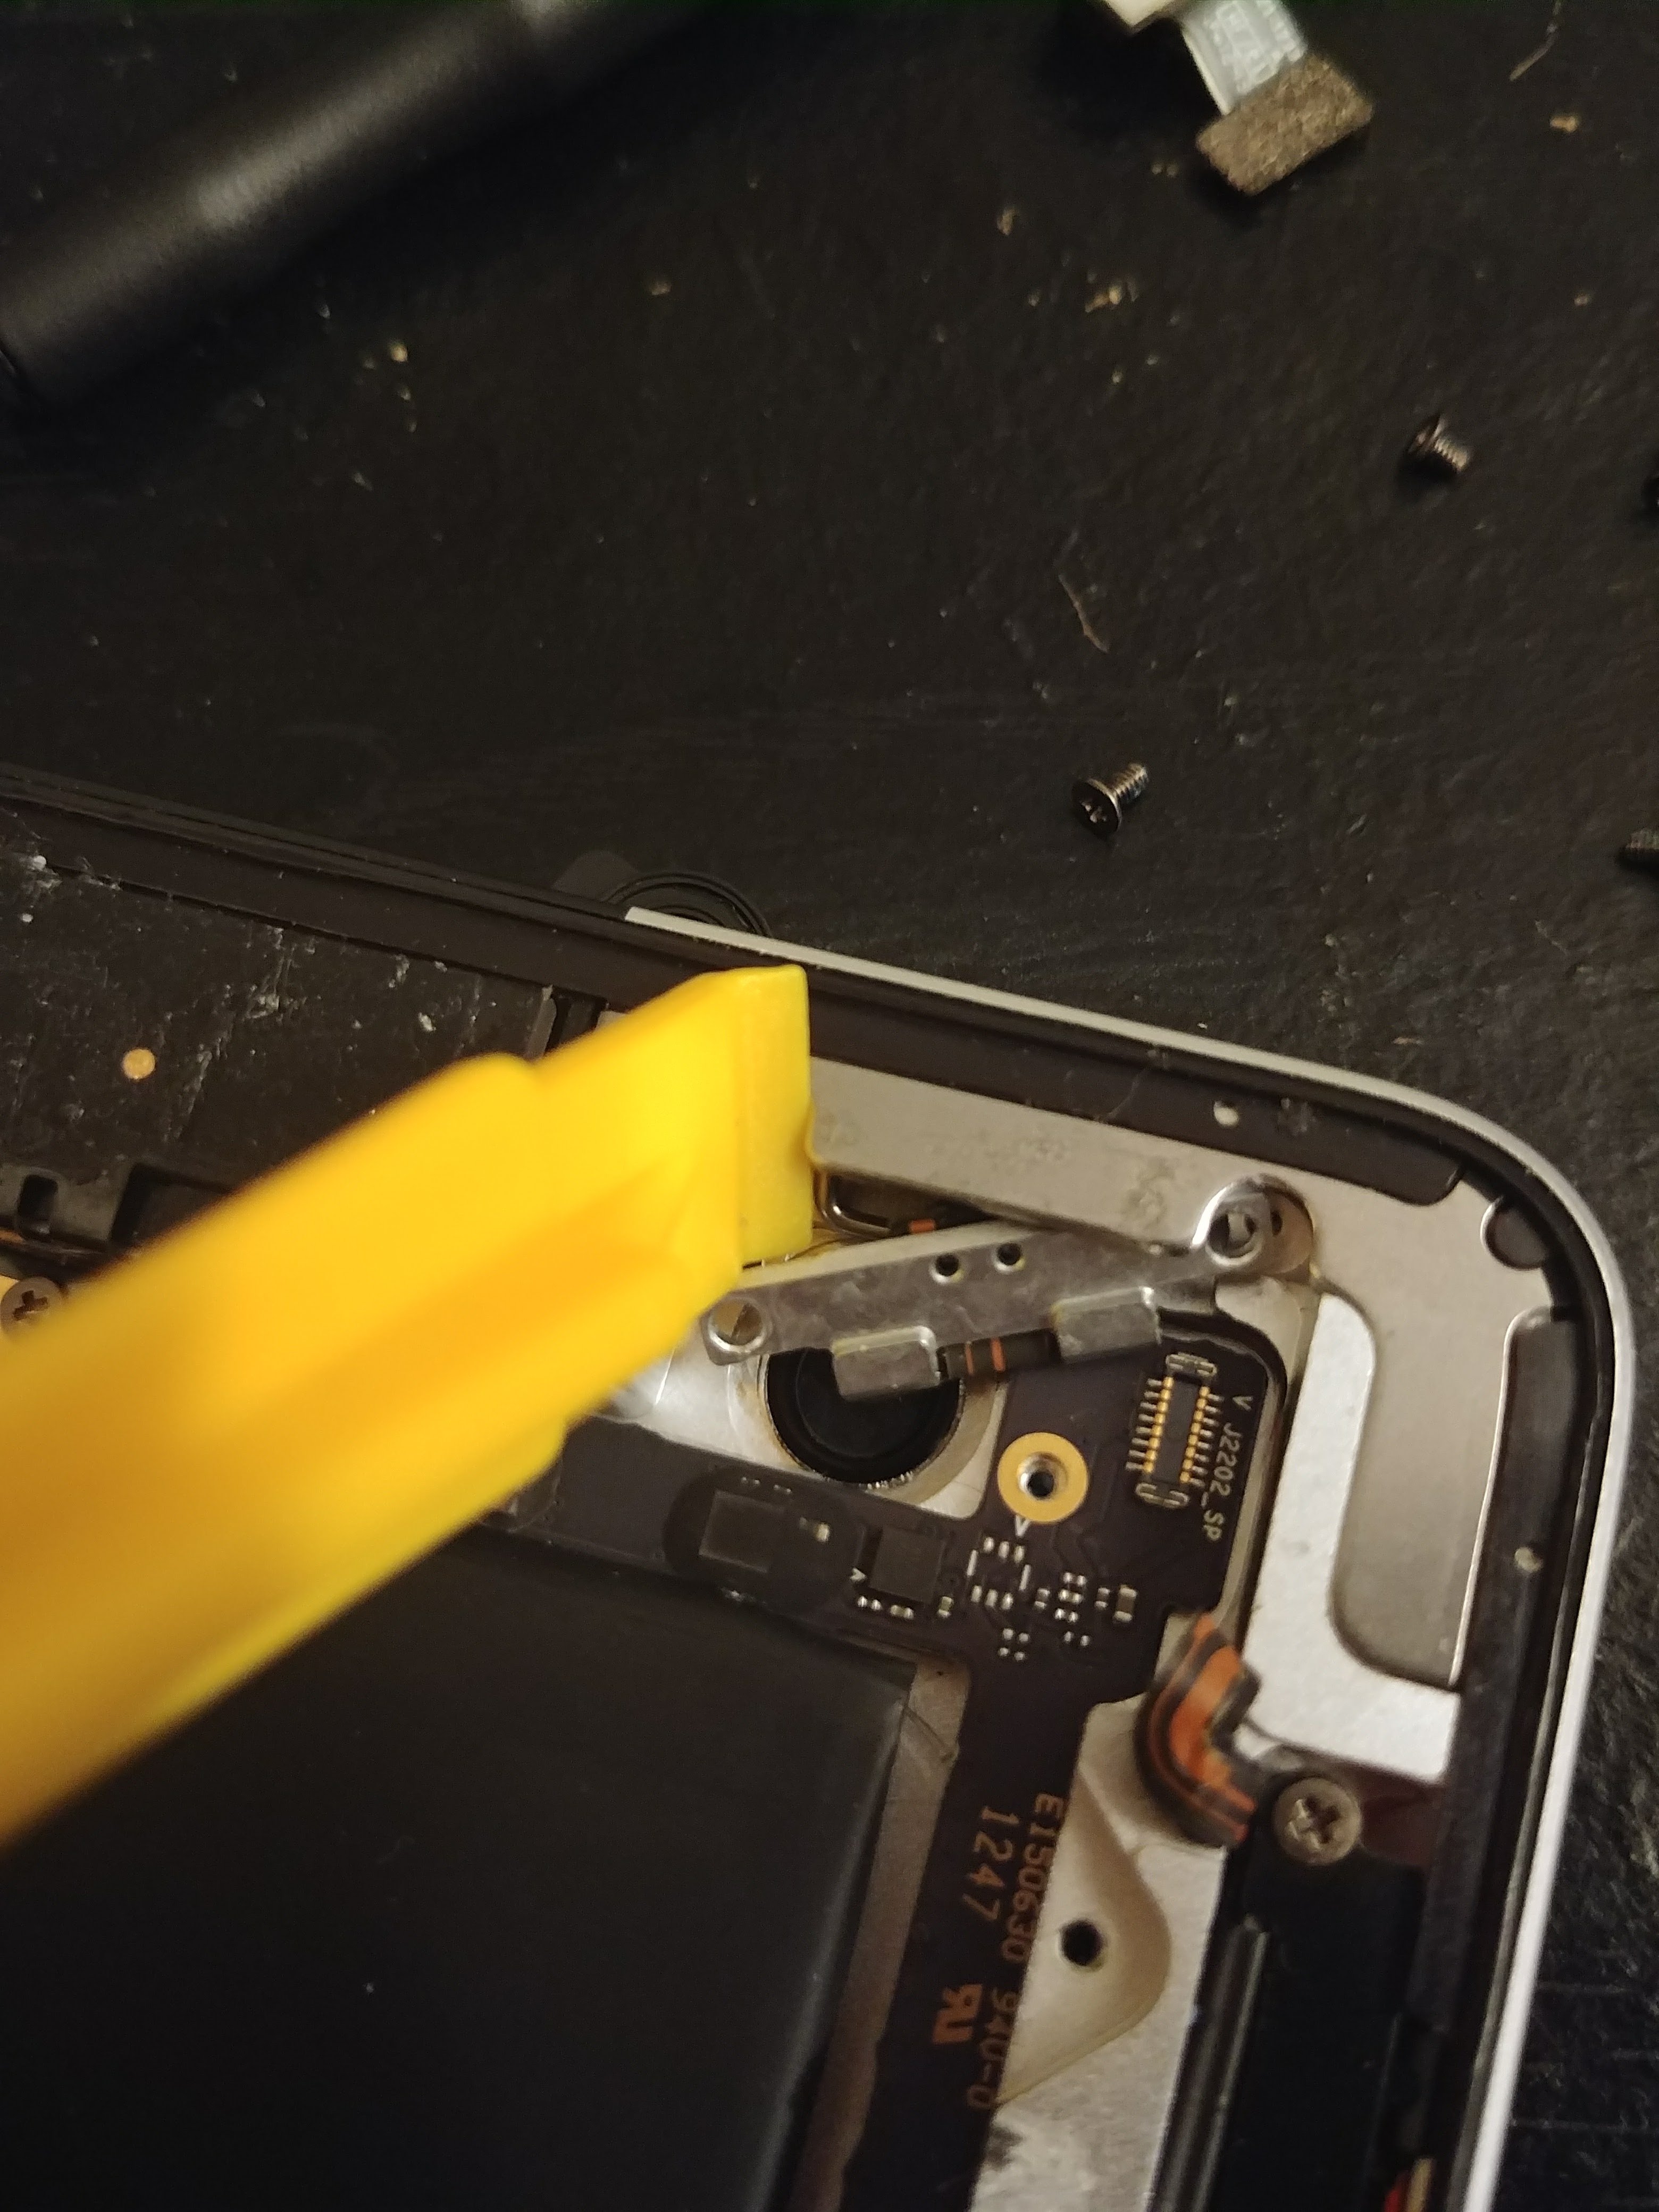
We must first remove this small cover that is over the camera.
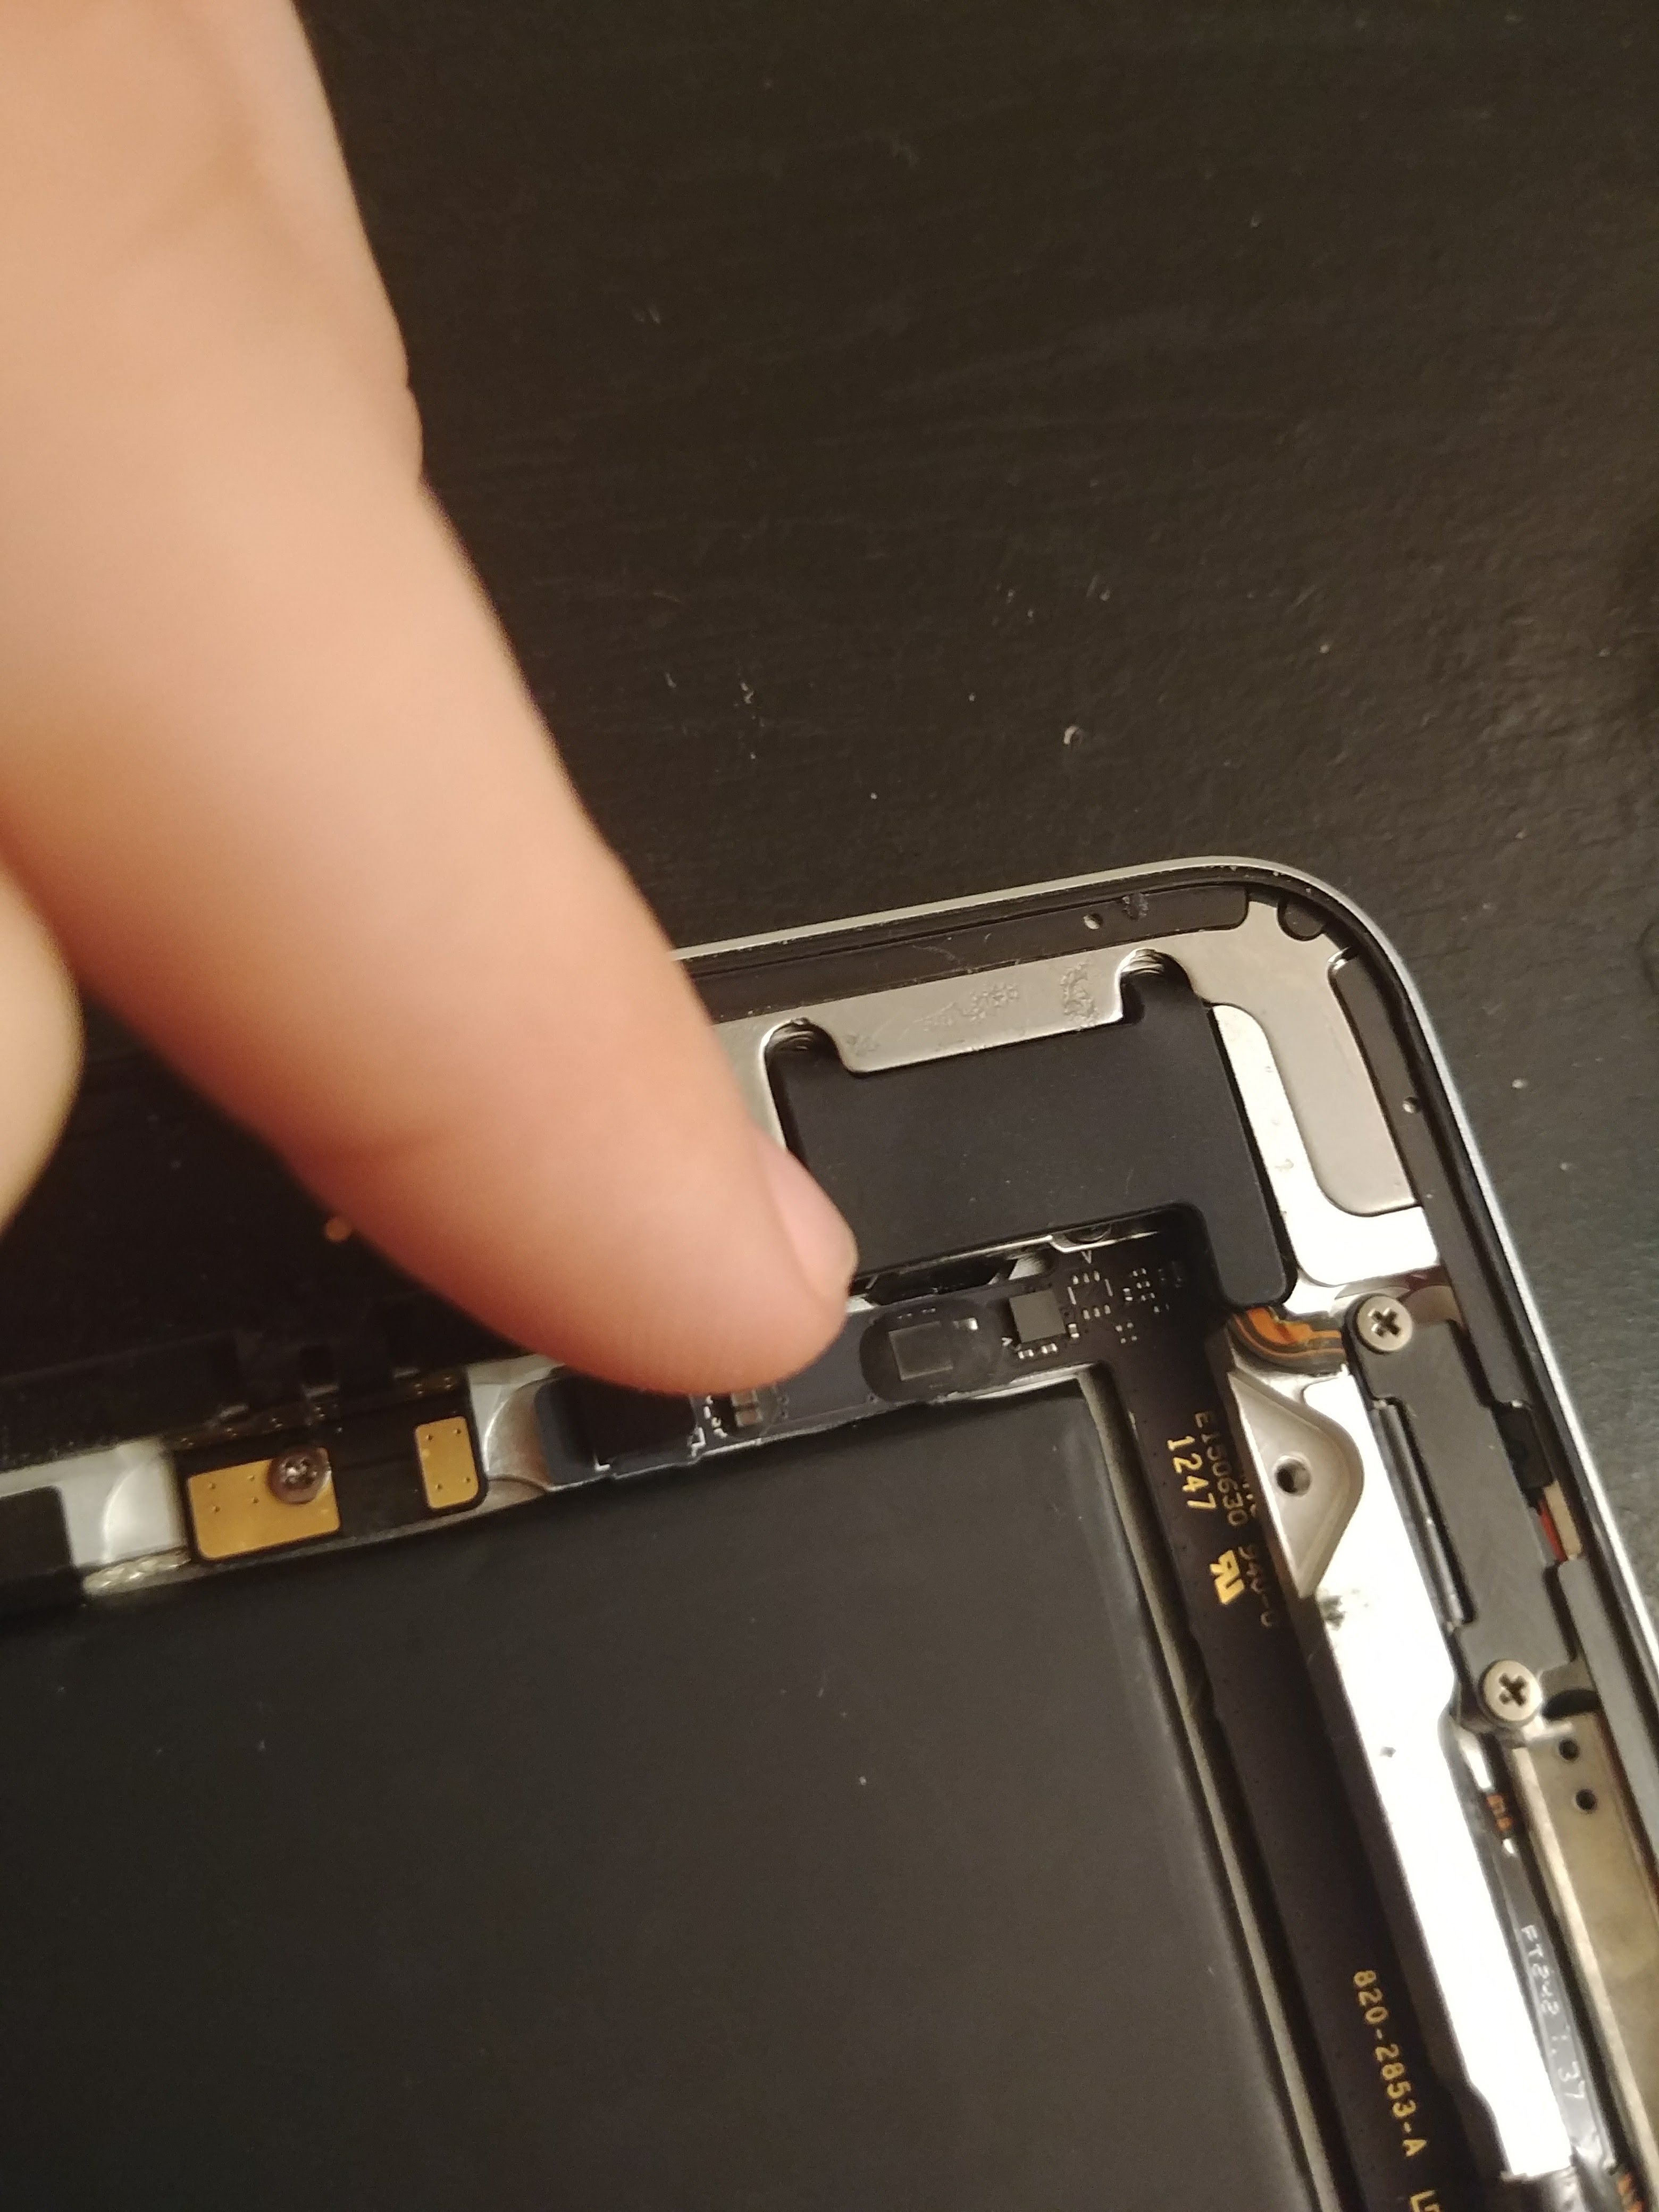
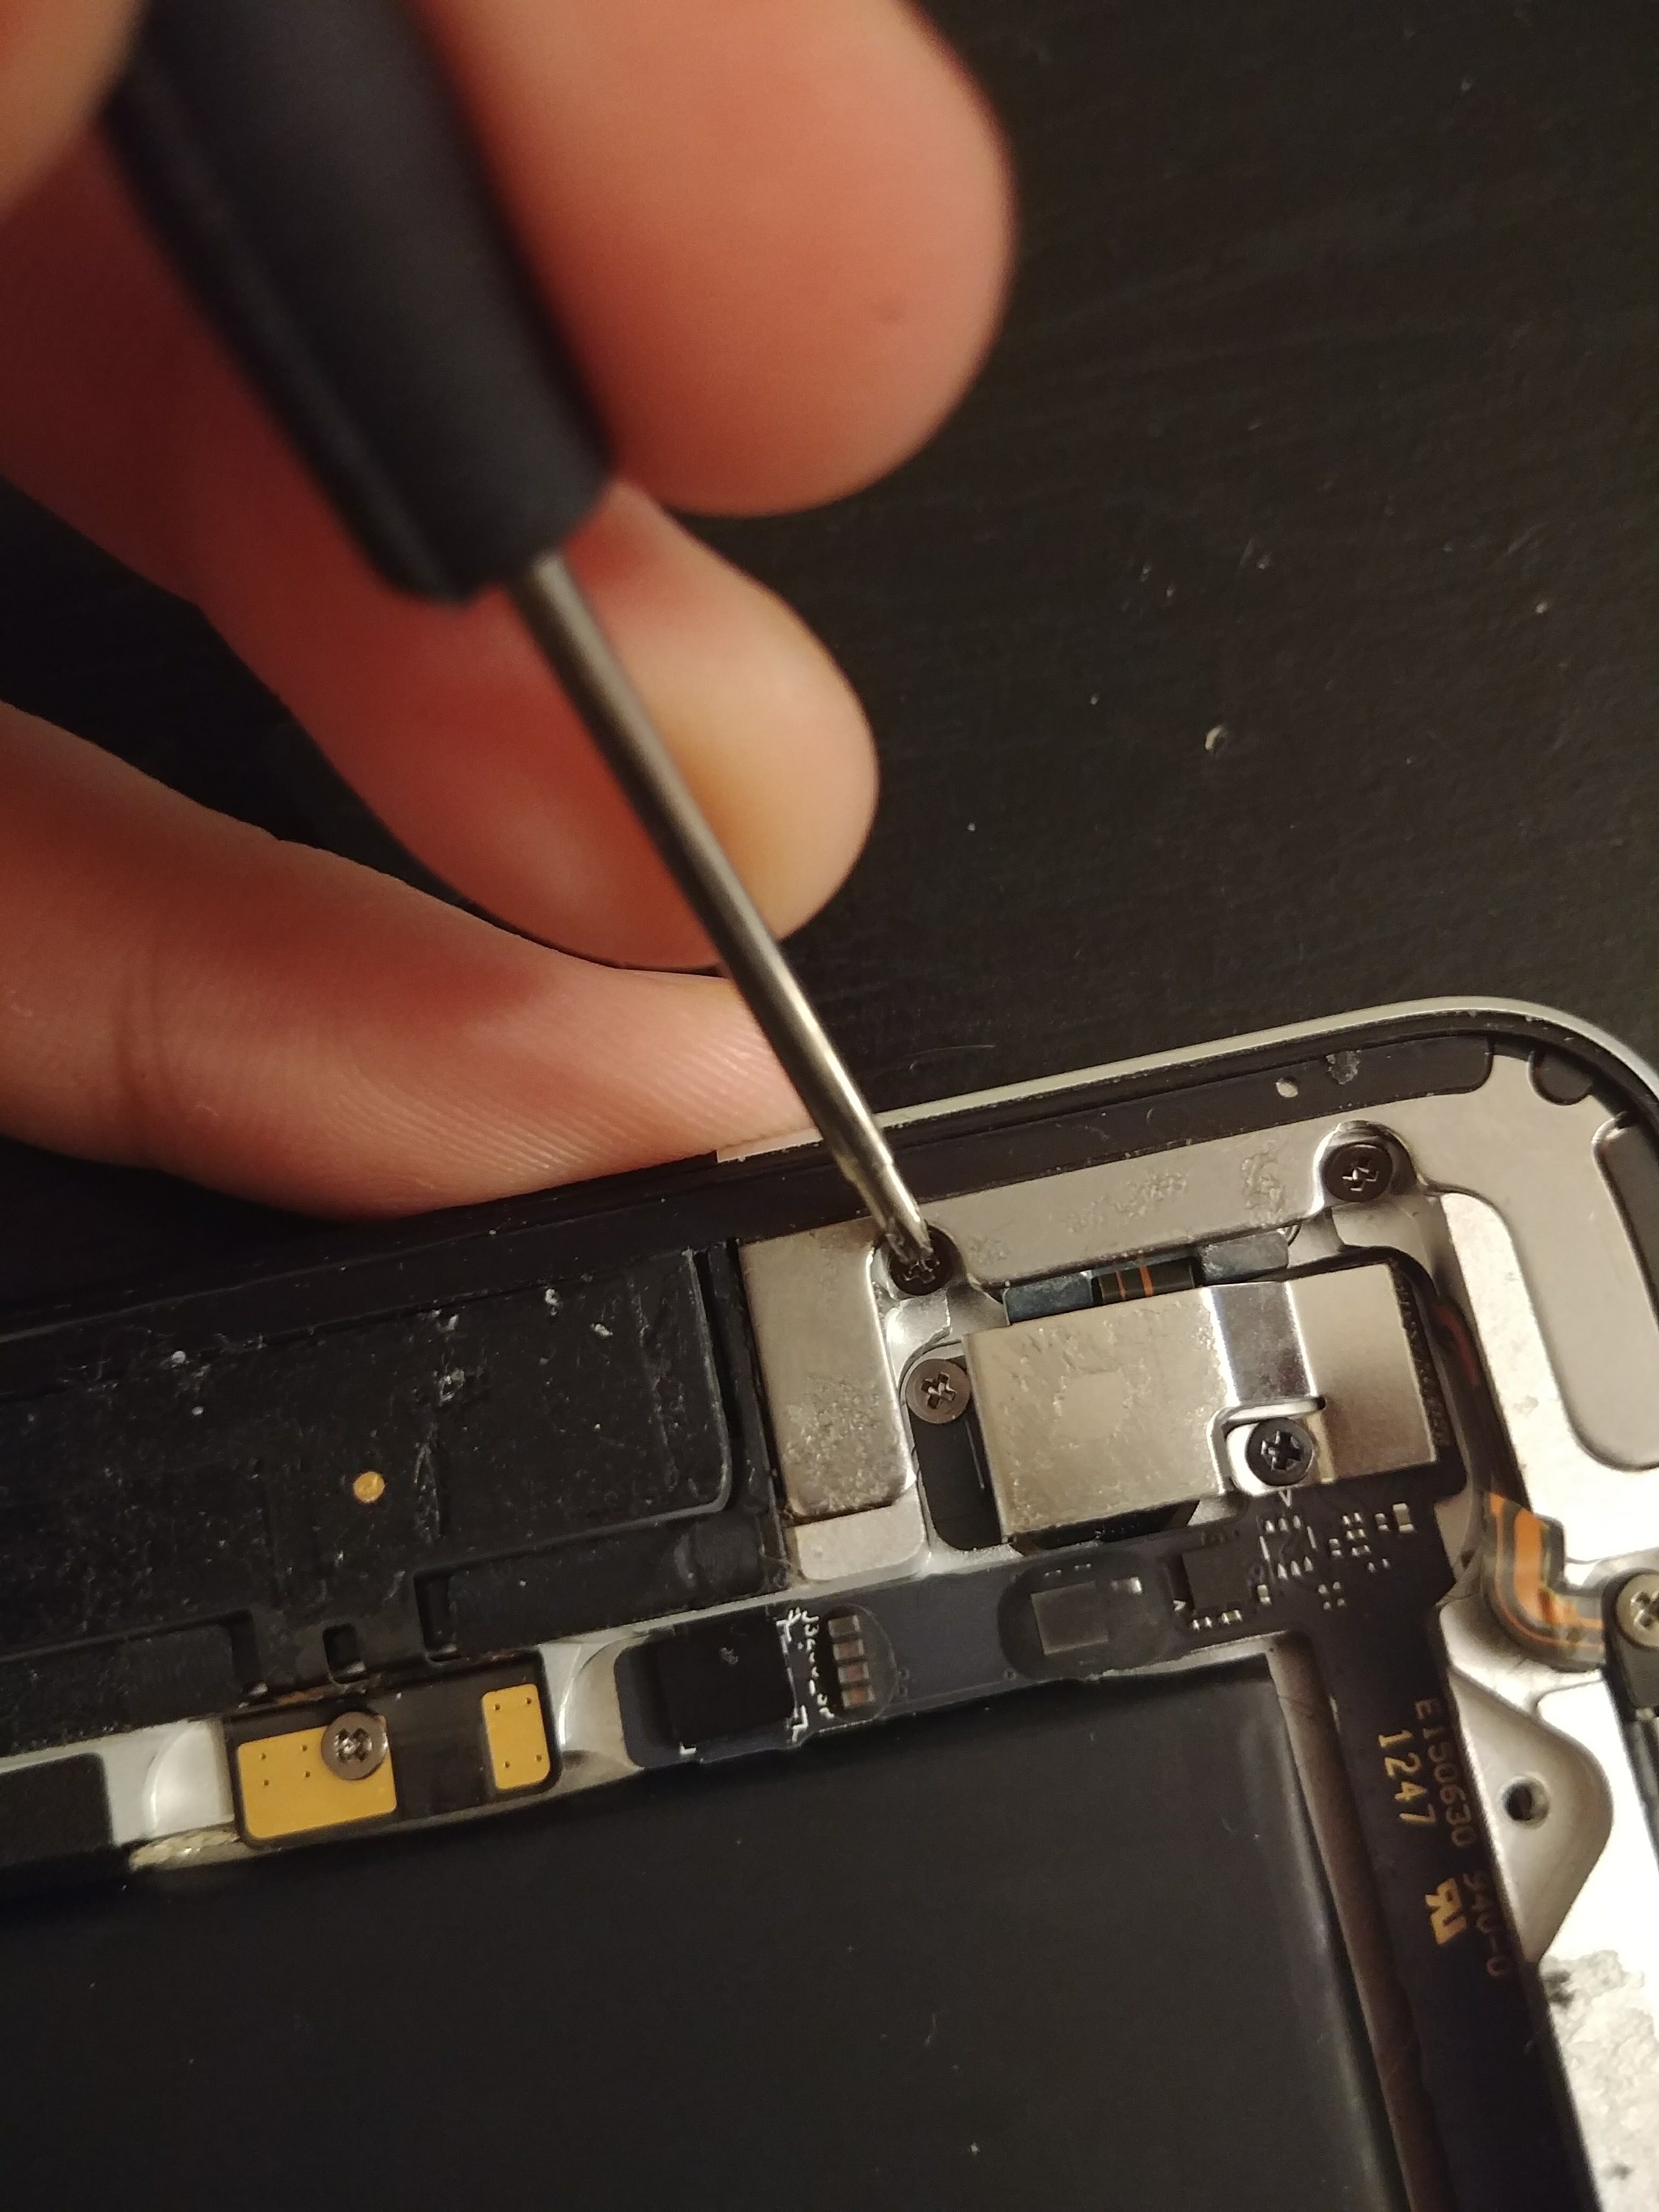
Next we need to remove the 4 screws pictured in order to remove the camera and power button. The metal plate covering the camera will be free, so we can use the pry tool to remove it next.
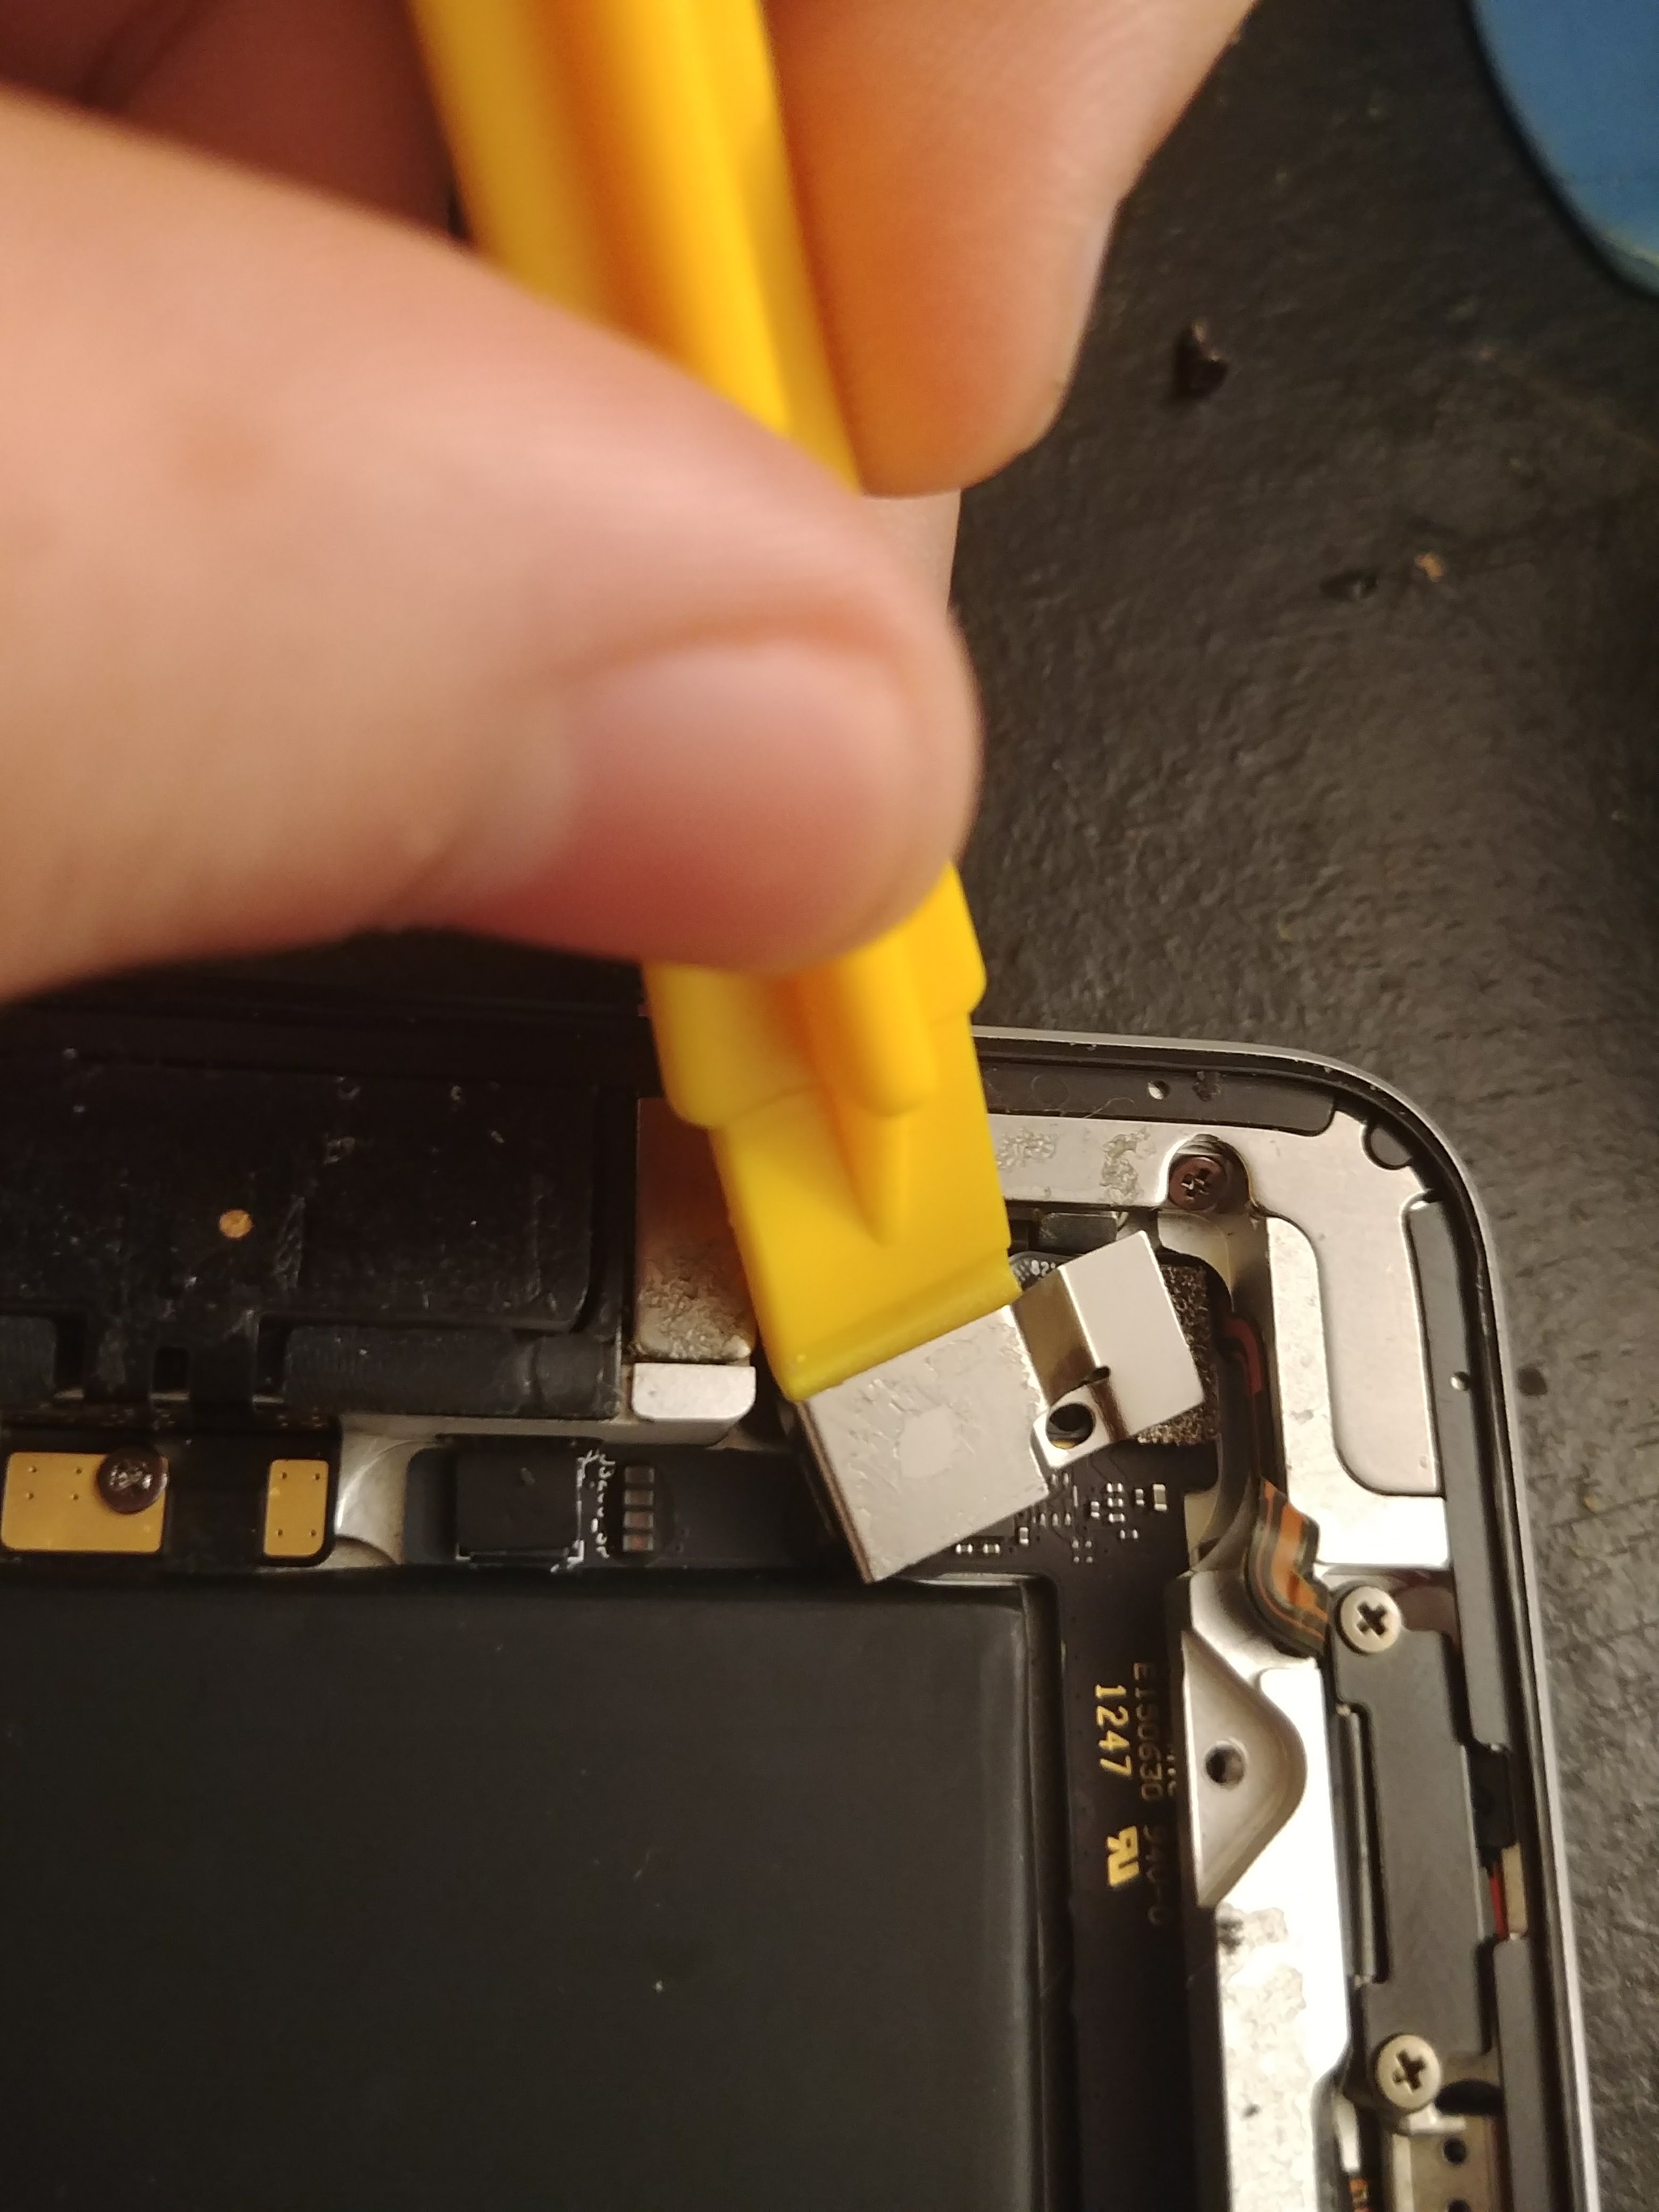
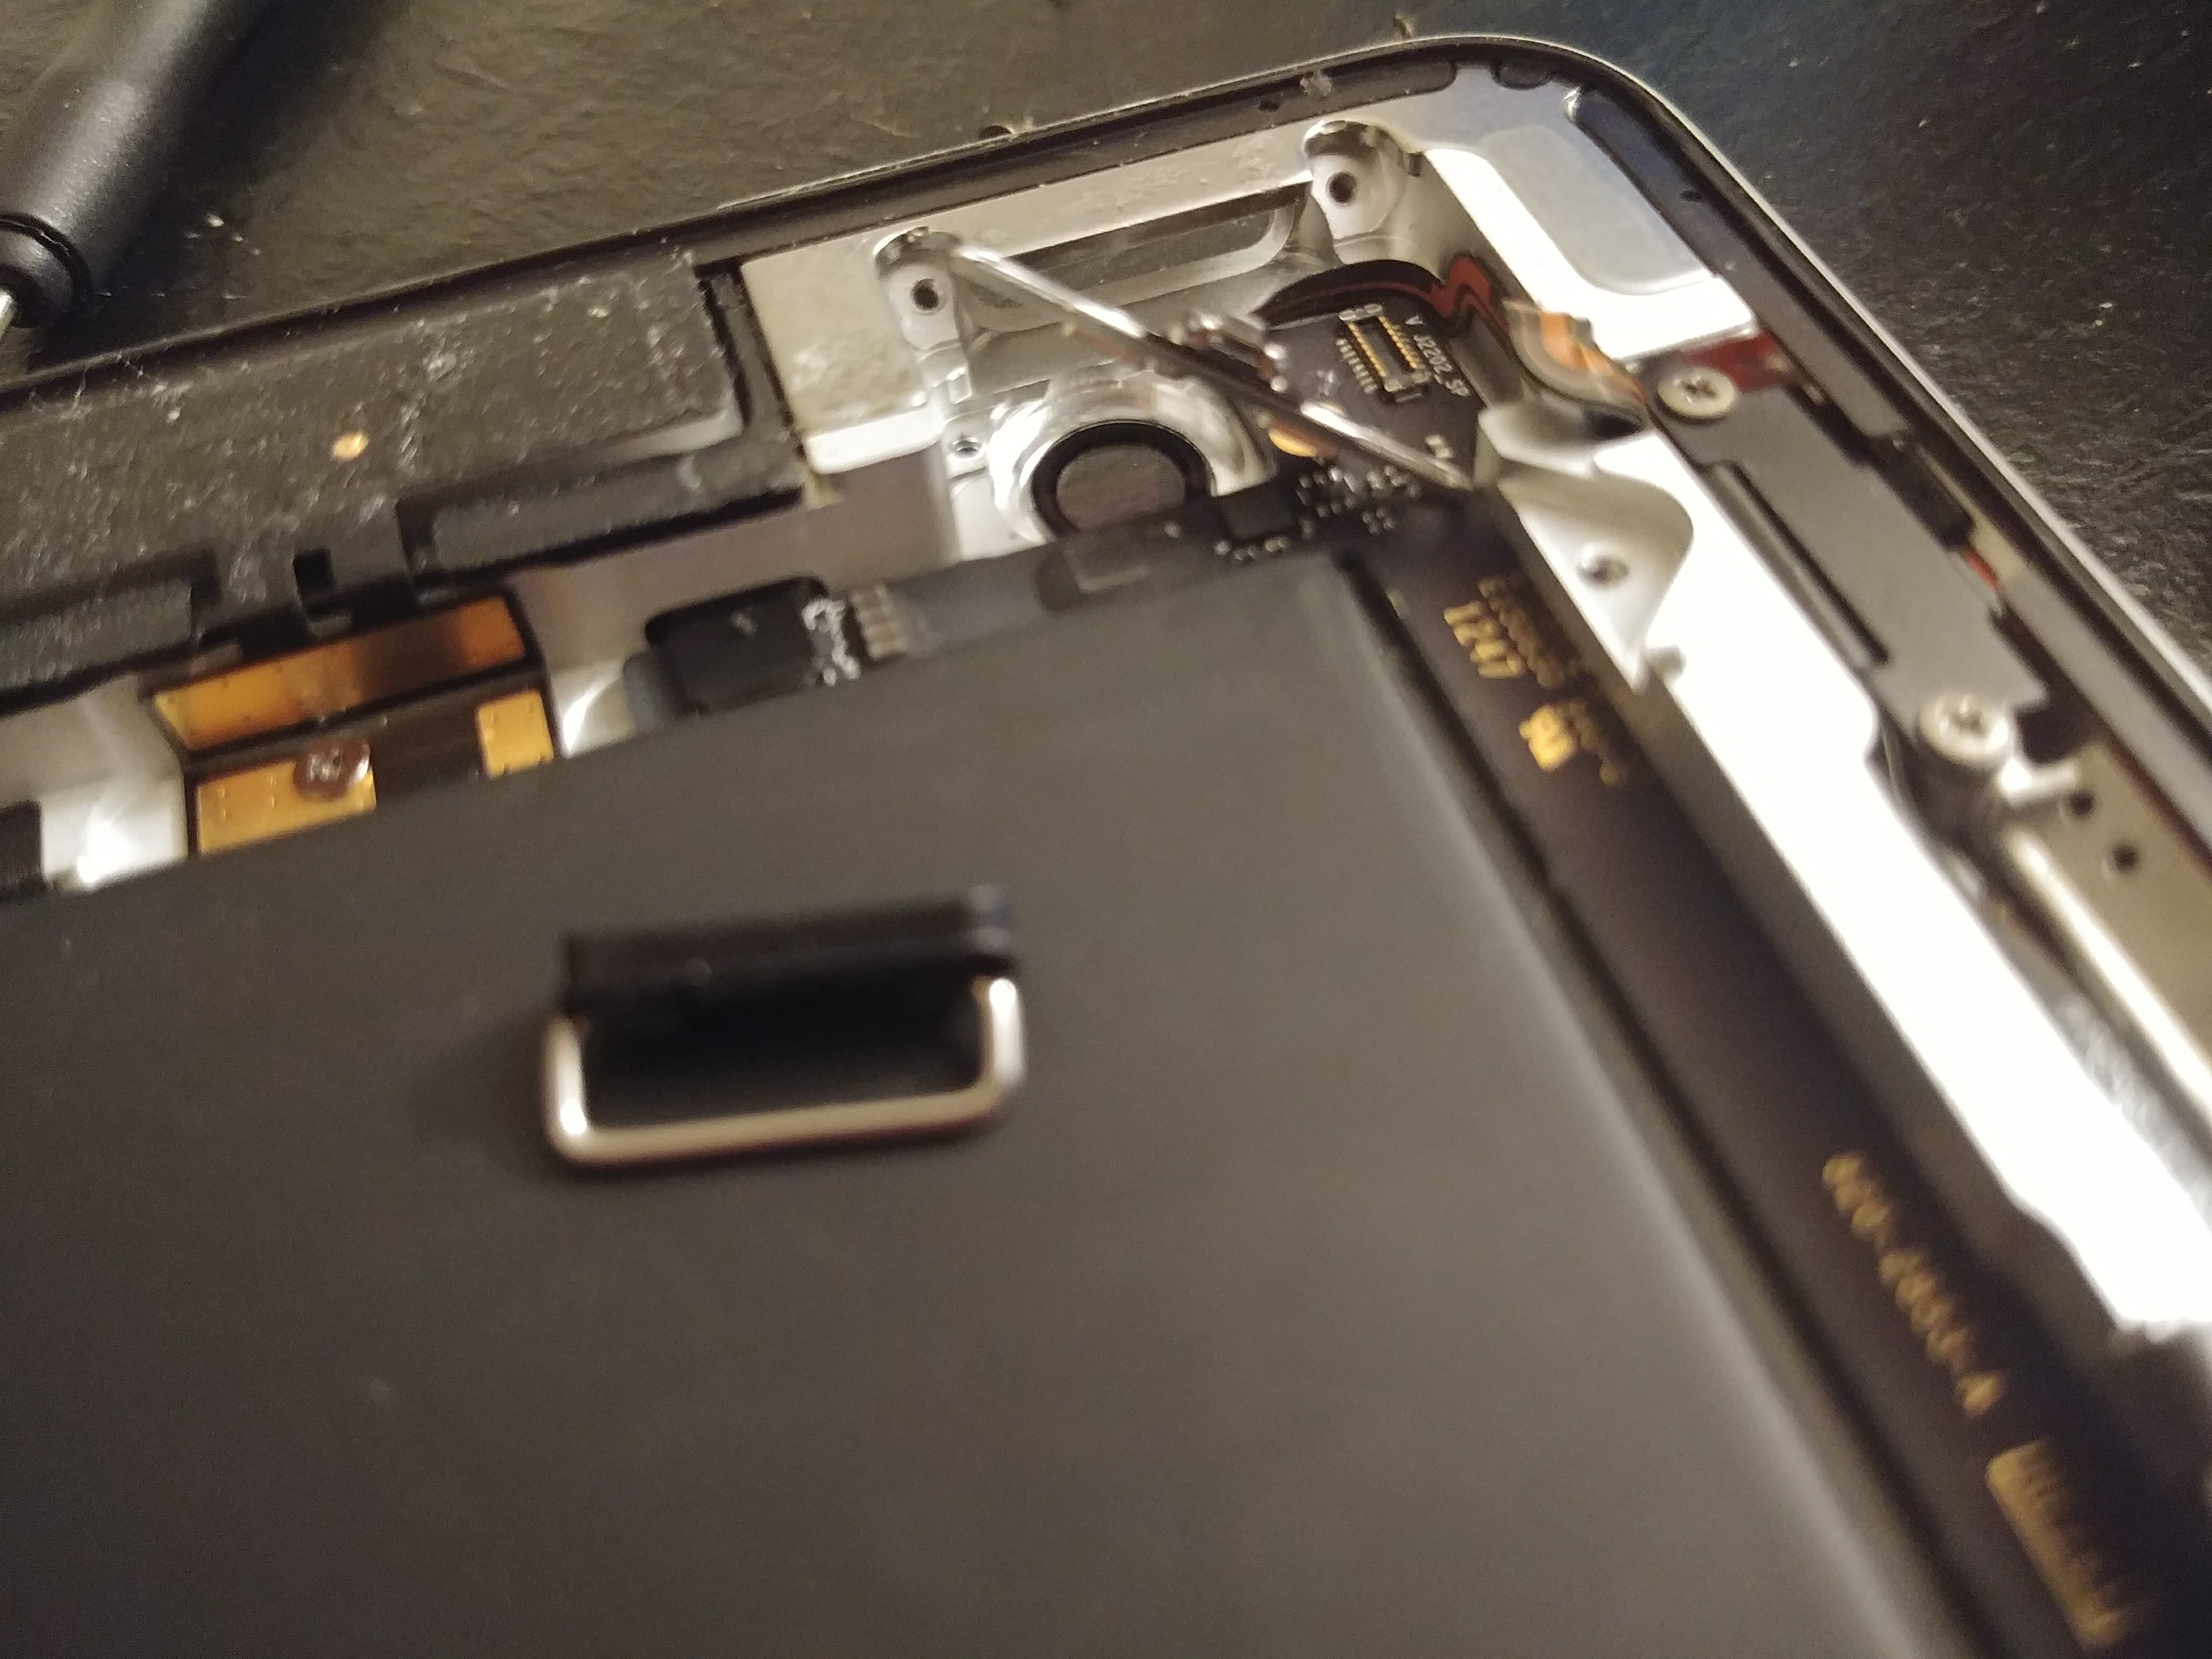
We can now unplug the camera from the motherboard using the pry tool and set it to the side.
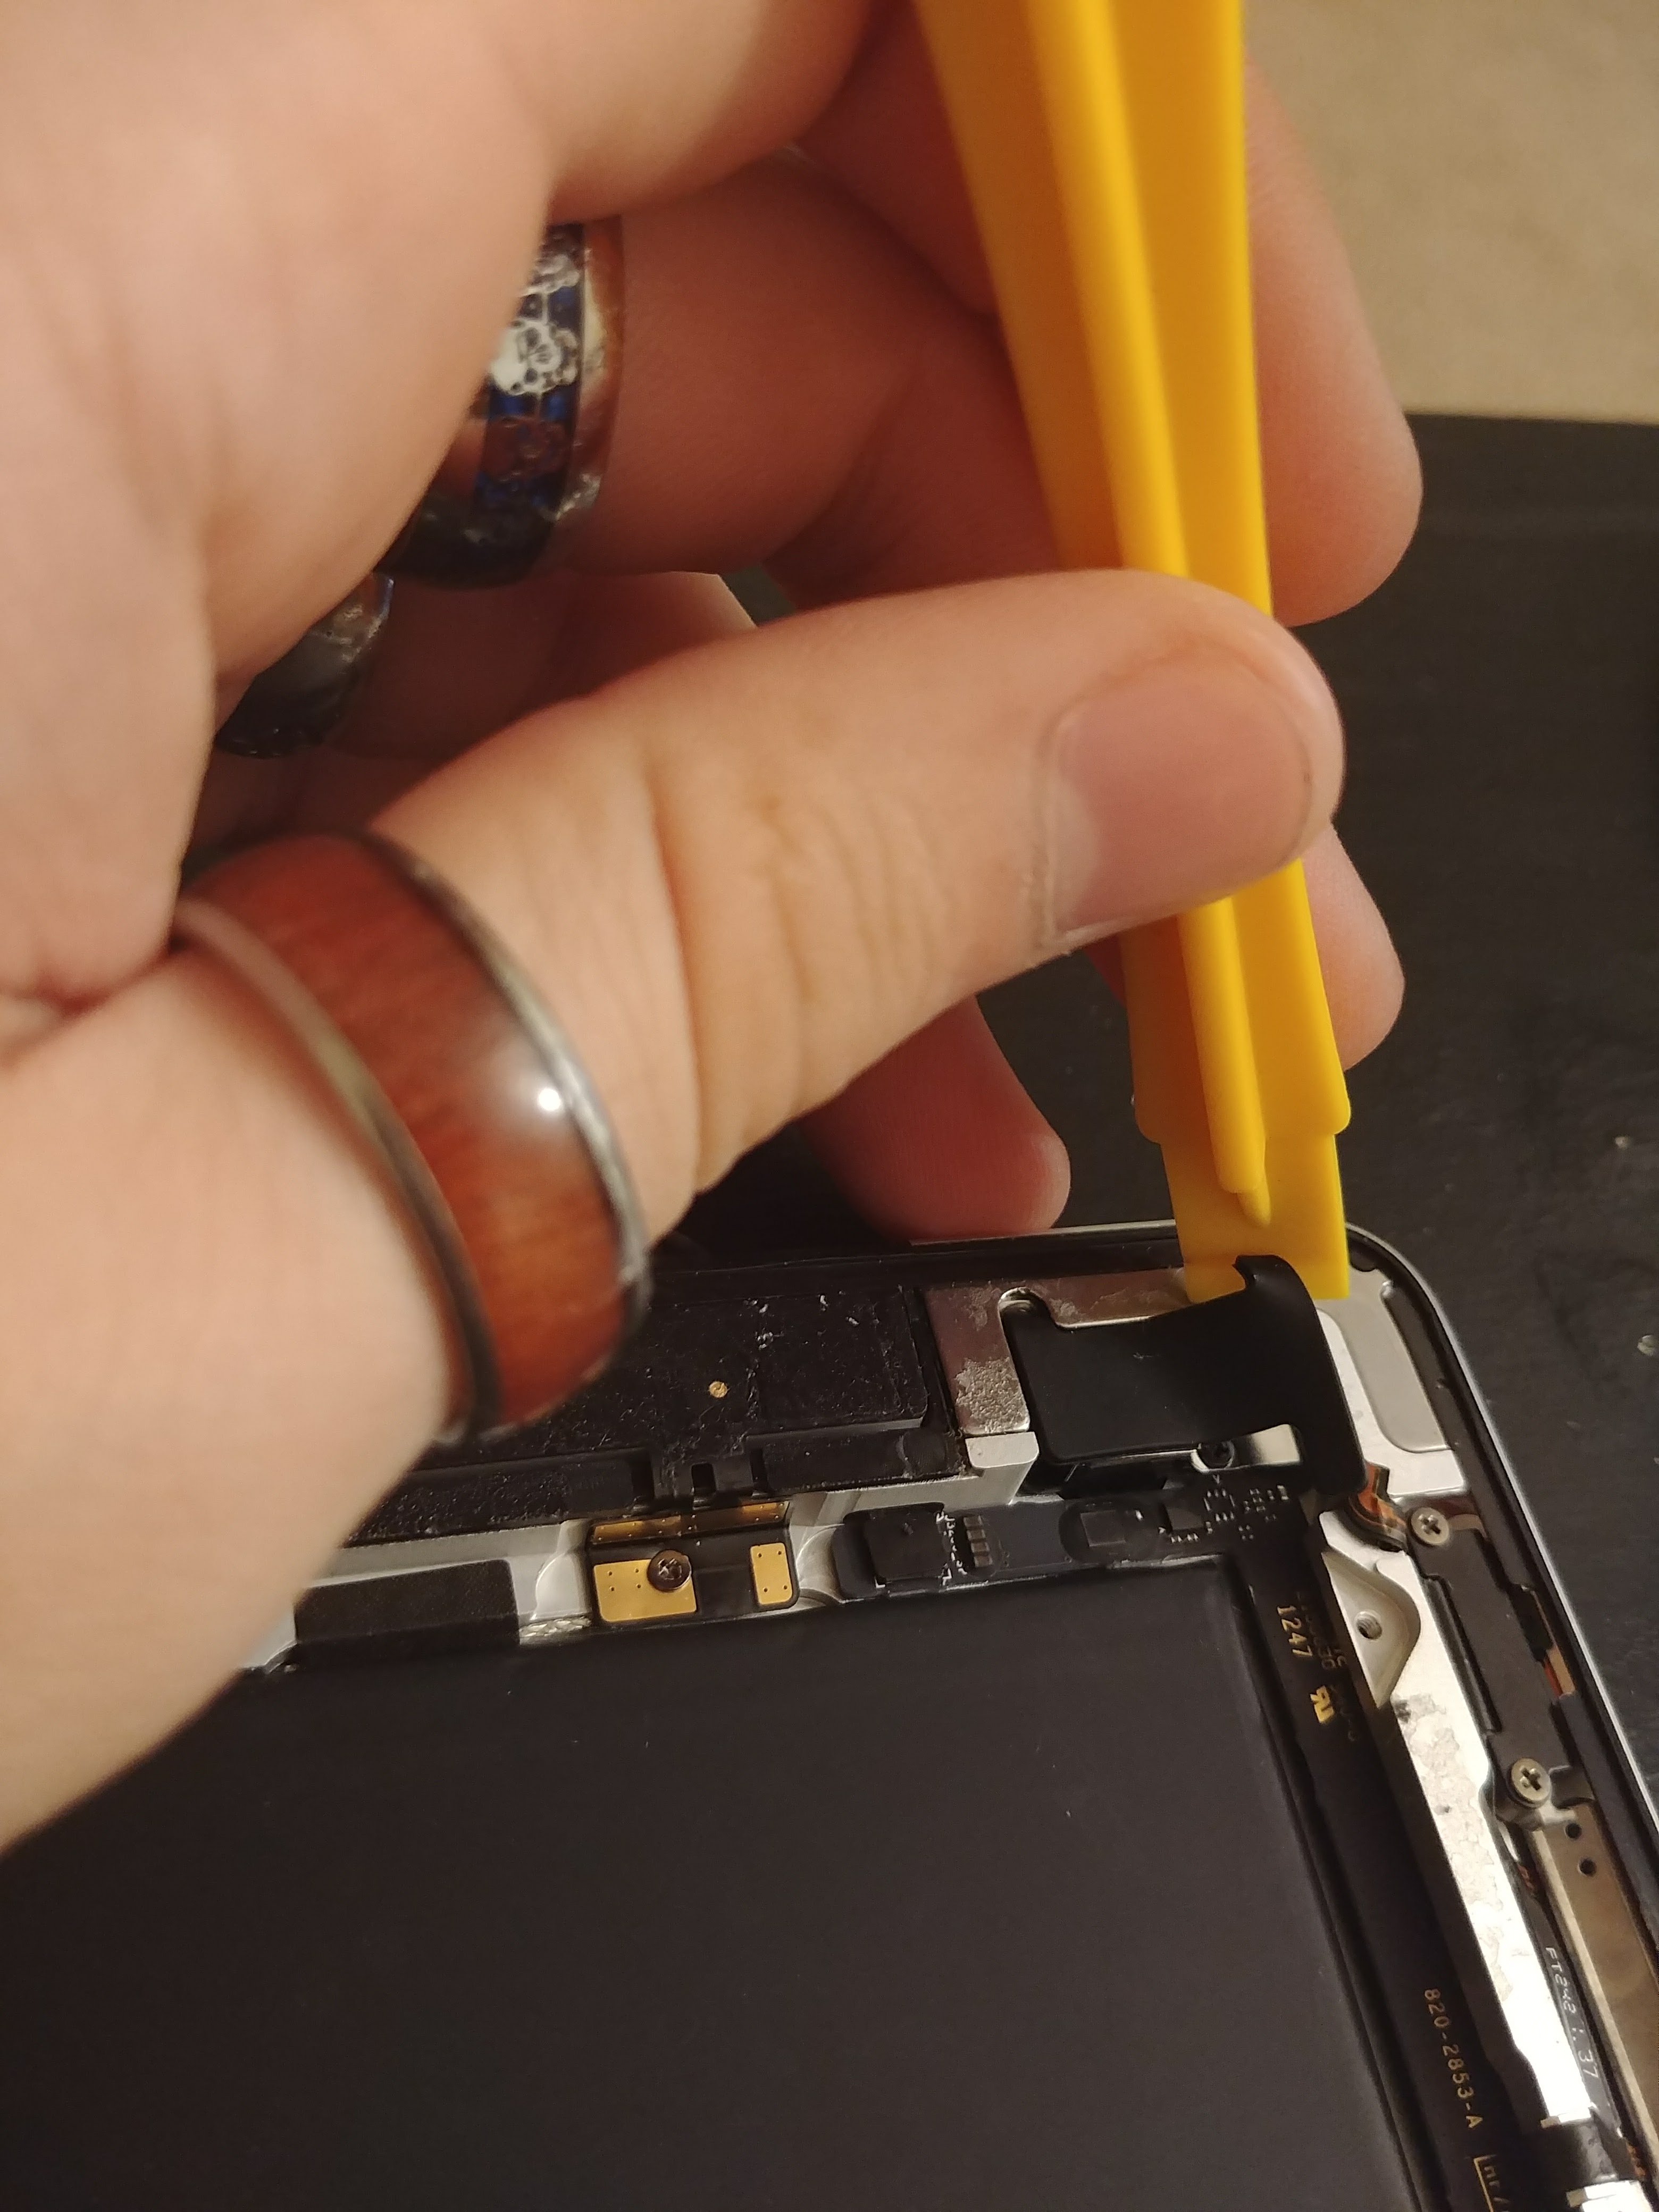
Next, we remove the power button by inserting the pry tool underneath.
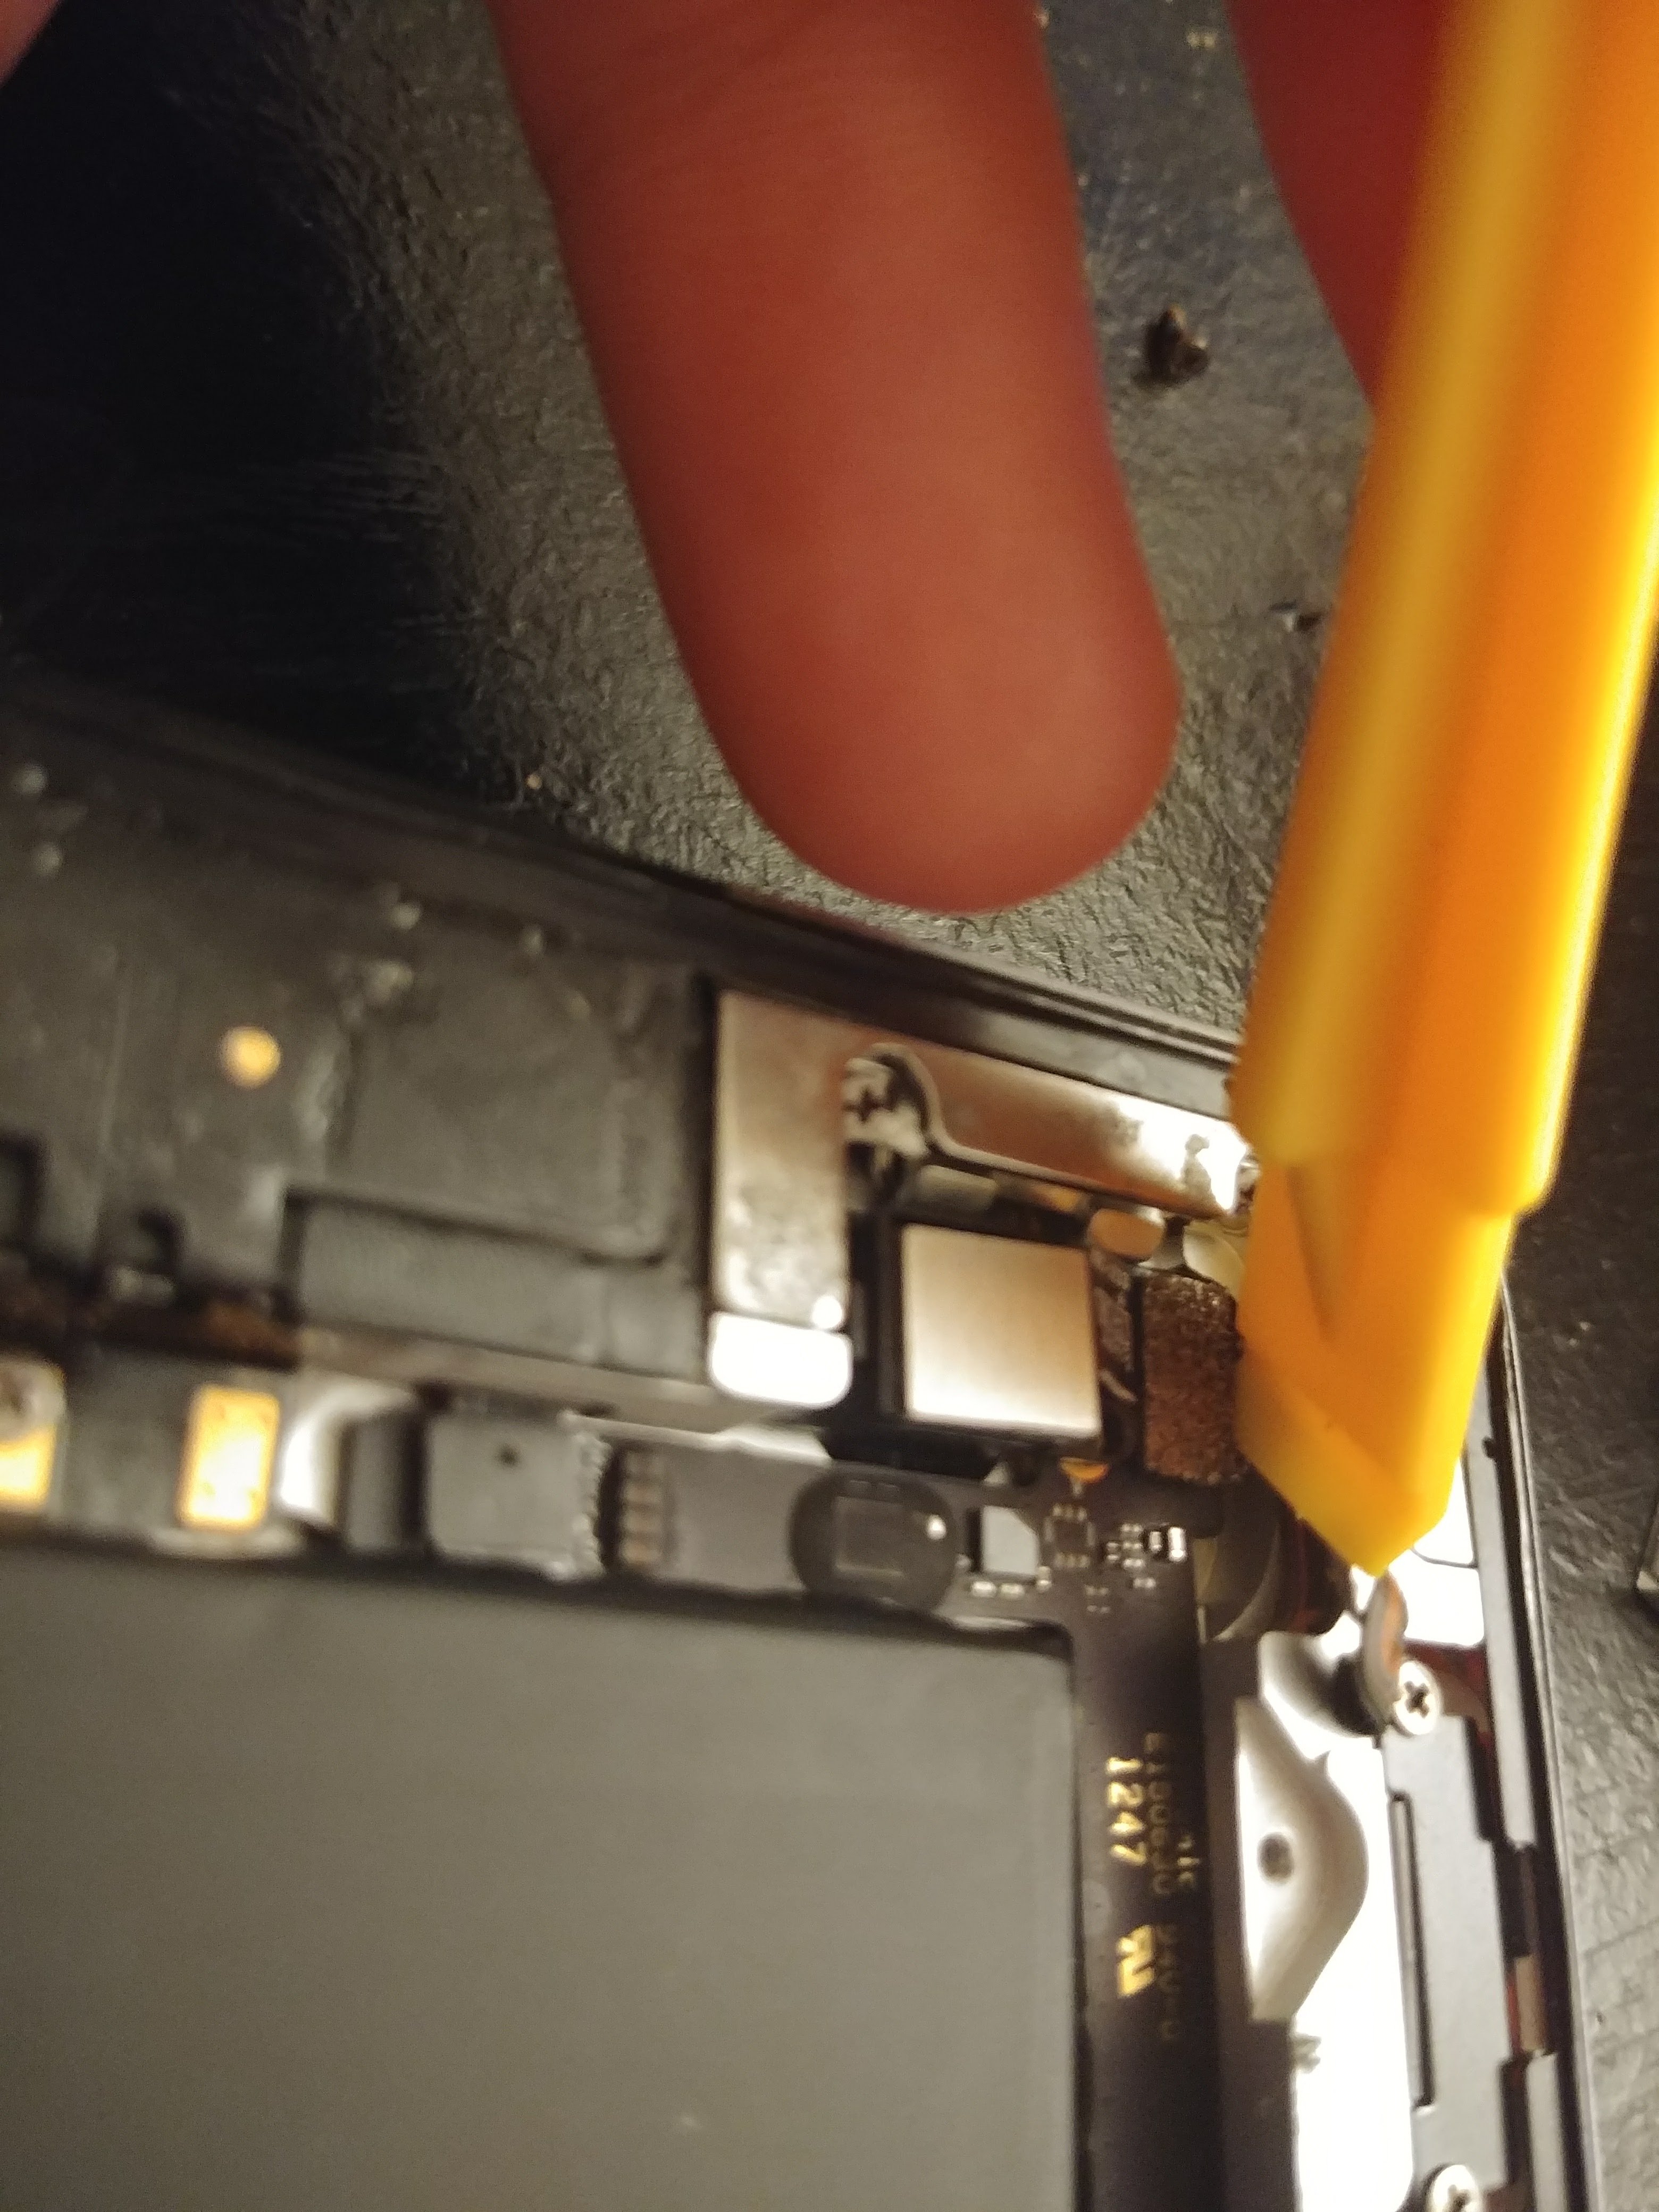
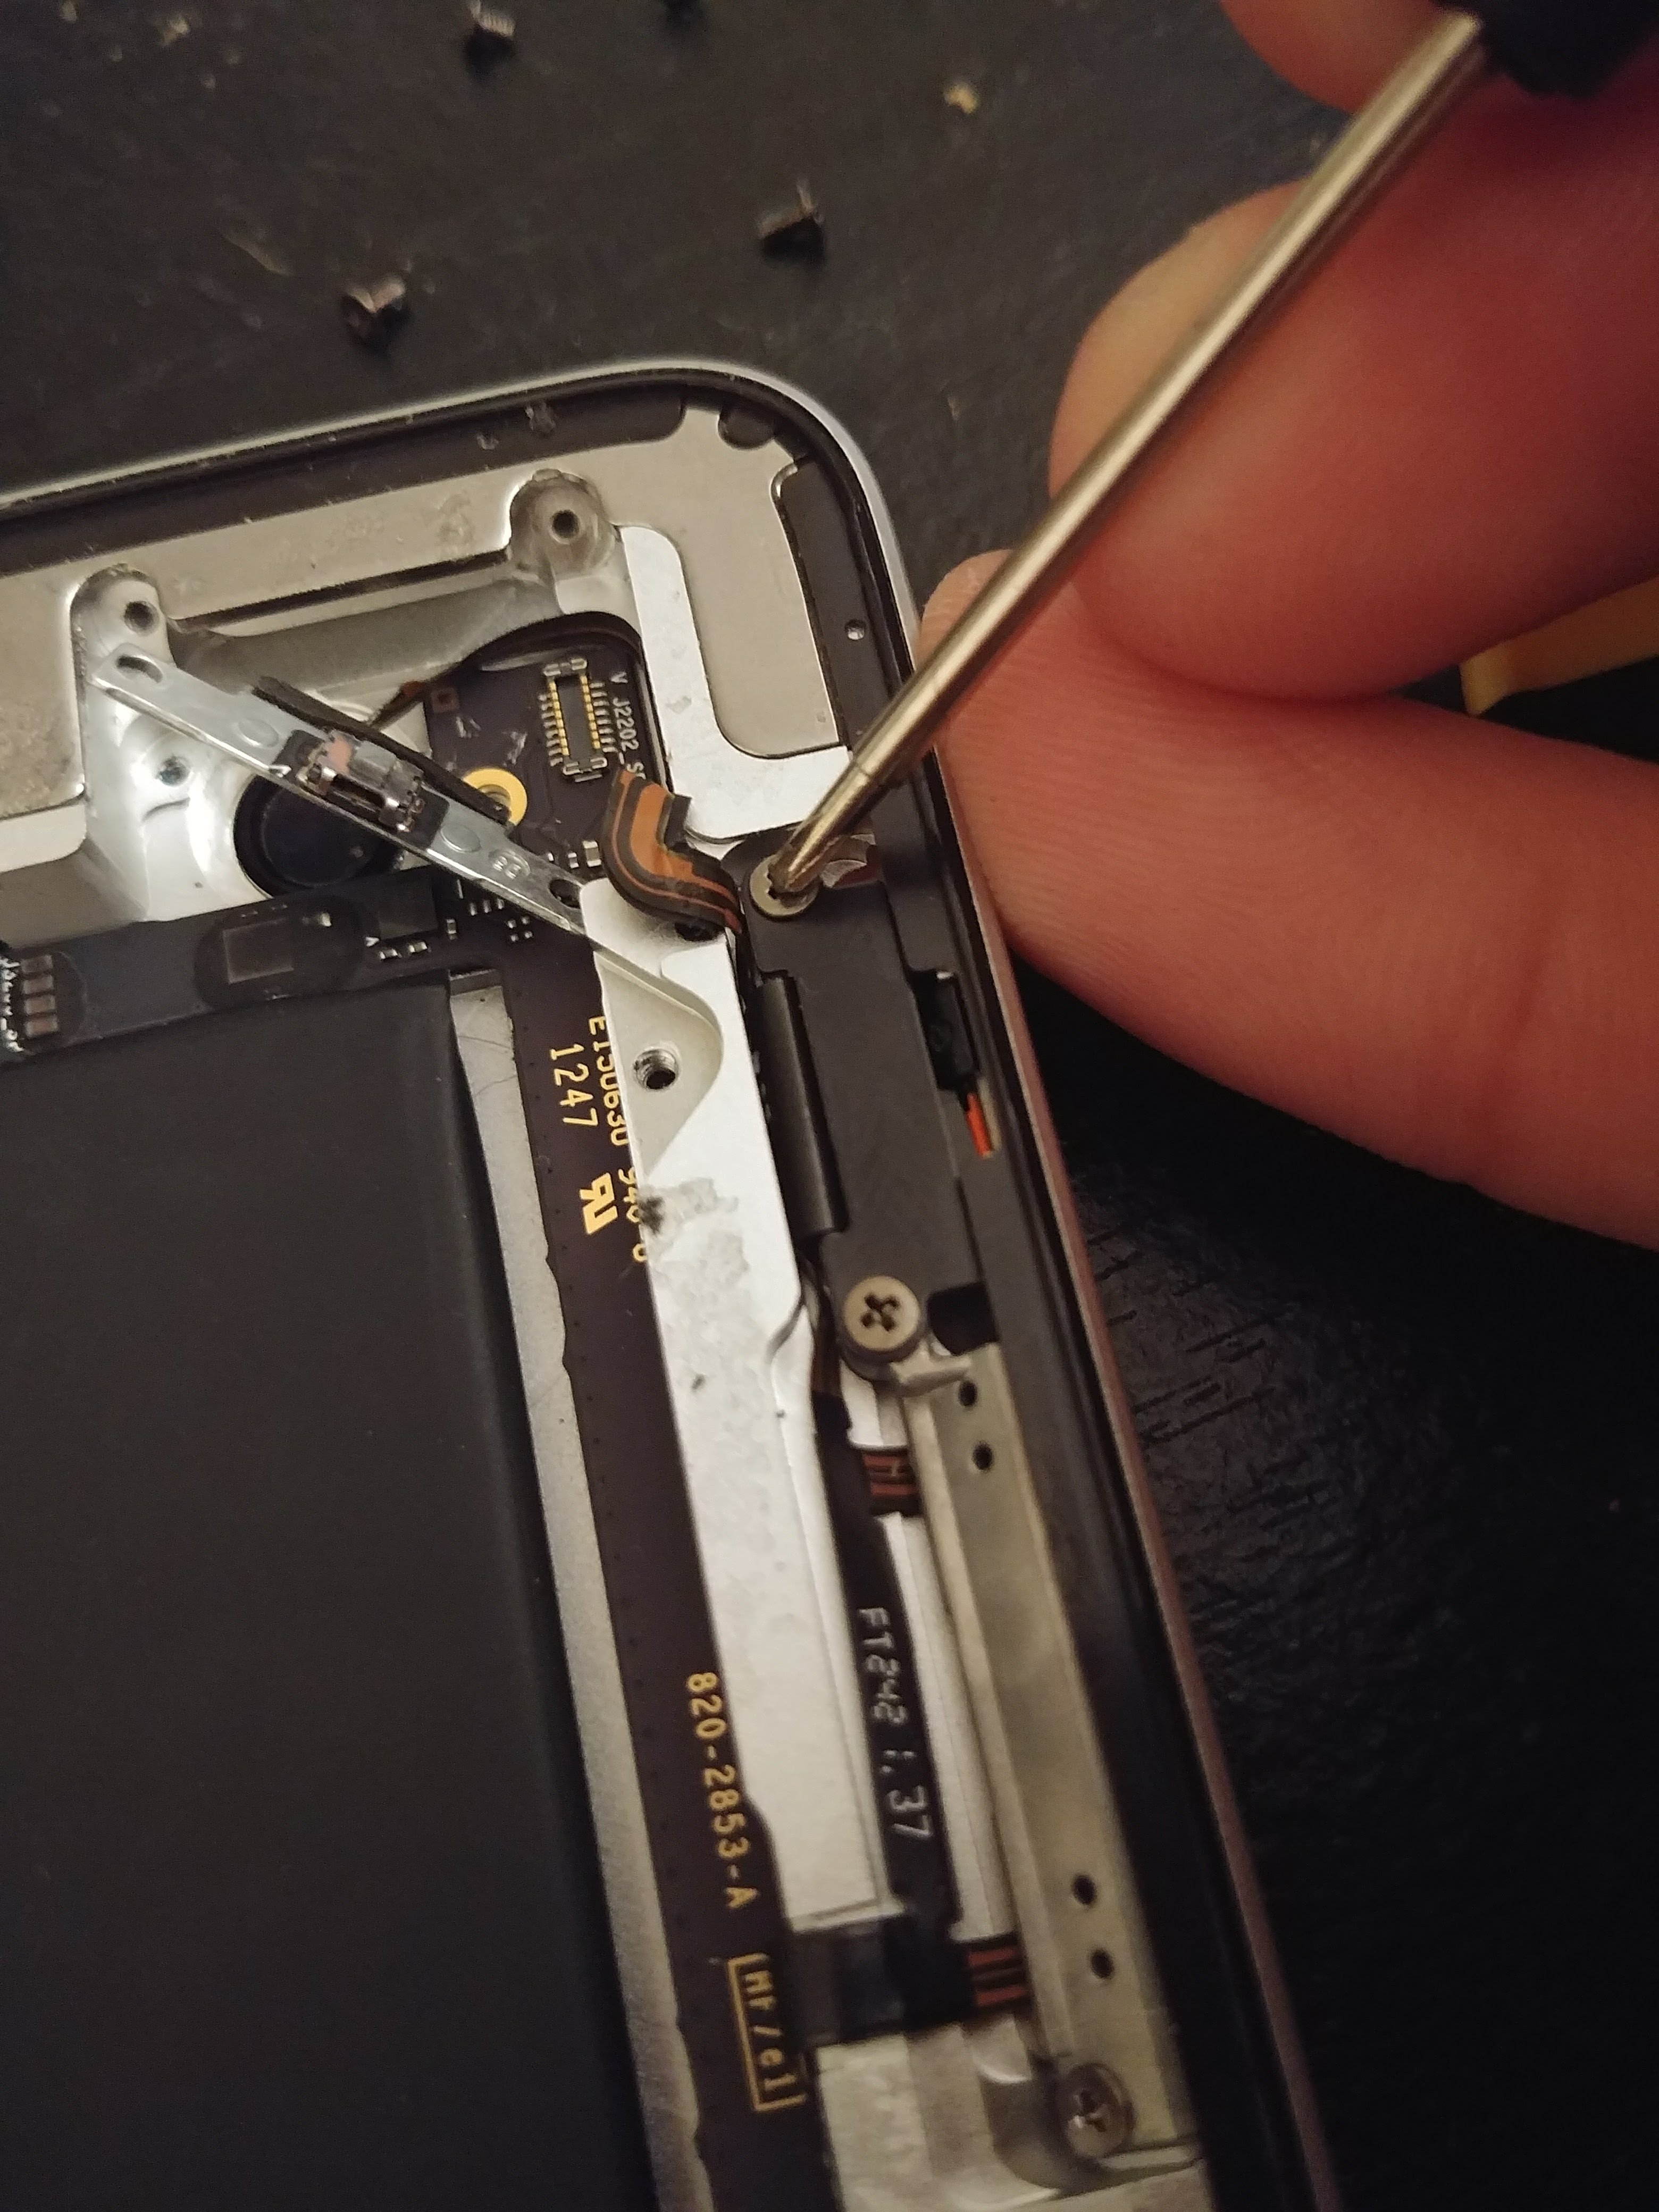
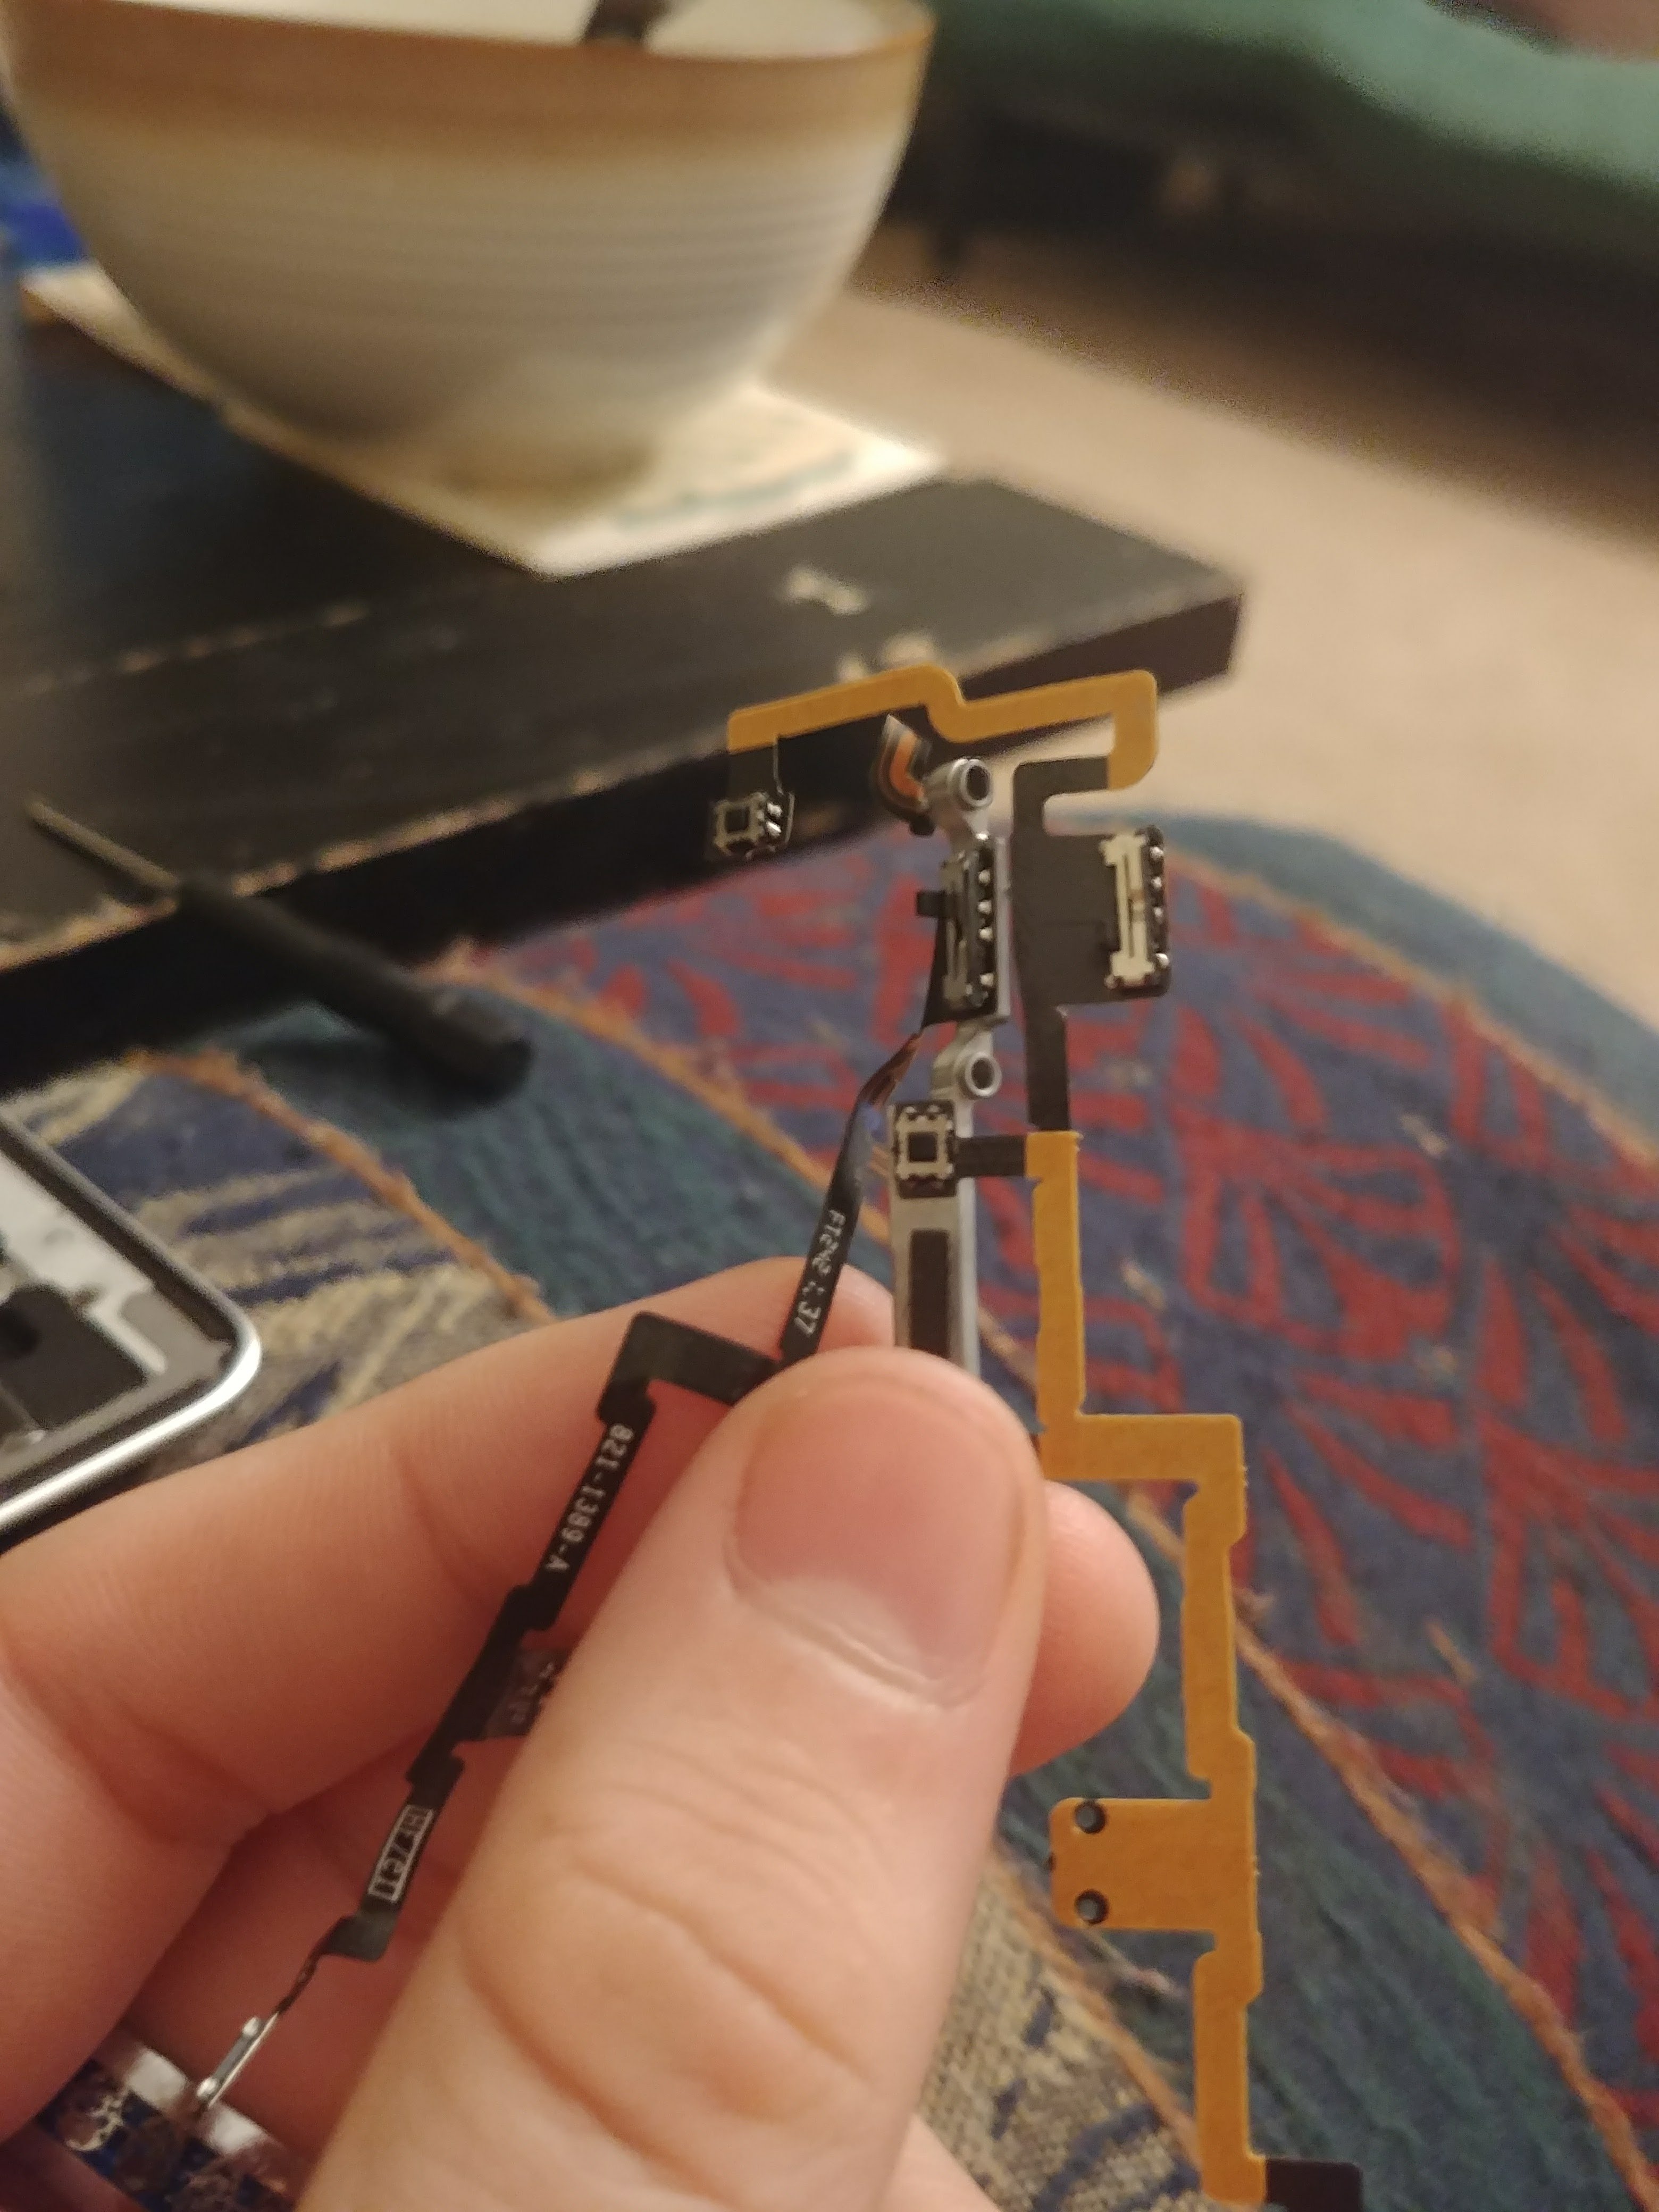
Remove the 3 screw pictured to give us access to the volume button and vibrate switch. Using the pry tool, remove the black plate here and pry the volume button assembly out.
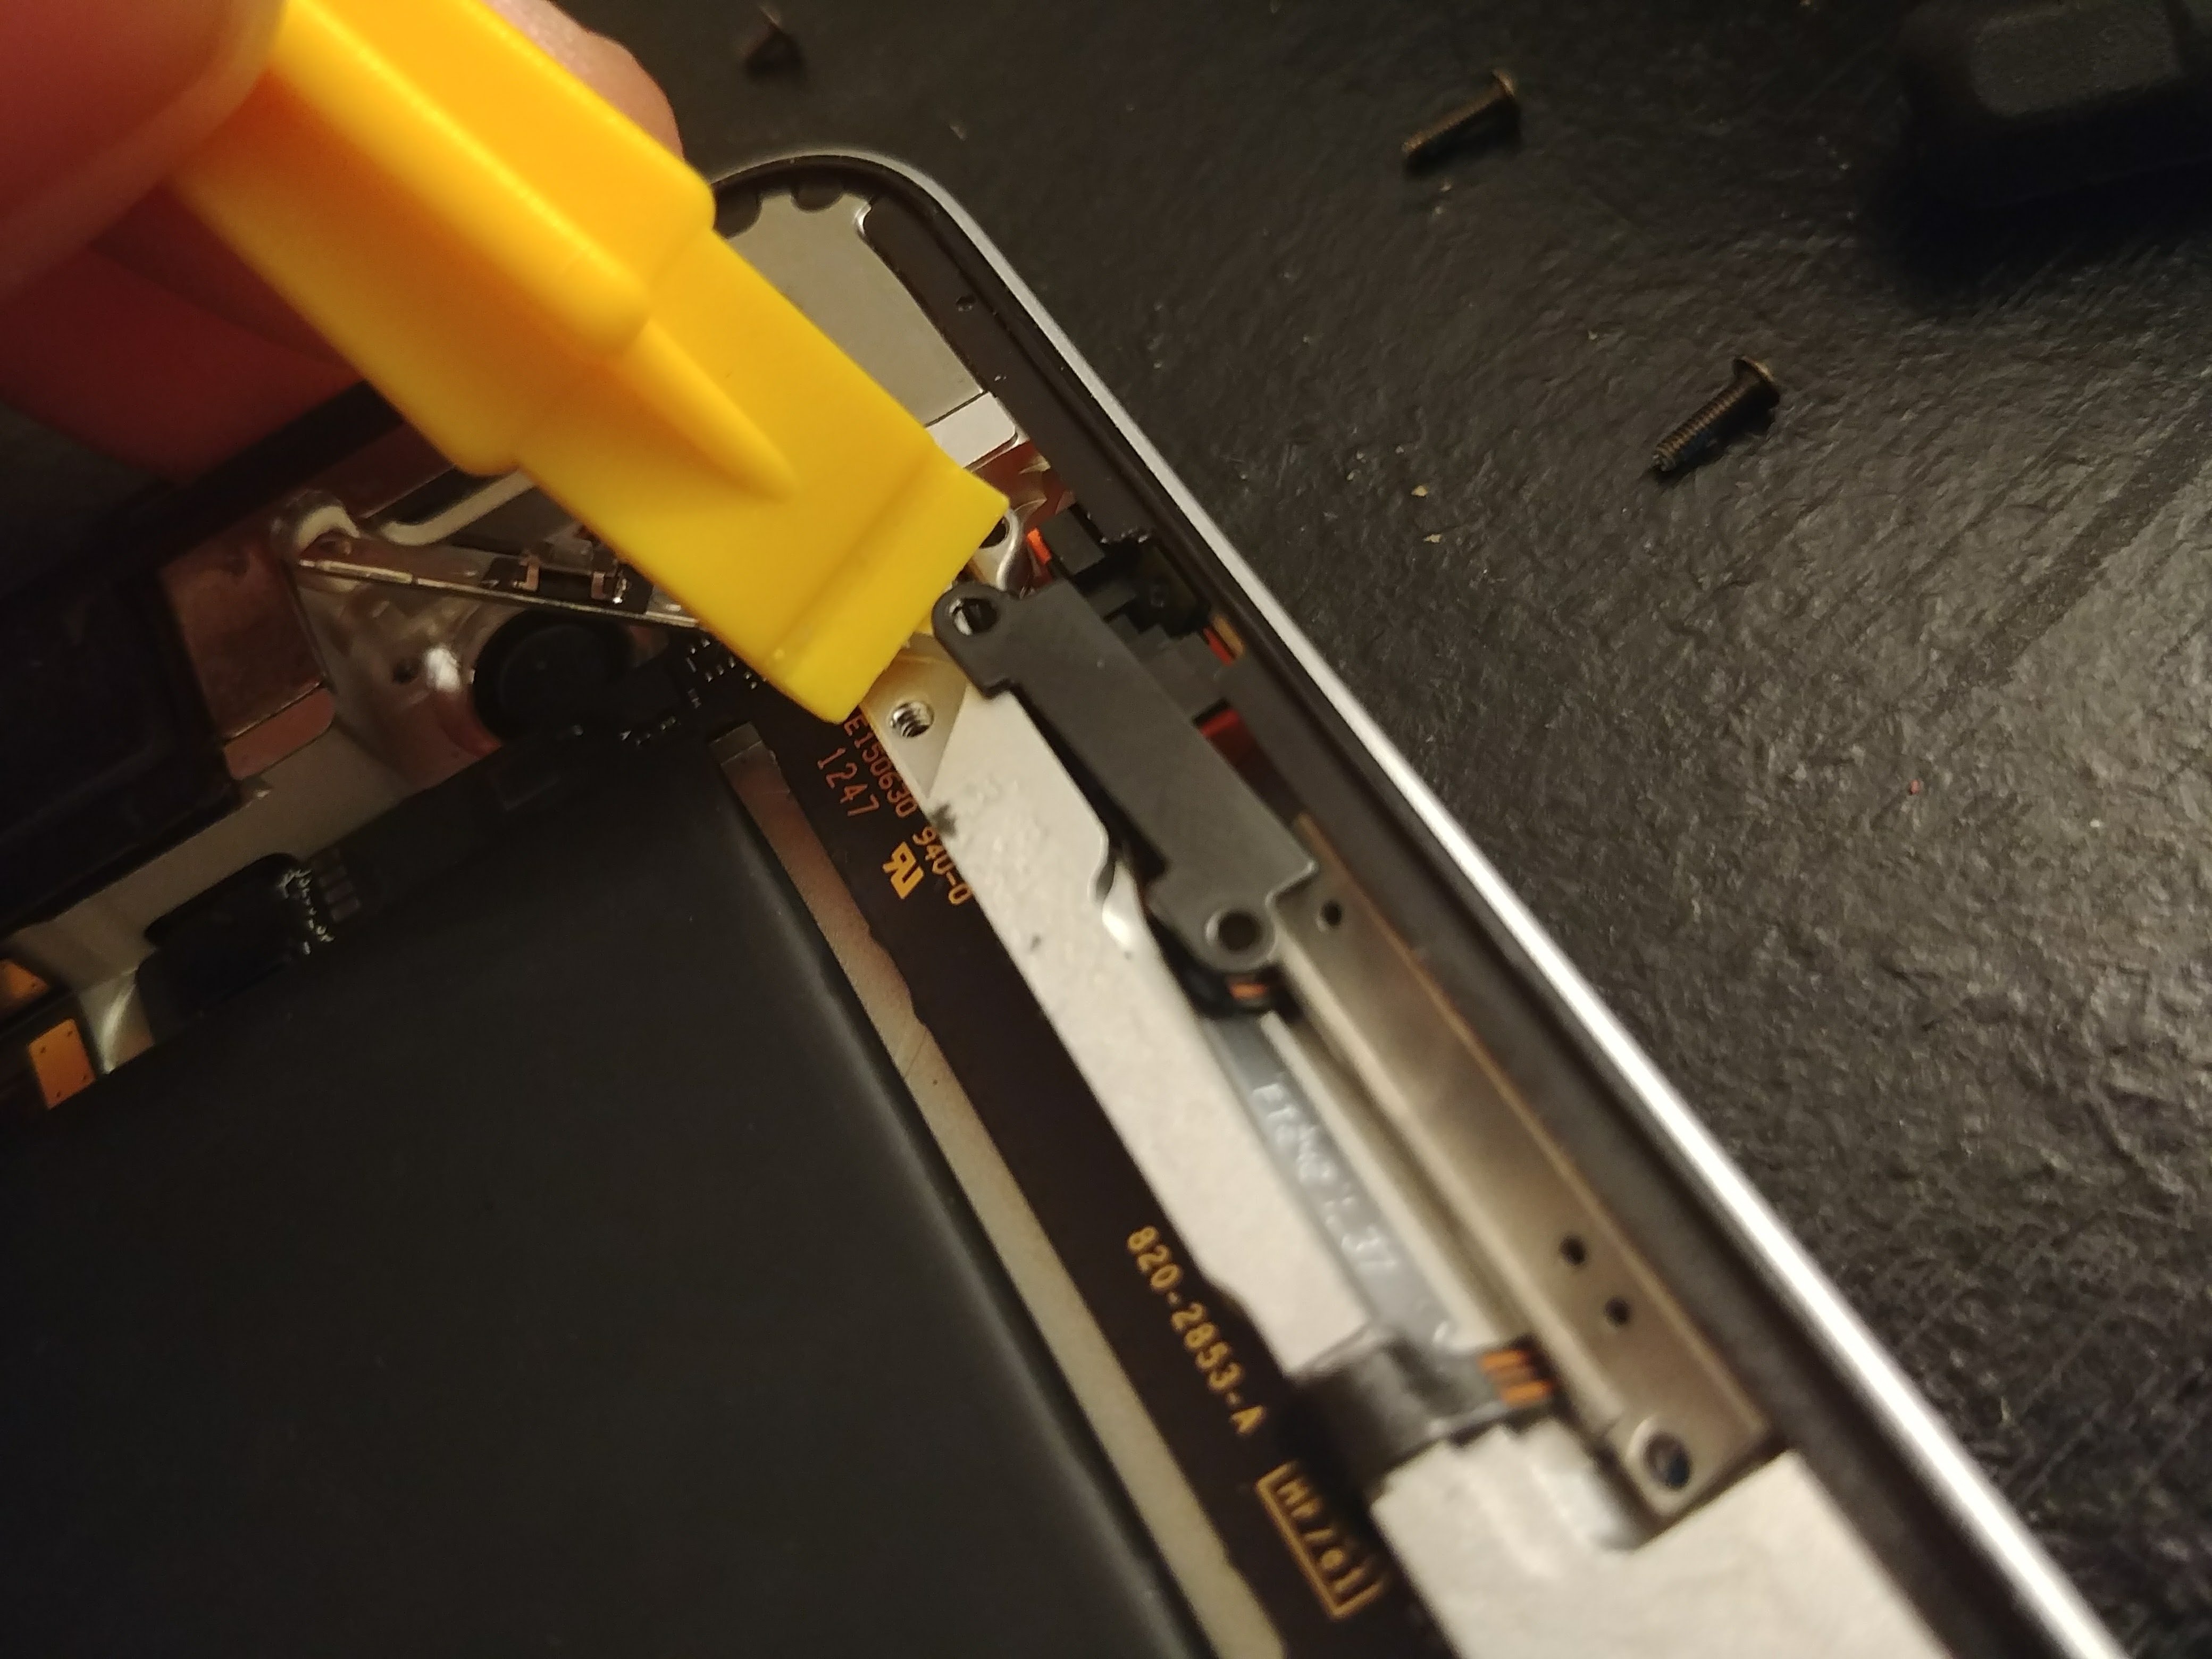
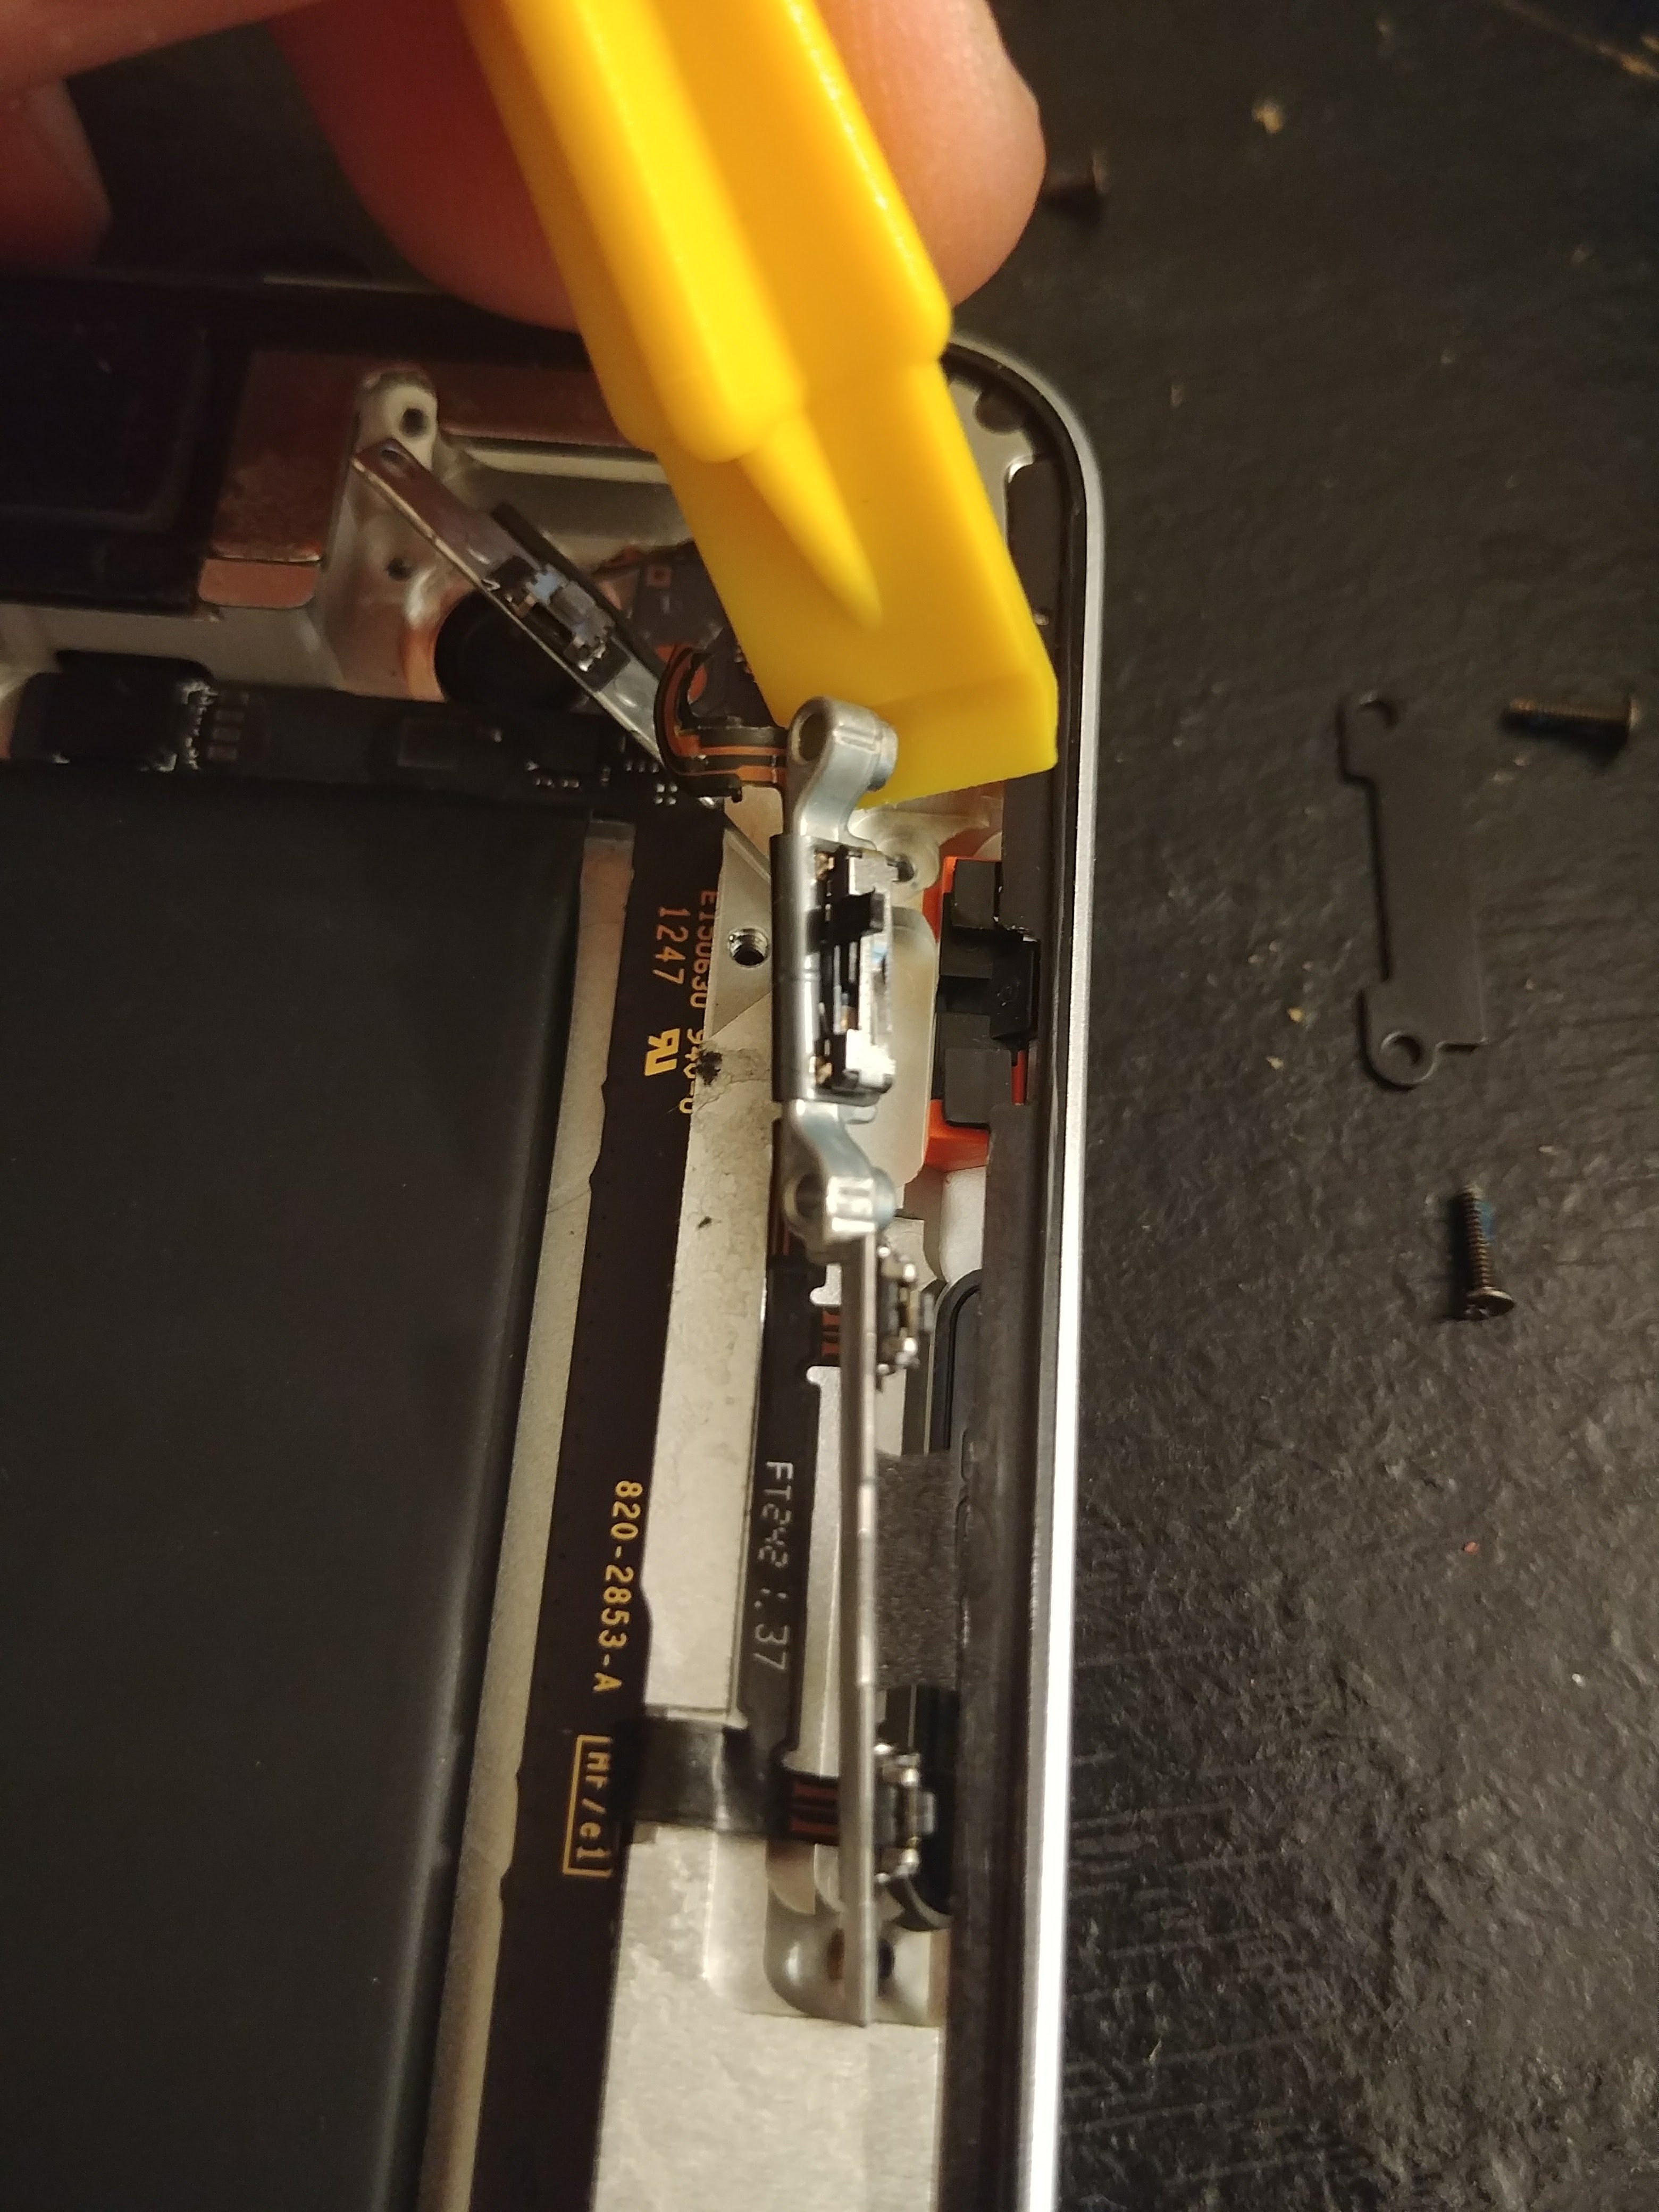
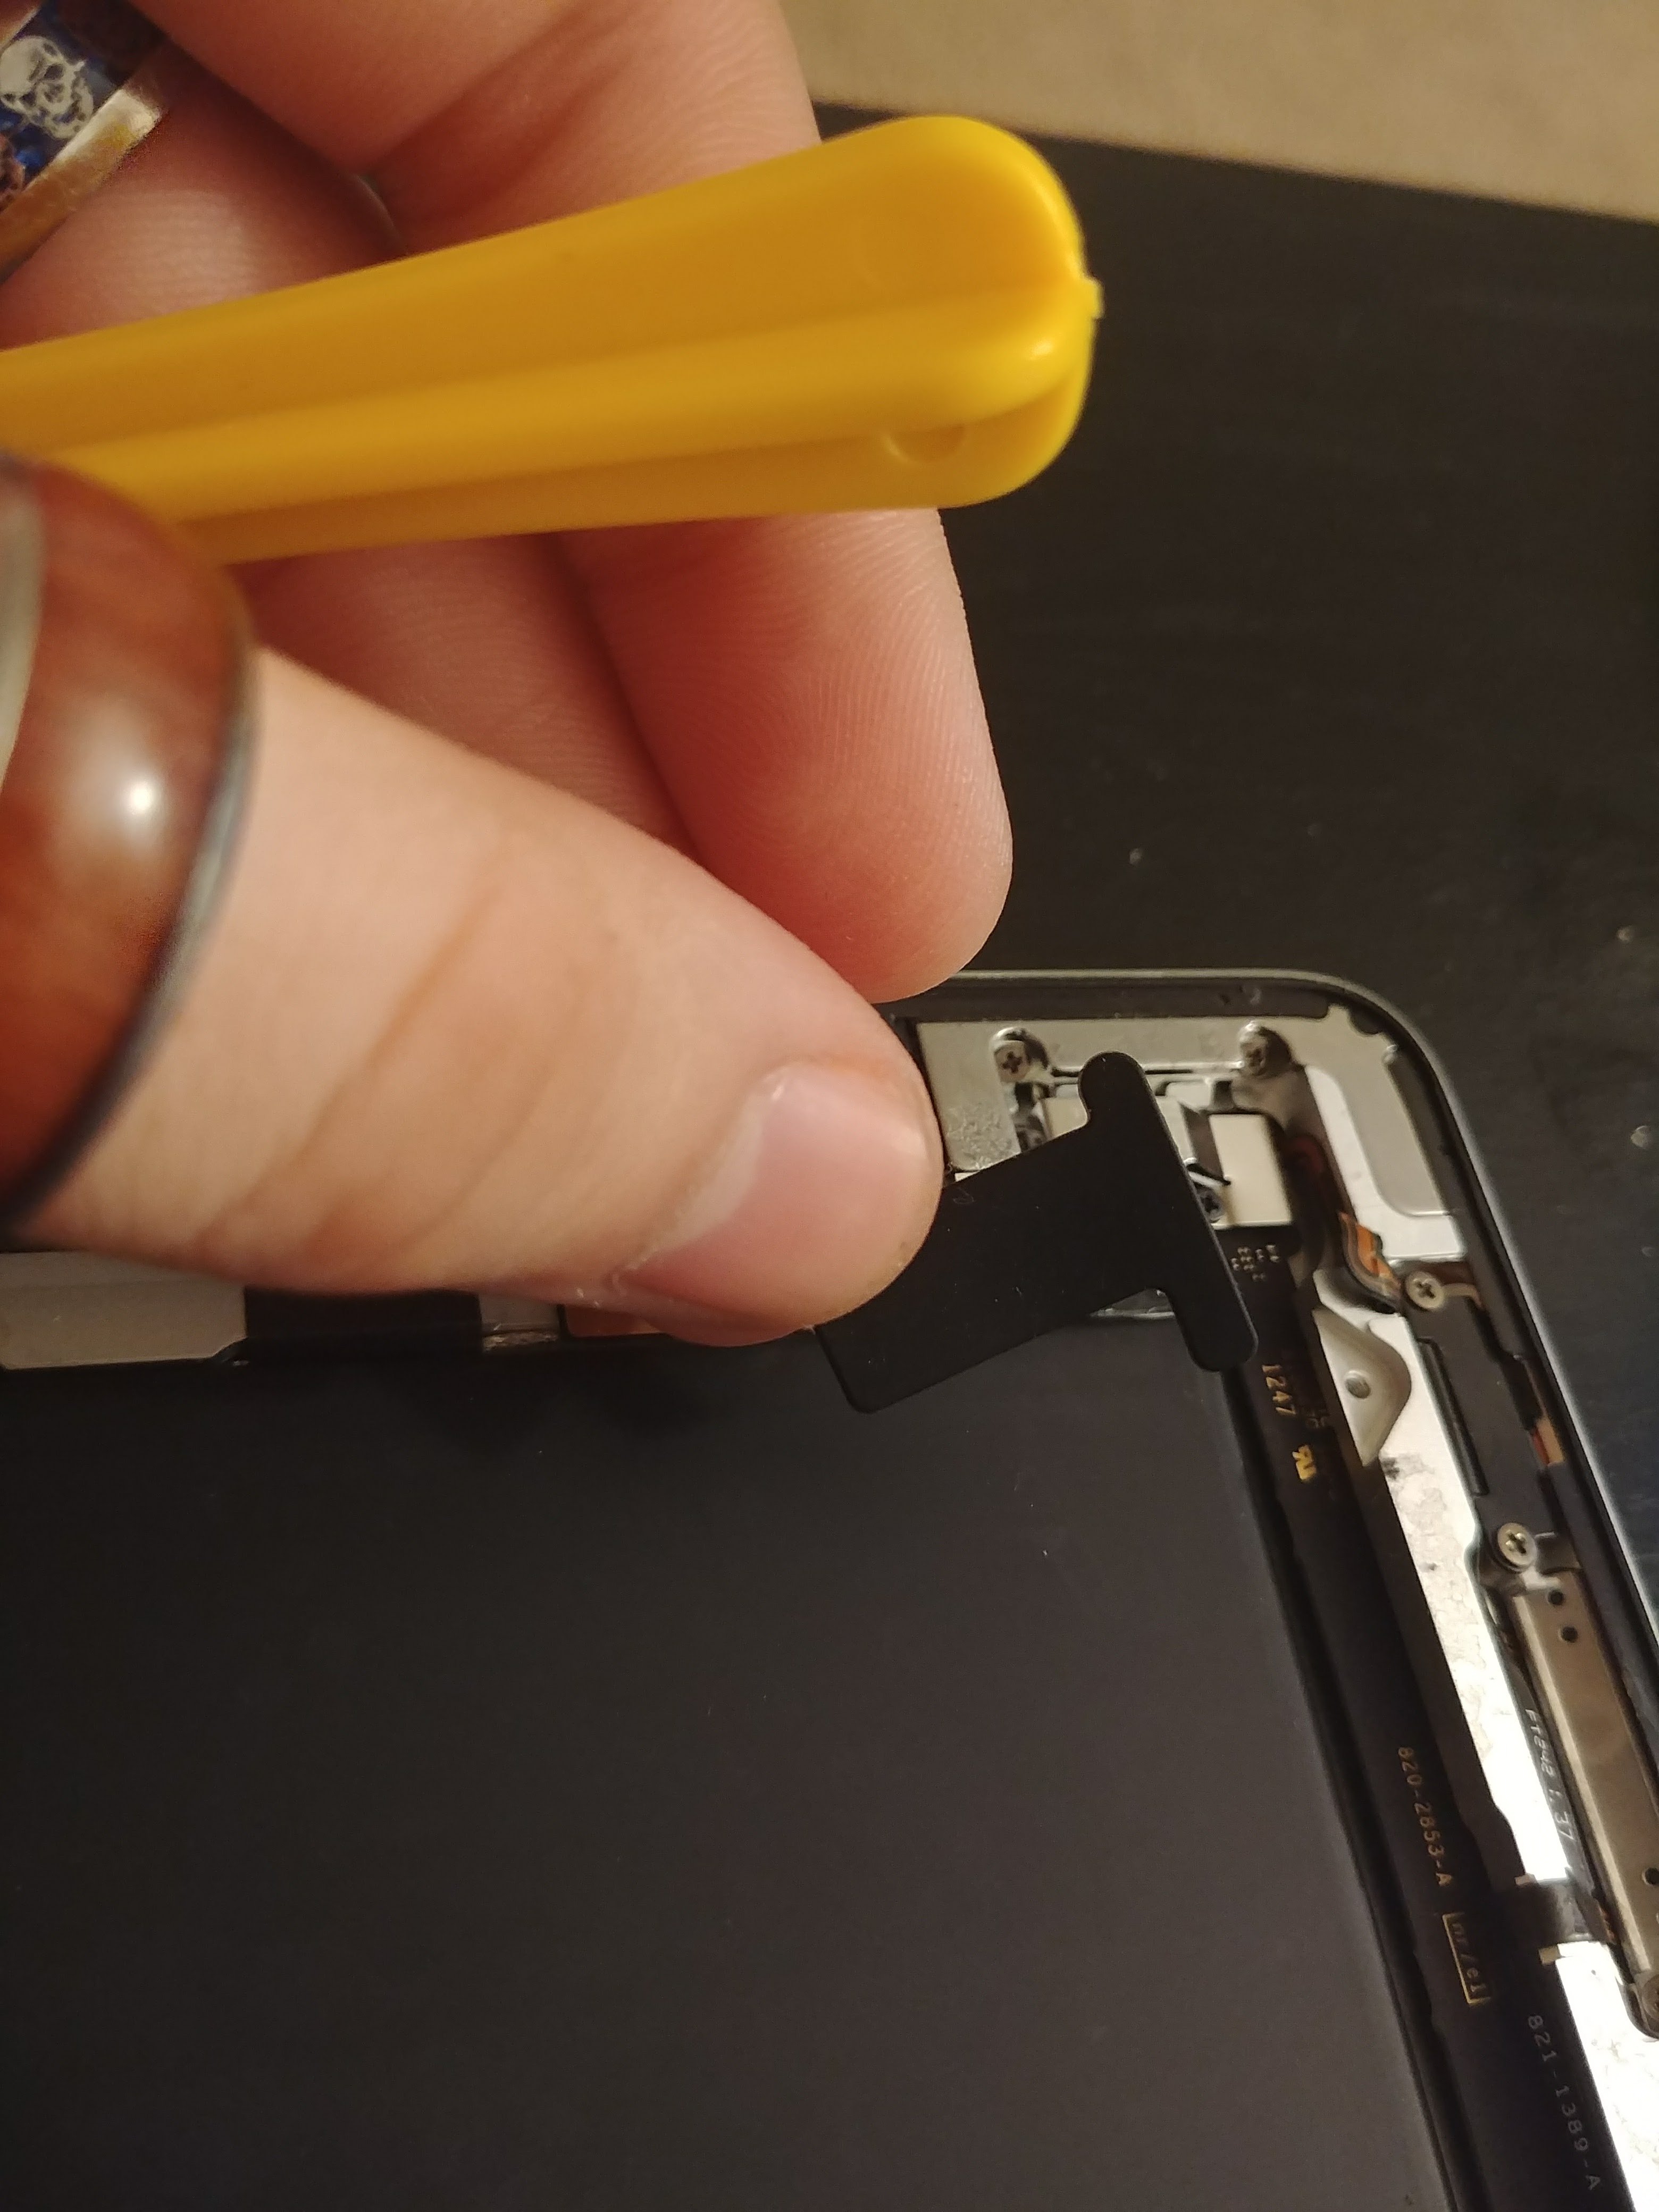
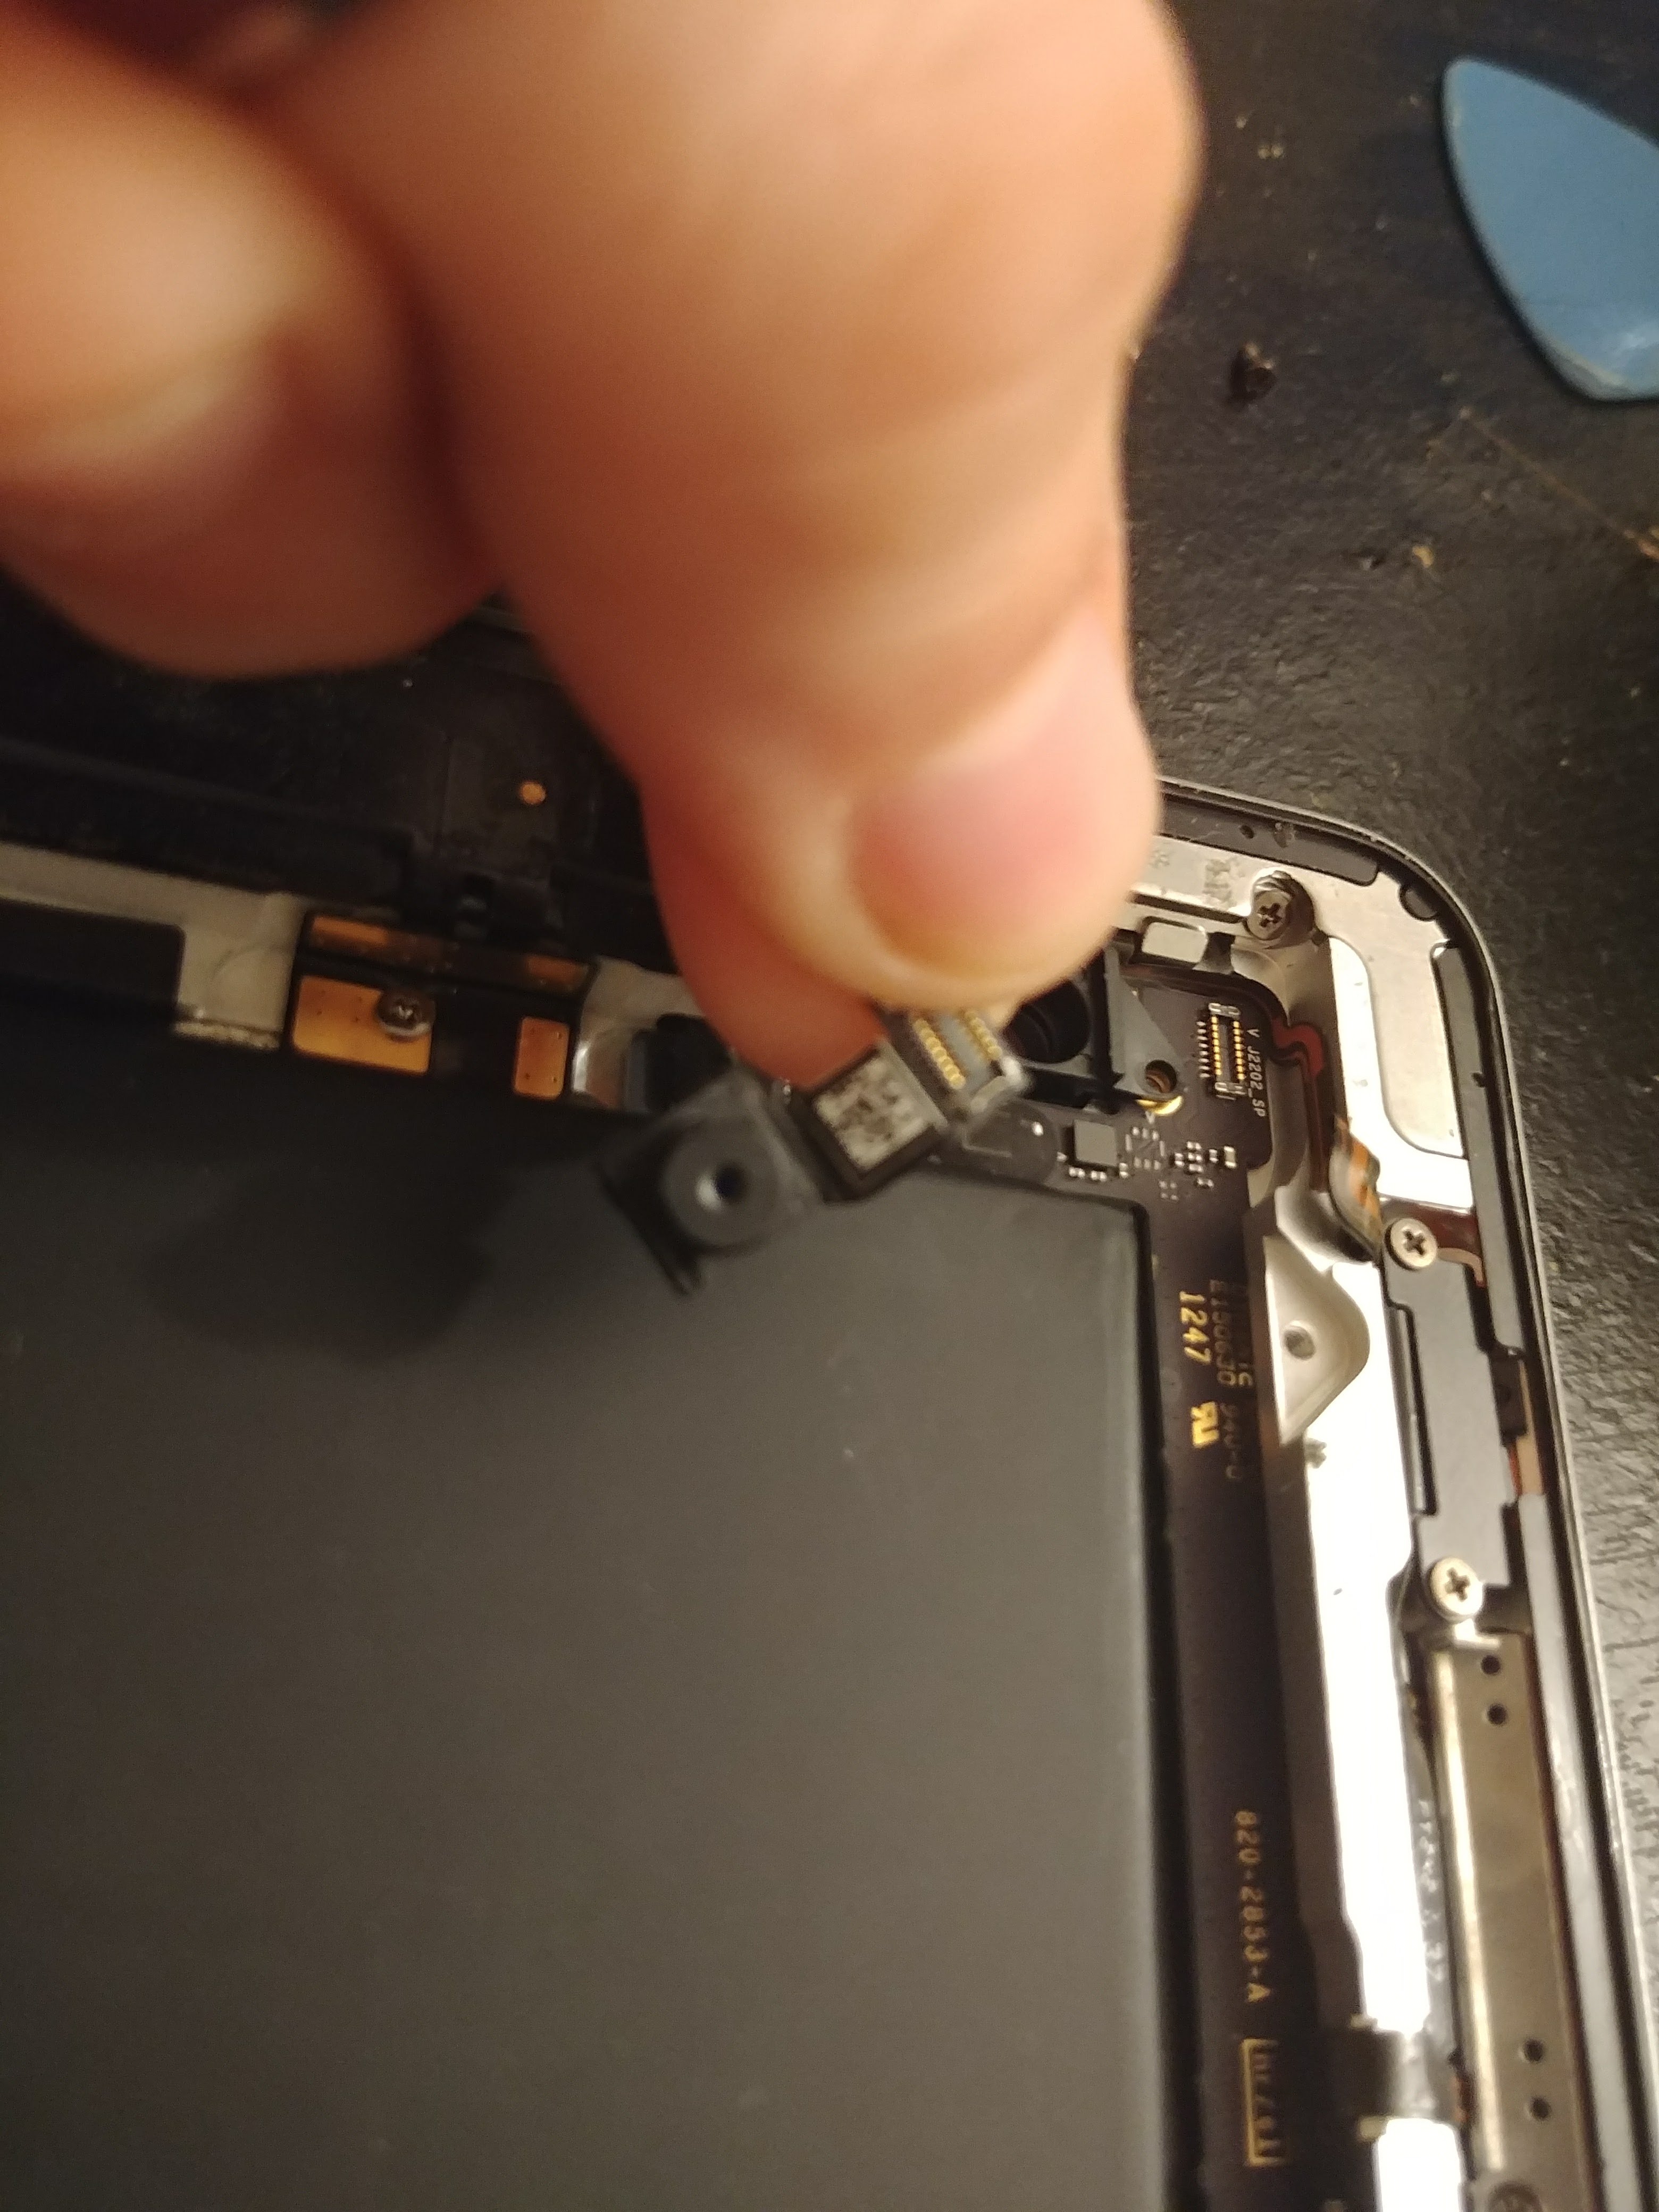
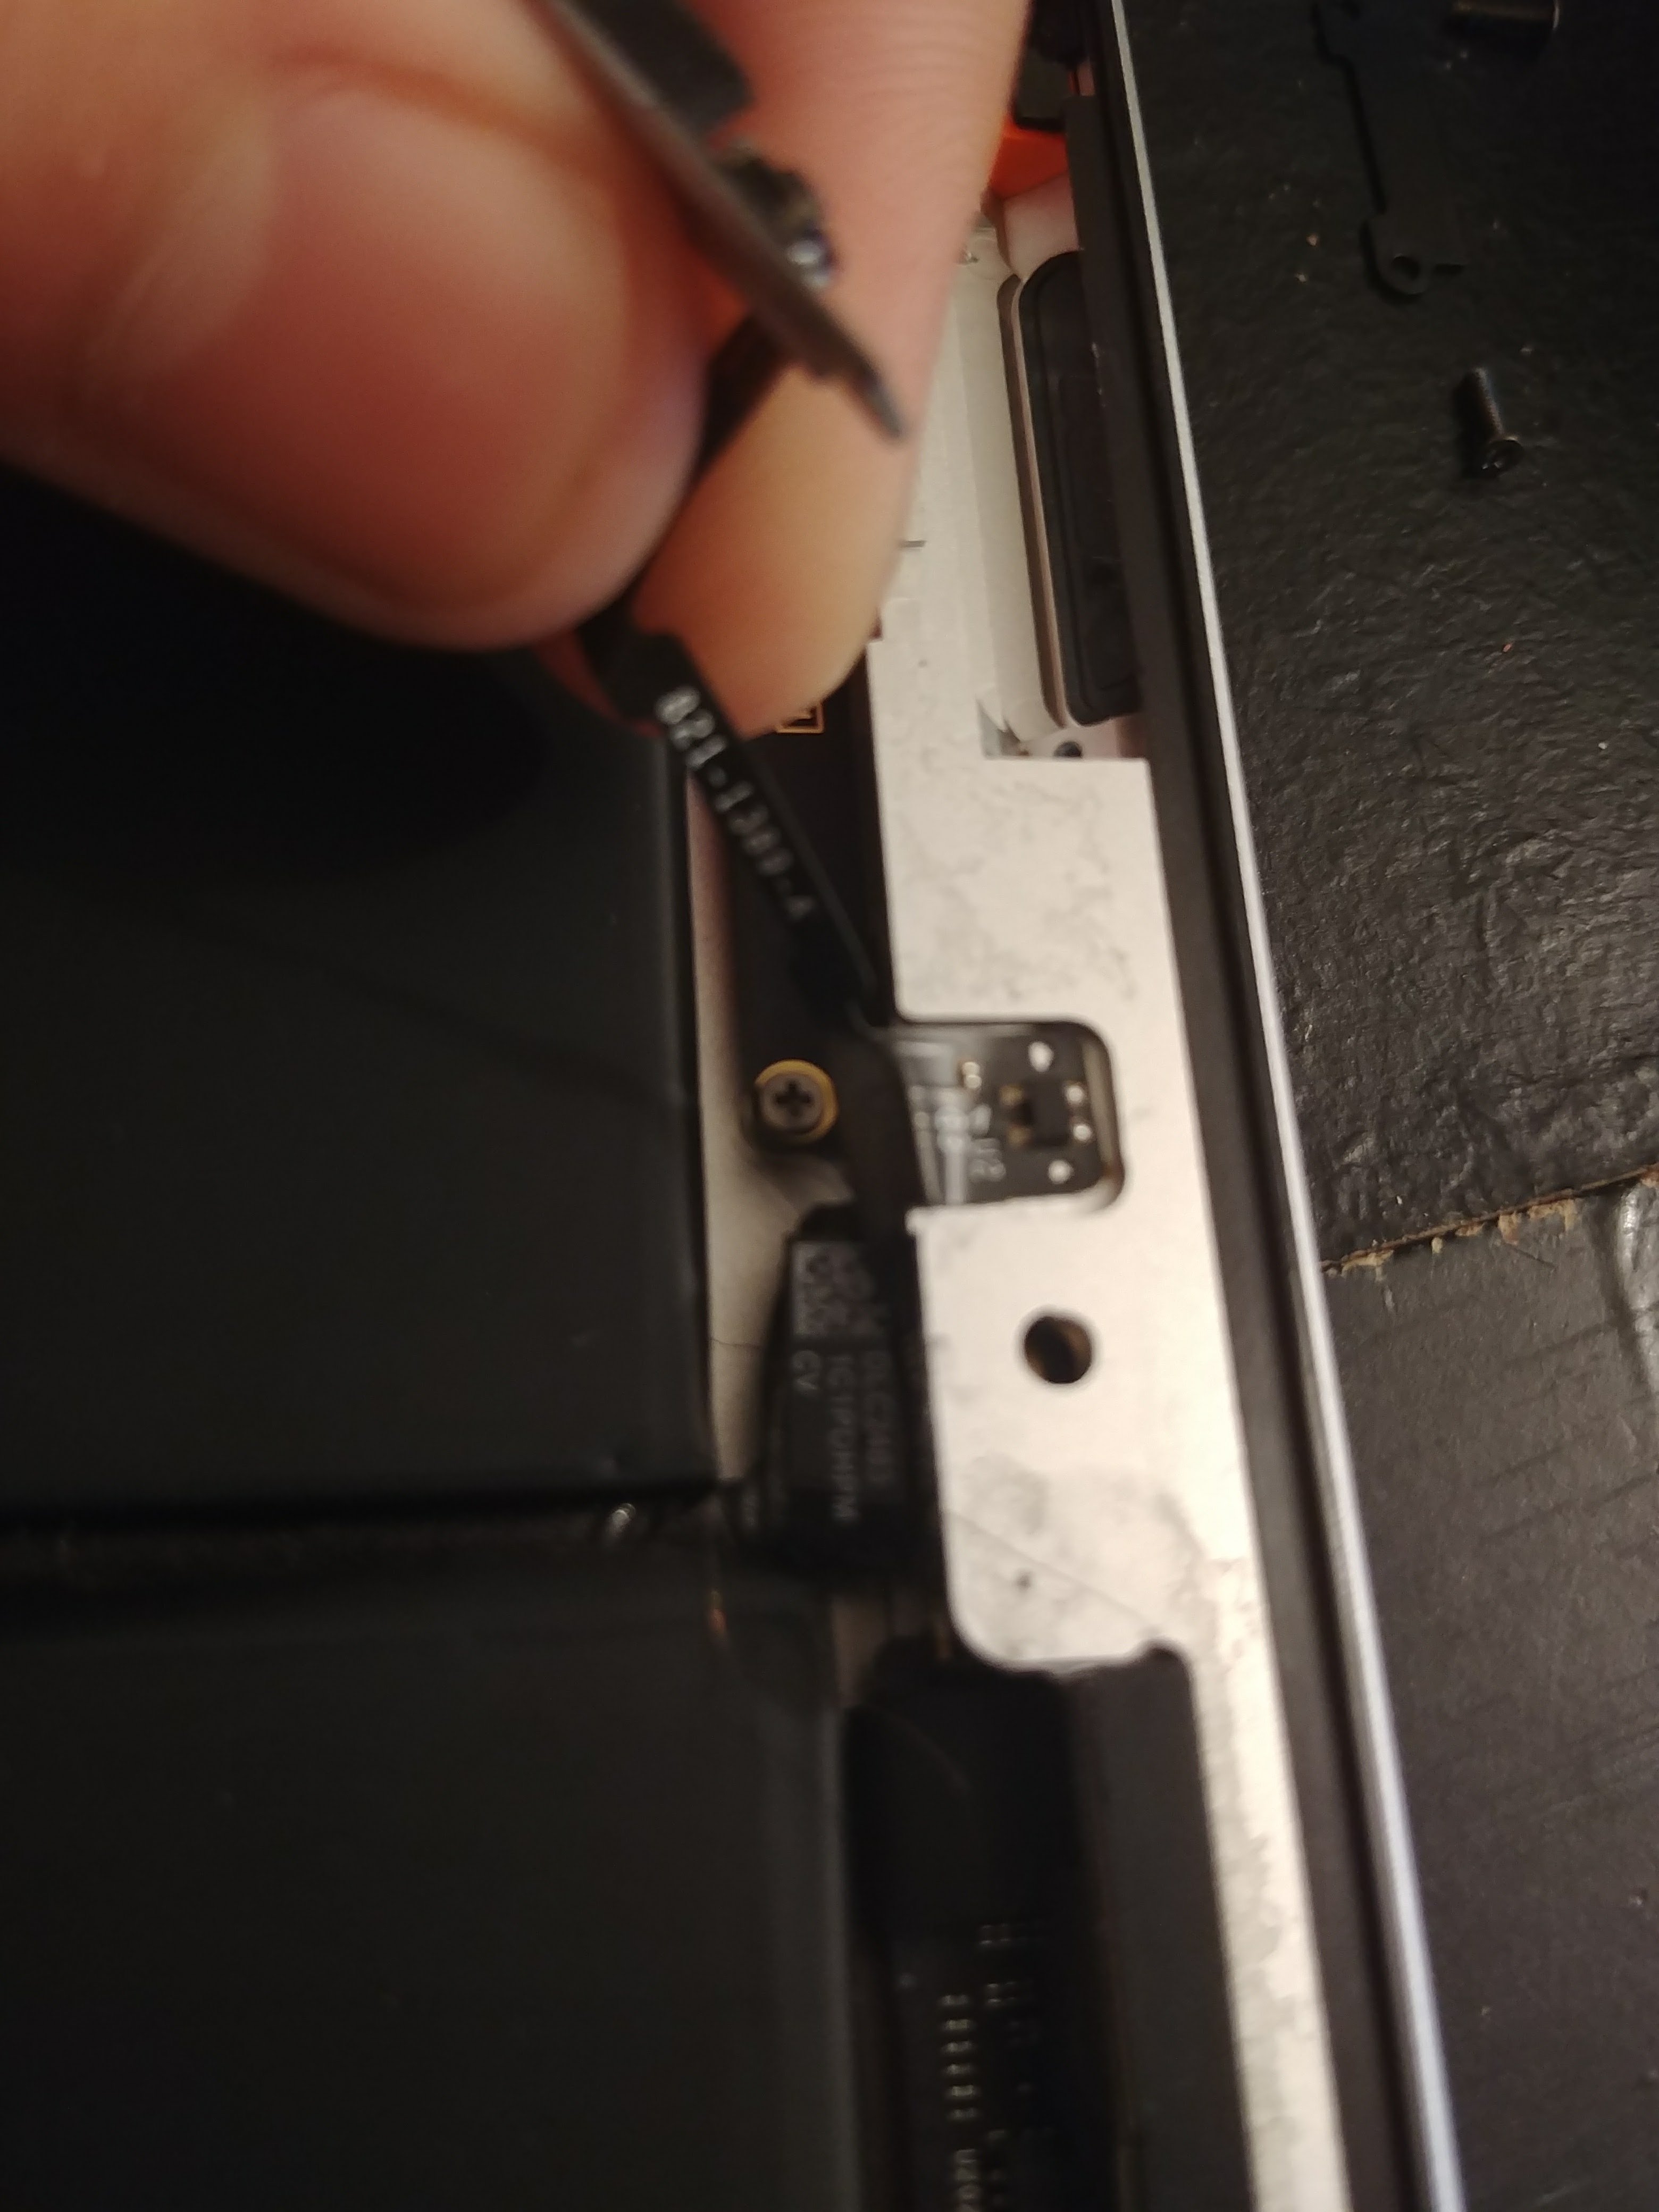
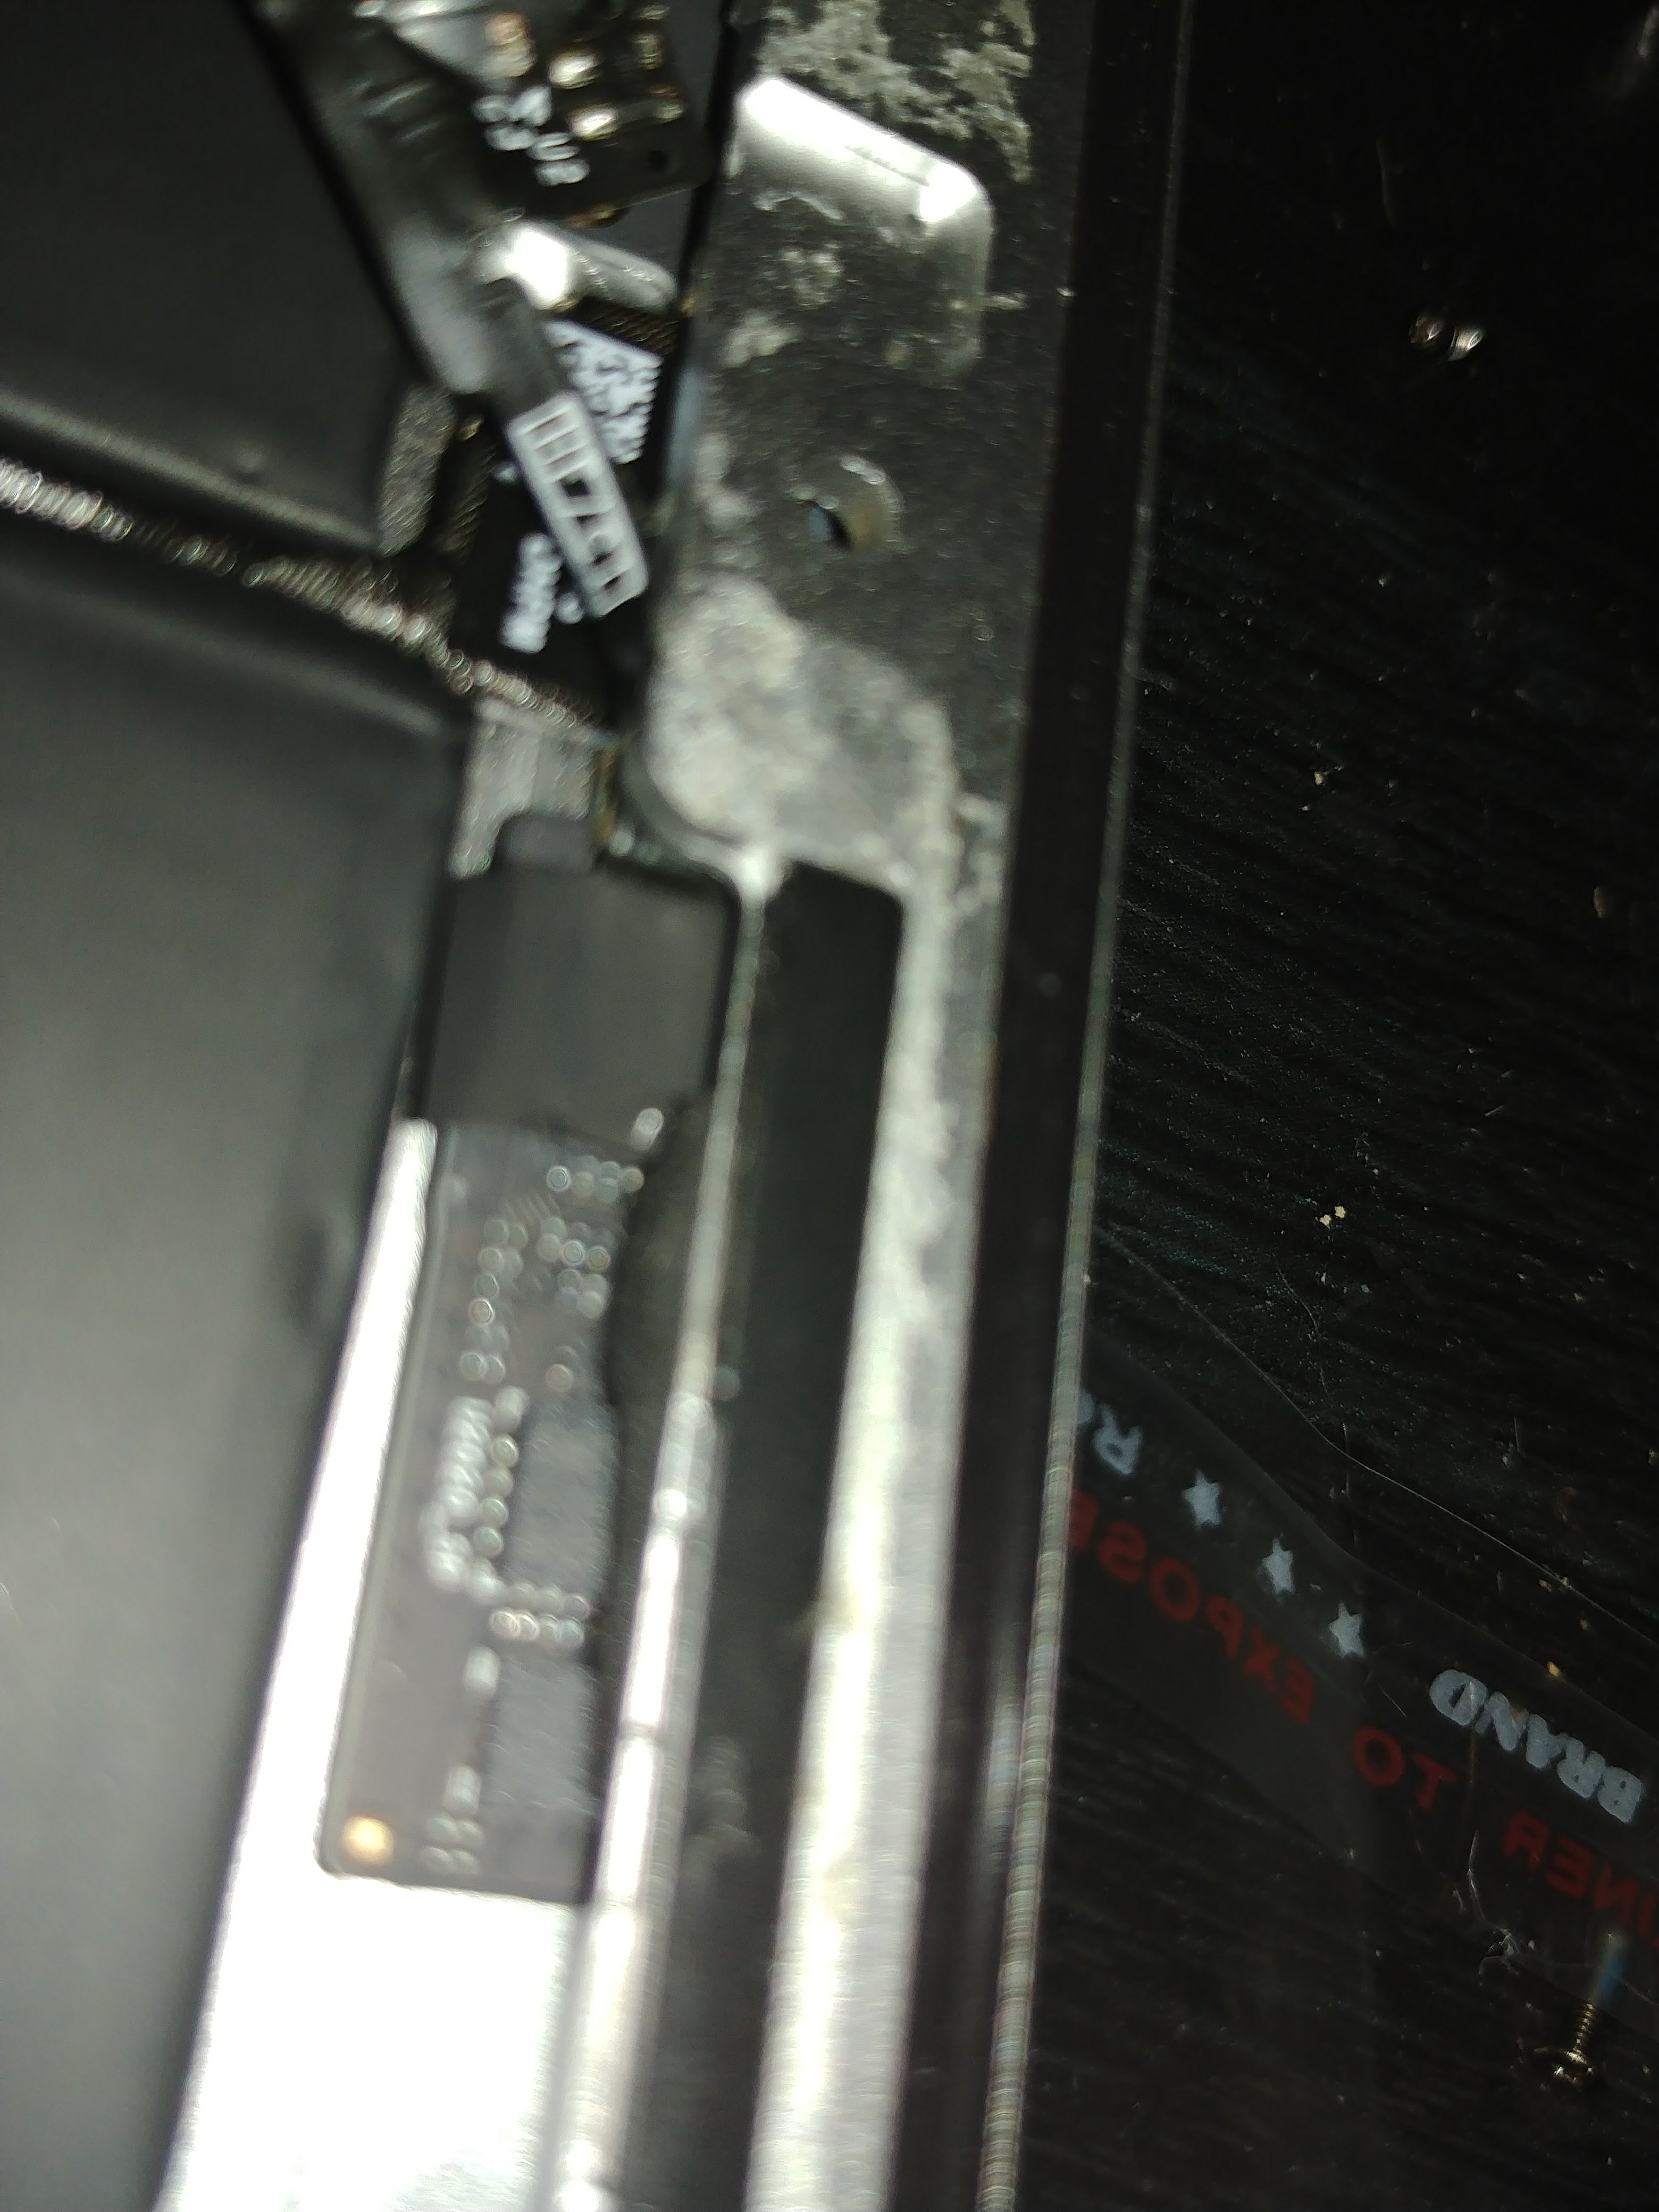
Once you can grab the small metal assembly, slowly peel the flex cable attached to it away from the frame. Once you get to the end of the cable, you'll notice a small black piece of tape. Peel this back and disconnect the flex cable from the motherboard.
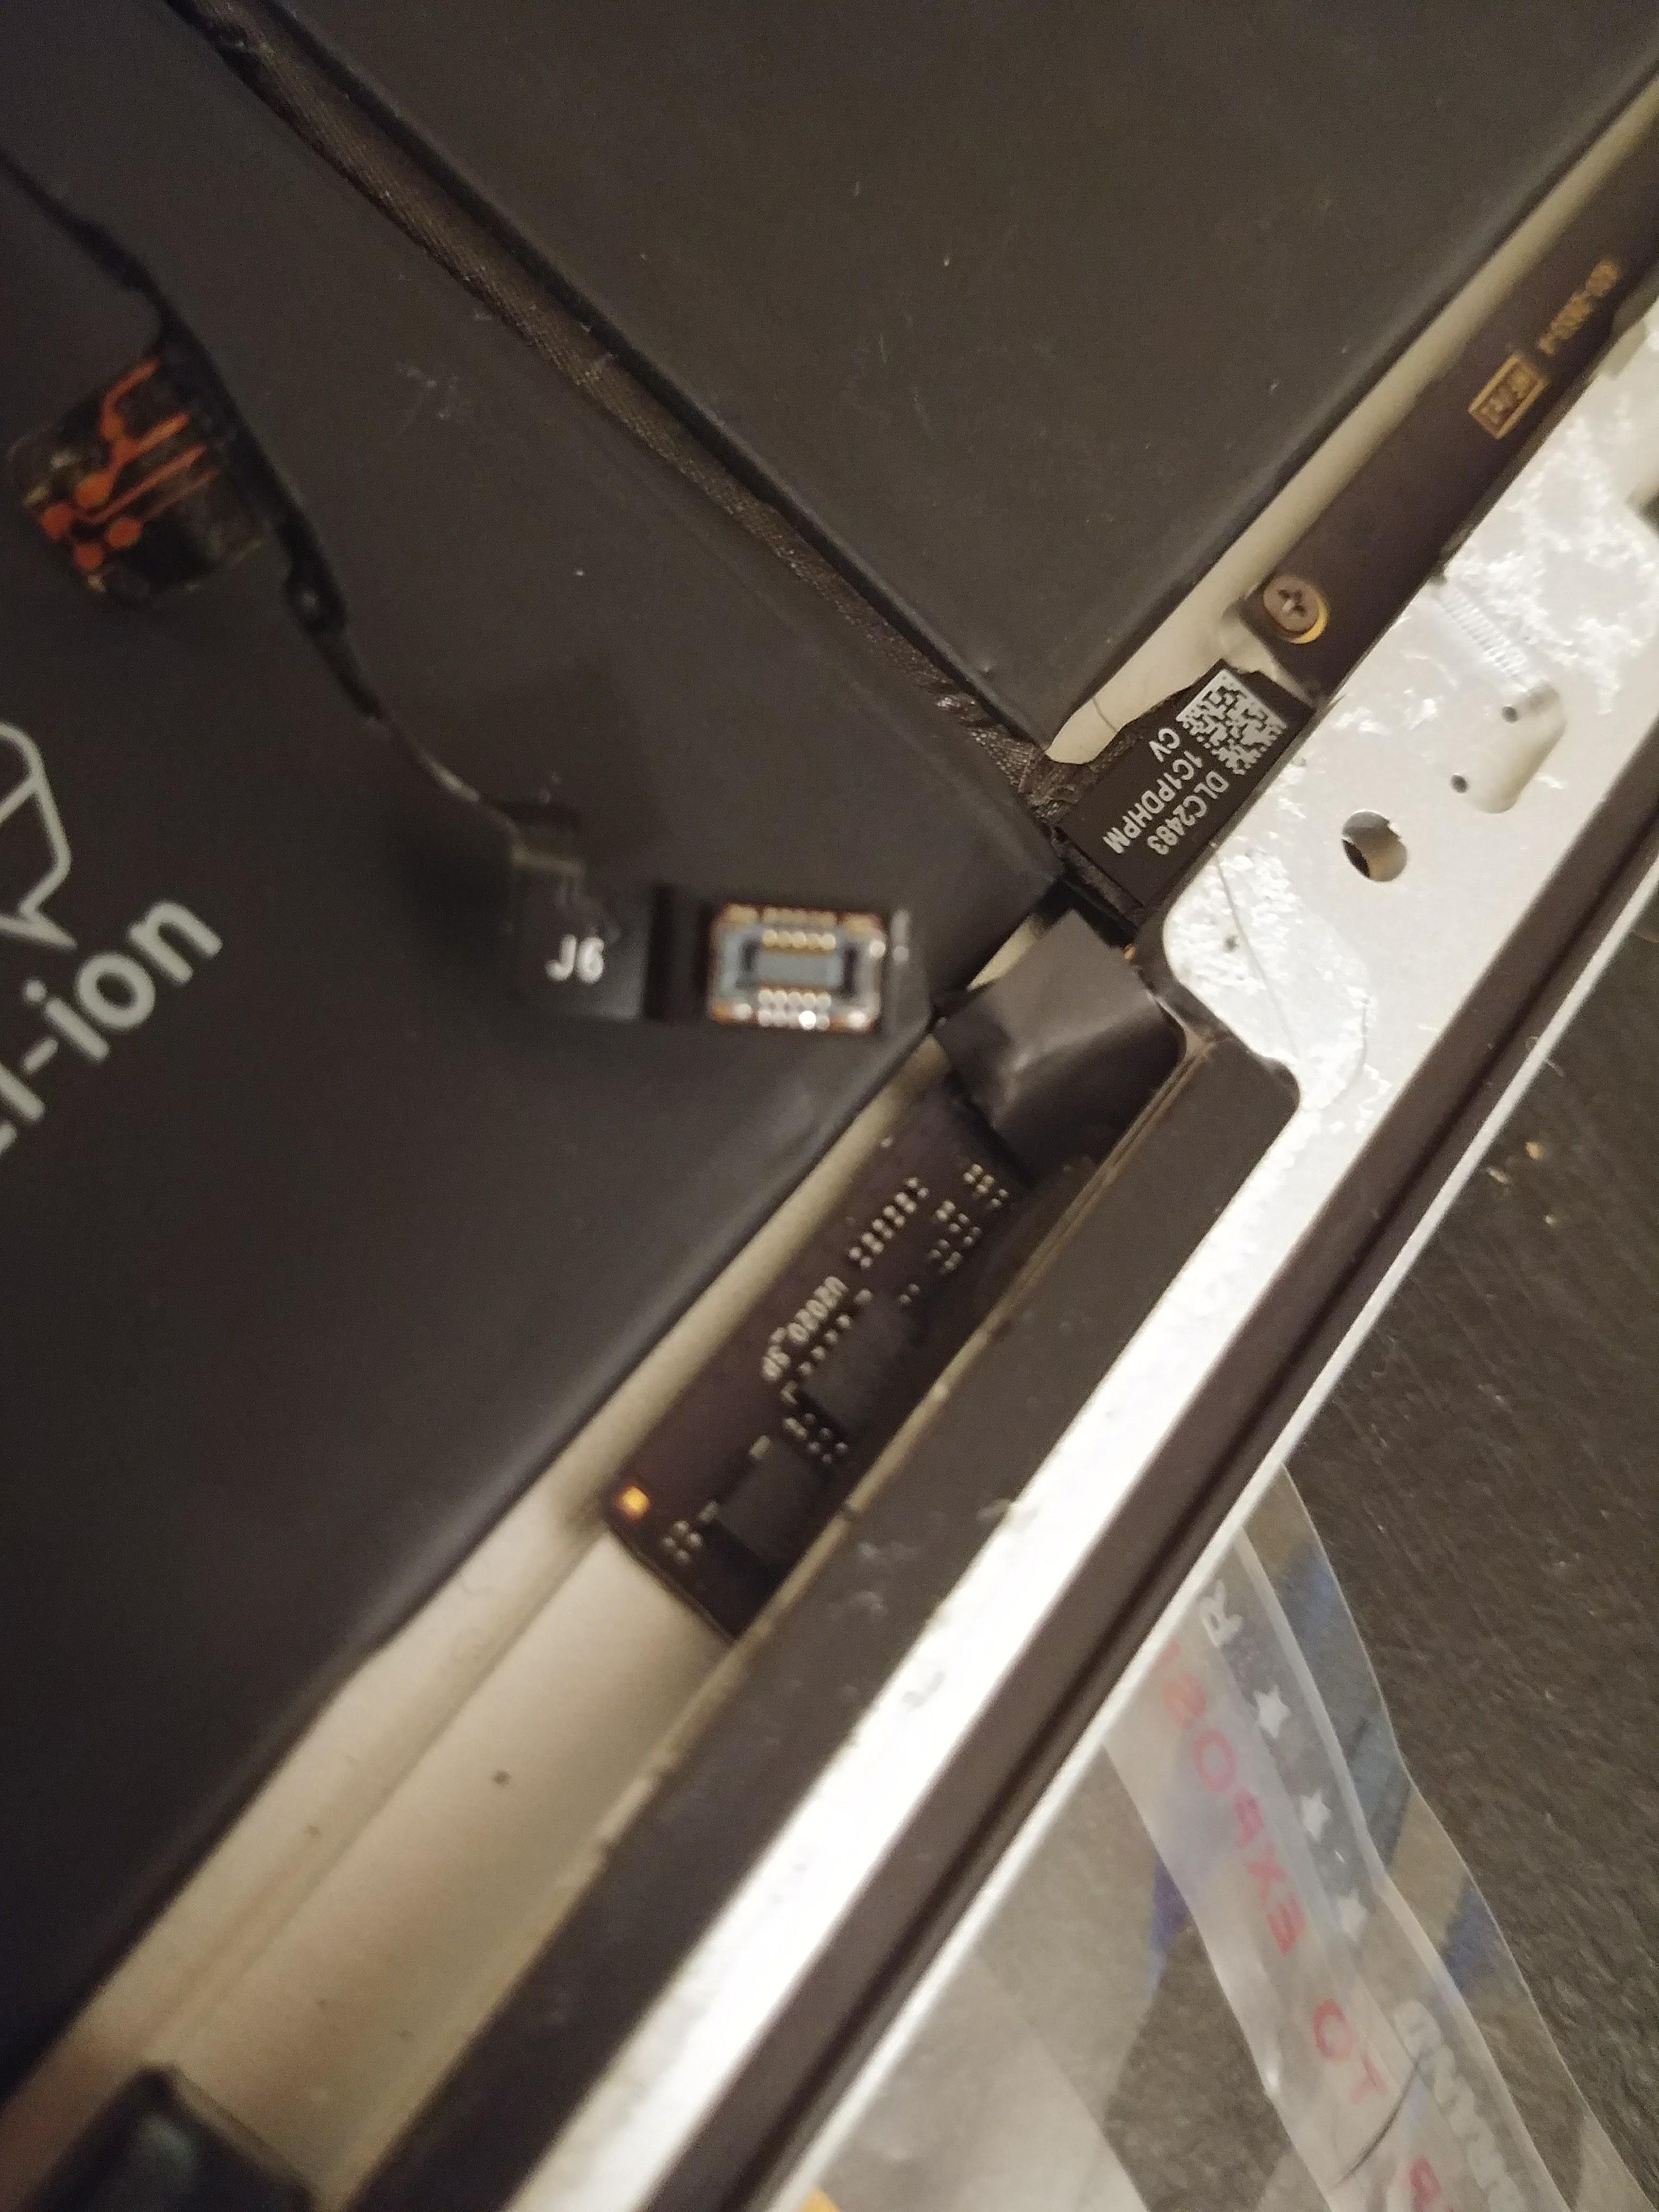
The final step will be attaching the new flex cable to the metal assembly piece and following the steps in reverse.
Congratulations! You can now repair the volume/power buttons on your iPad 2.
Thanks everyone for reading. If you found this helpful or just enjoyed the tutorial, please feel free to share it wherever. I will be back soon with another tutorial. If you have any thoughts or questions, please feel free to comment below and I will do my best to respond to everyone.
Peace guys. Thanks again for taking the time to read.