There's nothing like ripping something out to keep an anxious mind busy. Whenever I tend to get anxious about something I am unable to control, I turn to home renovation projects to keep my mind and hands occupied until the storm passes. Last August, we were experiencing a time of great transition with the Little Man, which was causing me a great deal of stress and worry. So what does one do to cope? How about a bathroom remodel for just under $1,000?!
I have a downstairs bathroom that was a complete eyesore. Every time I walked in, I cringed. The floor was stained, the walls were covered in ugly 70's paneling that had been textured and painted, and there was no sink. A bathroom with no sink! It was the talk of all of my guests every time they visited. The bathroom is very small (I believe it was probably once a pantry off the kitchen hallway) which definitely limits what can be done in a space.
I was nervous to take the paneling off. My walls are good, old, solid plaster. It's super hard to even put up a wall hanging! However, I've seen some of them crumbling under the other treatments the previous owners put up, and I was not in the mood to replace any walls. (It's also way beyond my current skill level.) My house was built around 1920, and I really try to keep any remodels within the style of that time period. Paneling from the 70's era definitely does not scream "historical remodel". I decided to cover the paneling with paintable wallpaper. I had seen several applications on social media that looked very nice, so I chose a pattern that closely resembled tin tiles to apply over the paneling.
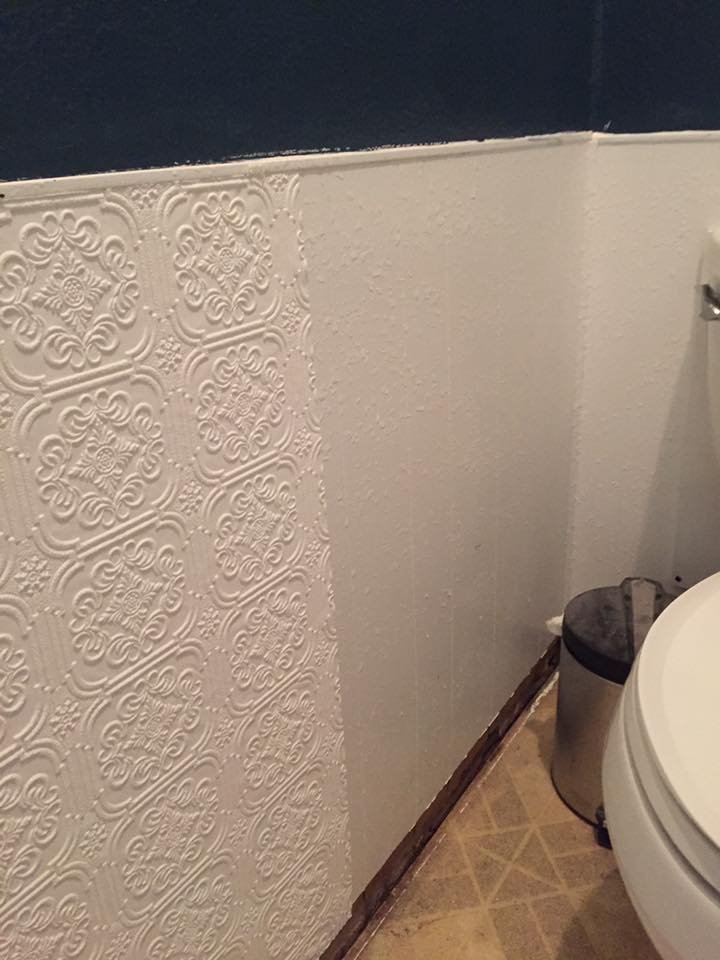
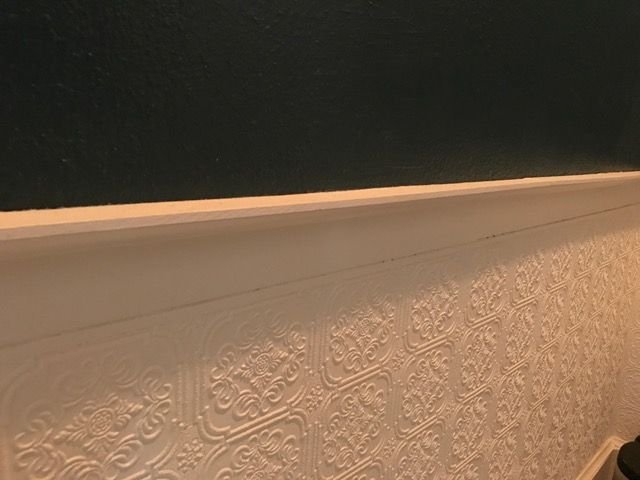
Above, you can see how the wallpaper nicely covers the paneling for a definite upgraded look. I hated how the paneling stopped short before the plaster began. Since I had some left-over material from the cupboard project, I created a chair rail by nailing two-inch boards that were a 1/4 inch thick tightly against the edge of the paneling. I used the same boards to create a shelf-like trim and finished it with cove moulding underneath the over-hang to secure the two pieces together. Finally, a coat of white paint brought the old paneling and the new trim together as one stylistic unit.
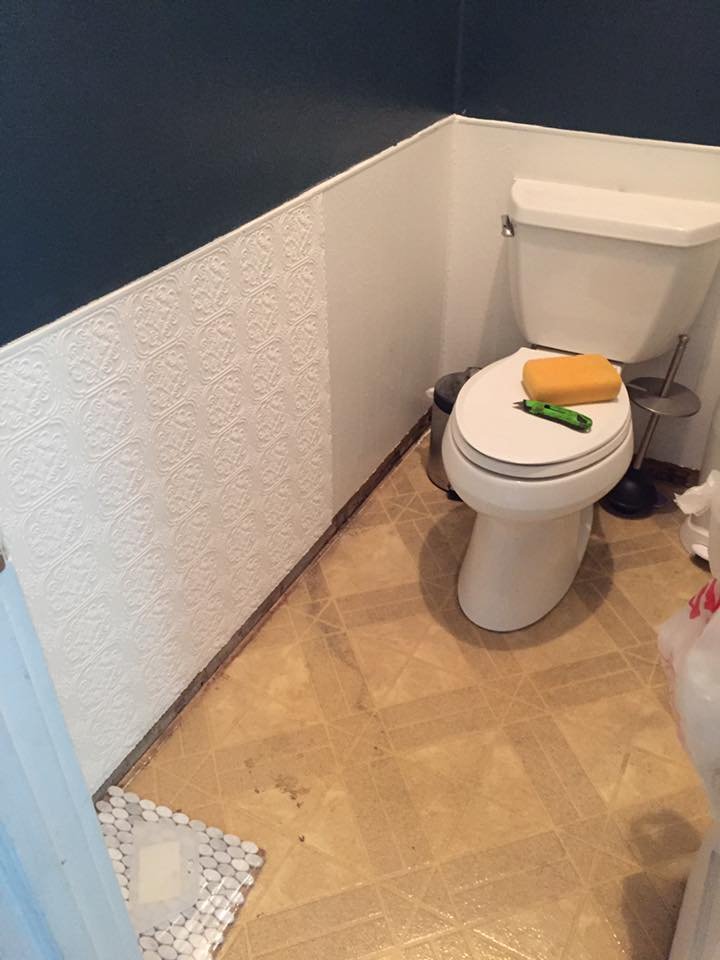
My next challenge was the flooring. The laminate floor had been deeply stained from years of water leaks. Little did I know (although, in retrospect, should have probably guessed) that the subfloor had been damaged as well. Here is a snapshot of the floor before it got ripped out.
Surprise! This is what was underneath:
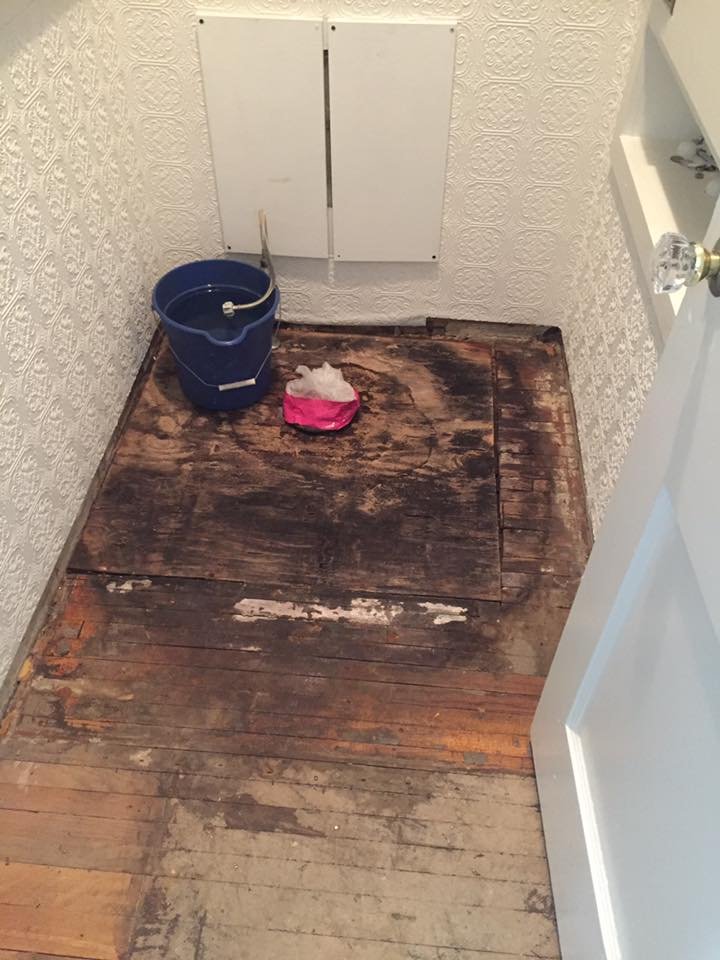
I was disappointed I would be unable to save the original flooring underneath the laminate. Marble mosaic tile was my next choice, and I chose a nice polished hexagon pattern to give the room a little more glamour. After replacing the subfloor, I did a ton of research on the best type of tiling membrane to use and landed on the Shluter Ditra membrane. I tell you--that stuff was pretty slick, and I would use it again and again! Laying down the tile was pretty simple after that. A little grout the next day, and a new floor was in place!
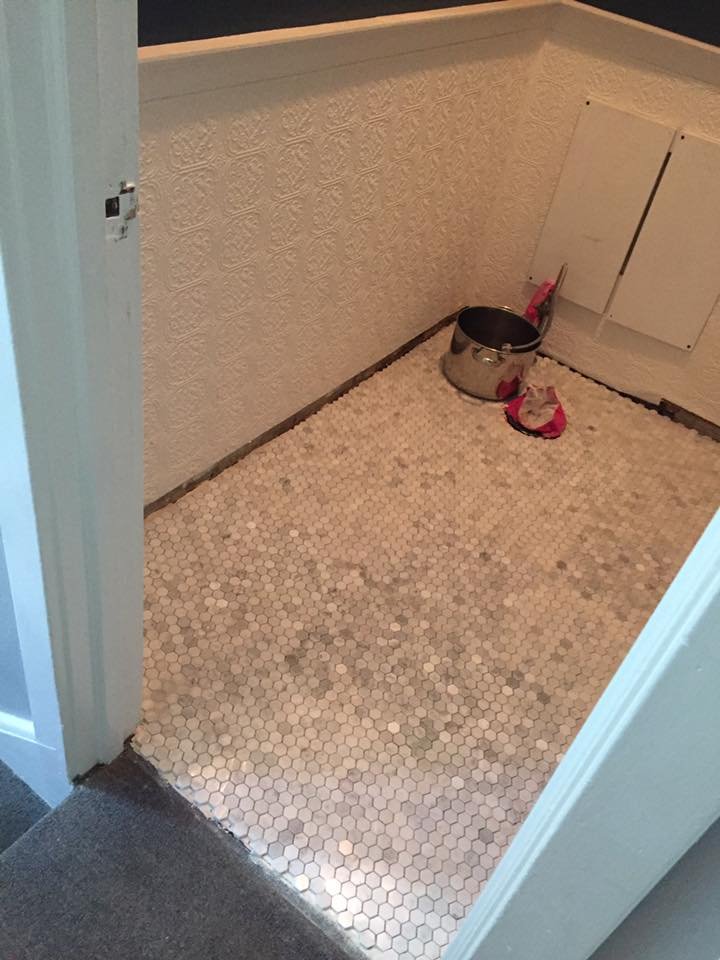
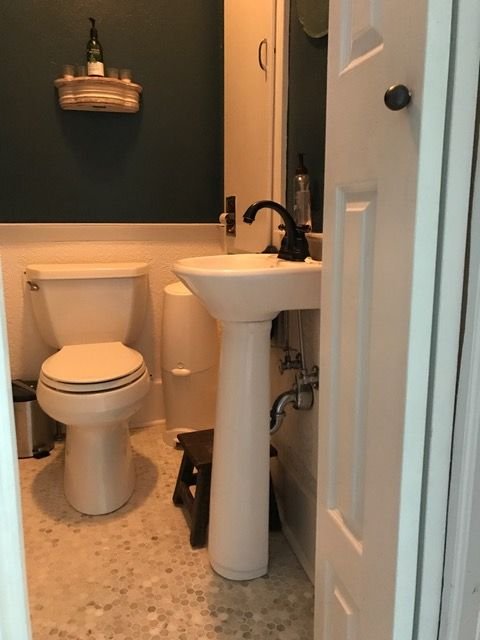
To finish up the bathroom, I had a very small pedestal sink installed. In order to keep the cost down, I had to have it placed on the wall right next to the door, which made opening the door impossible. I replaced the door with a bi-fold door, and the bathroom was finally complete. Below is a picture of the final result. Now, instead of guests laughing that there's no sink, I hear comments about what a cute little bathroom it is! I definitely prefer hearing those words...especially since I have the satisfaction of doing almost all of the work myself.