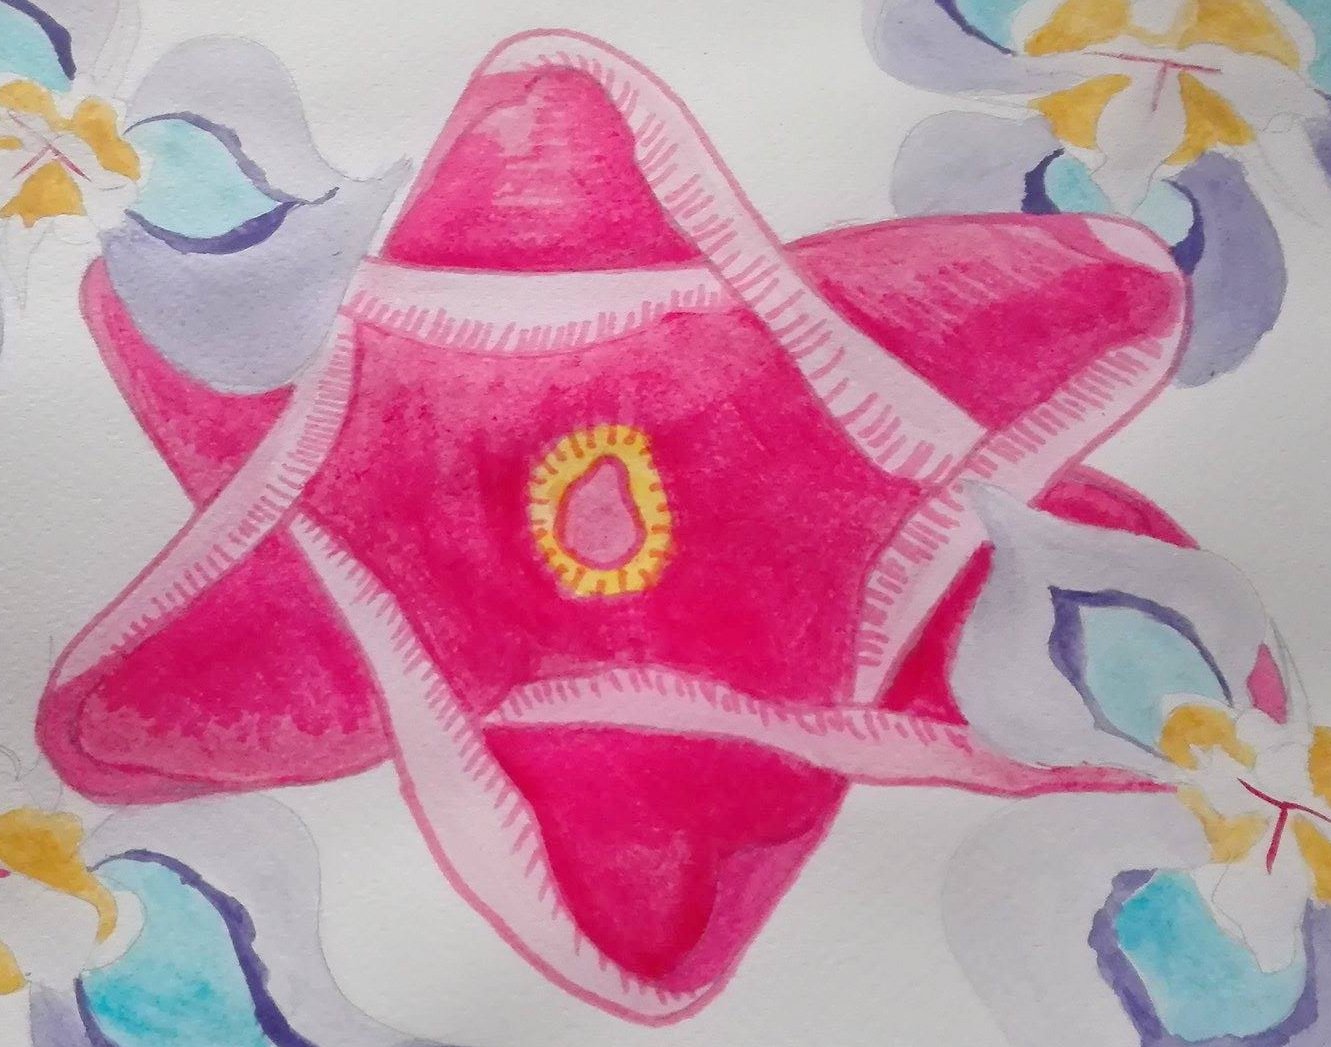
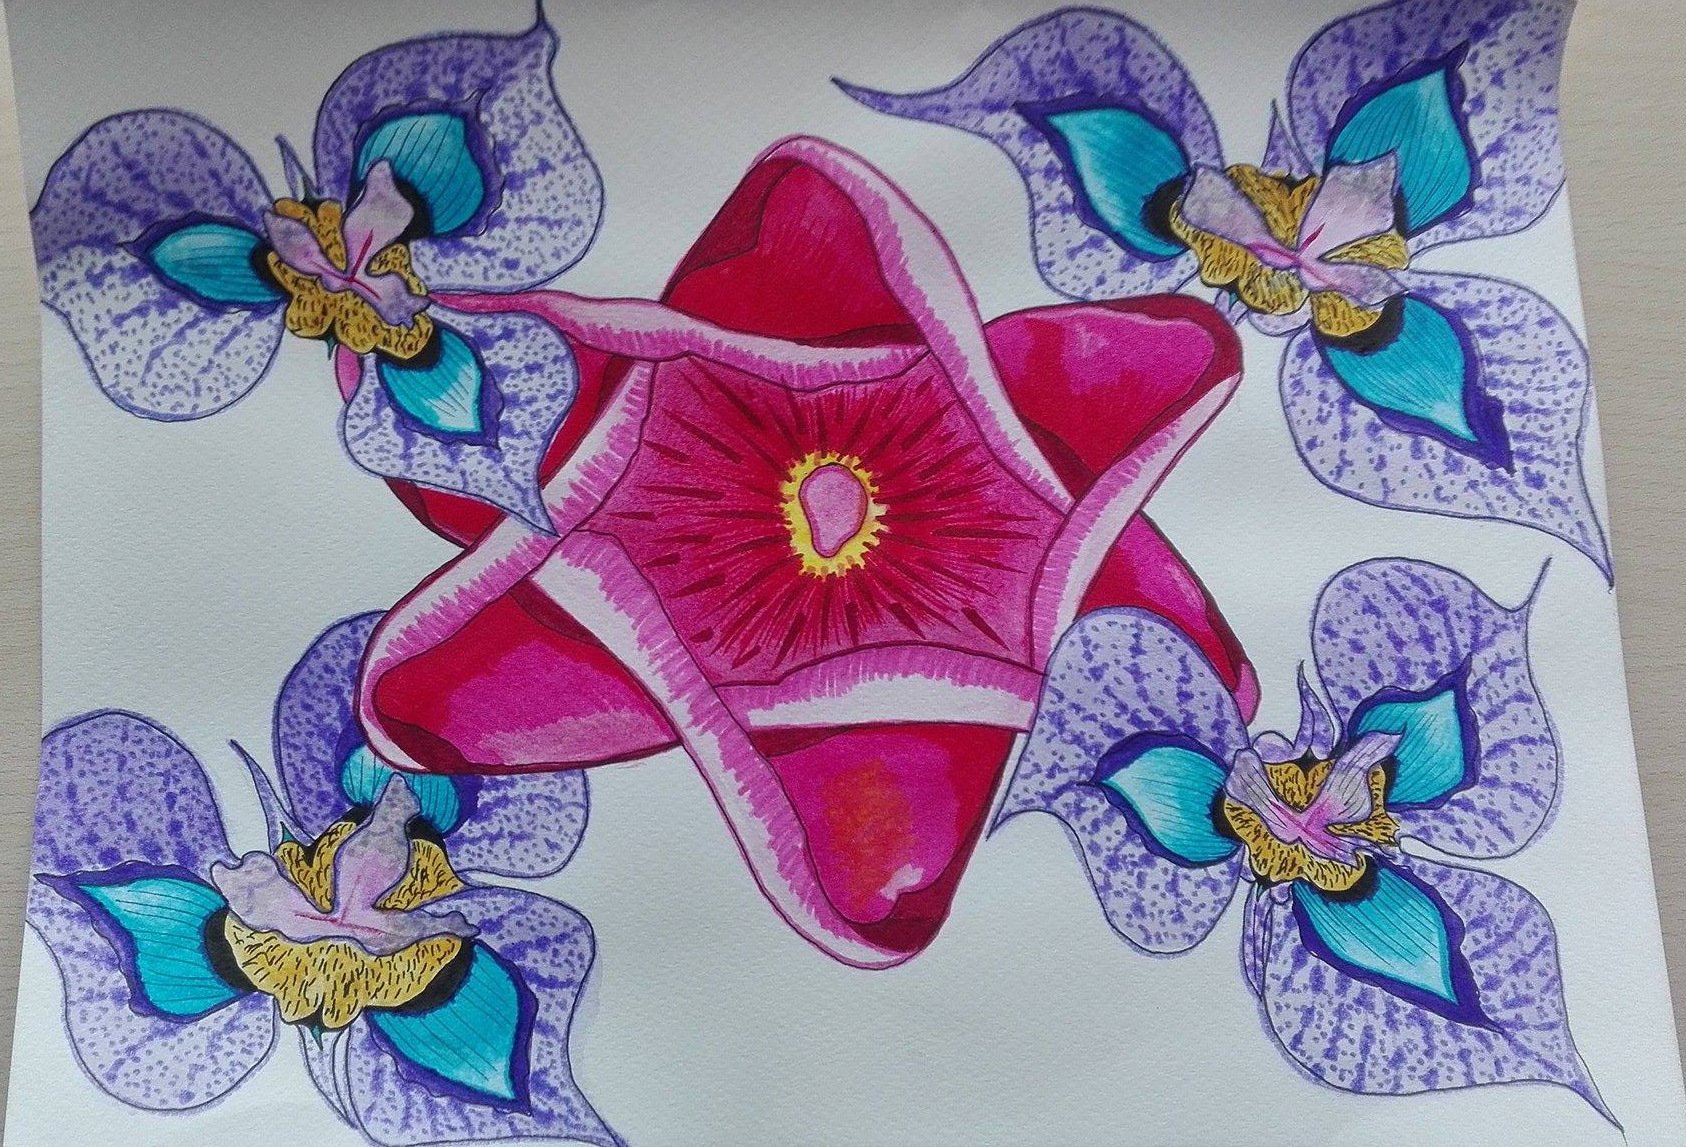
Hello everybody! Today I present you my entry for the Drawing Challenge contest. The theme was "Flower" And that's what I drew:

The drawing is made on watercolor paper and the materials used were mainly watercolor, and permanent markers. The signature is in the right top corner. I did not wanted to put it in the middle of the drawing but it is true that is very difficult to see. You will find a close up of it in the step by step process.
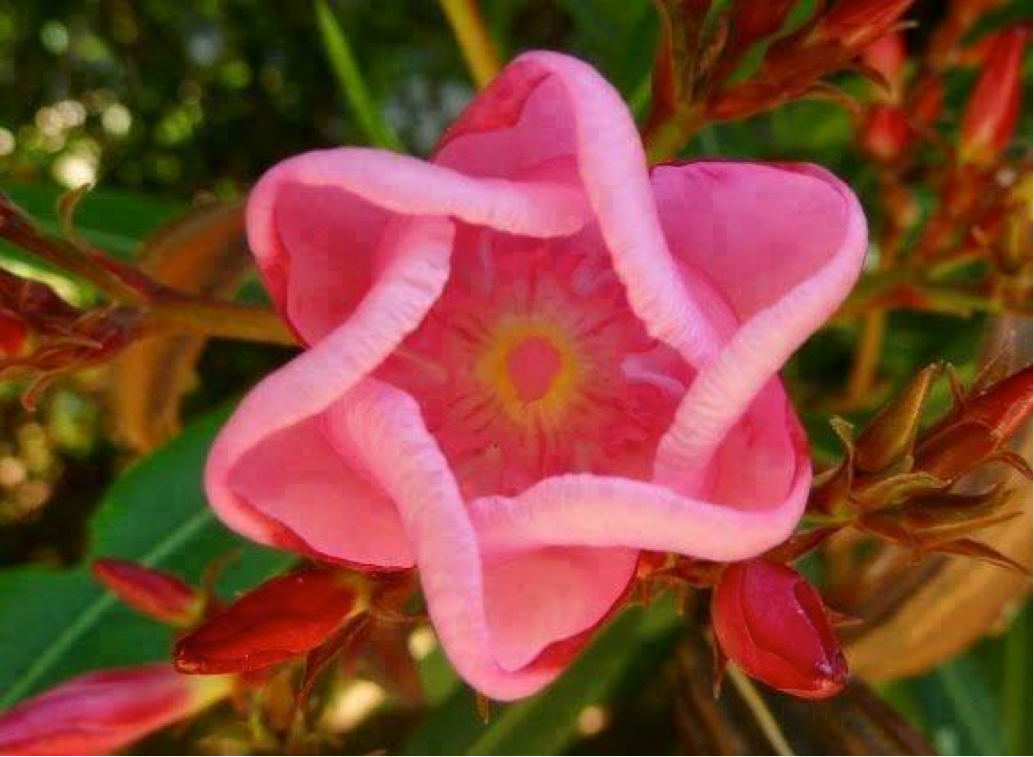
I did not know what kind of flower I wanted to draw. So I went into the google woods and I found some weird and beautiful flowers that gave me this idea. I will show you the inspiration process and then the step by step process for this work that took me 4 days to finish.
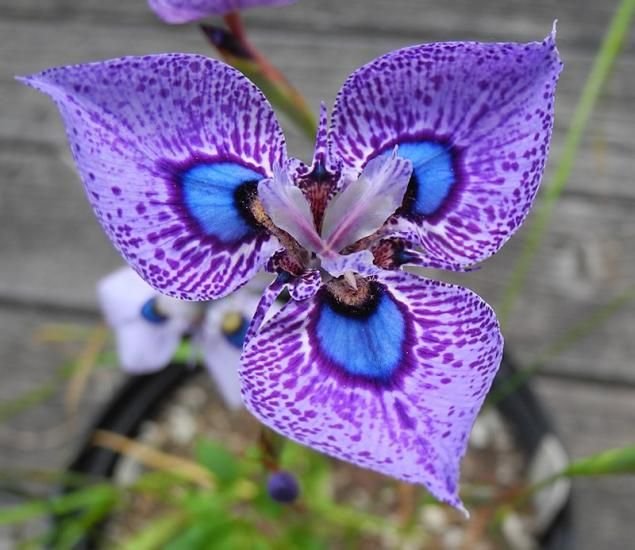
This is the violet flower. I liked it because of its violet patches. I borrowed it from here: https://todaatual.com/2017/04/flores-lindas-raras-do-mundo-fotos.html .
Step by step Process
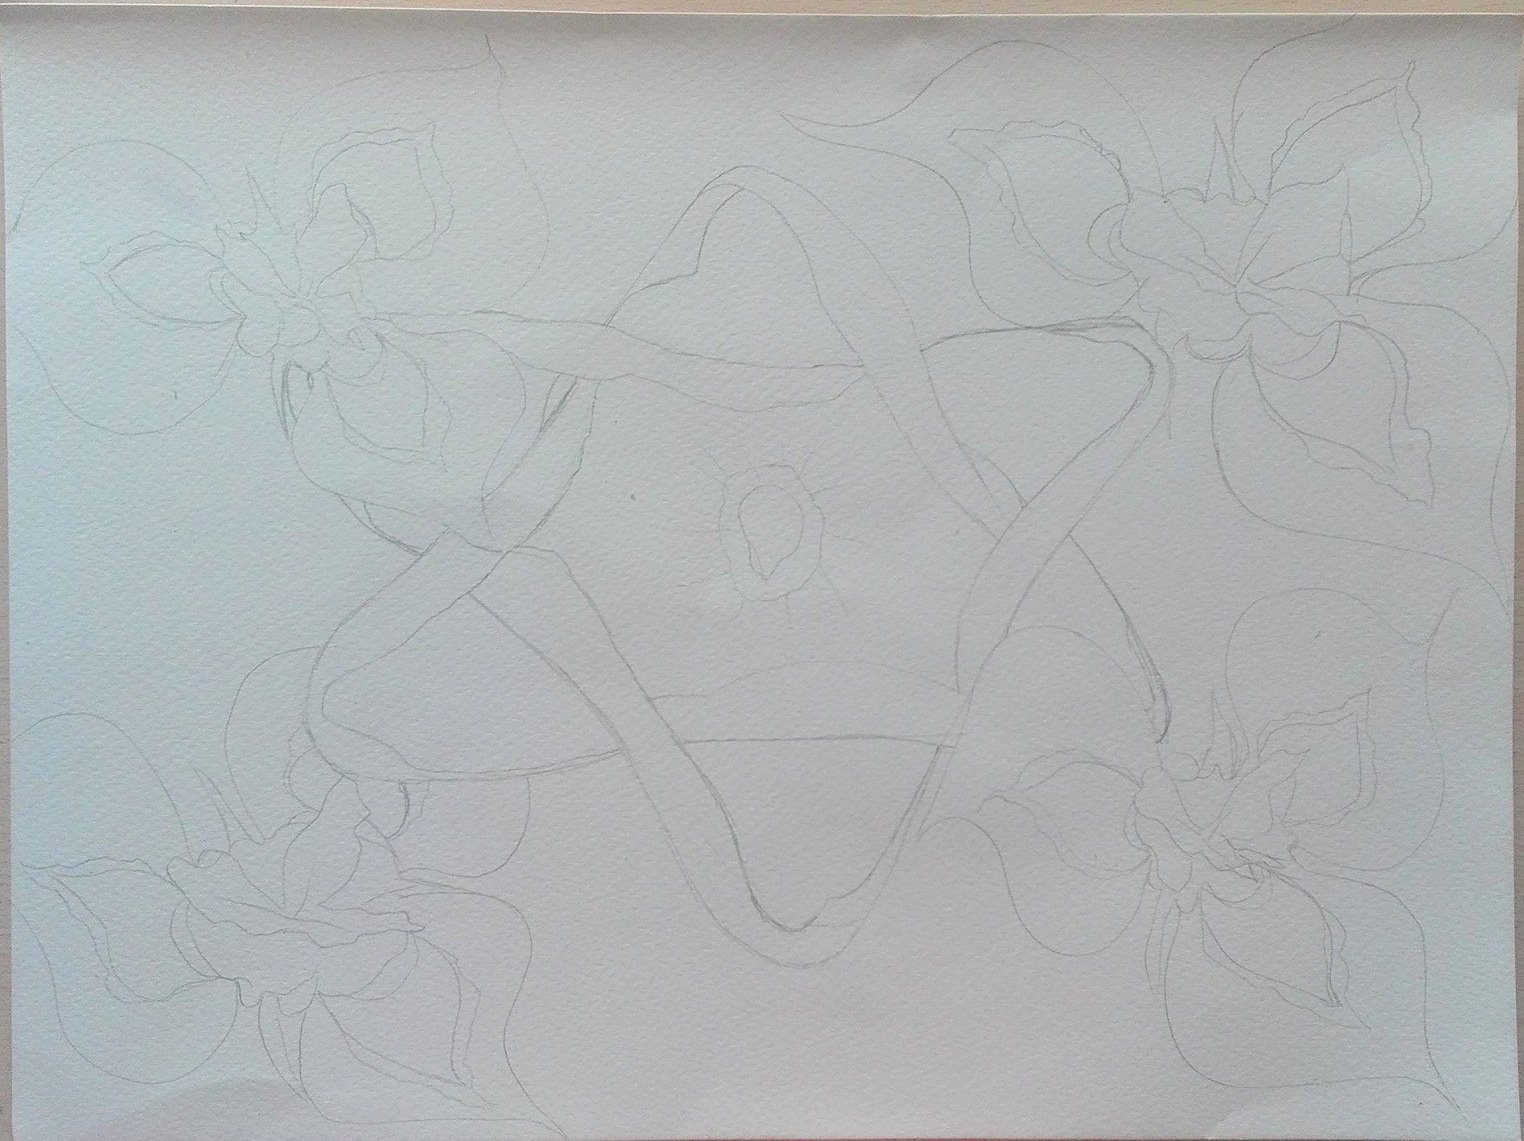
Day n°1: First, I drew the general shape of the drawing as a guide to know where and how I was going to paint.
Then, I used watercolor to paint the flowers and create shapes, lights and volumes from the beginning. I didn't care about having a realistic effect, I just wanted to create my own interpretation of these flowers. In this part, I only look to get the general shape of the flowers, I don't try to make details. They will come later.

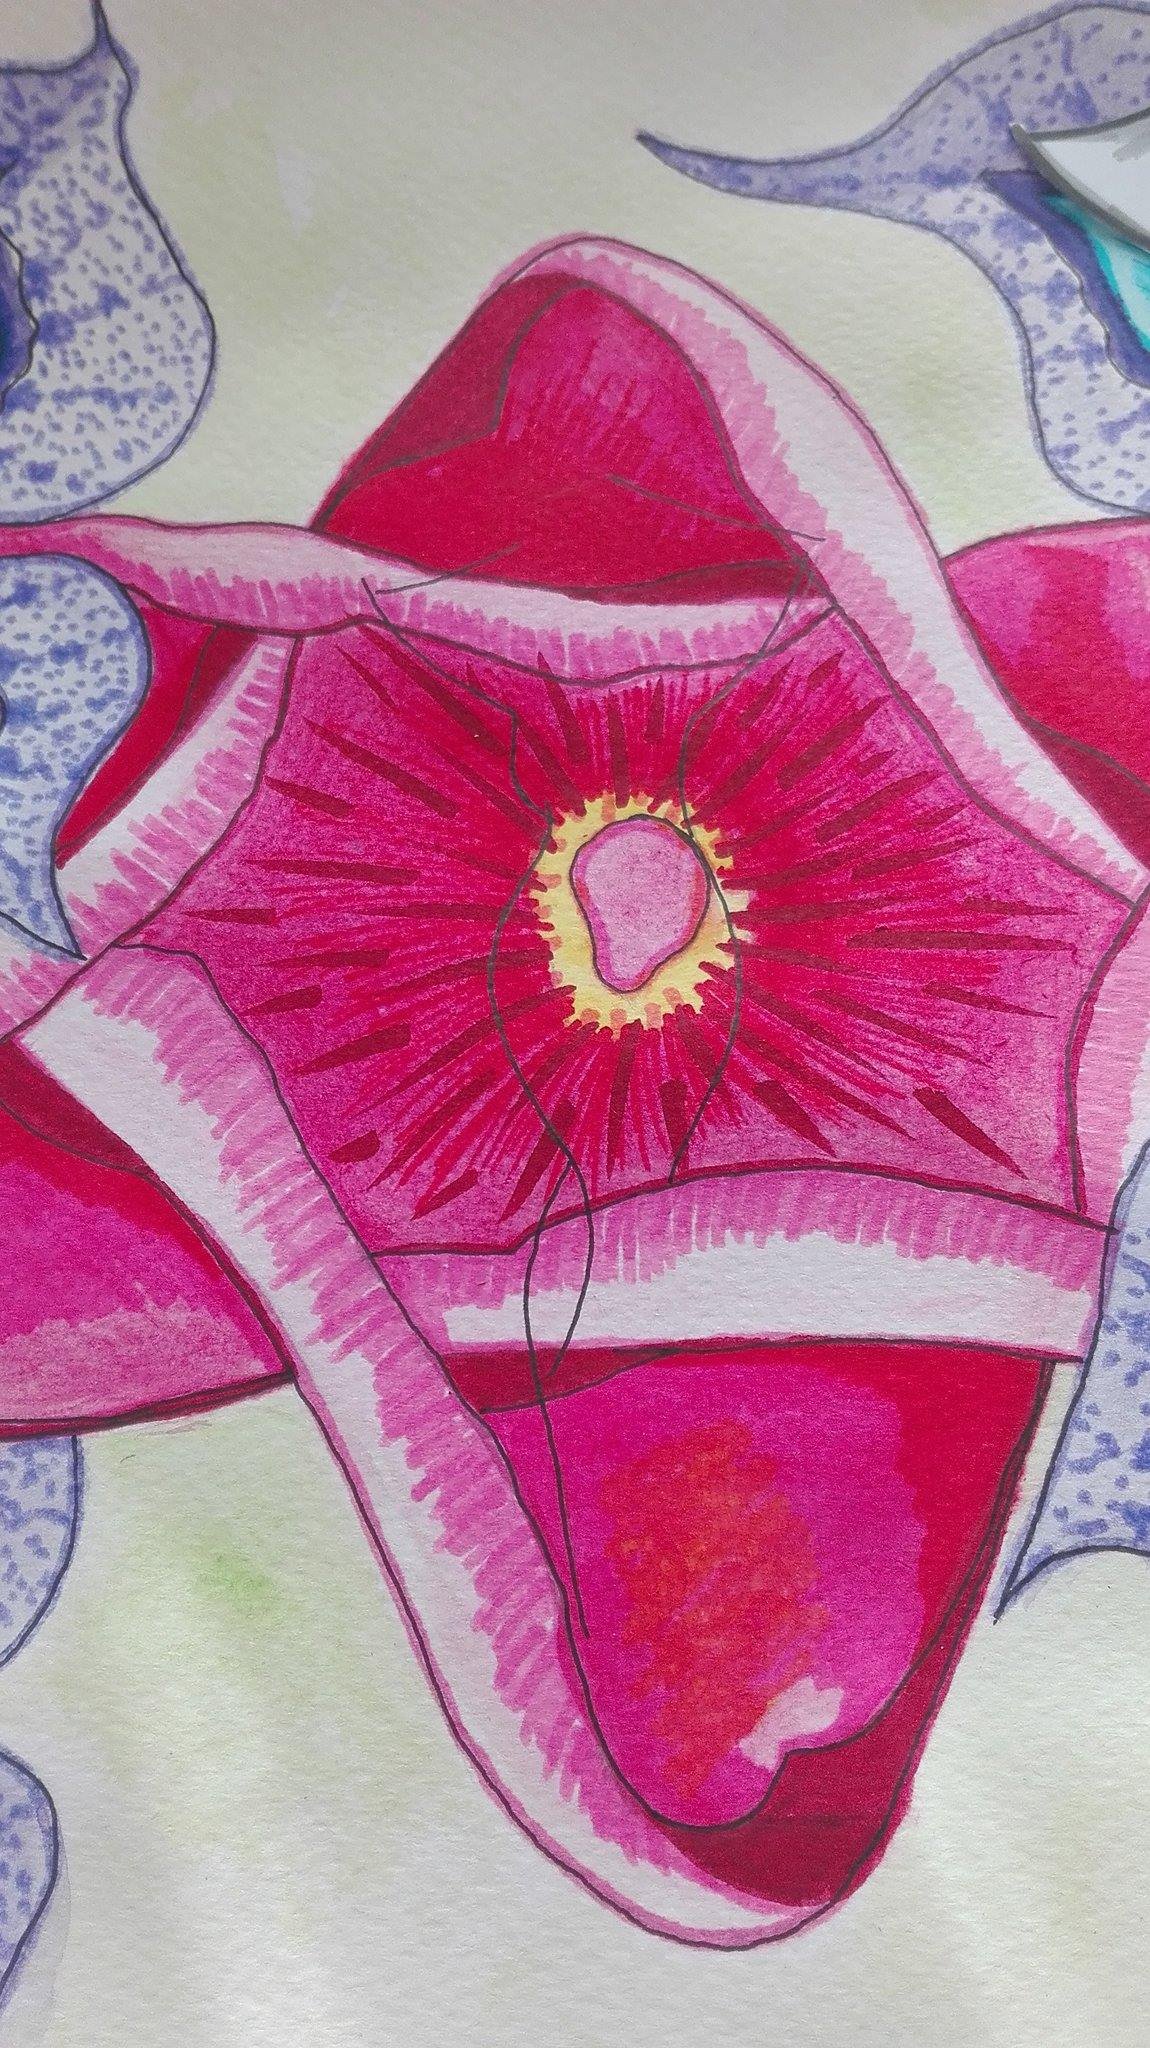
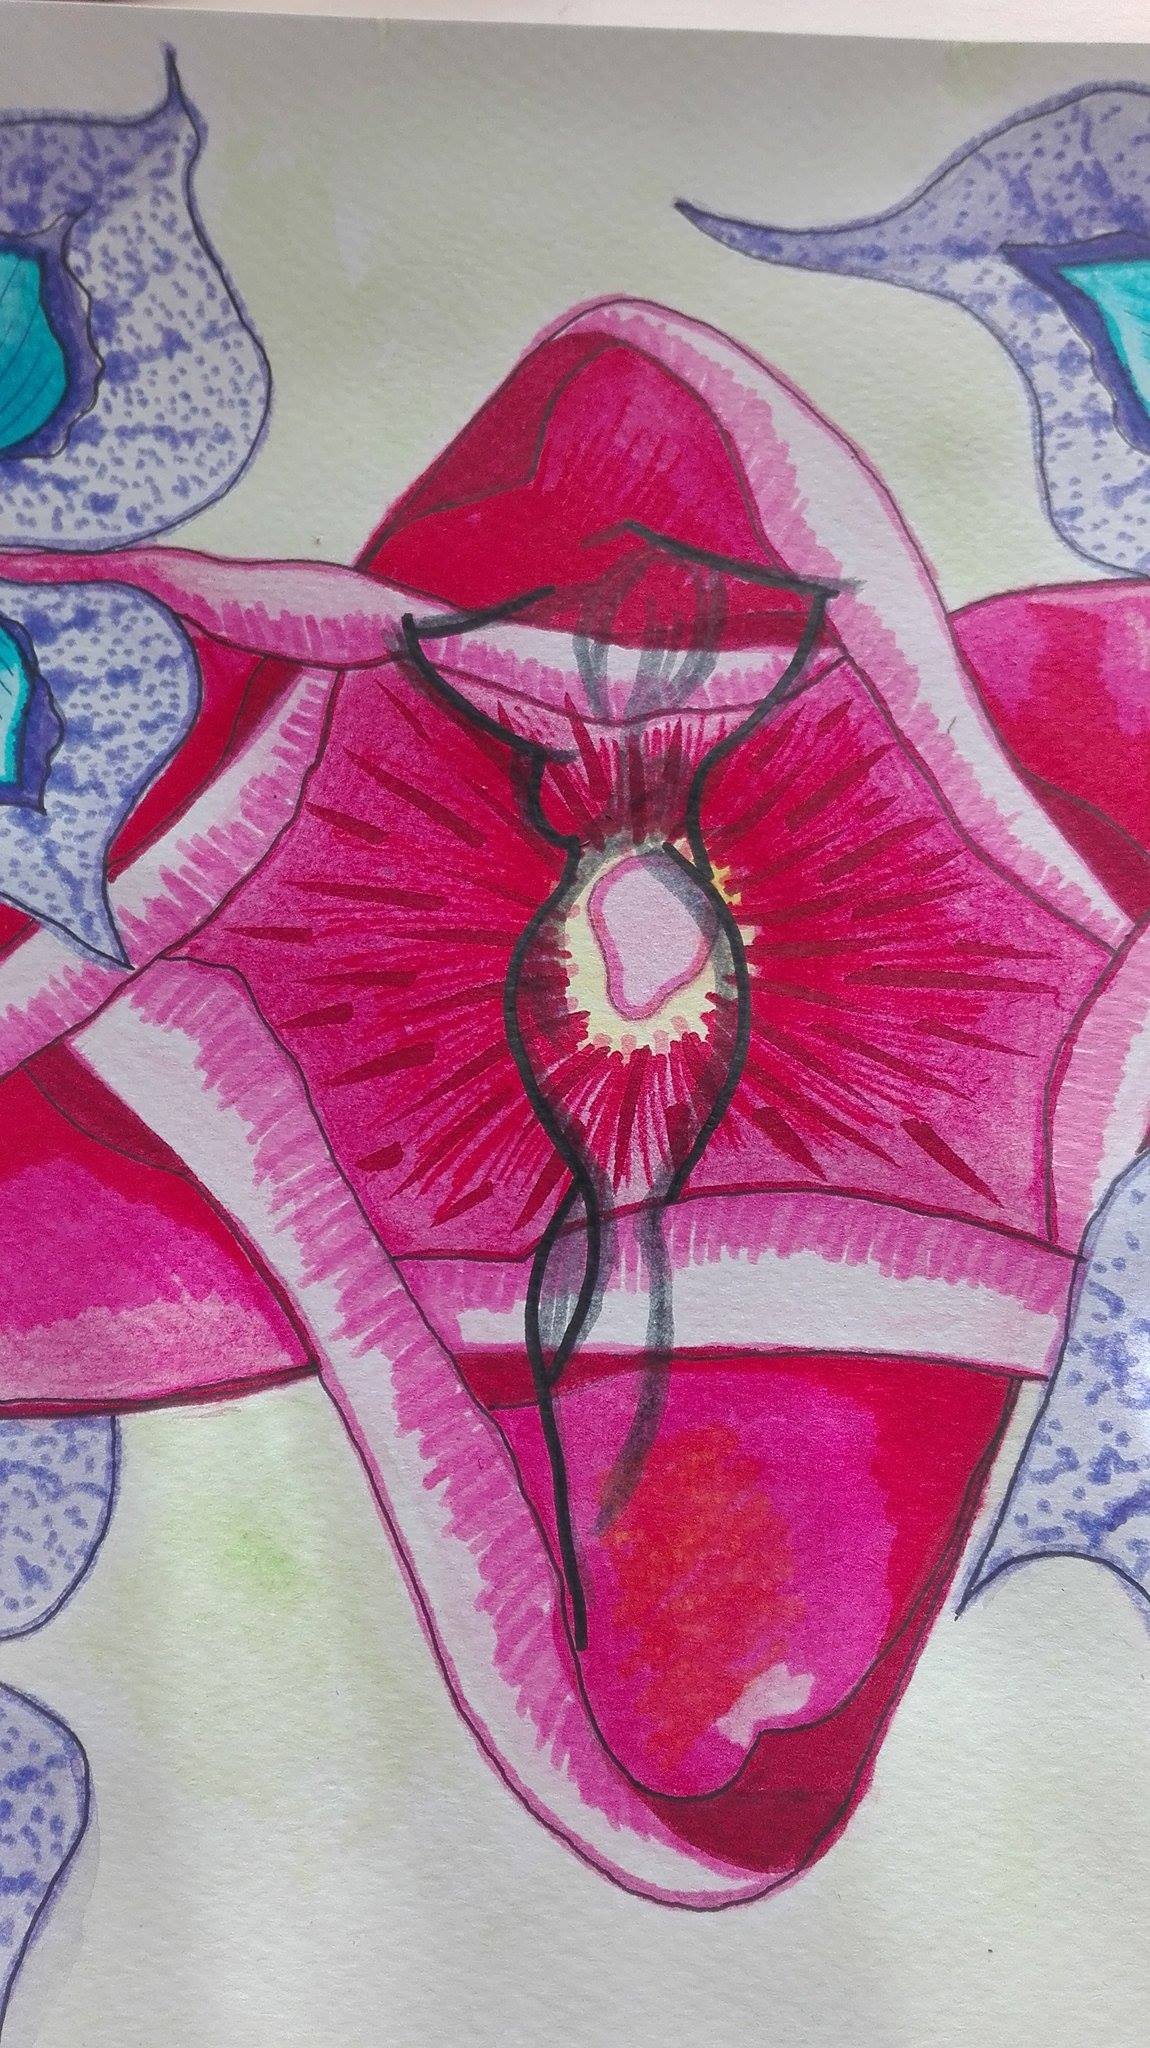
Day n°2: To draw the central flower, I defined where some shapes were going to be and created some details with a pink marker from the same tonality of the watercolor.
Then, with a dark red marker, I emphasized the shapes to give it more volume and contrast. I also added some details in the center of the flower.

Finally, I created more shape nuances with a red marker, specially in the inner part of the petals. Then, I made the borders of the flower with a thin black marker, as I felt it gave it more volume and definition. The central flower is finished!

For the violet flower, I began drawing the black parts and black patches of the flower center. It starts getting more details now.
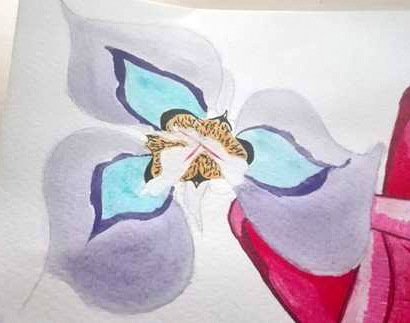
I created shapes into the blue parts by using a light blue marker, painting in some parts of the petal, not everywhere, so I can keep a nuance. Finally, I added details with a dark blue fine pen, in the borders, above the black part and made some lines in the center.
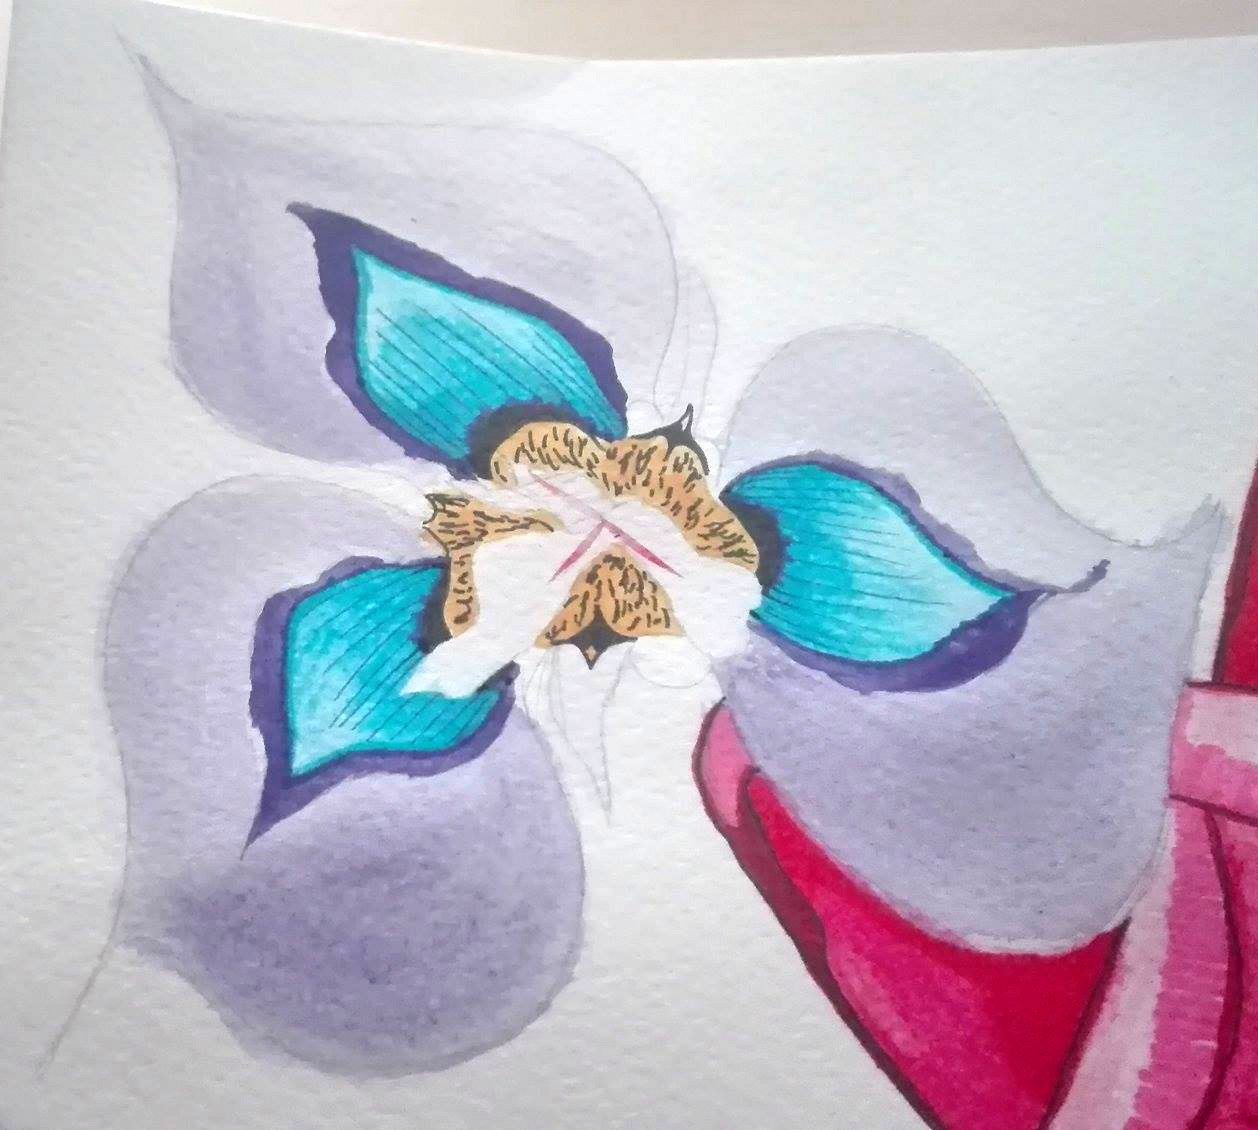
Now I worked on the purple parts. First, I gave some shape to that sort of halo that is around the blue part and then I made some lines that will serve as guide lines to create the patches.

To mache the patches, I just drew some shapes along the guide lines, and then added random dots in the space that remained free. After that, I marked the borders of the petals with the same purple marker. This is beginning to have a flower shape!

For the inner kind of petals (I know, this flower is weird, that is why it's so beautiful) I also defined the borders and added dots in the top part. Then, with grey and pink watercolor I created what I call the "heart" of the flower. Hang on, it's almost finished!
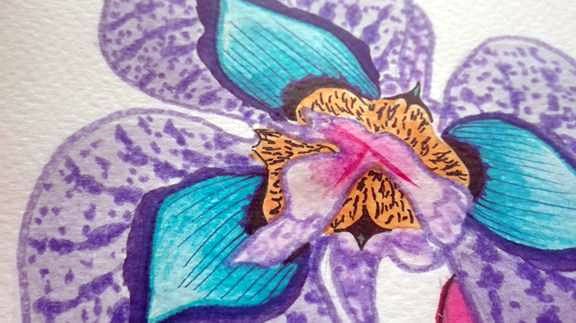
Finally, I defined the borders of the petal, the blue and yellow parts with my fine black marker. the first flower is finished!

Day n°3: We repeat the same process with the other three flowers.
Day n°4: To create the background, I used light green watercolor that I mixed with water, so the result would be very transparent. I didn't want the background to "go over" the main subject. I wanted to leave it vague.

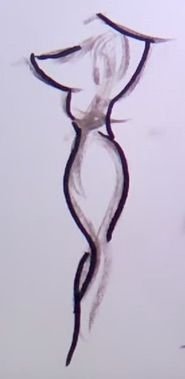
Now the tricky part was drawing the shape of the woman on the center flower. The problem is that here I can't erase if I get it wrong: the painting would go out and I risk ruining my whole work. So I drew the woman shape in another paper first:
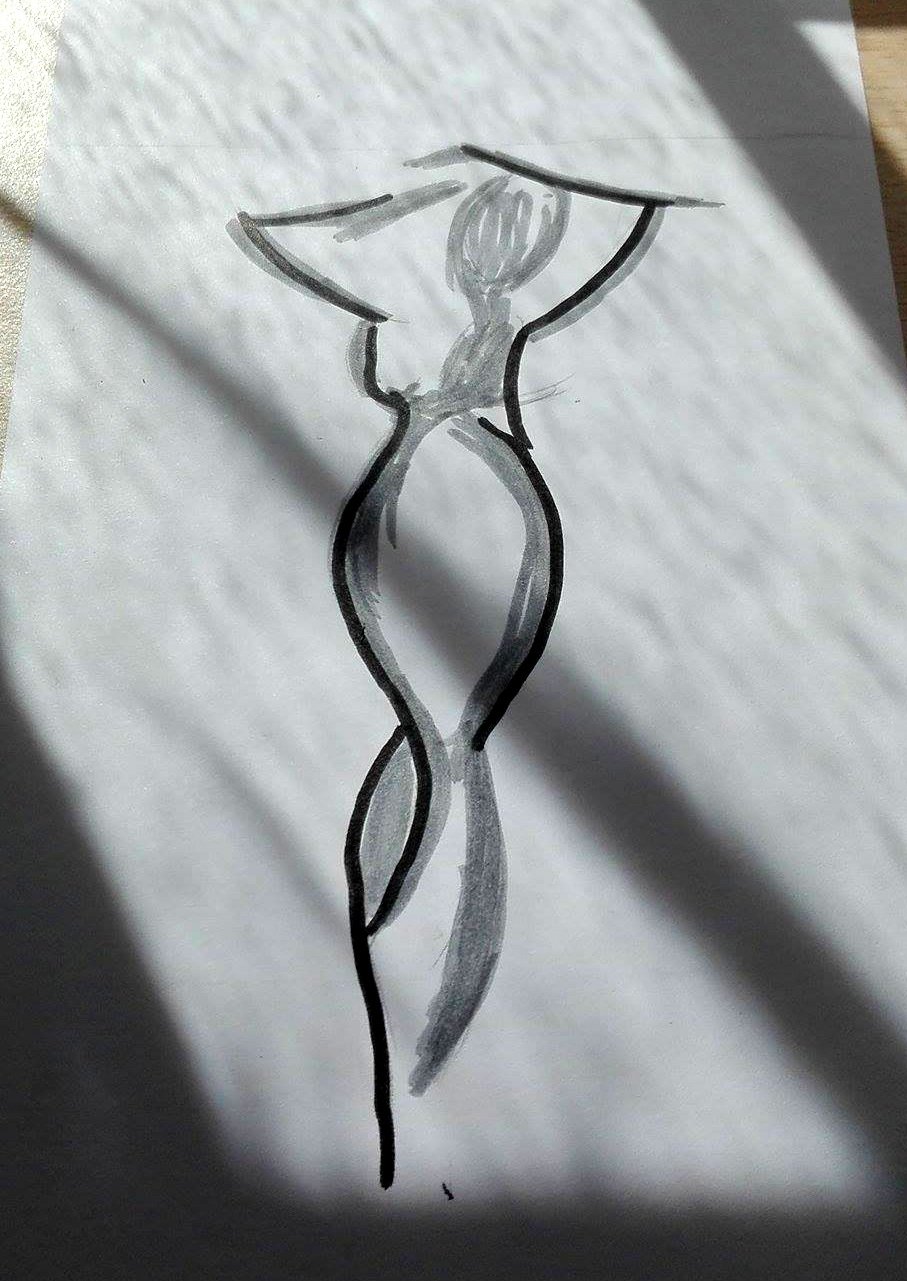
then I cut it out and place it where I wanted it to be:
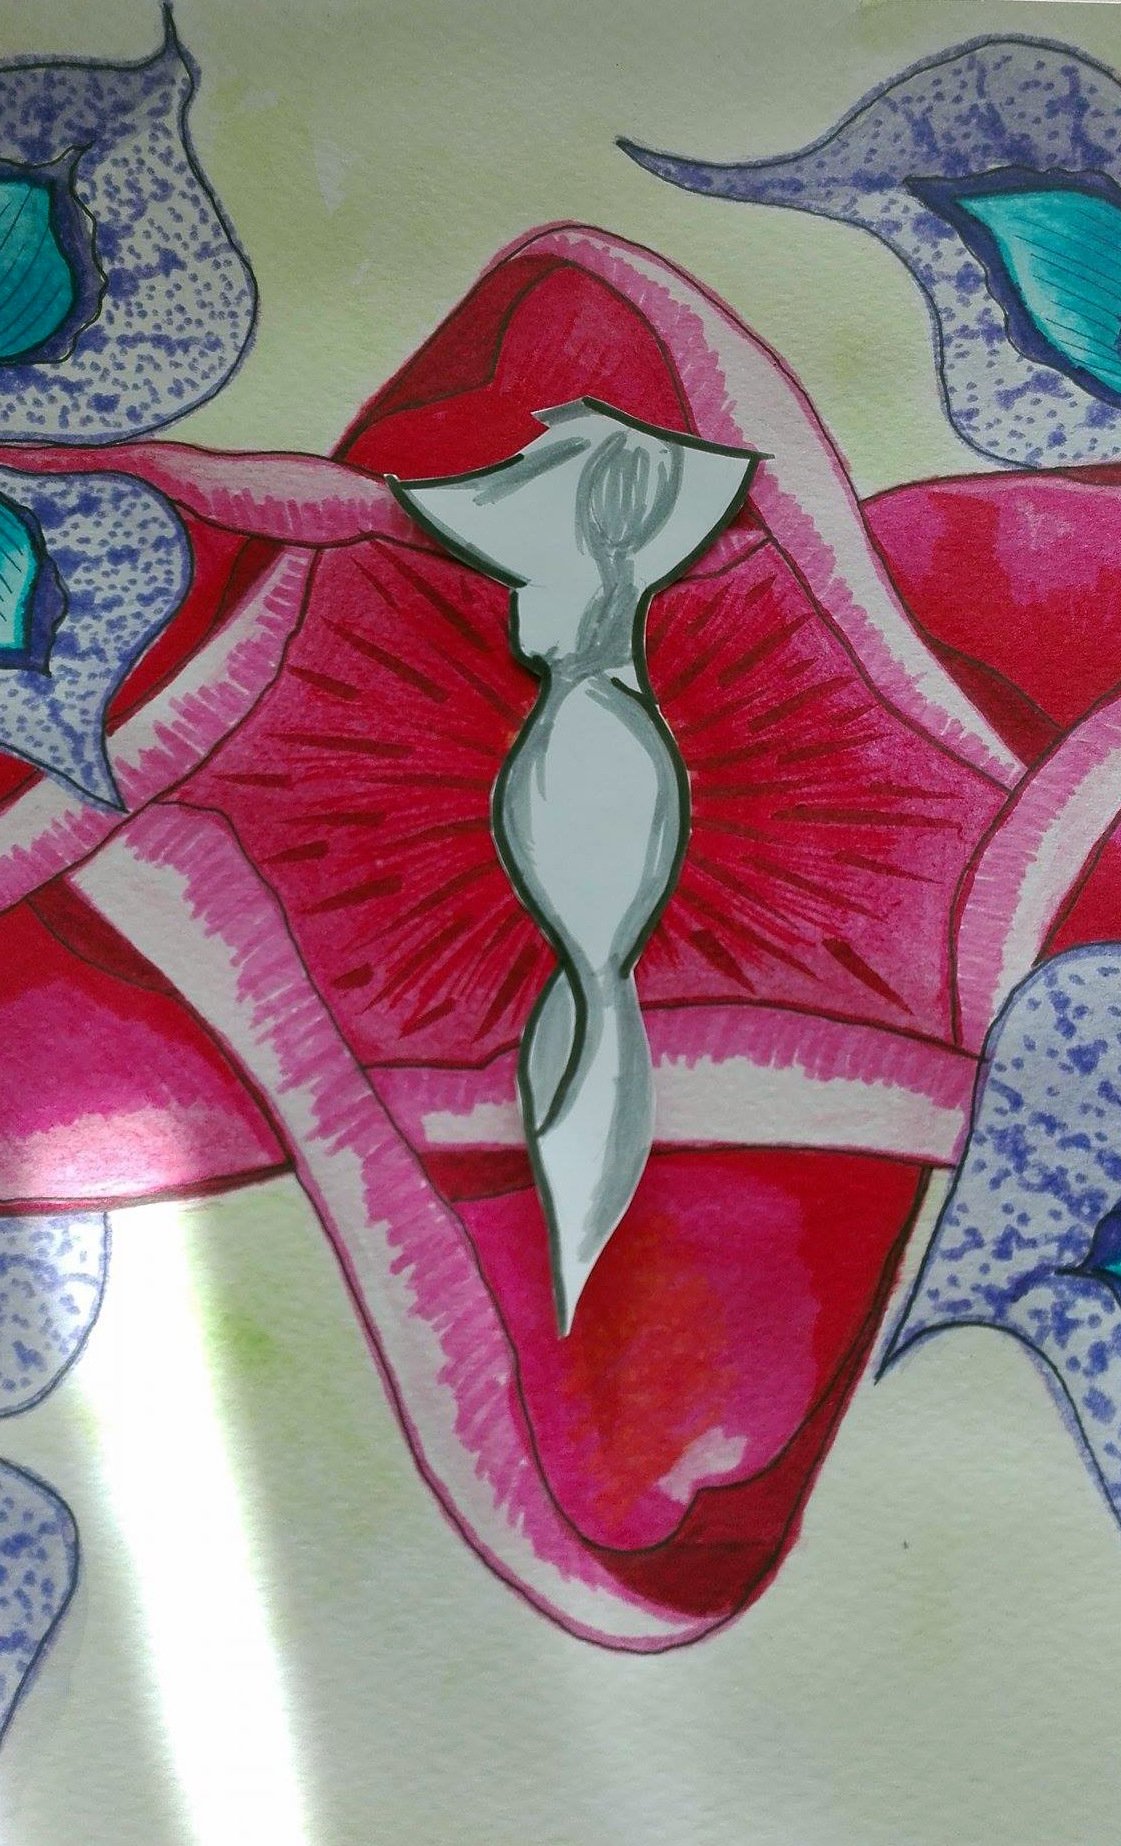
Then I drew around the shape to transpose it into the flower. I first did with a pencil, then with the fine marker, as a guide line.
Finally, I drew the main borders of the shape with a black brush pen, and made some details with a gray brush pen. The work is finished!!
Well, no... I still have to sign it:

Now is finished.
Thank you guys for reading this step by step till the end, I know it is quite long, but I think is was worth it. I hope you have enjoyed as much as I did drawing this.
you can find the link to the contest here: @helene/drawing-challenge-2-will-now-begin-welcome-to-join-this-challenge-and-win-the-prize.
Although the deadline is for tomorrow 20th August, I am sure there will be other contests soon.