I'd like to introduce the easiest way to grow elderberries ever.
(unless you have a friend who already has the stock and you can get cuttings for free)
If you don't know about elderberries there's a whole world of great information to dive into.
Elderberries and humans have been in partnership for a LONG time. Pan's pipes were fashioned from the stalks and they're used as are slide materials for microscopes, the berries flavored have countless beverages, neutralized a bazillion free radicles in bodies throughout the world over time, cured many ailments, dyed many fabrics, and the flowers have created lovely bouquets in champagnes and fed oodles of honeybees.
Interested yet?
Oh, did I mention they grow in full sun to partial shade
and will tolerate a wide range of soil conditions?
Keep reading to find out how to propagate this fantastic species easily and economically.
Growing your own medicinal fruit
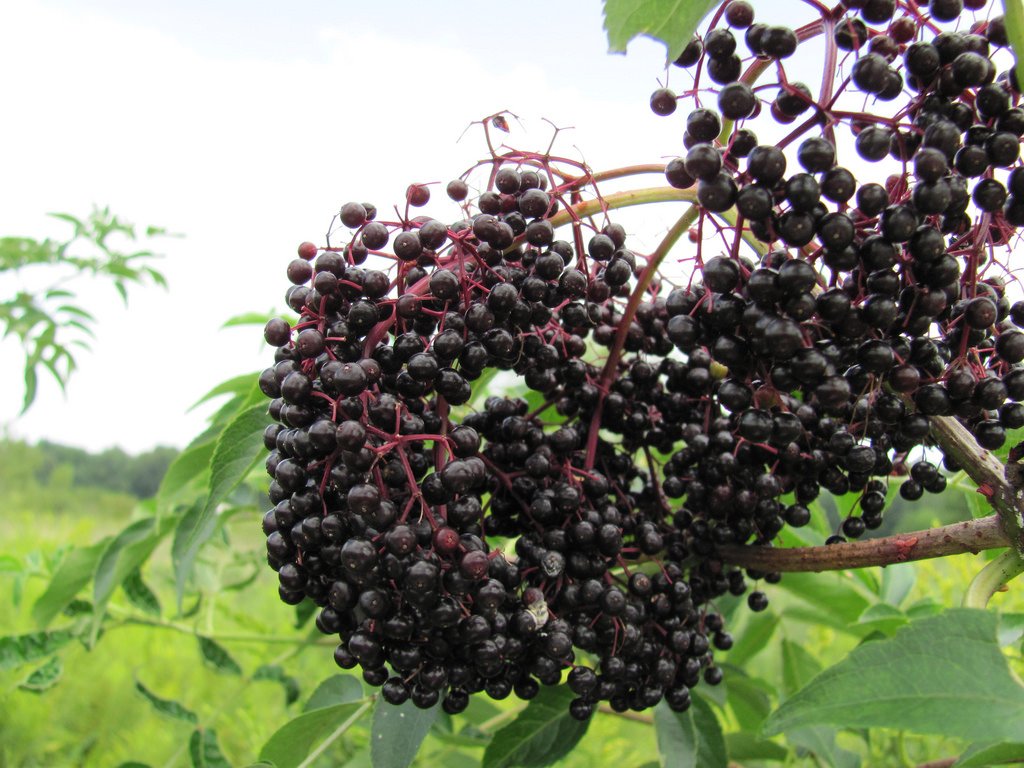
Elders can be propagated in a variety of ways. What we will highlight is what we believe is the lowest input and most natural method of propagating or cloning elderberries. Once established, elderberries will provide a great boost to your immunity as the berries have strong antiviral properties. Their antioxidant levels on the ORAC scale top out at 14 500, that's almost triple the antioxidants concentrations in blackberries! For a fruit that not only tastes good but also has such potent medicinal qualities and is easy to grow its a wonder more folks aren't growing it.
Just to be clear, we're talking about sambucus canadensis, the most common elderberry in North America. There is also sambucus negra, sambucus neomexicana and others. It gets confusing due to taxonomists' ever changing classification systems. The number sambucus of species varies form 5 to 30 so we'll stick with canadensis.
Clonal Propagation
This fancy term makes the process sound like it happens in a lab, but it could not be simpler. Cloning is duplicating the genetic material from a parent, in this case a named and selected elderberry specimen that has particularly good characteristics.
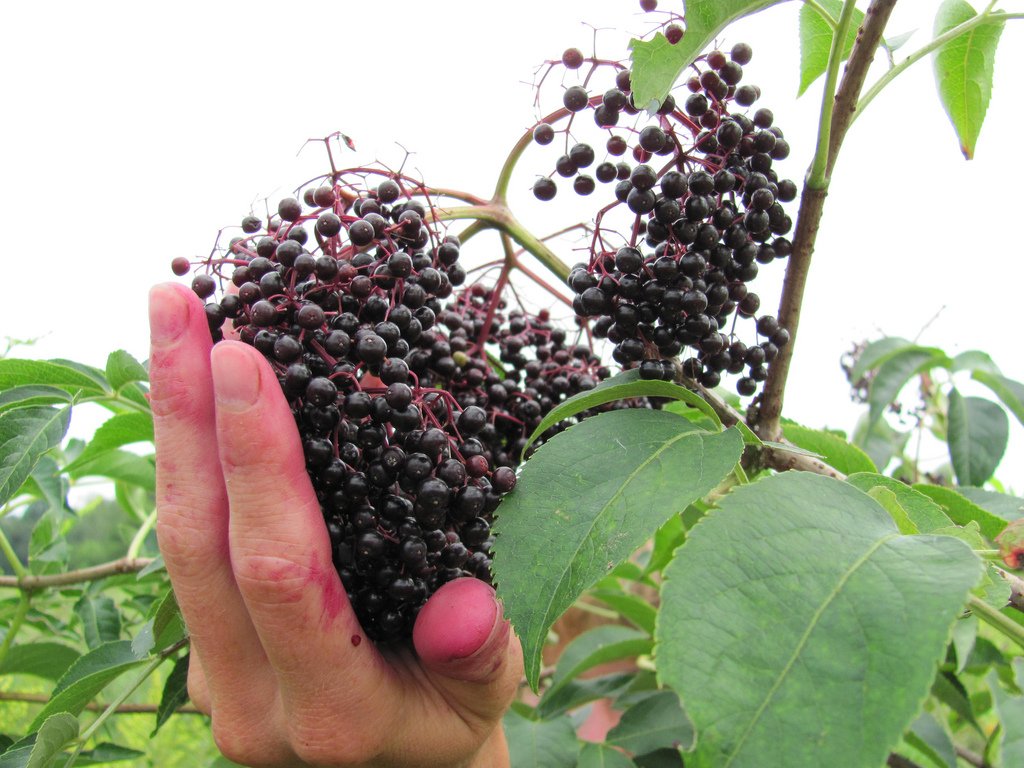
We have chosen Bob Gordon, a 1999 selection of a wild elderberry that occurred naturally near Osceola Missouri (under 100 miles away from us). This variety is obviously well suited to our region and is unique in that it produces huge yields of 1/4" berries on first year wood! Yup that means it can be cut the ground (coppiced) every year which will keep the plant between 5 and 8 feet tall for easier harvest and management. Other varieties produce on 1st, second and even third year wood, and often in much lower quantities that this selection.
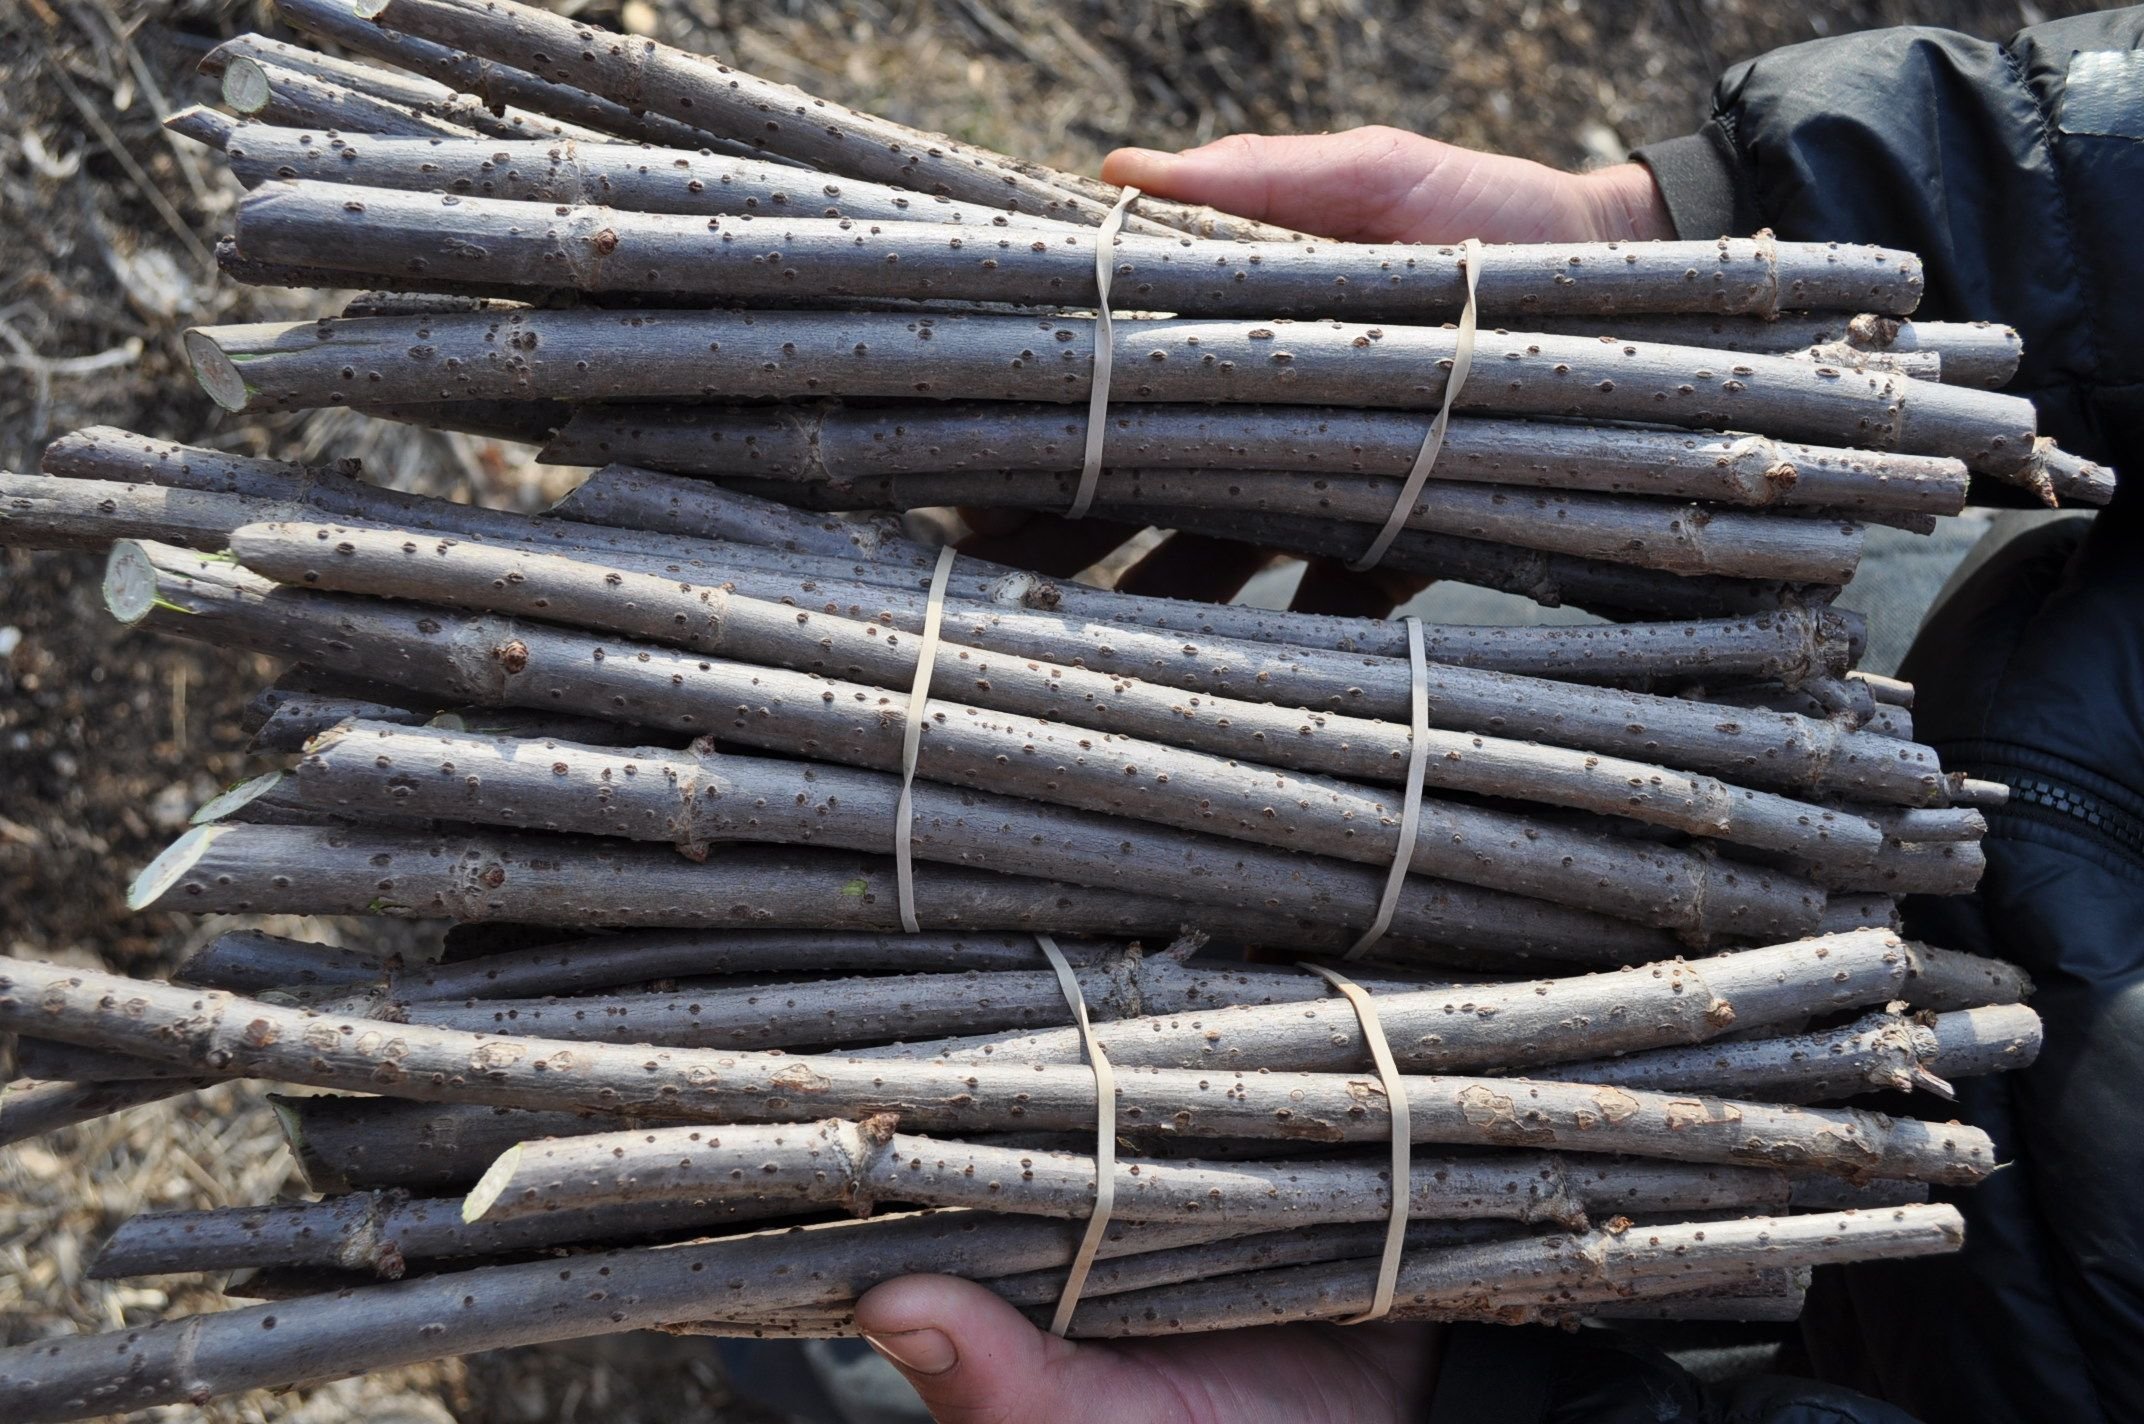
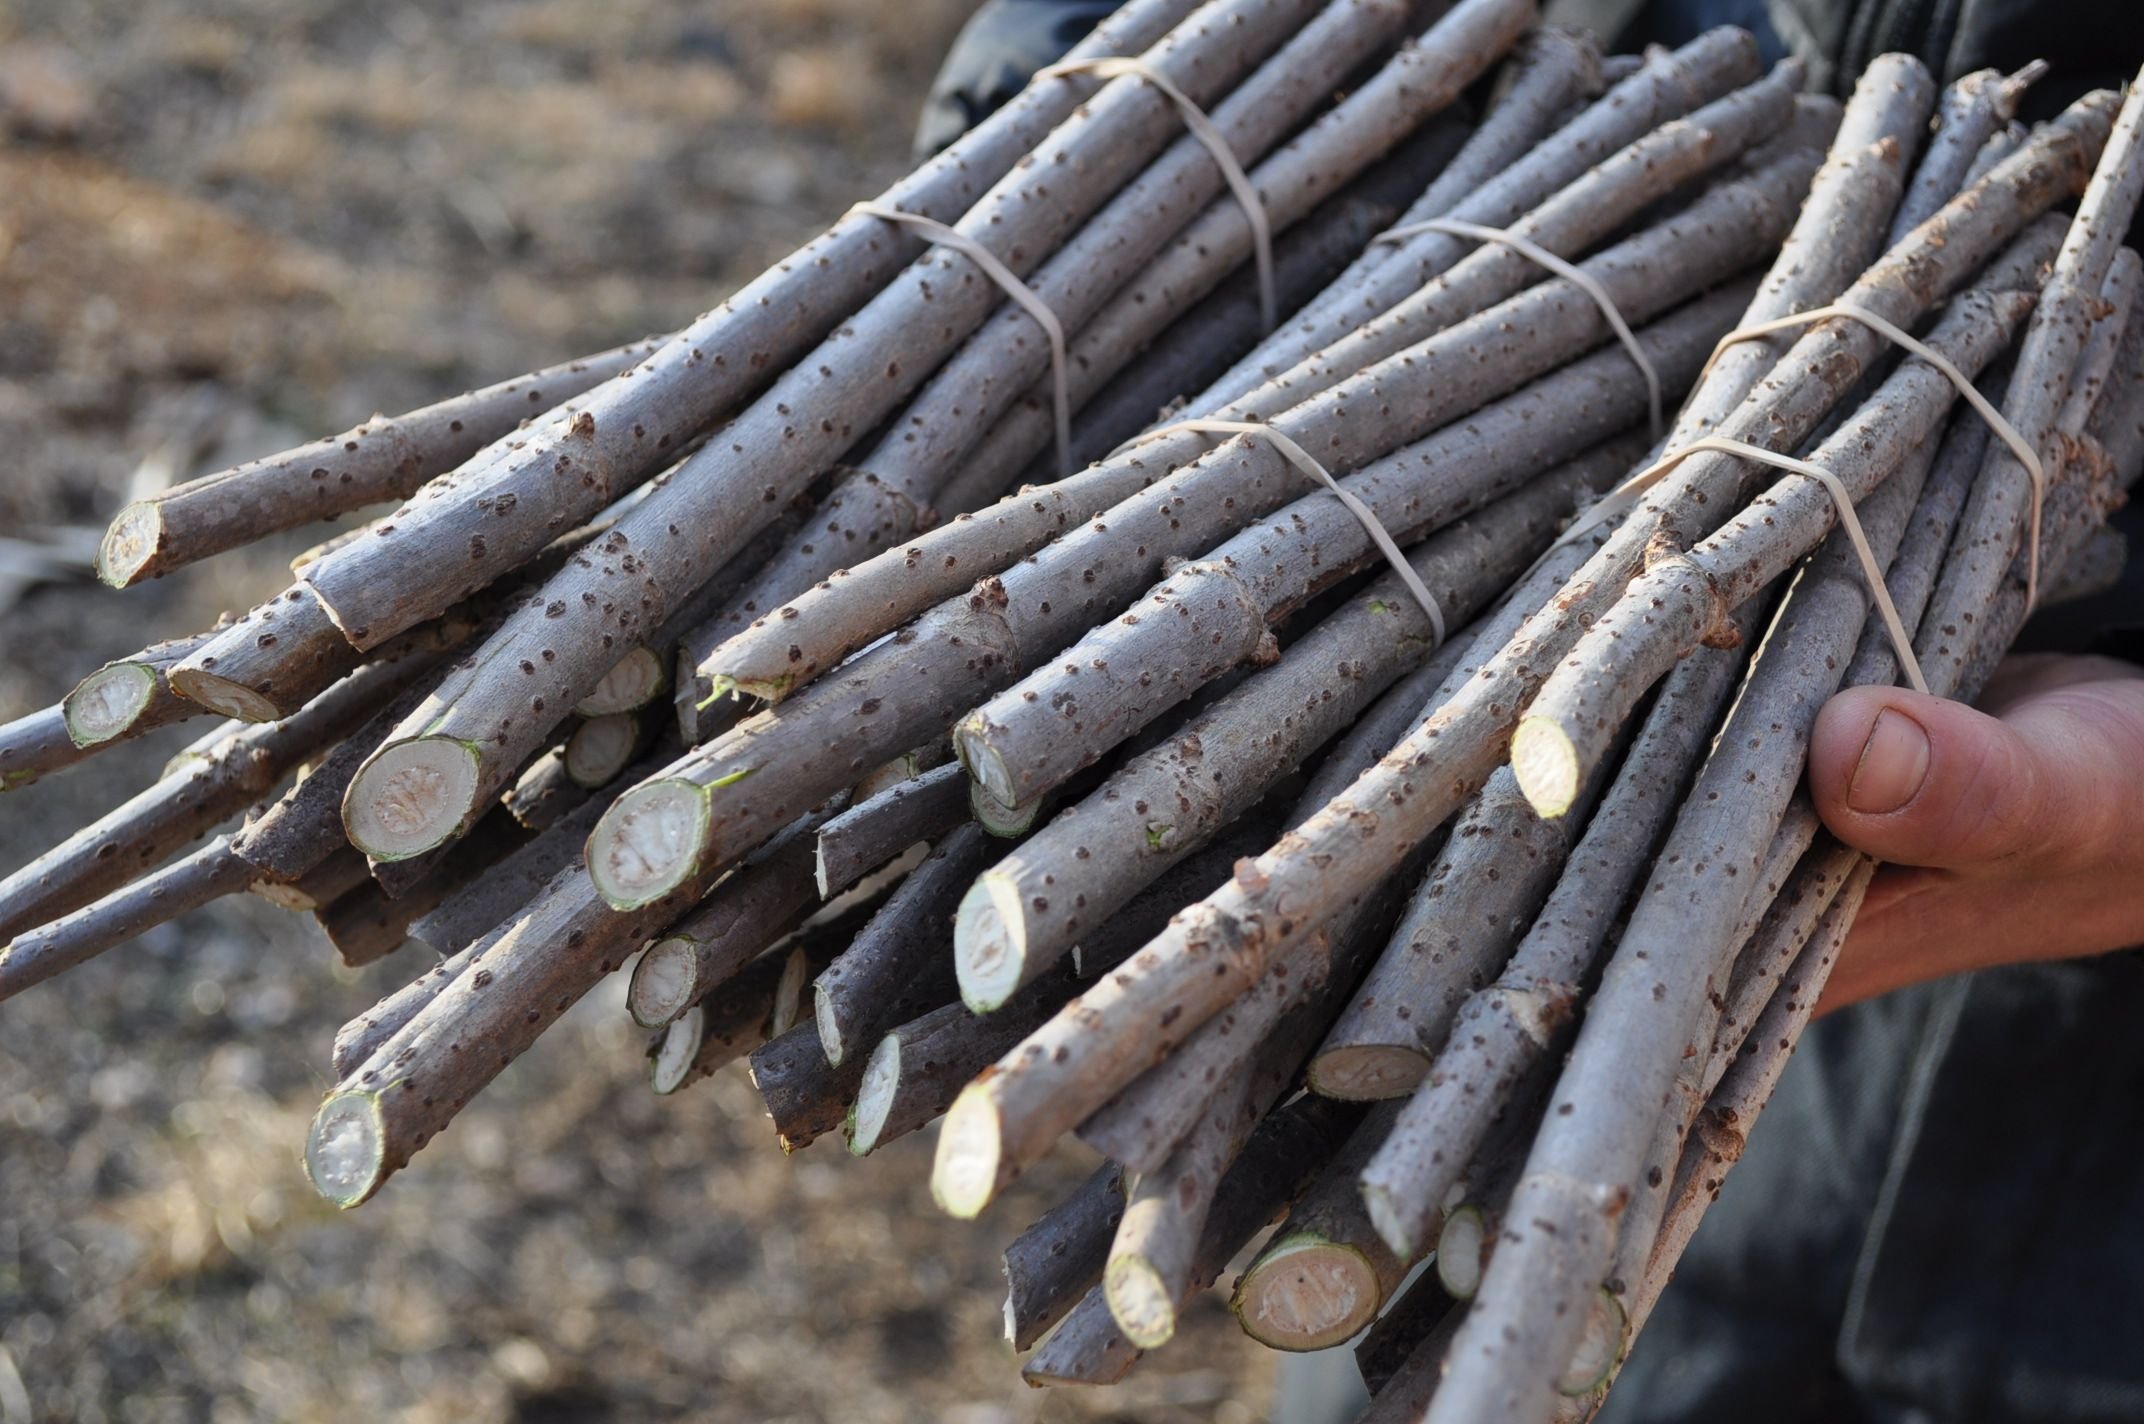
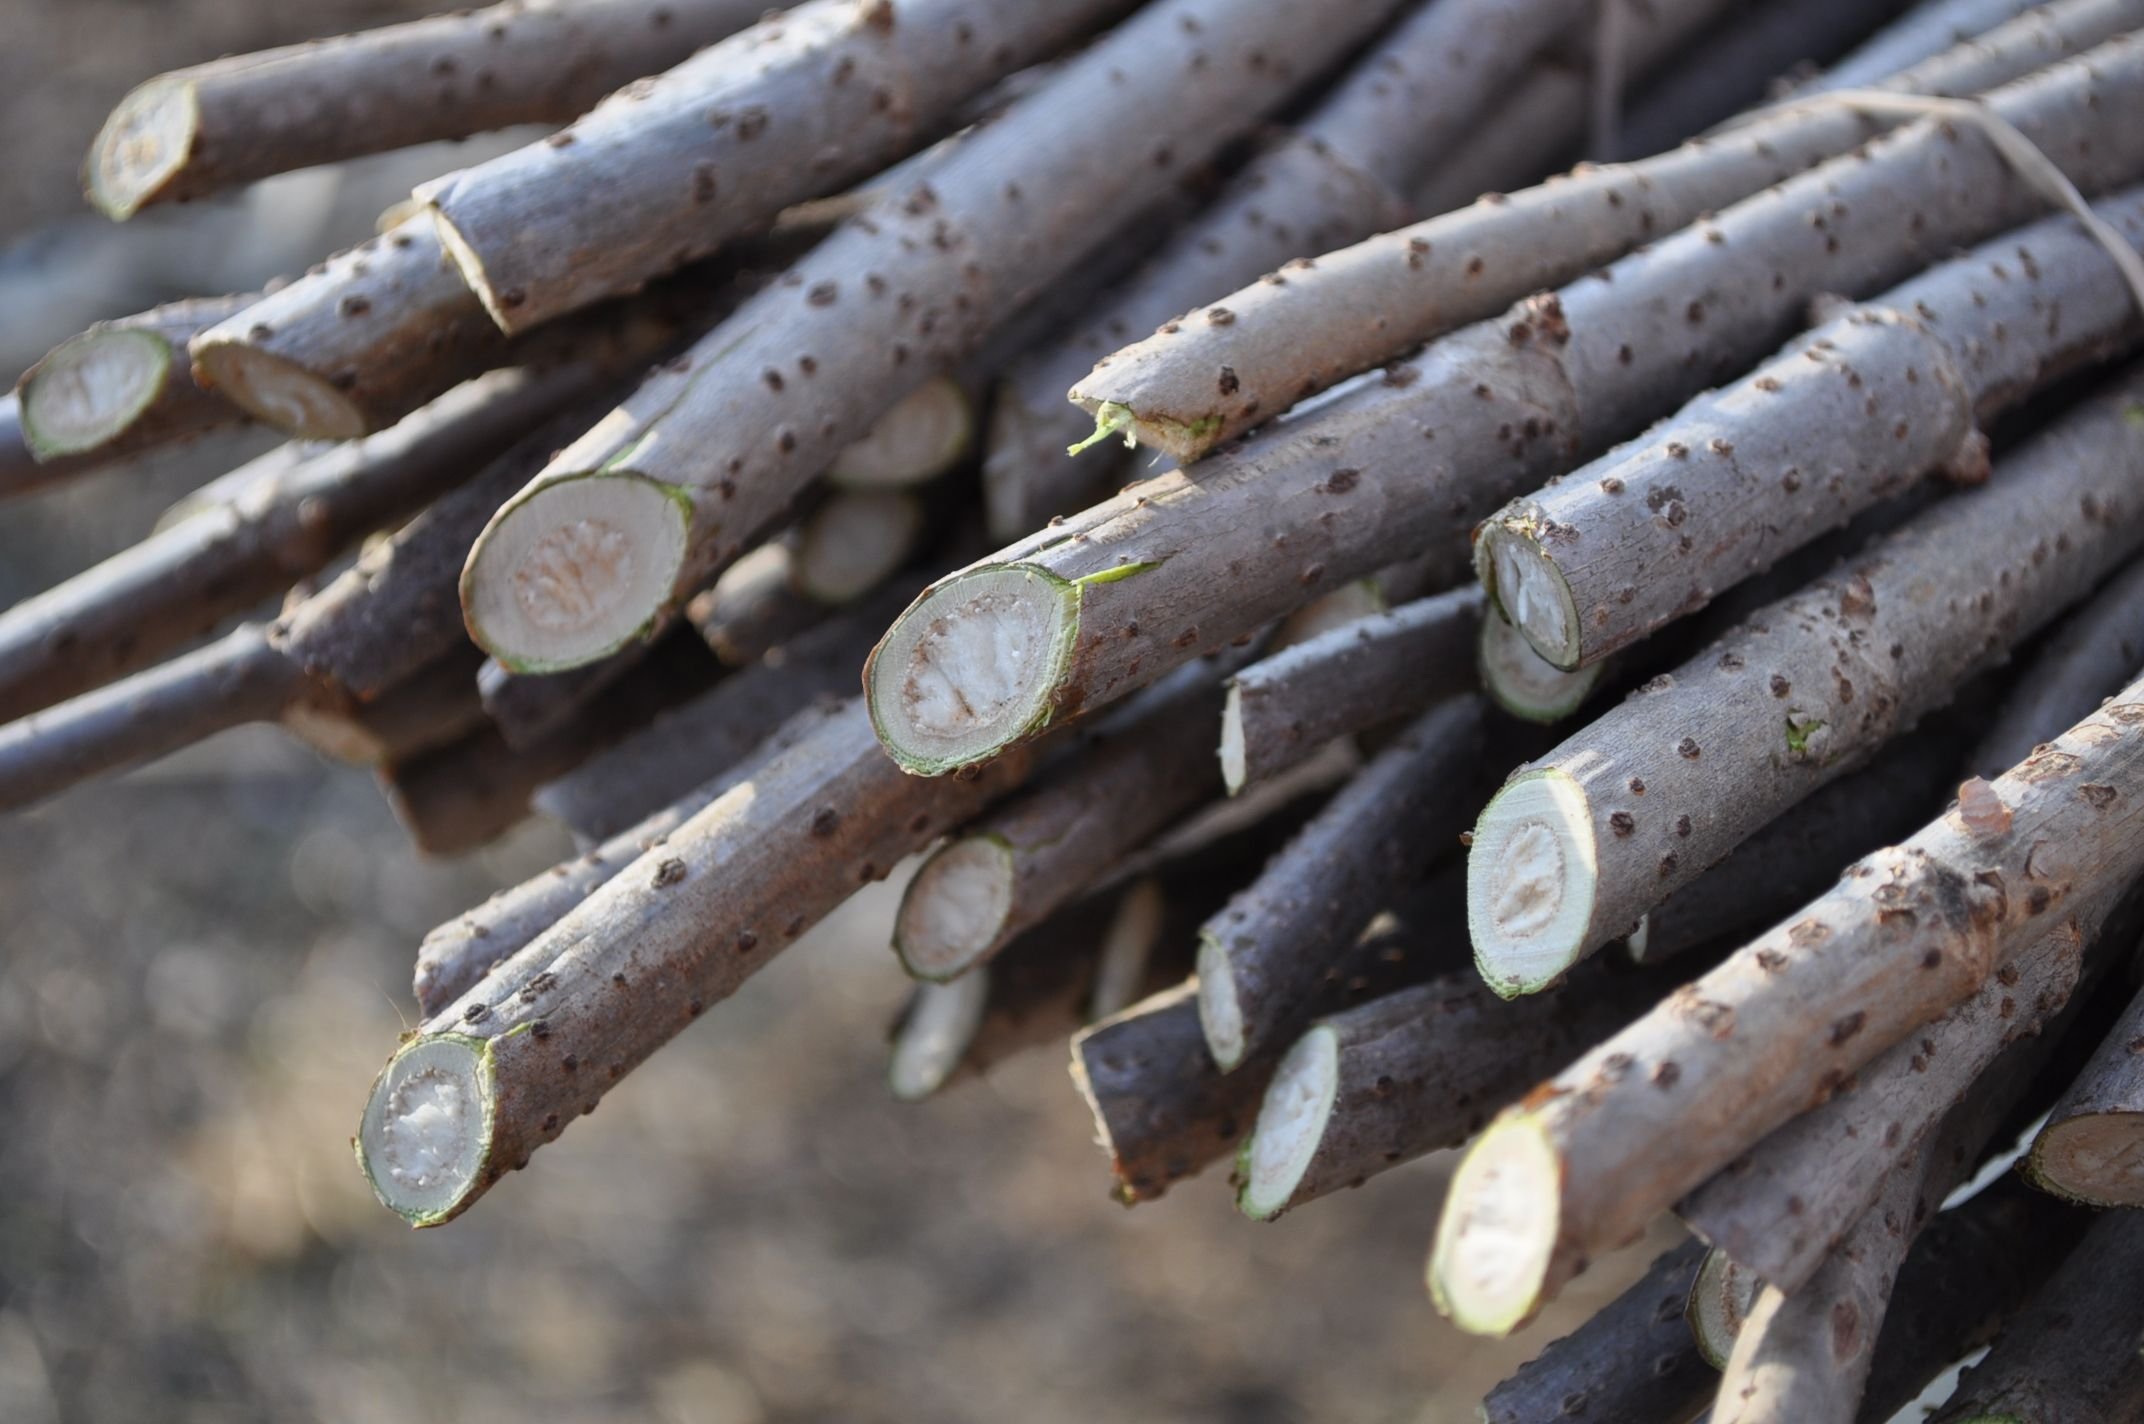
What we have is hardwood cuttings, taken during dormancy as part of routine coppicing. Each cutting contains 2 nodes. The nodes are where roots and leaves will emerge from. These cuttings contain the identical genetics to the plant that it was grown from and so on back to the selection near Osceola. We are simply regenerating and multiplying an individual plant that is unique and valuable.
Hardwood cuttings
This is the easiest way to obtain elderberry genetics as a plant can be cut during the winter dormancy and is easily handled and shipped. It required no diggin as with root cuttings or careful and lengthy germination as with seed propagation. We purchased ours from a local nursery that specializes in improved varieties of native edibles.
Once you have tracked down a source for cuttings and planted your own, you can multiply your plants and share with friends and neighbors! I'm envisioning a plant geek genetics exchange on Steemit where we can share the biodiversity of medicinal, productive and easy to grow plants.
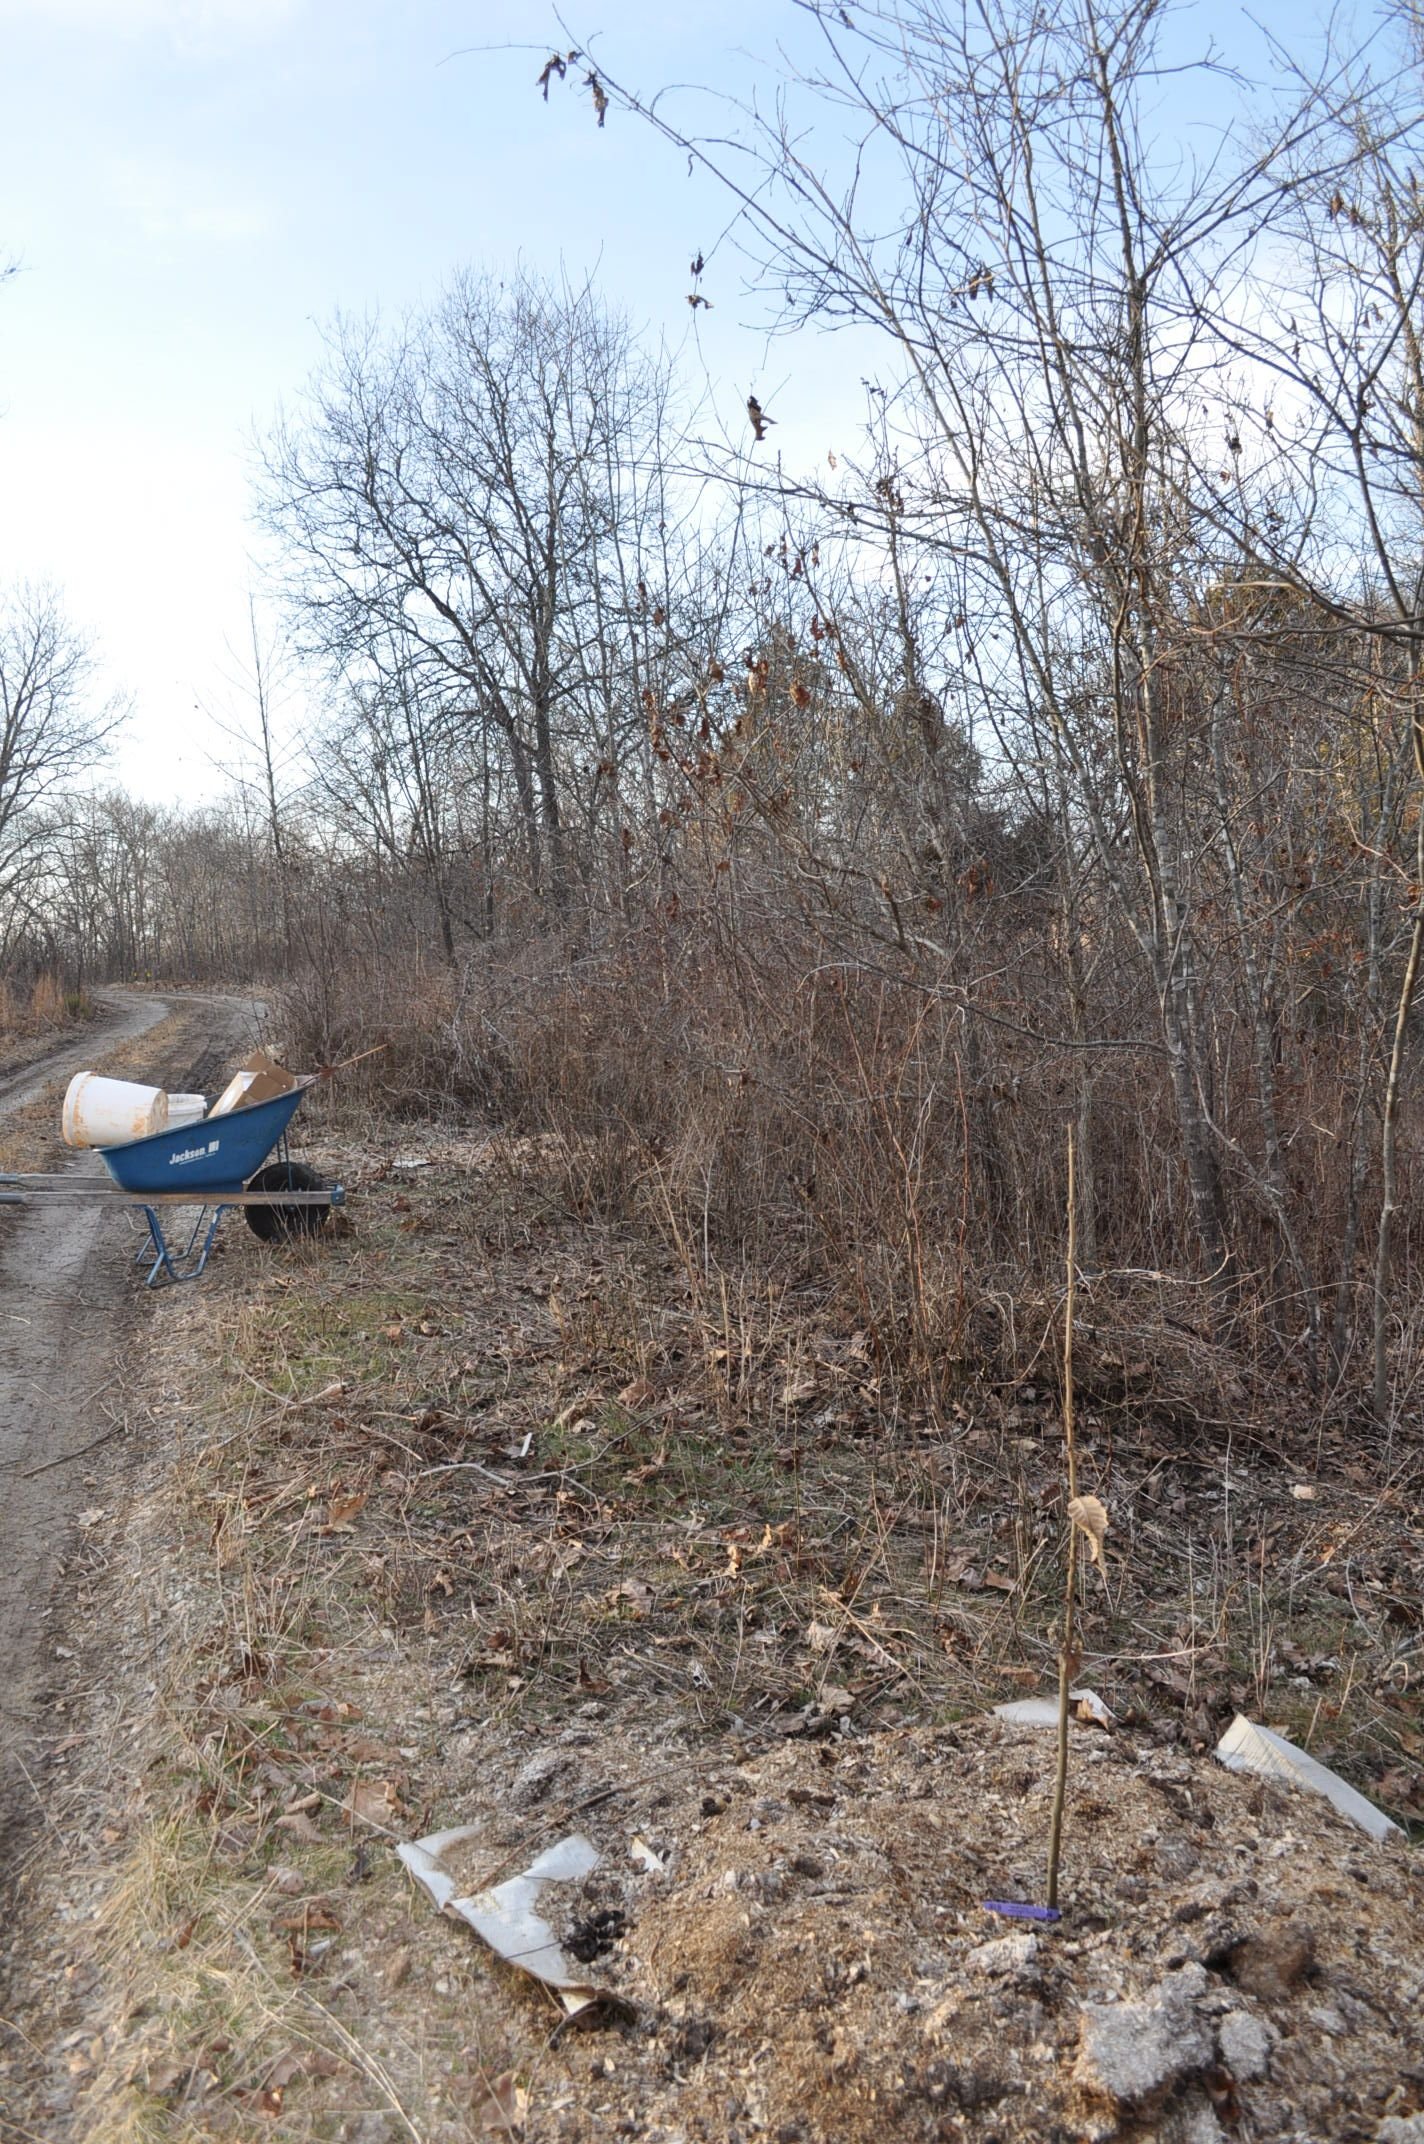
(Where we're planting some of the elder cuttings we got. The mulched plant you see here is a Chinese Chestnut and they run every 25 ft up our driveway.)
Getting it in the ground
Here's my favorite part of this method. I love that you simply stick a cutting into the earth and allow the natural process of breaking dormancy and rooting to occur without human intervention. Some sources suggest rooting the cuttings in water indoors, then potting them and finally planting them. The man I bought them from says he has the same success rate either way.
If you can let nature take care of it why wouldn't you?
This is our approach @mountainjewel: whenever possibe allying with natural cycles and rhythms to allow for abundance and vitality to prosper! We are not interested in babying plants that don't need our attention so with elders we opt for the field planting method. No tender roots to fret over, no pots to water, no extra steps. Field data reports nearly equal success with potted cuttings and field planting, and rooting hormones simply aren't needed.
Last year I took some softwood cuttings from wild stock and rooted them in a few inches of vermiculite and sand. We left for over 2 months during a very hot and dry spell and some elders survived utter neglect verging on abuse. While I wouldn't advocate for this, these plants really want to grow and they're easy to grow!
Preparing the hole and planting
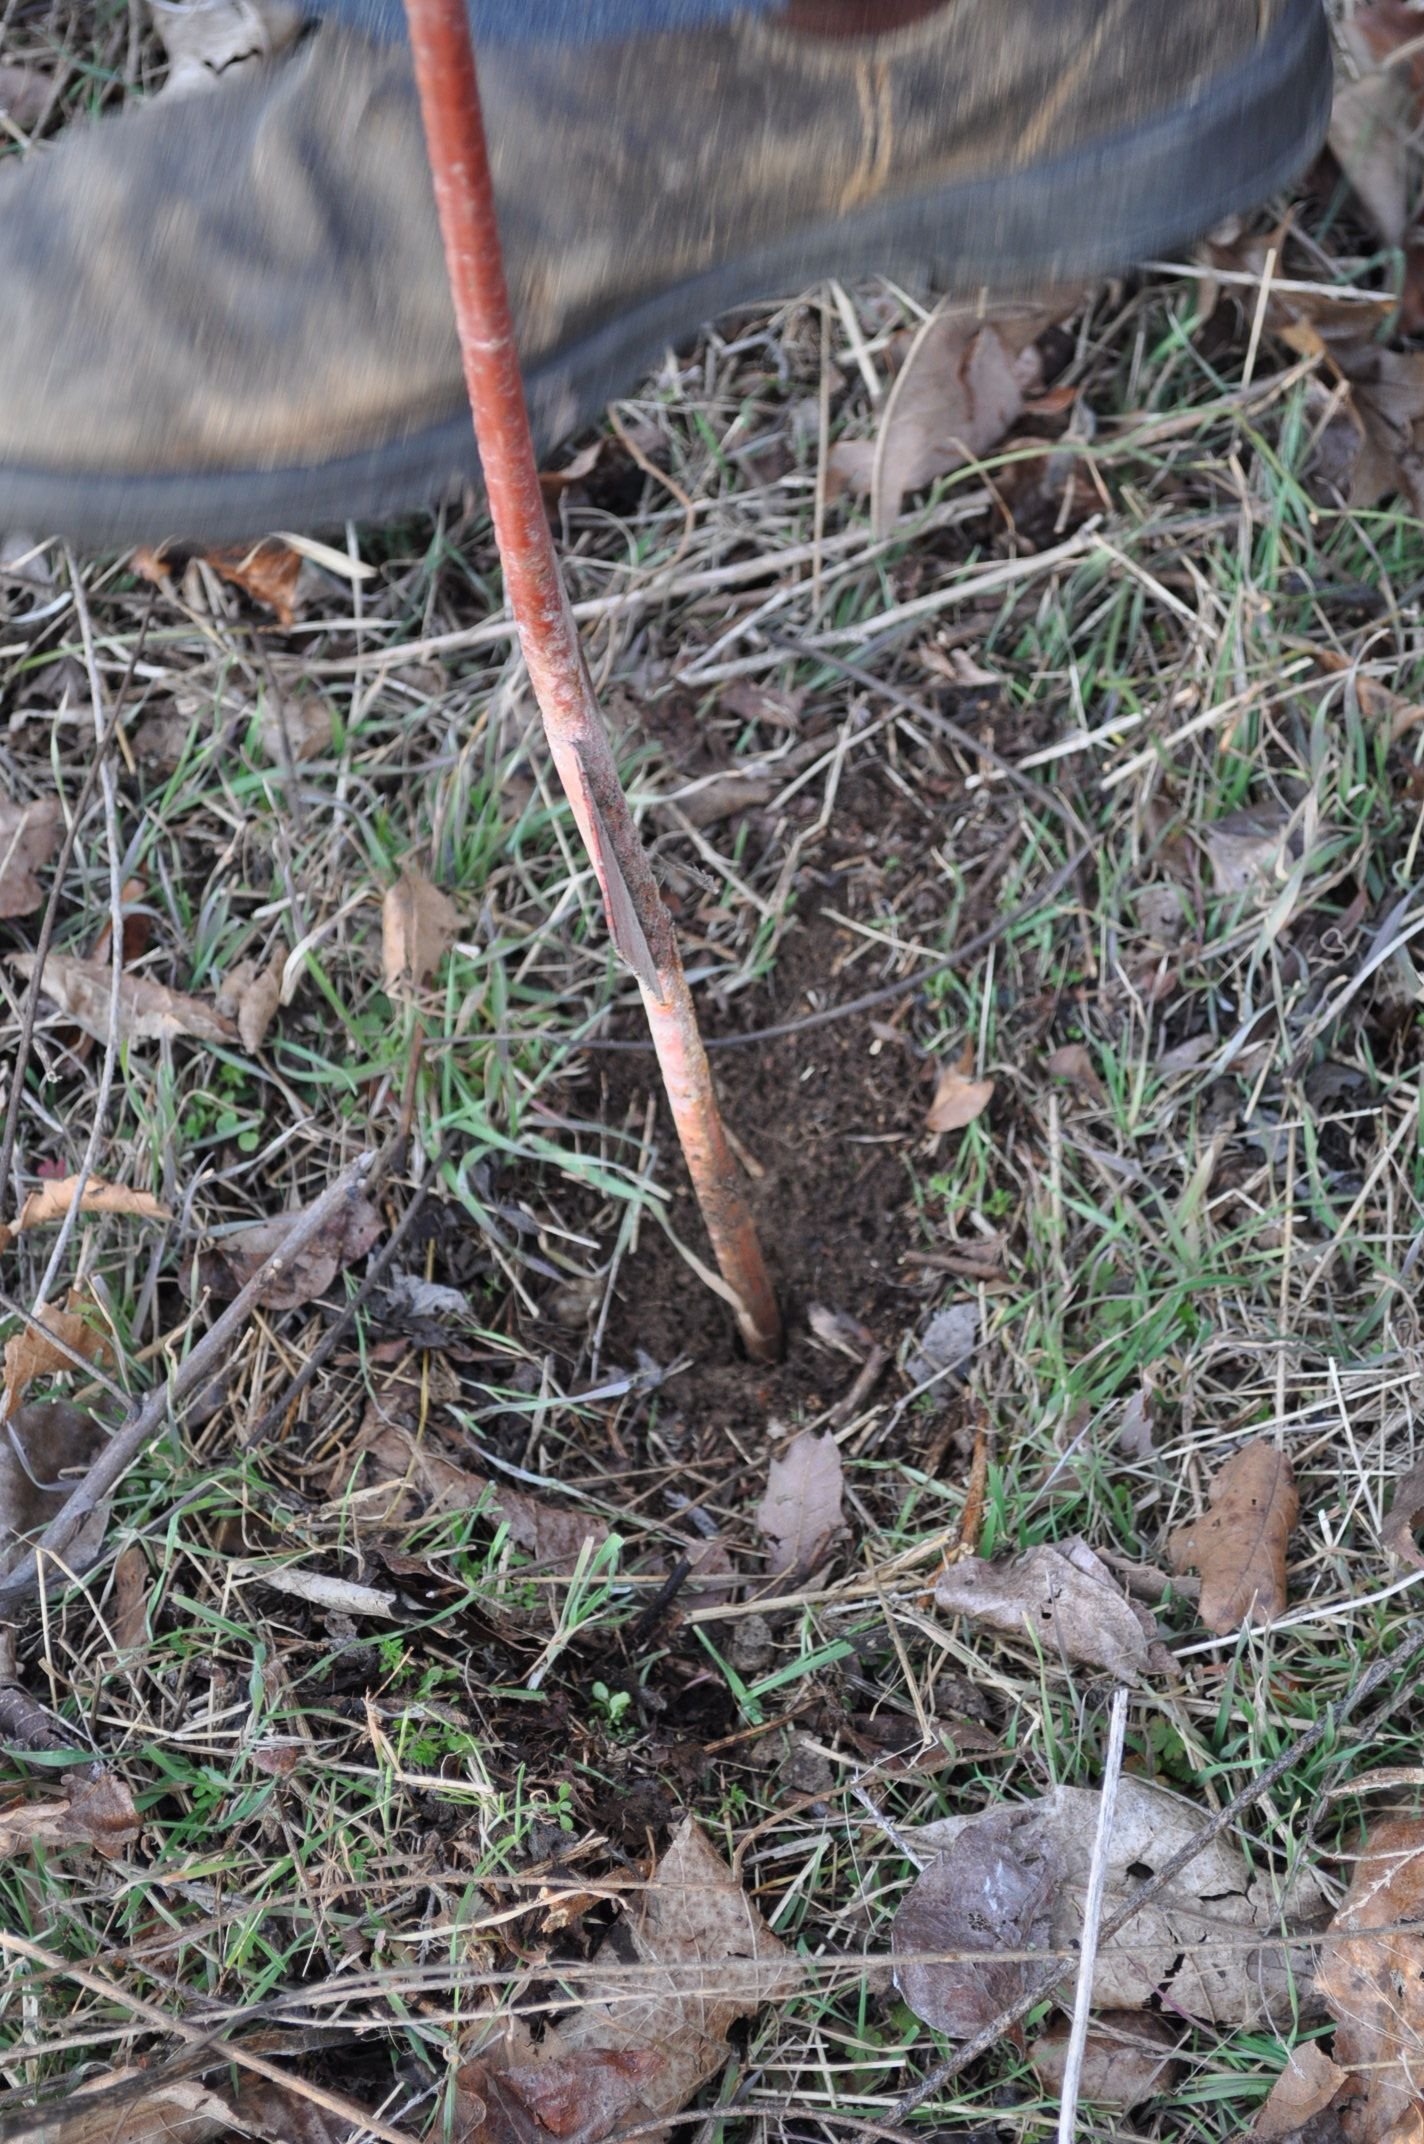
Most of our cuttings are about 1/4" in diameter so we used a 1/4" piece of rebar as a digging tool. With all the rocks we have, I'm happy when my digging requirements are low (another benefit of planting at this stage.)
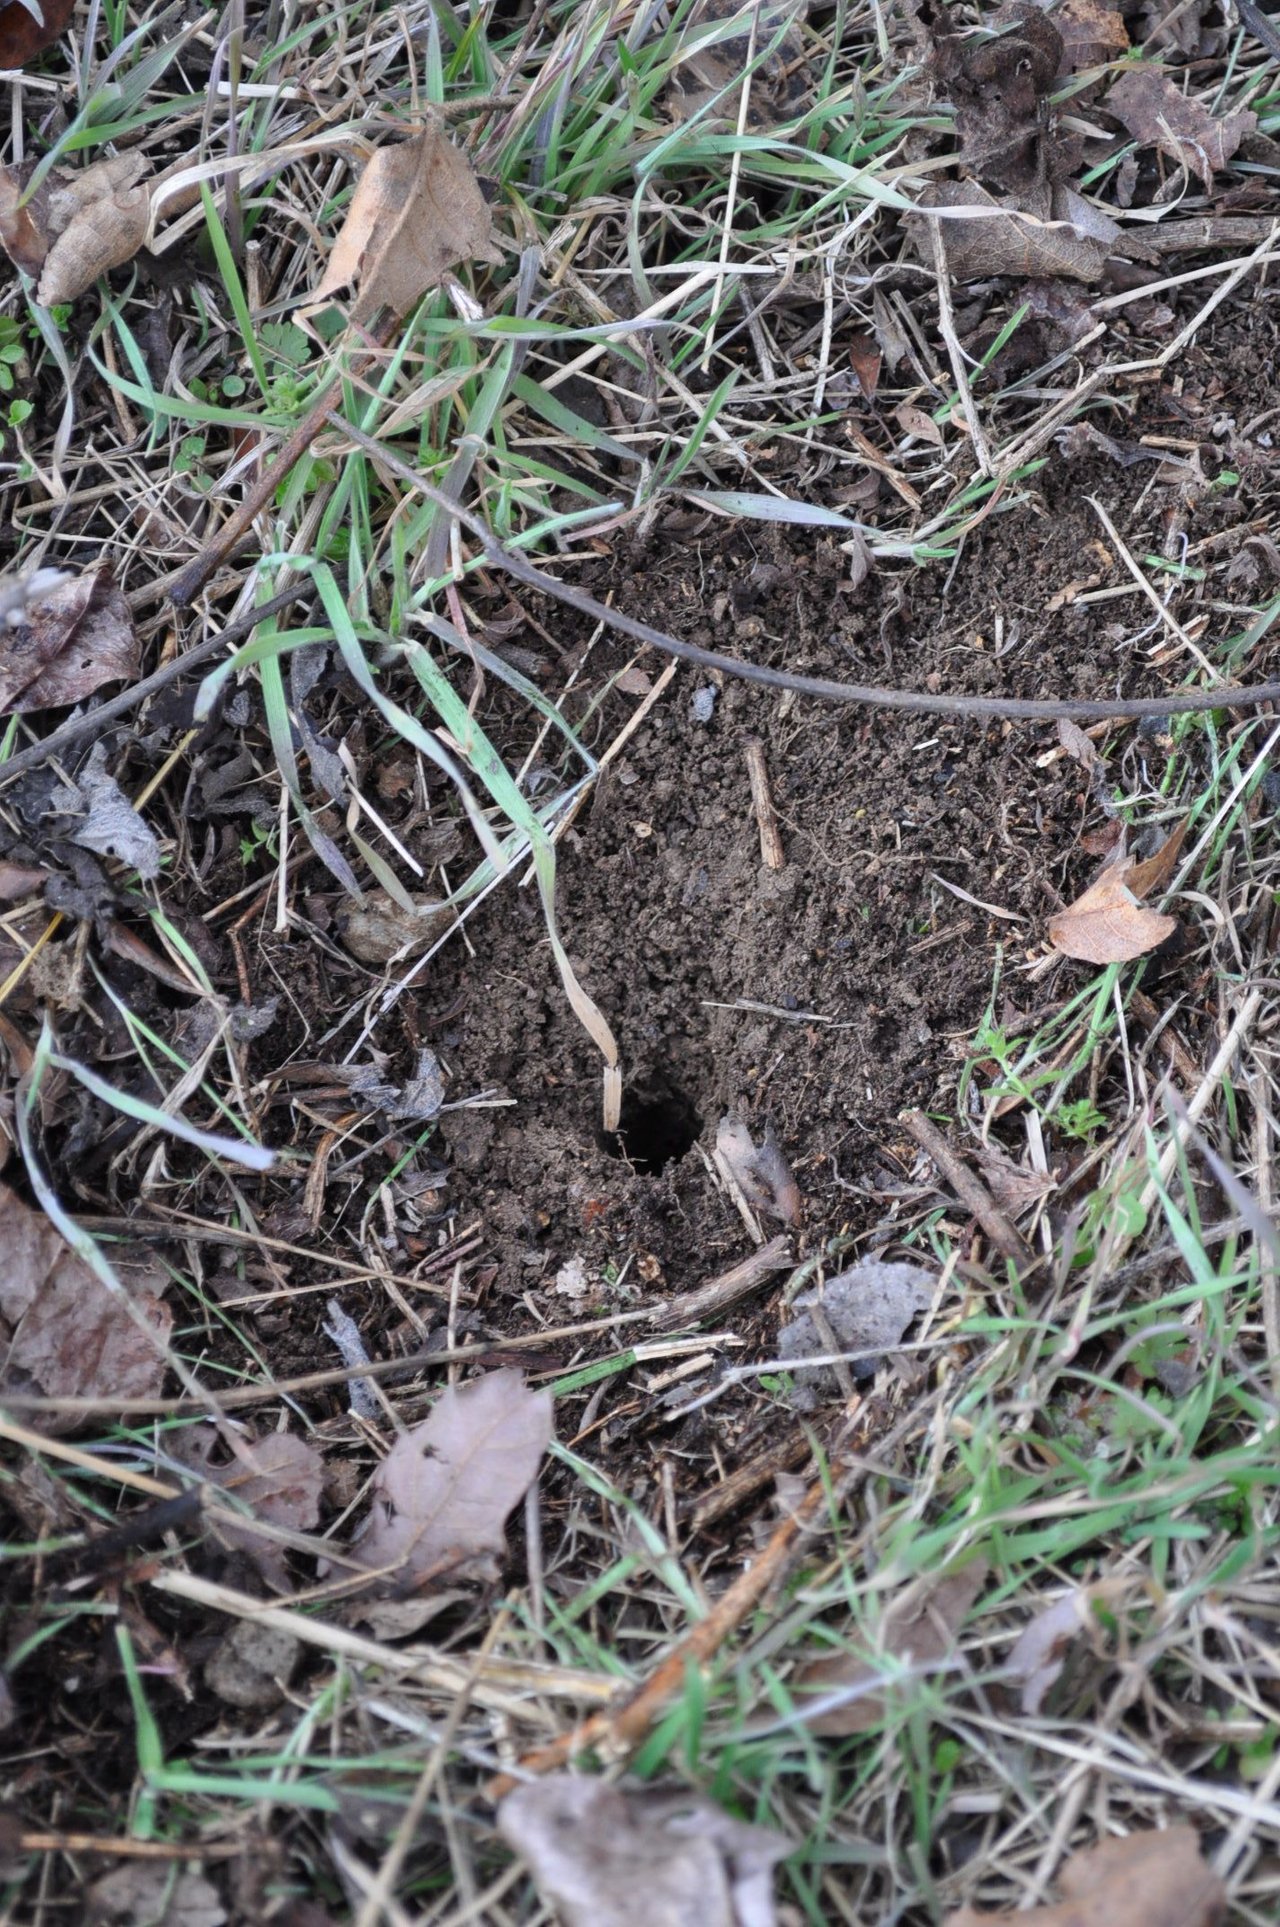
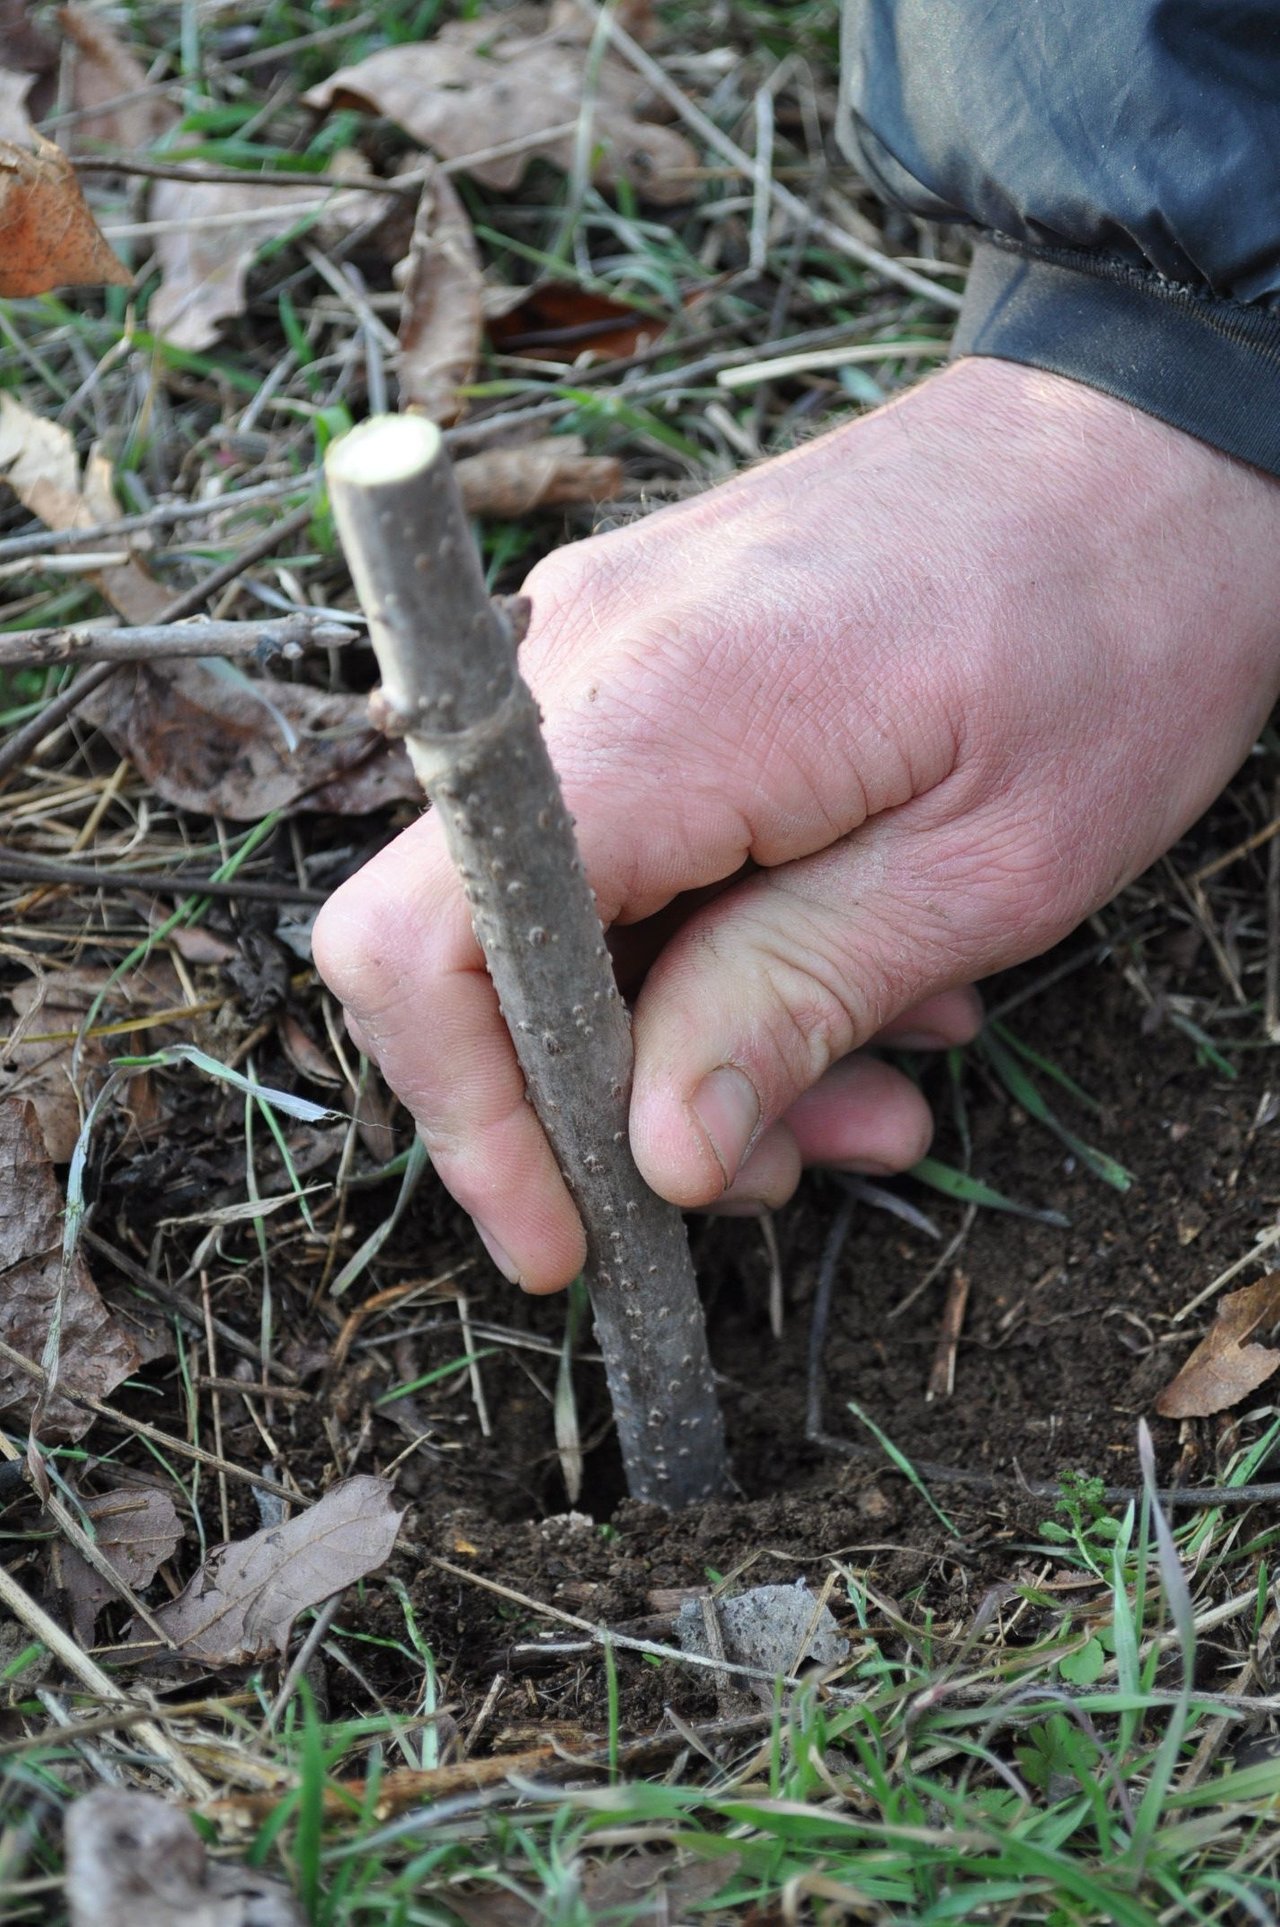
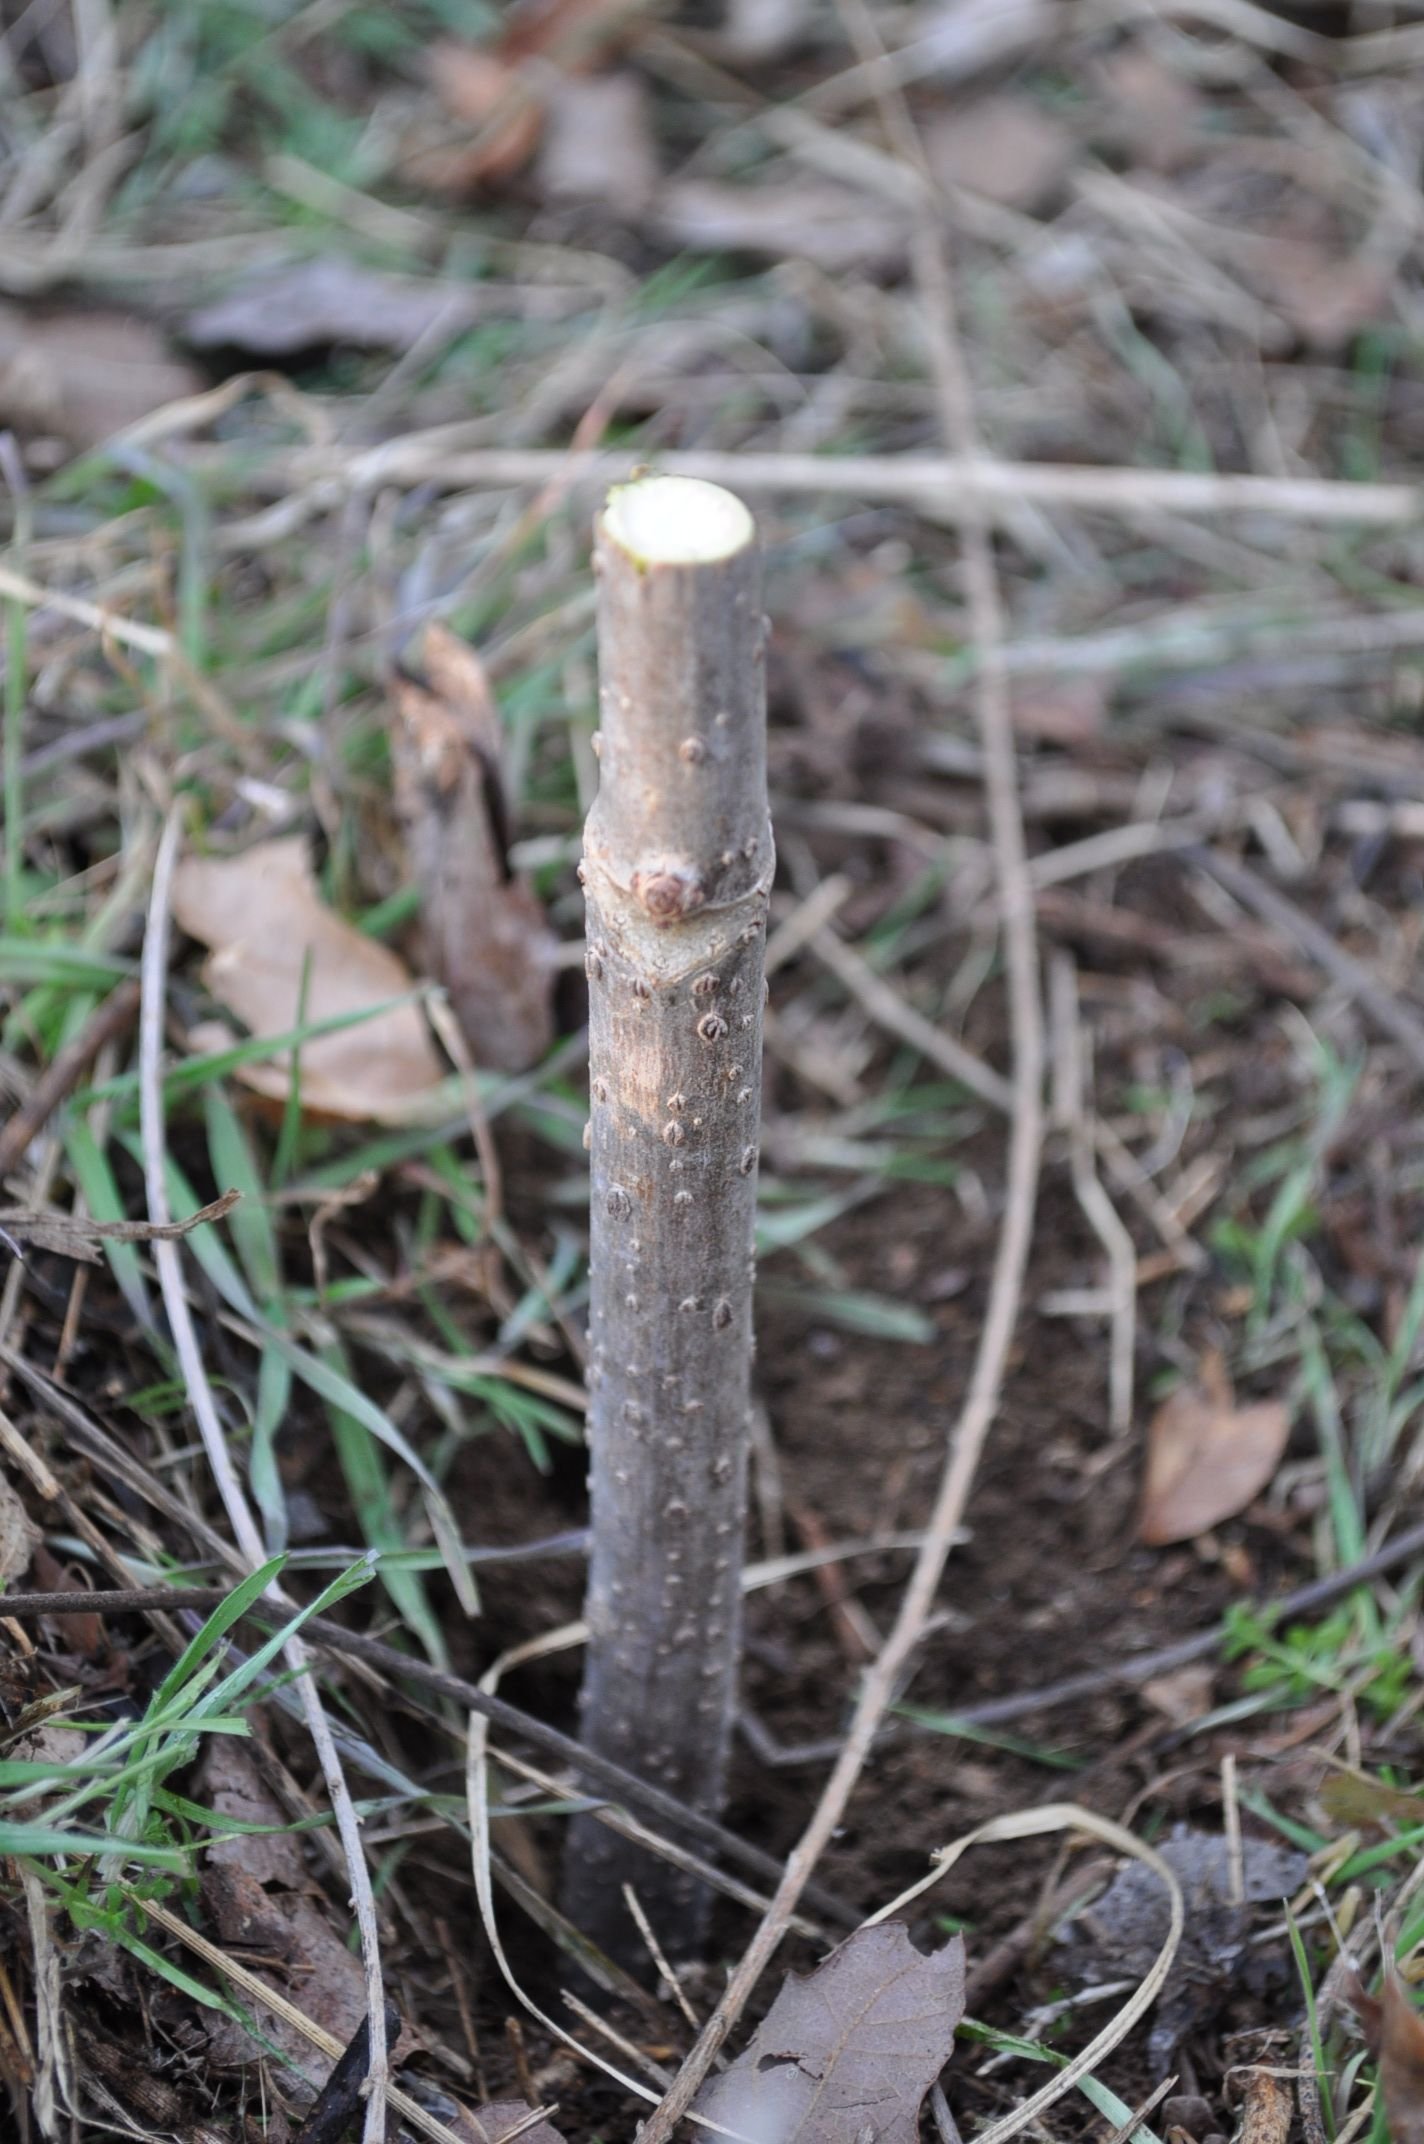
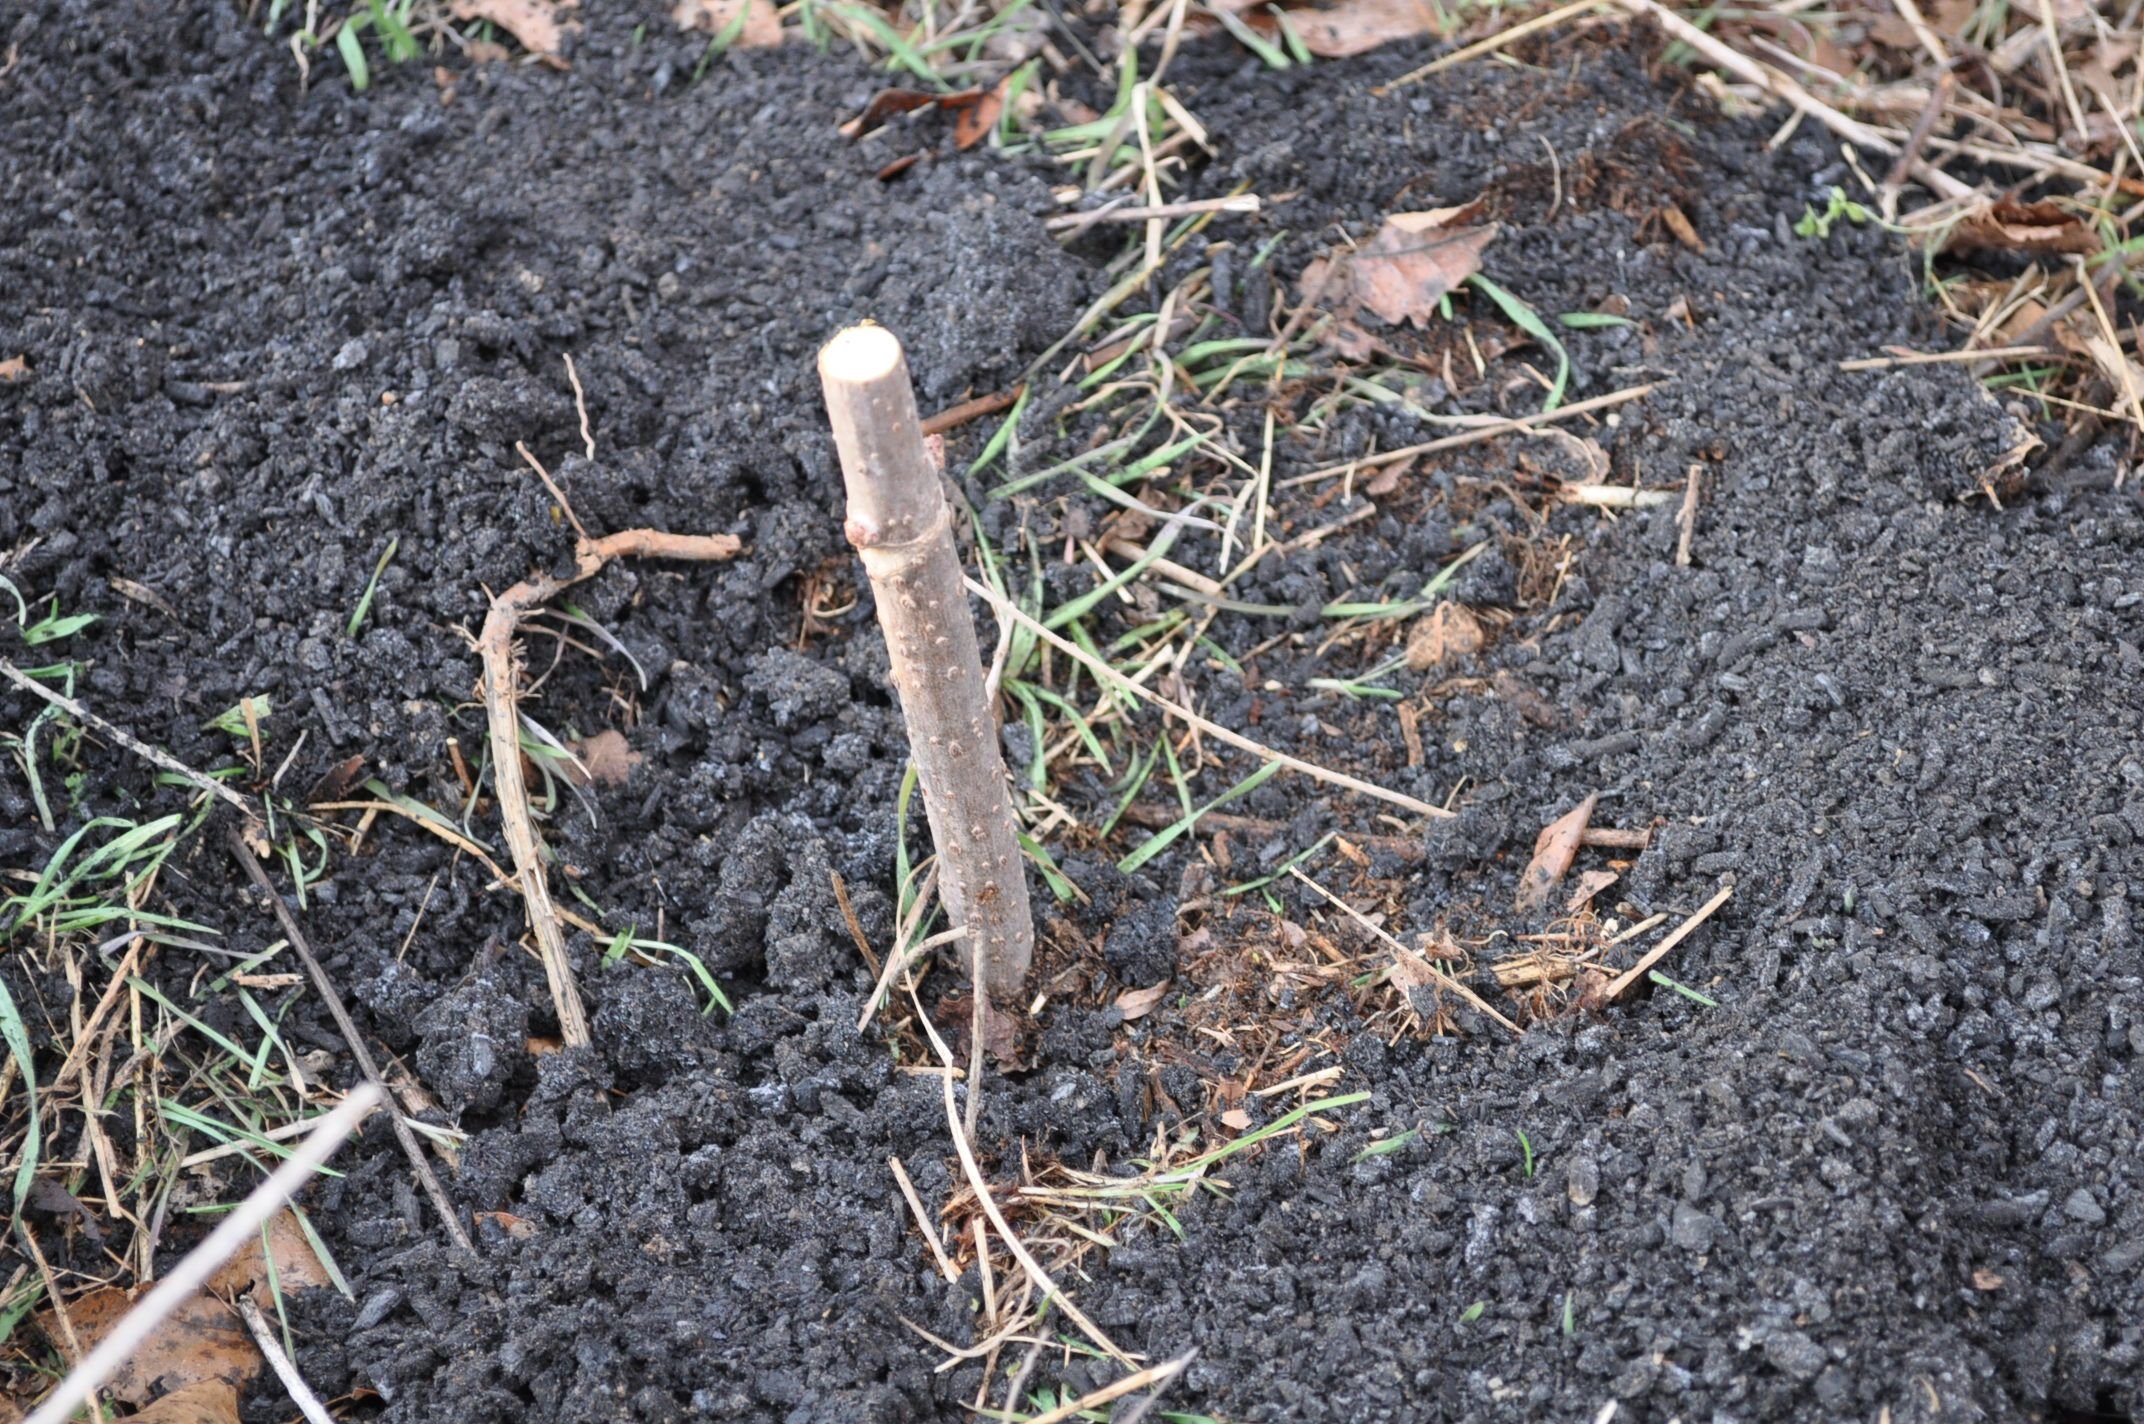
We poke the hole deep enough to set about half the cutting in the earth.
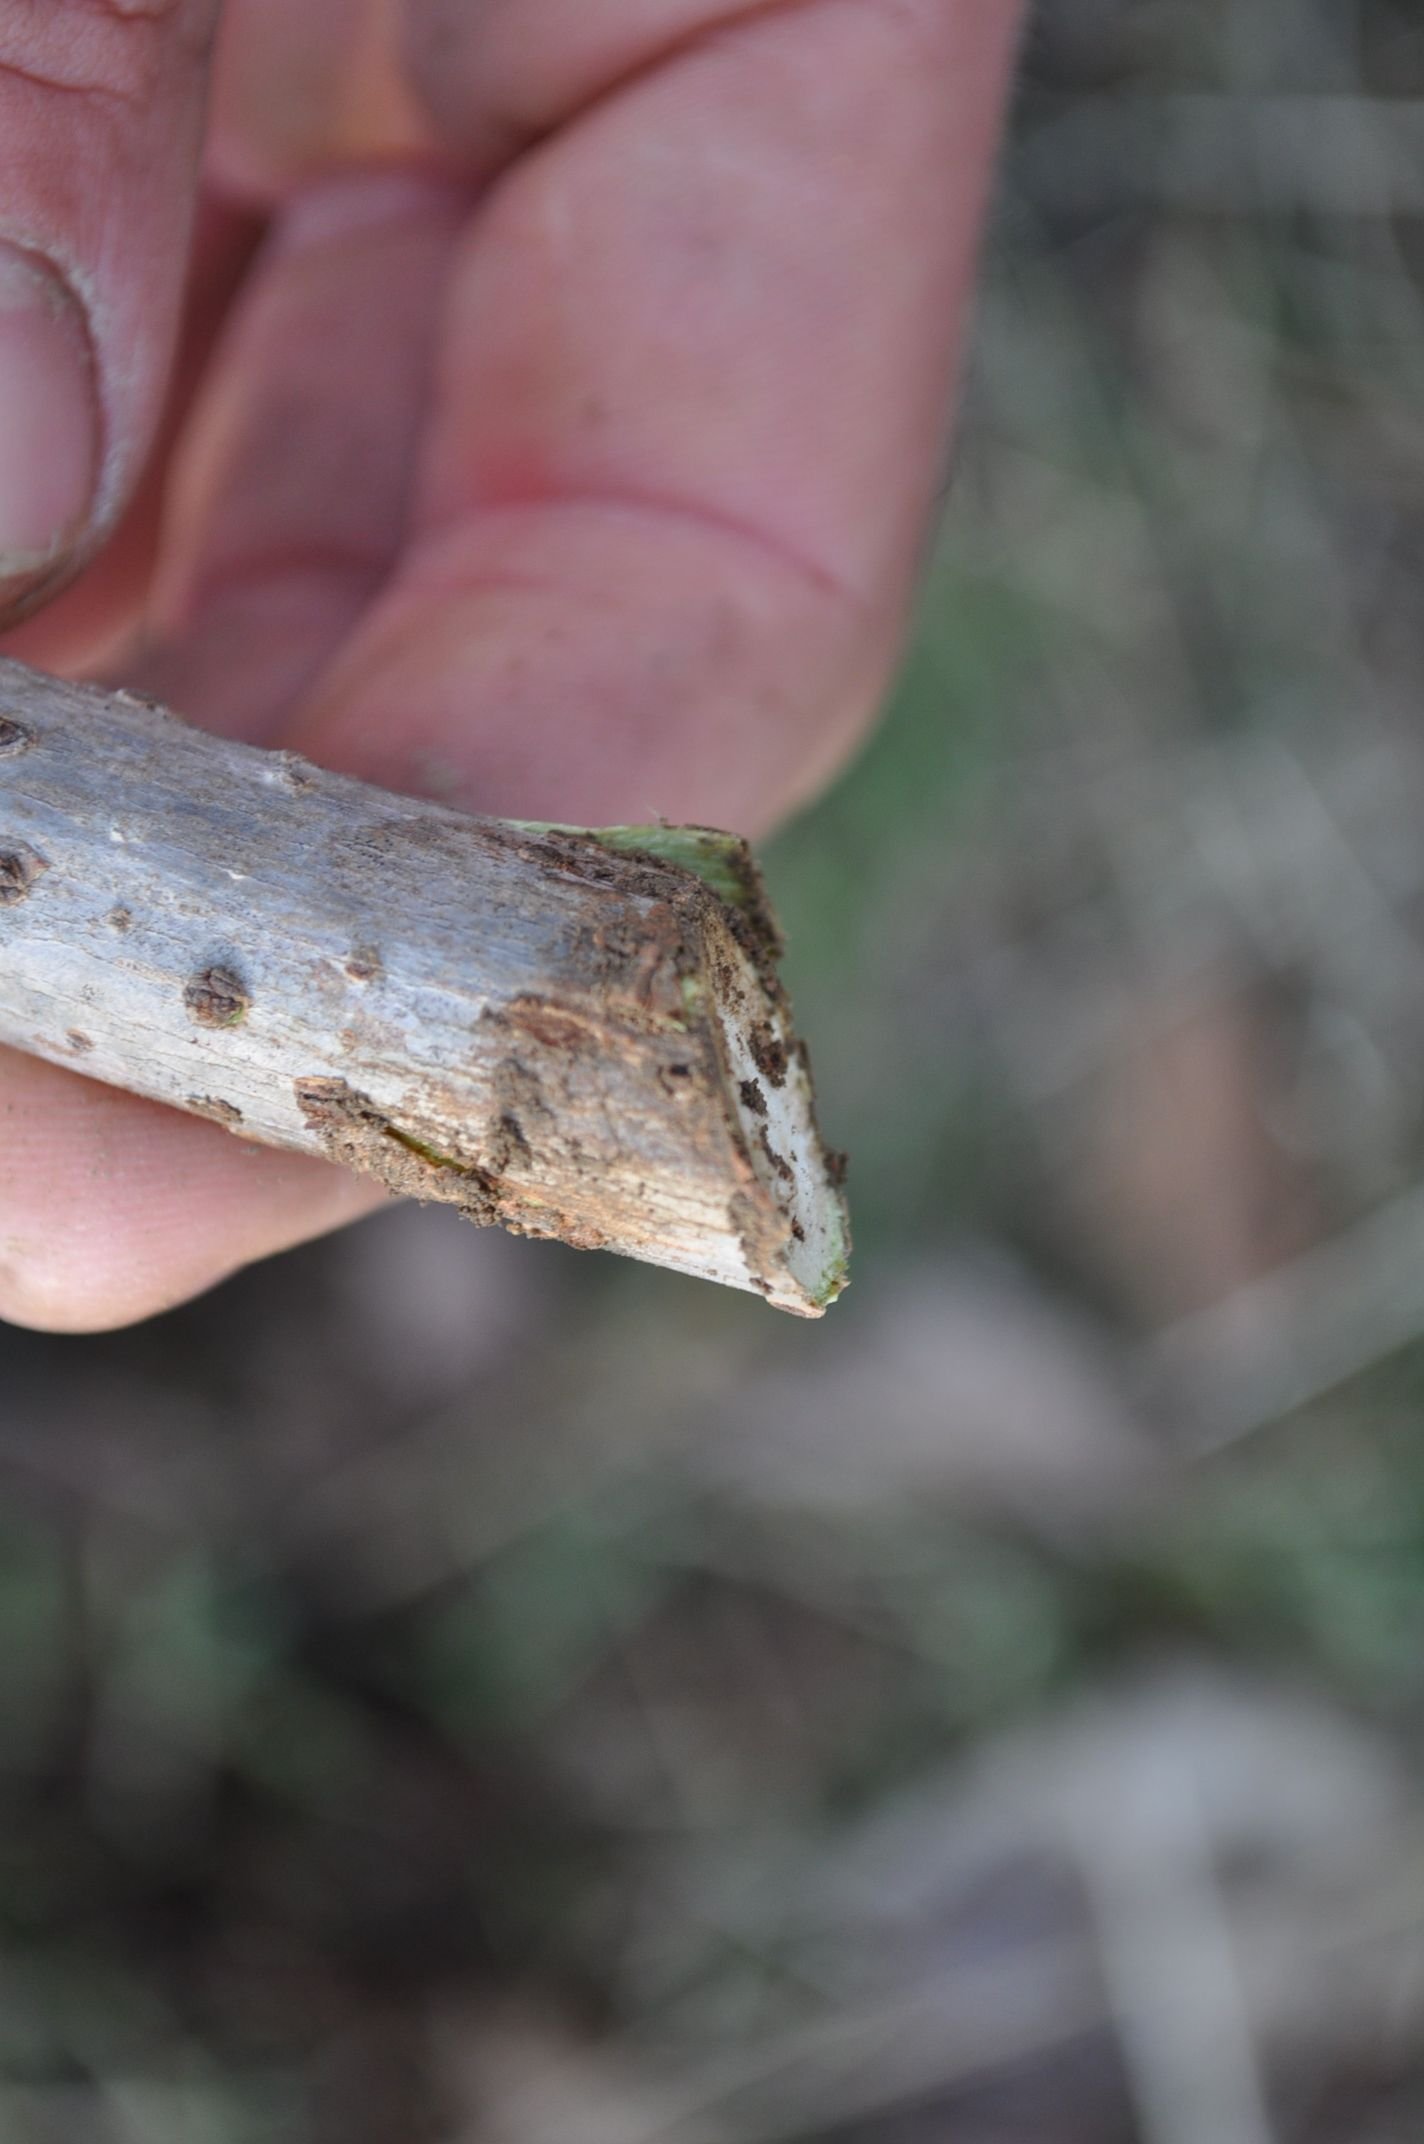
Making sure to place the 45 degree cut down, we insert the cutting and gently compress the surrounding soil, being careful not to damage the lower node.

(Flat end goes up towards the sky)
Because the hole is small and the cutting is dormant, we're not worried about watering it as we normally would when planting. Our soil is moist at this time of year, but if we don't get a good soaking rain before spring, we will have to come back and drench the cuttings to ensure adequate moisture for new root development.
Caring for future roots
Here's where we're thinking looking ahead and taking care of future needs.
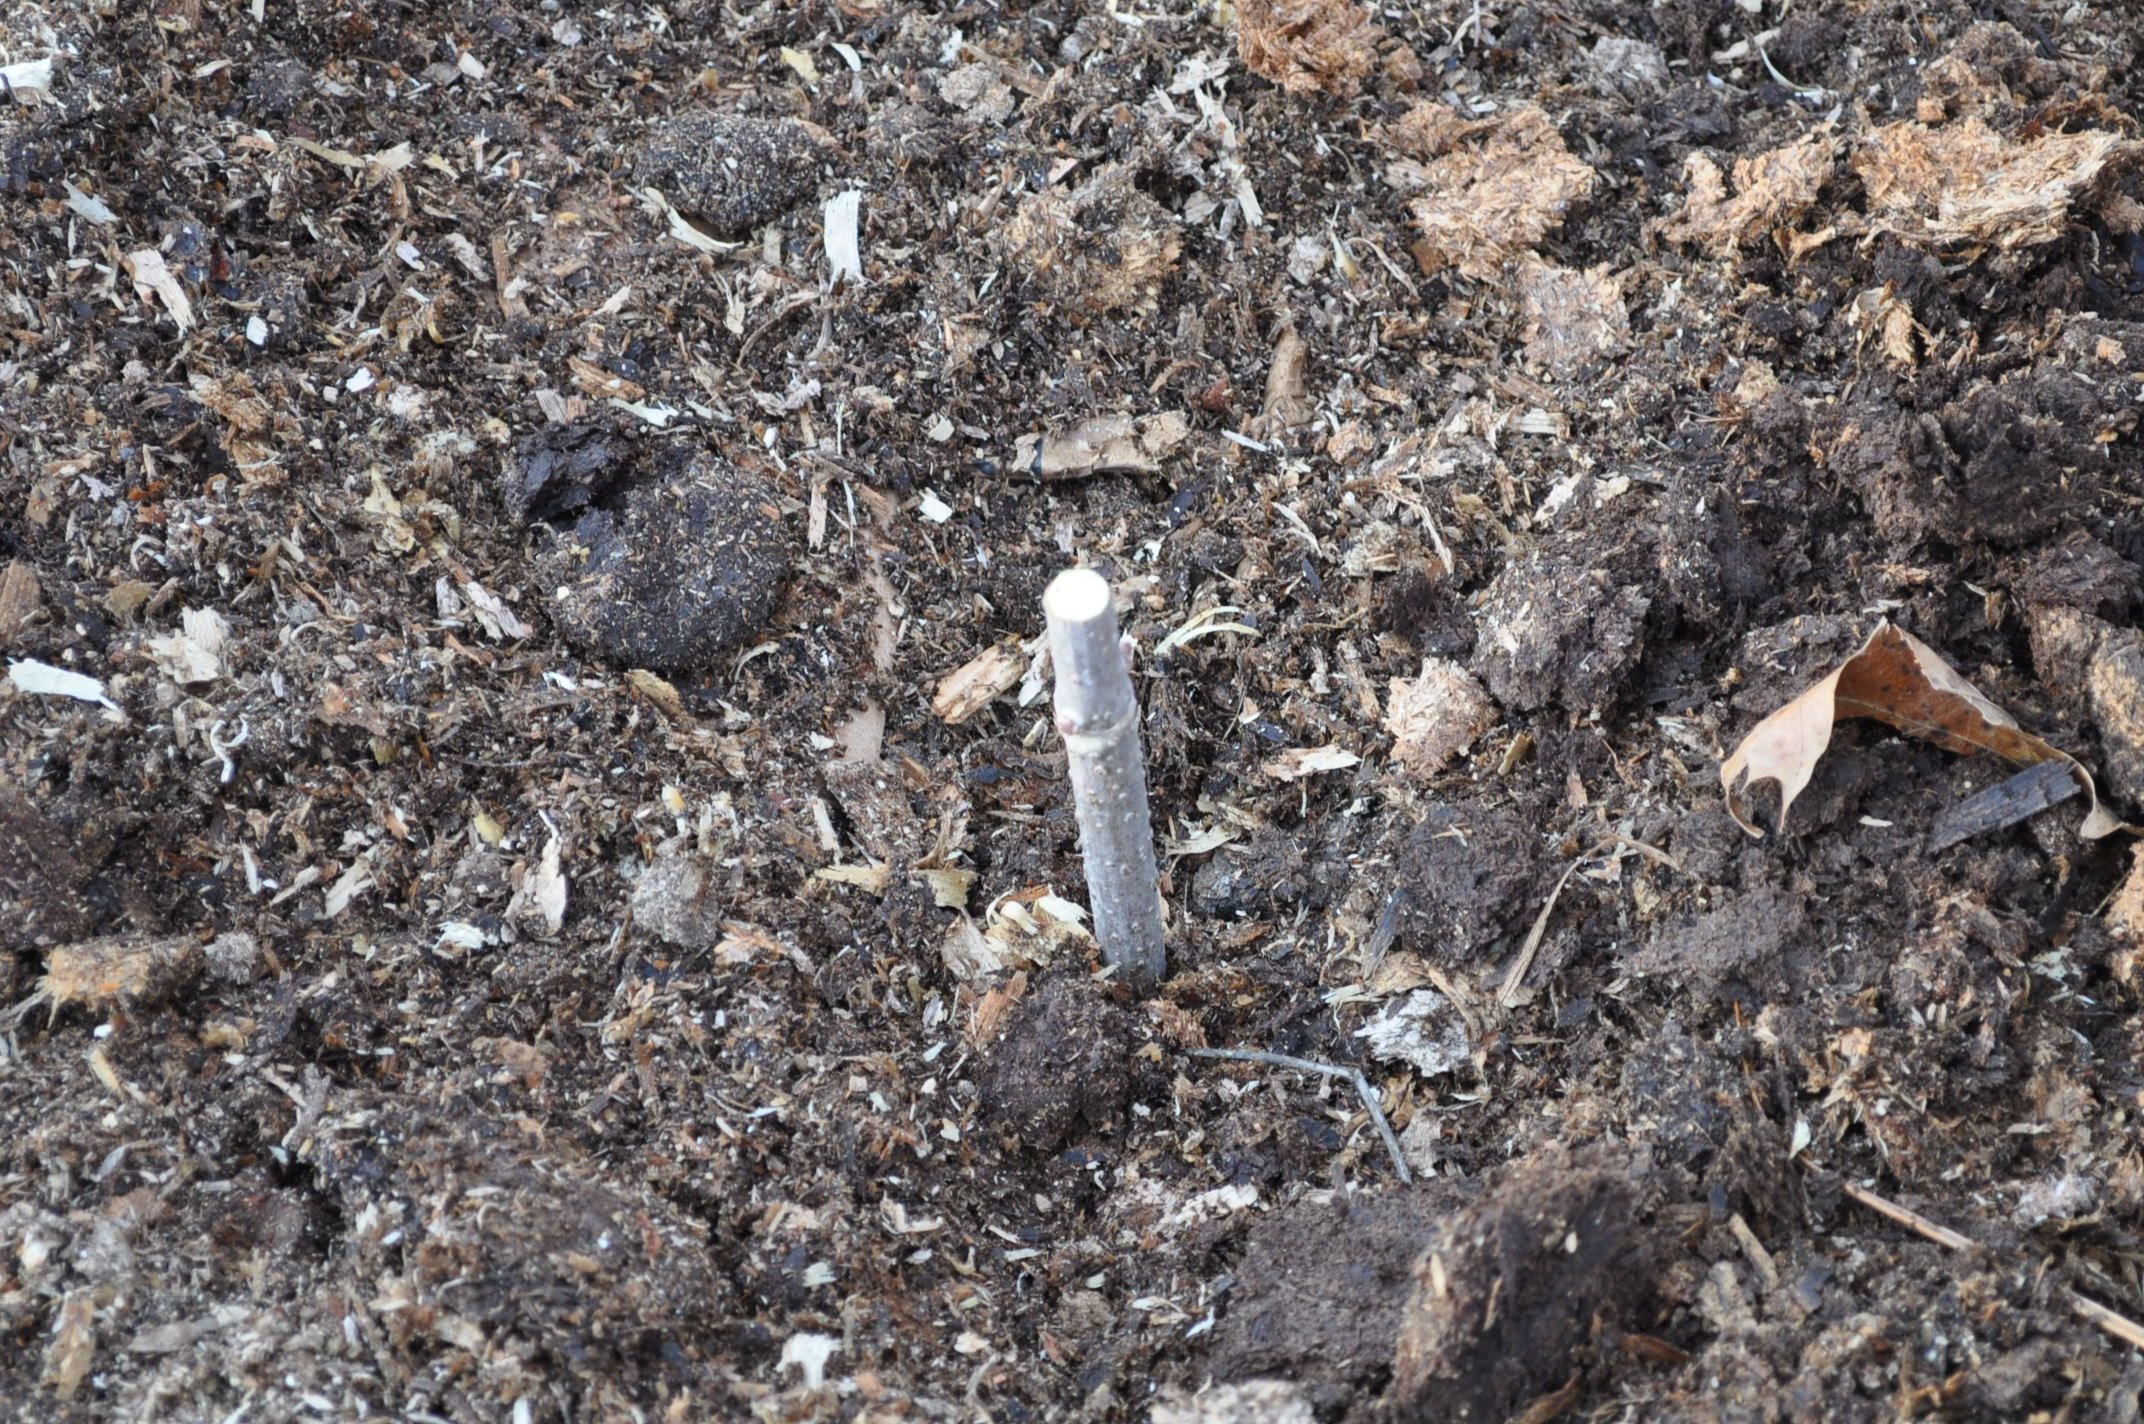
We amend the soil around the cutting with urine soaked biochar (check out part 1 and part 2) for more details on the beauty of biochar) to support adequate fertility and microbial activity.
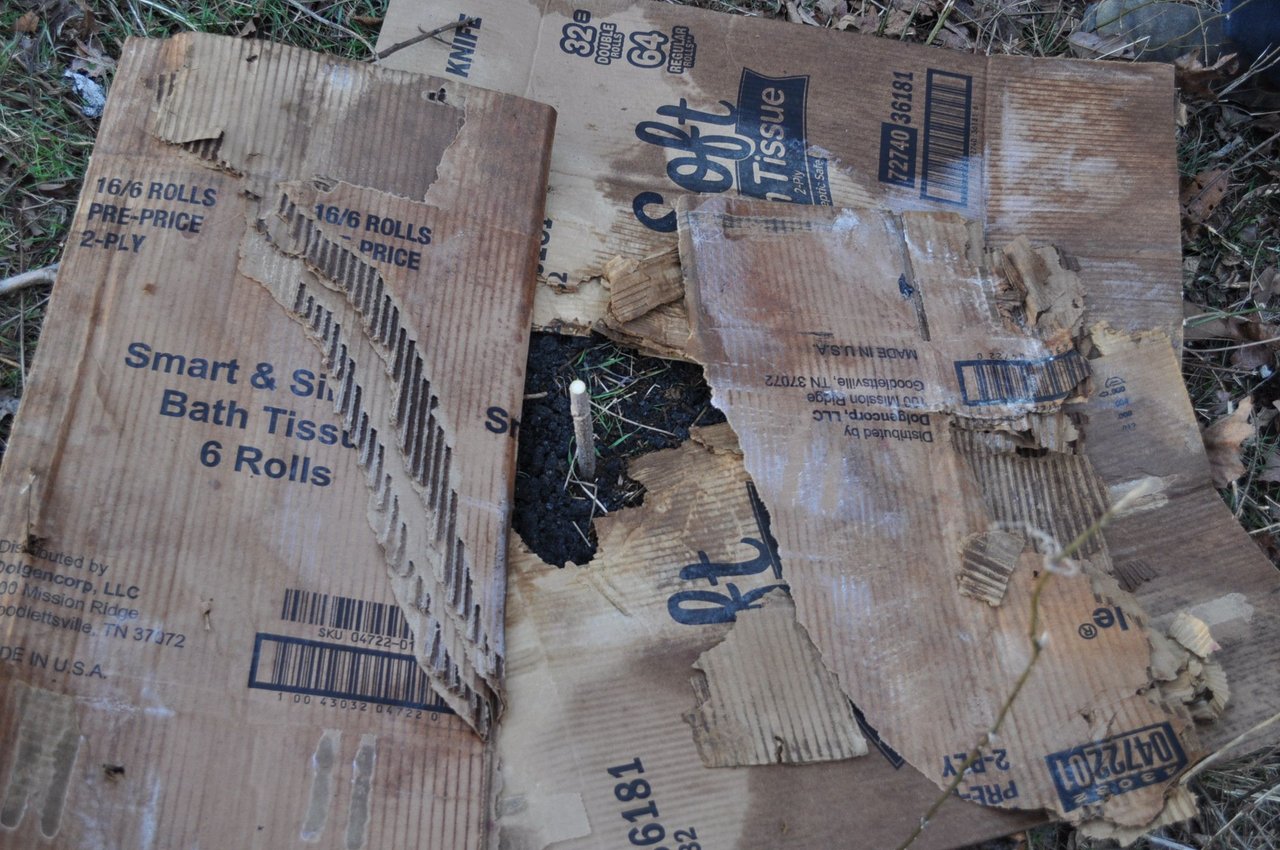
We cover the biochar with cardboard to suppress grasses from crowding the young plant and finally top dress with planer shavings to retain moisture and feed fungi (perhaps wood chips would be a more ideal mulch, but we take what we can get, eh).
We may choose to inject mycorrhizal fungi into the root zone once the plants have established roots, although this may not be necessary as the soil has not been disturbed or damaged prior to us gently clearing it.
Plant and repeat
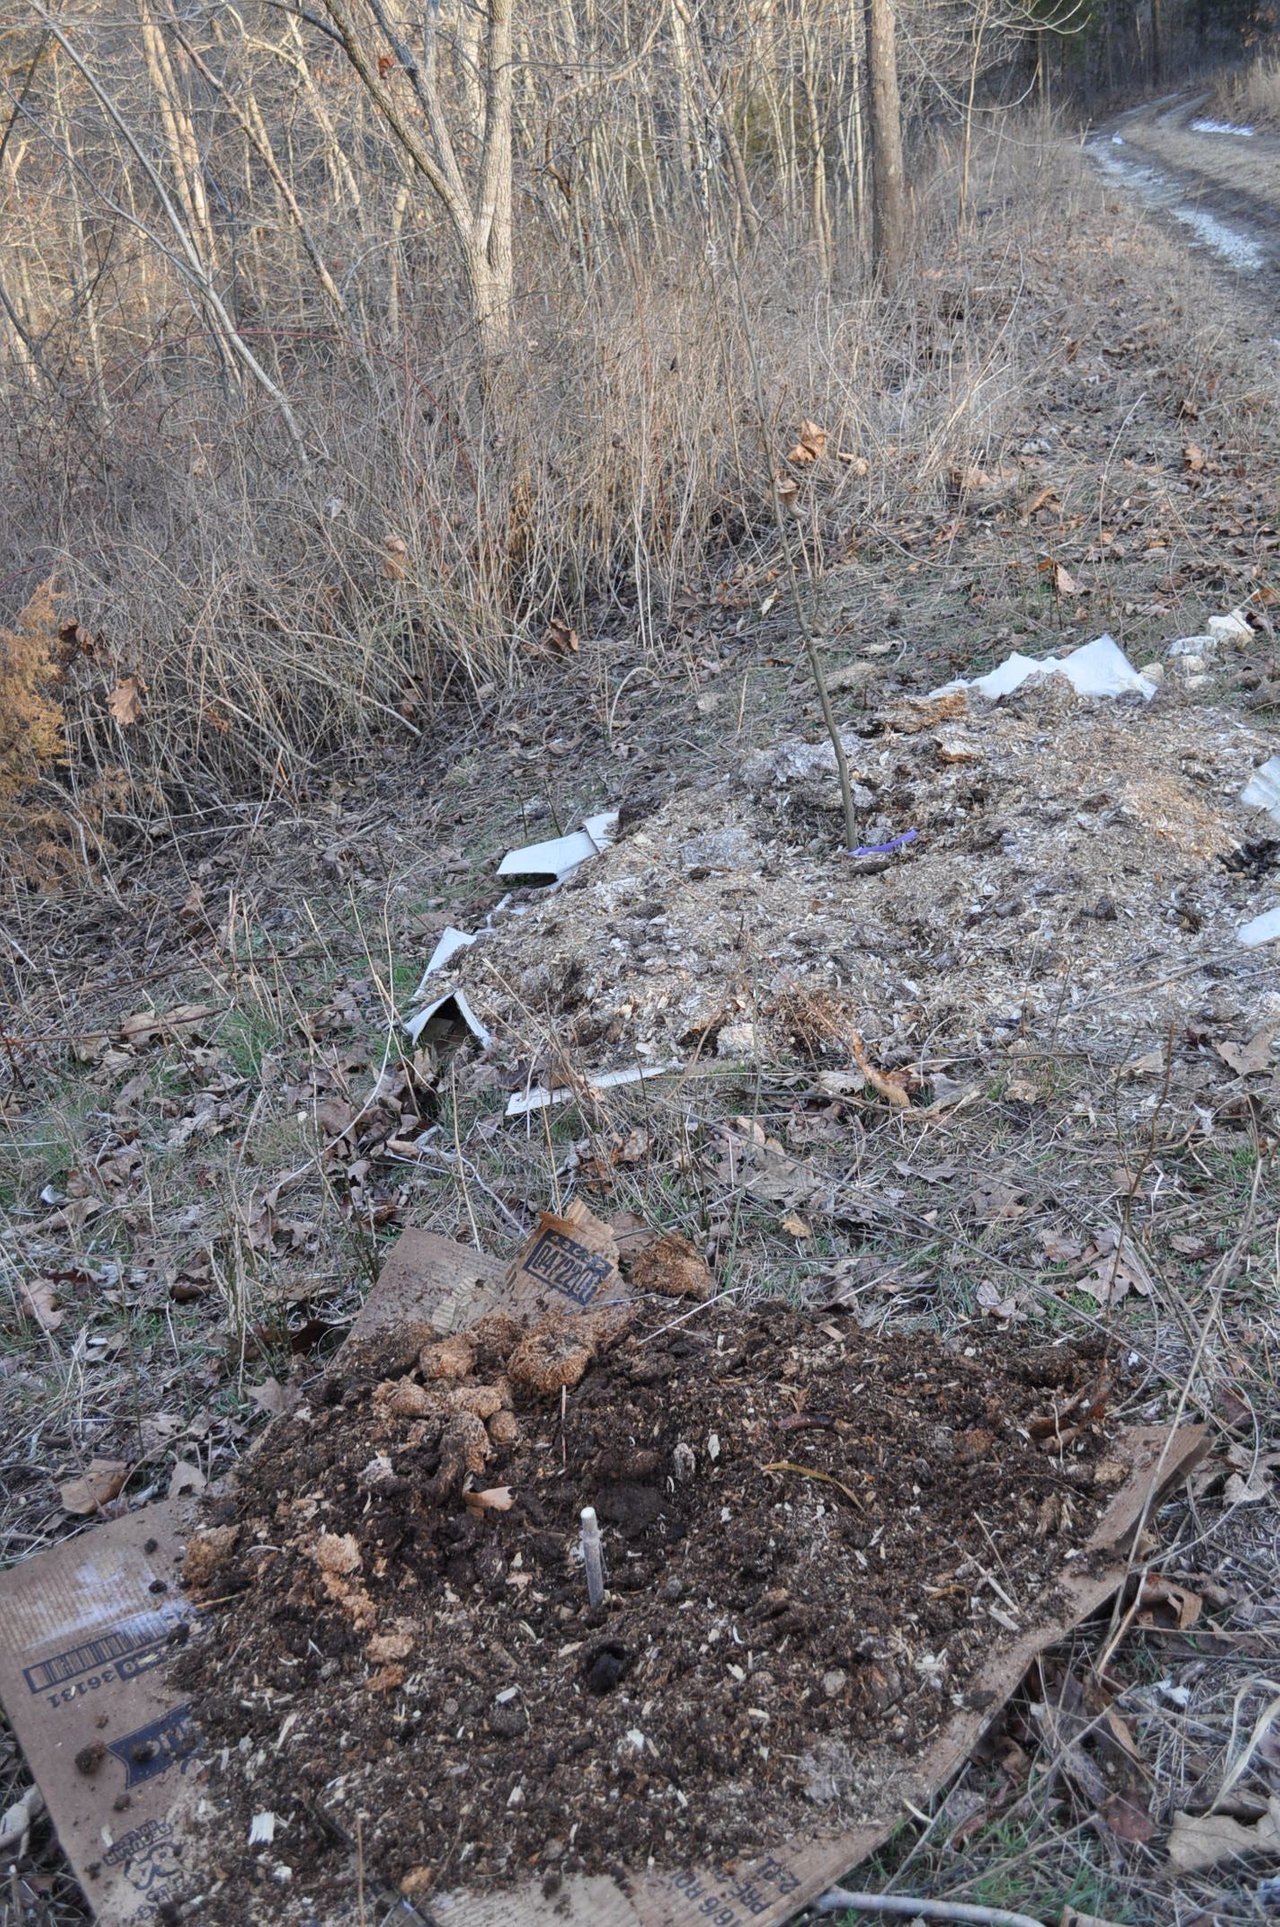
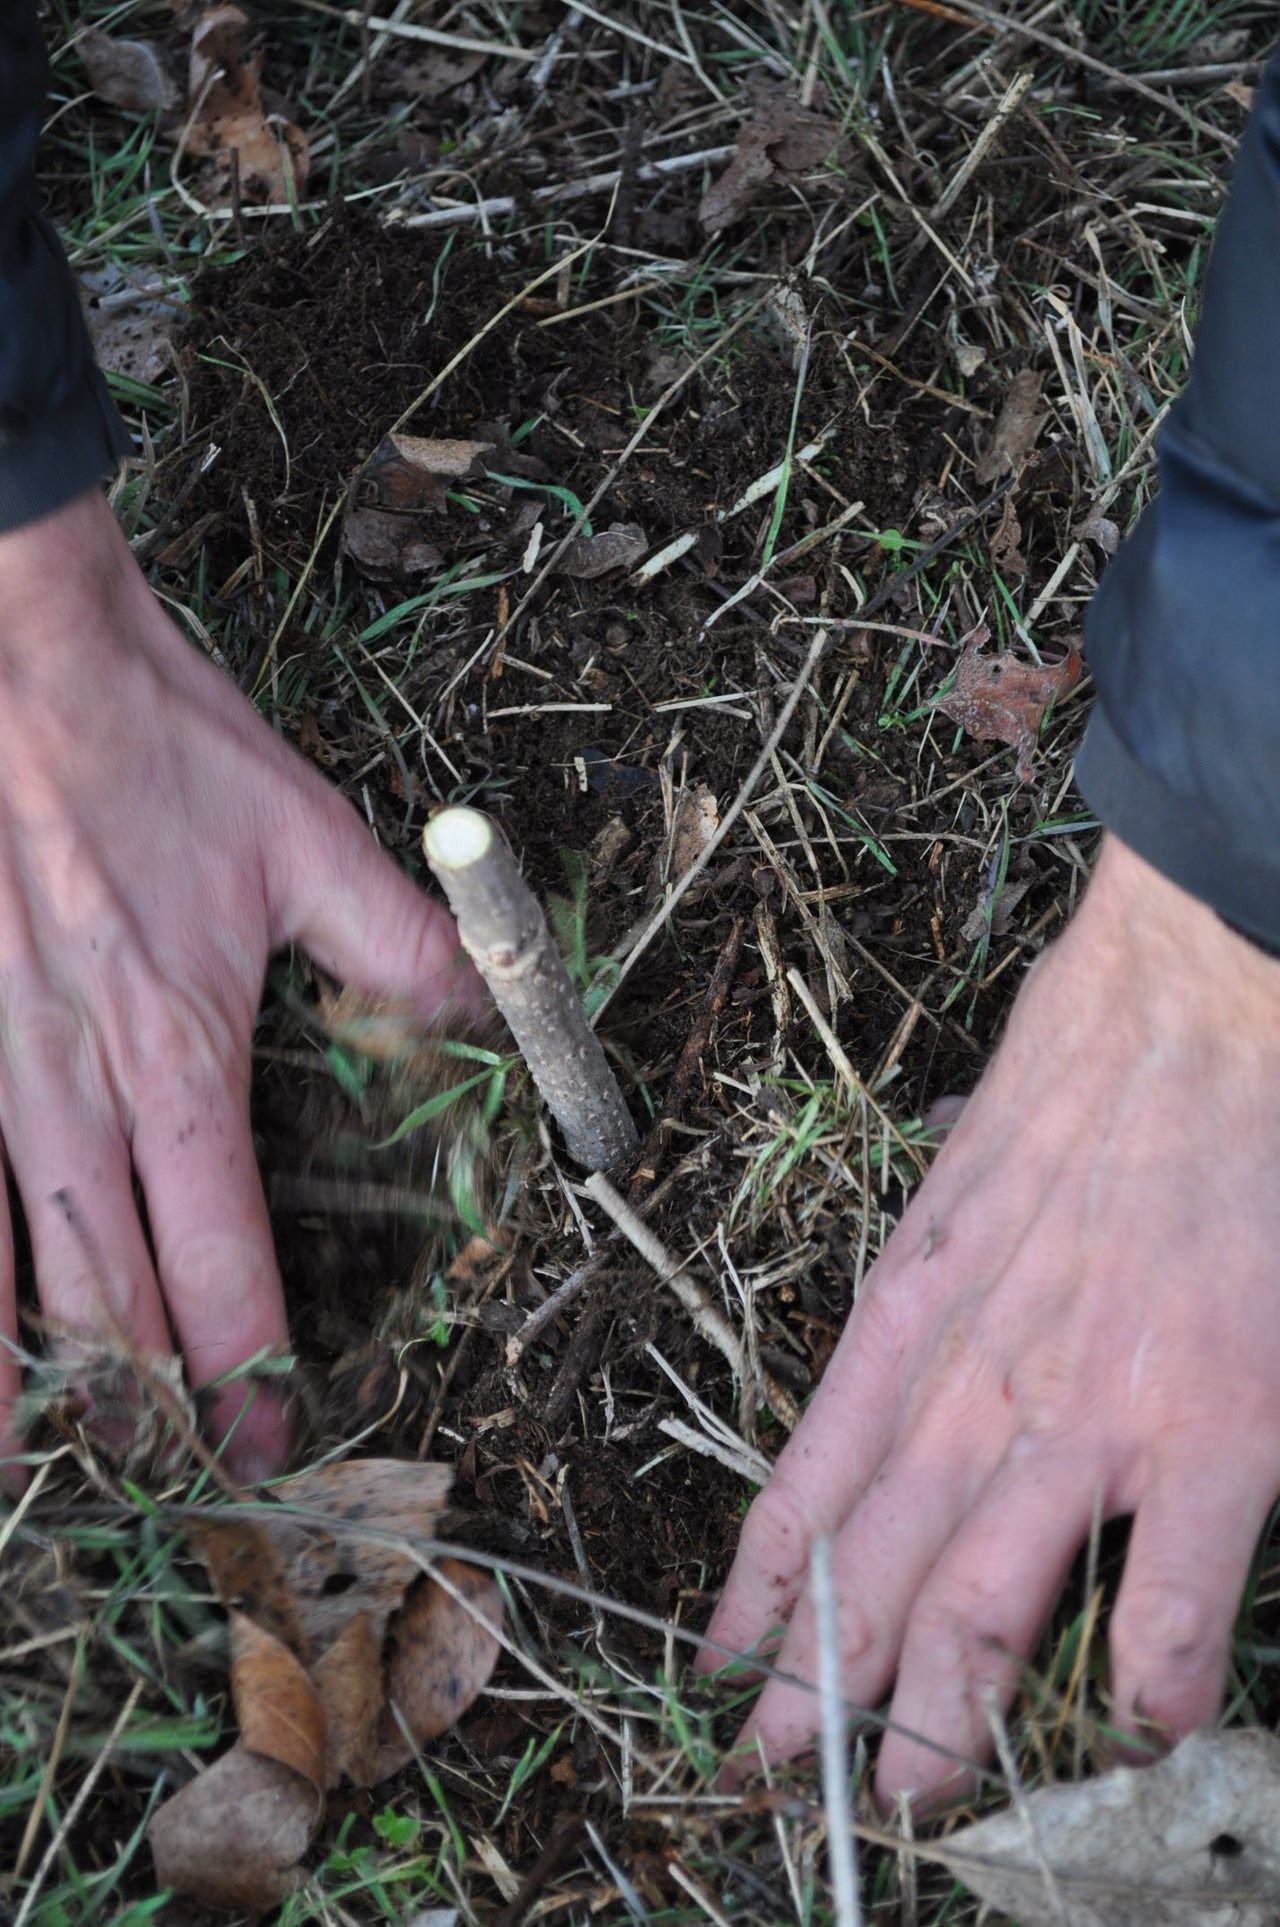
(First one of many planted along our driveway inbetween Chinese Chestnuts we planted last fall)
Now we just have to do this 75 more times to establish our first elderberry planting! This is a part of a grant that we got (we'll write about that soon!)
We will be planting the cuttings 4 feet apart and coppicing them each year. Think of how many more we can plant next year! Now we wait, take note of moisture, water if needed and allow the wisdom of elderberry to unfold.
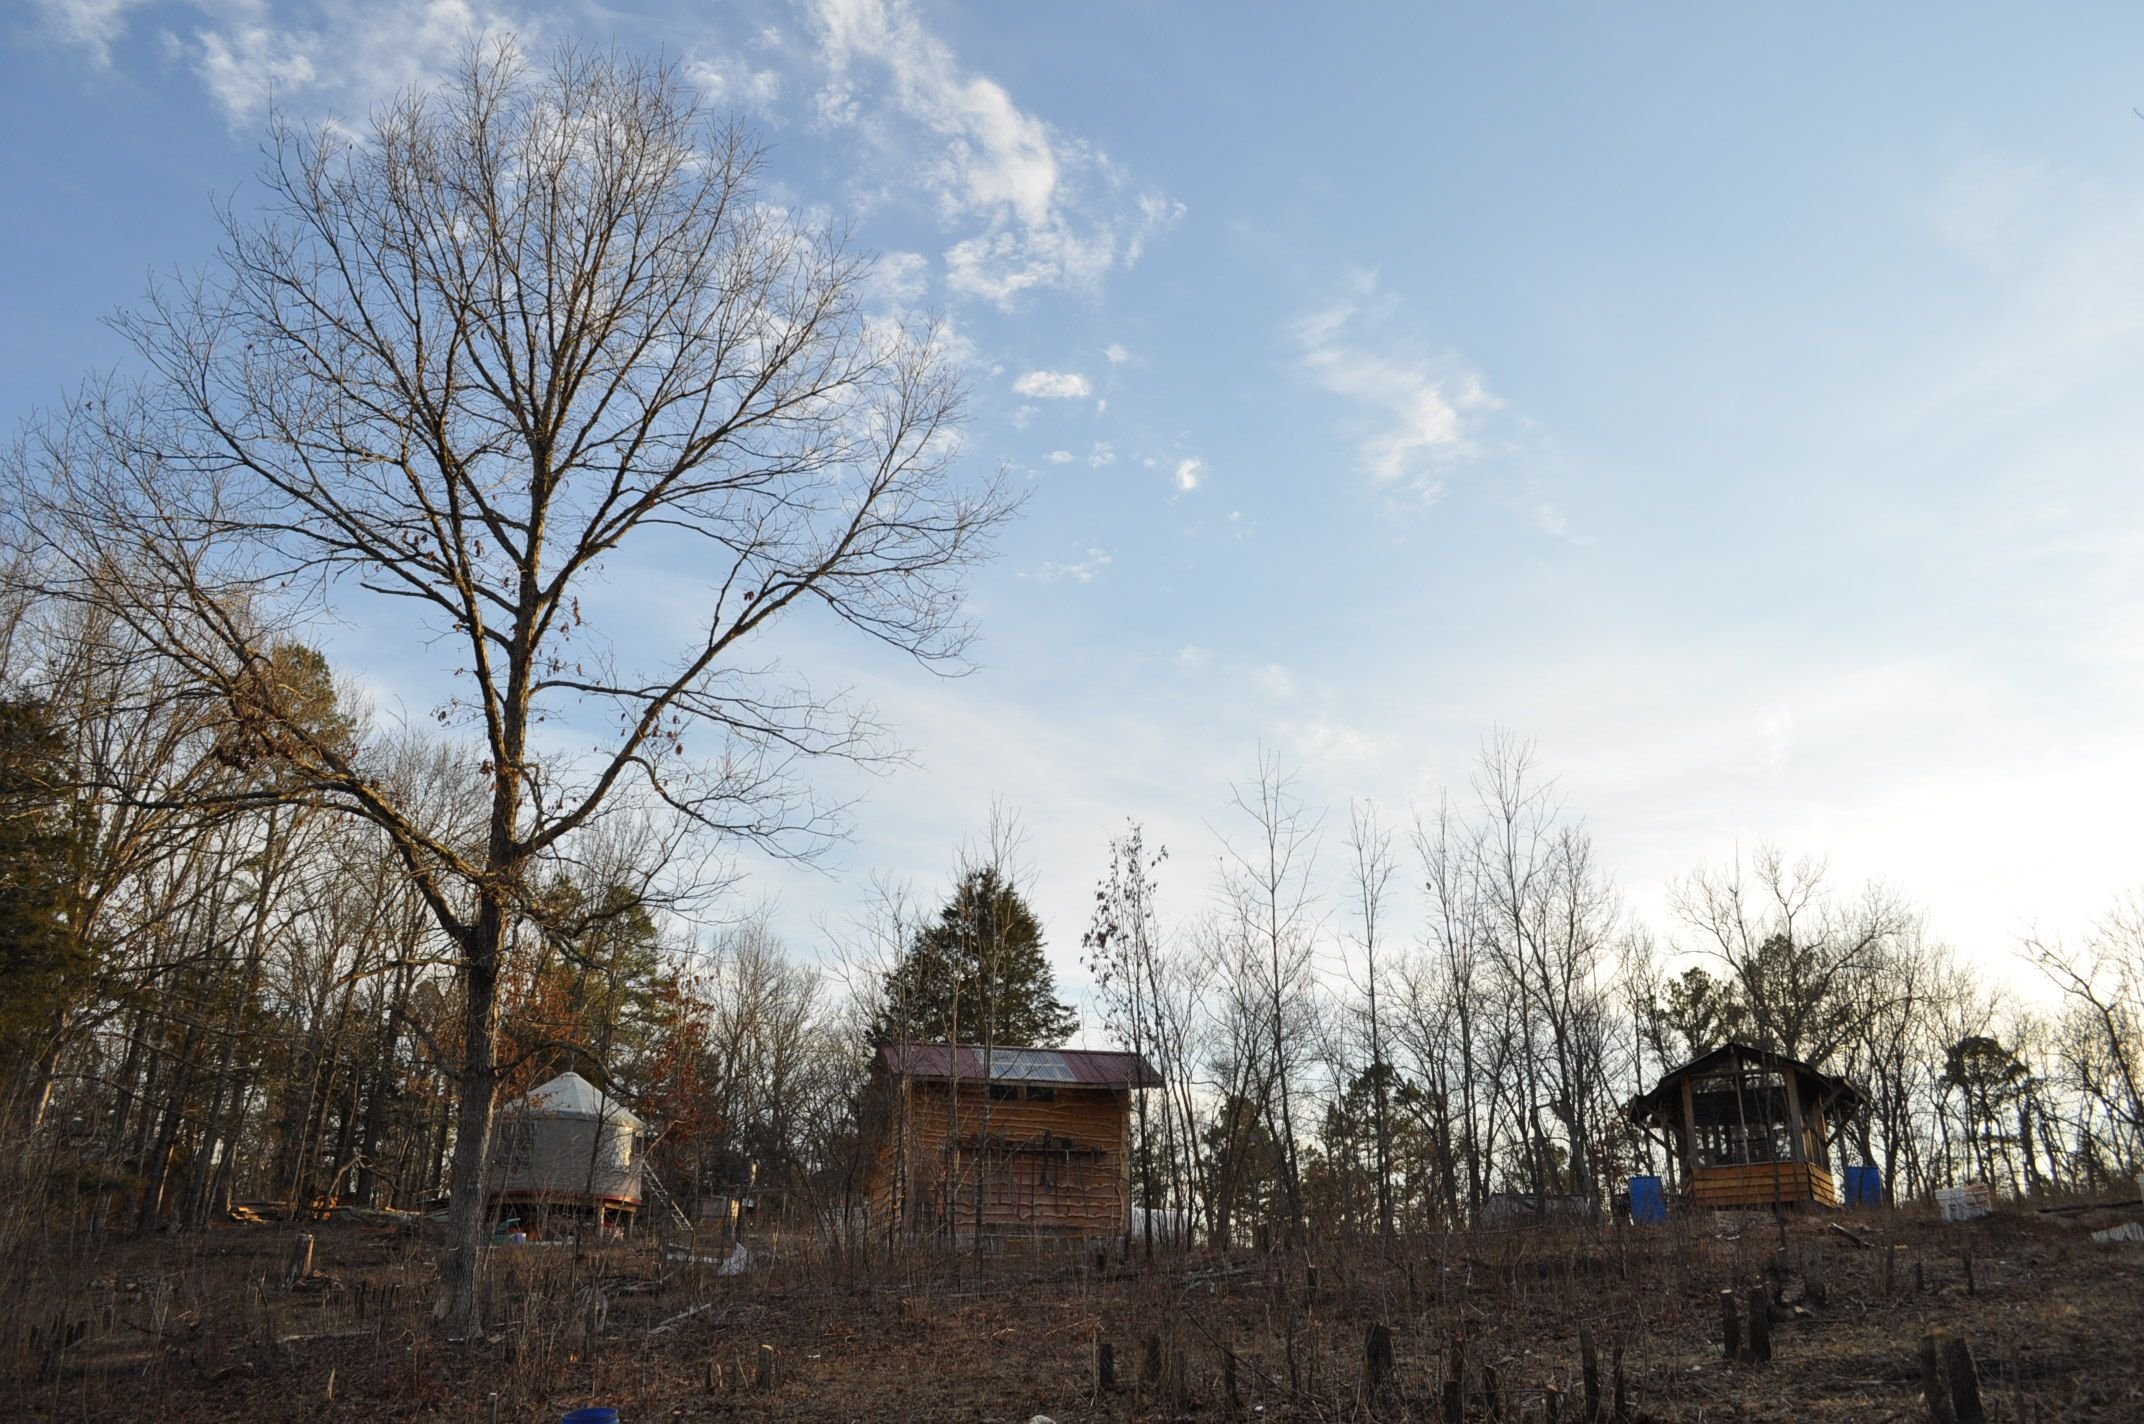
(Main area where we're doing our fruit, nut, and medicinal tree and shrub plantings.)
