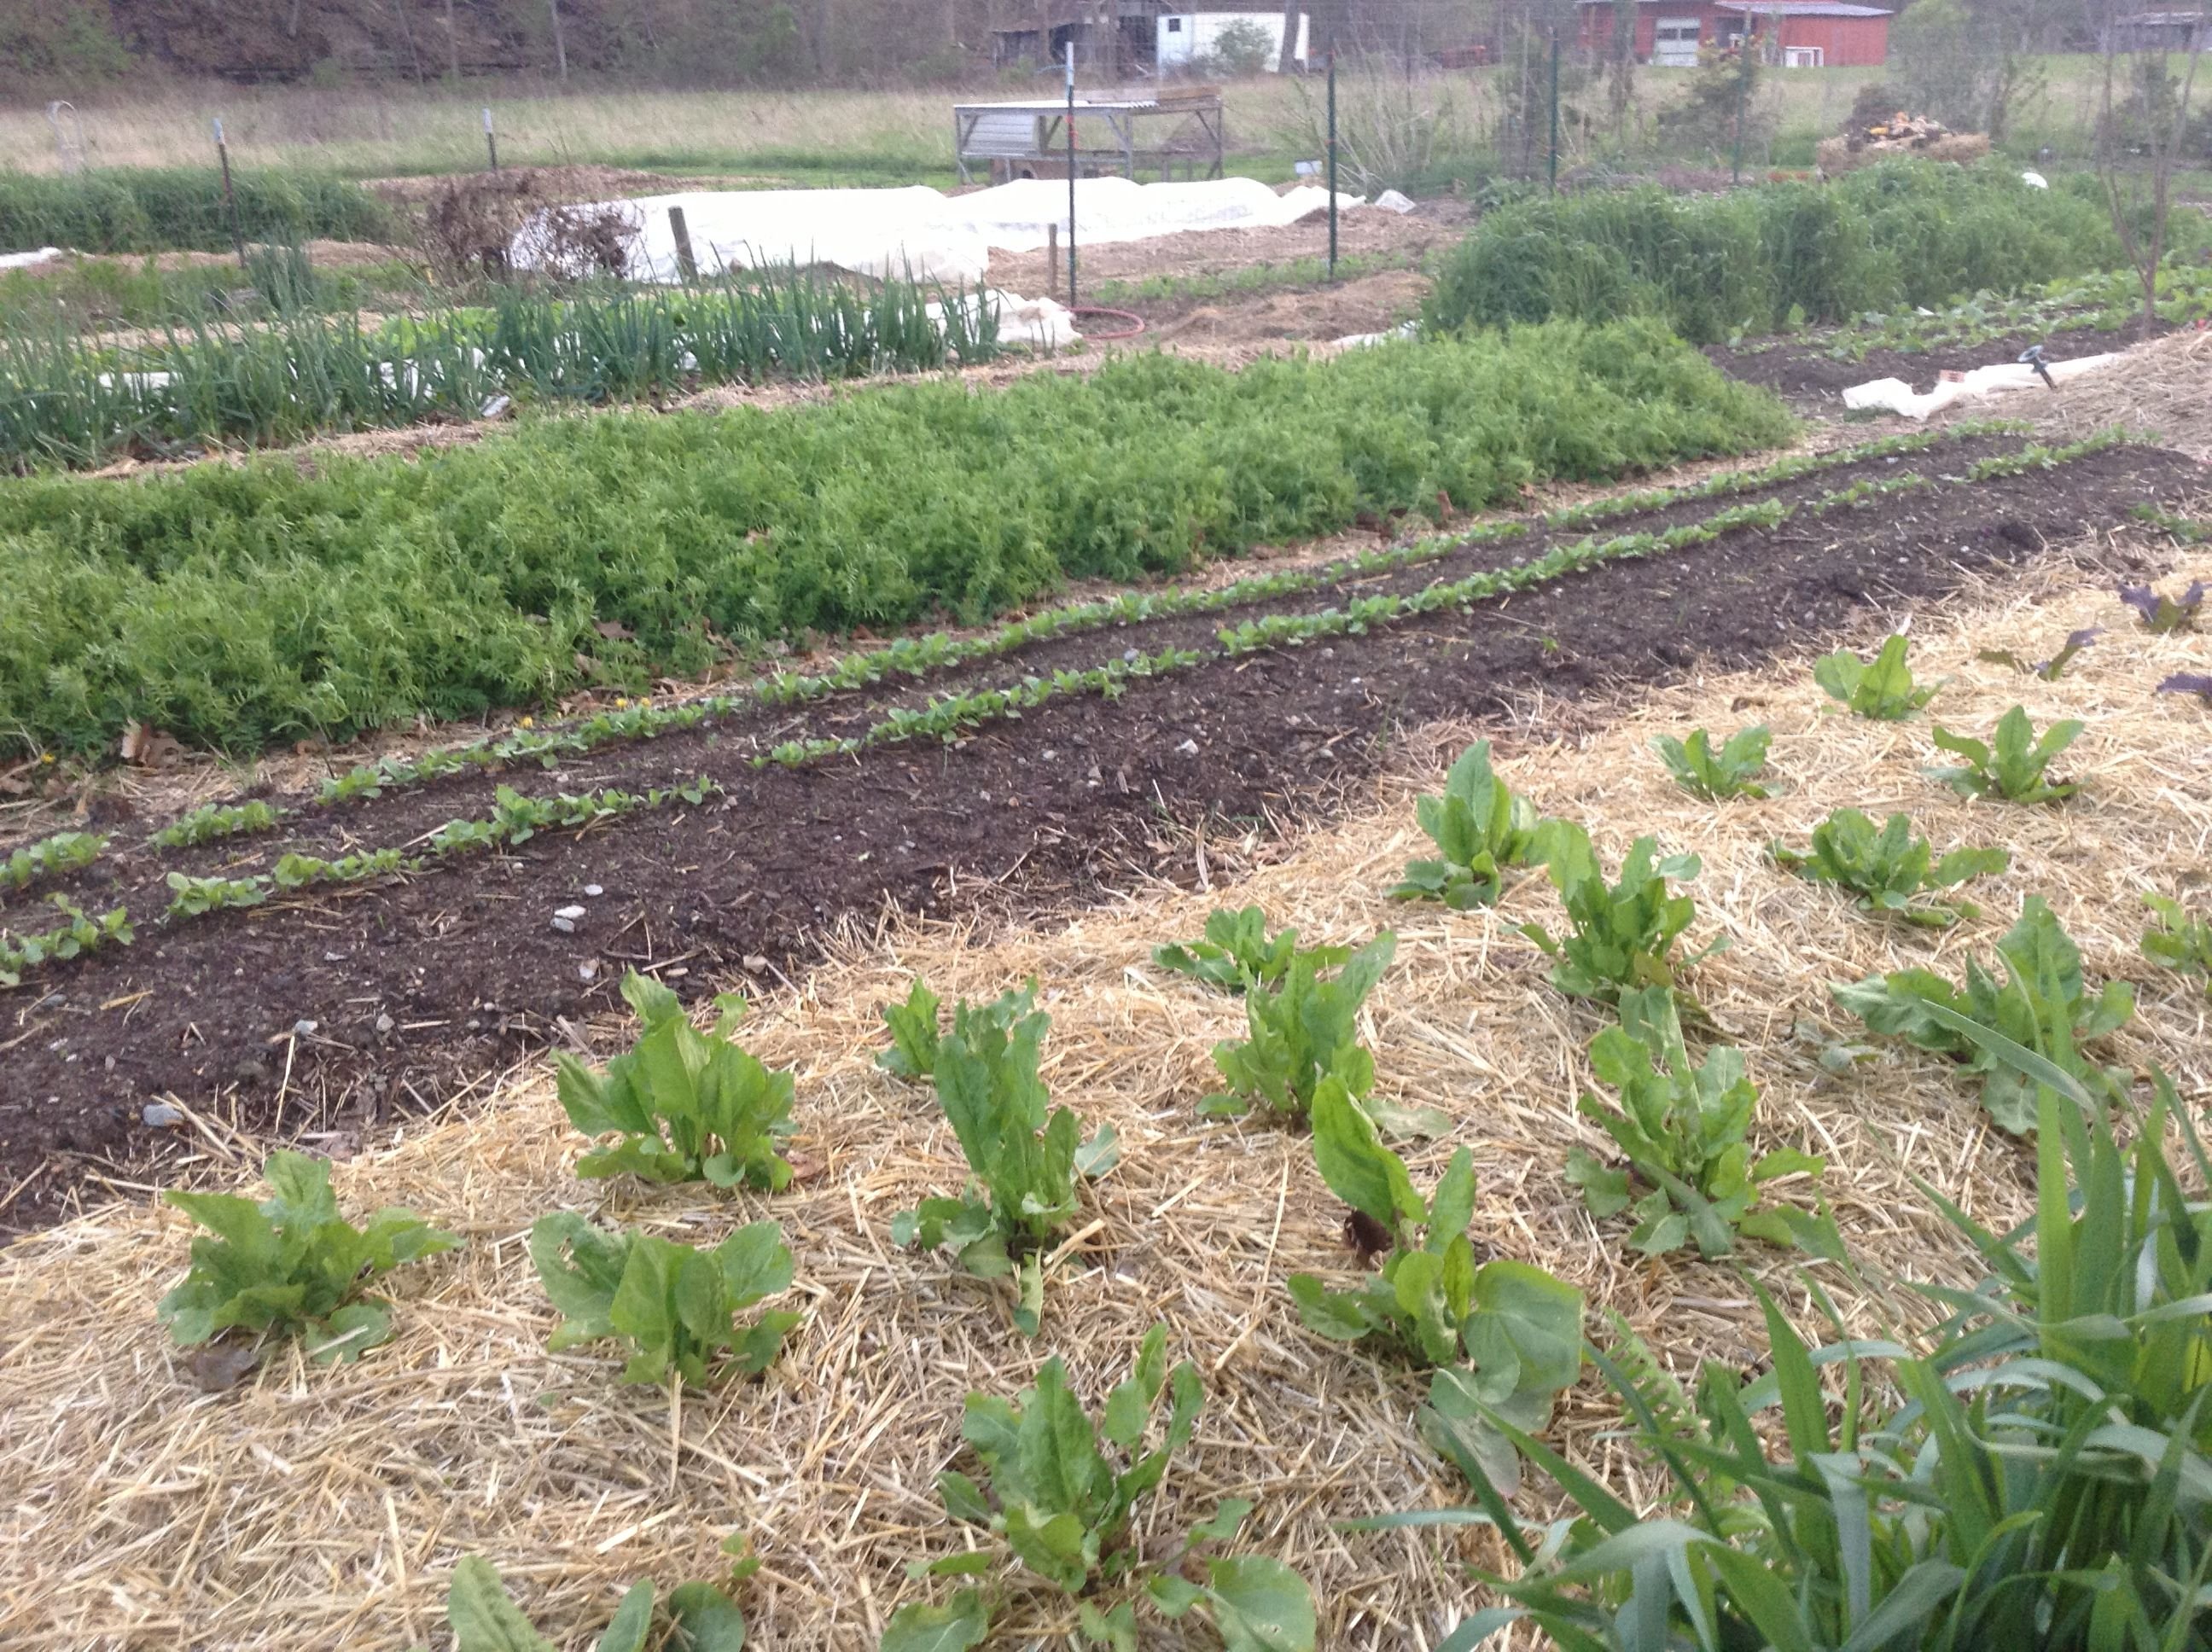
We have used chickens to create 100% of our growing areas on our farm.
We are market gardeners, which means we grow and sell produce, herbs and flowers at local farmers markets for a "living". We have been doing this professionally for about 8 years, but my experience with similar work goes back to childhood, where I grew up working with my parents at their plant nursery and landscaping business. I am here to tell you today how you can use chickens as the ultimate garden tool. We have been doing this successfully since day one and have had such a great time with it that I want to share it with you!
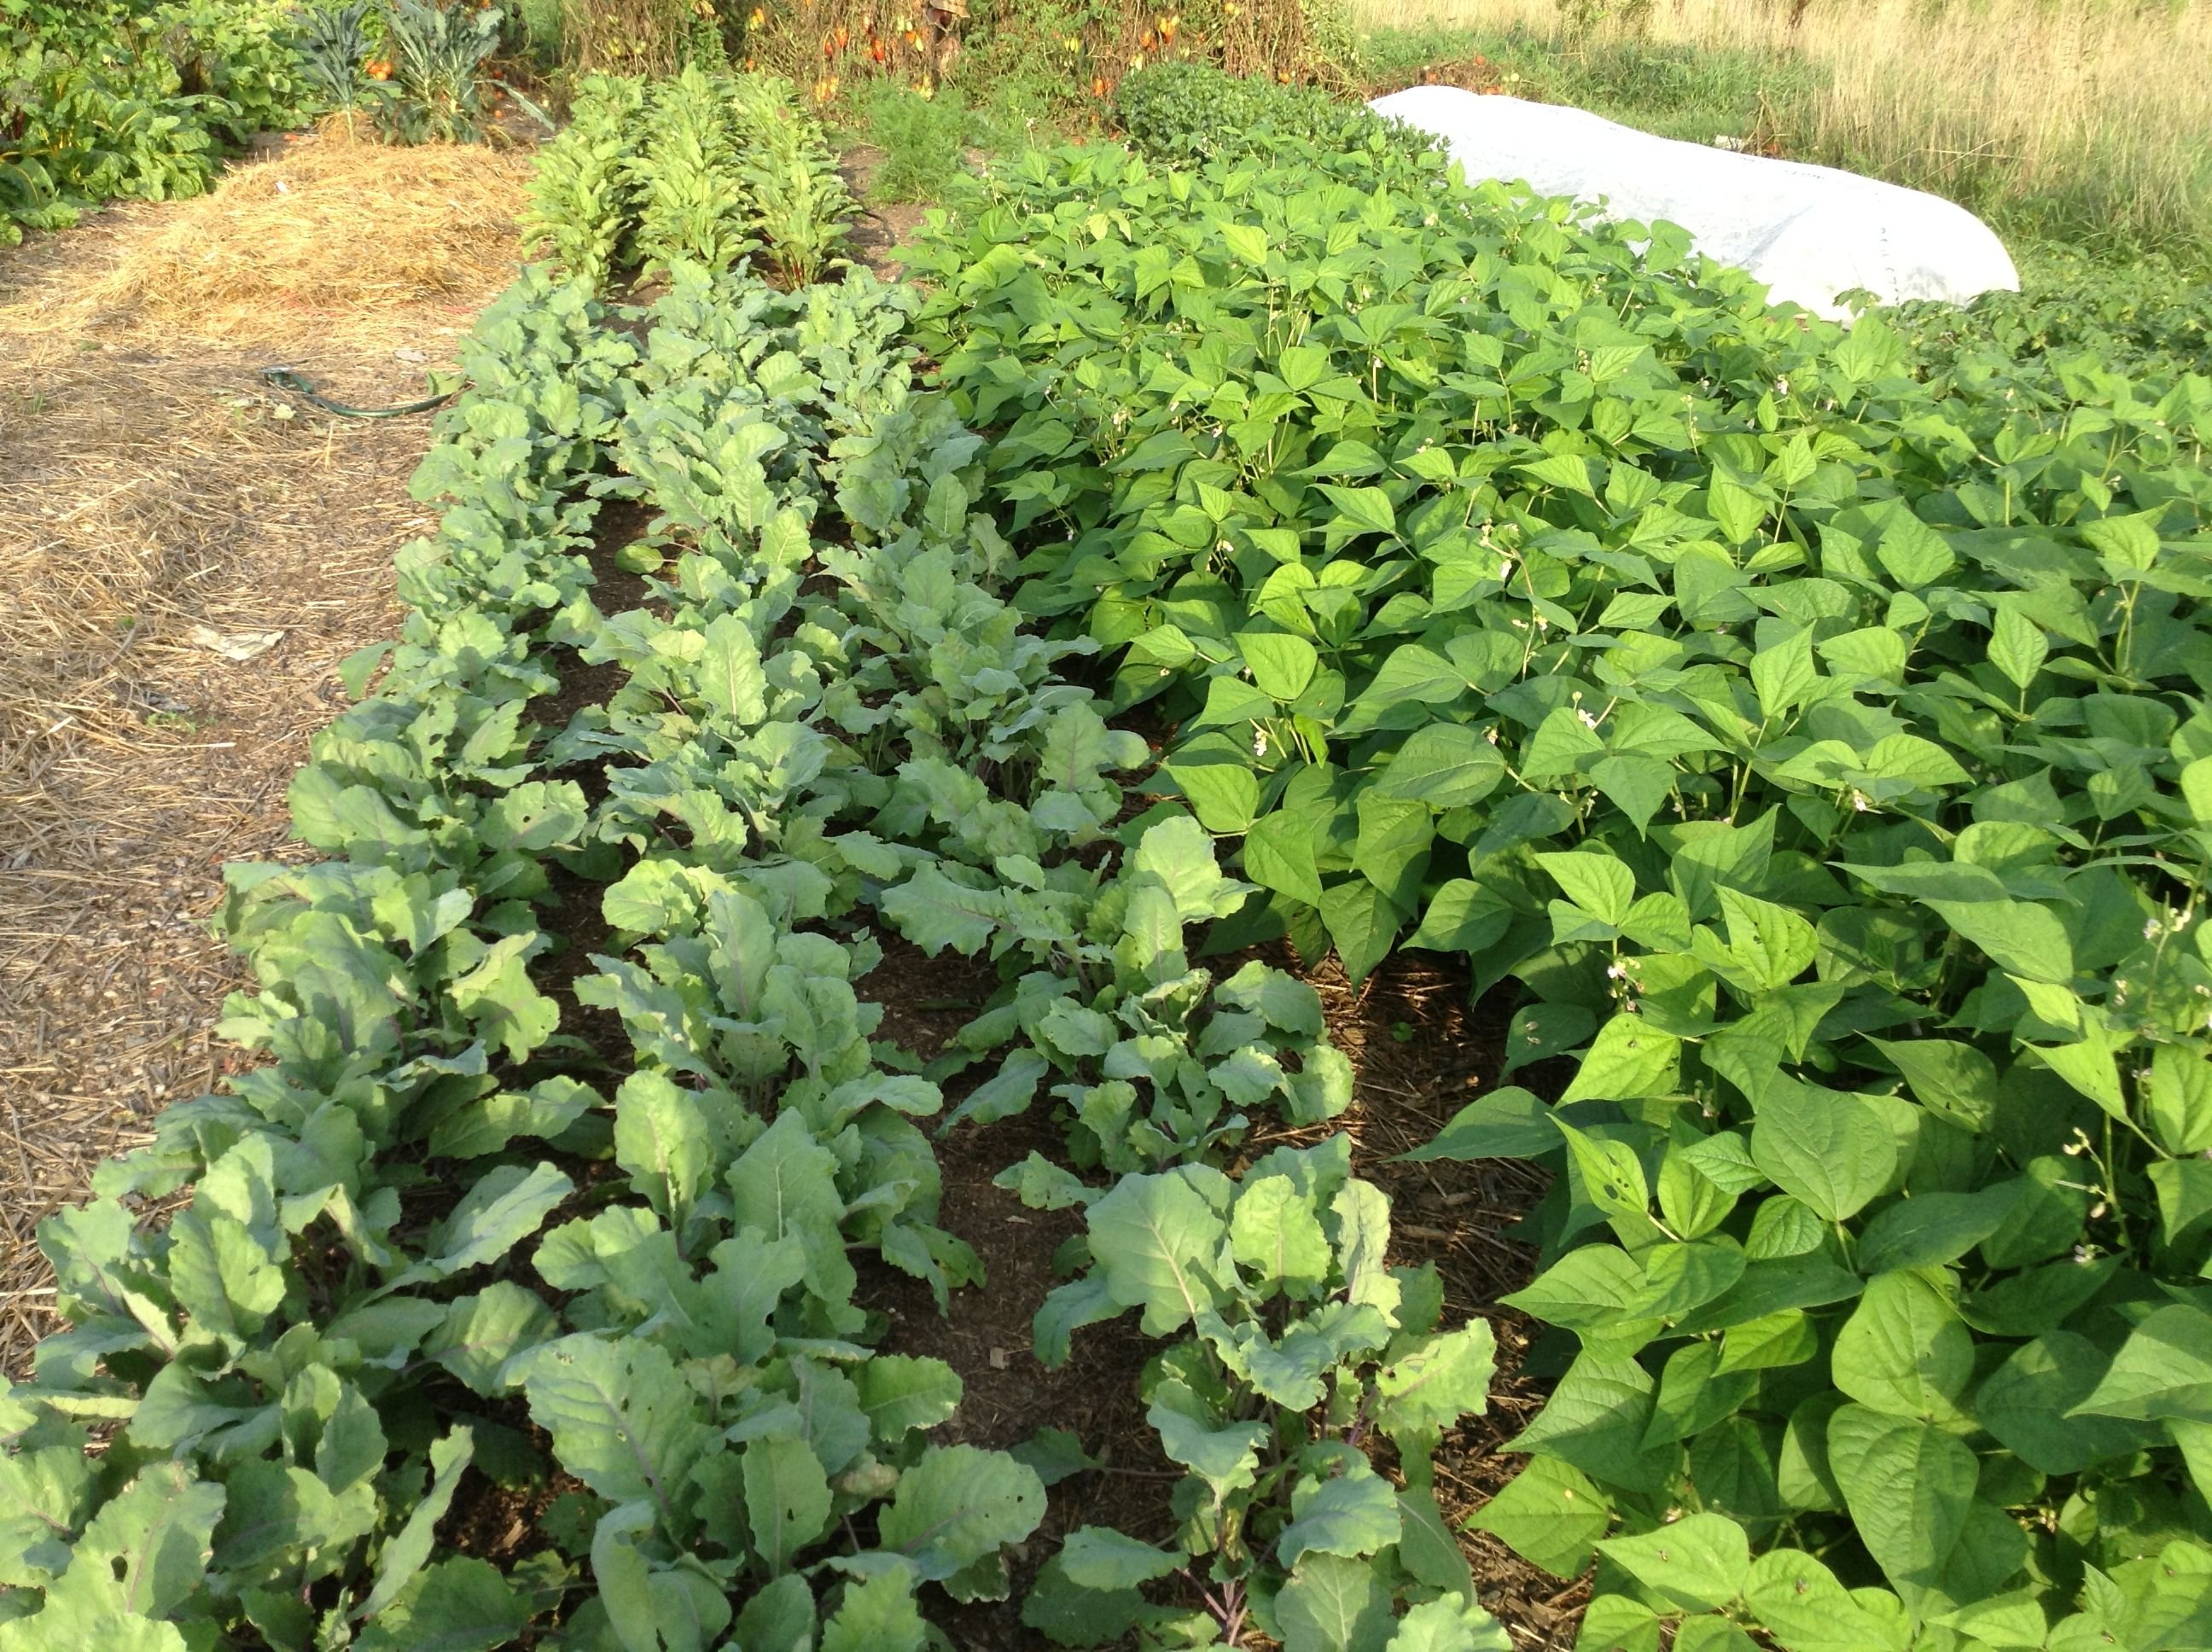
Let the birds do the work for you to create large growing areas that will be richly fertilized and very low maintenance! Weeds will be minimal and your back will thank you!
How to do it?
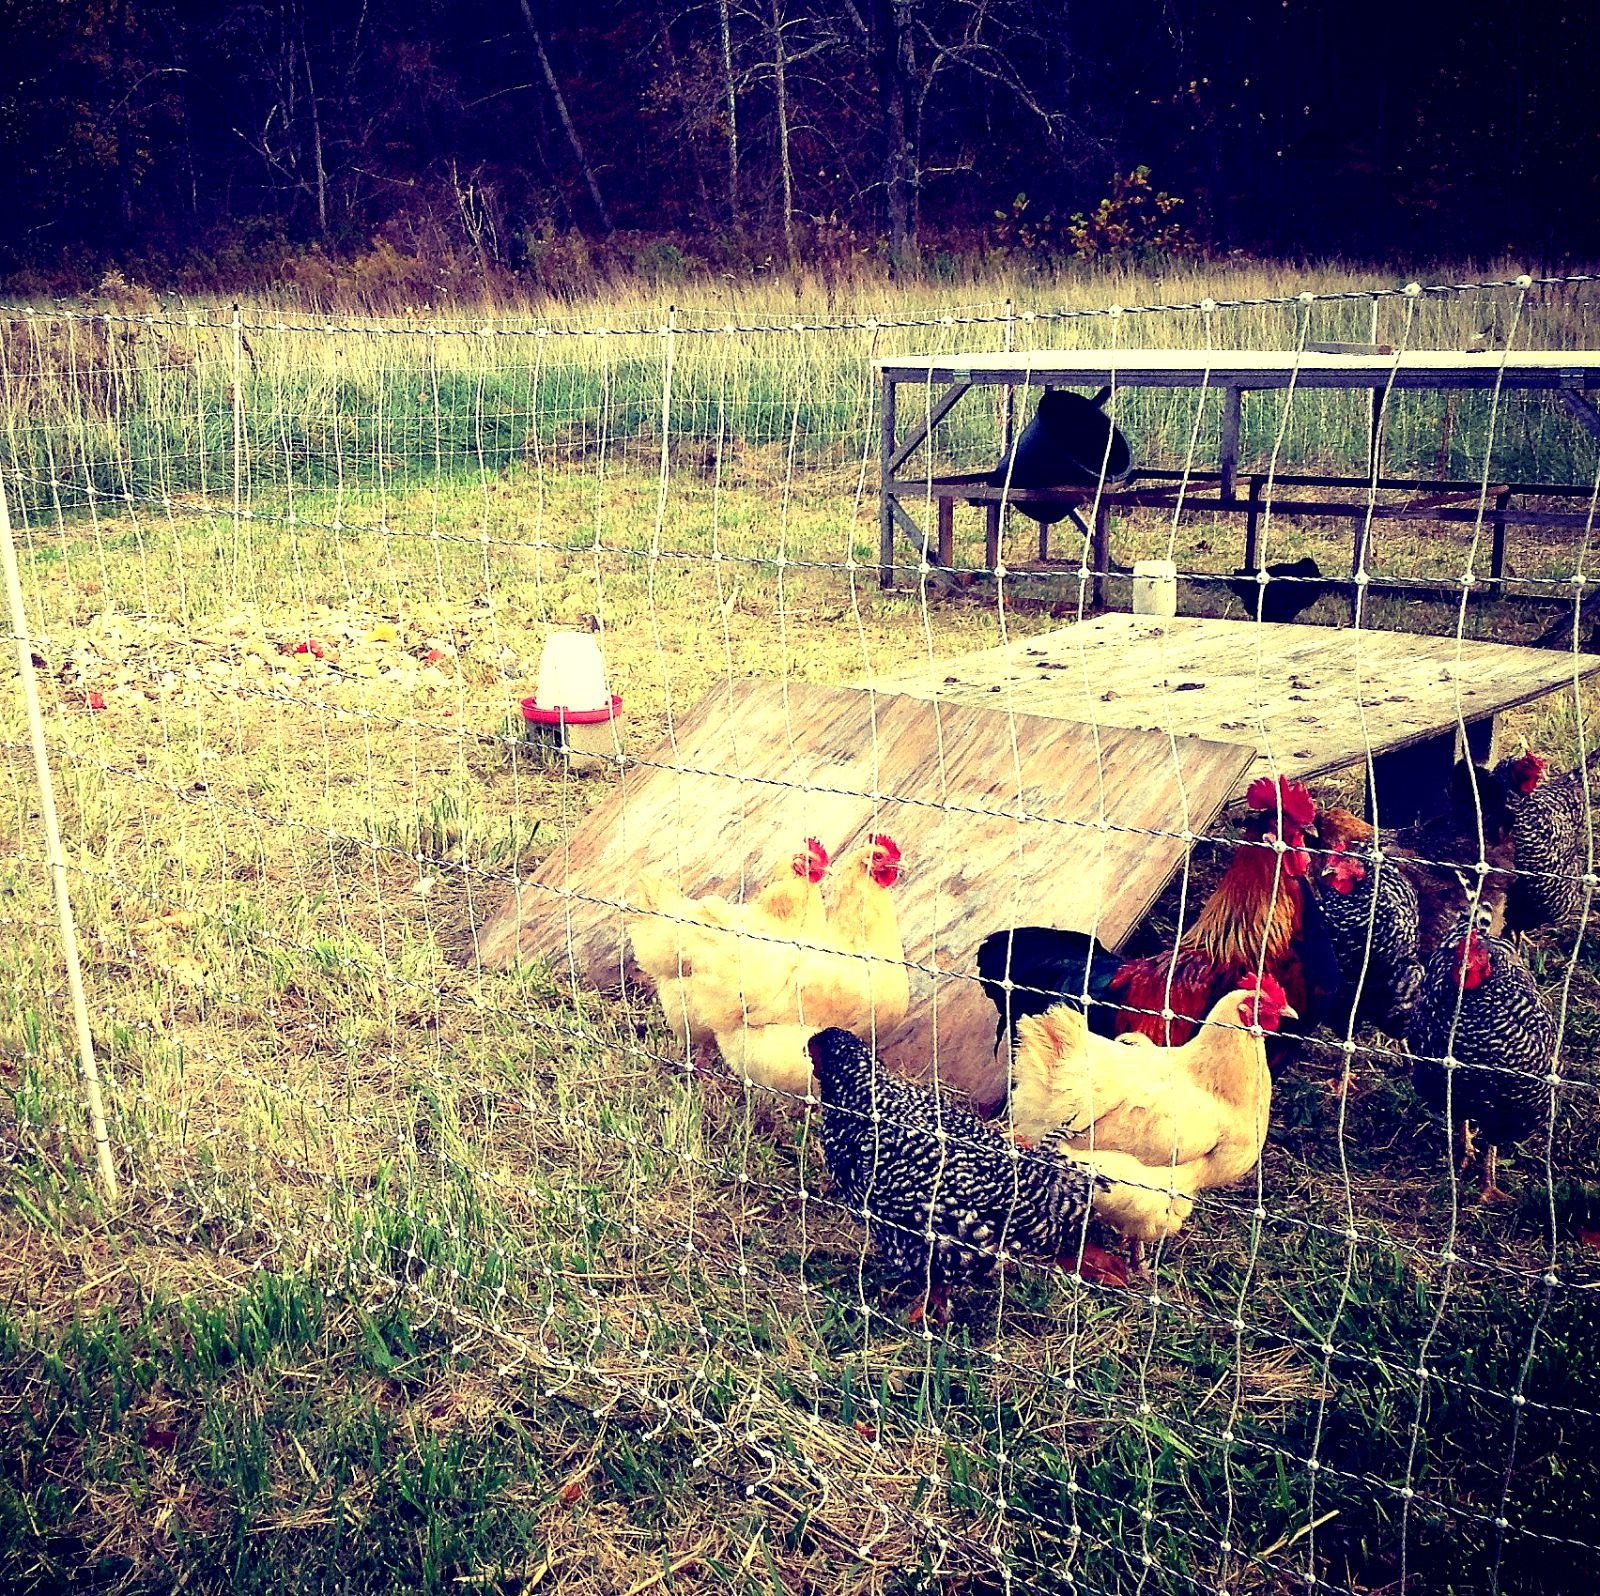
First we purchased solar powered electric netting/poultry fencing from a company called Premier. This is lightweight and easy to move around. It keeps predators out and since it is powered by solar, we can place it anywhere we want on our farm. (Less costly, non-solar options are available)
We currently have about 50 birds or so, but you can start with about 10 or 15 and get the job done. Technically you can adjust the "recipe" according to what "ingredients" you have on hand.
Pick the spot you want to make into a garden:
Basically, the chickens "free range" within their fenced area. They are happy, healthy, and have access to all that free range has to offer such as fresh air, weeds, grass, and most importantly, insects. While they eat, scratch and peck, they deposit their valuable poo onto your future garden bed... As the excrement accumulates, you layer on fresh dry straw, hay, or autumn leaves... These are the main components...
In addition to that, we feed them all of our kitchen waste (there is a lot since I cook everything from scratch)
We also place in their area most of the garden debris and refuse... Over ripened tomatoes, squash, berries, etc... Weeds that have been pulled from other areas of the farm, grass clippings, coffee grounds, etc... Their yard becomes a living working compost heap, sort of- and as long as you layer fresh clean straw (carbon) generously- it never gets nasty or odorous...
The birds enjoy staying busy working through the piles, eating weed seeds and bugs... Meanwhile they of course lay fresh eggs in their nesting boxes, and generally carry on with their happy little lives... All the while making us awesome vegetable growing areas!
We leave them in one spot to thoroughly layer the ground for about 3 to 5 months, depending on how many birds we have in the 25' x 25' fenced area. The more birds, the more poo, the more rapid the layering, the more quickly you can move them on to a new area! You want to layer it thickly and often, so that the weeds will not come up once it's time to plant your crops.
When to add a layer of straw?
Add a layer of straw when you start to think the area feels poopy, stinky or untidy. Over time you will get the hang of it, and you will intuitively know when to add a layer just before the "stinky point" occurs...
Then we move them to a different spot. The new spot may be brand new- even on top of pure sod! Or, it might be to an older overworked garden area, by which they will help rejuvenate it... Another awesome thing to do is put them on an area that you've planted to a cover crop, let them "till" it in...
This is a year-round operation and in the summer they have simple shelters like the one you see in the picture above. In the colder months they have a miniature greenhouse that keeps them plenty warm...
Before planting in this new garden bed they've created, the area needs to sit for a certain period of time, otherwise you'd risk crop contamination.
For crops like winter squash and watermelons that take a months to mature their above ground fruit, we plant these right away... By the time we harvest the crop, the area will have sat for a long enough period of time. (90 days)
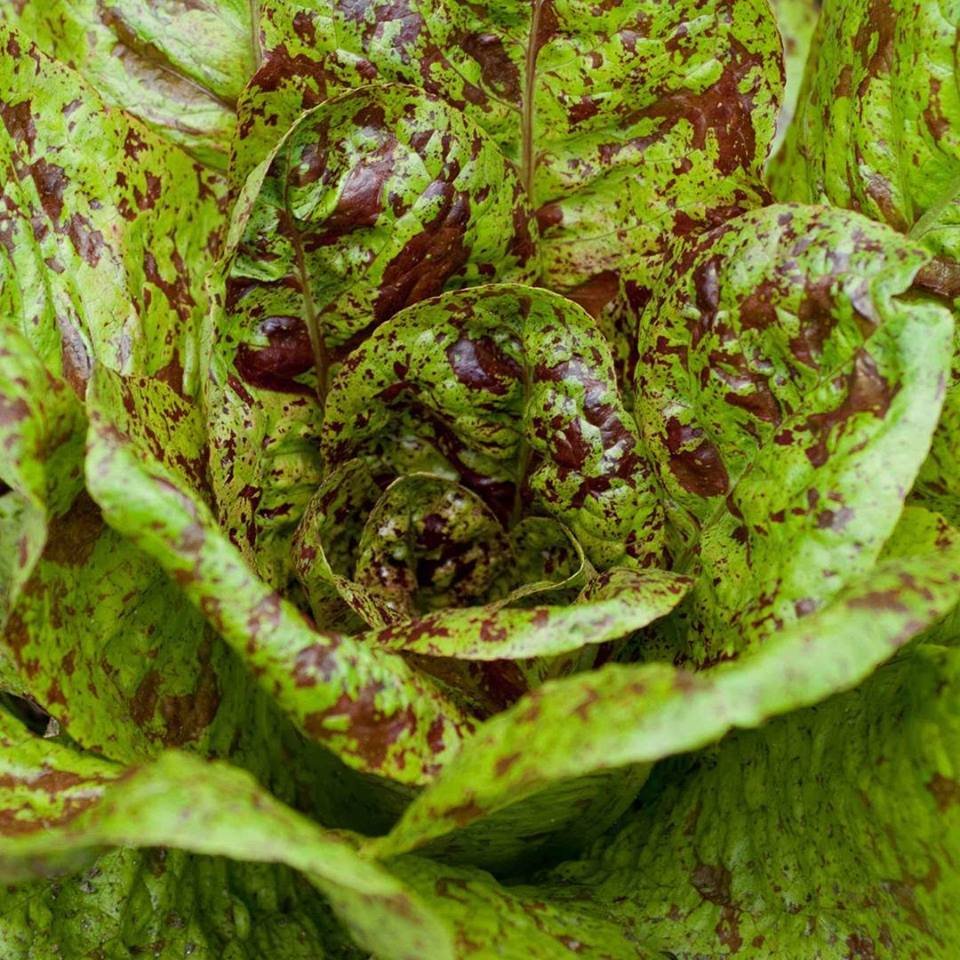
For crops such as lettuces or any other crop that the edible part of the plant touches the soil: we wait 120 days before planting in our newly created area.
(You should contact your local county extension agent for concise info about waiting times)
Depending on what crop you're planting, you can either use a shovel and rake and design and form your "beds", such as 25' long by 36" wide, with paths in between... In these paths you might put some aged woodchips for mulch... Or you can just plant the whole area to larger plants such as properly spaced tomatoes, or a winter squash patch...
I cannot express how amazing this technique has been for us. It encompasses some of the ideas from other thought leaders in the realm of small-scale sustainable agriculture-such as "chicken tractors", Joel Salatin, Ruth Stout, Carol Deppe, etc... but we have tweaked it and added our own ideas and made it work well for us. This method enables us to be a "no-till" farm; that's right! We have never had to use a tiller here, and our garden is about 1/2 acre in size now...
I hope you enjoyed this post, thanks for stopping by! If you found this helpful, feel free to re-steem!
All photos by @schoonercreek