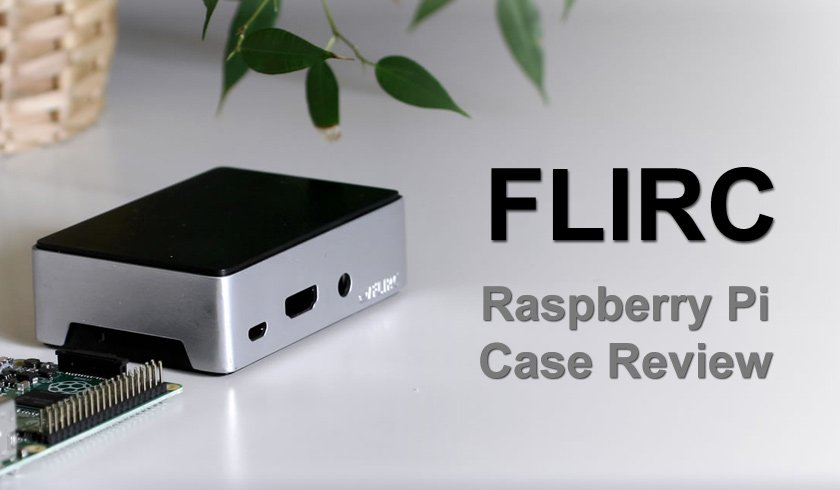
The Raspberry Pi is a great little gadget to have handy and use for various things. It is a compact, low power and very affordable solution for tasks that do not require too much computing power. The RPi is really great and I have been using it since the first generation came out a couple of years ago. The Raspberry is just a bare small computer board and it really needs a good case to help it look better and function problem free. I have used various cases over the years - official ones, unofficial ones made from different materials and have even 3D printed some cases myself. Last year I have discovered the Flirc Raspberry Pi Case and ever since I have been using one for my Raspberry Pi 2 and when this year the RPi 3 came out I got another case for it as well. Let me tell you why I simply love the Flirc case and why you should probably get one for RPi 2/3 as well...
The RPi Power and Heat Problem
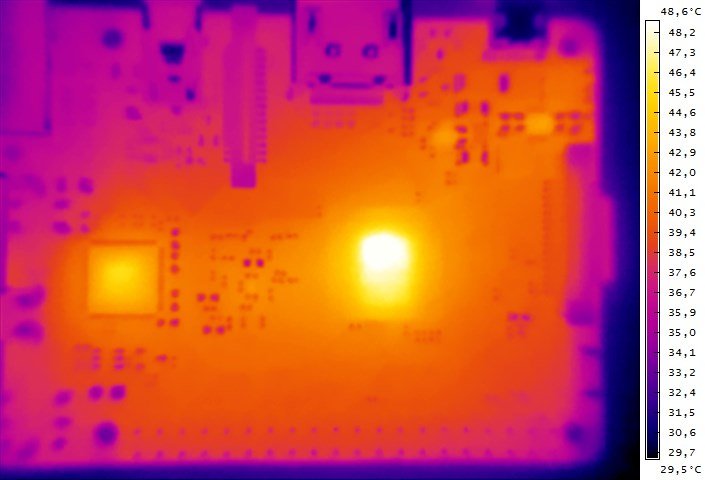
The Raspberry Pi boards are getting more powerful with each next generation and while that means more processing power available for your computing needs it also means more power used and more heat generated. This means that you need to add passive cooling solution in order to keep your RPi cooler when it is under load, especially if you keep it under load for longer periods of time. The issue with heat is more serious on the Raspberry Pi 3 than it was on the previous second generation, the Pi 3 can get up to about 40-50 degrees during normal operation and can heat even more under constant maximum load (see the thermal image of a Pi 3 board above).
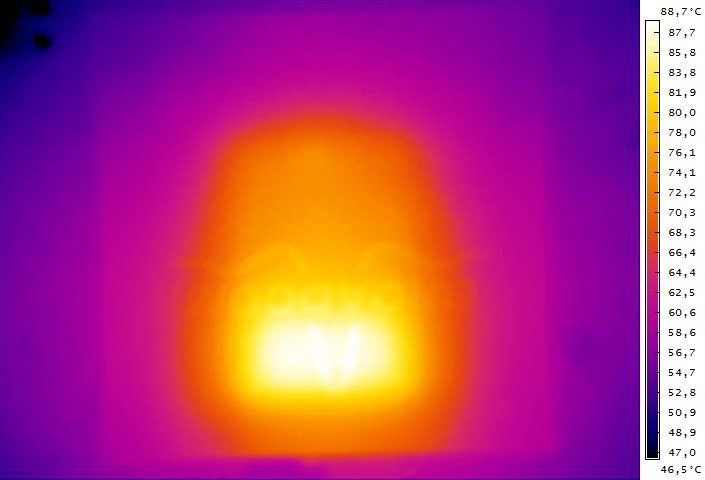
Here is an example with real tasks and the operating temperatures of the RPi 3. When it is decoding 1080p H.264 video the Broadcom processor is quickly reaching over 55 degrees Celsius, when it is without any additional form of cooling on the processor. If you try decoding a 720p H.265 video things get even hotter... all the way over 85 degrees Celsius as you can see on the thermal image of the Broadcom chip of a Raspberry Pi 3 that I have taken out of curiosity. While it will not actually overheat and burn out such high temperatures are definitely what you would want to be getting out of your RPi 3 when it is under load, regardless of what you are using it for - a processing unit or a multimedia center.
The Flirc Raspberry Pi Case to the Rescue
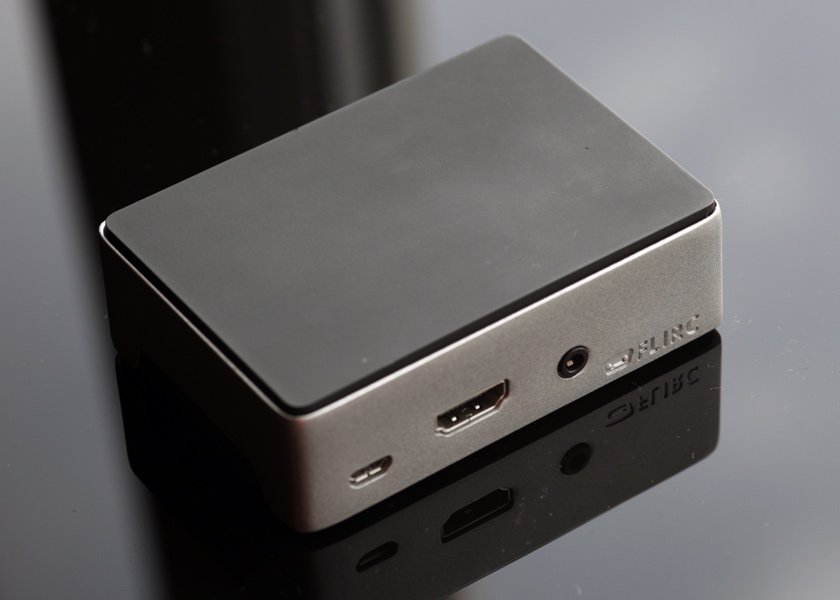
The Flirc Raspberry Pi case was designed as a good looking, functional and inexpensive case for Raspberry Pi users that want to turn the RPi board into a multimedia player with Kodi (the former XBMC) or other player. The best thing about it is that the case is officially being sold for just $14.95 USD, so it is good and yet really cheap for what you actually get. Not to mention that it is usable for pretty much whatever task you decide to utilize the RPi for. Let me get a bit more into details and you will see for yourself why I really like the case and find it very useful... and why I really do recommend that case for everyone using Raspberry Pi Model B 2/3
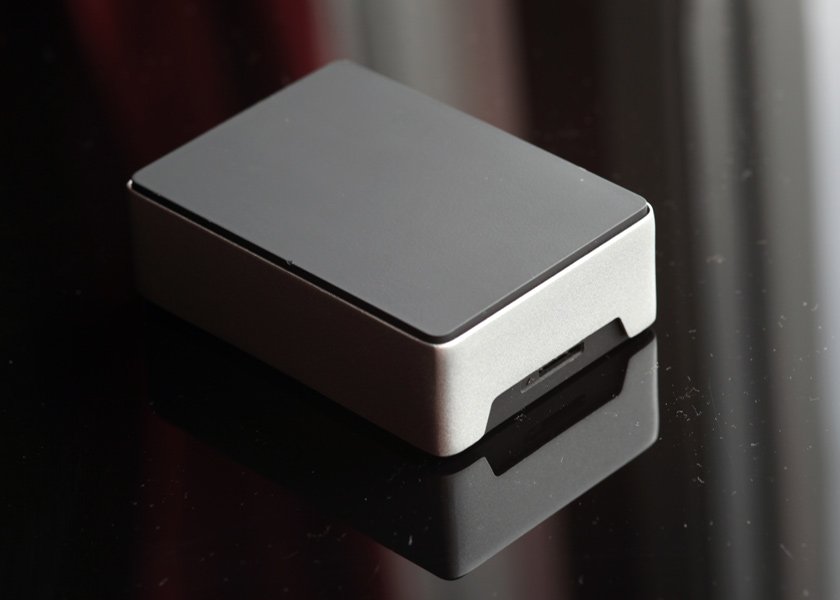
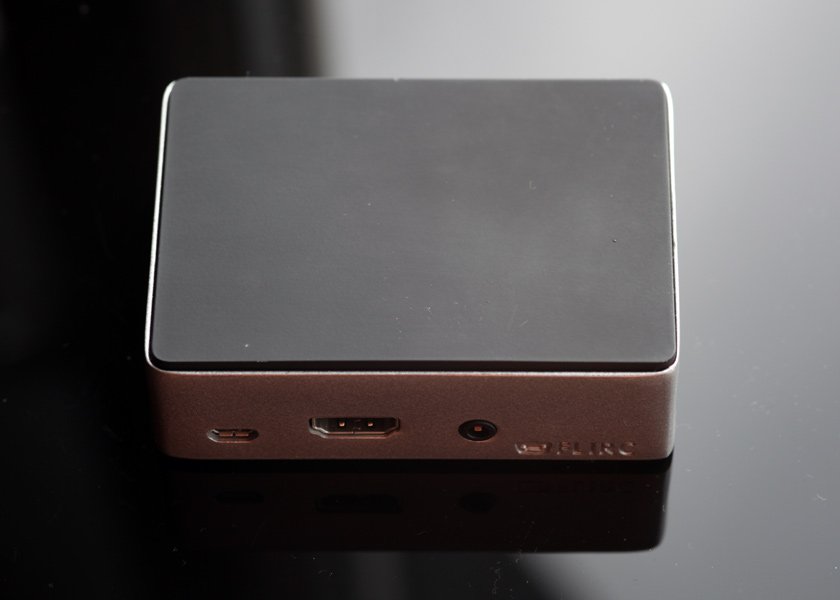
The Flirc case is really well made and great looking. The main parts of the case are made from aluminum and there are two plastic caps for the top and the bottom of the case. It is designed in a way that you have easy access to all of the features and extension ports and connectors of the RPi board. It is easy to assemble and disassemble if needed to, there are only four screws that make it a really simple task to install the Raspberry Pi board inside and get it up and running in no time. There is no need to disassemble the case if you need to change the SD flash card, it is accessible directly from the side of the case. Do note however that the card is a bit harder to remove on the RPi 3 as the spring unload mechanism of the SD flash card slot has been removed on the latest generation Pi boards.
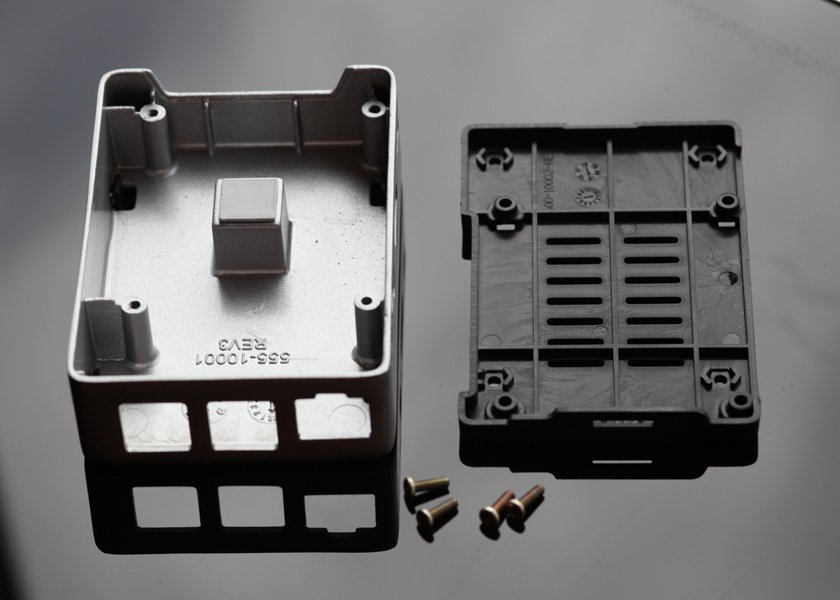
The Flirc case comes with the plastic top already assembled, so you need to only put the thermal pad install the RPi board inside and add the bottom plastic cover and use the four supplied screws to assemble everything together. Since the larger part so the case is made from aluminum and there is a dedicated "heatsink" that goes to cool the processor of the Raspberry Pi board you can be rest assured that the operating temperatures will be low even under high load. Essentially the whole aluminum construction of the case acts as a large heatsink.
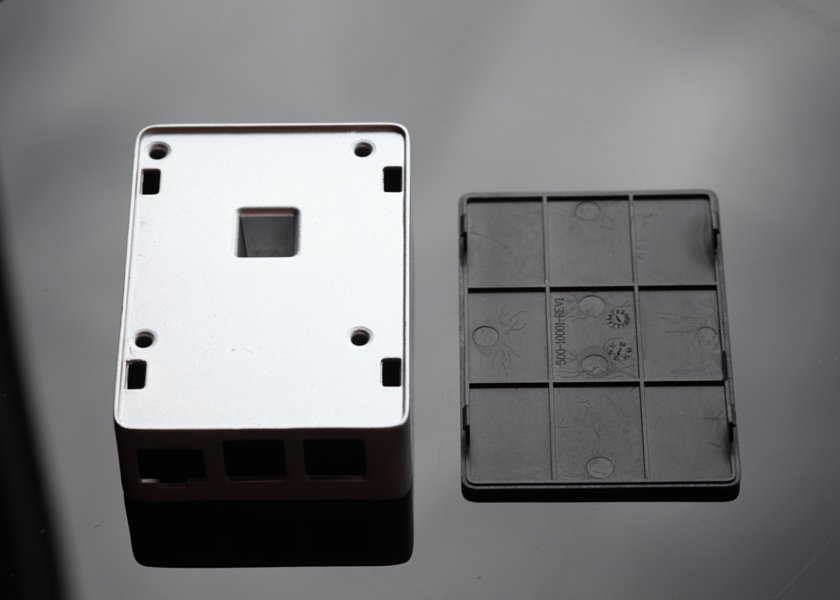
This is how the aluminum chassis of the case looks like with the plastic top removed, do note that the plastic top cover is only for decorative purposes as the case is solid aluminum on the top. Notice that the part that is in contact with the Broadcom processor of the Pi board is not solid, this way it is easier to spread the heat across the whole aluminum frame.
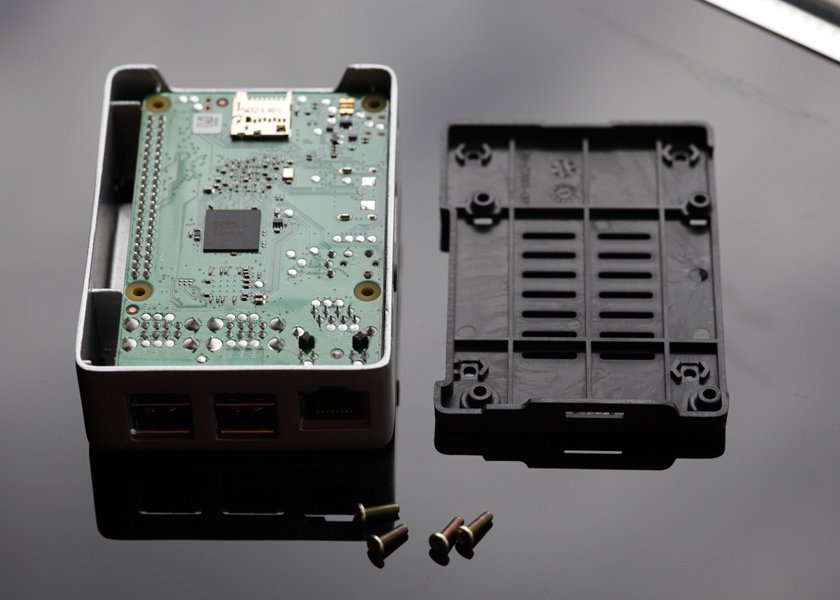
As I have already said the assembly is really easy and quick, just place the thermal pad add the RPi board, but the bottom plastic cover and tighten the four screws. 1-2 minutes assembly time and no manual needed to make it work, then just plug in the power and the network cables and you are ready to start using your RPi.
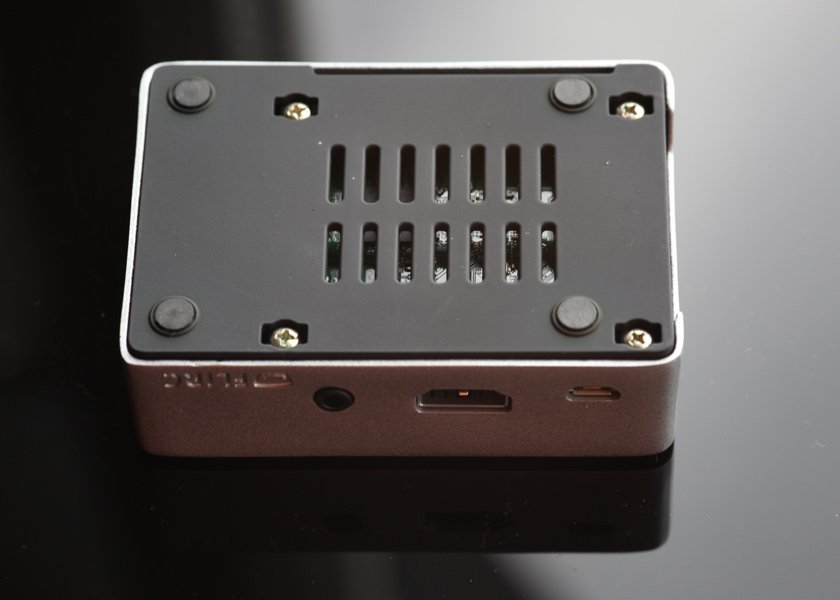
The bottom plastic cover is designed so that it has openings for ventilation, there are small rubbery feet to make the case non slippery as well as to raise it a bit so there is enough room for the hot air to circulate. There is also a small opening available for anyone who might be using the GPIO pins to connect something, you can route the cables easily out of the case and have them attached to something else.
The Conclusion
The Flirc Raspberry Pi Case is nice looking, easy to use, improves the cooling, does not prevent you from using easily any of the features of the Pi board and comes at a surprisingly low price for what you get. What more can you want from an RPi case? It is much better than any plastic cases and not a lot more expensive than most of them anyway. The operating temperatures are in the 30-40 degrees Celsius range under heavy load, load that previously really skyrocketed the temperature without any additional cooling as you can see on the thermal images I took of the Pi 3's quad core processor and posted here. The design of the case allows for easy stacking of multiple devices on top of each other without affecting the proper cooling that the case provides.
There are some specifics regarding the use of the case for the newer Raspberry Pi 3, though not much of an issue, you just need to be aware of these. Thanks to not being fully metal you should still be able to use the wireless functionality of the RPi 3 just fine, though there could be small reduction in the range of the built-in WiFi and Bluetooth. The LED indicators have been moved on the PCB of the new Pi 3, so they may not be as easy to be monitored as on the Pi 2. The lack of spring mechanism of the SD slot on the Pi 3 also makes removing the SD flash card a bit harder by hand. In general it is fully functional for RPi 3 as well as RPi 2 Model B+. Do note that earlier RPi generations did have some variations that mostly affect the external connectors, so make sure you have the correct model that will work fine with the case.
Do note that the RPi board on the photos is the second generation as I'm currently using my RPi 3 and could not disassemble it to take photos, though there are not that much differences in the board design and look between the two.
If you have a question or want to add something, then please leave a comment below.
Did you like what you have just read? Check my other posts on steemit @cryptos
