If you haven’t tried sprouts yet, then it’s about time you start to enjoy their nutritional benefits and flavor. Not many people are aware that sprouts are one of the best nutrient-dense foods our planet has on offer… and they are delicious and super easy to grow!
Compared to the veggies they produce, sprouts contain up to 30 times more nutrients. They are packed with life, adding vitamins, minerals, proteins, fiber, amino acids, and oxygen. Our body needs those building blocks to function properly and protect it against toxins we are exposed to every day!
Furthermore, beans, grains, seeds, and legumes contain enzyme inhibitors and phytic acid in the outer layer to protect them from being eaten. As a result, the are hard to digest. When you soak, ferment or sprout them, these compounds or anti-nutrients will be neutralized.
When we sprout beans, grains, seeds or legumes, many beneficial phytonutrients will be produced and it also breaks down the gluten and other proteins that are harder to digest.
While our grandparents and their parents were probably familiar with sprouting, somewhere down the line people got scared of producing their own sprouts due to foodborne illnesses.

Should sprouting scare you?
Like any raw (or lightly cooked) fresh produce, sprouts can carry a risk of foodborne illness. To sprout grains, seeds, and beans you need warm and humid conditions. Unfortunately, these conditions are also the perfect breeding ground for bacteria.
Since 1996, there have been 30 reported outbreaks of foodborne illness associated with different types of raw and lightly cooked sprouts. Most of them came from places where they were mass produced. I’m not saying that you can’t have contaminations when you grow your own, but chances are pretty slim if you take some preventative measures… which are actually nothing more than working with clean materials and rinsing with clean water.
Furthermore, if you think of it, 30 outbreaks in 20 years is quite alright if you compare that with the number of people who get sick from other types of food.
Step-by-step sprouting tutorial
Most seeds, legumes, pulses, grains and some nuts can be sprouted. Since the benefits of eating sprouts have reached many people, stores are now selling expensive packets of sprouting seeds or sprouting systems or boxes.
Forget about them. A jar with a lid and a few holes is the cheap and easy option
The only thing you need is a (Mason) jar with a lid and normal seeds, grains, legumes from the supermarket or health store. They will sprout just fine for a fraction of the price. Nuts will be harder to sprout because some of them are pasteurized or treated with heat.
But let’s start sprouting! That's what we are here for!
1. Choose your bean, seed, or grain (or use more jars and do them all)
They all use the same sprouting process. I used mung beans for this tutorial but feel to experiment and use whatever you like or have at hand!
Examples
– Adzuki beans
– Mung beans
– Red/green lentils
– Chickpeas
– Green beans
– Fenugreek seeds
– Quinoa
– Buckwheat
– Alfalfa seeds
– Broccoli Seeds
Soaking times / rinsing and sprouting times:
– Adzuki beans (12 h / 3-4 days)
– Fenugreek (6 h /3-4 days)
– Chickpea (12 h / 3 days)
– Lentils (8 h / 3 days)
– Mung beans (8-12 h /3 days)
– Buckwheat (3 h / 1 day)
– Quinoa (3 h / 1 day)
– Alfa Alfa (5 h / 5-6 day)
– Broccoliseeds (5 h / 5-6 day)
2. Prepare your material
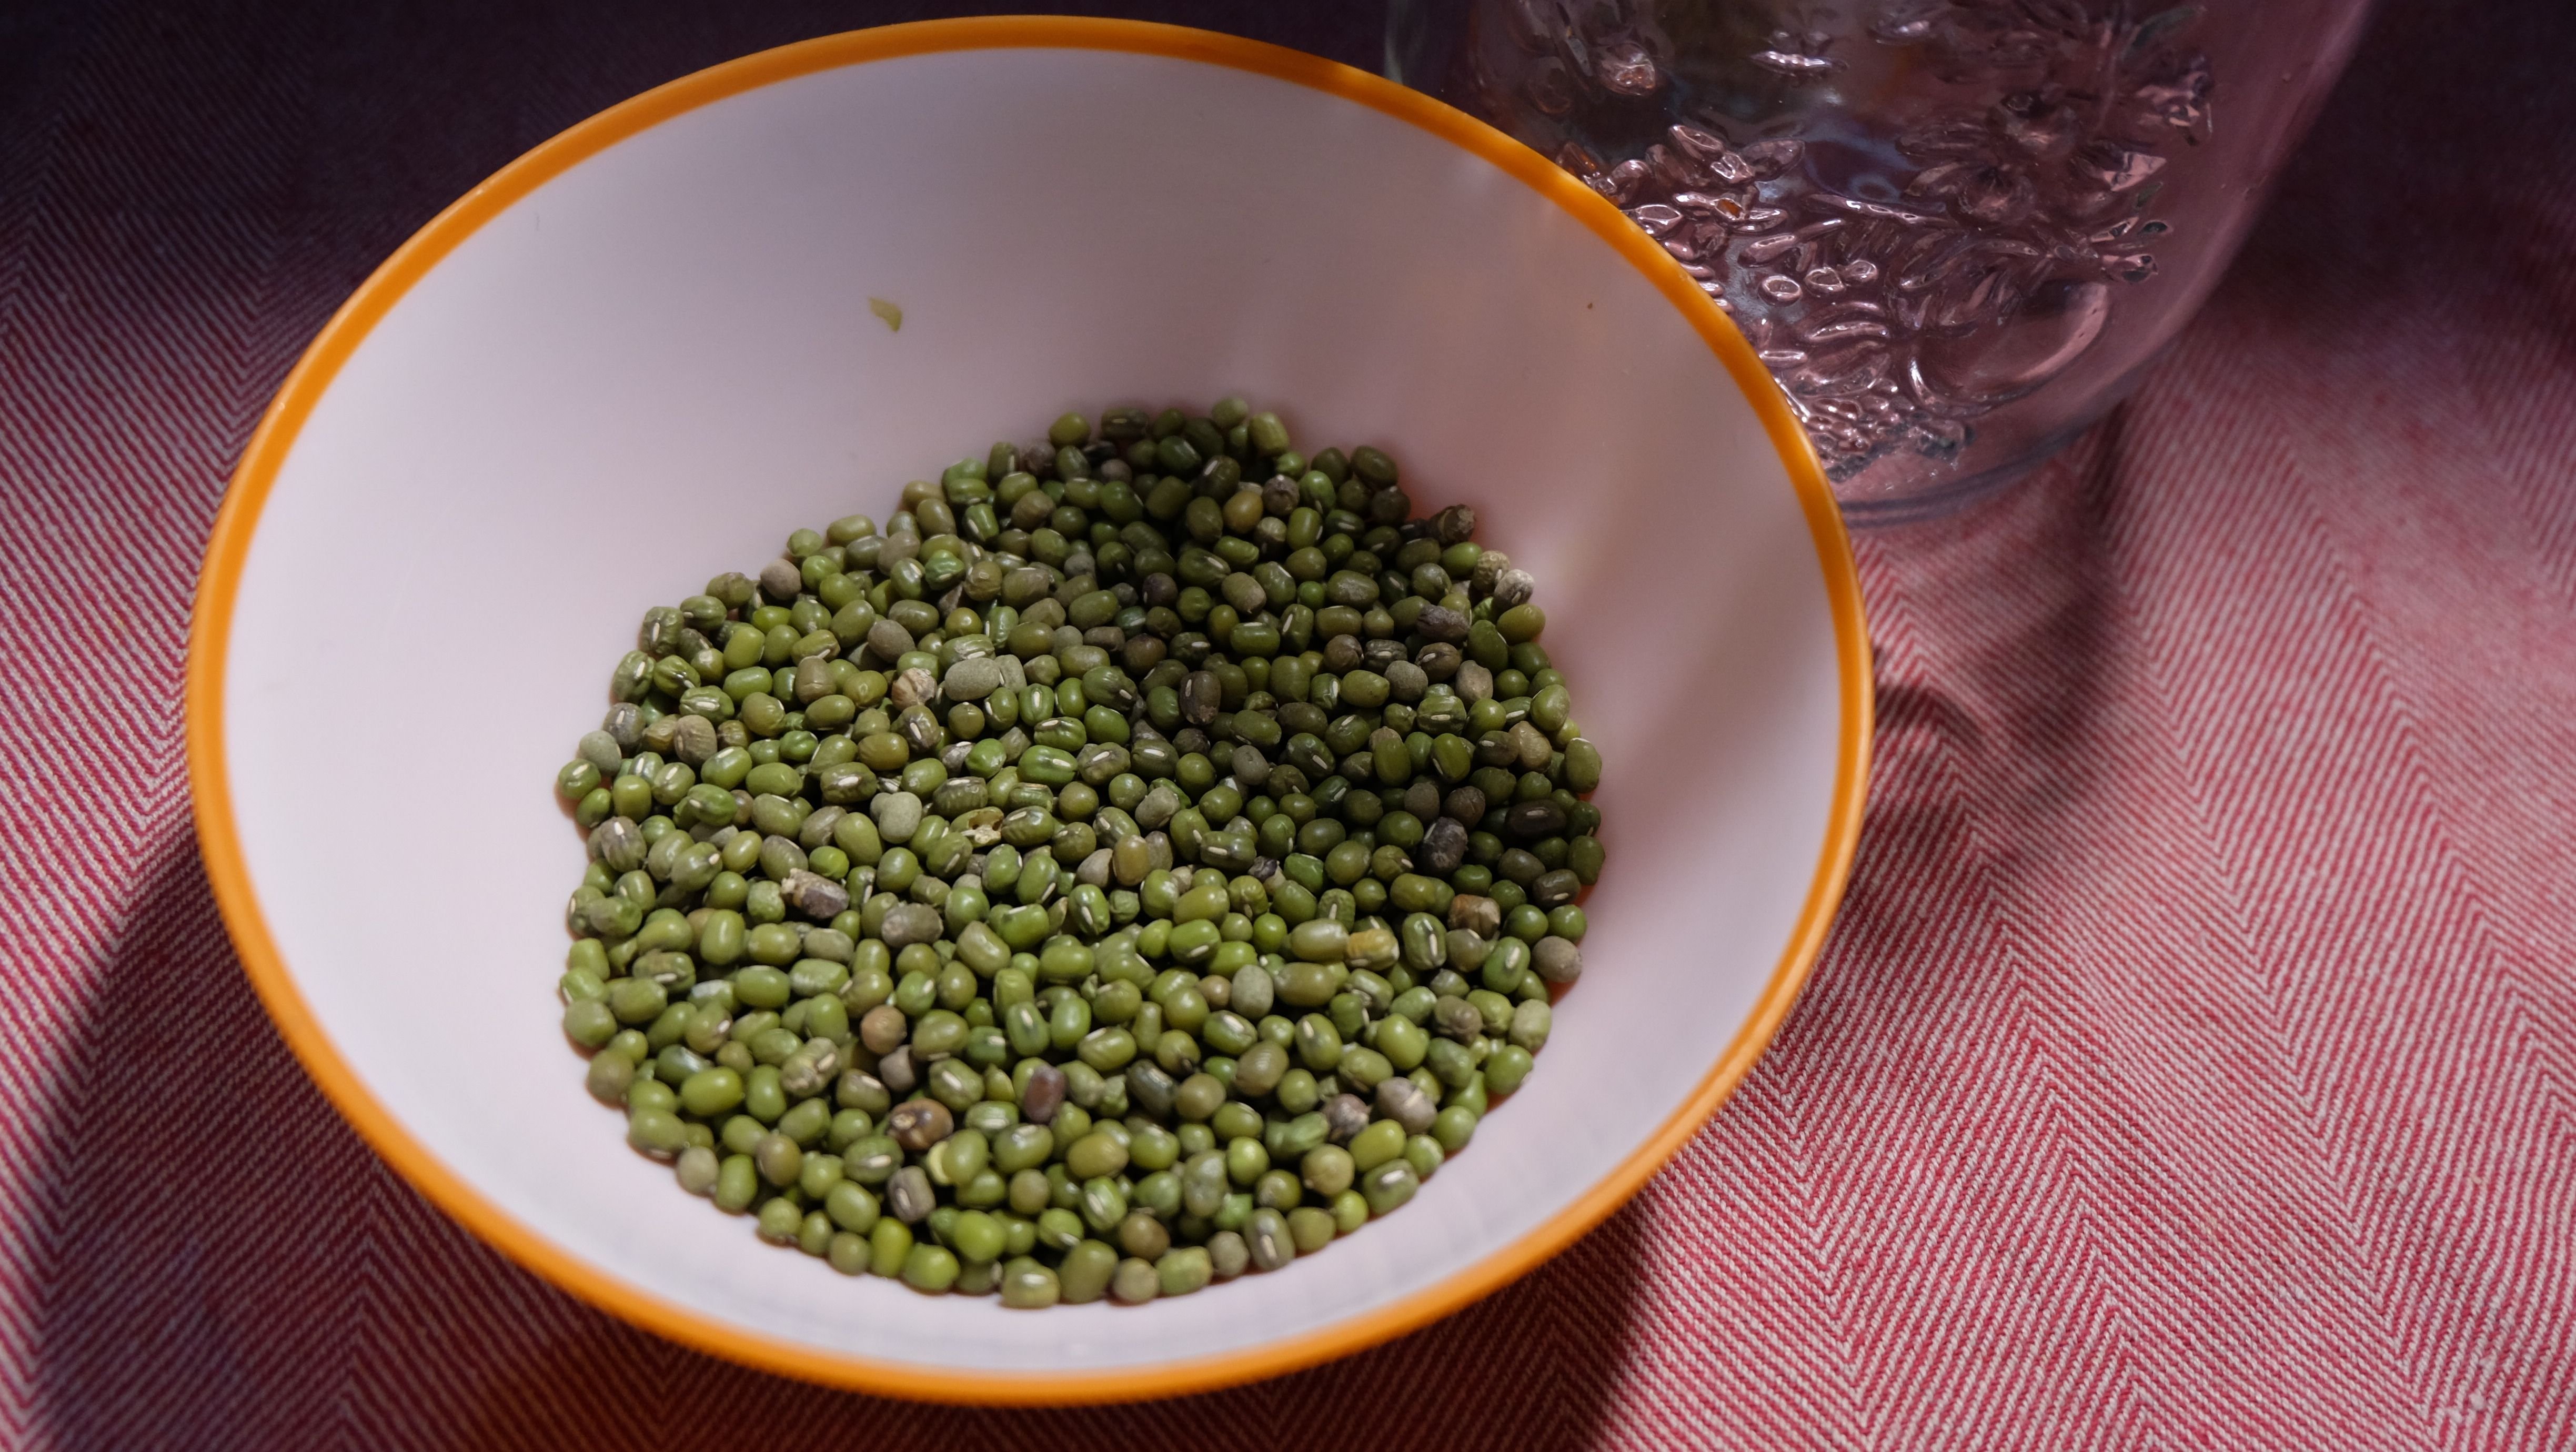
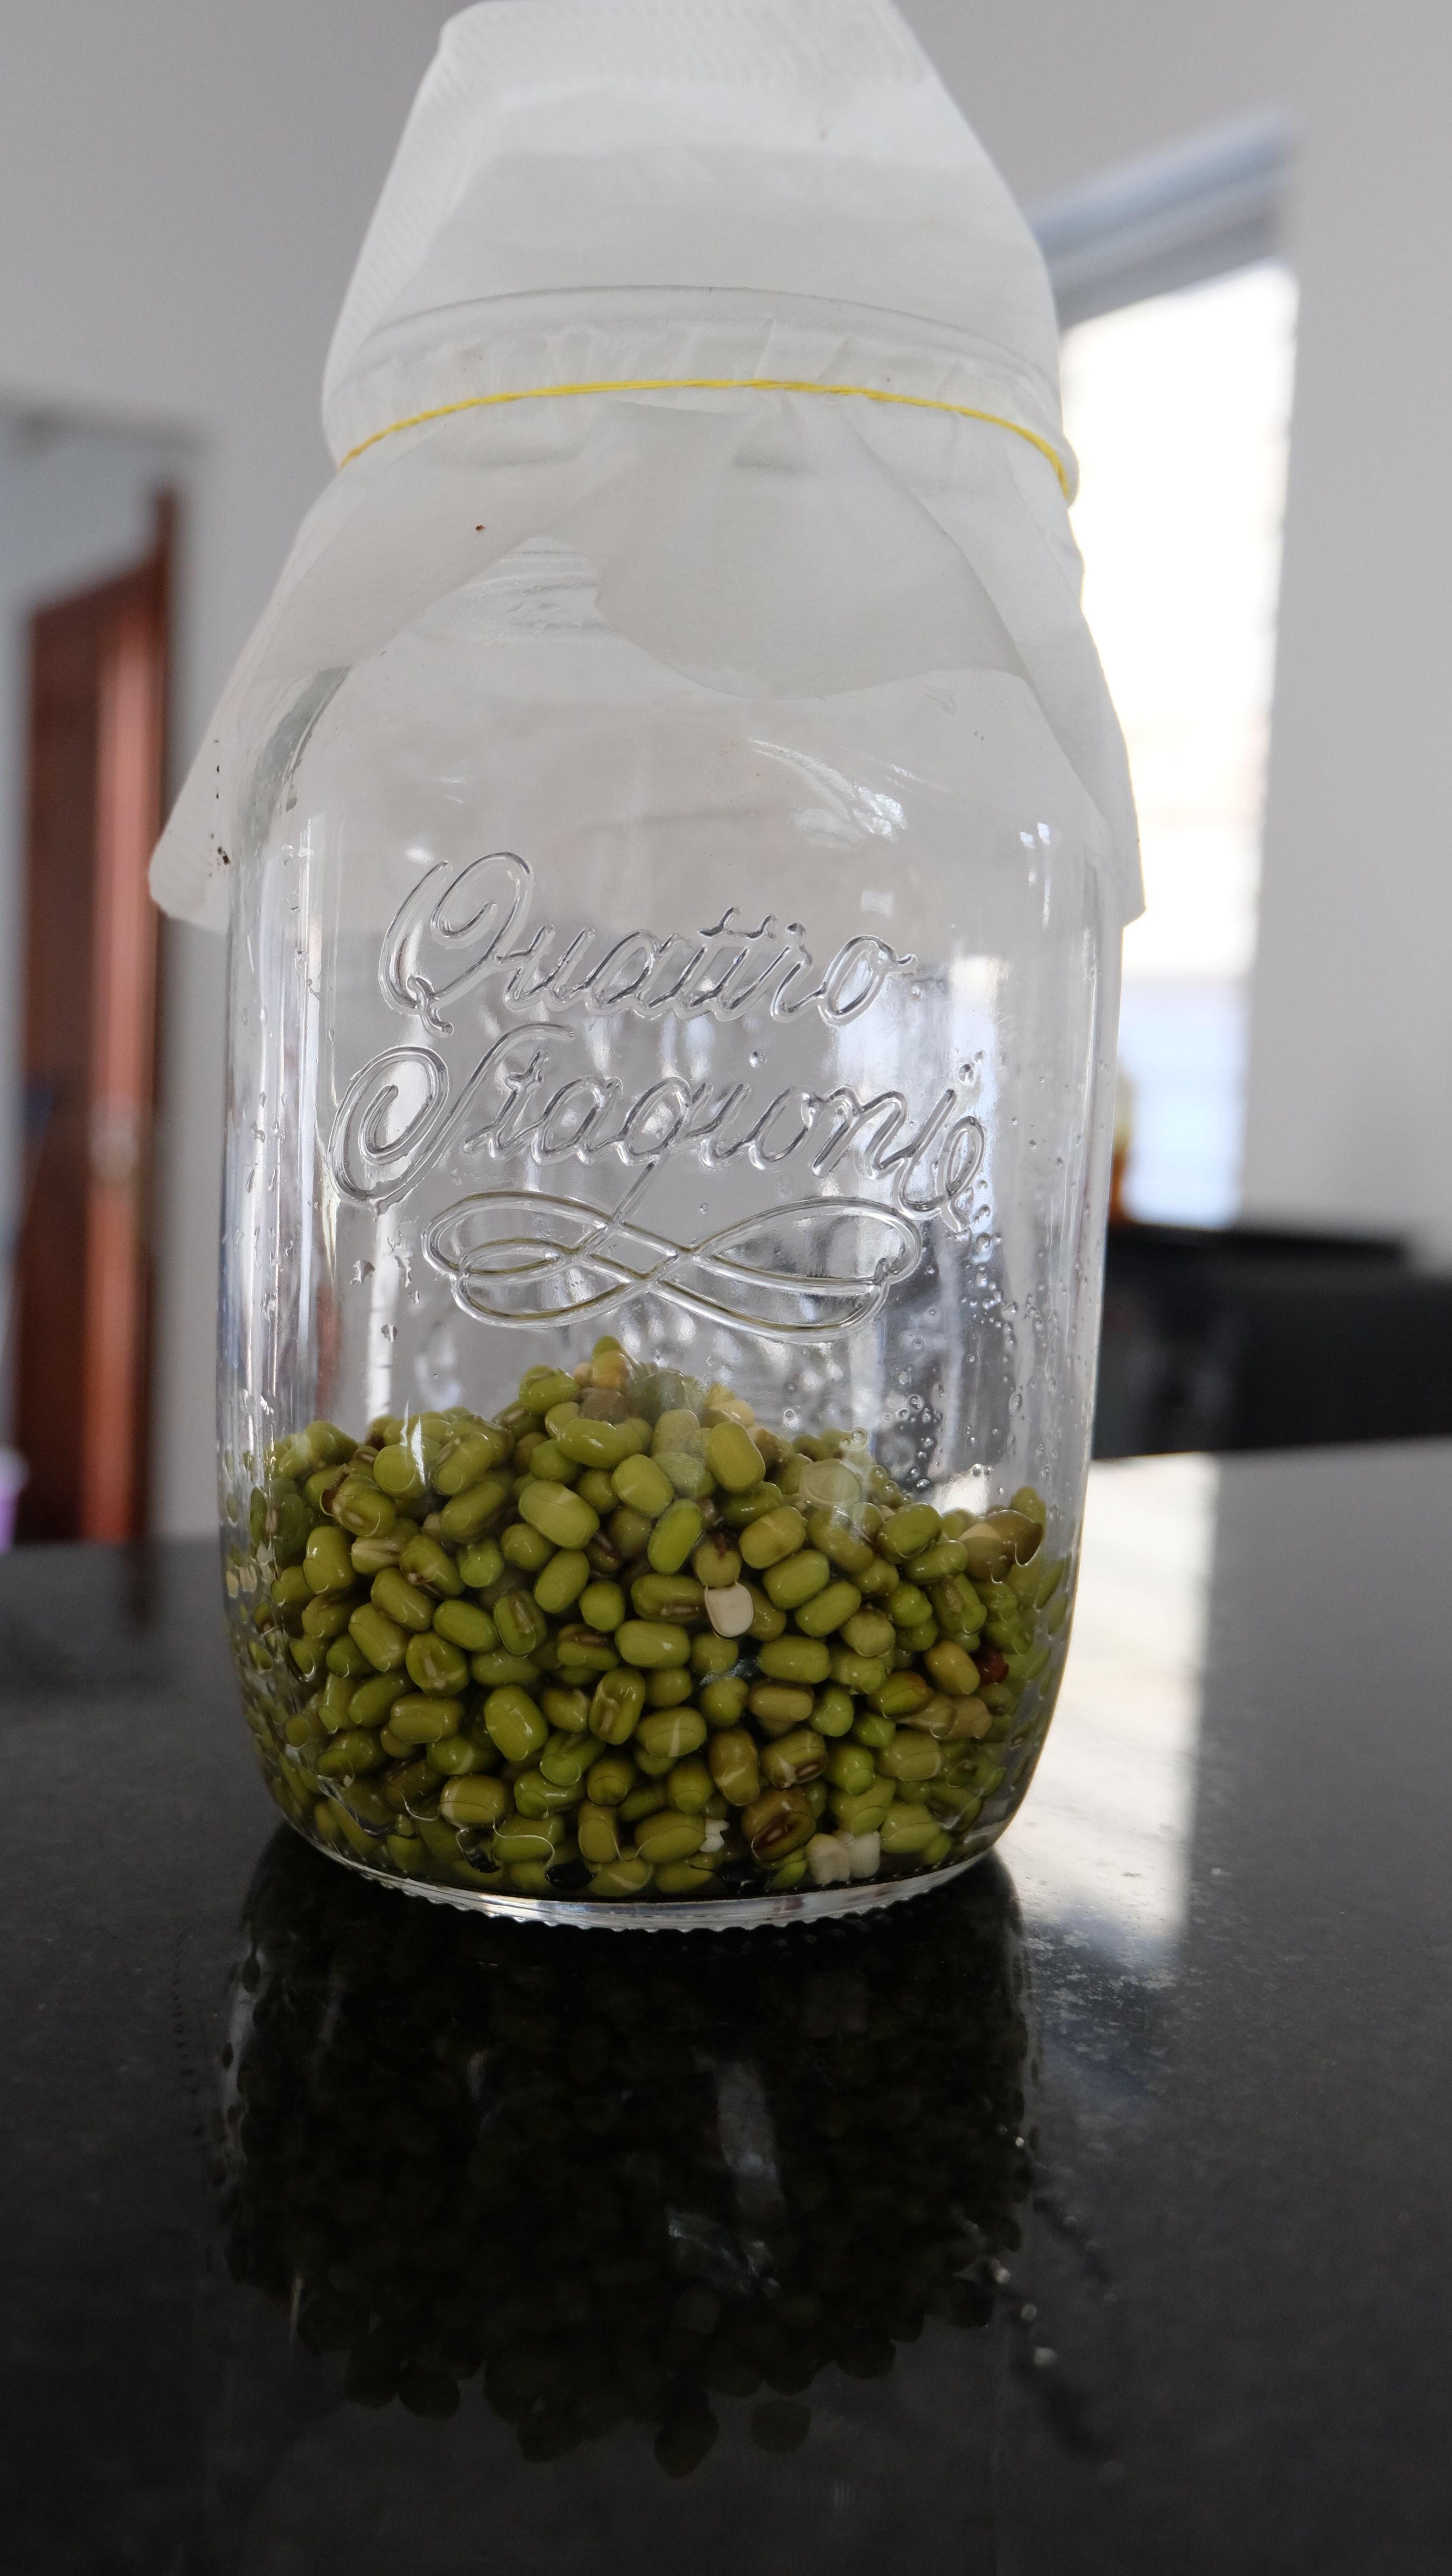
Make a few holes in the lid of the jar. Rinse the jar thoroughly with hot water. I used a quart jar (32 ounces) jar and 1/4 to 1/2 cup dried mung beans. This fills the jar to the brim with sprouts. To give you an idea sprouts can become 10 to 15 times their volume.
Rinse seeds, grains, legumes thoroughly with water.
3. Soaking process
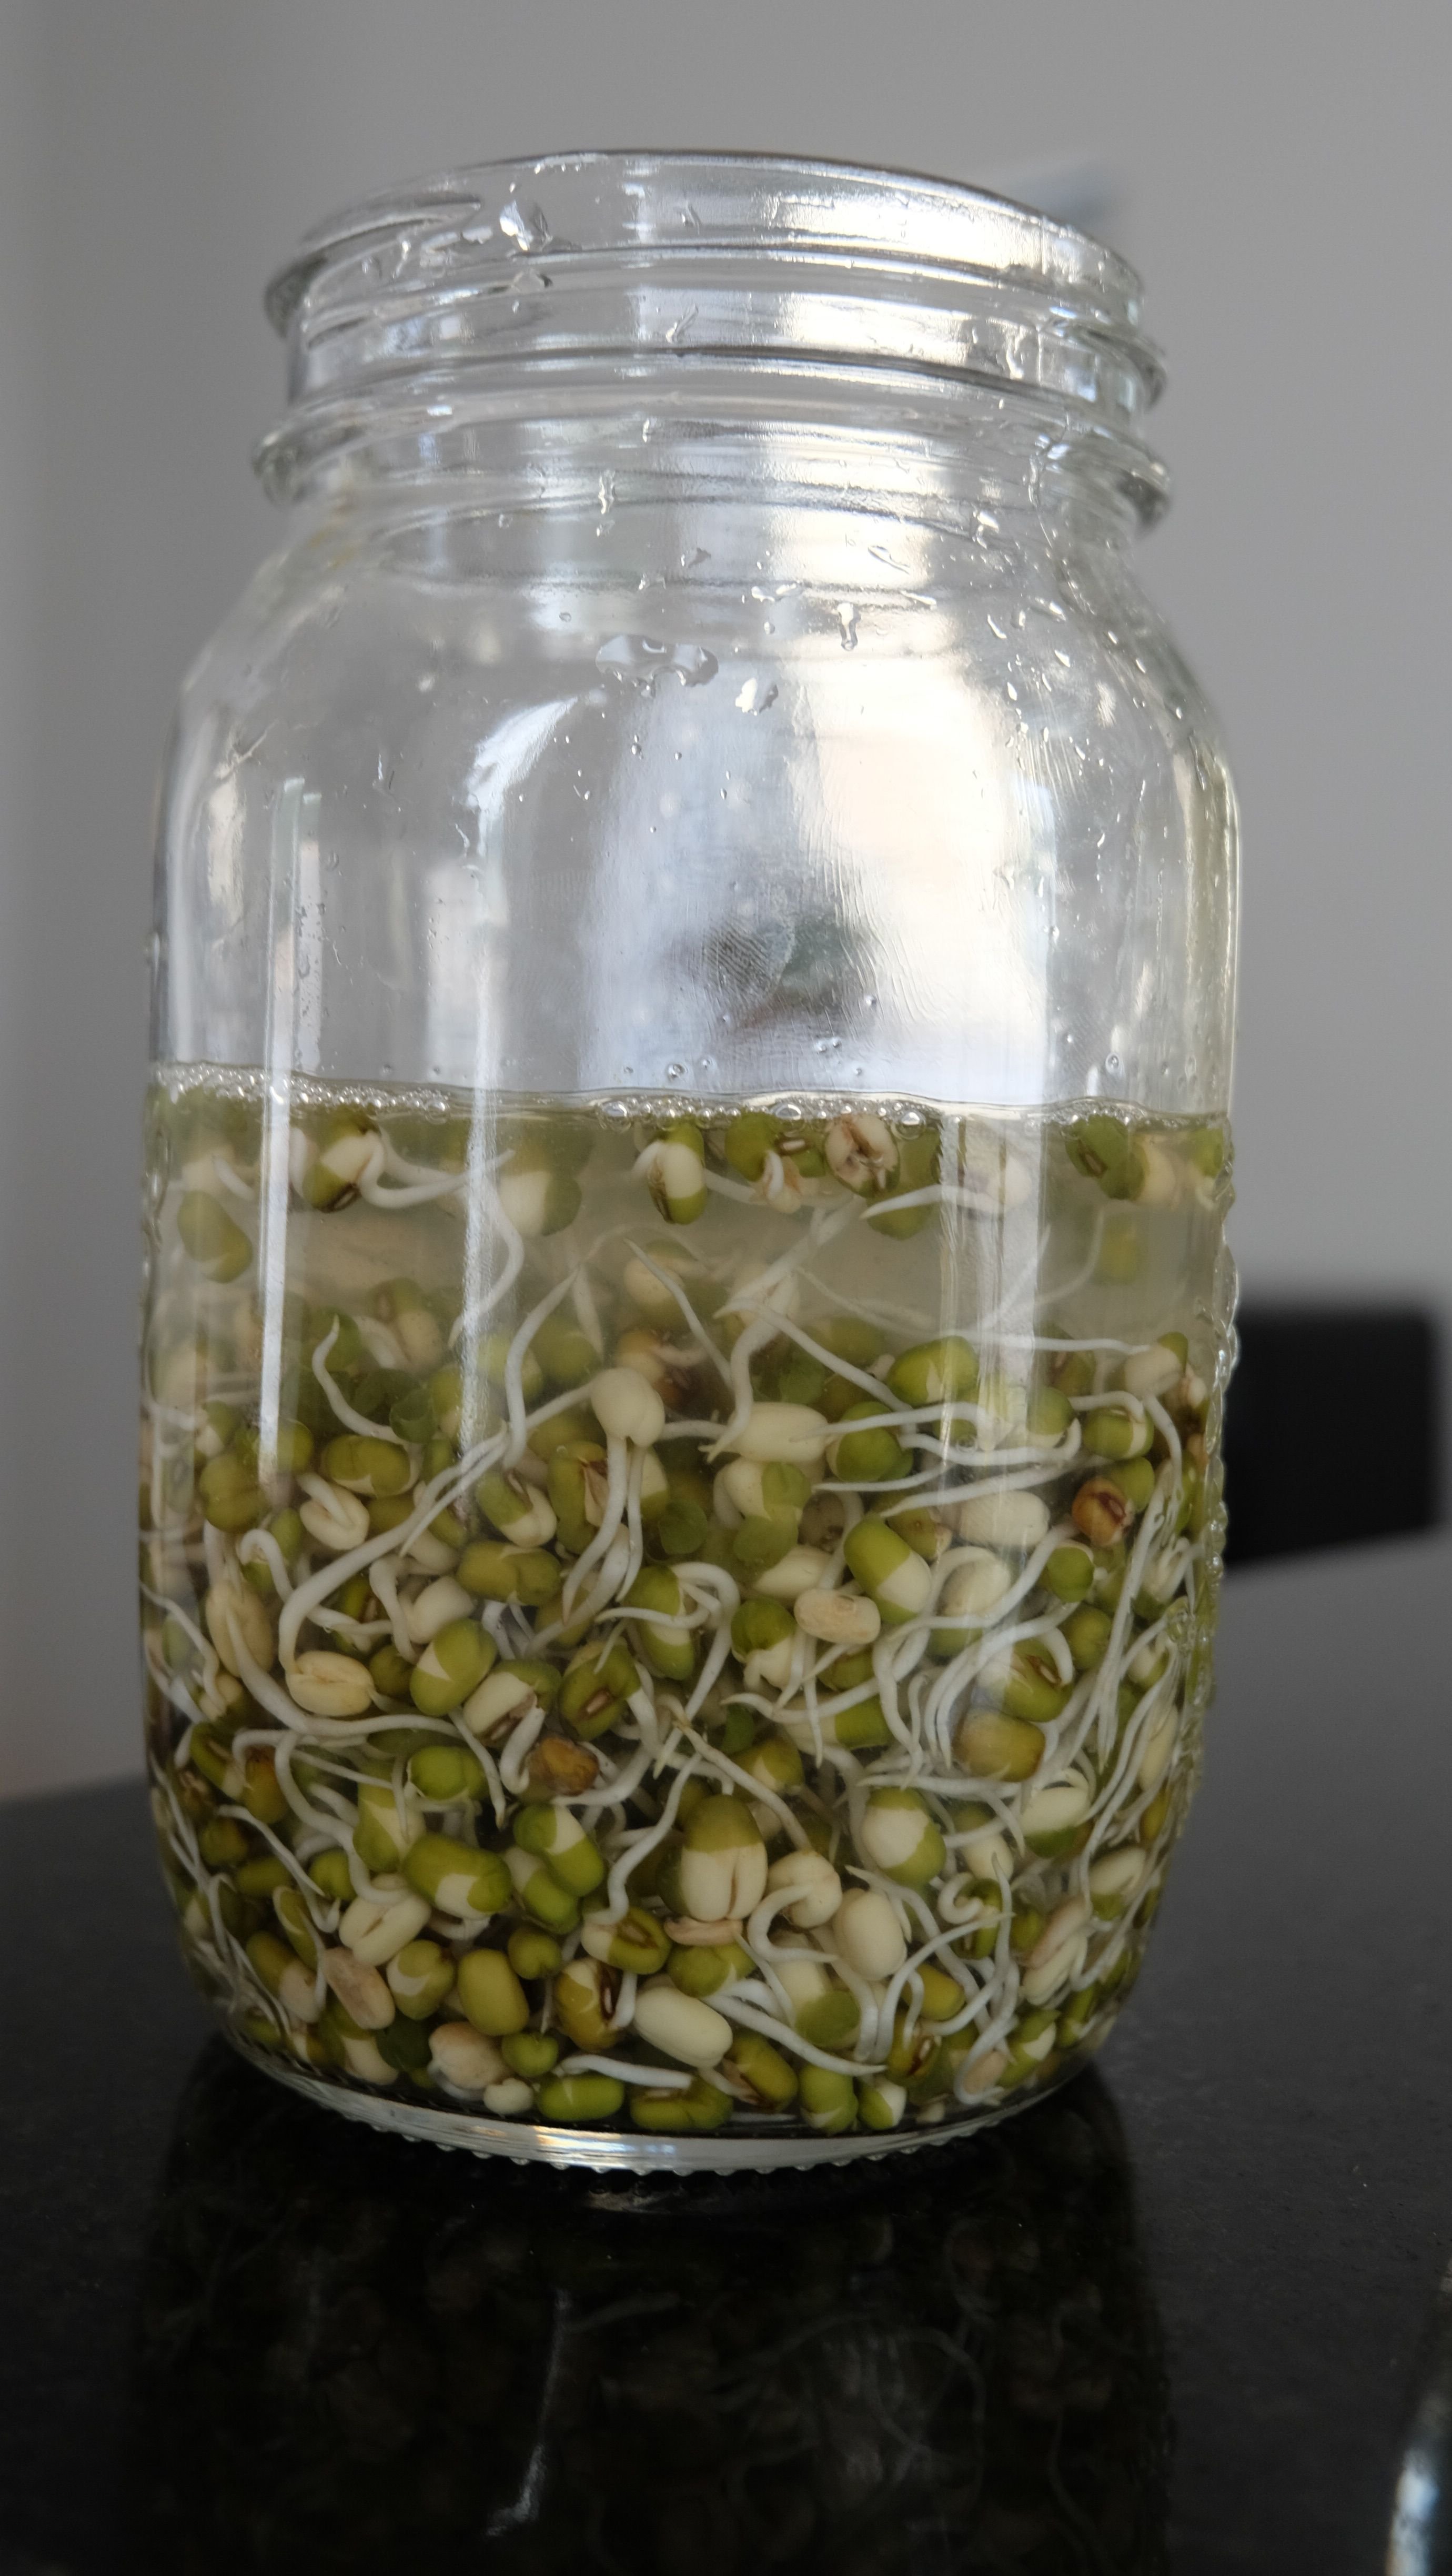
Put the seeds, grains or beans in the jar and add FILTERED water at room temperature. Take 3 times more water than seeds, grains or beans (they will increase in volume while they soak).
FYI: For better soaking results, soak them in hot filtered water (40°C or 104°F). Mung or adzuki beans can be soaked at room temperature.

Before soaking
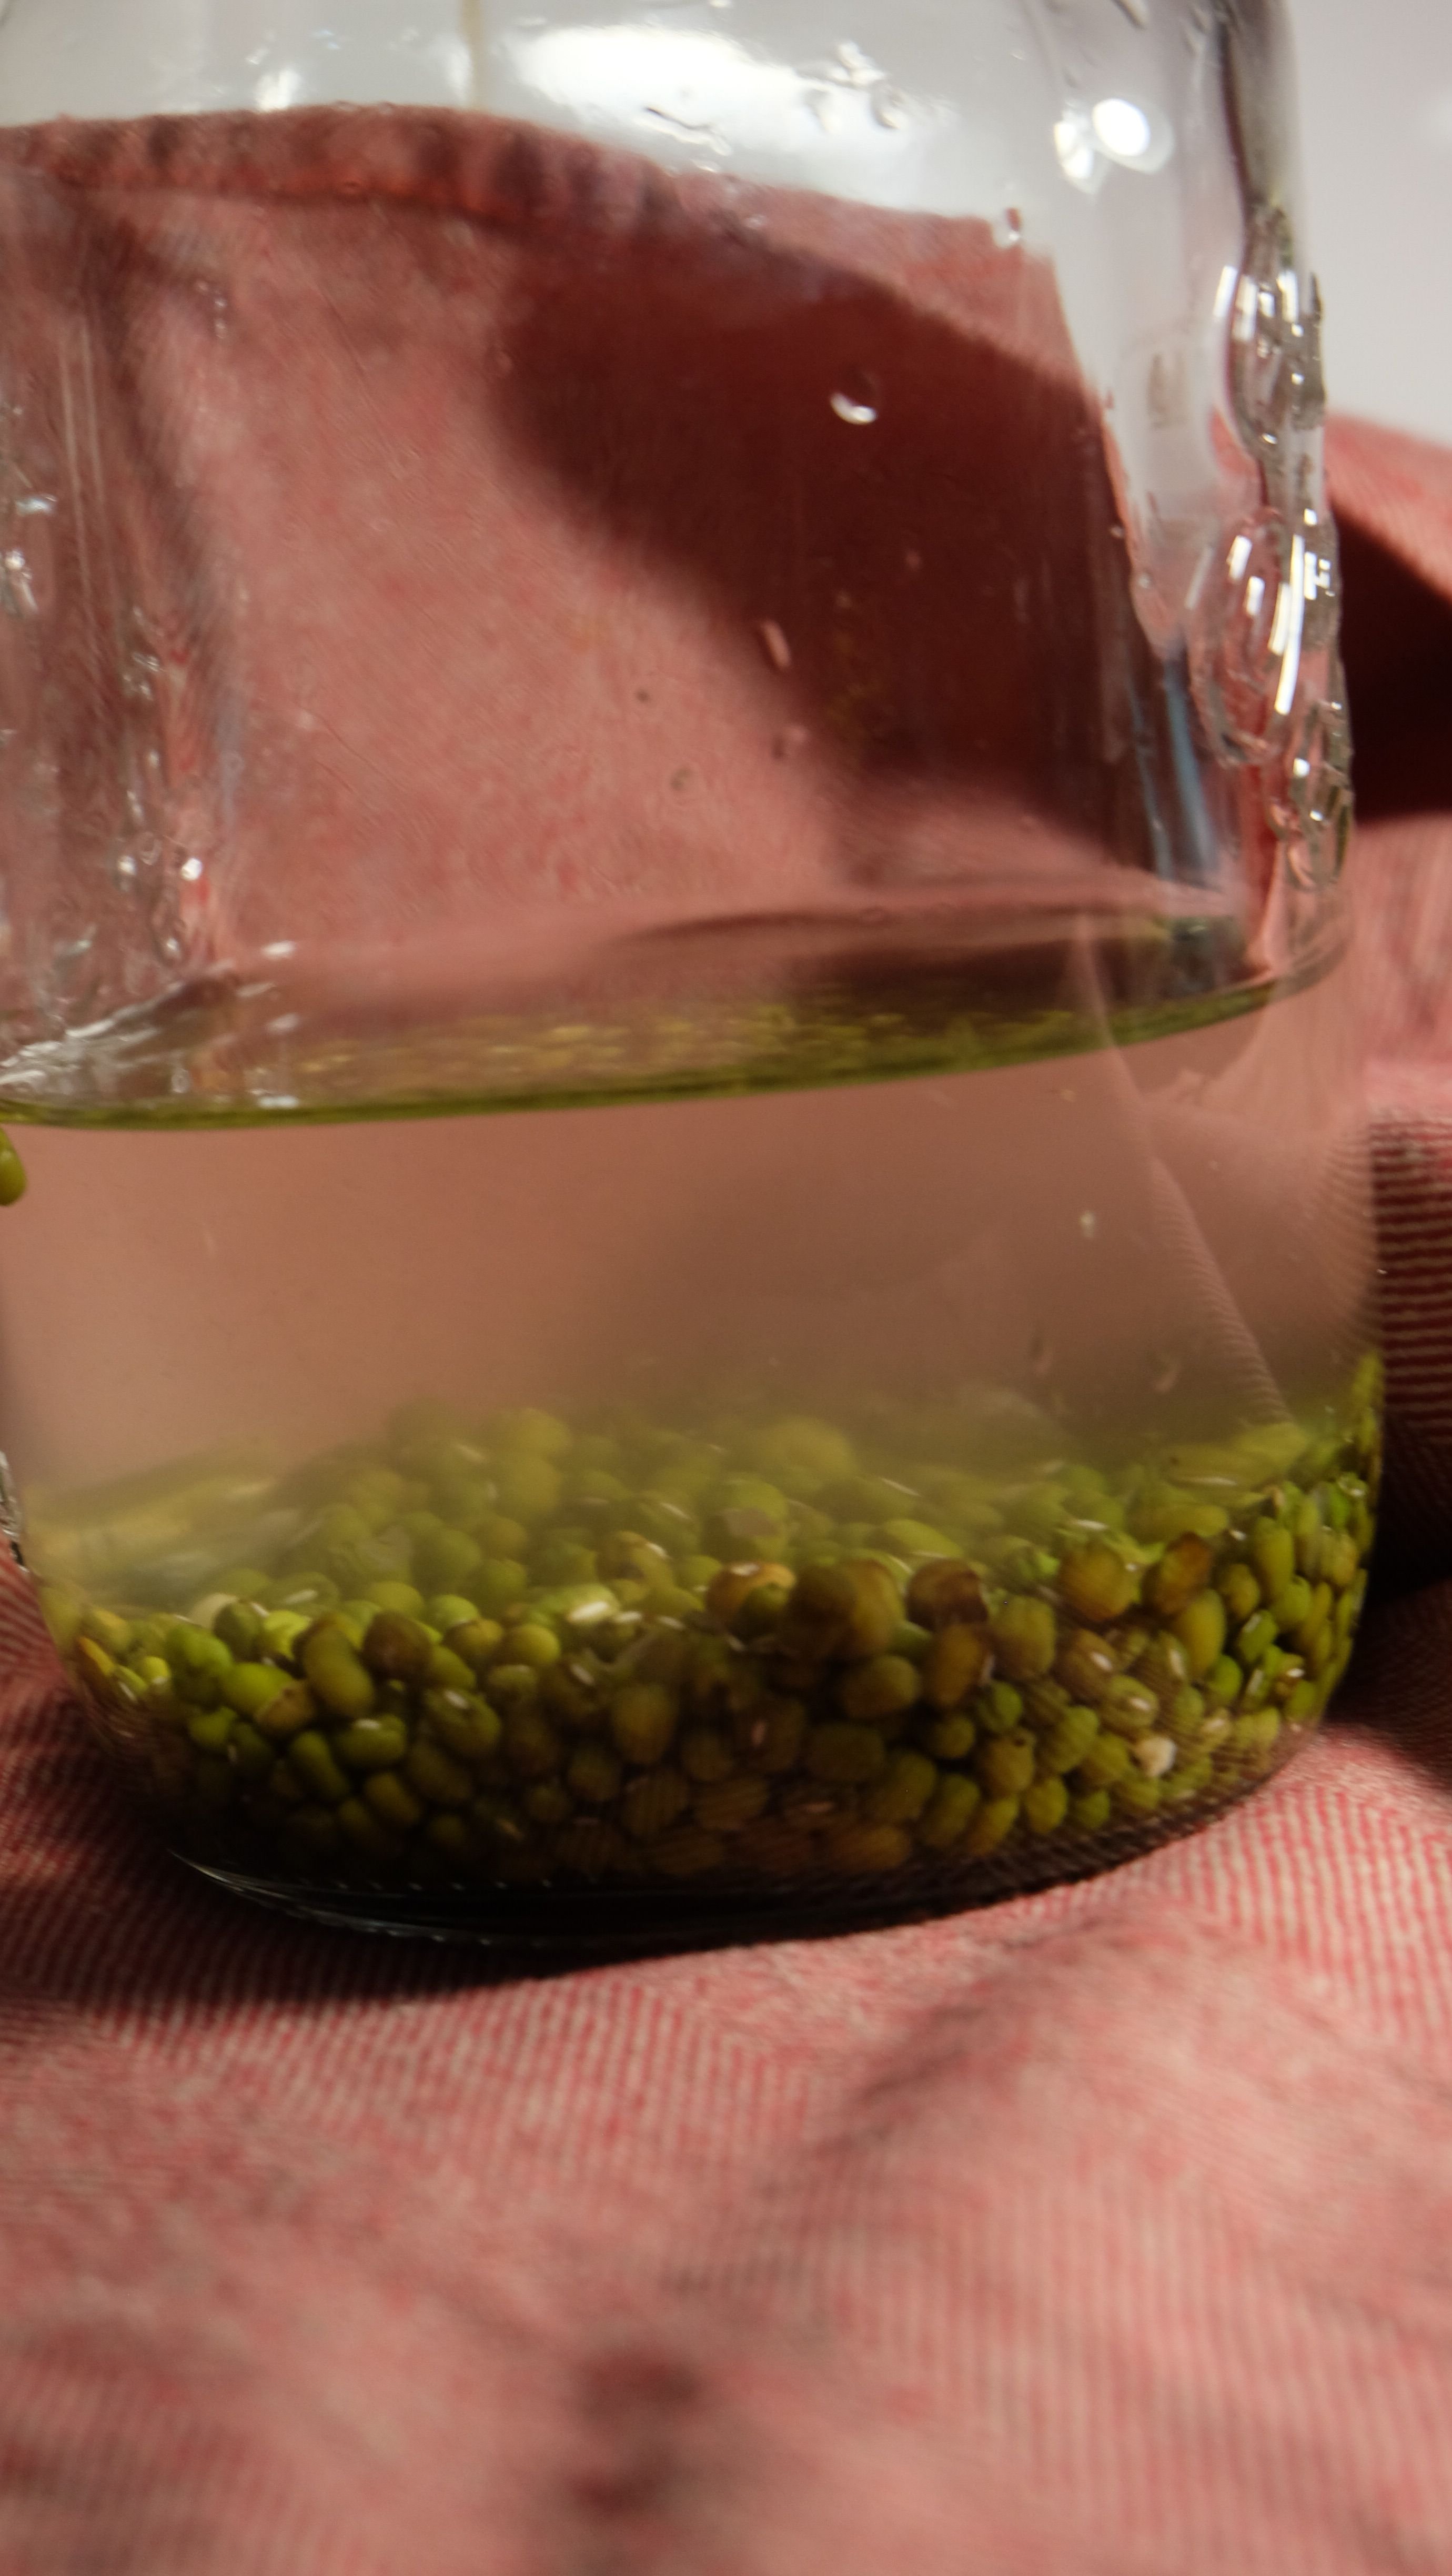
After soaking
4. Dark time
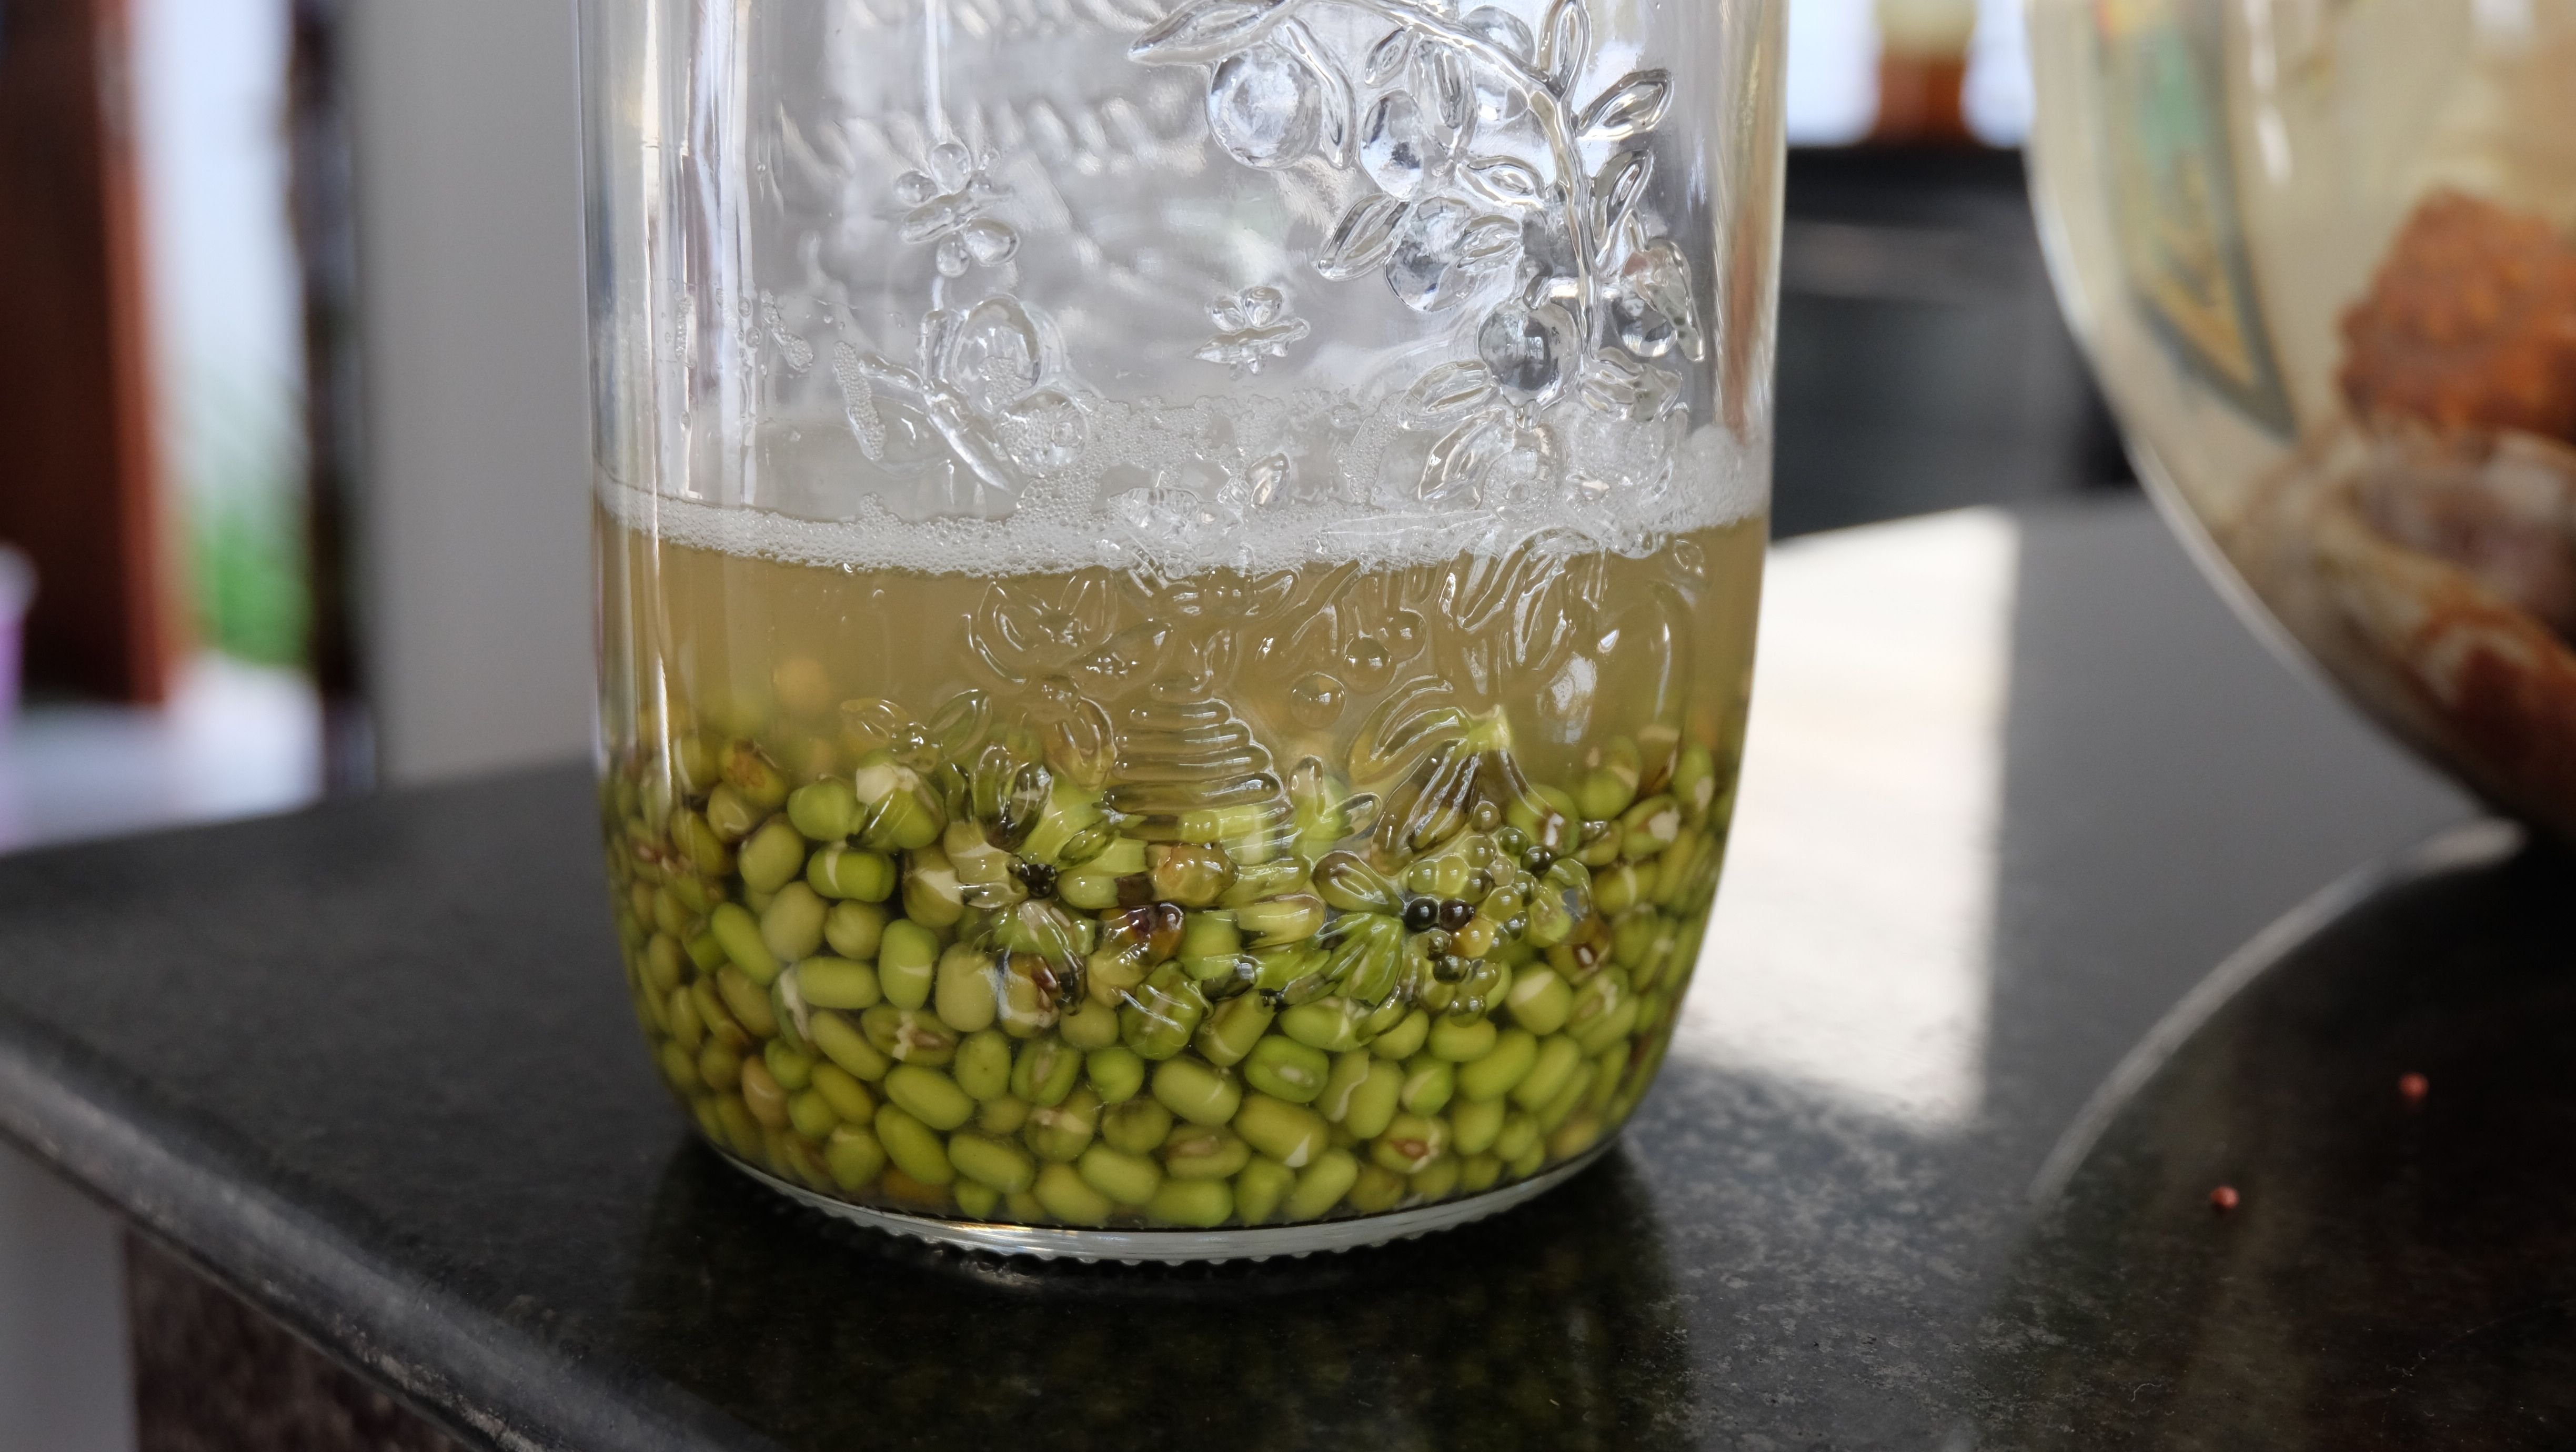
Depending on the type of seed, grain or legume (see above), drain water and rinse them with filtered water after a few hours of soaking and put them back in the jar without water. Put the jar in a closet or somewhere dark for 24 hours. Make sure to pick a warm spot. Don't close the jar with a lid, cover it with thin a fabric or coffee filter. Use a rubber band to hold it in place.
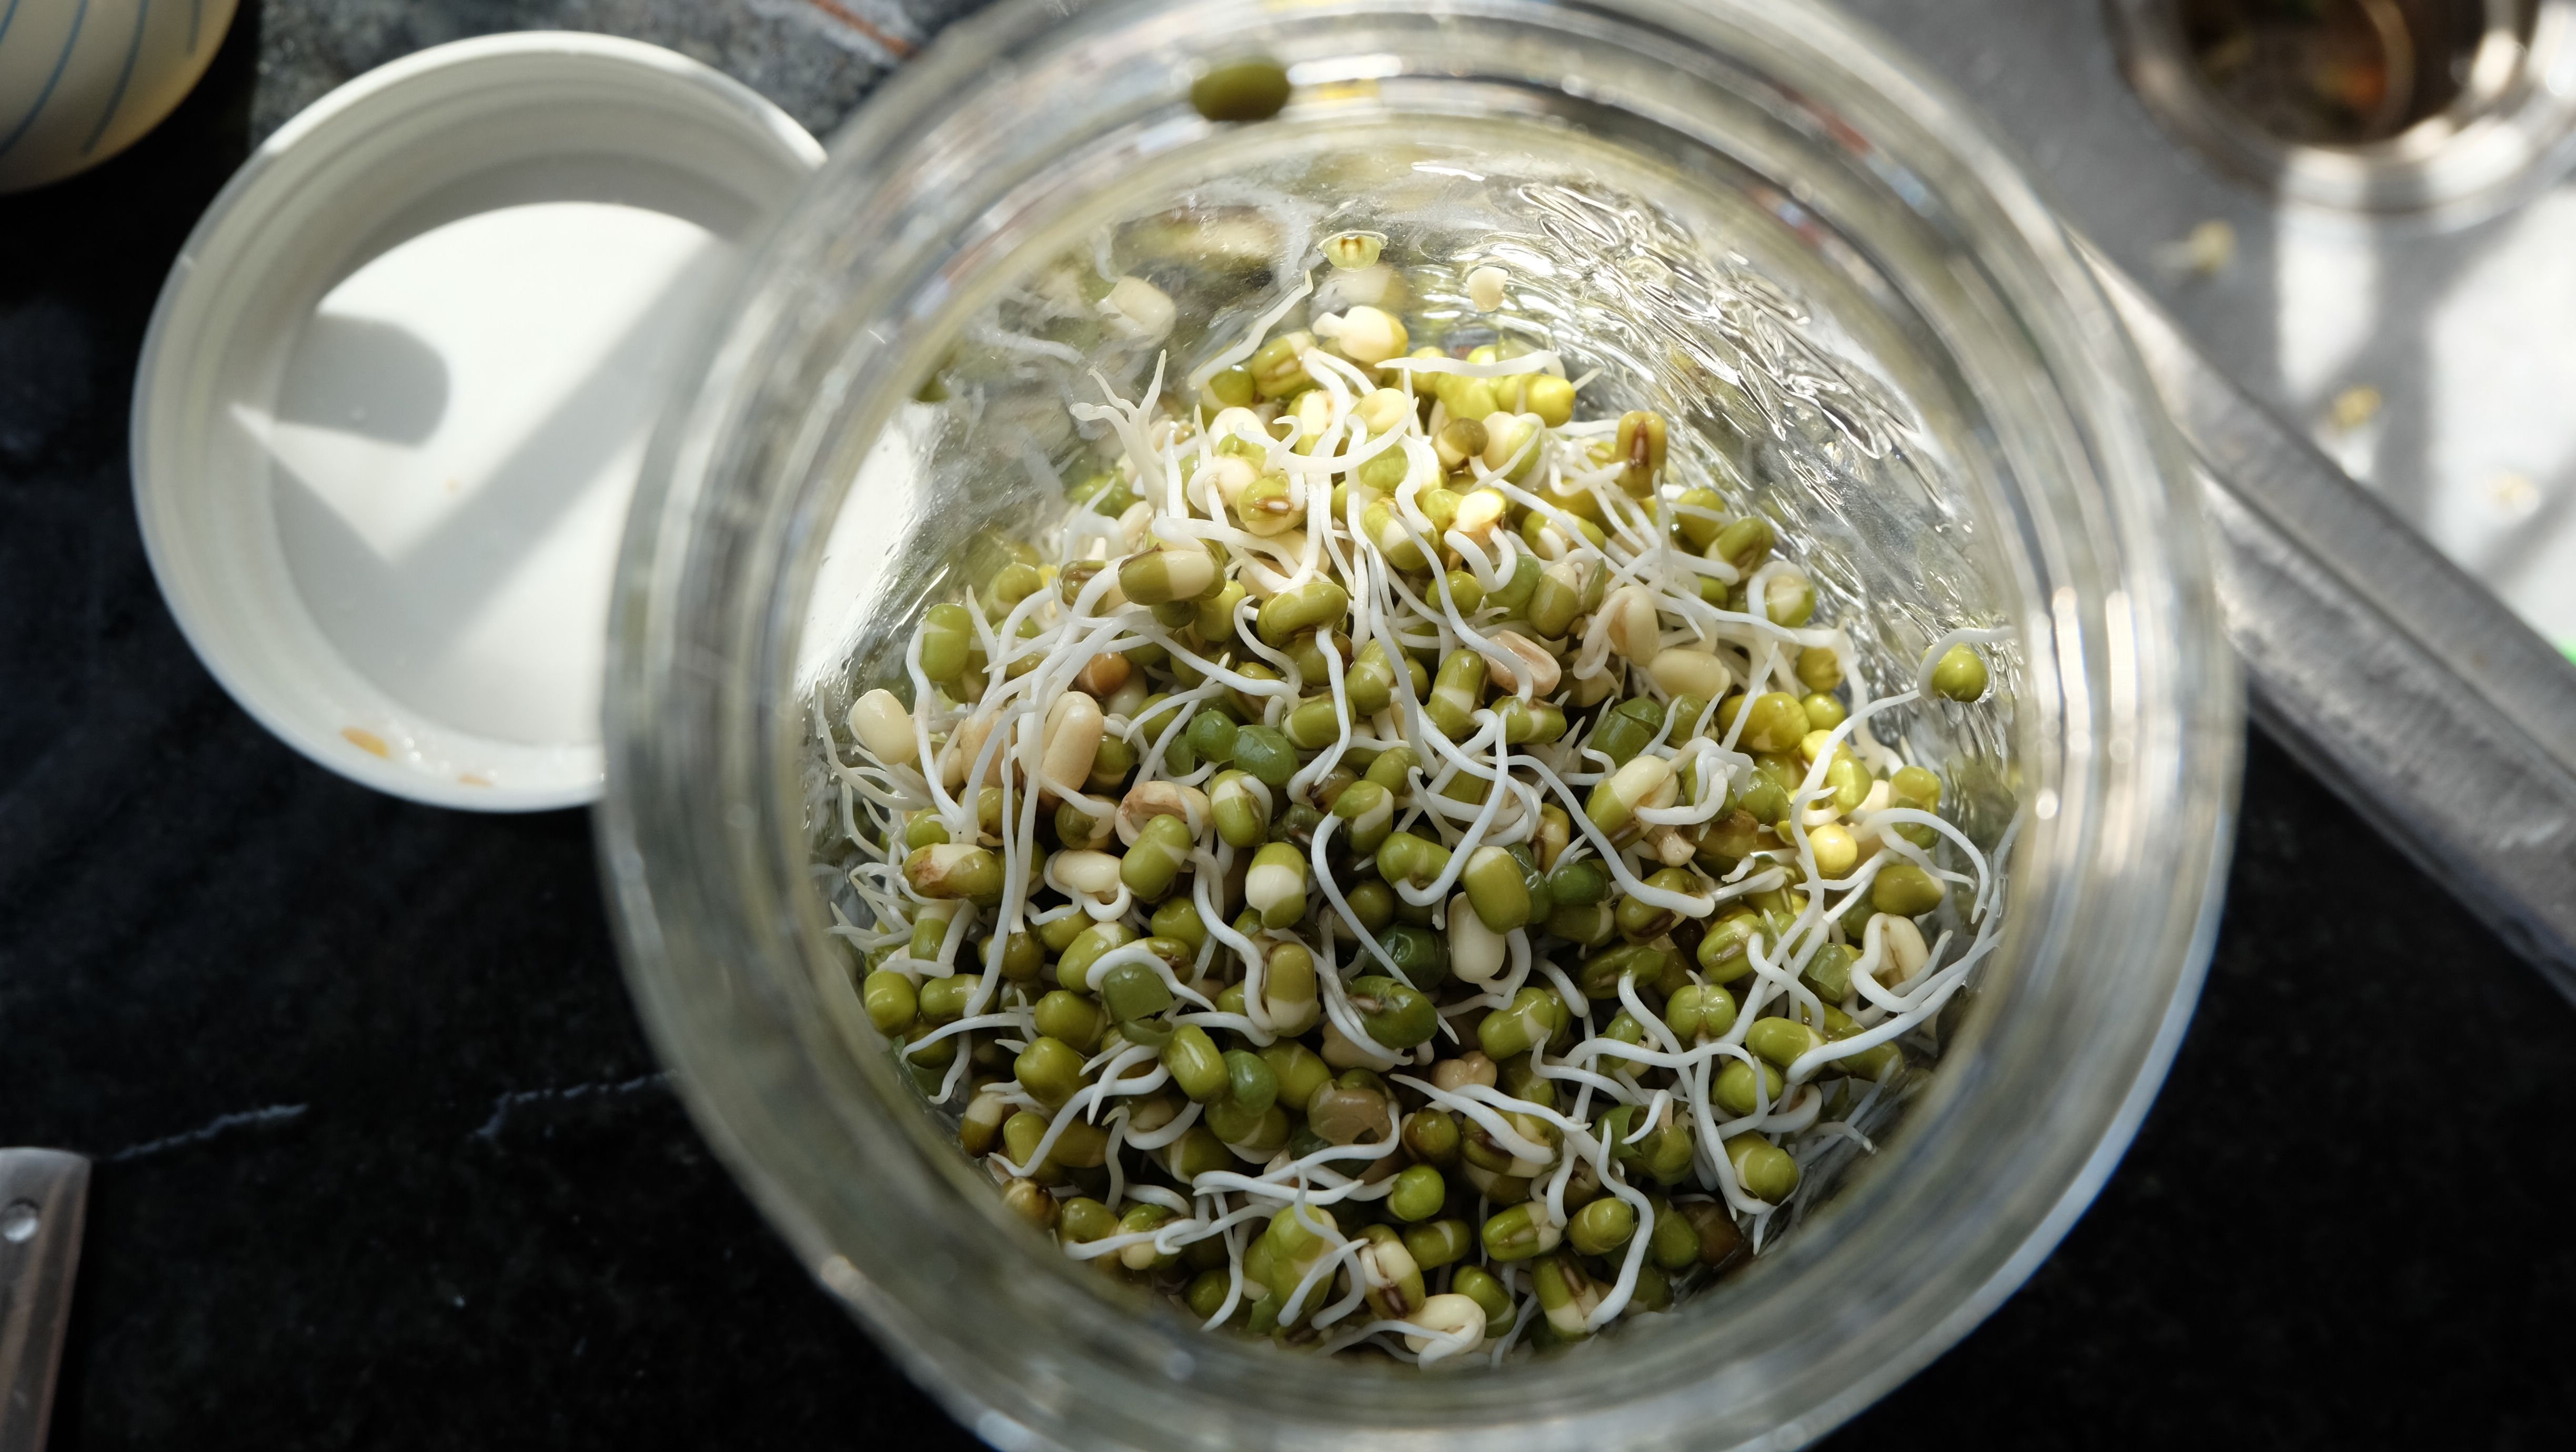
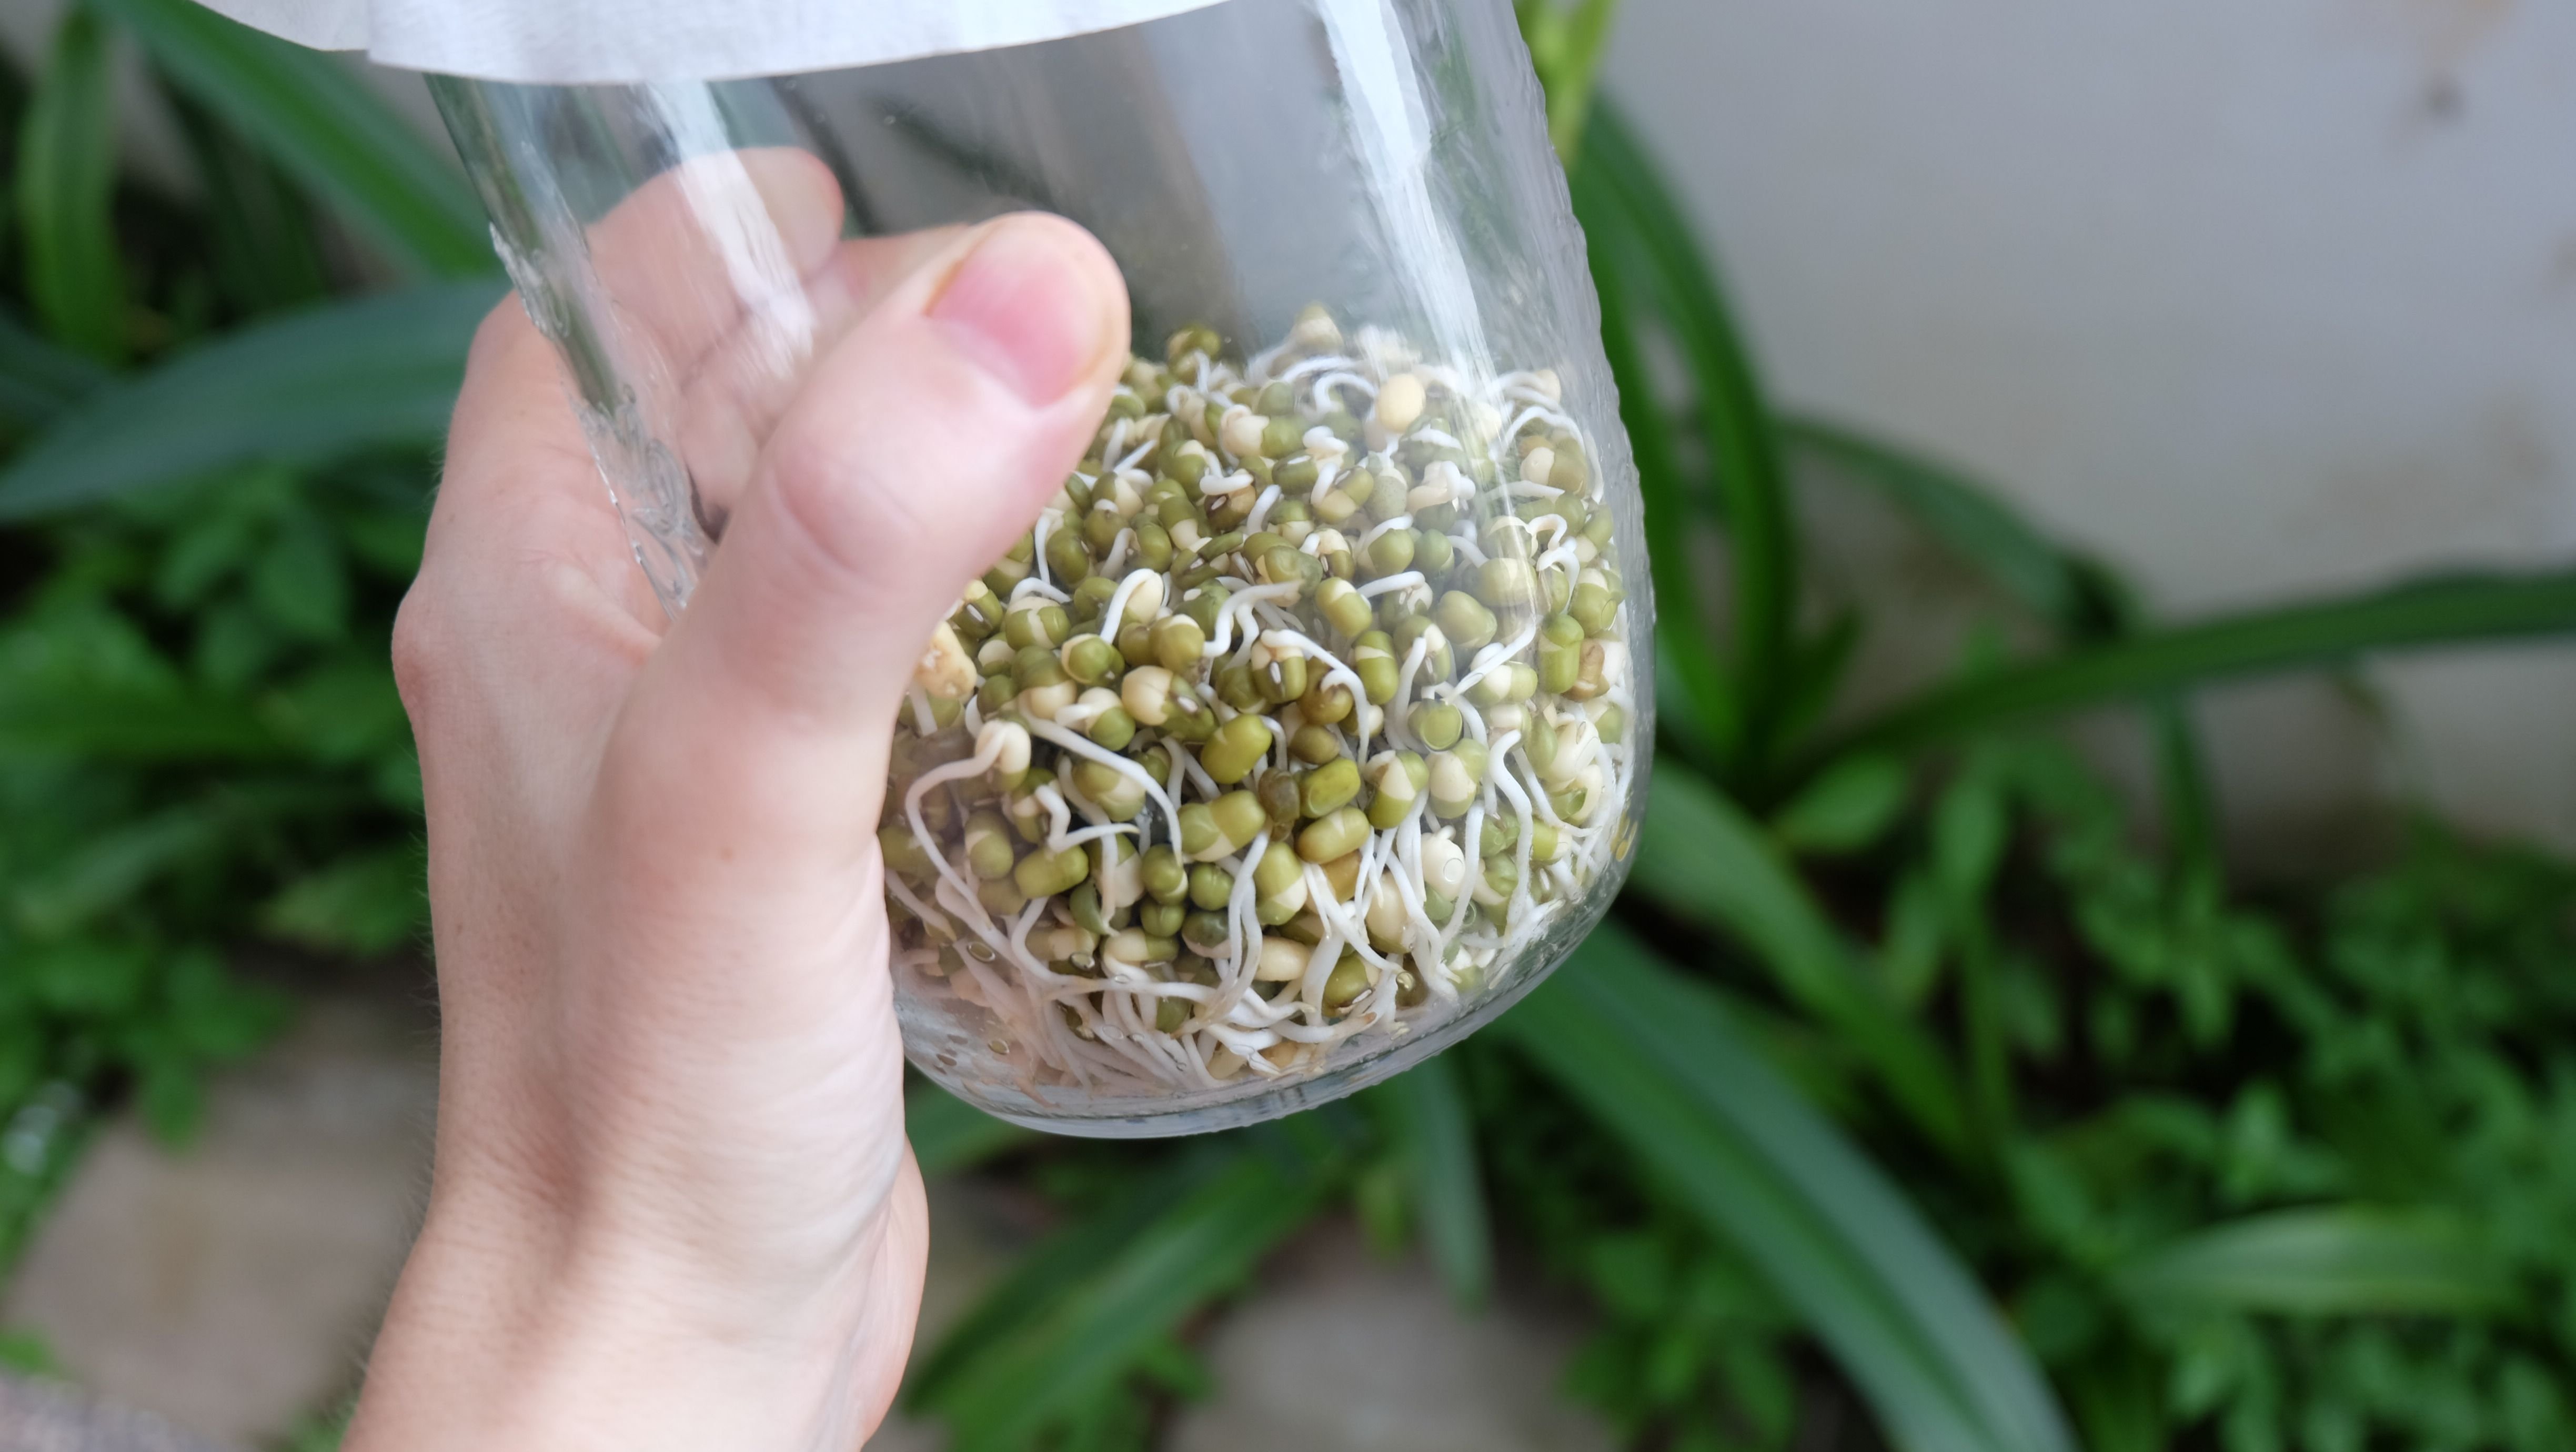
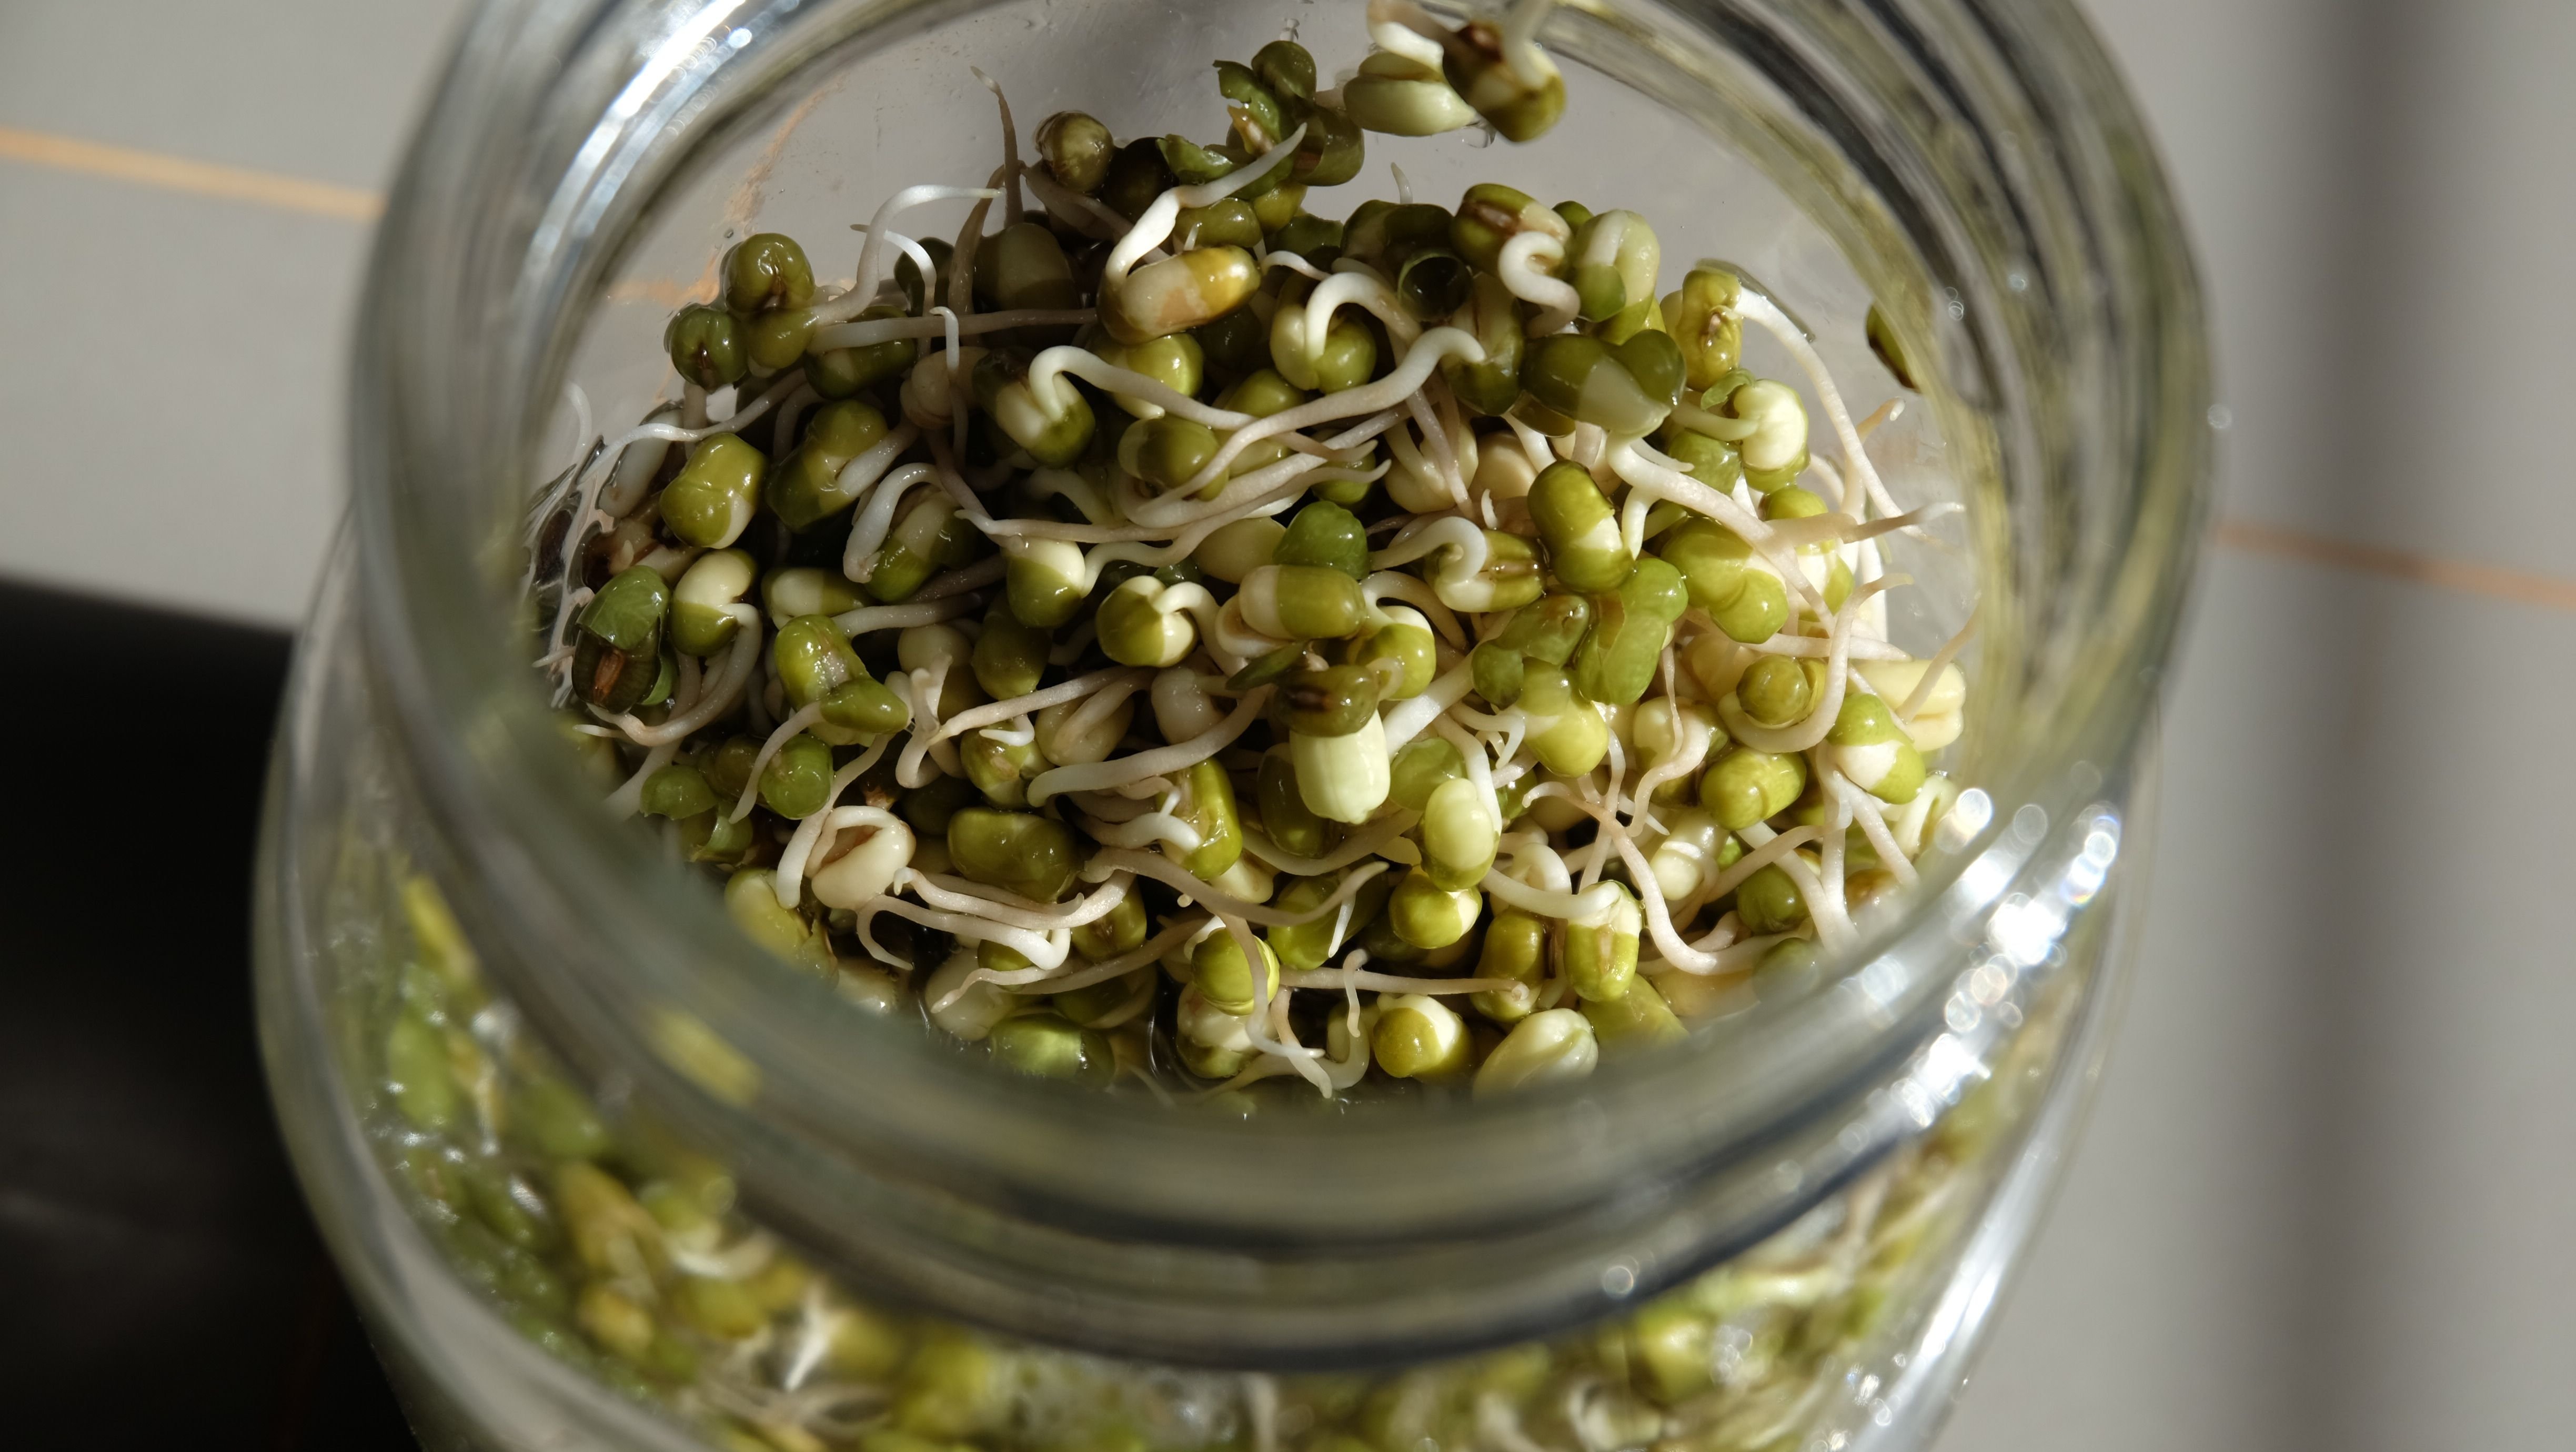
After 24 hours dark
Because we live in a humid and tropical climate, sprouting goes fast here. Hence their size after just one day in the dark! In a colder climate, they might look a bit different after 24 hours. So no worries. You'll just have to rinse a day or two more.
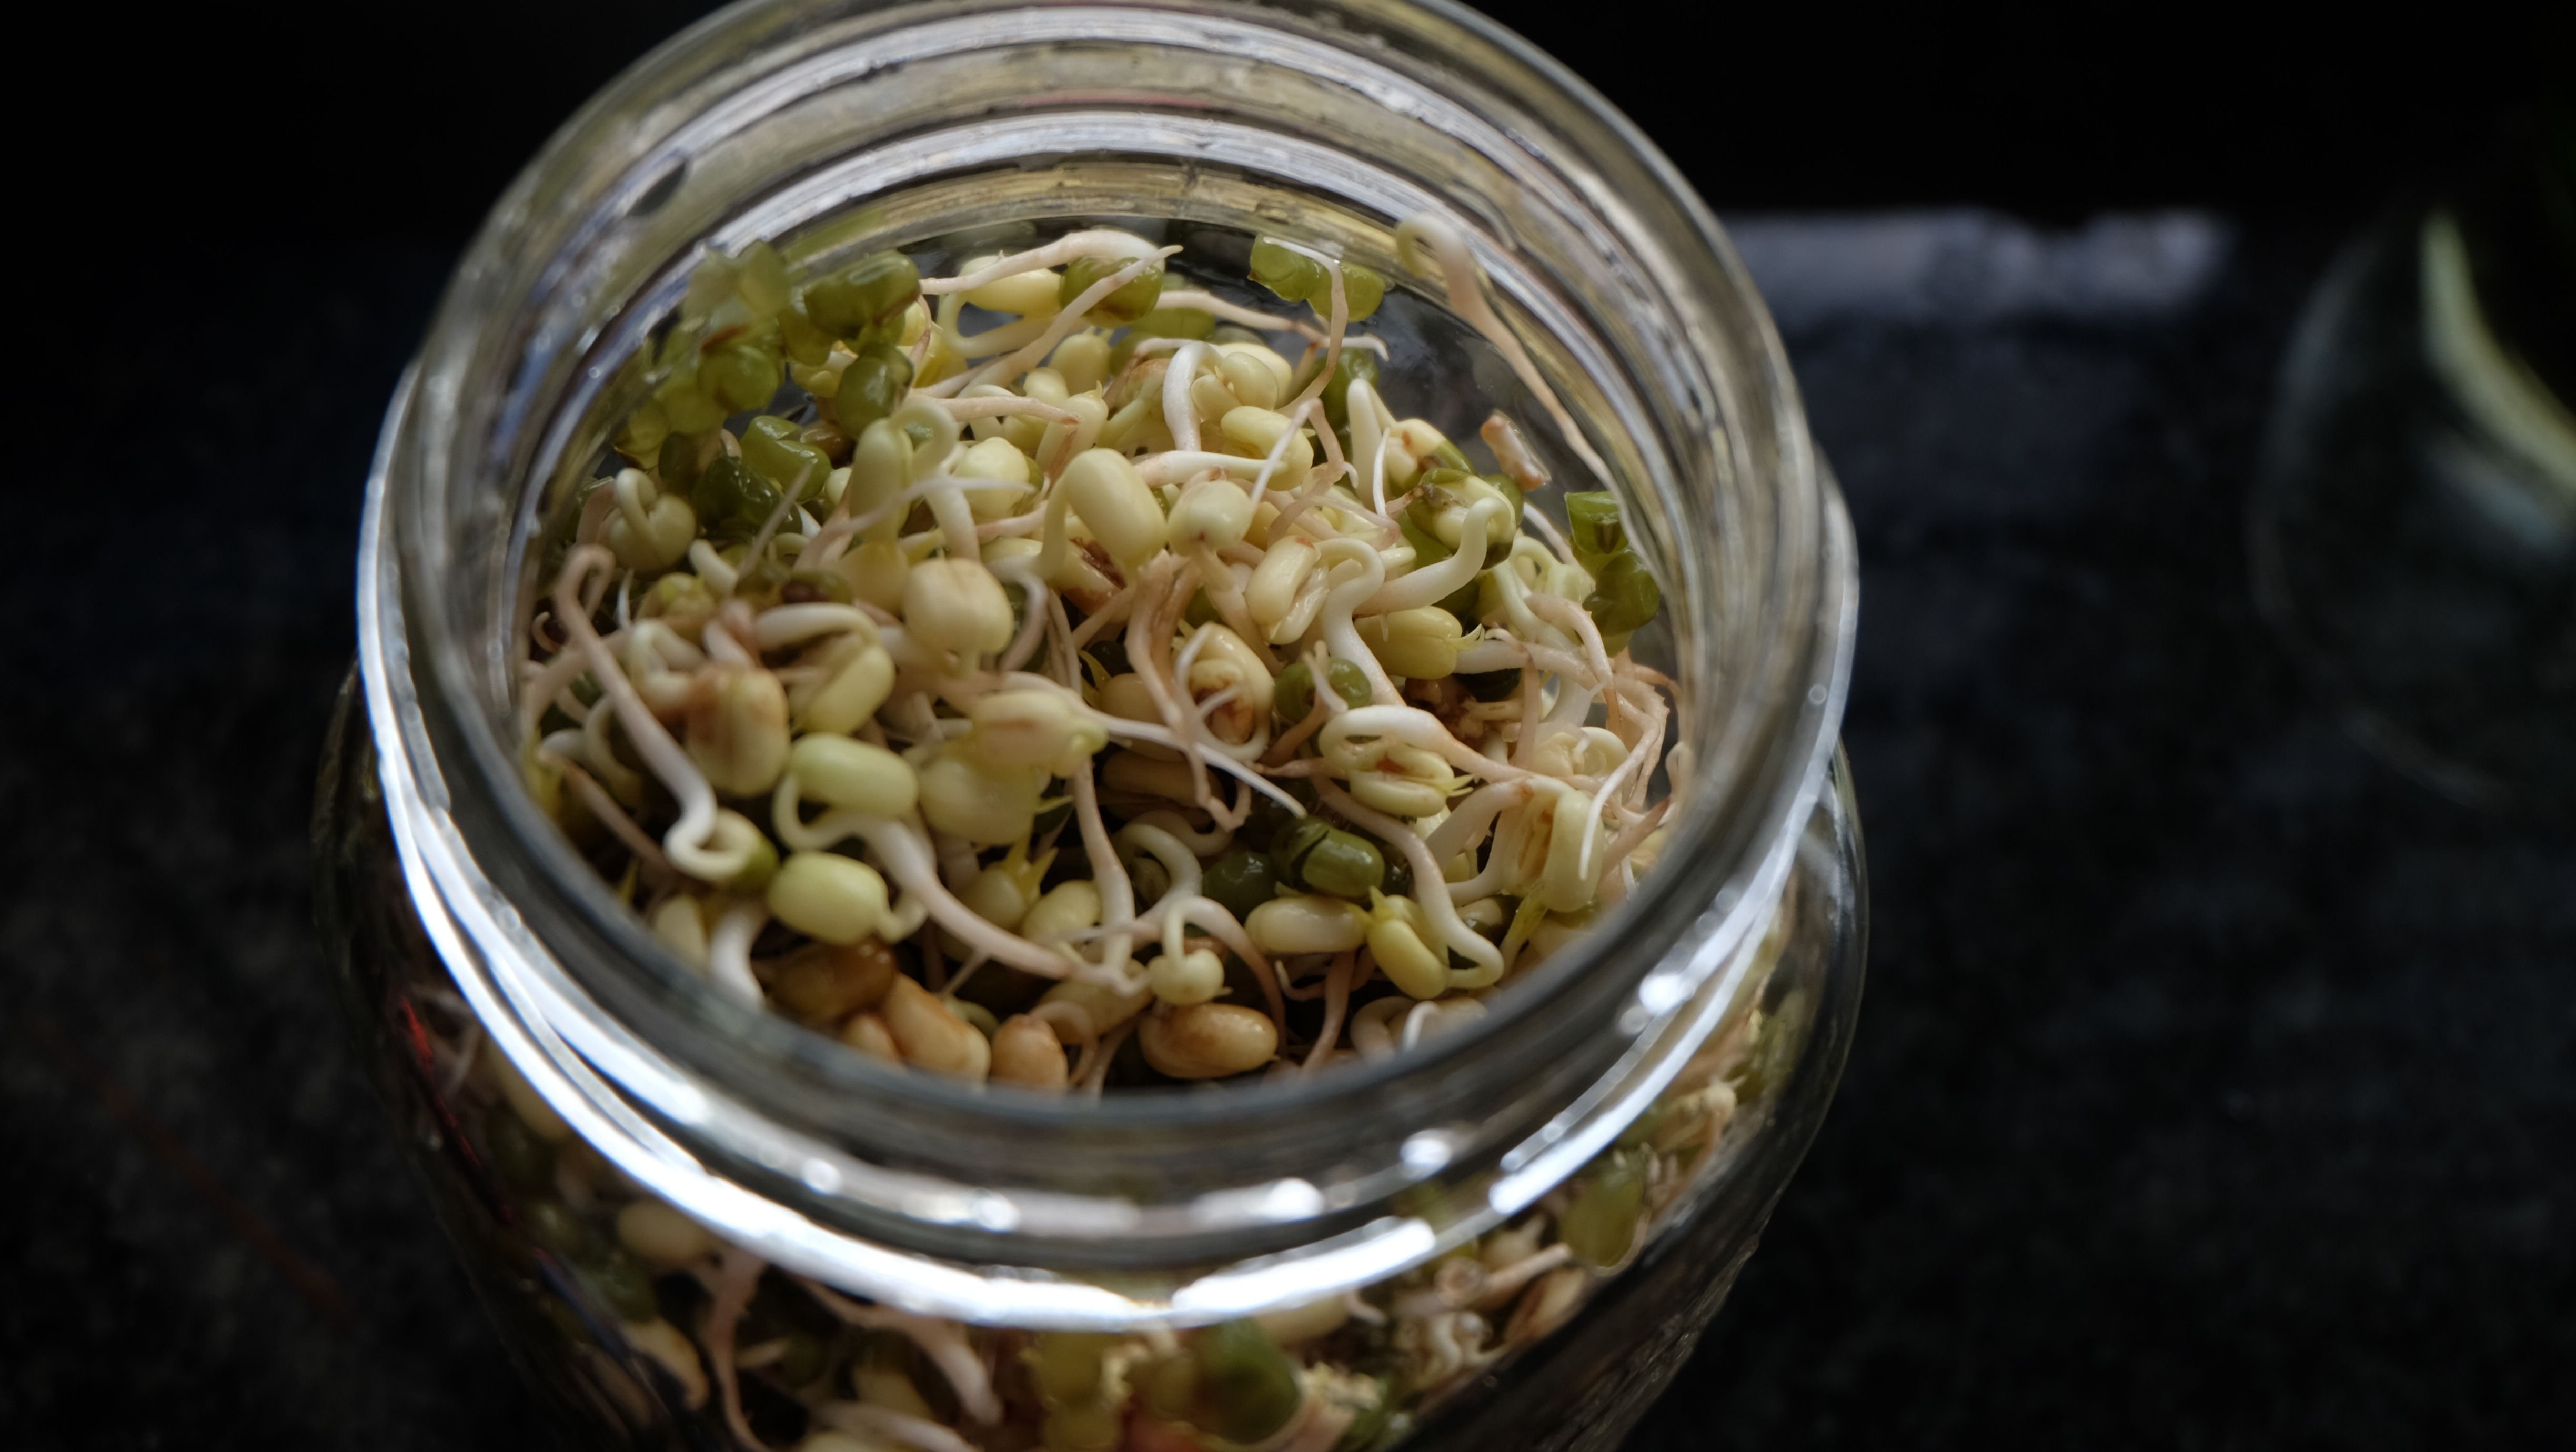
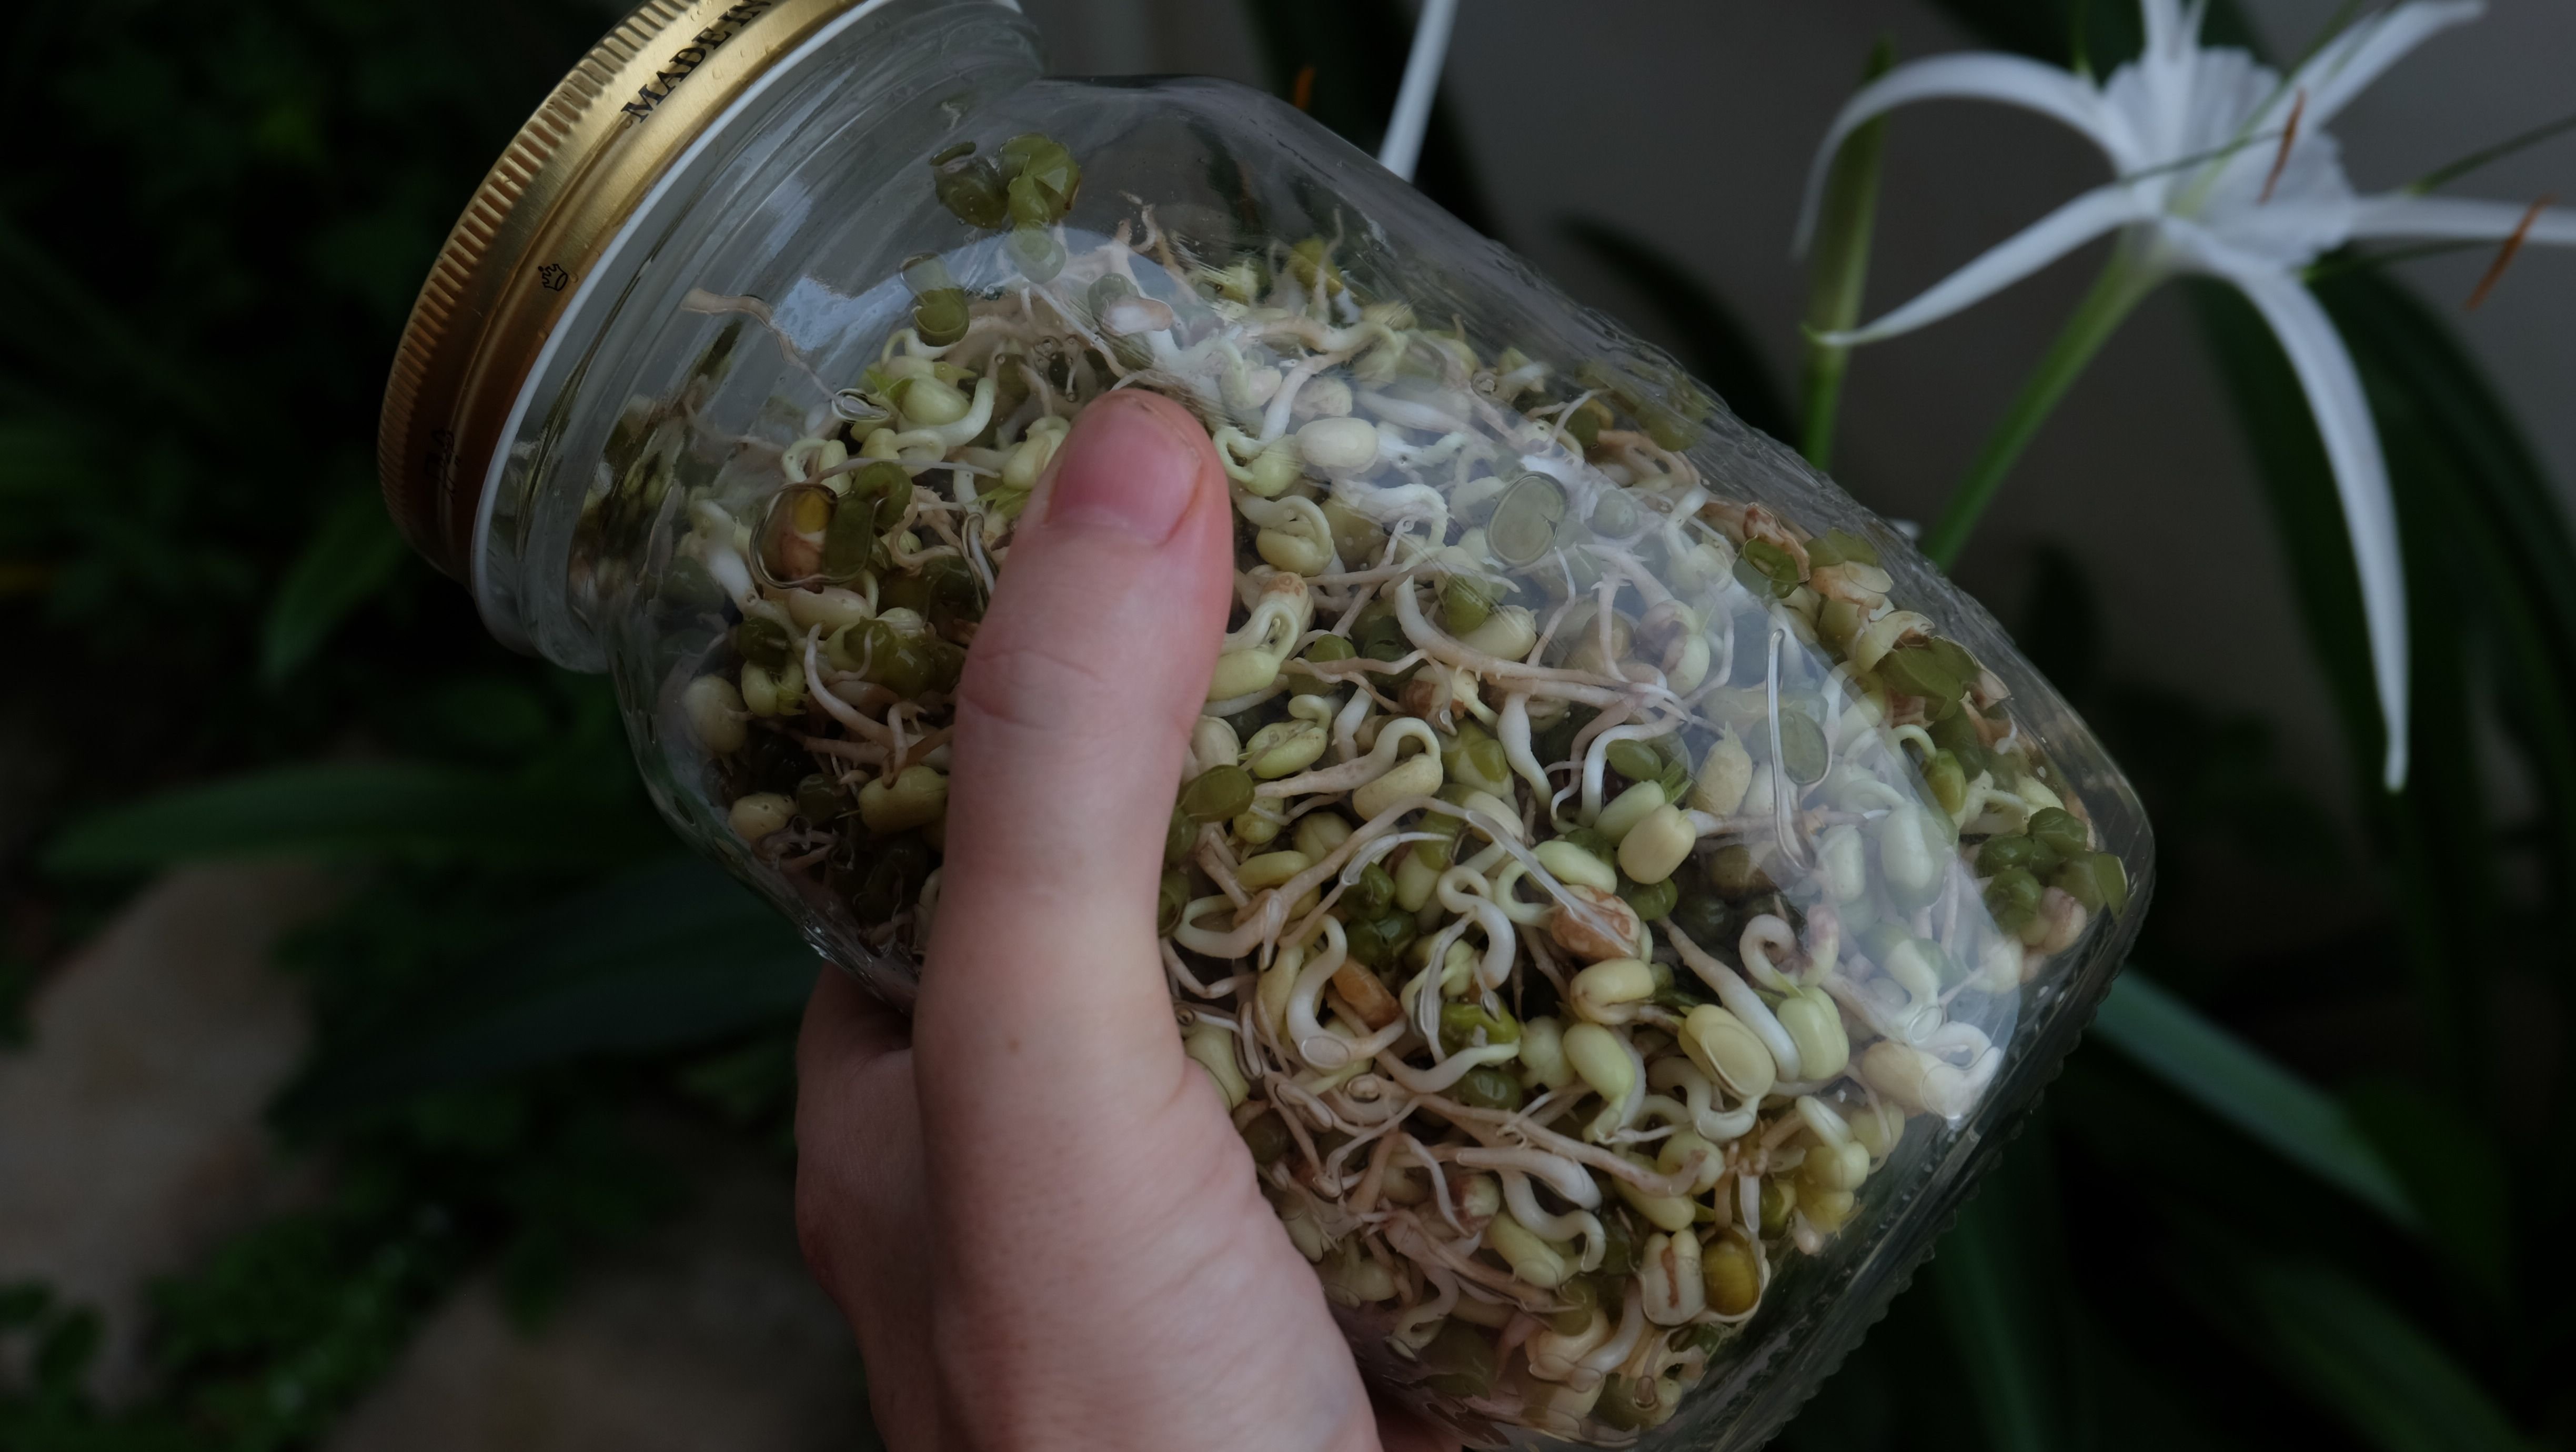
5. Rinsing
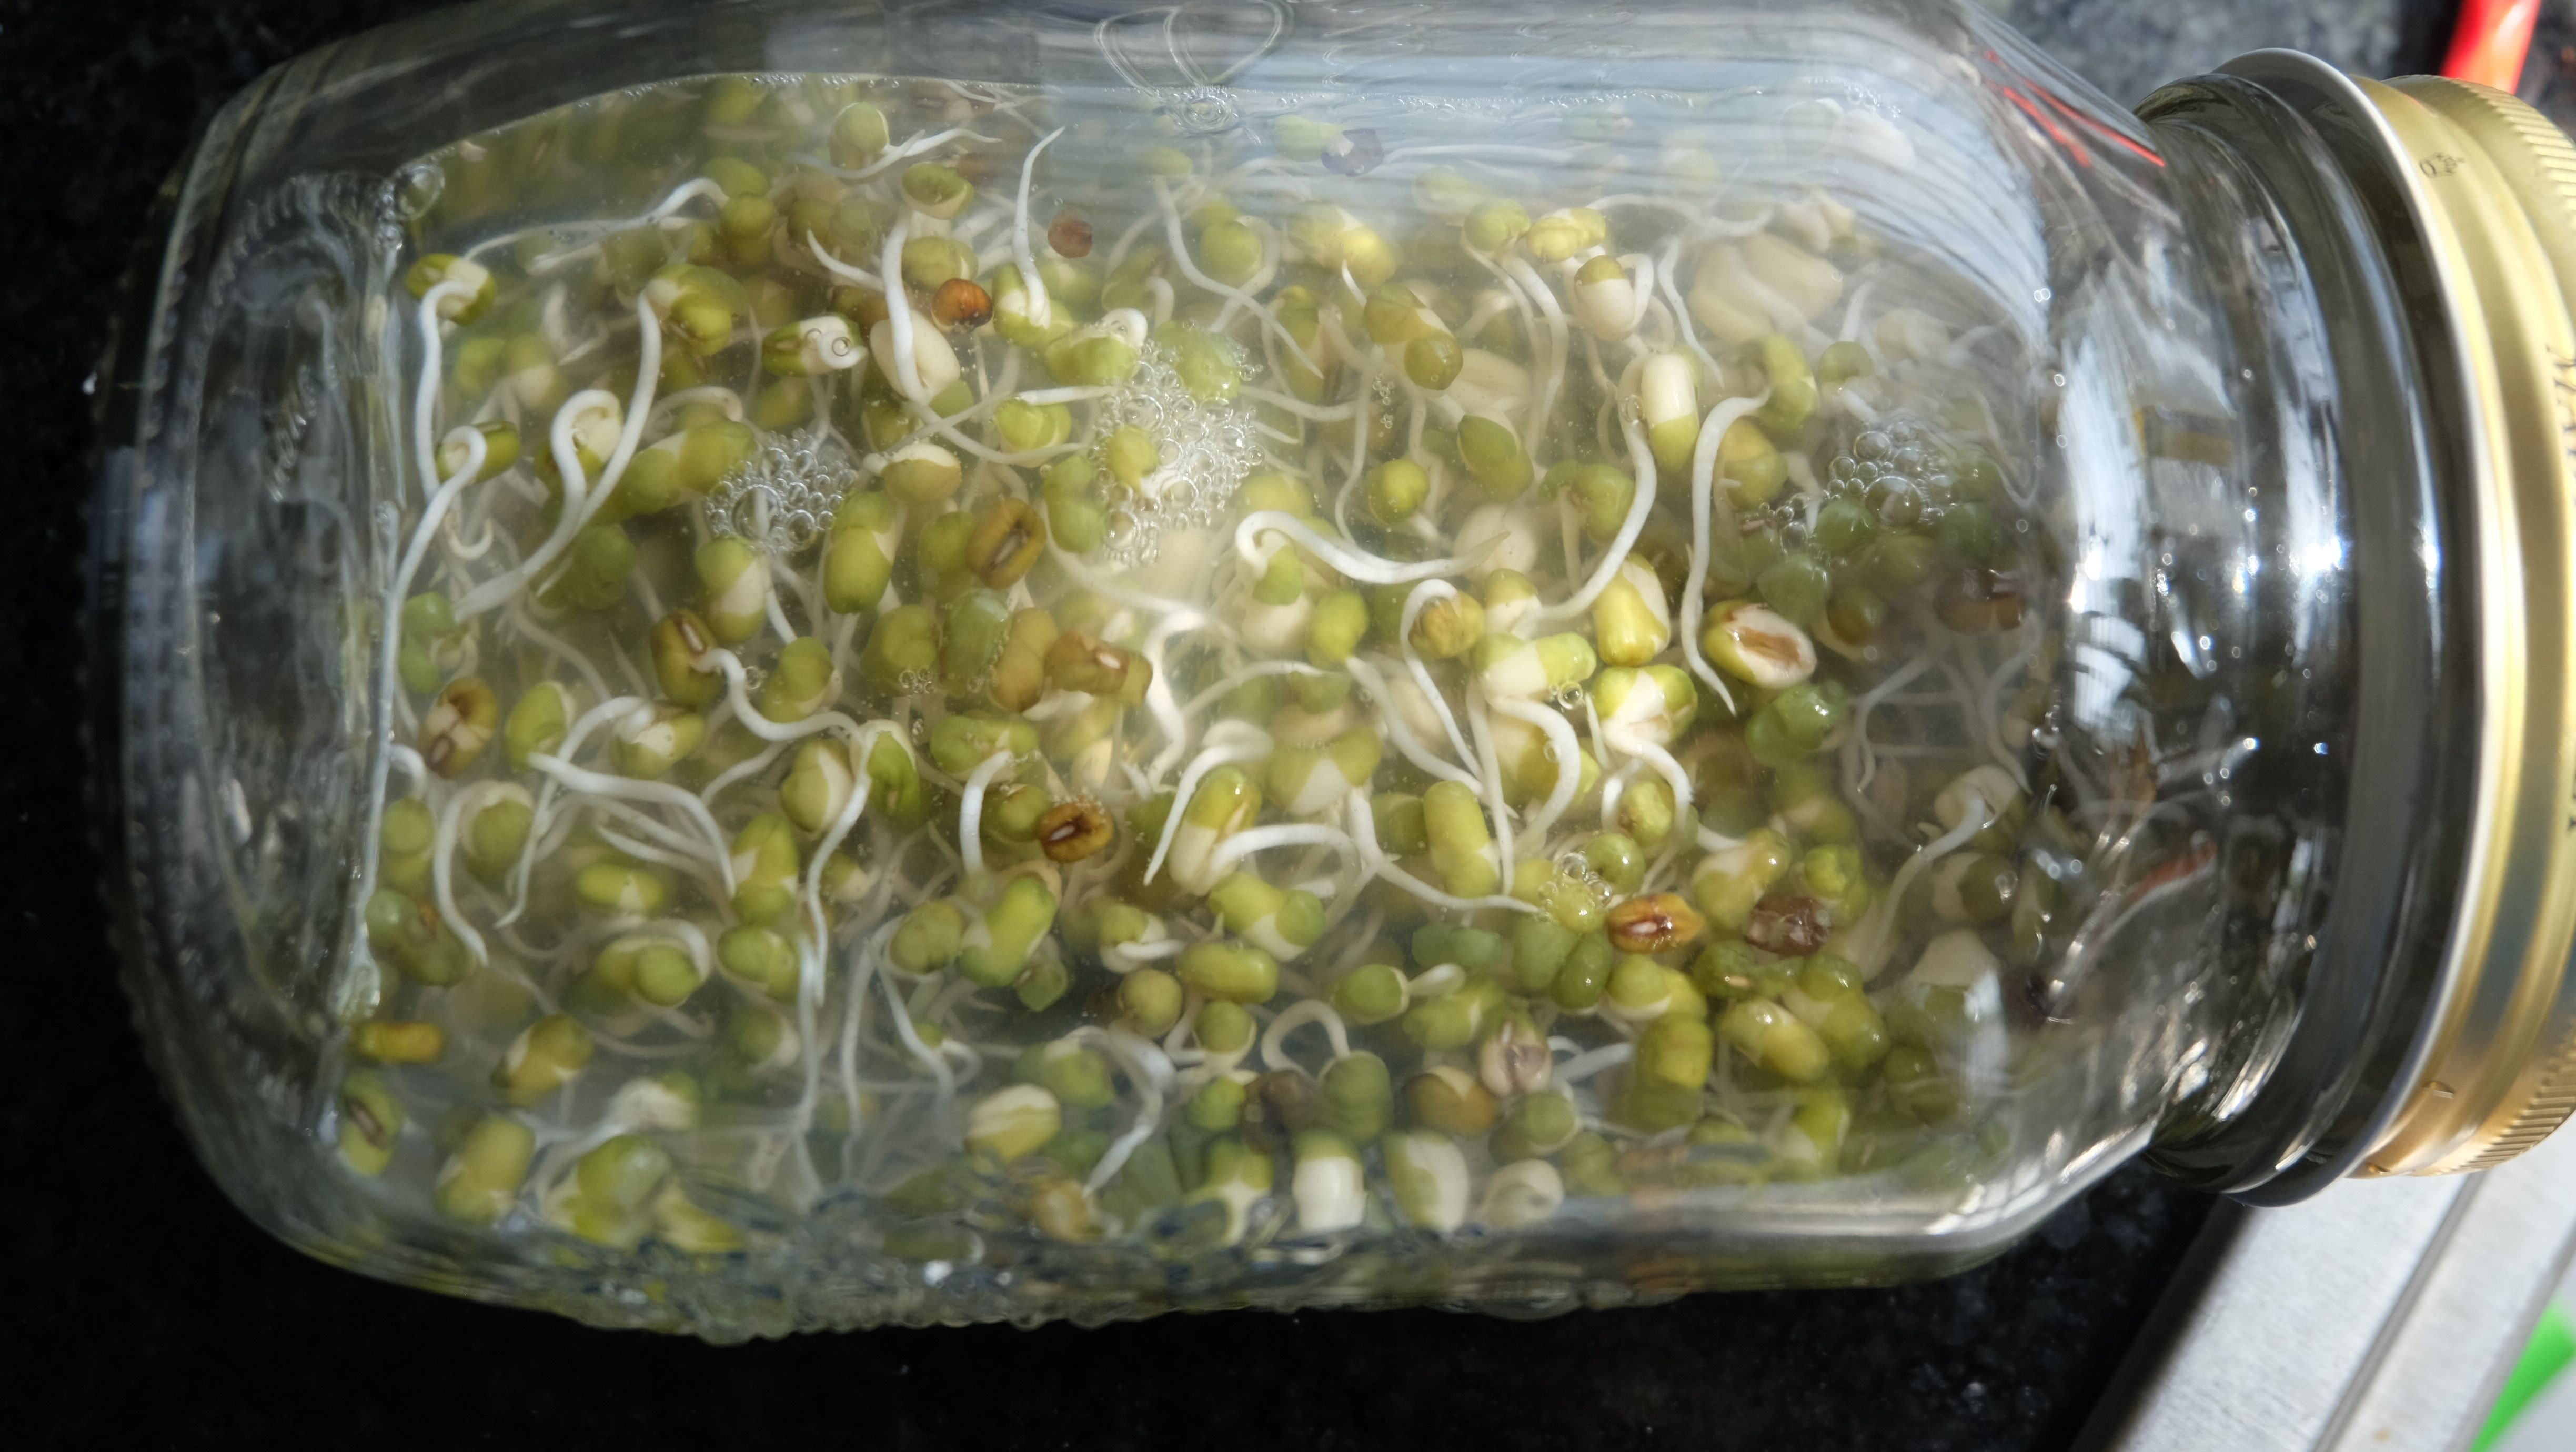
Rinse the sprouts with filtered water every 8 hours or at least twice a day. Use the lid with holes to drain the rinsing water. Leave the sprouts on the counter in a warm spot, but no direct sunlight!
After a few days (in my case only one day and night later) the sprouts will be ready for harvest. When ready, screw on the lid and store in the fridge.
Hope you liked this sprouting tutorial. Recipes with sprouts coming up next!!!

ALL CONTENT IS MINE AND ORIGINAL!
PICTURE(s) TAKEN WITH FUJI X-M1