Hummus is one of my favorite foods, and it's so healthy. This recipe kicks it up a notch.
Whether you're vegetarian, vegan, or a classic carnivore, you've probably had hummus. Middle Eastern in origin, it is generally beloved in western nations.
The first time I had it, I was 19 and visiting a friend in Chicago....a big city for a small town girl like I was then. The moment the first taste hit my tongue, it was like eating pure pleasure. It's remained a top favorite of mine ever since.
I buy it at the store sometimes, if I can find a good brand with real olive oil. Too many store-bought brands have undesirable oils like canola, peanut, or soy. Mostly, I make it at home. And why not? Hummus is SUPER EASY to make. You can whip up a batch in just a few minutes, and it only requires a handful of ingredients.
Because I've got juvenile rheumatoid arthritis, I'm always looking for anti-inflammatory foods and recipes, as these allow me to take less medication. So, knowing what I know about these foods, after years of research, reading, and experimentation, I made over my hummus recipe and gave it some anti-inflammatory, antioxidant superpowers.
And, best of all, the new recipe tastes just as good as classic hummus.
Here's how to make it, and supercharge your own health.
1. Assemble Your Ingredients

You only need a few. It makes it easier if you just bring them all out at once and put them near your blender.
You will need:
- A 16-oz can of chickpeas (aka garbanzo beans)
- A jar of tahini
- Minced garlic
- Lemon juice
- Paprika
- Turmeric
- Salt
- Pepper
- A healthy oil of some kind (olive, walnut, avocado, hemp, and flax oils are all good choices)
2. Grab a Blender
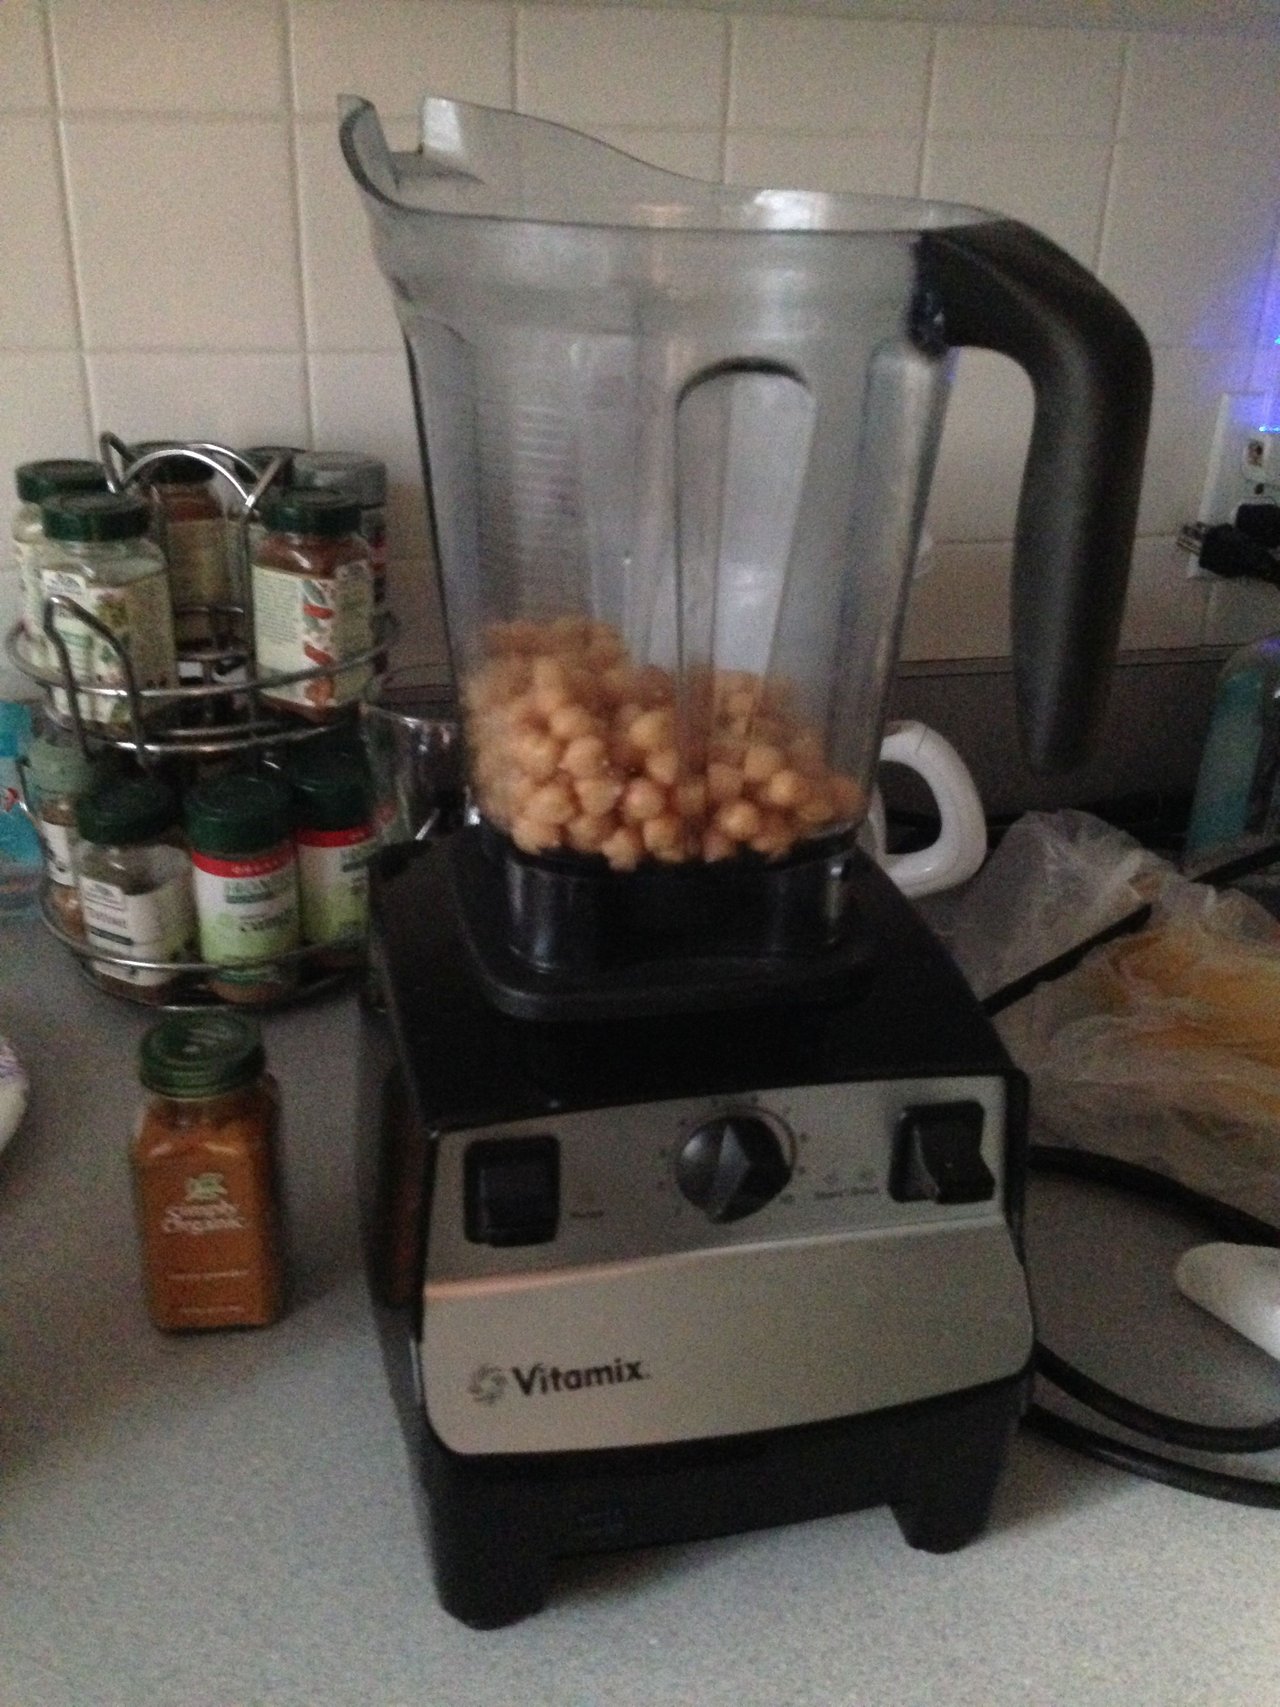
I use a Vitamix....my most indispensable kitchen tool. I use it for so many things. Making smoothies, whipping up fresh bread crumbs, blending ingredients for soup, mixing batter for healthy cakes and pancakes, and, yes, making hummus.
Any good blender will do, however.
3. Empty the Whole Can of Chickpeas into the Blender

Be sure to drain the water out of the can first.
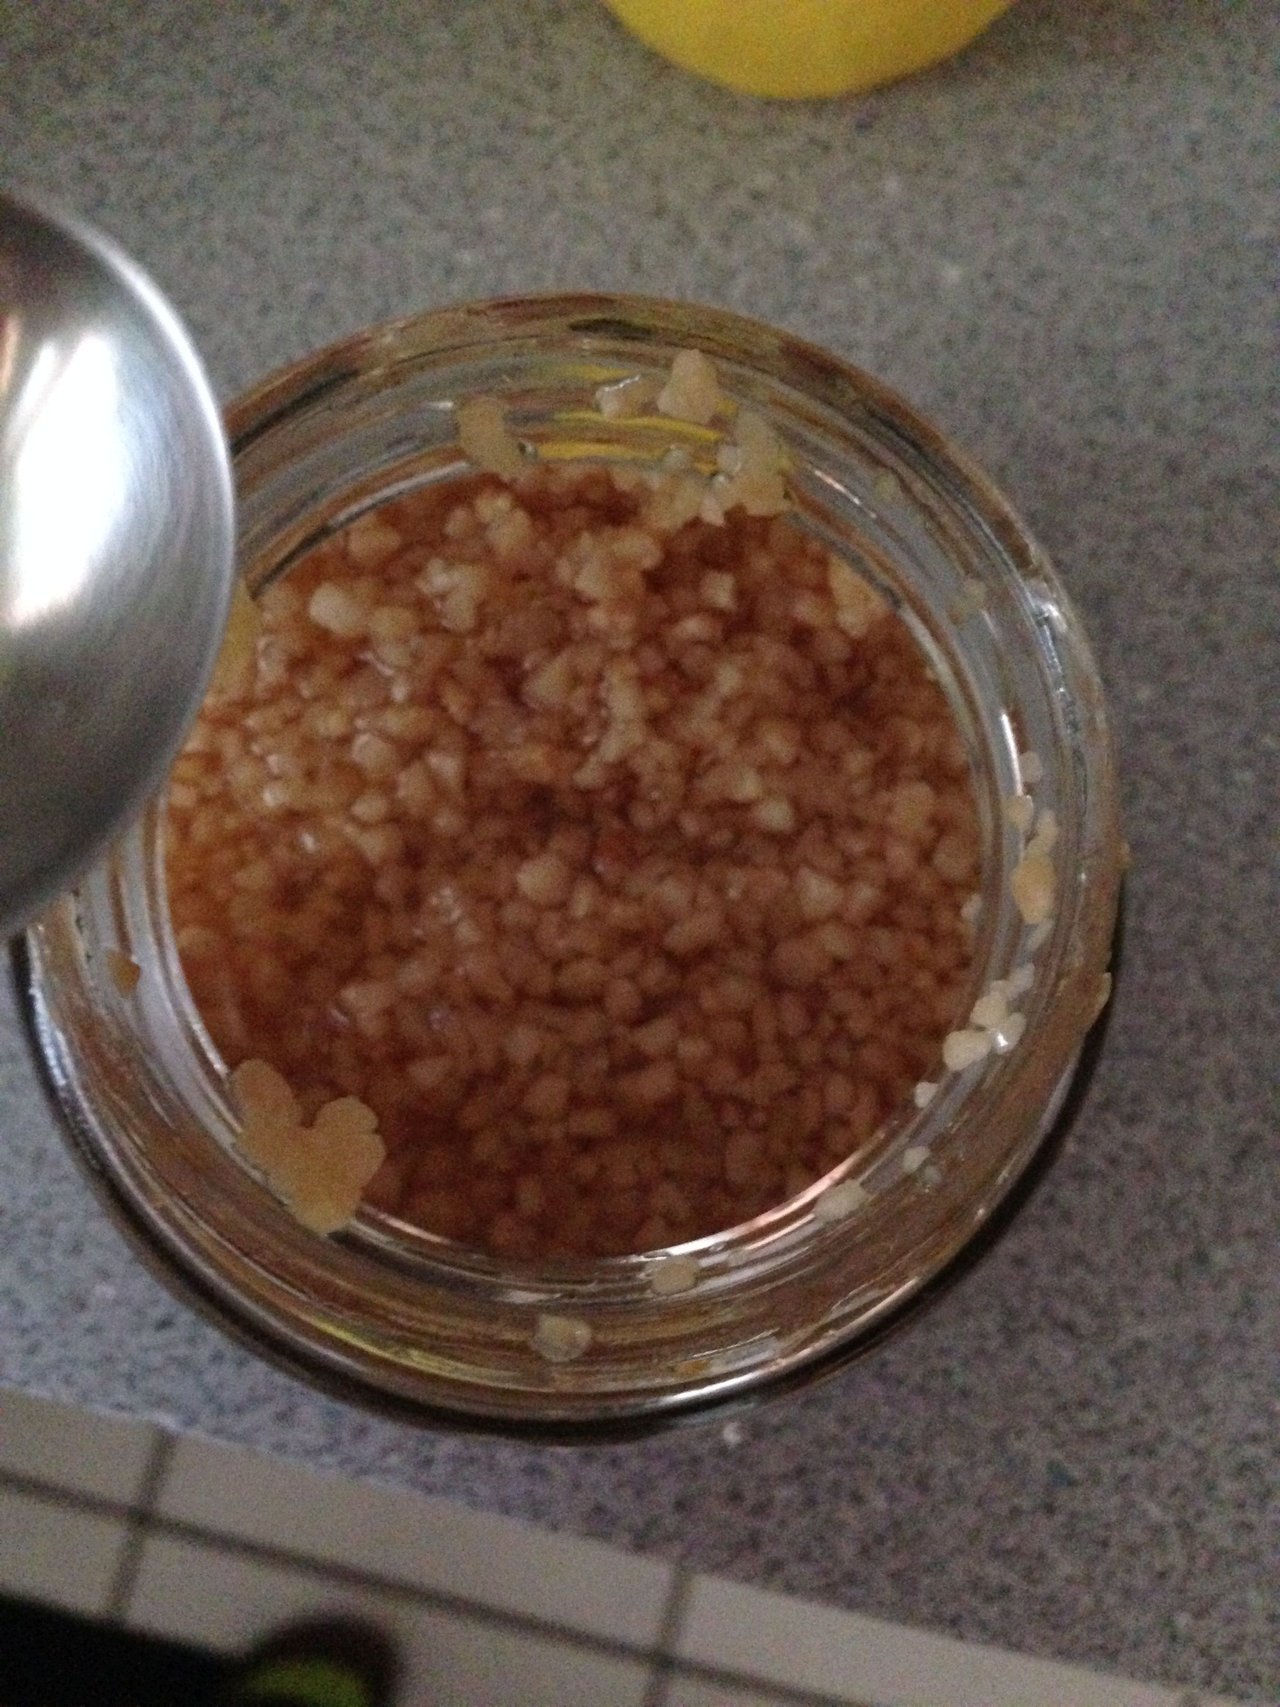
4. Add a Teaspoon of Minced Garlic

You can use fresh or jarred. Usually mincing up some fresh garlic is best, but since it was getting dark when I did this, and the overhead light is currently out in my kitchen, I saved time by using jarred minced garlic.
You can use the garlic to taste. There's no real set amount. I used a teaspoon here.
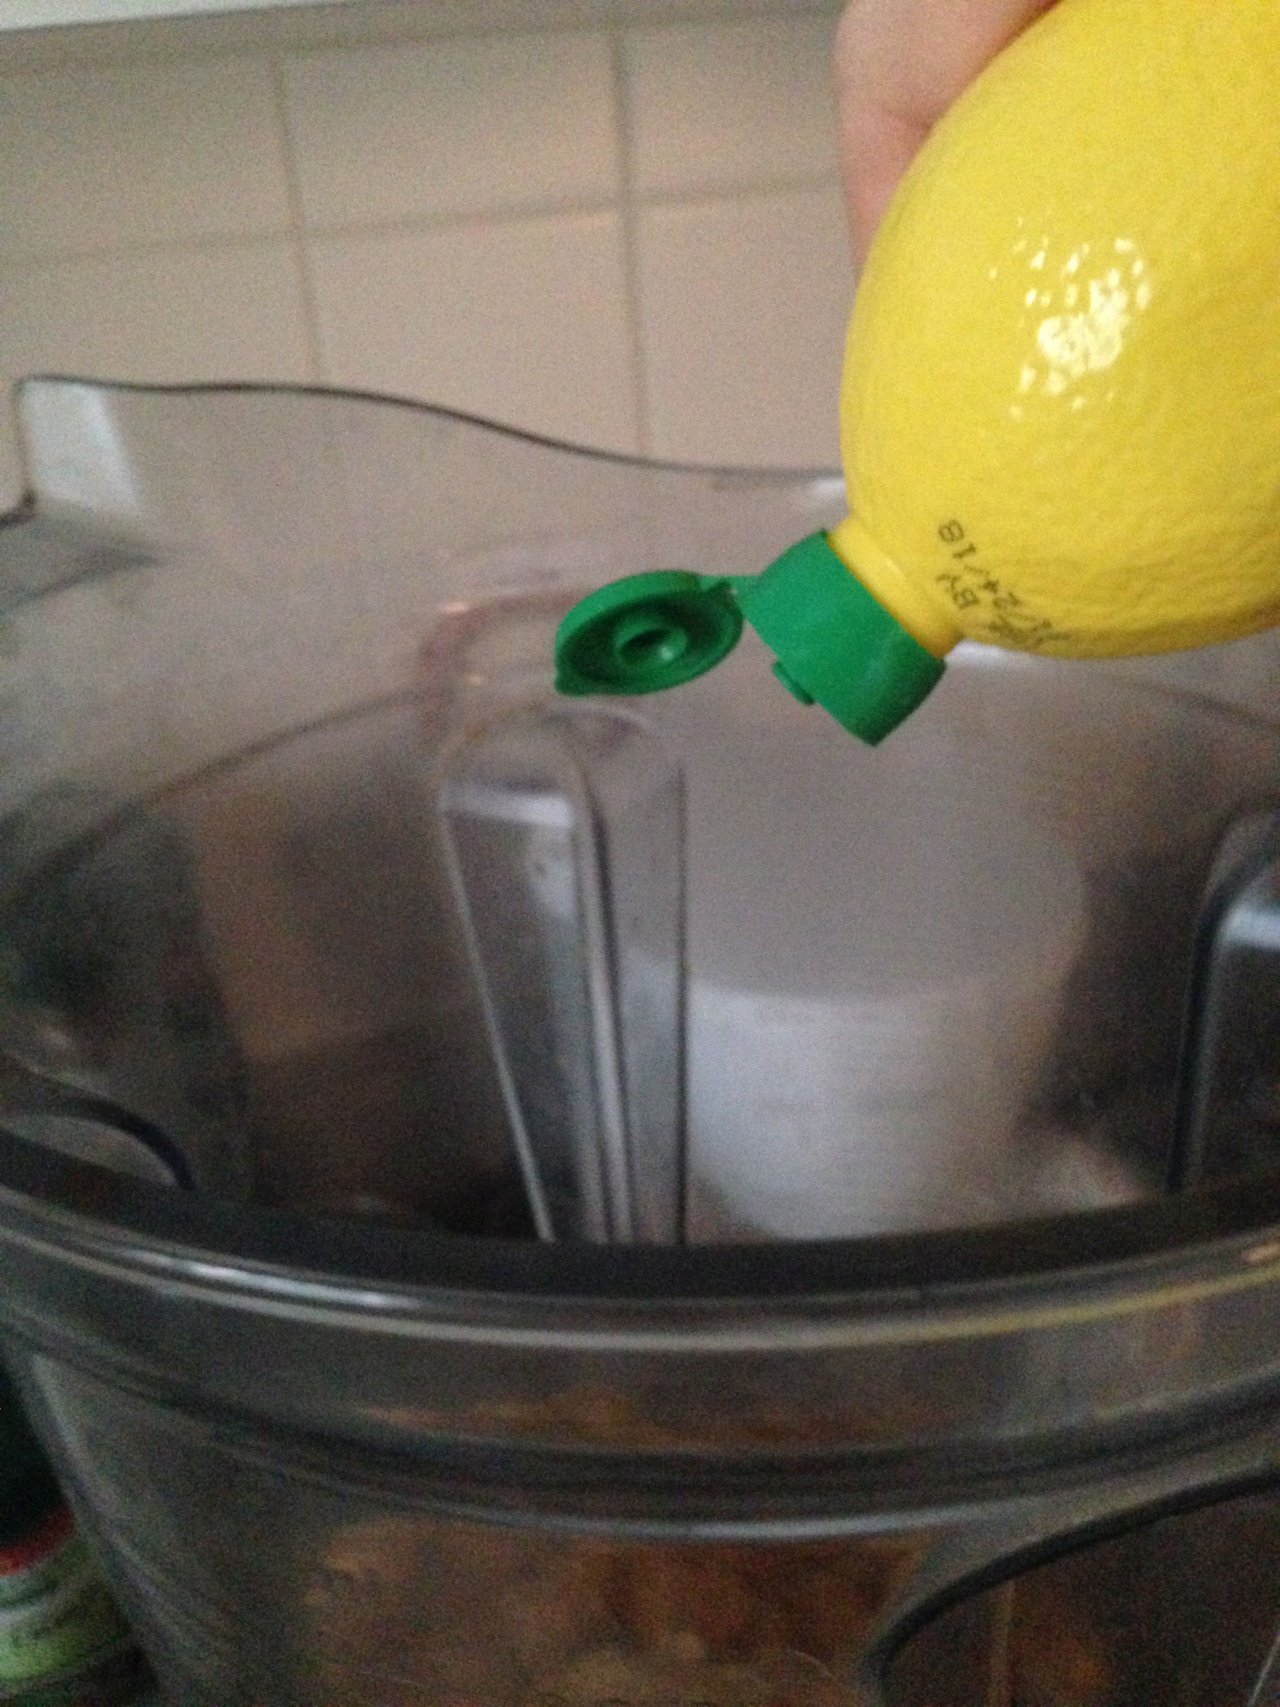
5. Add Lemon Juice

Again, no set amount. Just do it to taste. If you like your hummus tangy, add a lot. Prefer it more mild, add a little. I used about a tablespoon, but didn't measure. Just four long squeezes from the bottle.
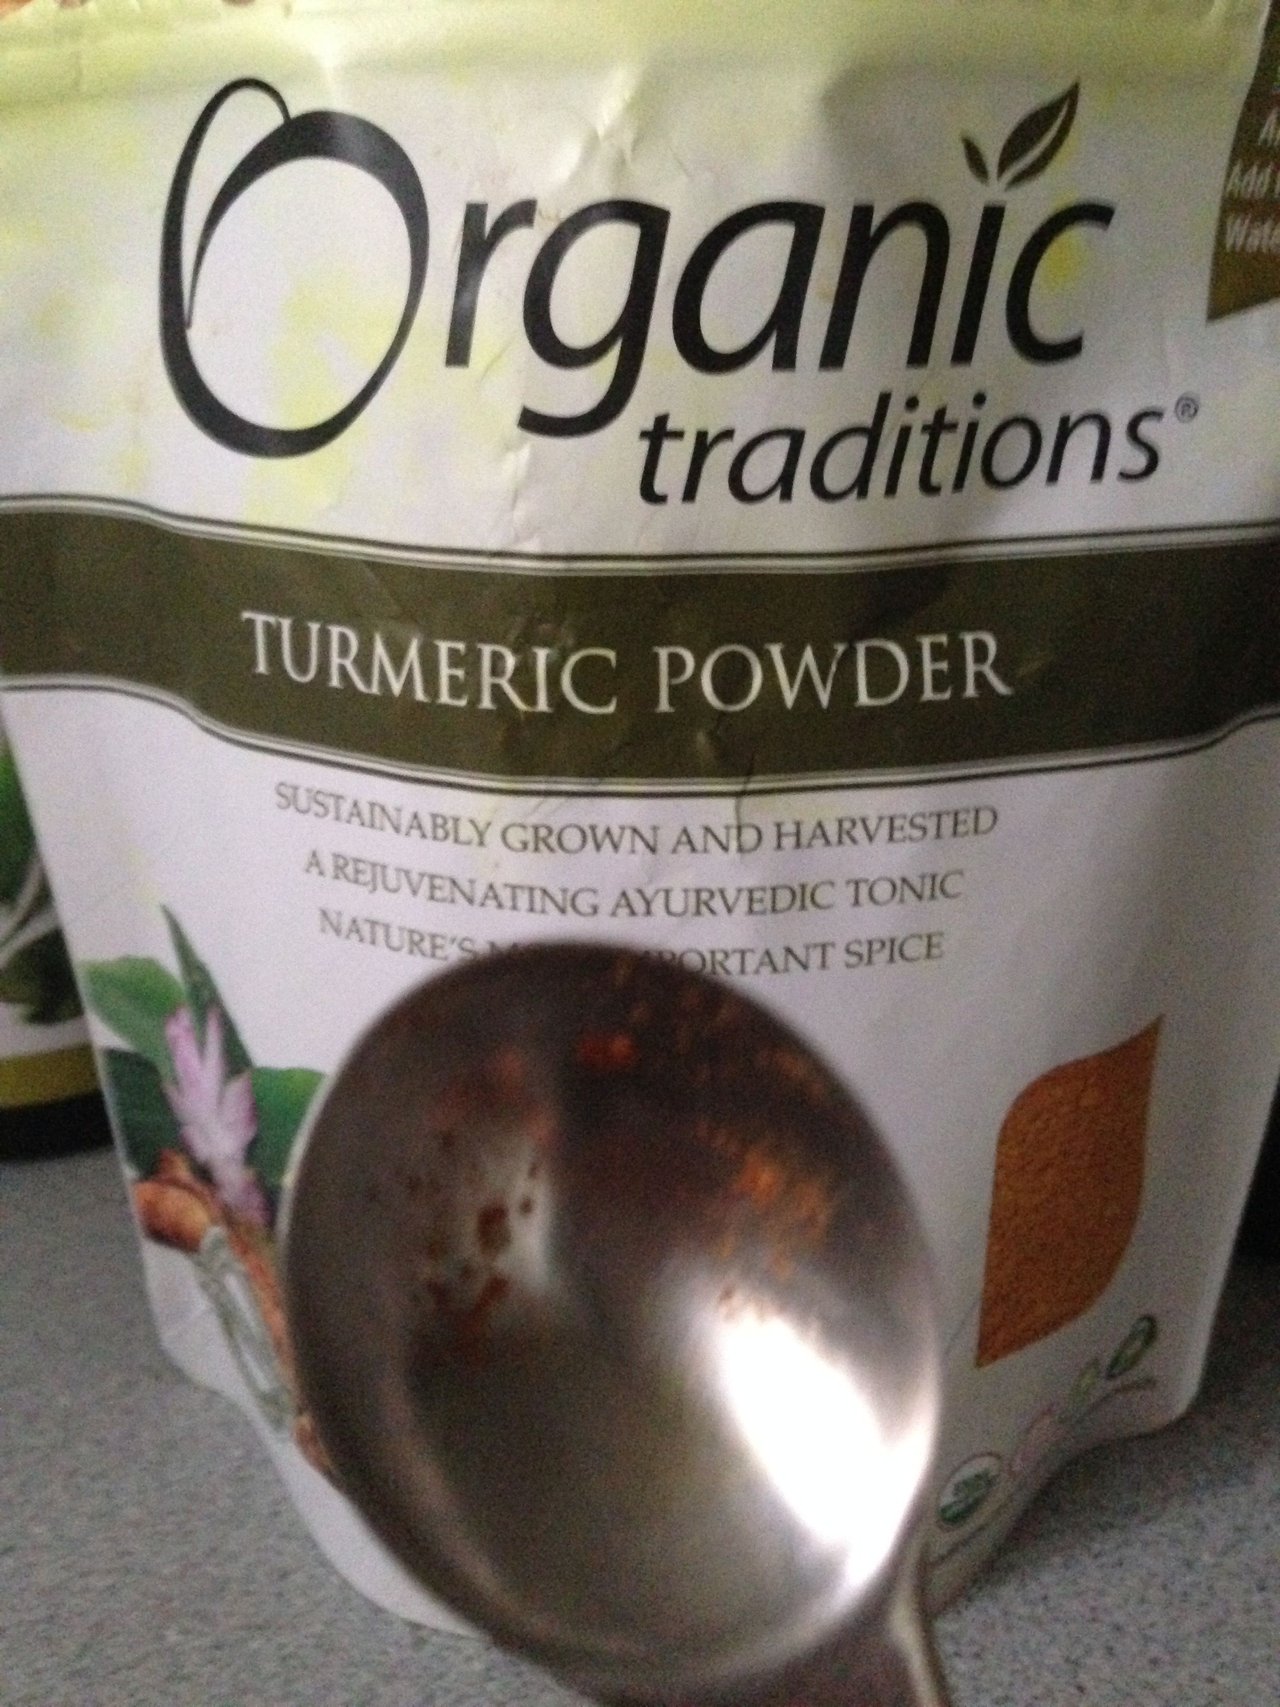
6. Add the Turmeric

I've found that about a teaspoon of powdered turmeric is the right amount for a batch of hummus made with only one can of chickpeas. It blends right in and you can't even taste it in the finished recipe. So, I recommend about a teaspoon per can of chickpeas used.
Turmeric, along with its main component, curcumin, is a potent anti-inflammatory food, with proven clinical results that are equal to or better than what NSAID drugs can provide in terms of pain relief and reduction of inflammation.
Some recent research even suggests it can boost your mood, among many other wonderful things. In fact, turmeric has a whole laundry list of amazing health benefits associated with it.
This is one of the ingredients that makes this style of hummus special and extra healthy.
7. Add the Paprika

Some people prefer to sprinkle paprika on top of hummus, but this is just for appearances. That small amount of paprika won't really do anything for your health.
Paprika is a powerful antioxidant, and protects your overall health with many vitamins, iron, and blood-pressure regulating capsaicin. Plus, I like the taste. So, I put it IN my hummus. About a teaspoon is good for a batch this size.
8. Add the Oil

Your hummus needs a little extra moisture to make it blend nicely, and the oil is what does it. It's traditionally made with olive oil, and that's fine.
However, with all the news lately about even the premium olive oils on store shelves being adulterated with other things, or not as pure as "extra virgin" as they claim, I chose to use hemp oil for my batch.
Hemp oil is rich in healthy omega 3 and 6 fatty acids. These are naturally anti-inflammatory, and good for heart health, as they clean out arteries and keep them free of additional plaque forming. It's also a good source of energy.
In addition, the fats in the oil will help your body absorb and use more of the turmeric, which is what you want to happen with this recipe.
About two tablespoons is good. You don't need an insane amount, or the hummus will be oily. You want the oil IN it, but the hummus shouldn't have an oily texture.
I don't measure, but about four long squeezes from the bottle equals approximately two tablespoons.
9. Add Some Freshly Ground Black Pepper

Most hummus recipes don't call for pepper, but you're only adding a tiny bit here. The reason is simple....black pepper helps your body absorb the turmeric better. Along with the fats from the hemp (or other) oil the pepper will ensure you get the maximum anti-inflammatory benefits of the turmeric.
I just put a few quick spins of the pepper grinder in it. Not enough to really taste it, except for maybe a tiny extra "bite" to the hummus (depending on how much you put in).
10. Add the Salt

Salt to taste. Any type of salt is fine, though sea salt is preferable to table salt.
If you want a real powerhouse salt with all kinds of built-in trace minerals that are amazing for you, use pink crystal Himalayan salt. That's what I use.
I like my hummus a little extra salty, so I just keep going with the electric salt grinder until I "feel" I have enough. You can use as much or as little as you prefer.
11. Add the Tahini

Tahini is a smooth paste made of ground sesame seeds, and it's an essential ingredient of any kind of hummus. Two tablespoons is just right for this recipe.
Tahini is a very soothing, relaxing food, easy on the nerves, and can actually heal them. Its addition makes hummus a good food to eat before bedtime.
12. Whirl it All Together in the Blender

All your ingredients are in the blender now. Put the lid on, start blending on the lowest setting, and gradually work your way up to the highest one. Blend for about a minute, or until all the ingredients have become a nice, smooth paste.
13. Serve and Enjoy

Scoop out the hummus into a bowl, so you can cover it with some foil if you don't eat it all, and keep it in the refrigerator for later. Hummus is good right out of the blender, or cold from the fridge. It will keep for three or four days in the refrigerator.
I like to eat this hummus as a topping on a baked potato, sometimes with some raw sauerkraut added on top of that (raw sauerkraut is a probiotic food that's good for your tummy, and digestion in general).
I also eat it with raw carrots, on toast (or sometimes just plain gluten-free bread), and every now and then, directly off of a spoon.
However you like your hummus, this supercharged version of it is a great way to eat it, and boost your health and overall well-being at the same time.
Give it a try!

It's delicious!
