In my recent post on how to make lard soap, I realized that I had not covered the essential steps of rendering the lard. Thanks @gillianpearce for pointing that out. You can buy lard from a butcher or local farm. Give them a call and they'll usually arrange something with you. Often when you buy lard, it will not be rendered so you'll need to do a little work to prepare it for use. It's really easy to do!
This is what 6.5 LBS of fat looks like.

Ingredients/Supplies
- Pig fat/lard (trimmed of any excess flesh – should be purely fat)
- A heavy bottomed pot (or crock pot)
- Wooden spoon
- Fine mesh sieve/strainer and cheese cloth (I used my jelly strainer and cheese cloth)
- Storage jars/containers (I use mason jars)
- Kitchen knife
Rendering the lard
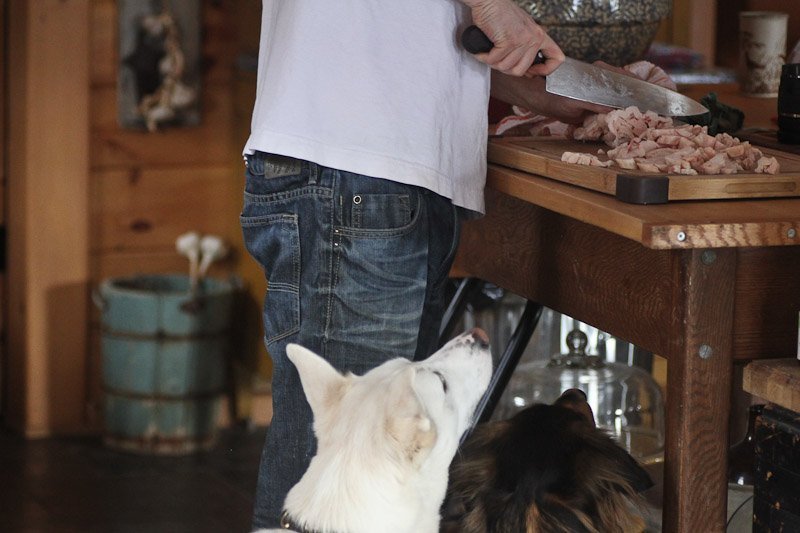
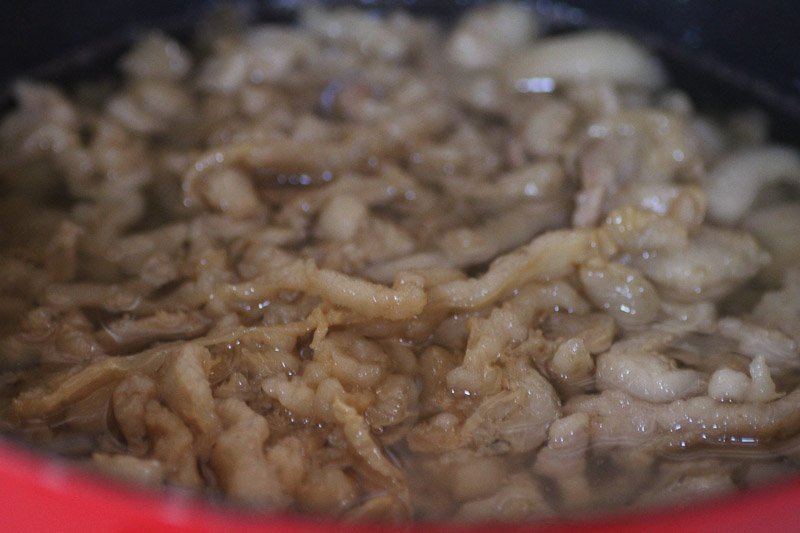
Chop the fat into bite sized pieces. This will speed up the rendering process. We attempted to grind it in an old hand grinder. We've used to make hamburger with great success. It turned out to be a terrible idea for fat. TERRIBLE! It took me an hour to clean it after the failed attempt. Not fun.
We ended up chopping it up with a big chefs knife, and it worked great.
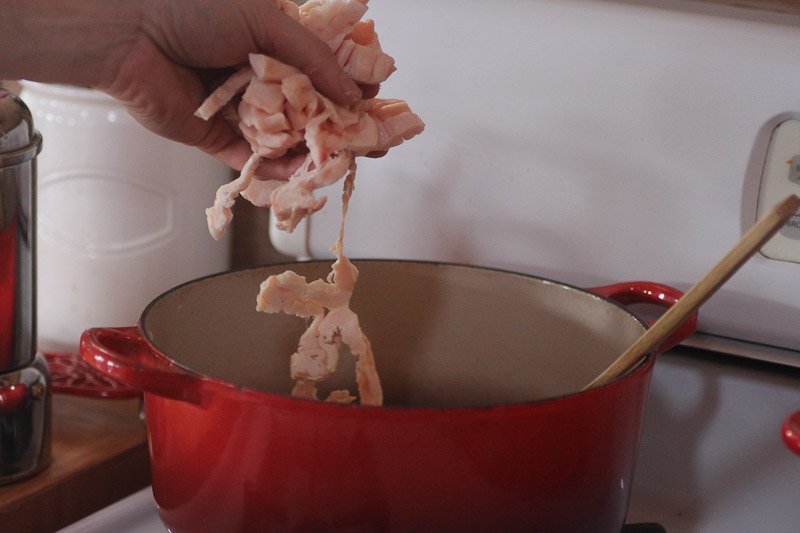
Stick the chopped fat into a heavy bottomed pot. I used my cast iron/enameled pot.
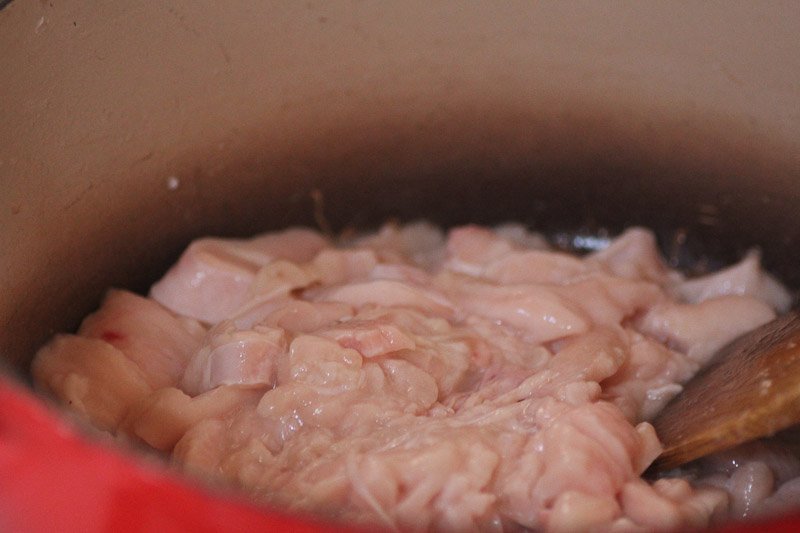
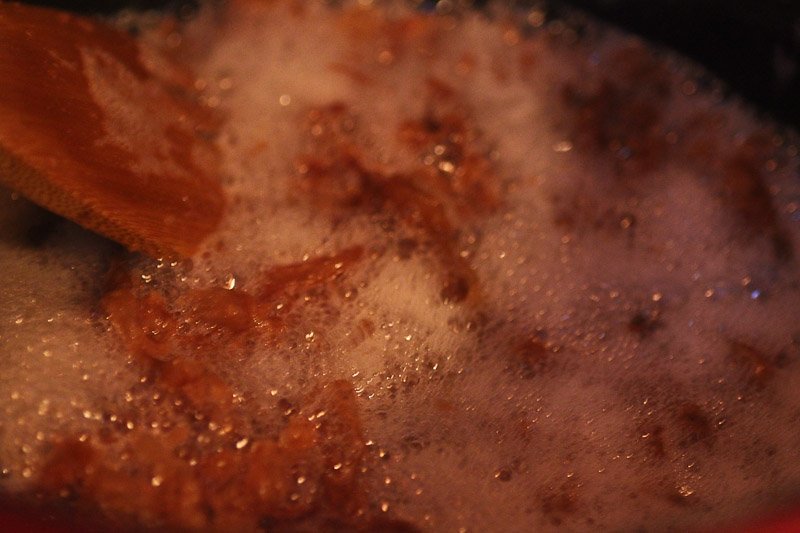
Low and slow is key. You do not want to burn it. If it burns, it is probably still good for cooking but it does not make a nice looking (or smelling) base for soap or baking.
I have a gas stove (with fairly low BTU) and simmered this at the lowest setting, stirring quite frequently. It took about three hours to completely render the lard. Some people use a crock pot with a really low setting, I don't have one and have not tried this but I expect that this would be a great tool for the job.
Eventually there will be a lot of liquid, and the solid bits will have shrunken down.
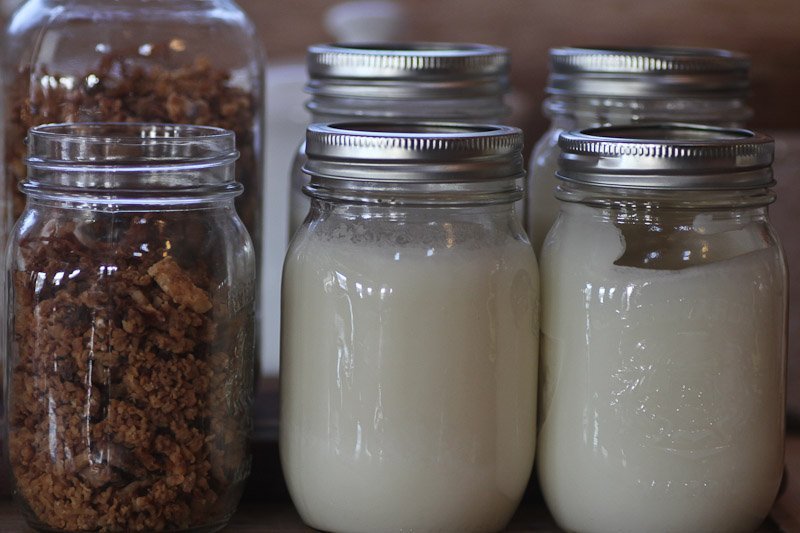
You want a nice pale coloured liquid, like this.
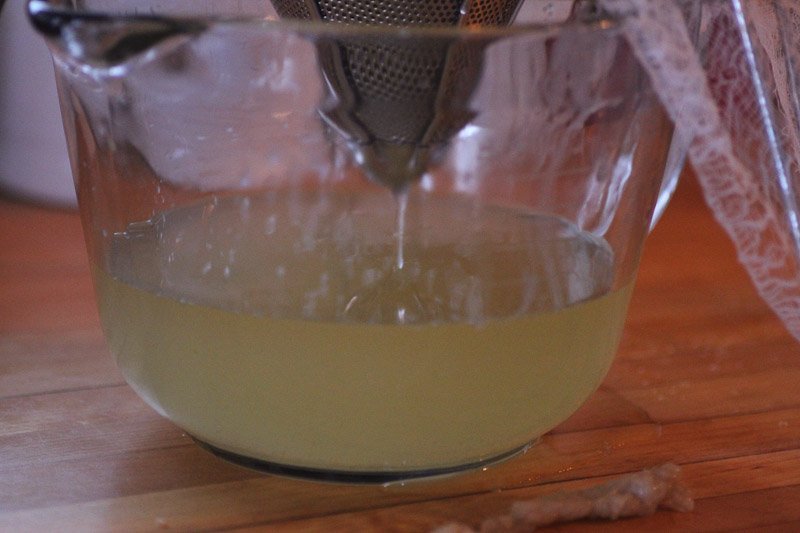
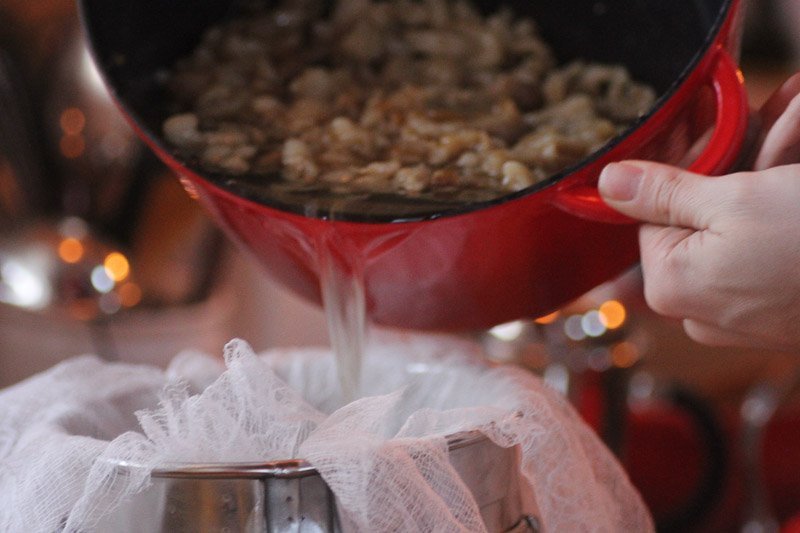
Strain out the liquid. Use cheese cloth or nylons and a fine mesh strainer to separate all the little floaty bits from the liquid. Just keep straining until all the bits are gone. Place all the bits back in your pot to make some pork crackling!
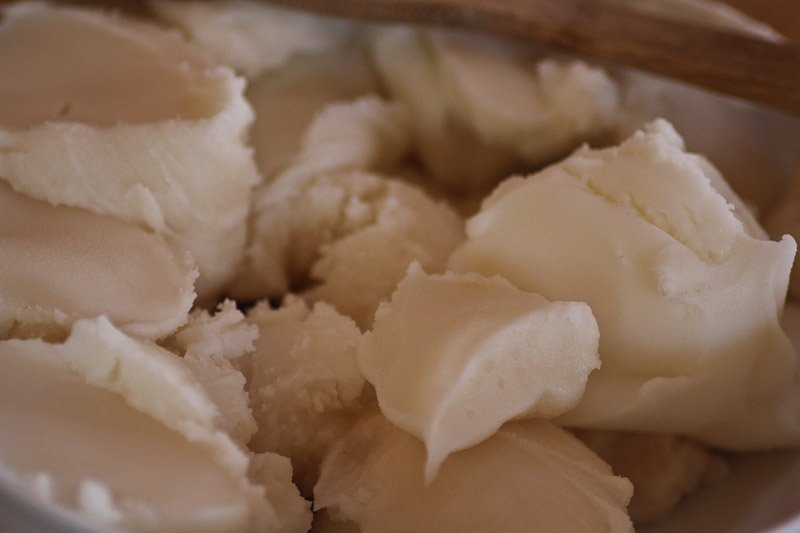
Let the liquid cool enough to handle and pour into mason jars. Leave some head space if you plan of freezing. This is what it looks like once it has cooled. Deceptively like butter cream.
Bonus Item: Making Pork Crackling
Bacon lovers beware, this might push you over the edge. If you have dogs, they'll be going nuts right about now. Making pork crackling takes about ten minutes.
Turn your burner to medium and gently cook the remaining bits that you threw back in the pot. Sprinkle a few pinches of salt on the fat. Cook until its browned and crispy looking. Take a slotted spoon and spread the bits out onto paper towel to drain off the excess fat. Let cool and then store in a jar.
Store in fridge and use within 4-5 days or freeze. Crackling is great sprinkled on pizza, or used as bacon bits or as a not so healthy snack. If you want your puppies to love you forever and ever, crack open a jar and give them a few nibbles.
Now that we have the lard rendered, the next step is making some lovely, all natural lard soap. You can find that recipe here!
Building a greener, more beautiful world one seed at a time.
Homesteading | Gardening | Frugal Living | Preserving Food| From Scratch Cooking|
You can also find me at: walkerland.ca
Photo copyright: @walkerland