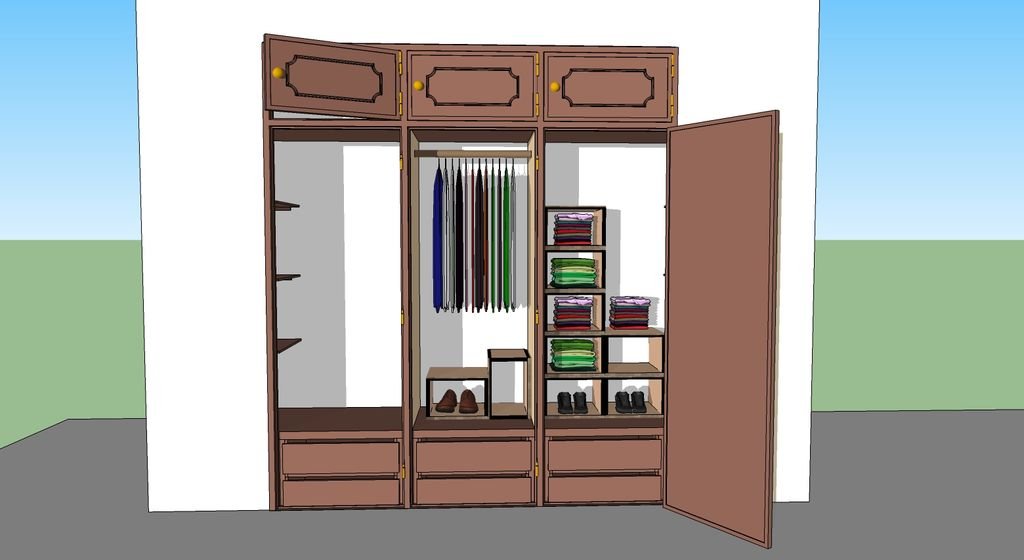
I've been thinking of changing my closet for some time, my intention was to add some shelves, organize the socks on drawers and add support for the hangers. This would be done with cardboard boxes.
In this post i will show you how to make the Single cubbies.
Step 1: Necessary Materials
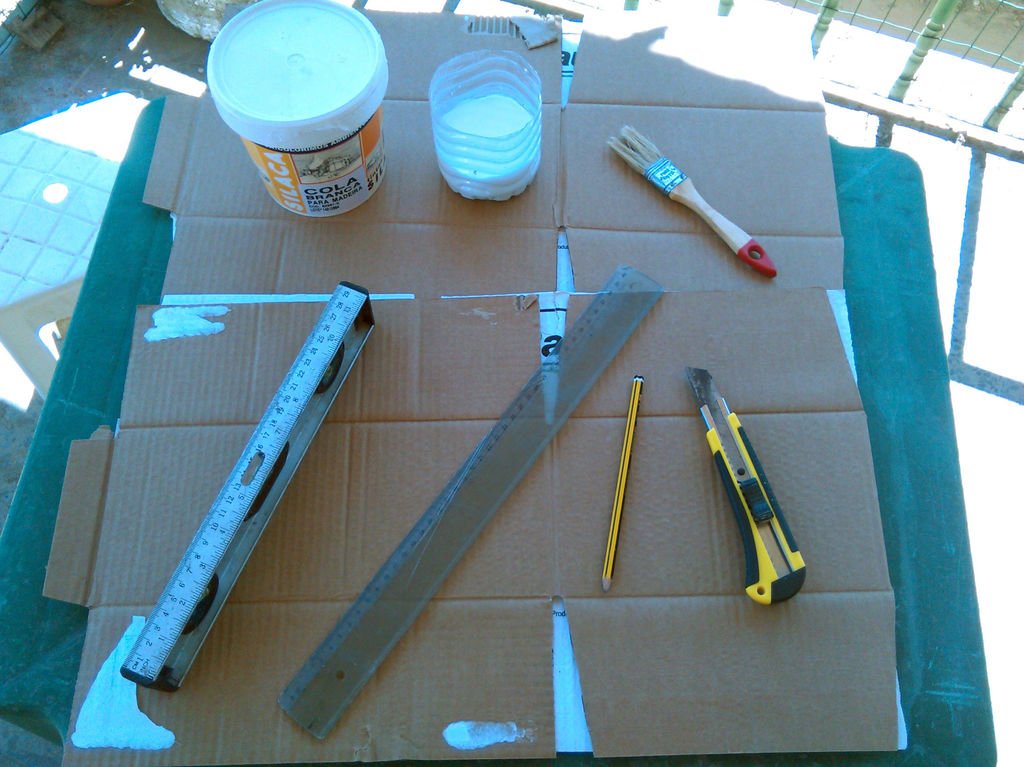
In this project we will need:
- White glue for wood,
- Half a bottle of water,
- Brush,
- Level,
- Ruler,
- Pencil,
- X-act,
- And plenty of boxes :)
Step 2: The Project
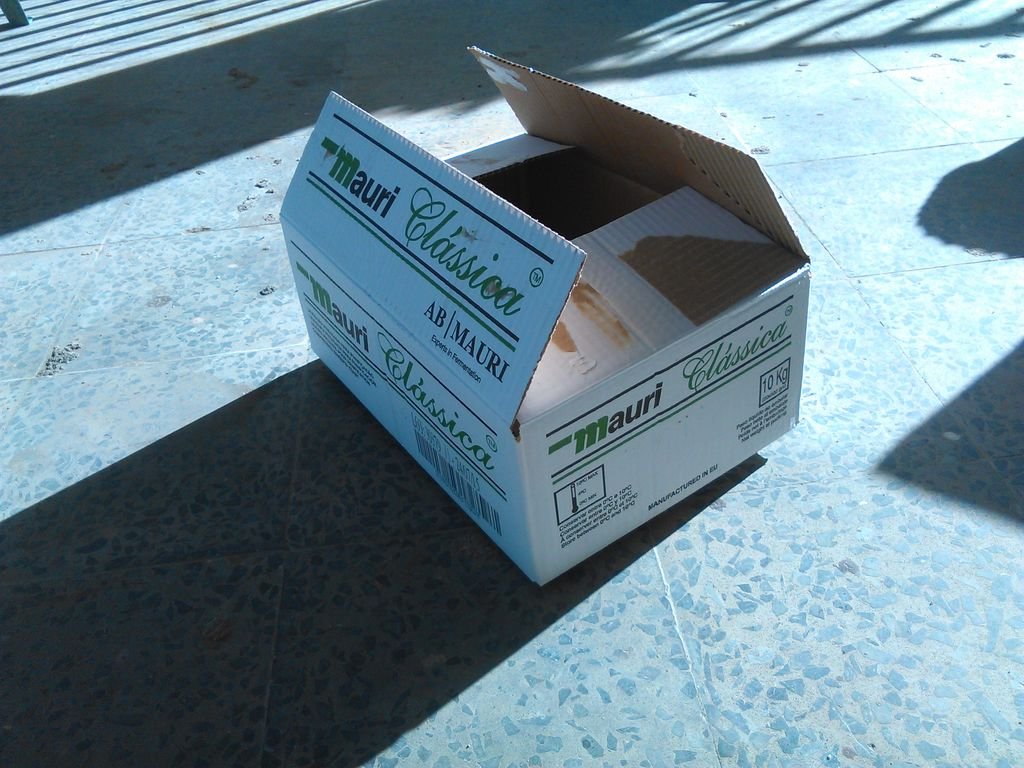
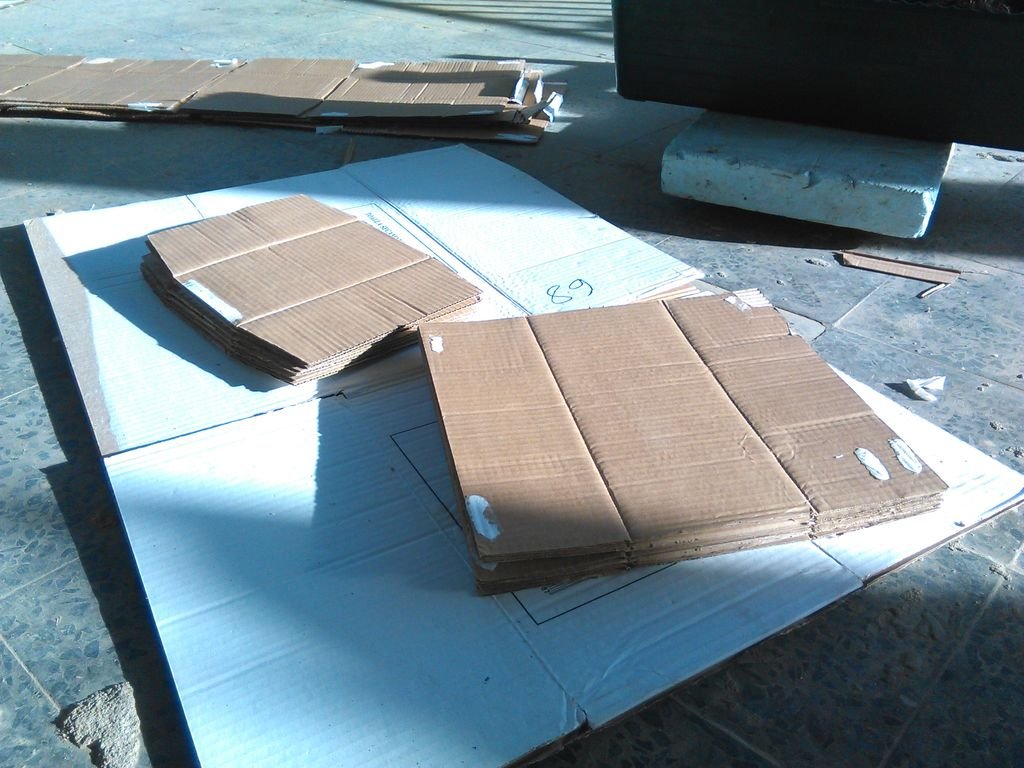
Because only have found a lot of these boxes I had to think of the best way to follow my idea.
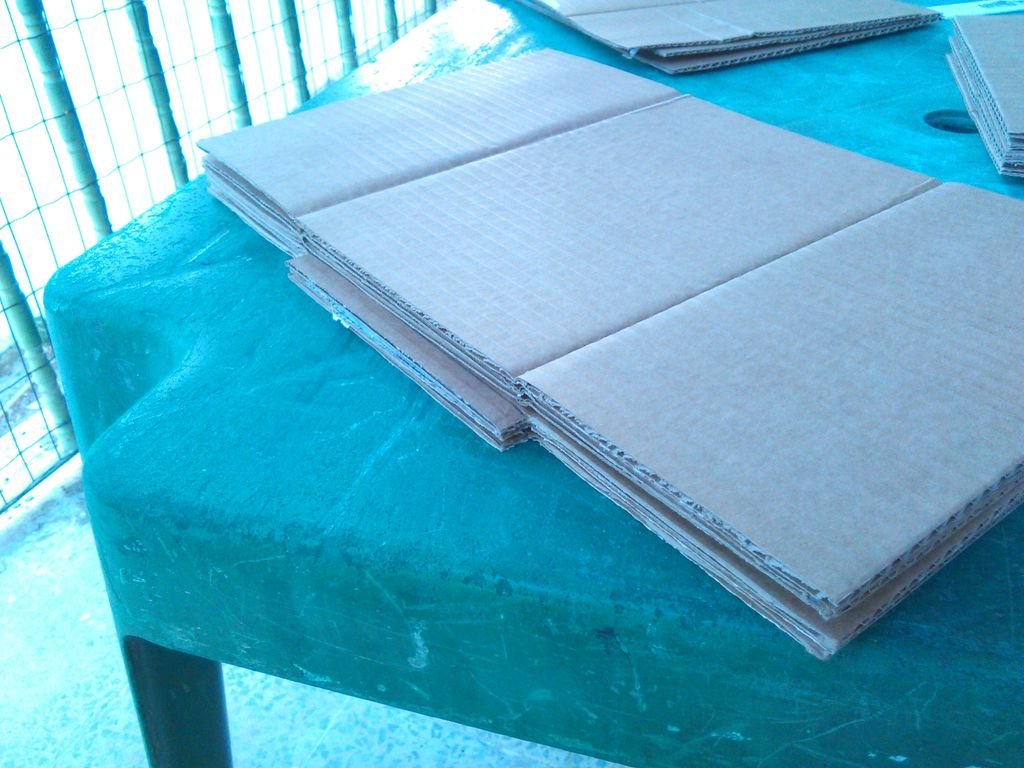
The idea would be to glue several layers of cardboard, creating a "cube" to be strong enough for clothing

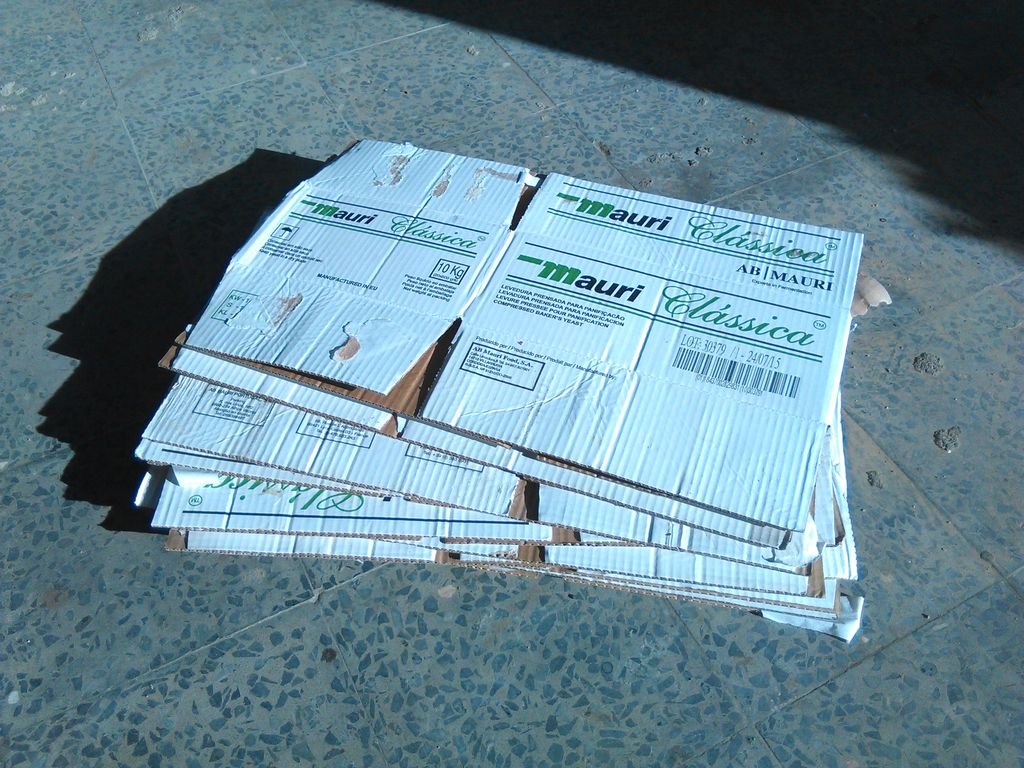
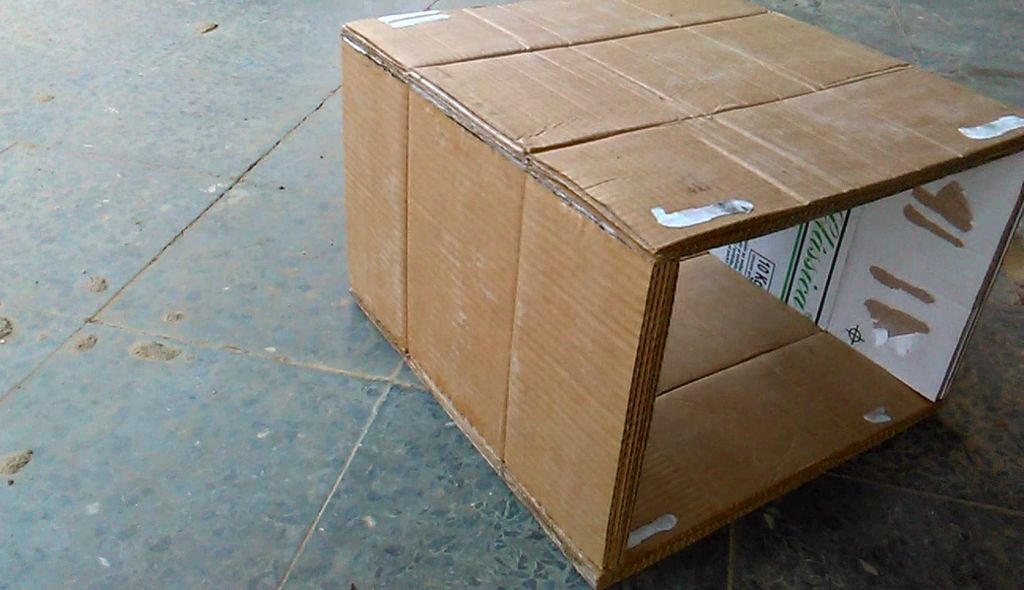
Step 3: Cut the Box Parts

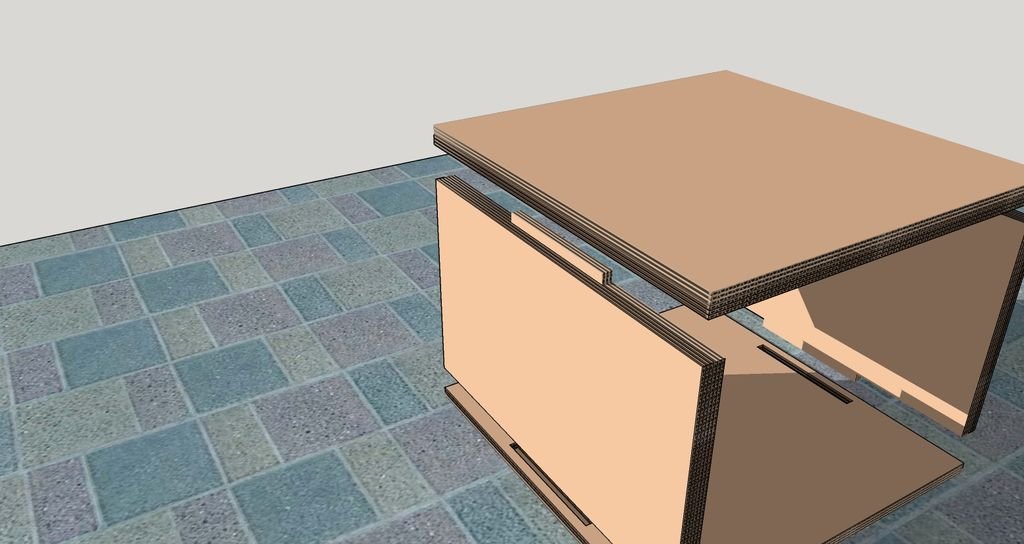
I opened the boxes and used the widest part to the base and the smallest part to the sides.
My intention was to create a plug-in to improve the assembly.
So on the side I took the original cut of the box to create the plug-in,
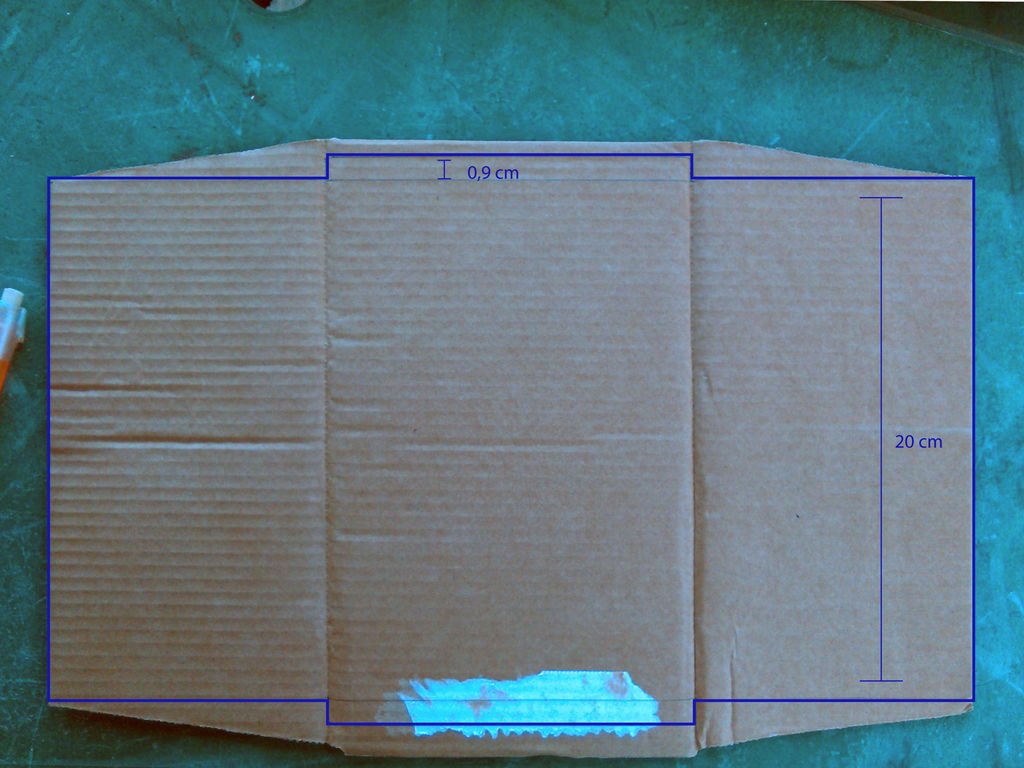
I used 6 layers of cardboard.
- 3 layers with 0,9cm card for plug-in
- and other 3 layers cut from one face to another, to support the base.
Step 4: Gluing the Parts
Side parts
On side parts i glue 3 layers with the plug-in and over them the other 3 layers without plug-in to support the base.
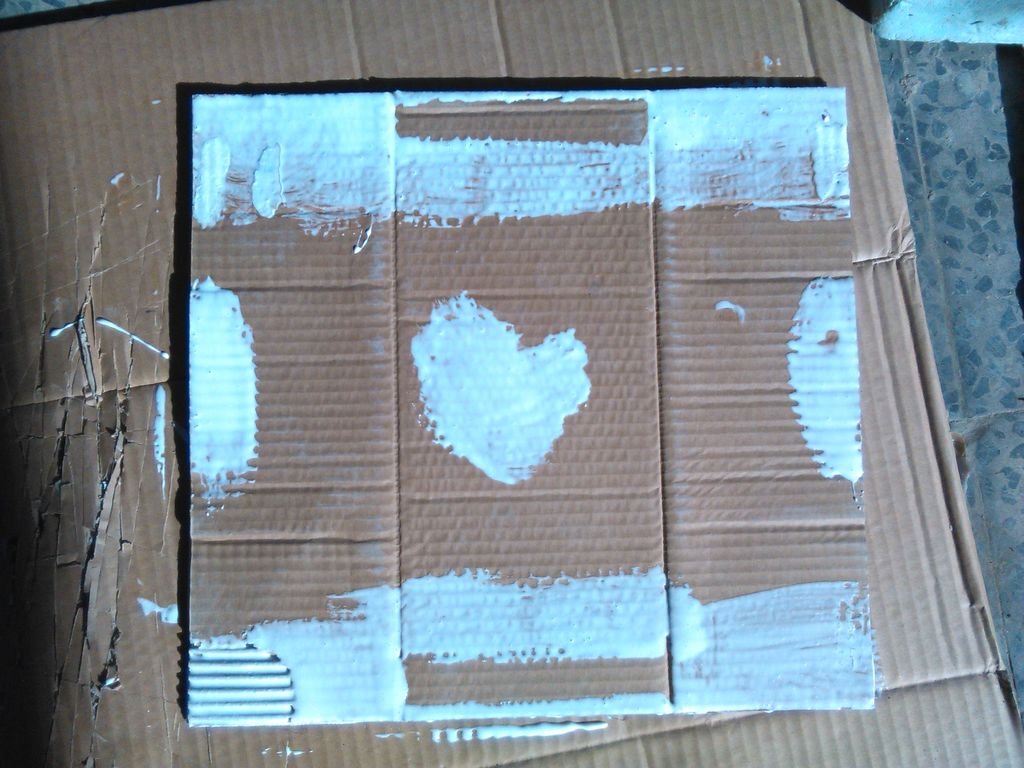
For this I used white glue, I added just a bit of water to get a little more liquid, but not much.
it is advisable to use a wood board or something smooth to put pressure on the layers

base parts

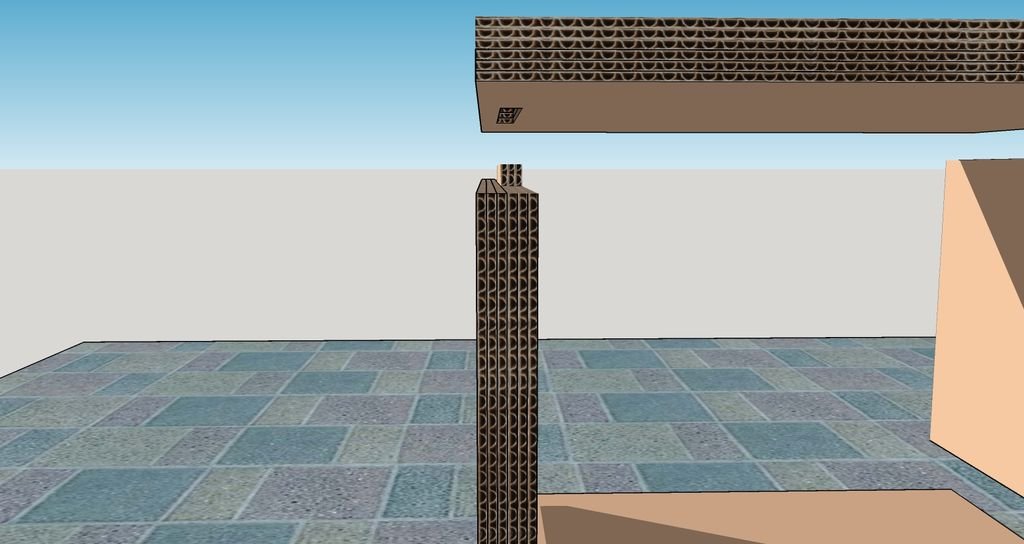
On the bases I just glued the 6 layers and only then did the cuts for docking.
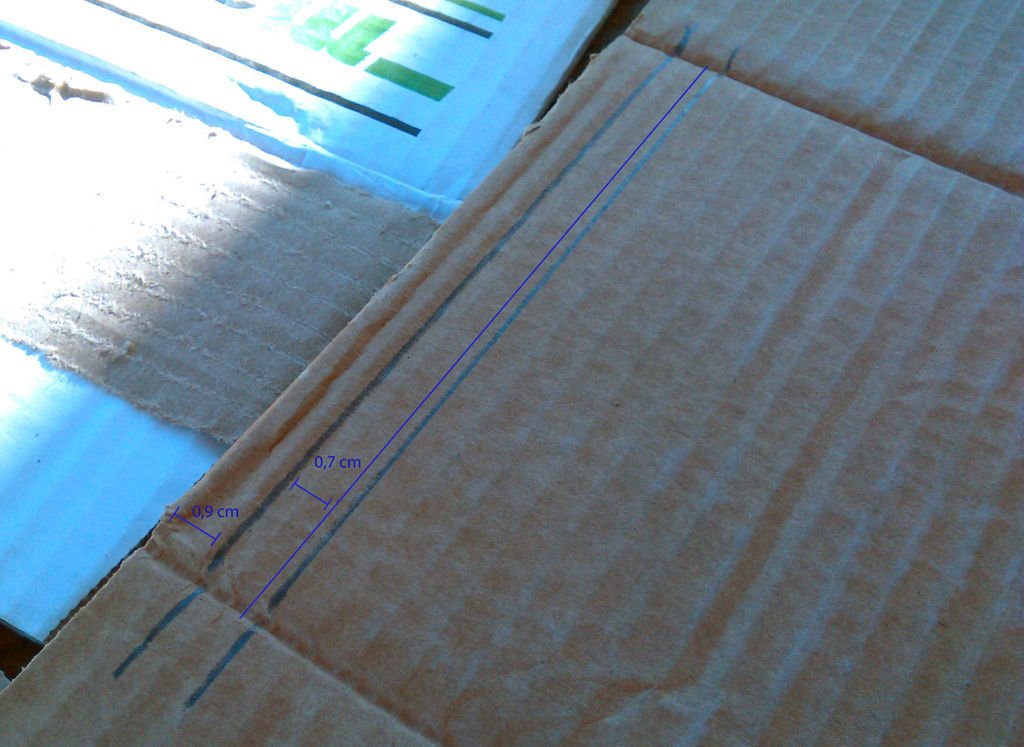
The cuts have the follow measures. For best results I had to reduce the size of the plug hole, to 0.7cm so the fit gets tighter.
before gluing the bases must be careful to leave the hole space without glue, to facilitate cutting, in this case I forgot this detail then the cut was harder. (Video below)

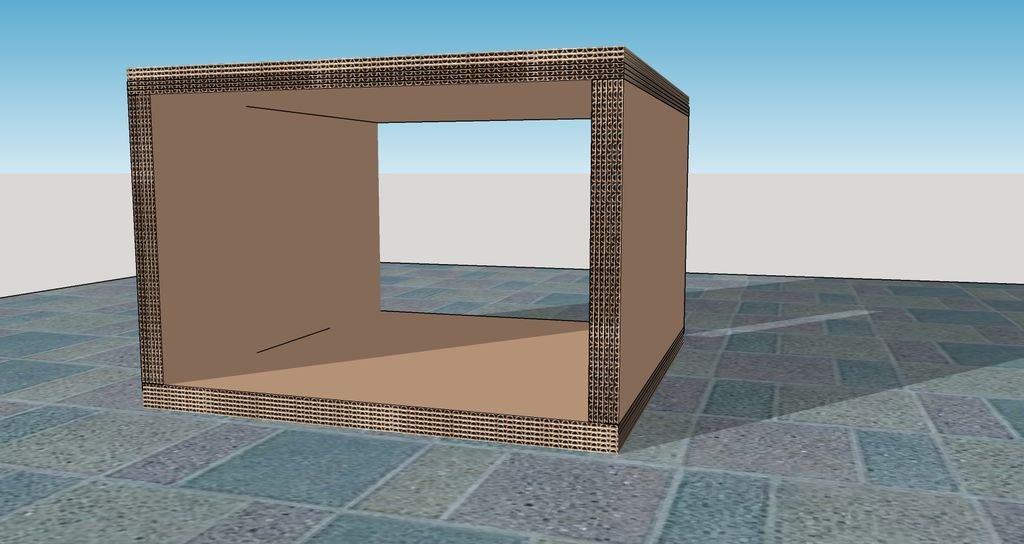
Step 6: Mounting
This is the best part, just put glue on the side within the slots, mount the parts and put pressure on the box, verifies that the box is level.
I left the box up pressure for 1 day to make sure that would be very glued.

Step 7: Decoration
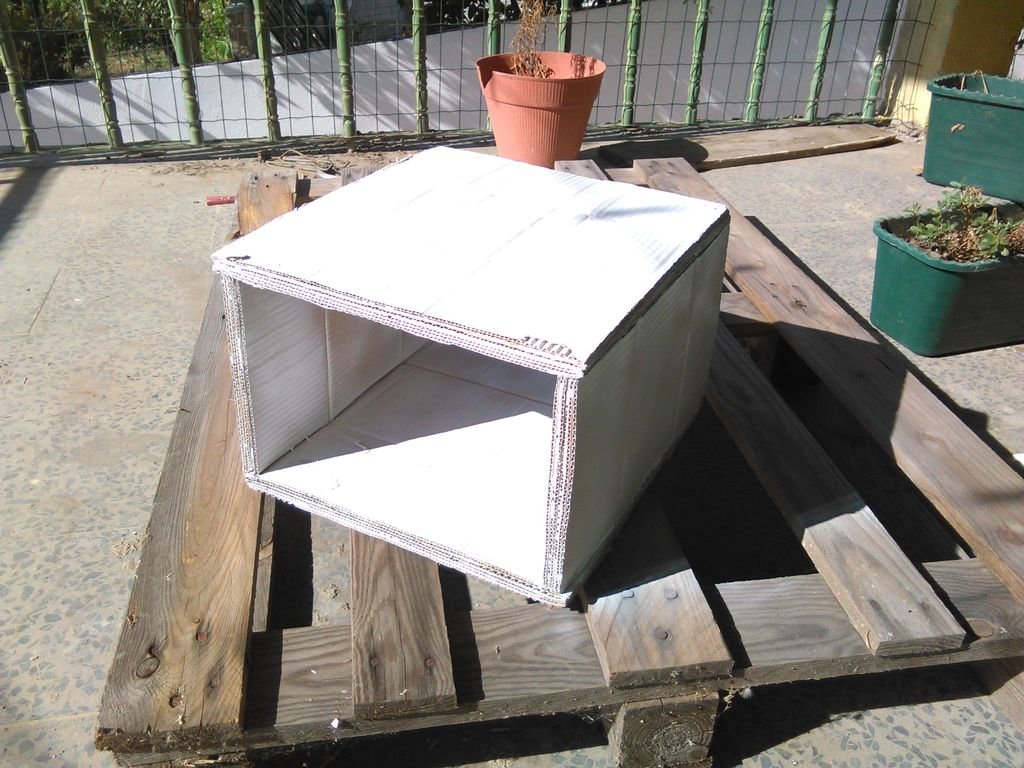
On decoration you can paint the box the color you want, or cover whit white paper or newsletter is up to you 😉
Thanks for watching