A Step By Step Guide To Starting Lavender Cuttings
Part of my homesteading philosophy is a frugal approach to just about everything. A checkbook farmer I am not. If there is a way to do something on the cheap I am going to attempt it. Now, I will spend money on quality things that I want or need to last, but most of the time we try to make do or find a cost-effective solution. Case in point: Our lavender production.
When we put the lavender field in 12 years ago we spent the money and had certified, disease free plants shipped in from a nursery in Bellingham, Washington. It was important to me to buy stock that was produced in a climate somewhat close to ours, for I didn't think nursery grown plants from Southern California would do well in our harsh North Idaho climate. That planting was composed of 330 lavender plants, and I put in another 120 the following spring. Commercial lavender plants have their best yield for approximately 10-15 years, so it is time to rejuvenate my lavender field.

The two cultivars that I have growing are "Munstead" and "Grosso" and they have both went through record winters, droughts, and everything weather-wise that has been thrown at them like vigilant soldiers. Instead of buying new plants I am going to slowly replace my field with plants I propagate off of the mother stock. Many years ago I was a part of a commercial lavender guild, and the local lavender guru lady taught me how to propagate cuttings. Here's the method she showed me:
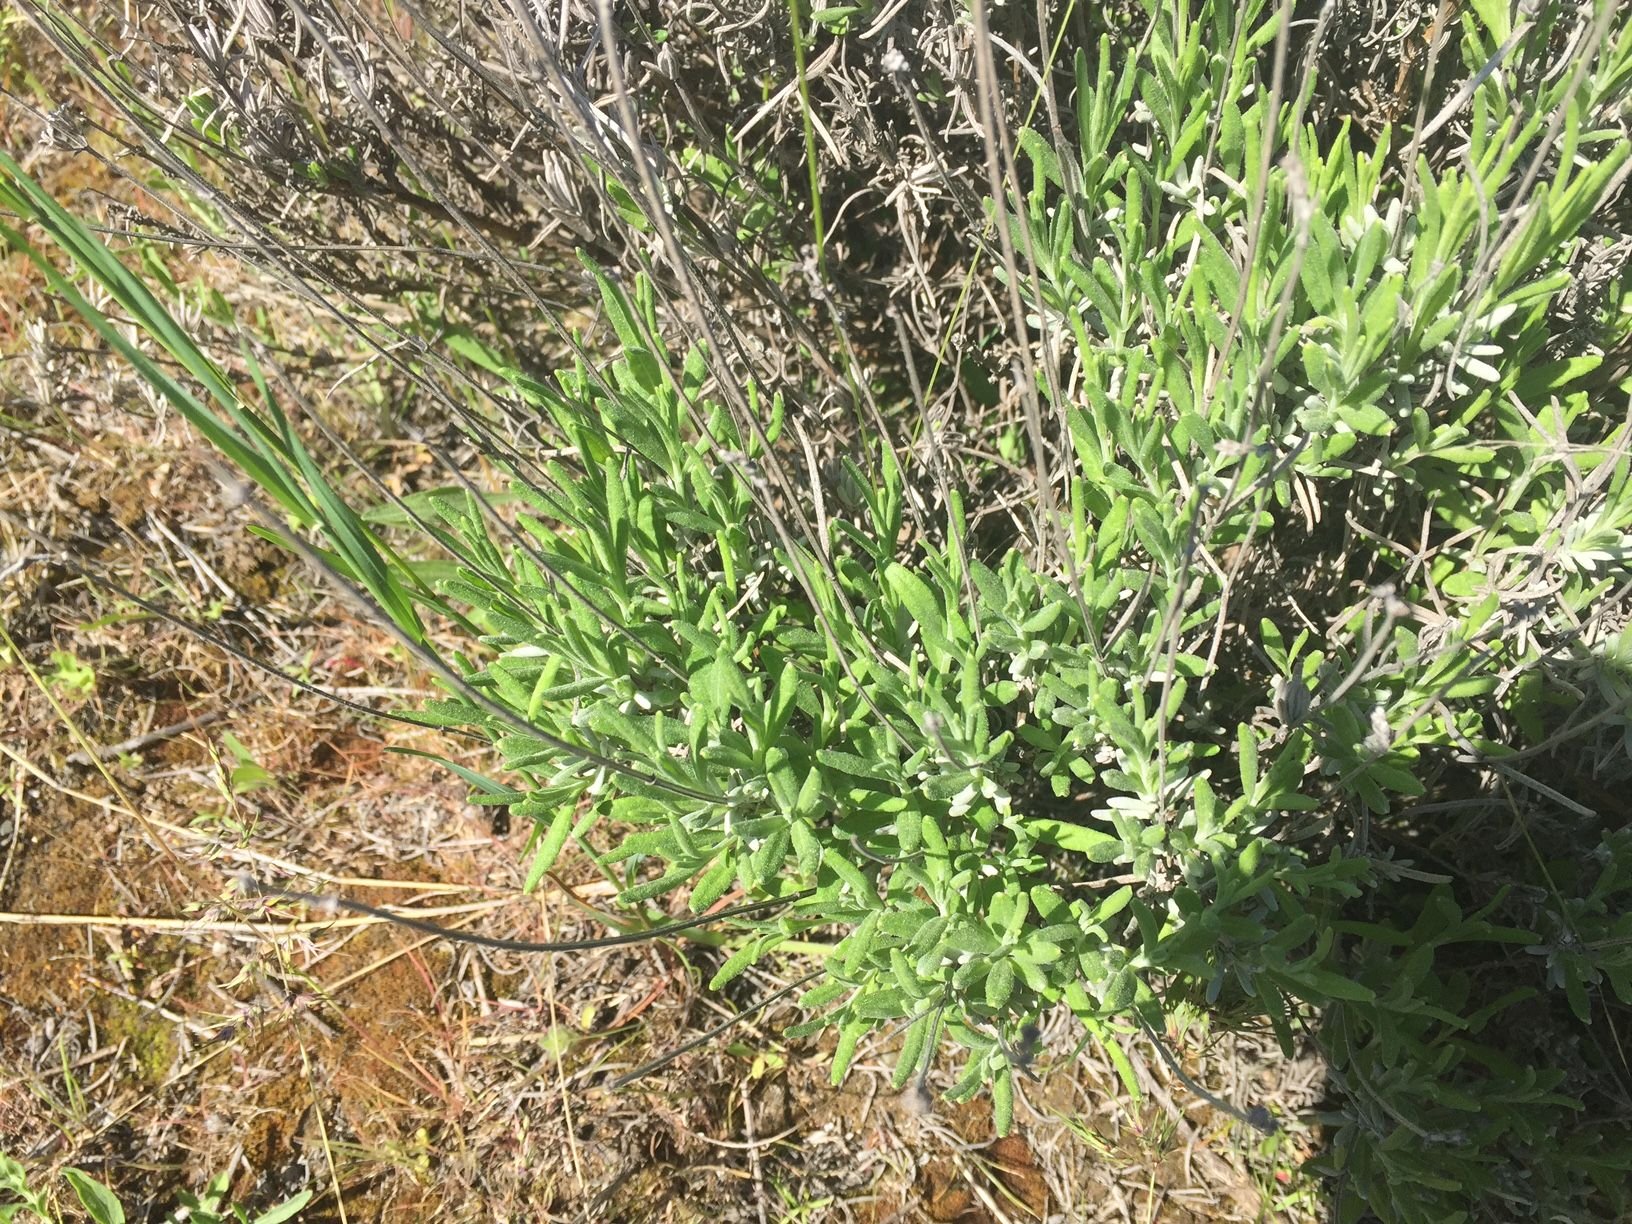
In spring when your plants start putting on new growth (usually May in North Idaho) cut 3-4" pieces of lavender with some soft wood and at least one leaf node on the bottom.
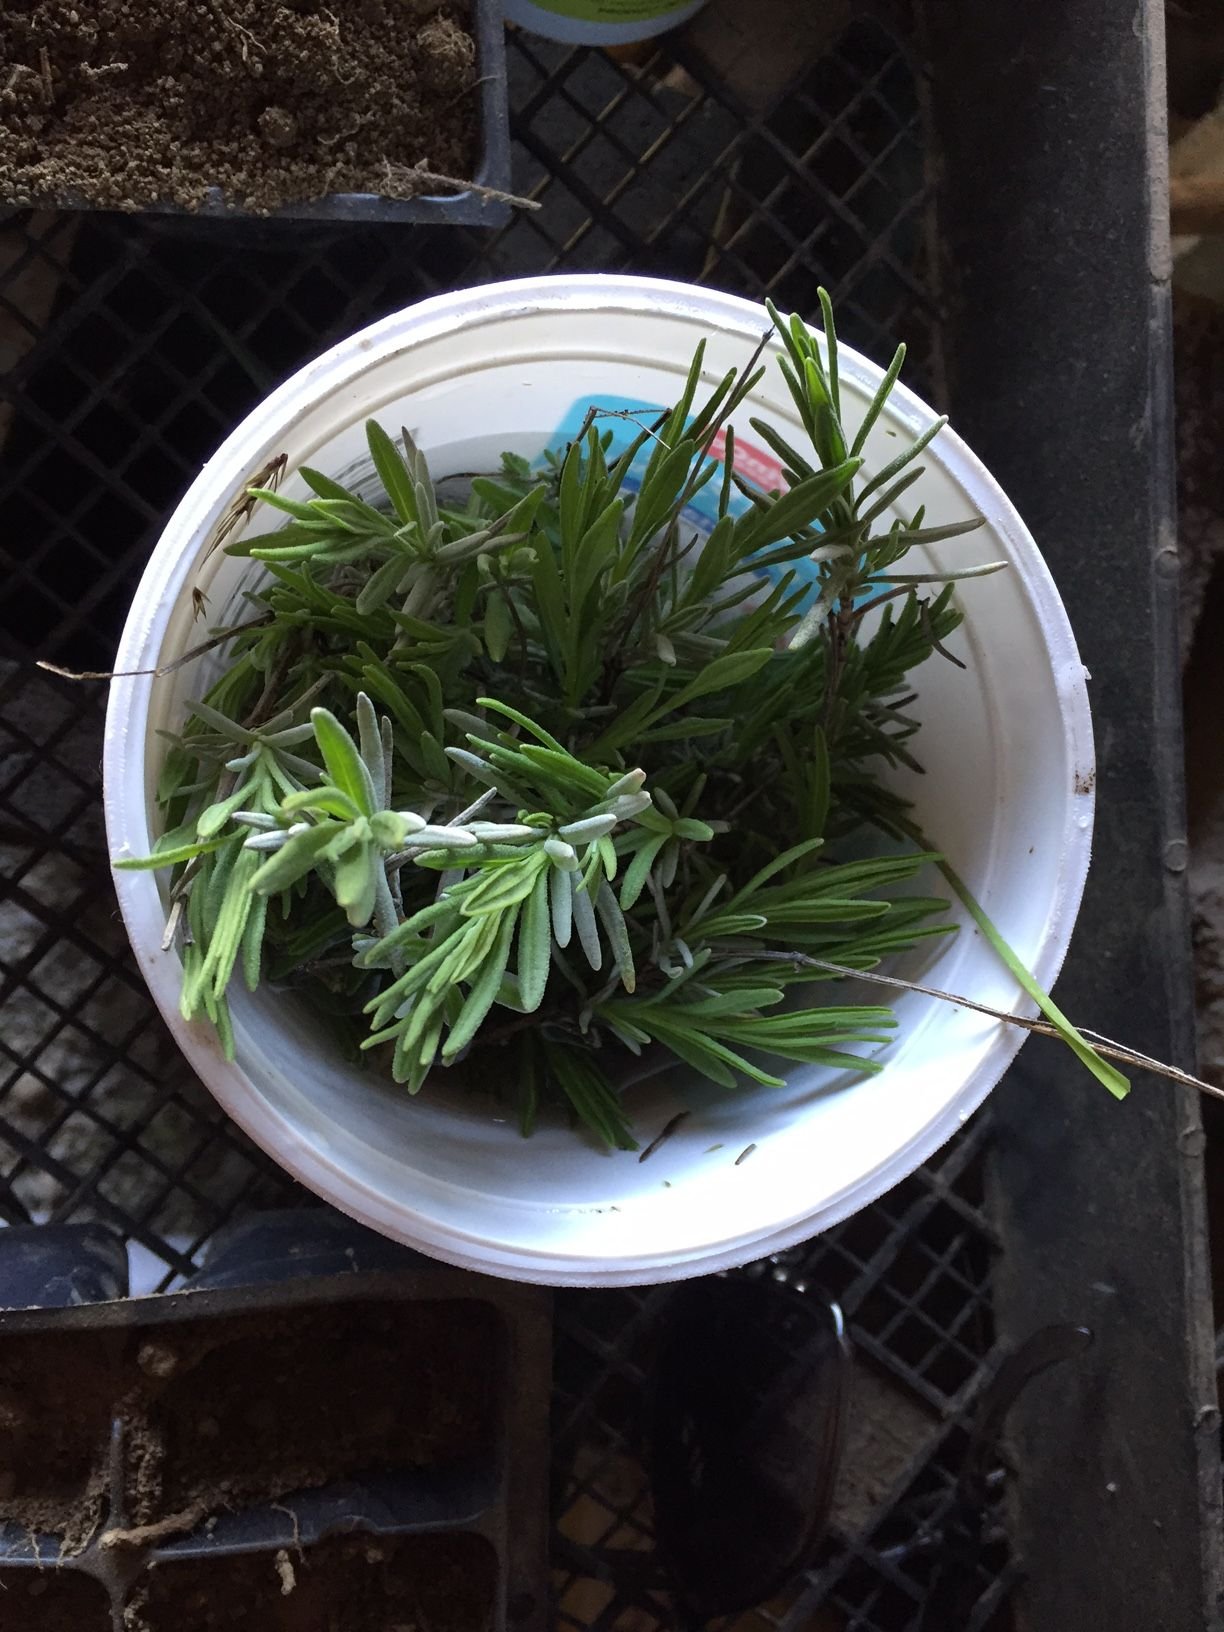
Remove any leaves on the bottom 2 inches
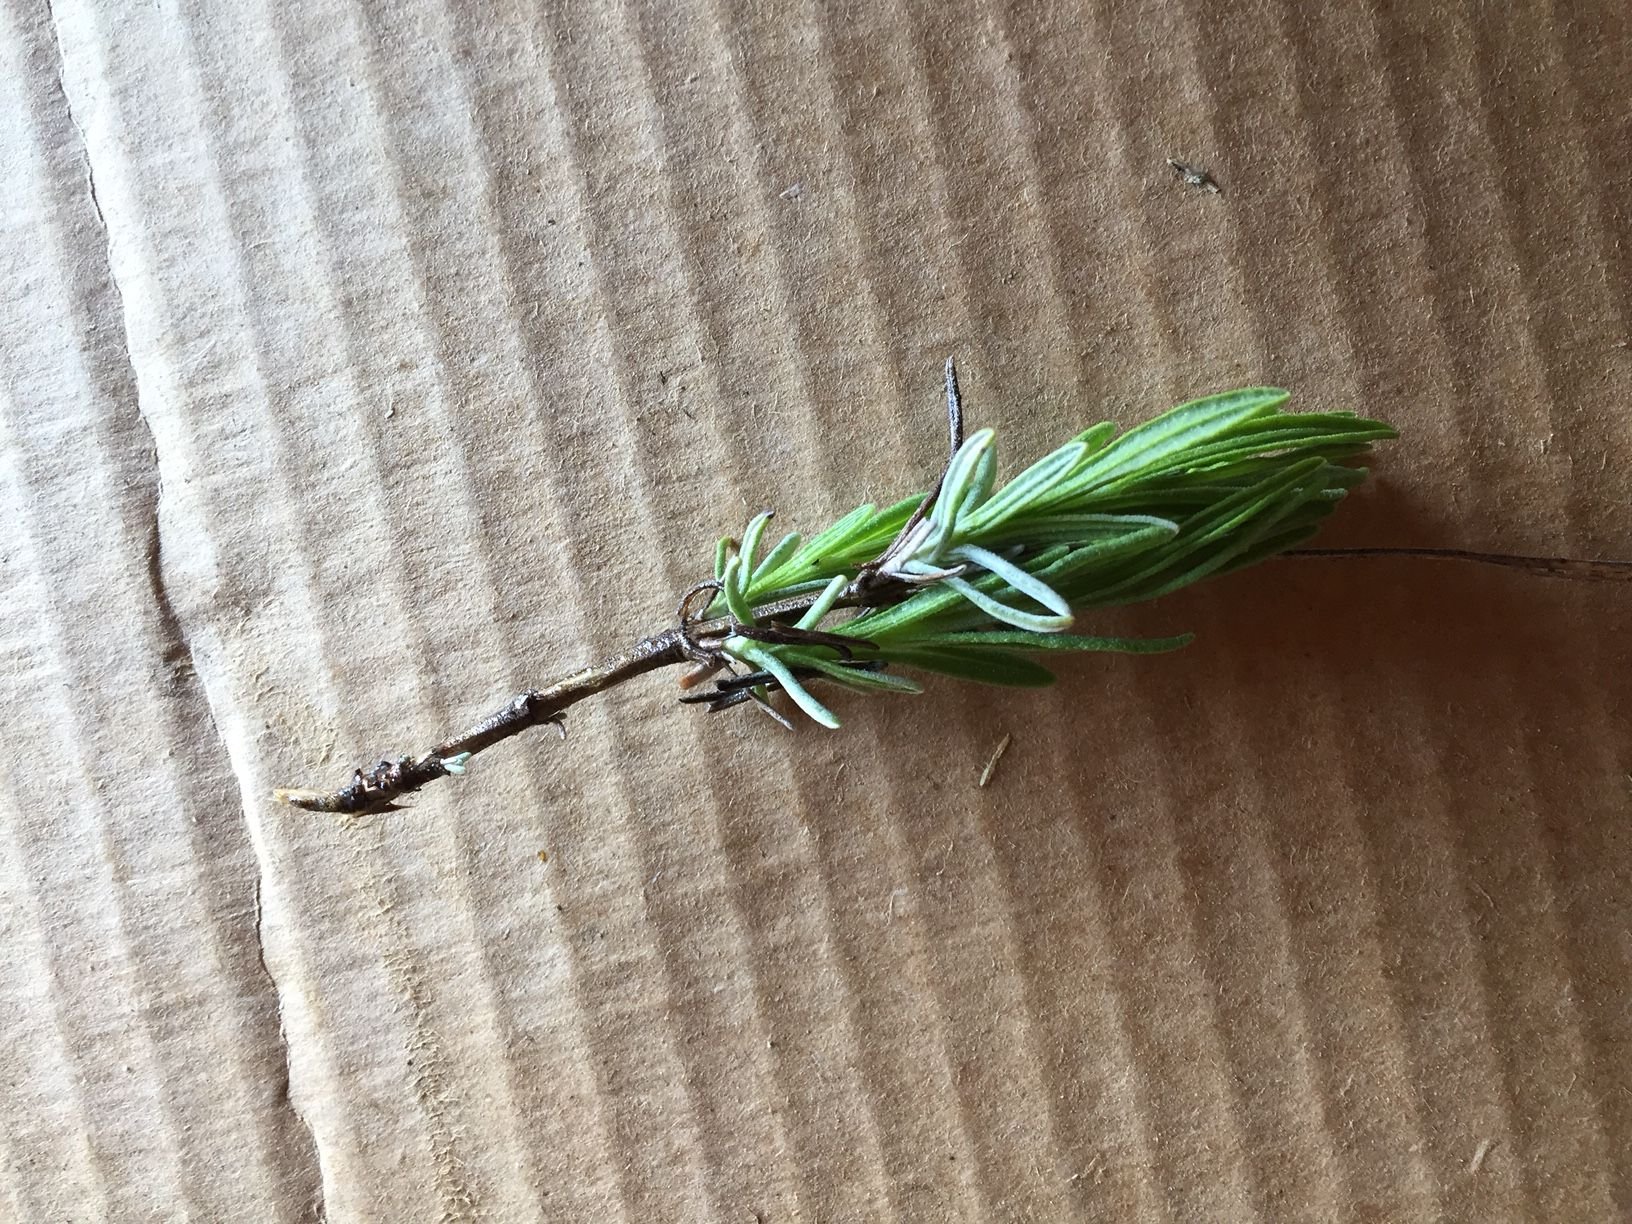
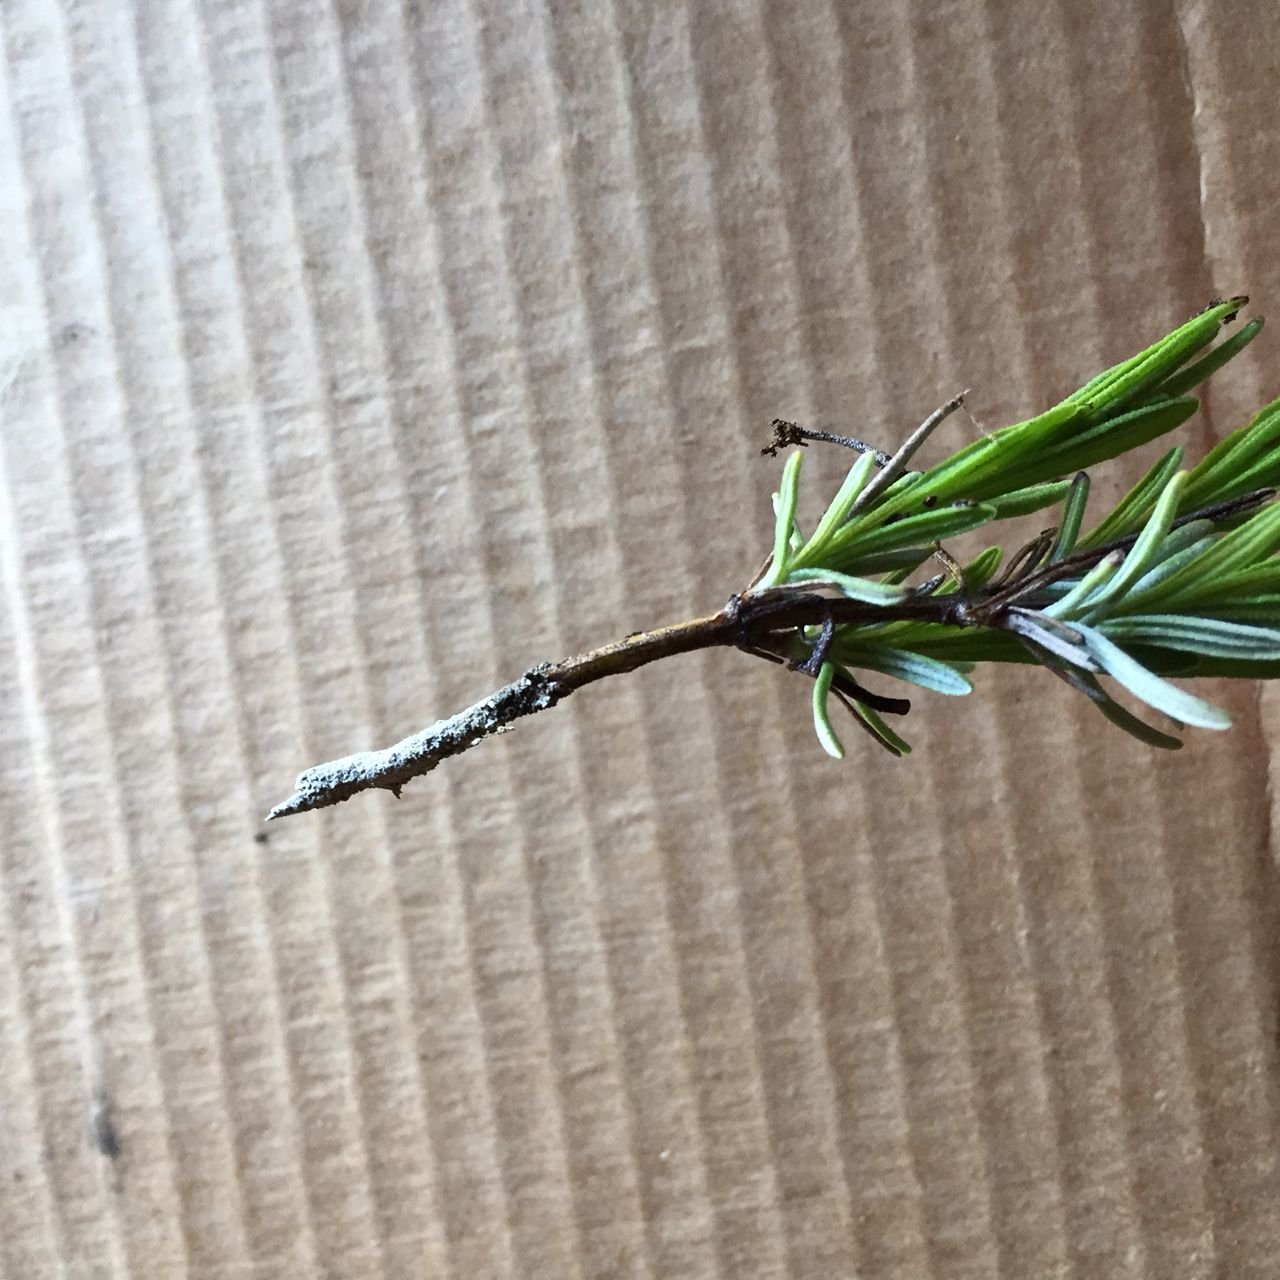
With a clean knife (I always use my fingernail) remove the outer "bark" on at least one side of the stem. Go up with with this removal around 2 inches.
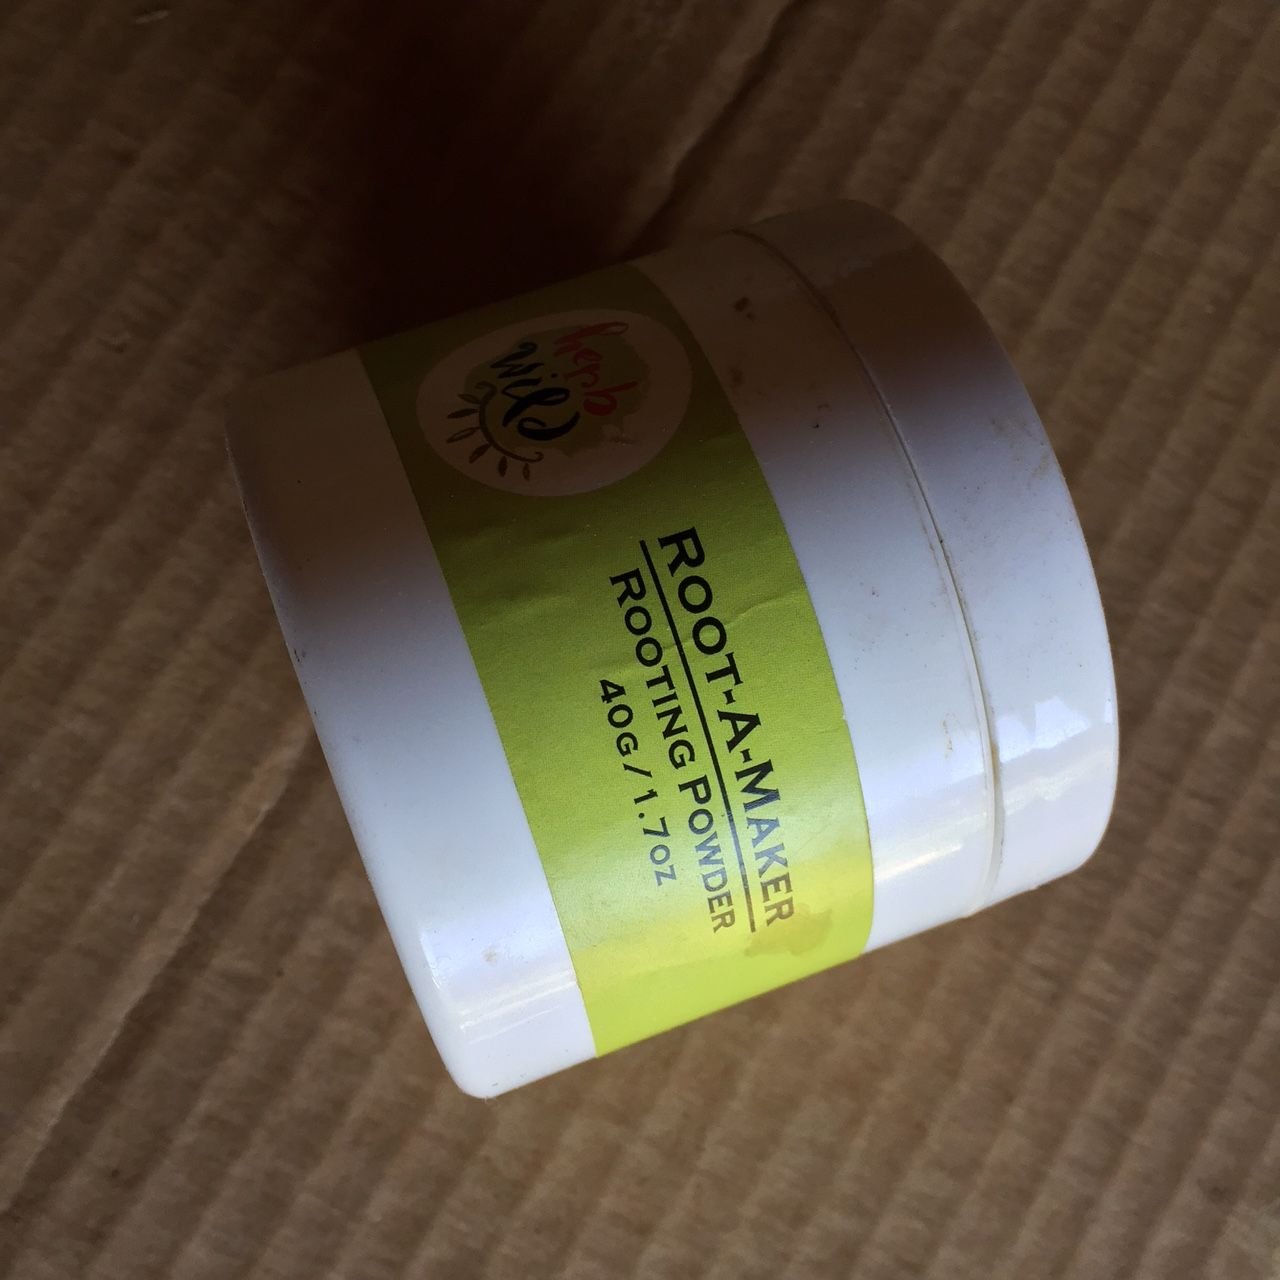
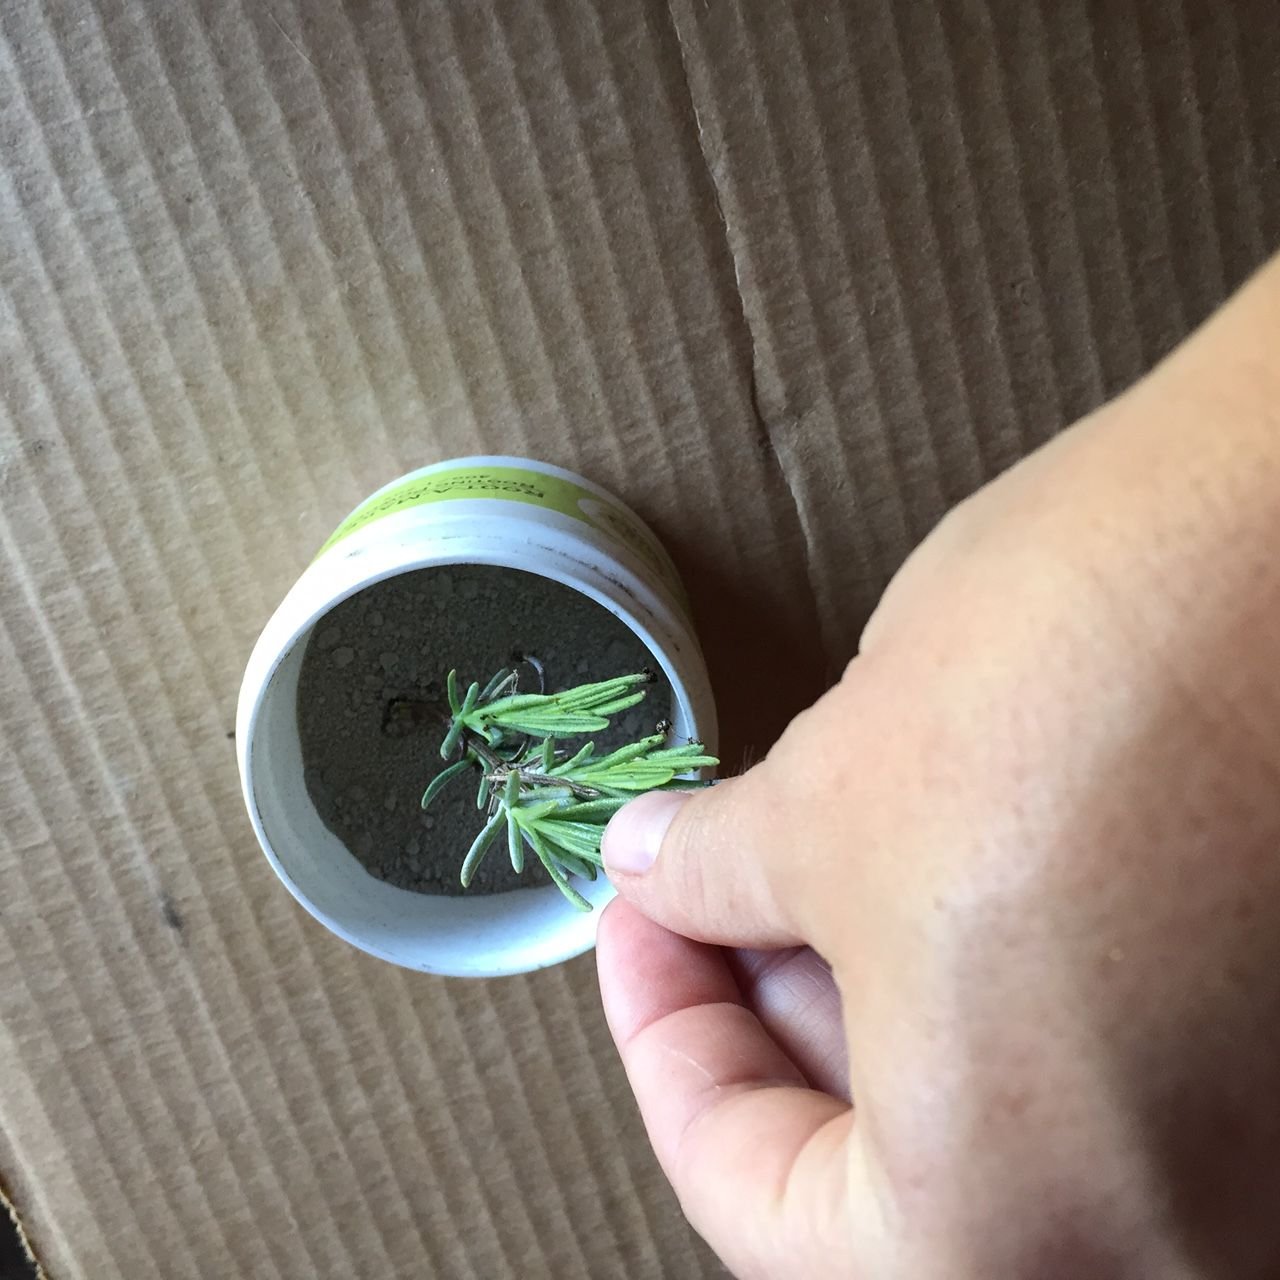
Now I was told to use a sandy mix, commercial starting mix, or a mixture of vermiculite and peat moss to start my cuttings. My soil is pure glacial silt and I have been successfully starting cuttings in it for years, so I tend to use it for this process. Once you decide what sort of planting medium you are going to place your cuttings in, you have the option of dipping them in rooting hormone. The sheer volume of warnings on the rooting hormone label kinda freaked me out as I had a baby and was pregnant at the time I learned how to propagate lavender, so I searched around and found this rooting powder from Richters. This fungicidal clay and humic acid powder might seem a bit spendy, but I have been using the same jar for years and have a 99-100 percent rooting rate on my cuttings. The whole point of rooting hormone or the Root-A-Marker powder is to encourage your cuttings to root and keep rotting at bay. Lavender will also propagate well without the use of either; just use what fits your philosophy.
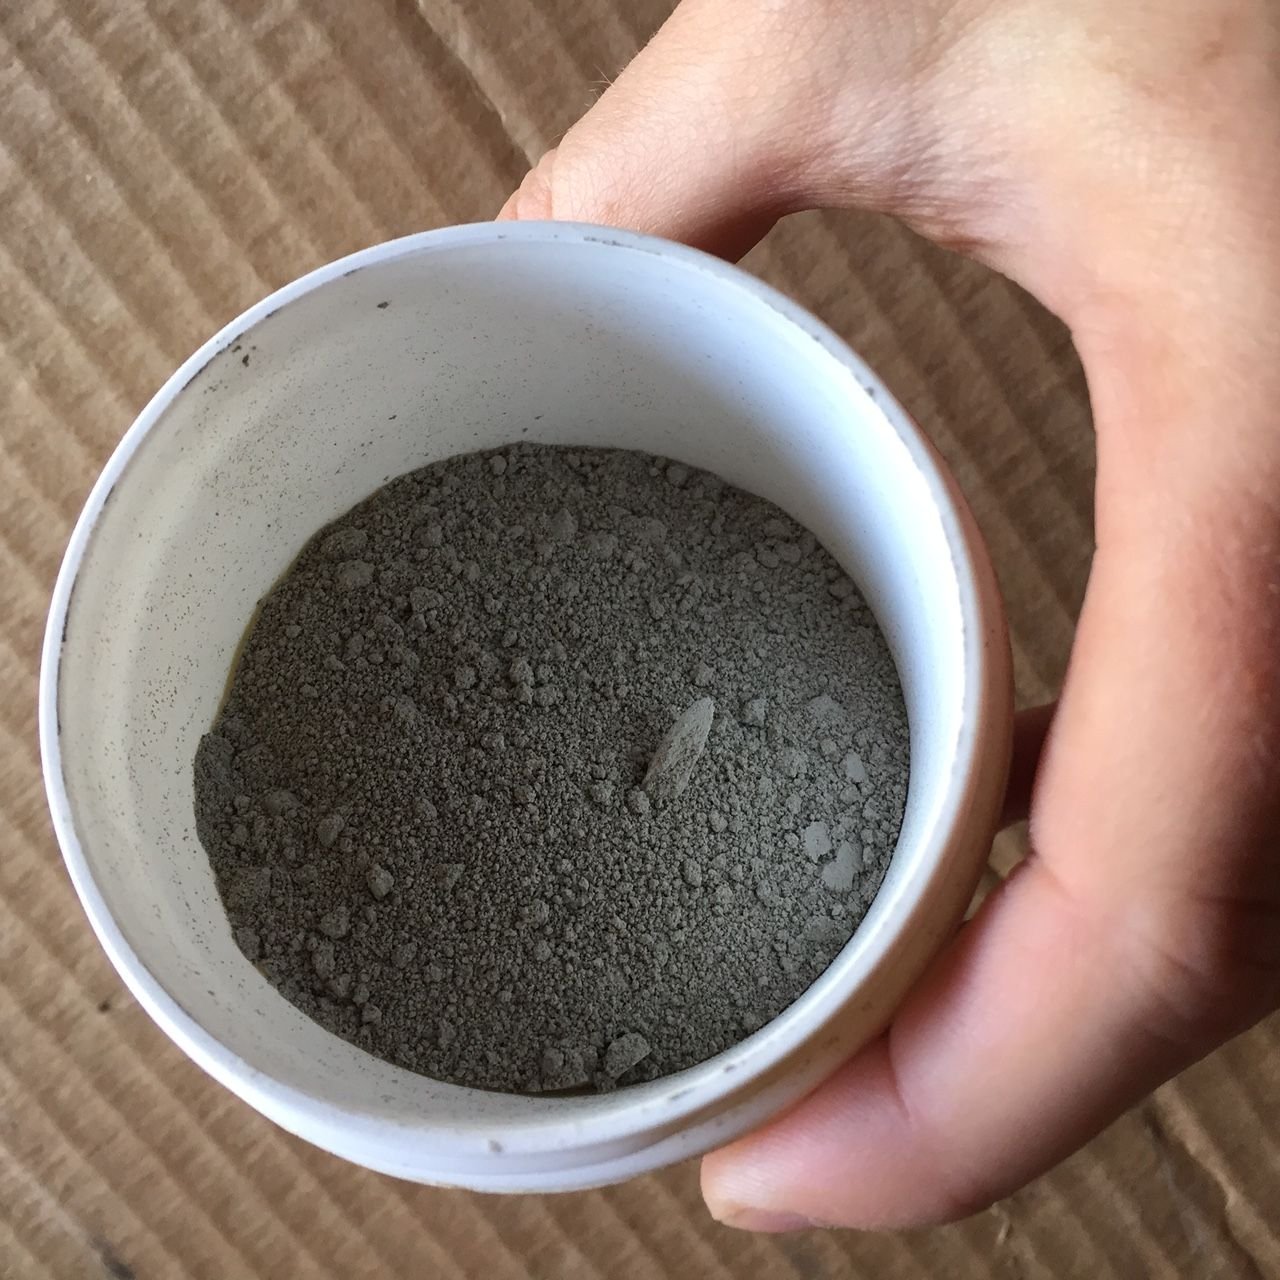
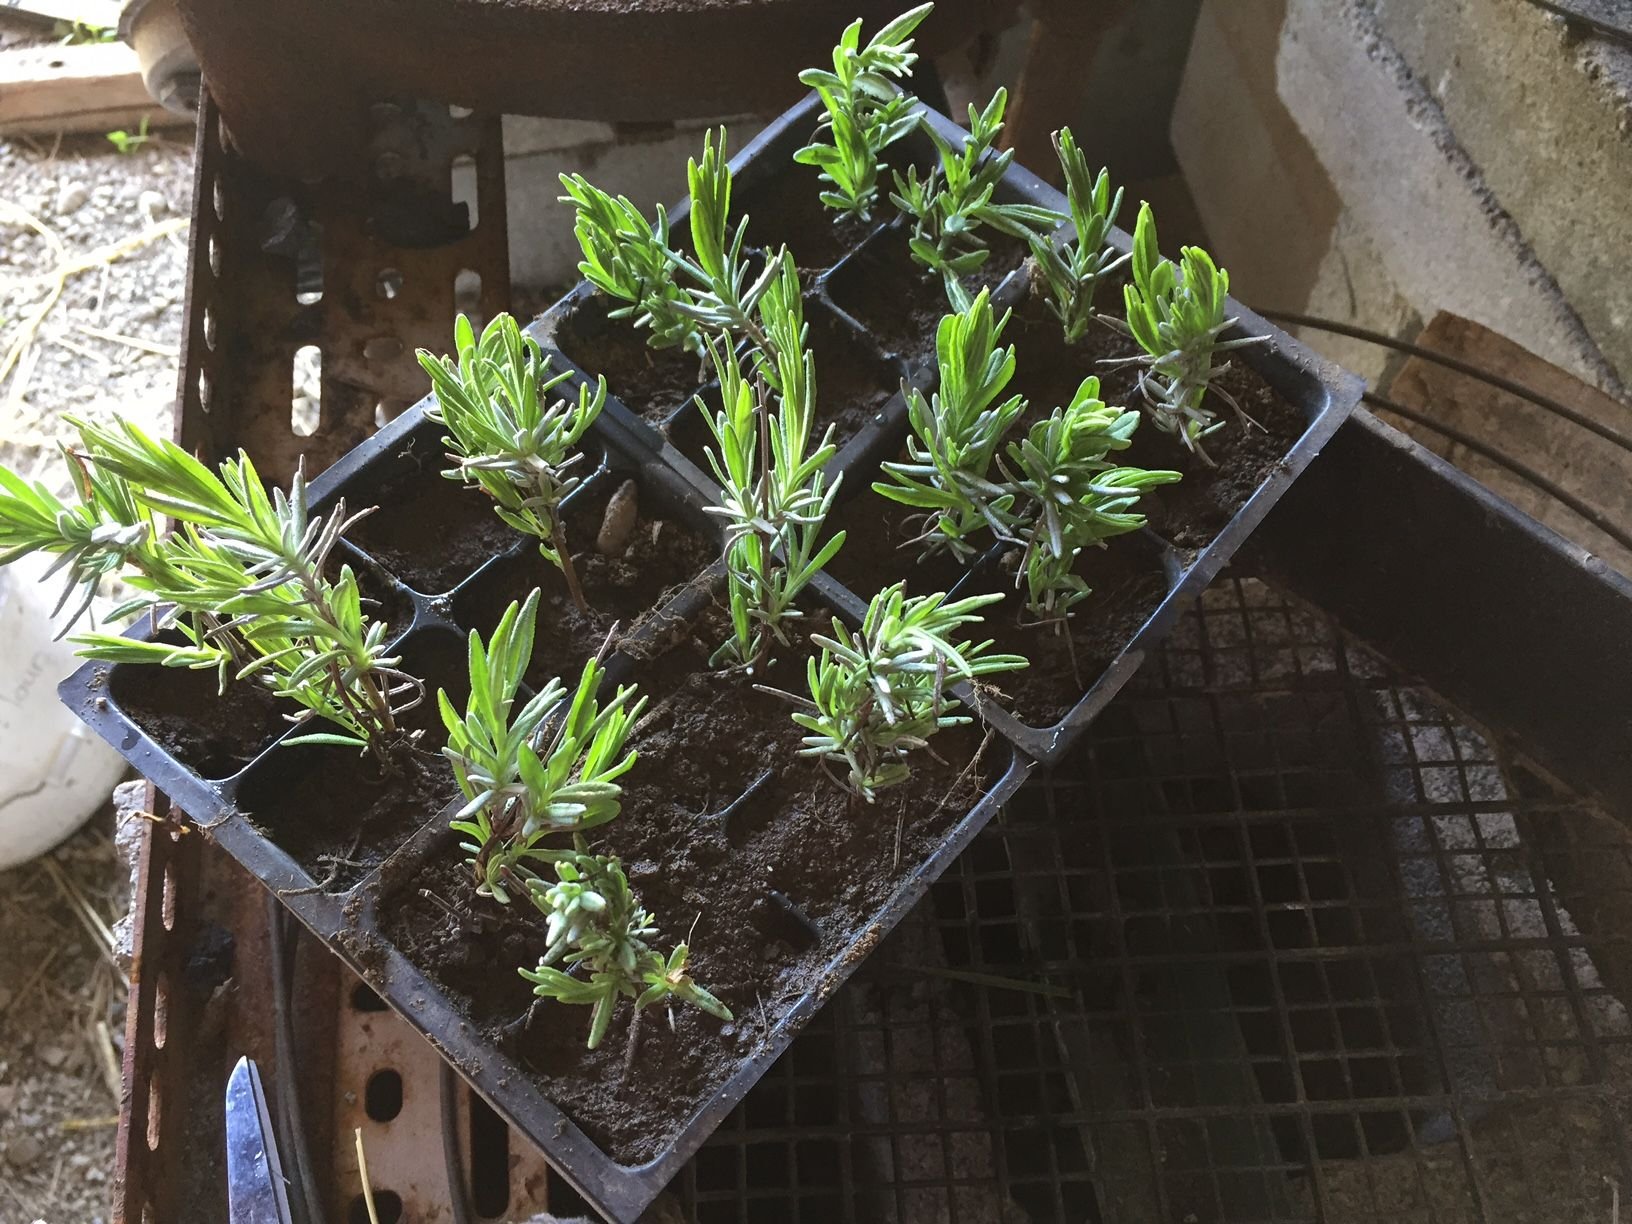
So, now that we have covered planting medium and rooting aids, let us move on to the actual procedure. Dip your plant in any hormone or powder if you are using and stick in the prepared planting medium all the way up the peeled length of the stem, about 2 inches. Tamp it in a bit and water until moist.
My lavender guru told me to keep my cuttings out of direct sunlight for two weeks at as close to fifty-five degrees Farenheit as possible. Your cuttings should root in two to four weeks, but I have never had a batch take longer than two weeks to sprout roots and start growing. I also keep my planting medium moist but not sopping wet.
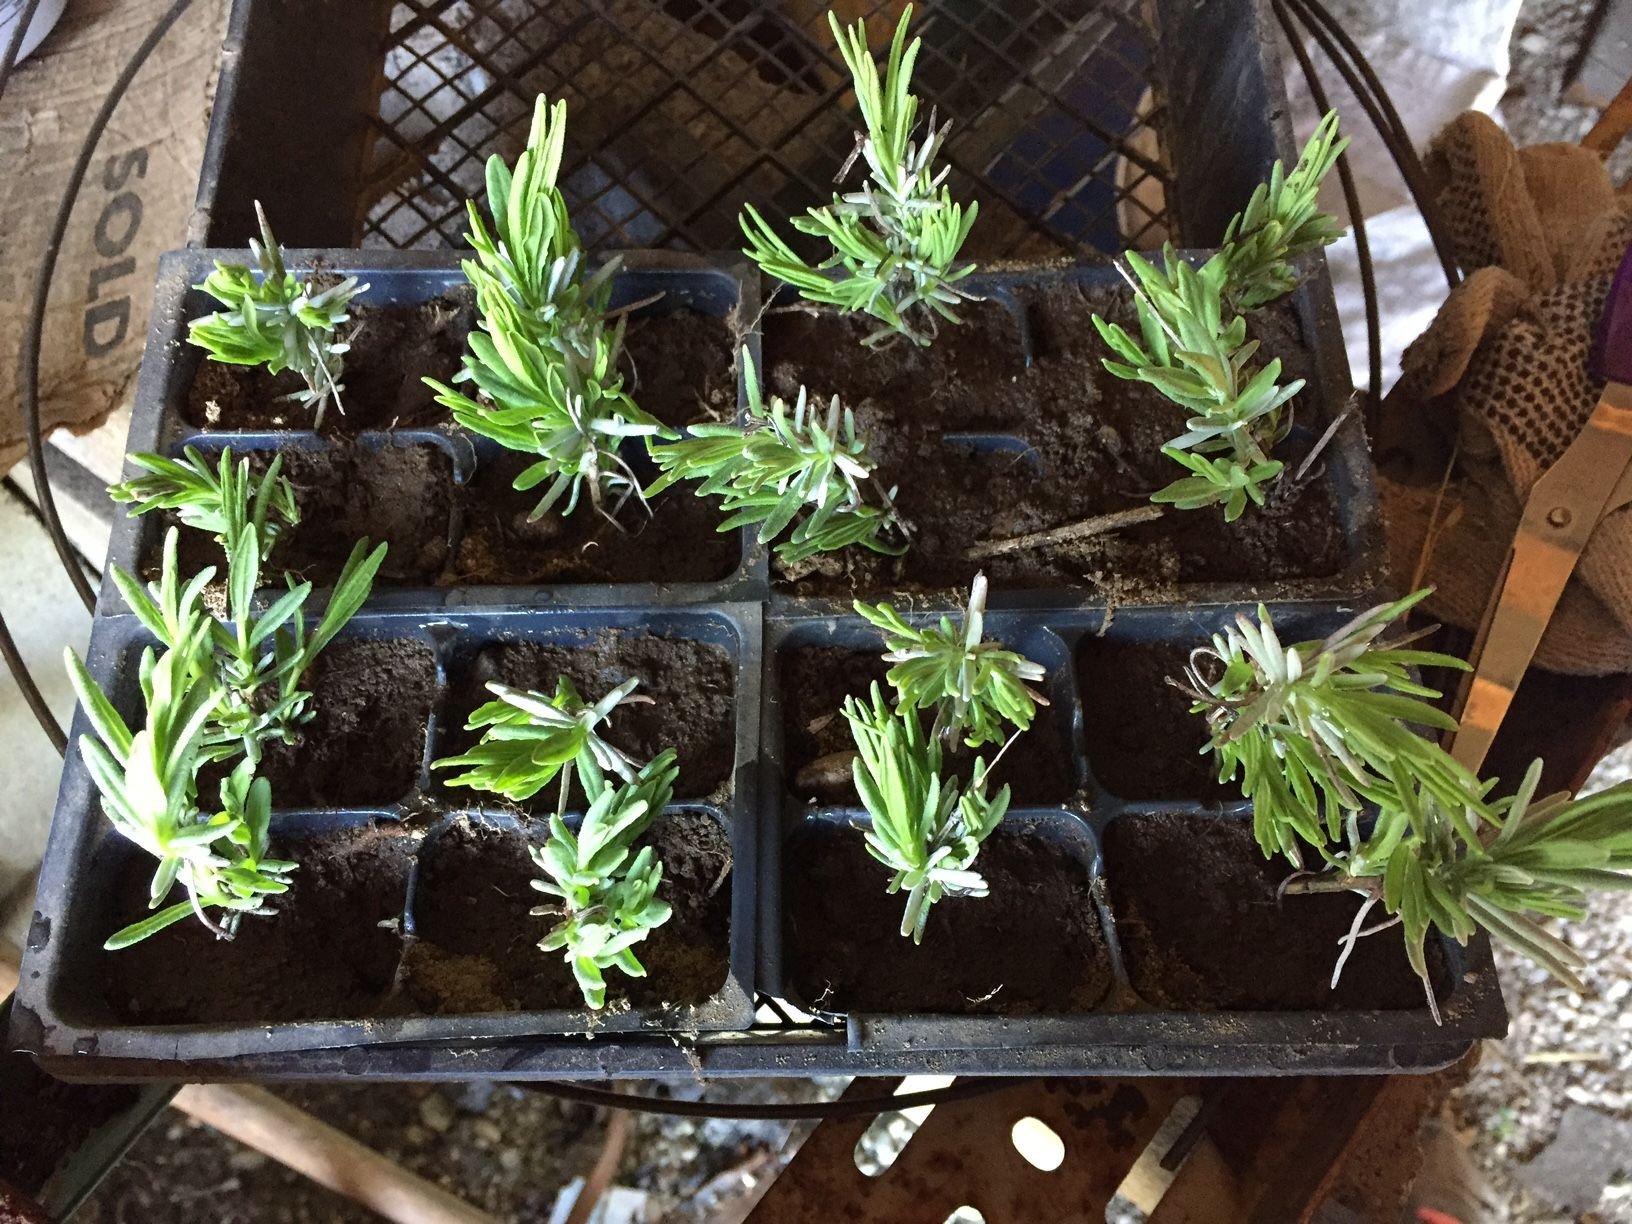
I have some little lavender babies progagatin' right now, as I want to send some to @papa-pepper and family. Our weather put me about three weeks behind on my lavender starting schedule, but at least I got it done! Once the plants root well I will cover young lavender plant care in another post.
Outdoor Oven Progress Note: My outdoor oven construction is on standby as the weather went soggy. However, it looks like we can finish the project tomorrow evening, and I will post part two of that building extravaganza as soon as we finish. Have no fear, I won't leave ya hangin'!
And as always, all of the images in this post were taken on the author's lavender scented iPhone.
Want to read more @Generikat posts?