Starting Microgreens In Recycled Containers
So, one of the added bonuses of being a librarian is the opportunity to inspect new material that gets placed in the catalog.
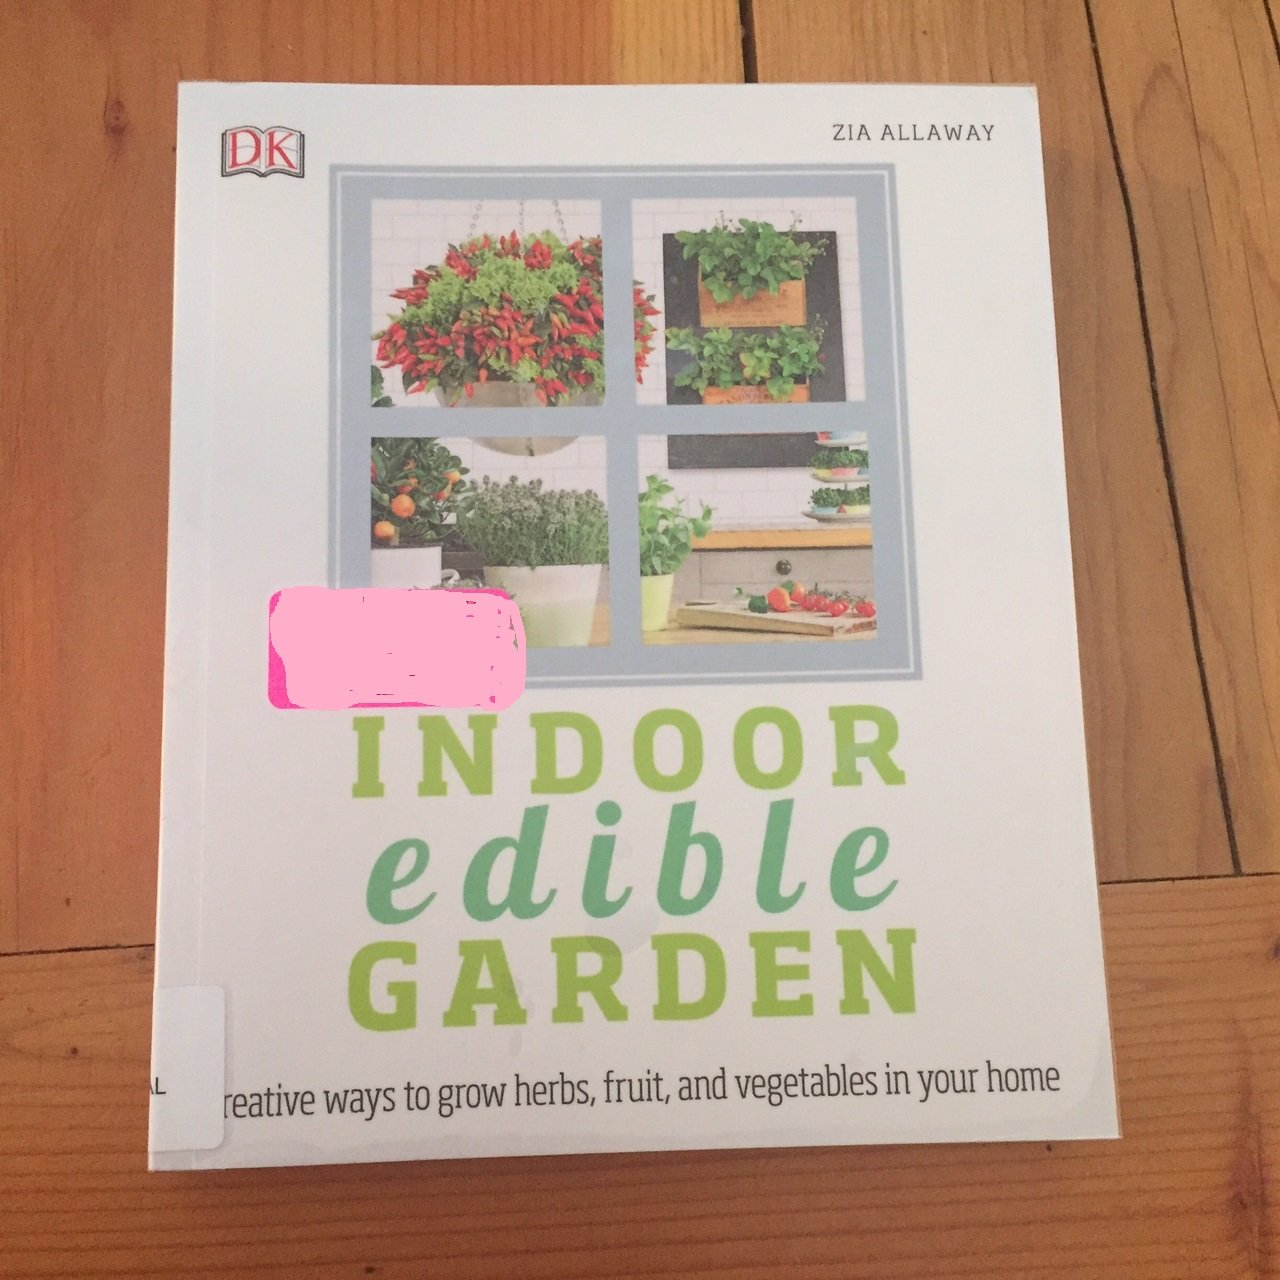
This book was placed on my In-Processing shelf recently, and after I covered it with contact paper, I gave it a look. Long story short, this book came home with me for further inspection. The book itself is very thorough, which is a nice change, as a lot of gardening and homesteading books either recycle well-known information or offer very little in the way of usable information to the reader. I am not fond of tomes that just give a broad overview of the topic that I am interested in. I want depth and detail. Tell me the "how" of the subject that I am interested in, don't just gloss over it and try to pacify me with pretty photos! Suffice it to say that I will do a review on this useful volume in a later post, and it will be detailed!
This post, however, is about starting micro-greens. Microgreens have been kind of a buzzy thing in the culinary world for the last few years. I find this amusing as all they are a adolescent sprouts, but props are always given by me to people that come up with clever marketing terms and strategies.
Definition time:
A microgreen is a tiny vegetable green that is used both as a visual
and flavor component or ingredient primarily in fine dining restaurants.
Ha! In a couple weeks my food will be garnished like haute cuisine! Nice!
Okay, moving on!
I looked out my window this morning, and this is what I saw:

Now, I am beyond ready for spring, but that obviously is not what I have going on in my neck of the woods, so I thought it was about time for me to utilize some of my wasted house space for a bit of food production.
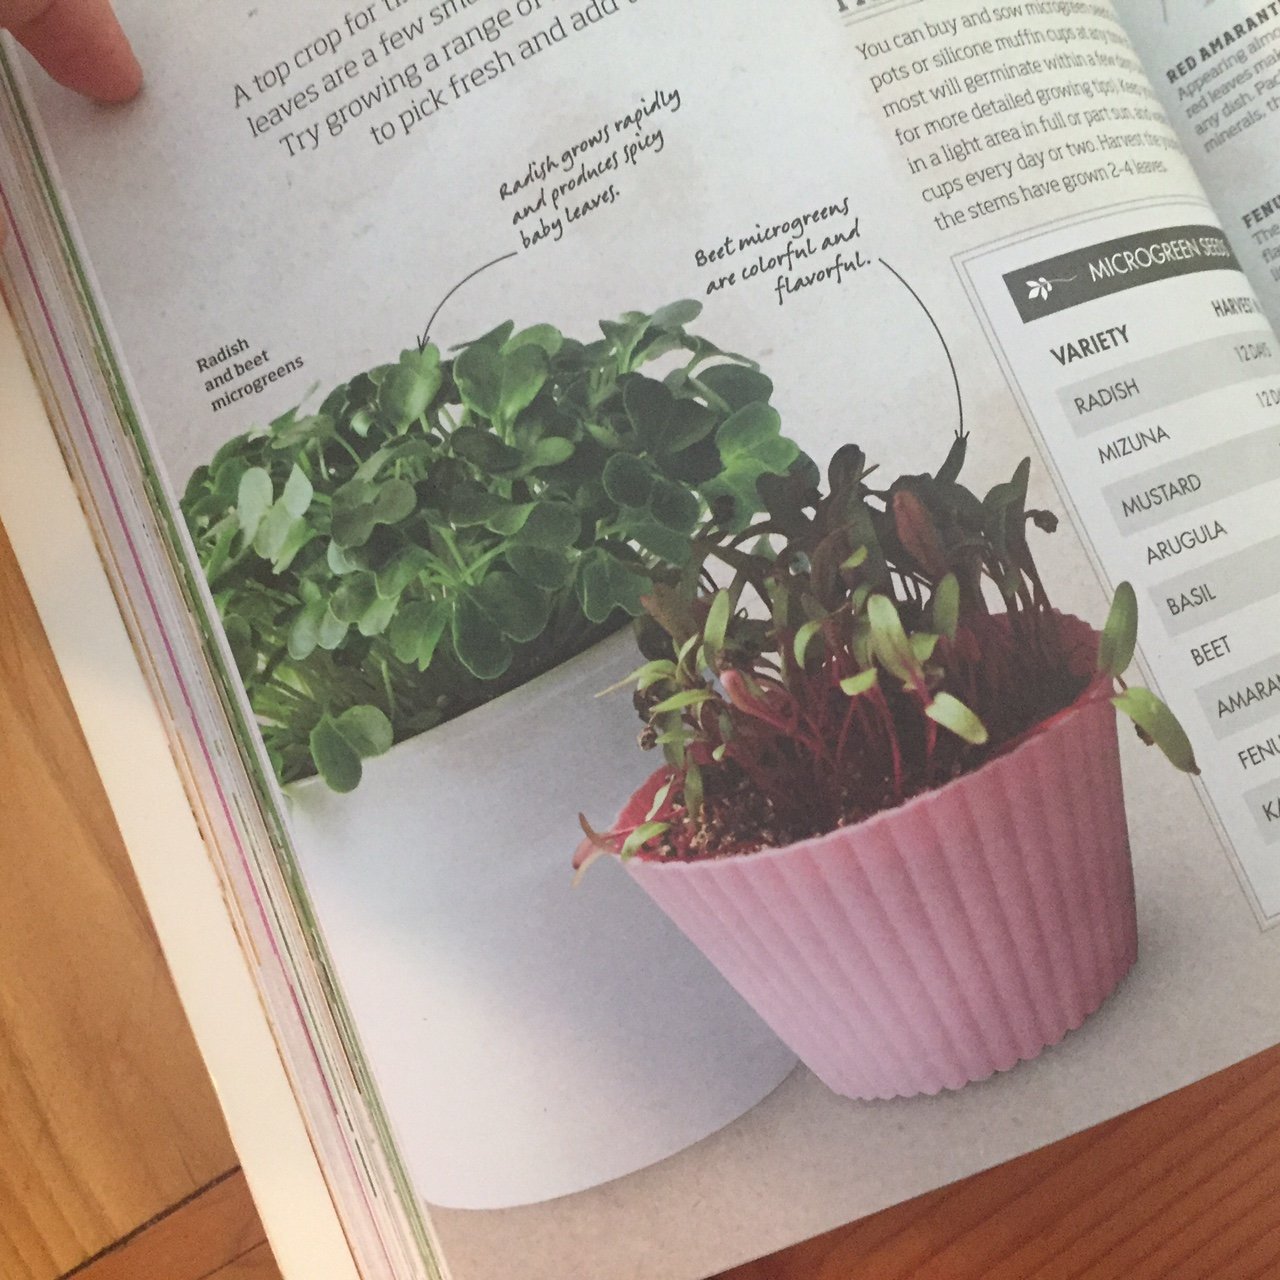
I've been saving this almond milk jug because I was lazy and didn't make my own almond milk last week, so I had it lying around, and this morning it occurred to me that it would make a nice little hanging microgreen container. In the "Indoor Edible Garden" book there is a micro-green section, and in that section they start microgreens in silicon cupcake wrappers. Cute idea book author, but even if I did have silicon cupcake wrappers there is no way in Hades that I would use them to sprout greens, especially considering the fact that you have to cut drainage holes in them!:
I am, however, more than willing to cut up an old plastic jug and sprout some seeds in it.
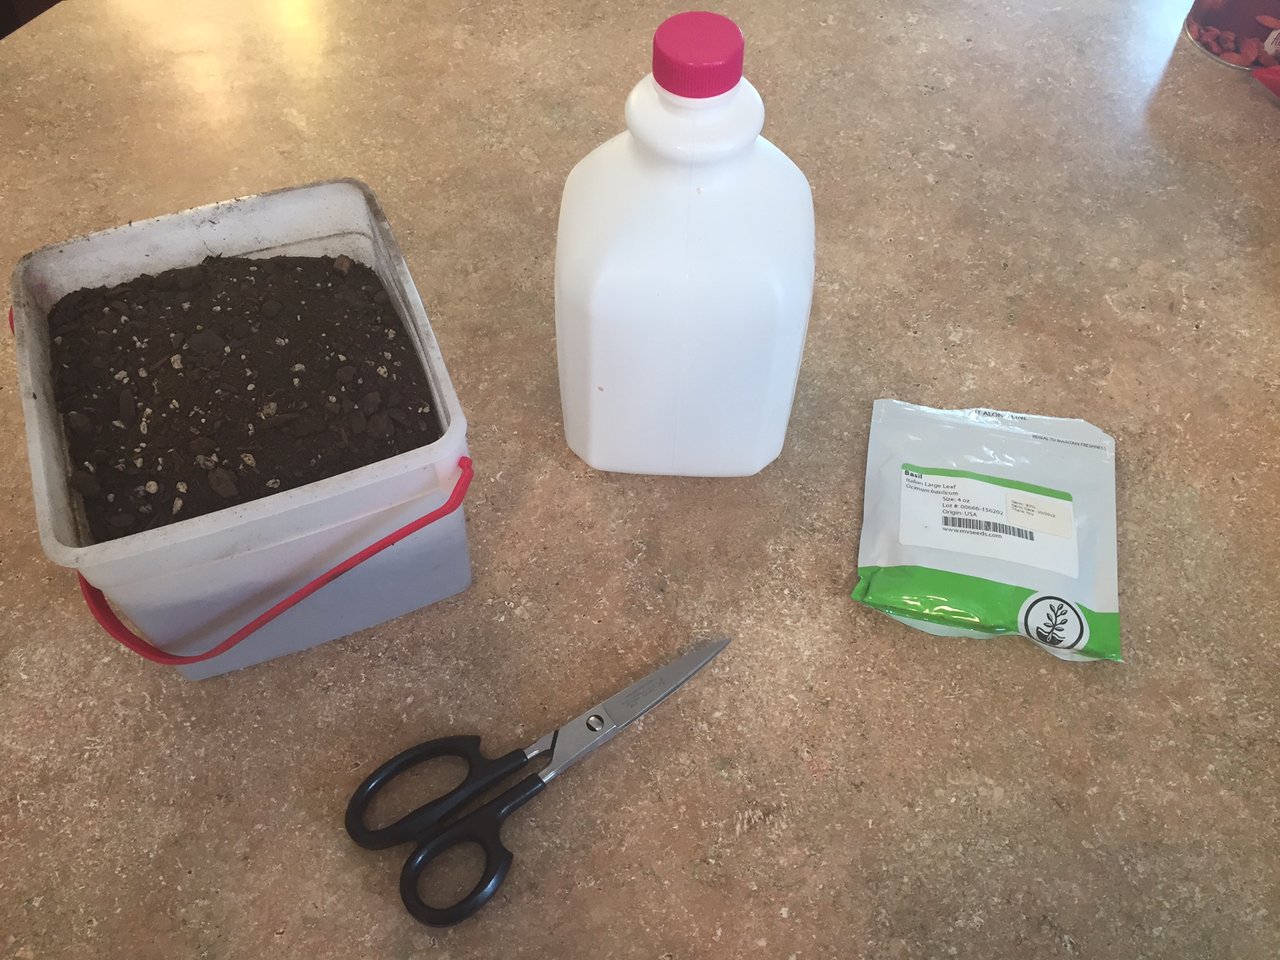
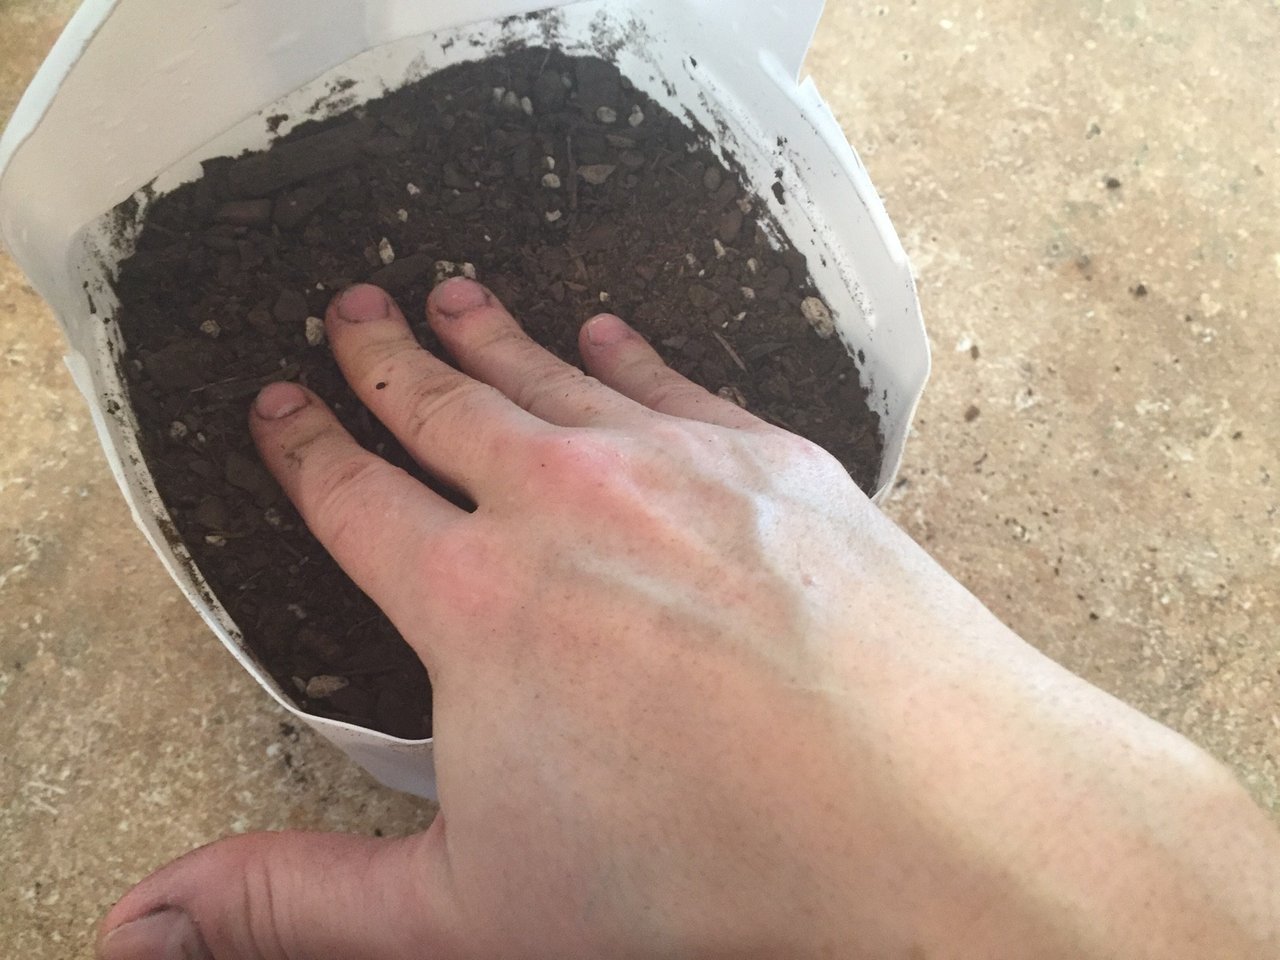
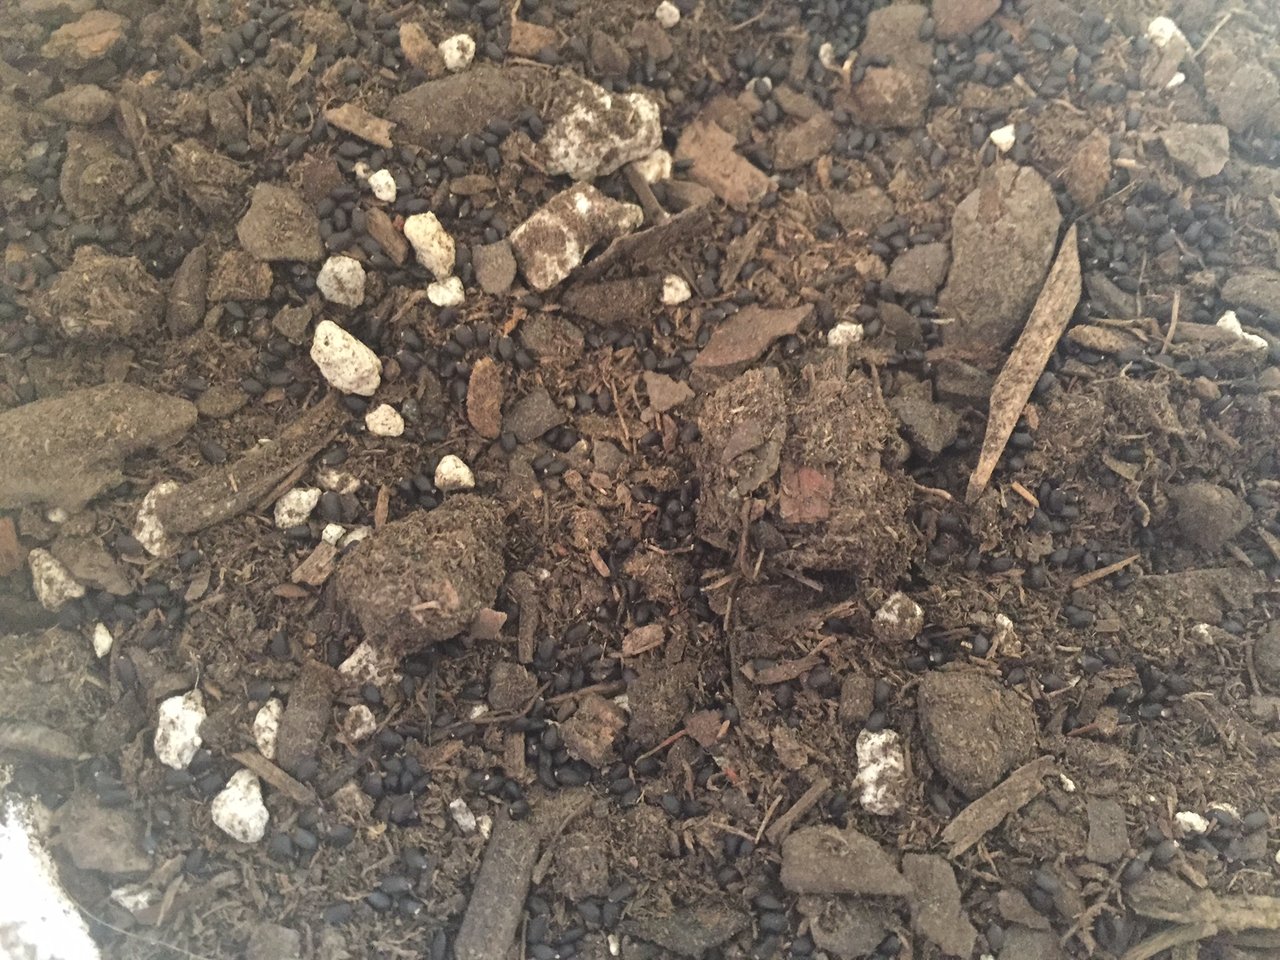
Step 1: Amass needed supplies. Normally I would use my own compost for this sort of thing, but I hiked through knee deep snow to the compost pile for a look, and sadly, the thing is still frozen solid. This project will have to make do with some bagged potting soil as its growing medium du jour. I did amend it with a little kelp and seaweed tea, for maximum nutrients! So I had potting soil, some heavy duty shears, a gazillion seeds, and a recycled almond milk jug. You can use anything you want to sprout microgreens in, just remember that drainage is probably an important thing. As I suspended the jug in my kitchen window, I didn't poke a drain hole in it, so I will have to monitor my watering carefully!
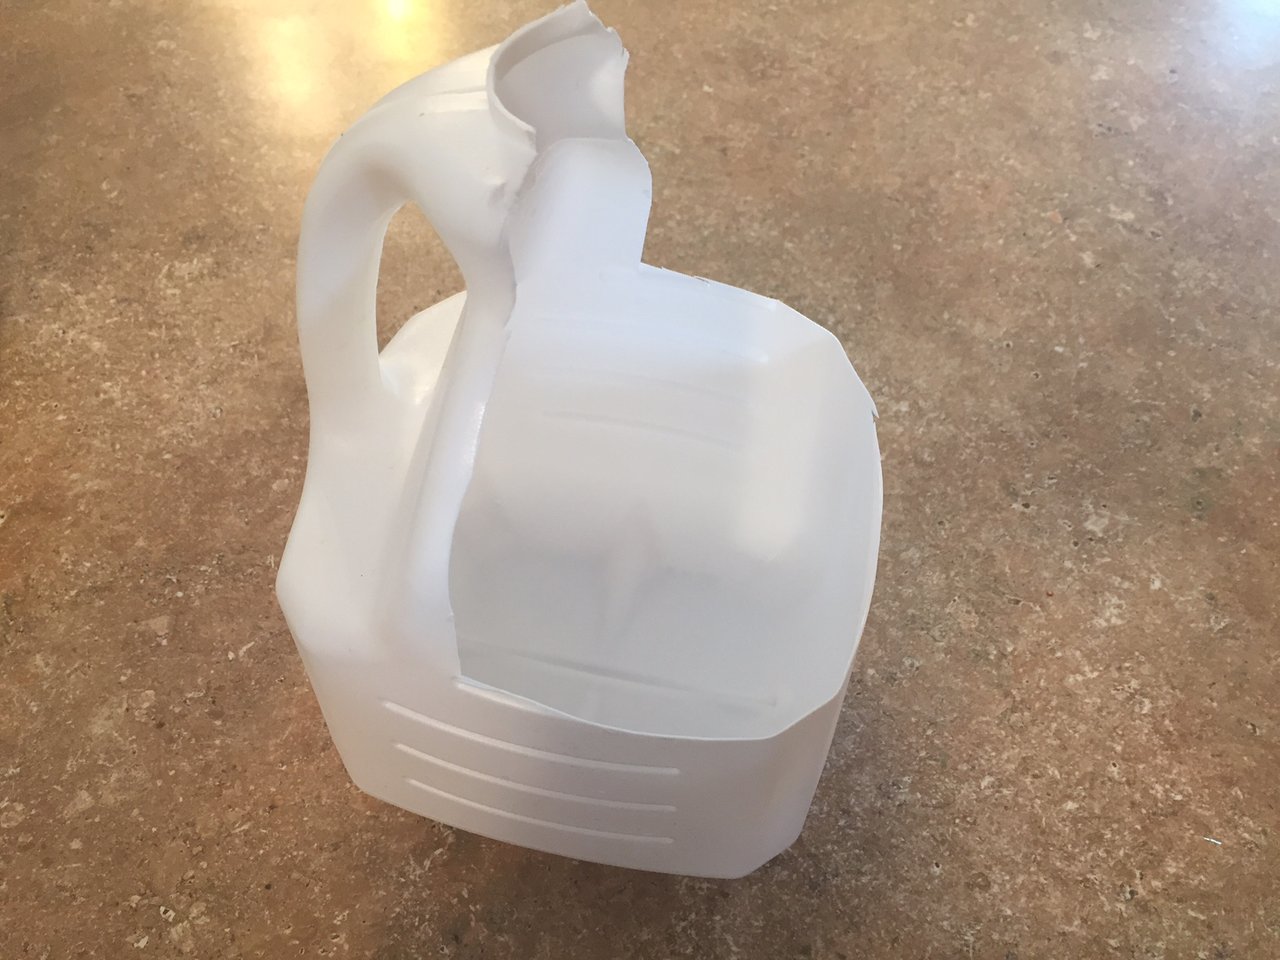
Step Two Cut up your jug! I didn't go too elaborate here, as I wanted to leave the handle on my planter for suspension purposes. I have cats, that should be enough of an explanation.
Step Three Fill your container with whatever planting medium you select to within a 1/4 inch from the top.
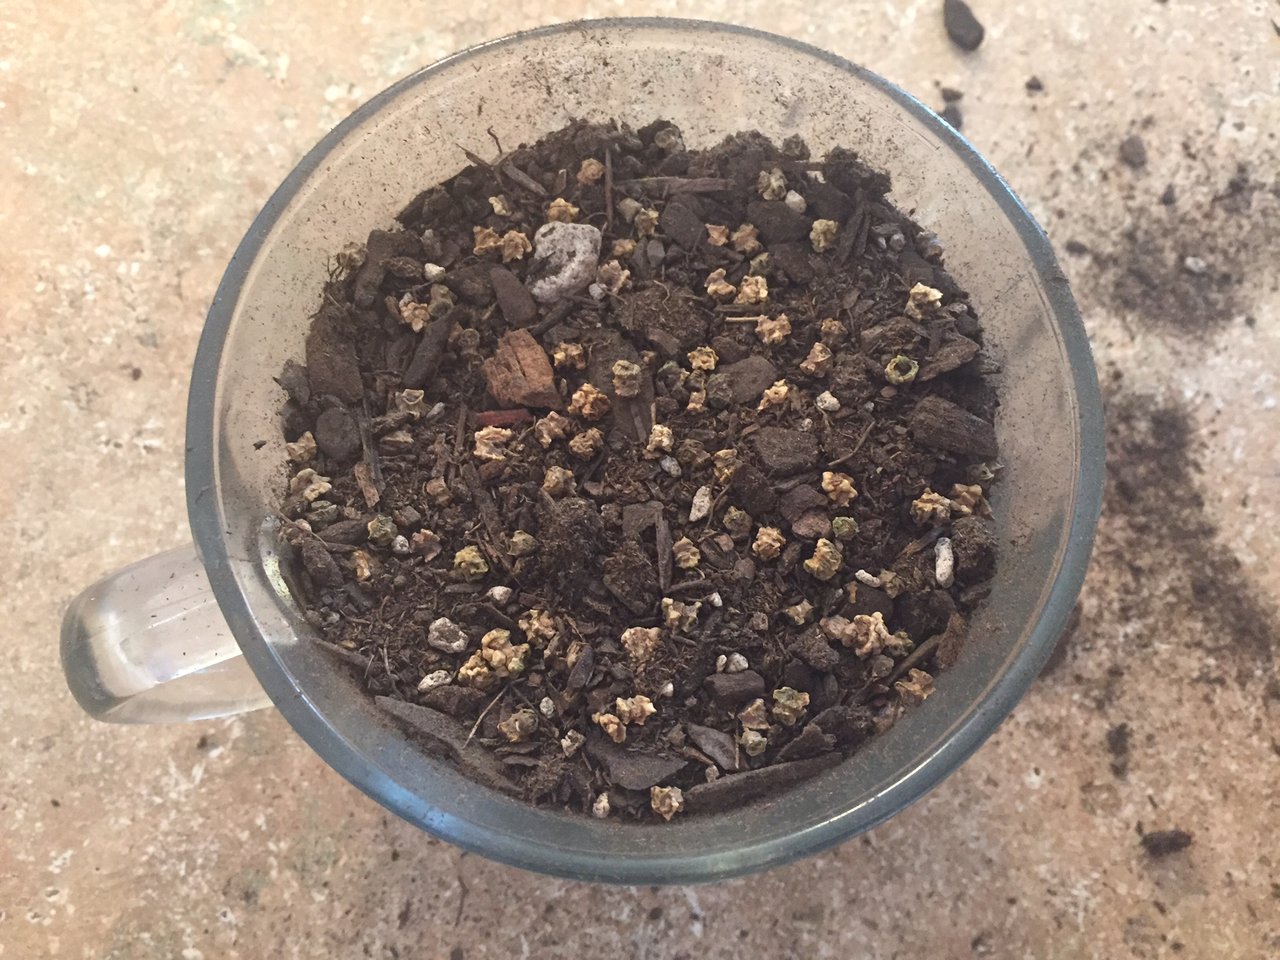
Step four Heavily seed the soil surface area. You don't want the seeds overlapping, but you want them to be heavily spread throughout the top of the growing medium. Press them down into the soil. Lightly sprinkle a little growing medium over the top of the seeds (very little, go lightly here), and press down on your seeds again.
Note: Basil, Kale, Mustard, Radish, and Beet seed all make fantastic mircrogreens!
Step Five Water well and keep your germinating microgreens moist (not sopping people!). I use a plastic spray bottle to water anything that I seed in a container, that way I don't have to worry about a torrent of H20 swirling my little friends around in whatever container I have them starting in.

I suspended this container in hopes that my cats don't have an affinity for tether ball. I would really like them to leave this thing alone, but we shall see.
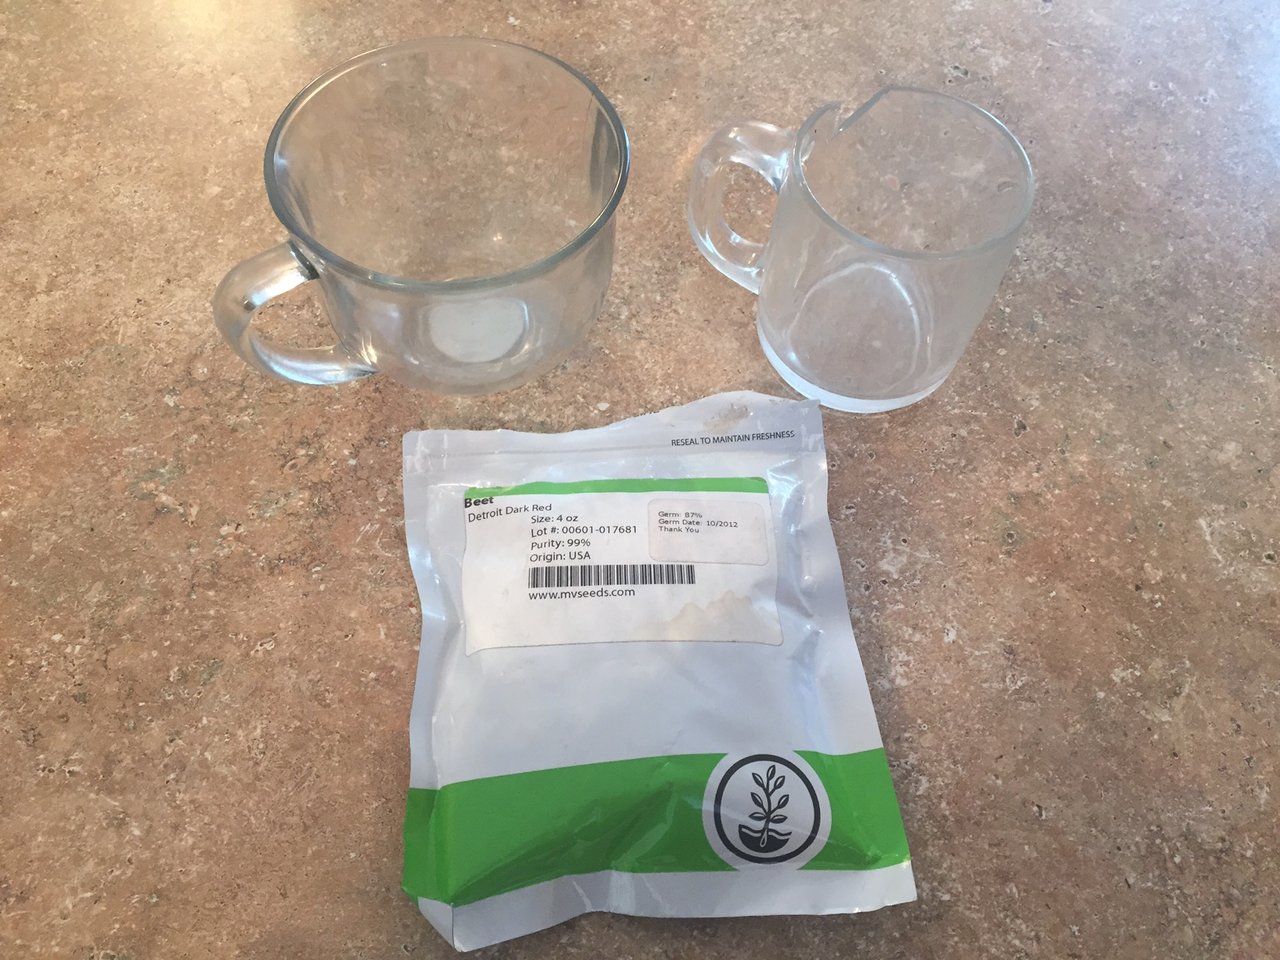
So what type of seeds did I sacrifice to the microgreen cause? Well, a couple of years ago, one of my favorite suppliers, Mountain Valley Seeds, had 25,000 basil seeds on sale for $4.00! I just couldn't pass that up! I was in my market gardener phase at that time, but that is still a ton of basil seeds. Thank goodness I have been craving some tomato soup, for I think some basil microgreens will look pretty smashing on some homemade tomato bisque!
There was also a couple of cups sitting in my kitchen window sill. One of them belonged to my departed Mother-In-Law. One of my offspring accidentally broke part of the edge off that ancient cup, but I didn't have the heart to throw it away. The other cup was one I made at a librarian training event, it says "hashtag" shhhhh. Librarian humor. Those two vessels are now the home of some germinating beet microgreens.
So, this whole little food experiment took me about 15 minutes from start to finish, minus the time I spent tromping around in the snow inspecting my compost pile and collecting some potting soil from the equipment shed. I'll let you all know how the whole experiment worked in about 2 weeks!
And as always, the images in this post were taken by the author on her potting soil coated iPhone.