Sprouting Seeds For Transplant Using Paper Towels
For many years I started my tomato and pepper seeds by placing them in seeding trays full of soil-less planting medium. I would dutifully place them in our storage shed on the growing shelves that my husband had built for me; a six foot tall wall of shelves with four foot florescent light fixtures that were suspended above the seed trays by adjustable chains. I was a good plant mother and made sure that I had special plant light bulbs in the light fixtures, and I also, to my heating bill chagrin, made sure that I turned the storage room's heat up to the 80+ degrees Farehnheit that tomato and pepper seeds like to germinate. After a couple years of staring in dismay at my resulting power bill; I began researching a new way to germinate heat loving seeds.
Sprouting Process
After years of starting my tomatoes the regular way; I stumbled upon the concept of sprouting them, and then transplanting the sprouts. Intrigued by the concept, I gave it a try, and discovered that it had a multitude of benefits:
- I could control the exact number of tomato plants that I needed. Instead of playing a germination guessing game, I knew exactly how many transplants that I would have.
- It cost a lot less, as I sprouted my tomato seeds in the dark, behind my wood stove that I run all the time anyway.
- If you are a procrastinator, or tend to run behind on having your garden supplies prepped for Spring planting, sprouting gives you a little extra time to get your “stuff” in order!
Relevant Side Note:
If you don't have a woodstove, just set your seedlings in the warmest place in your house. I had some rambunctious teenage kittens in the house once, and for reasons of protection, I placed my paper-towel-seed-sprout- in-progress on top of my refrigerator. Anywhere dark and warm will do.
The Paper Towel Seed Sprouting Process
- Gather a roll of paper towels, a glass pie plate or paper plate, plastic wrap or a gallon size zipper bag, a spray bottle (you can get one of these for $1 at a big box store), and your seeds.
- Tear off a few sheets of paper towels and get them soaking wet in lukewarm water. Ring out well.
- Place the damp sheets in the bottom of your pie plate or on your paper plate.
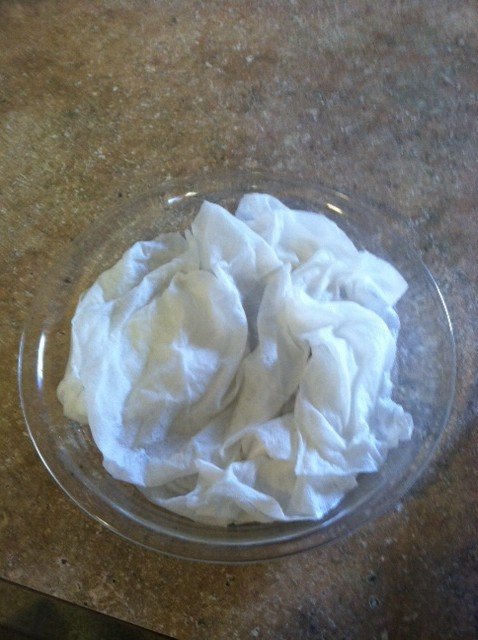
- Grab 2 more sheets of paper towels. Make sure that you don’t tear these two sheets apart.
- Dampen the sheets the same as you did to the above paper towels.
- Fold the damp sheets in half. Fold in half again.
- Open your last fold and place the number of seed your wish to sprout on ½ of the paper towel.
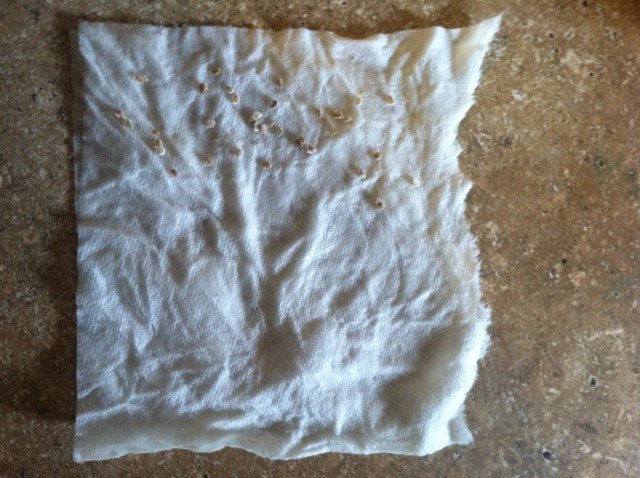
- Fold over the top of the paper towel onto the seeds.
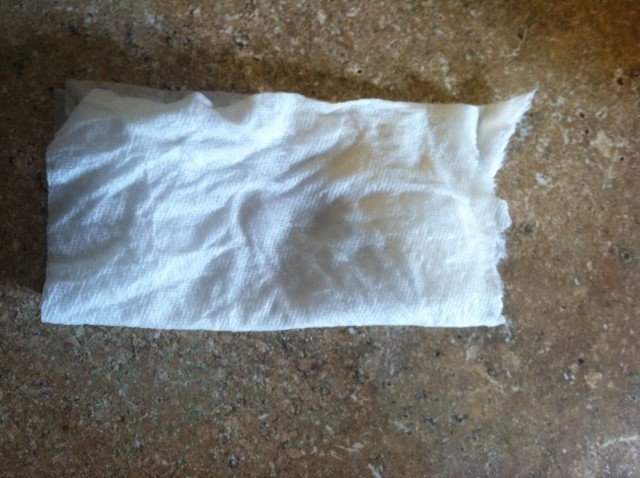
- Place on bed of damp paper towels in the pie plate.
- Spritz generously with water.
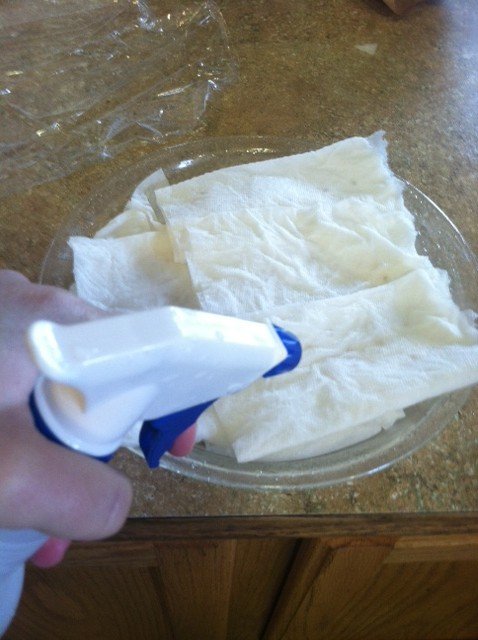
- Cover lightly with plastic wrap or place pie plate in unzipped plastic zipper bag (mini-greenhouse), and place in a warm, dark place. (by a woodstove or on top of a fridge).
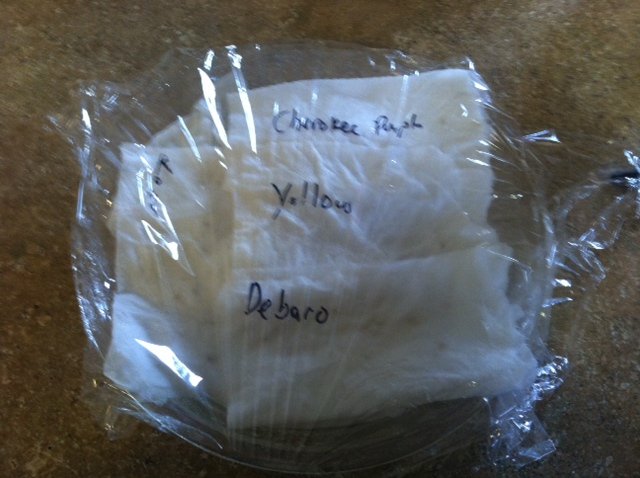
- Water twice daily, just enough to keep everything moist, not sopping wet.
- Wait for the sprouts to emerge. I don’t transplant my sprouts until they are standing up with the cotyledon “leaves” fully emerged.
Once your seedling stands up and shows its cotyledon “leaves" it's:
Transplant Time!
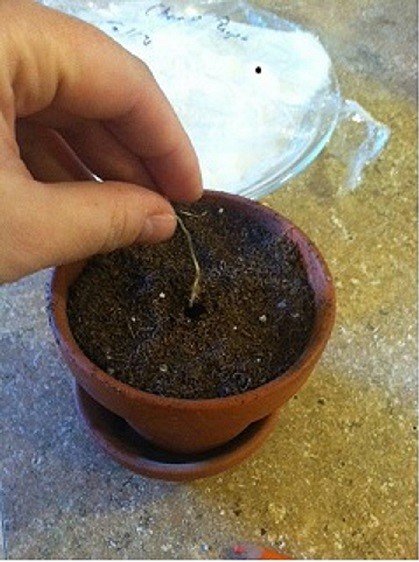
- Carefully separate a sprout from the paper towel. Sometimes you can gently remove the sprout from the paper towel by gently tugging on it, if it doesn’t give, just remove the sprout paper towel and all.
- Using a pencil, poke a hole in the middle of your soil whatever planter you are placing your sprout in. Slide the sprout into the hole until you get to the root line. Firmly press the soil around your sprout.
- Move on to the next sprout, you are done! Make sure that you water them when you are all done, a spray bottle is the best way to water your tender, little sprouts!
I have grown thousands of tomato and a few hundred pepper plants using this method, and in a few months I will be utilizing it once more. I might even be successful at it too, although, there are a few teenage cats in residence, so time will tell.
All of the images in this post were taken by me, generikat, amateurly, on one of two phones that I've owned over the years. Apologies on the quality;)!
Written with StackEdit.
