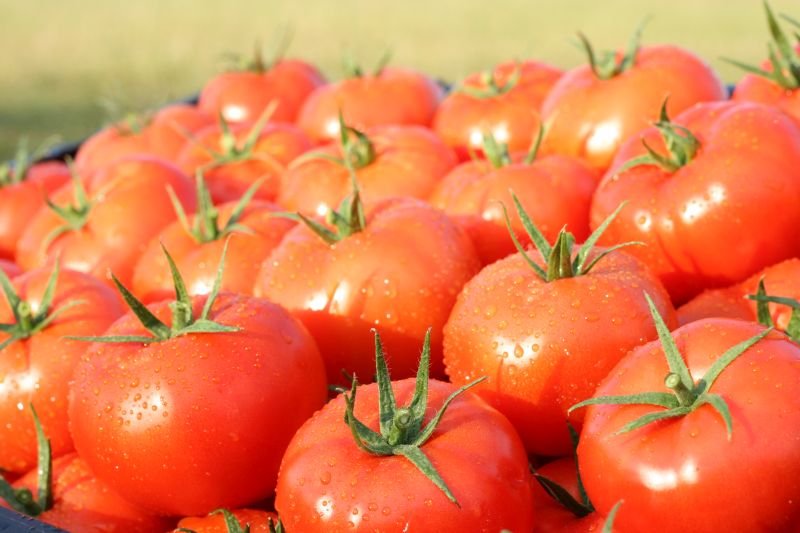
So your seeds only germinated at 80% and you are short fifty plants, what do you do? Well you take cuttings from the plants that did germinate of course.
If you have been following along we have had tomato seedlings growing in pots about two weeks now. Things are starting to move along, but our seeds didn't germinate like we needed them too, so we are short about 100 plants. Time to get the pruners out and start making more Tomatoes!
Let's Get Started!
Step 1
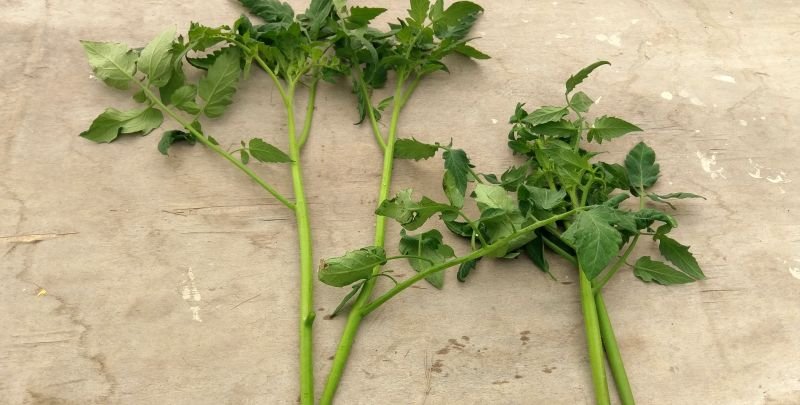
First off, find the suckers that you want to propagate, look for the largest suckers you can find. I usually cut them first then keep them all in a container with water so they don't dry out. If your working in a smaller greenhouse or your garden, you may just want to work one at a time, I have about 100 cuttings to take so this keeps them fresher for me.
Step 2
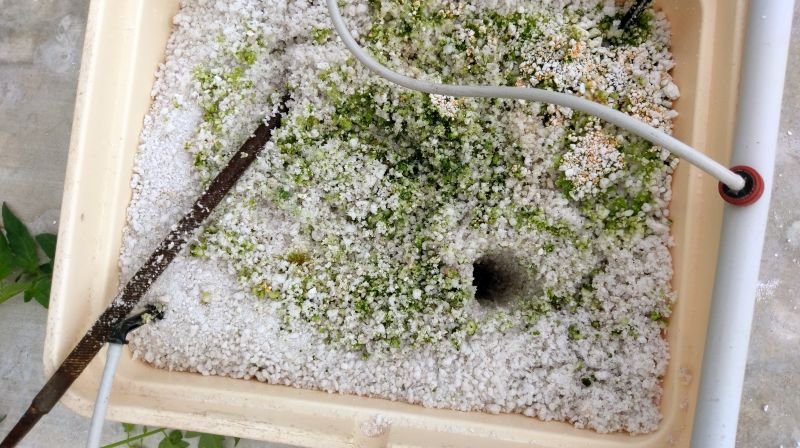
Get all your equipment ready, there isn't alot really, just good to have it all together. The faster you get the cuttings in and keep them wet, the better for the plant. I use pruners and an old round file as a dibbler to open up the wet perlite.
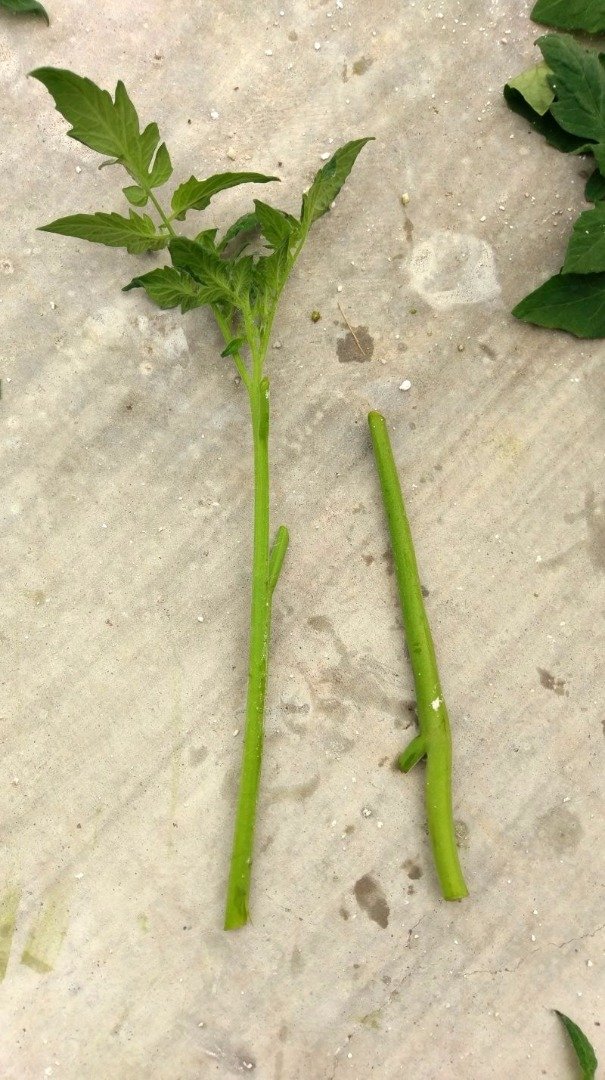
With that said, take your cutting, and trim all the leaves up to the growing end, that last set of leaves at the top. Cutting the leaves off means less for the plant to try to keep alive and alot less surface area for the plant to transpire. We want to give this cuttings the best chance for survival.

Step 3
Next we will trim the cutting to length, If you were doing this in a conventional soil with soil, you would cut your shoot down to about three to four inches. I cut these about six to seven inches since our hydro system has an inch or two of nutrient solution at the bottom of the pots, this way the bottom of the cutting will be down in the solution drawing water up faster.
*just a note here, tomato vines don't form much of a woody stem, so they are able to form roots all along the length of the stem, unlike other plants that grow roots from nodes. you can use this method on other plants but be sure you prune properly.
Step 4
Next we take a dibbler and open up the perlite all the way down to the bottom of the bucket.
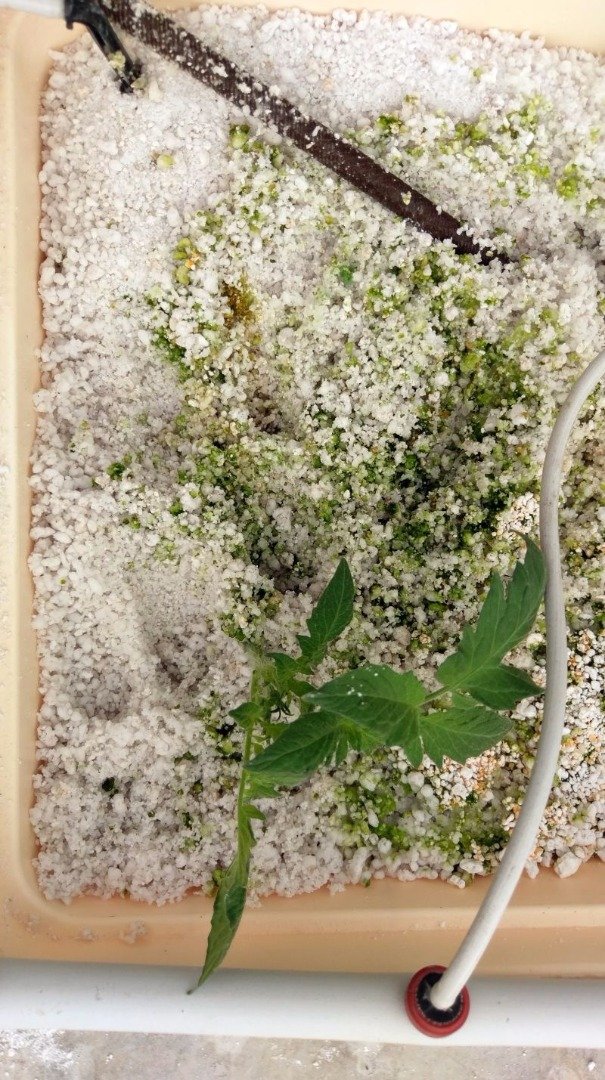
And finally
We place the cutting into the hole and repack the perlite around it lightly, replace the drip tubes and your done. Except for the waiting, then we wait several days to see if the plants will take, usually they do, if they don't we do it again. I have a pretty high success rate with this method, and it's tomatoes, they will actually start growing air roots after a while, so they are easy to start this way.
Like I said, this is a pretty easy method to start tomato cutting, if you were to try this, my only advice would be to keep the plants out of direct sunlight and keep soil very moist.
What's that you say? Direct sun, in a greenhouse, how..what the.. well gentle reader, we have 70% shade cloth over this whole beast, so it really isn't direct sun and as I said, there is a lot of water in those buckets.
Anyway, if you want a video overview of the process here ya go, starring my lovely wife!

And as usual, if you have questions or comments, let me know!
Thanks for looking!